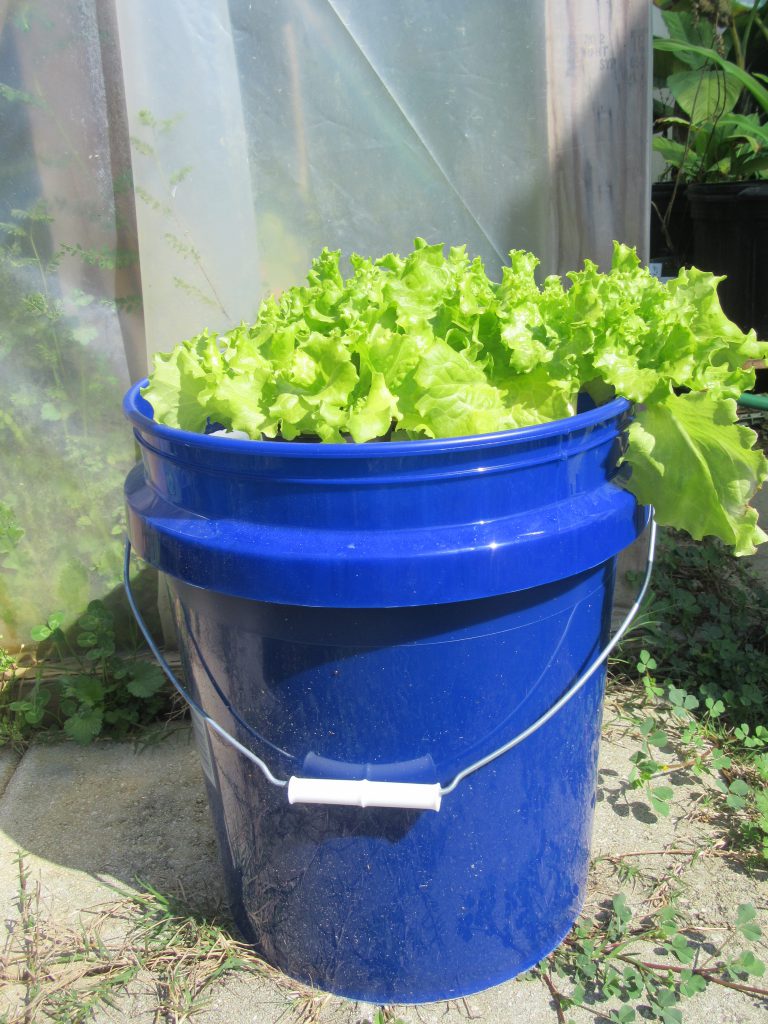
Leaf lettuce growing in a floating hydroponic system. Photo Credit: University of Florida/IFAS Extension.
Christmas is just around the corner and what better gift could you give other than the gift that keeps on giving…a hydroponic bucket garden! Floating hydroponic gardens are easy to build with supplies found at just about any home and garden center. A simple garden can be constructed with a 5-Gallon bucket, polystyrene foam board insulation, and “net pots” or other suitable containers to support the plants. Leaf lettuce and herbs are suitable plants for growing in a floating garden and will grow well indoors as long as there is plenty of natural light available.
SUPPLIES
- 5-Gallon Bucket
- Polystyrene Foam (1½ inch or thicker)
- Water
- Water-Soluble Fertilizer (10-10-10, 20-20-20, 24-8-16, or similar grade)
- Epson Salts (magnesium sulfate)
- Suitable Plants (leafy lettuce, greens, or most herbs – NOT rosemary)
- “Net Pots”, Polystyrene Cups with punctures, or other suitable containers
- Jigsaw, Drywall Saw, or Sharp Knife
- Hole Saw
CONSTRUCTION
- Cut, with a jigsaw, a 1½ inch board of polystyrene foam board insulation into 1-by-1-foot squares.
- Place the bottom of the bucket on a 1-by-1 foot square of foam and trace the shape of the bucket on the foam. Cut out the circle.
- Use a hole saw to cut evenly spaced holes out of the foam. (Typically 3 to 4 depending on “net pot”/plant container size.) The hole size should allow the bottom of the plant container to be level with the underside of the foam.
FERTILIZATION & PLANT CARE
Fill the bucket with approximately 2.5 gallons of water. Add 1 to 2 teaspoons of water-soluble fertilizer for each gallon of water to be used in the bucket (approximately 5 to 9 teaspoons for 4.5 gallons of water). Add ½ to 1 teaspoon of Epson Salts for each gallon of water to be used in the bucket (approximately 2.5 to 4.5 teaspoons for 4.5 gallons of water). Mix the fertilizer and Epsom Salts with the water in the bucket. Continue to fill the bucket with water to within 1½ inches of the rim of the bucket. Set “net pots” or plant containers in the hole cutouts in the foam circle. Lay the foam circle, with inserted containers, on the surface of the water/fertilizer mixture in the bucket. Place the young starter plants in the containers. Do not remove the potting mix from the plant roots. The most critical aspect is the depth of the transplant’s root ball in the solution. The bottom of the root ball should be flush with the surface of the water. As the water/fertilizer mixture is taken up by the plants and evaporated, the water level in the bucket will decline.
FURTHER INFORMATION
A bucket garden may just be the beginning of your hydroponic ventures. For additional publications on growing hydroponic vegetables please visit the University of Florida/IFAS EDIS website hydroponic production page. If you want to start your own hydroponic farm then you may also be interested in attending the “Starting a Successful Hydroponic Business” training at the Suwannee Valley Agricultural Extension Center in Live Oak in March.
- Is a Limequat a Lime or a Kumquat? - December 26, 2025
- Gardening in the Panhandle LIVE! Program Summary: Pests of Florida Lawns and Landscape Plants - May 28, 2025
- Fun Facts About Ferns - April 30, 2025
