by Mark Tancig | Nov 20, 2017

Proper maintenance all year long is the best way to achieve a healthy lawn. Credit: Jim Stevenson
If you’ve been to a local garden center lately, there’s a good chance you’ve seen some displays marketing winterizer fertilizer for your lawn. Many of these displays are quite shiny and state all sorts of reasons why you should apply fertilizer to prepare your lawn for winter.
However, as with most purchases, a little consumer research is a good idea before being persuaded by those glossy ads. Where do you find such non-biased, evidence-based information on lawn and garden topics in Florida? UF/IFAS Extension, of course!
UF/IFAS research has found that for warm-season grass species used for North Florida lawns, the last application of fertilizer should occur no later than September. Why so? Well, similar to deciduous tree species, our warm-season grasses, including centipede, St. Augustine, bahia, and zoysia, are adapted to go dormant at the onset of cooler weather.
Once the transition into dormancy begins, the turf is not actively growing, therefore nutrient uptake slows down. Eventually, the turf becomes brown and will remain that way until warmer spring temperatures initiate active growth again.
What about all the glossy ad’s claims regarding improved root growth? When looking over the N-P-K values of winterizer fertilizers, you will notice that most have a high third number, indicating a greater proportion of potassium. Research does show that adequate potassium levels do make turf more resilient to stress. However, if the turf has been maintained properly throughout the year – proper mowing height, irrigation, and fertilization – then the lawn’s root systems are likely strong enough to get it through winter.
Winterizer fertilizers that contain a high proportion of nitrogen, say over a 5 on the N-P-K analysis, can actually cause your lawn harm. Nitrogen promotes leaf and shoot growth, which is tender to damage from cold weather. If these type products are applied late in the year, new growth is likely to be nipped by a cold snap, causing stress to the lawn, which can lead to greater pest pressure and poor growth the following spring.
For a healthy lawn, there’s no substitute for year-long good care. If you are having a lawn issue or would like more information on fertilizing lawns, please call your local Extension Office or check out some of UF/IFAS’s online resources!
by Matt Lollar | Nov 20, 2017
Sometimes you don’t realize a tree is dying until it is dead. A few weeks ago, we got a call from a client who said he had insects killing his trees. Before having someone drive out to the property, our Master Gardener volunteer recommended that the client bring in some of the insects for us to take a look. It turned out the insects invading his pine tree were a type of longhorned beetle, but more specimens were required for identification. A site visit soon ensued.
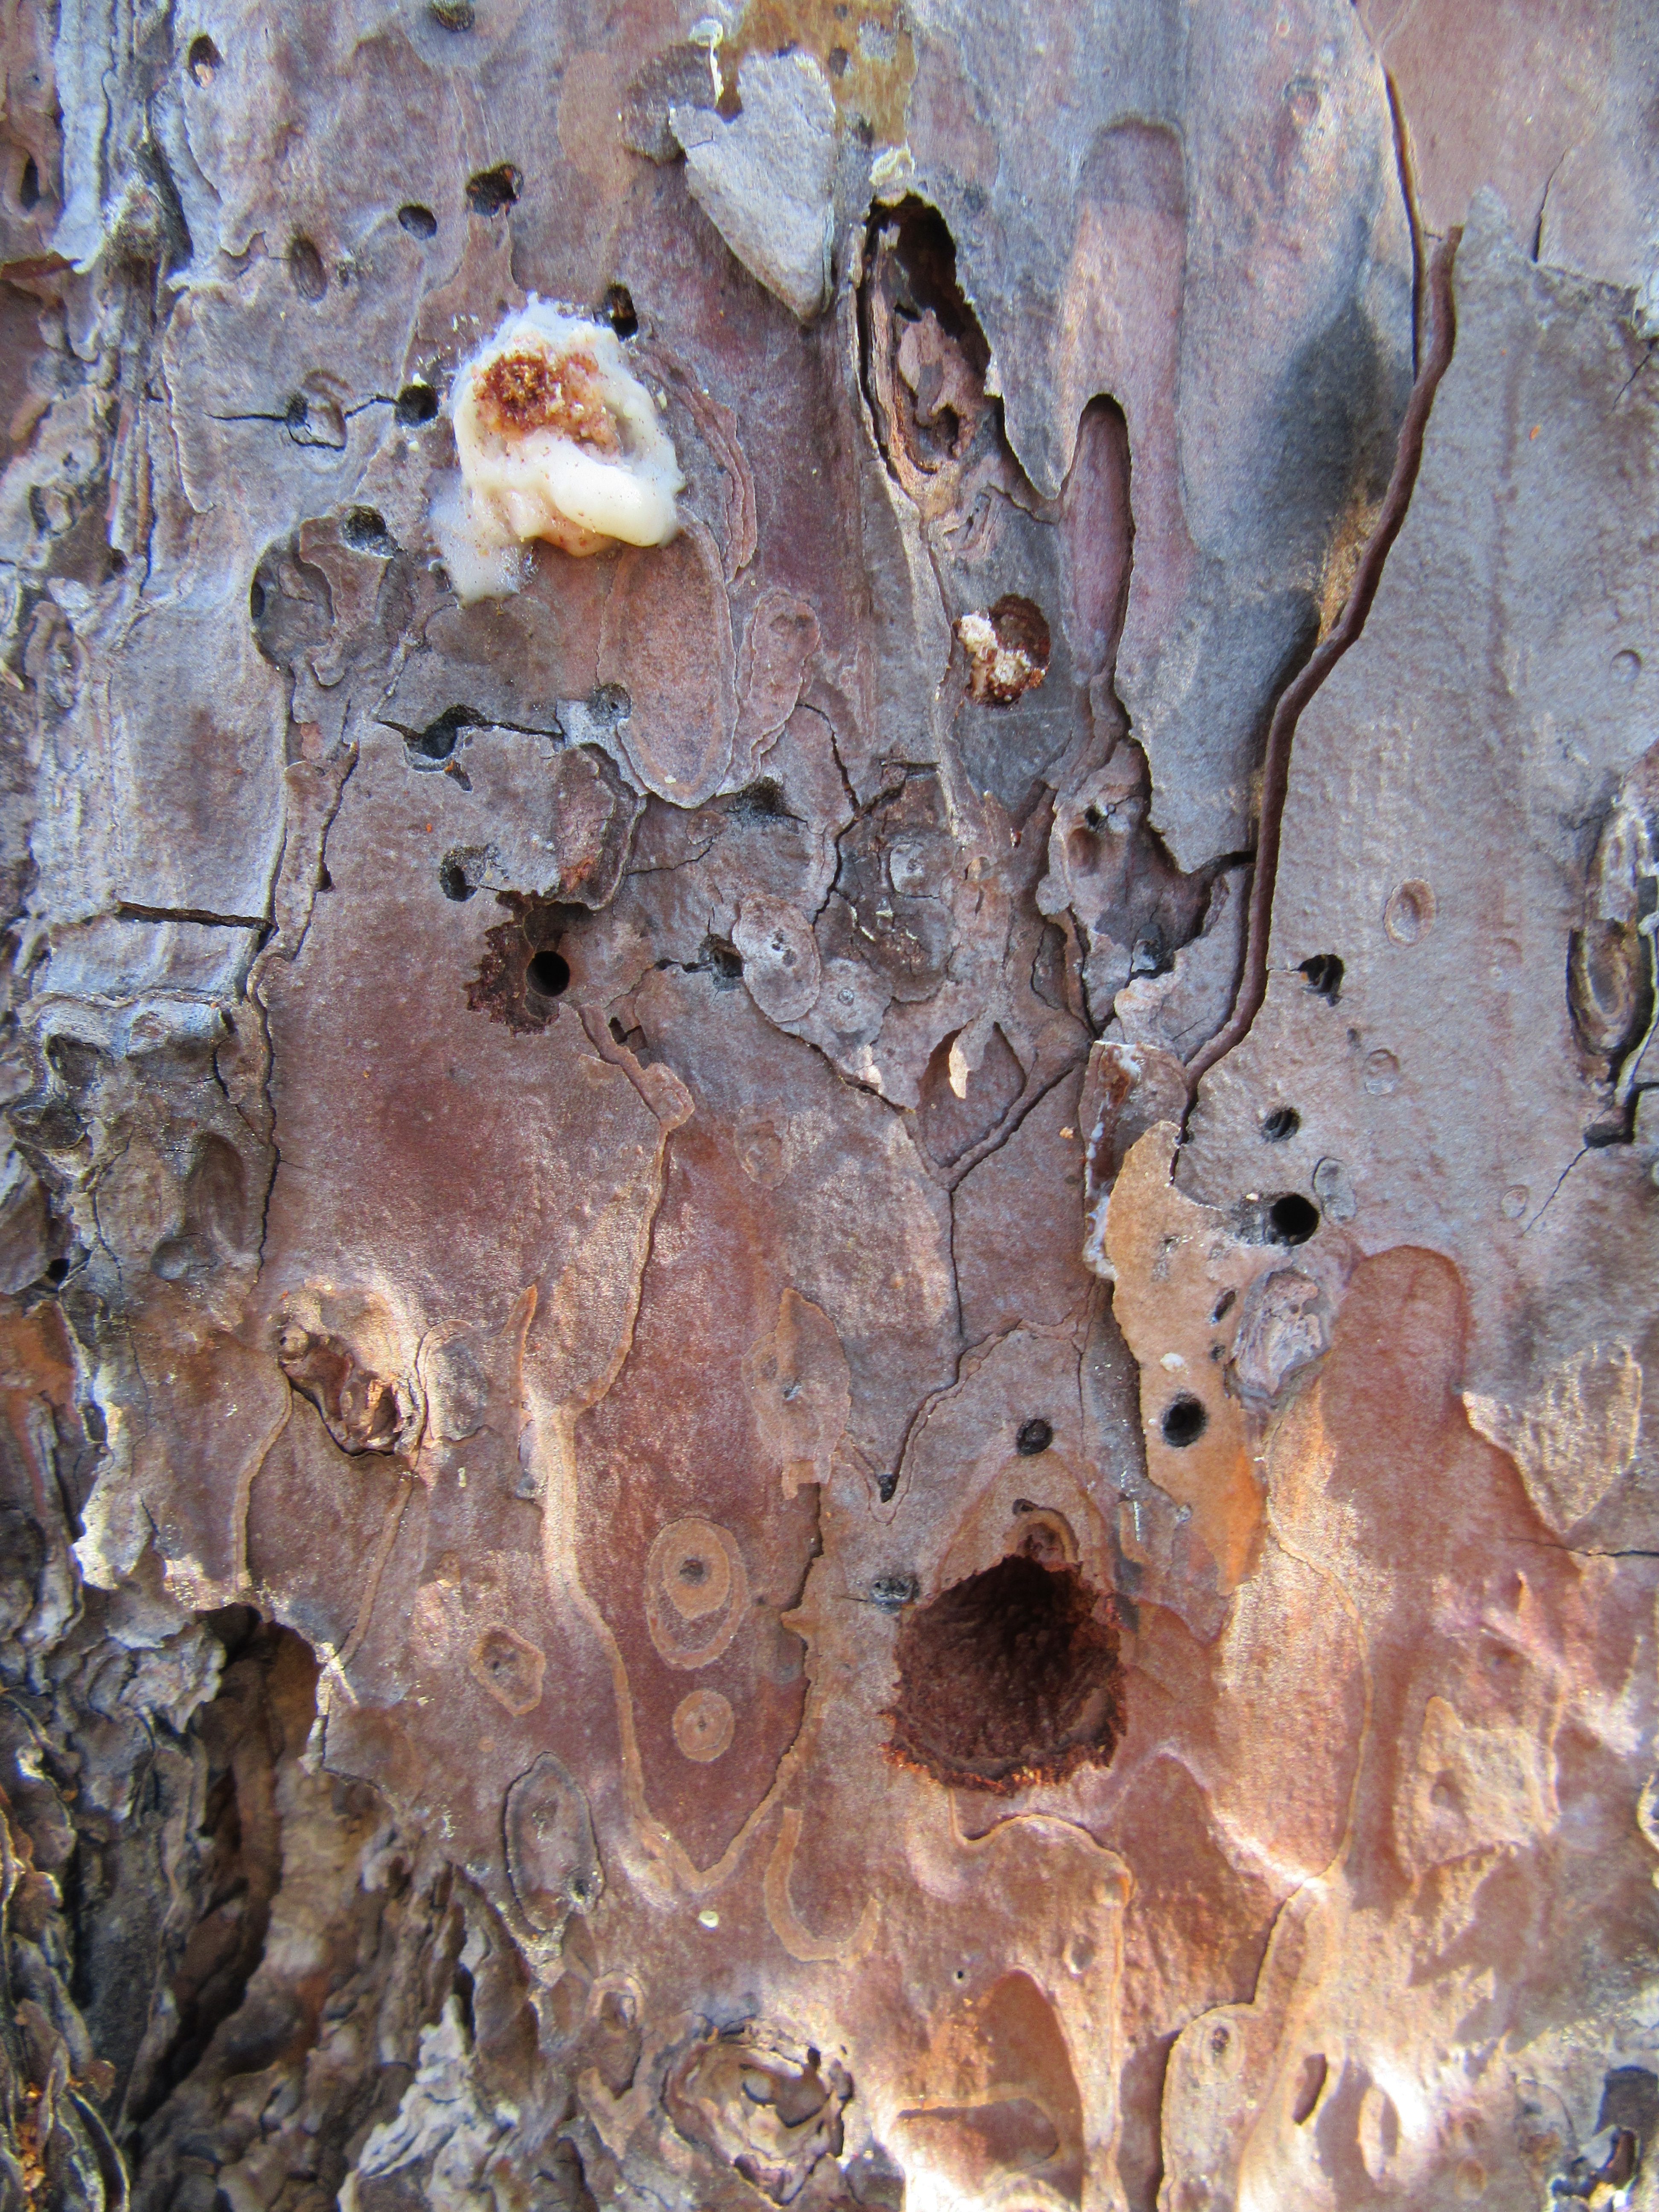
There were a number of pine trees on the property, however only one was infested with the insects in question. Upon closer investigation, we noticed a number of different sized holes in the tree. The larger holes are nearly the size of a dime.

Arrowhead borer damage on a pine tree. Photo Credit: University of Florida/IFAS Extension.
It turns out the insects making the larger holes are a type of longhorned beetle known as an arrowhead borer (Xylotrechus sagittatus). The borers are brown to black in color with a reddish hue. They are moderately hairy and some specimens contain arrowhead markings pointing toward their heads. Adults feed on the bark of damaged or fire-killed pines. The adults are attracted to lights and may be mistaken for crickets because they run very fast. Eggs are laid in bark and larvae feed on sapwood, then tunnel deeper, often tunneling within a single annual ring. The borers pupate inside the tree and the newly emerged adults chew their way out.
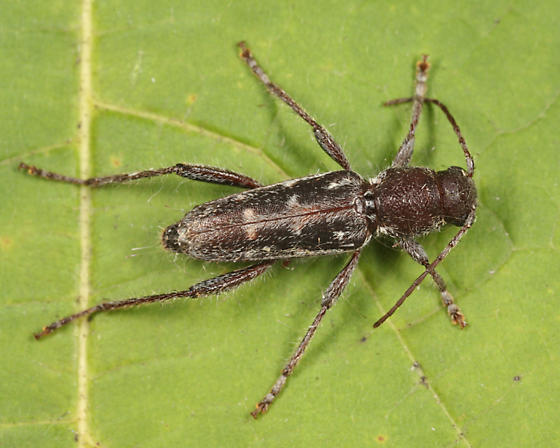
Arrowhead Borer. Photo Credit: Tom Murray bugguide.net.
Given the fact that arrowhead borers are attracted to dead or dying trees, the killer of this particular tree is still in question. The smaller holes in the bark picture above were created by a much smaller beetle, but we were unable to get a specimen. We did see a couple of these beetles running around when we dug deeper into the bark. The small beetles that we saw closely resembled a type of Ips engraver beetle. Beetles in this genus have been known to kill trees, but most likely they weren’t the culprits either. Based on the overall appearance of the tree and the fact that other trees in the area were not infested with beetles, it is believed the tree was killed by other means. The tree was likely struck by lightening or suffered from poor genetics because it did not have a good form for a pine tree.
If you have a questionable looking tree on your property or if you have insects you would like identified, please feel free to stop by your local Extension Office and ask a Master Gardener!

by Mary Salinas | Nov 13, 2017
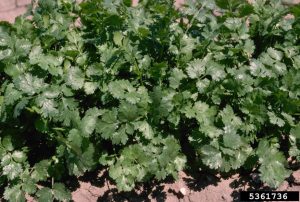
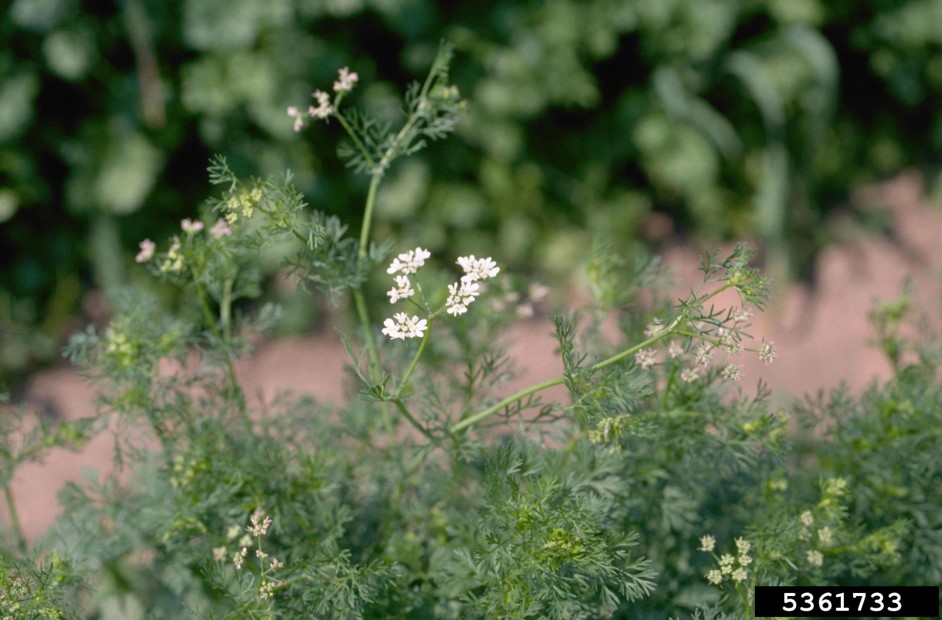
Cilantro ready for harvest. Photo credit: Howard F. Schwartz, Colorado State University, Bugwood.org
Cilantro (Coriandrum sativum) is a short-lived annual herb with bright green, feathery, flat leaves that look very similar to flat-leaved parsley. Leaves can be harvested at will after they grow to a mature size and then continuously as needed. The flavor of cilantro compliments many Latin American, Indian and Asian dishes and is a great addition to salads. The ripe seeds are known as coriander and used as a spice.
Maybe some of you have grown cilantro, harvested a time or two and then watched in horror as it quickly flowered, went to seed and died. Me, too. This scenario most likely happened in the warm summer months. Hot weather and long days stimulate this annual herb to quickly complete its life cycle. When temperatures increase, it causes plants to bolt which is a sudden switch to producing flowers and seeds, often on tall stalks. After cilantro bolts, the leaves become smaller and less palatable.

Cilantro bolting and blooming. Photo credit: Howard F. Schwartz, Colorado State University, Bugwood.org
The solution is to grow cilantro in the fall and winter. The cooler weather encourages more leafy growth, so you can harvest the leaves for a longer period of time. The warmer weather in the spring will bring flowers, and then seeds to start next autumn’s planting. Collect the seeds and store for planting the following season.
Start cilantro in your garden from seed or transplants. A benefit of growing from seed is that a few seeds can be sown every two weeks to extend your harvest season. Like most herbs, cilantro likes rich, well-drained soils, regular moisture and full or part sun. If the weather is getting warmer, full sun in the morning with some afternoon shade will help keep the herb cooler and less likely to bolt.
For more information:
Herbs in the Florida Garden
Seeding the Garden

by Sheila Dunning | Nov 13, 2017
University of Minnesota Extension
Julie Weisenhorn
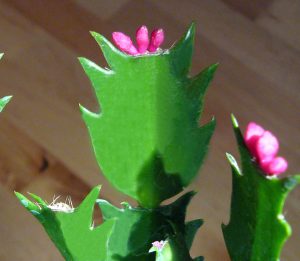
Is your grandmother’s pass along Christmas cactus blooming really early? Do the leaf segments have “teeth” along the edges? Are the “stringy things” sticking out of the flowers yellow in color?
Well, I hate to tell you this, but that is not a Christmas cactus, (Schlumbergera bridgesii). It is a Thanksgiving cactus, (Schlumbergera truncata). You can tell the Thanksgiving cactus apart from the Christmas cactus by the shape of the leaves and flower anthers. The leaves, botanically referred to as phylloclades, are serrated on the Thanksgiving cactus. Additionally, the pollen-bearing anthers in Thanksgiving cactus flowers are yellow. Christmas cactus have smooth-edged leaves and pinkish-purple anthers.
Both of these species are native to the coastal mountains of south-eastern Brazil, where they are found growing in trees or on rocks. Therefore, the preferred potting media for Thanksgiving and Christmas cacti should contain about 40% perlite to ensure good drainage and aeration.
To care for your Thanksgiving cactus, allow the soil to dry out when it is not blooming. As flower buds develop, the soil should be moist to the touch. However, overwatering can kill the plant. Additionally, provide plenty of indirect light and temperatures of 60-65 degrees F.
Want to get last year’s plant to bloom again? Beginning in mid-September, it will need 12-14 hours of total darkness along with cool (60-65 degrees F) nighttime temperatures for 3-4 weeks. To achieve the light control the cactus can be placed in a closet or covered with a large brown paper bag overnight. Once buds start to form, fertilizer can be applied to encourage growth and blooms. However, flower buds will fall off with any significant changes in temperature (below 50 degrees F), light or watering.
Now, if your “Christmas cactus” doesn’t set flowers until spring, it is probably an Easter cactus, a totally different species (Rhipsalidopsis gaetner). The leaf margins of Easter cactus have small bristles and are more three-dimensional with a thick ridge on one side. Additionally, the flower are more star-shaped than the other two cacti. All three cacti species have flowers that come in a range of colors including variations of red, pink, peach, purple, orange or white.
by Molly Jameson | Nov 13, 2017
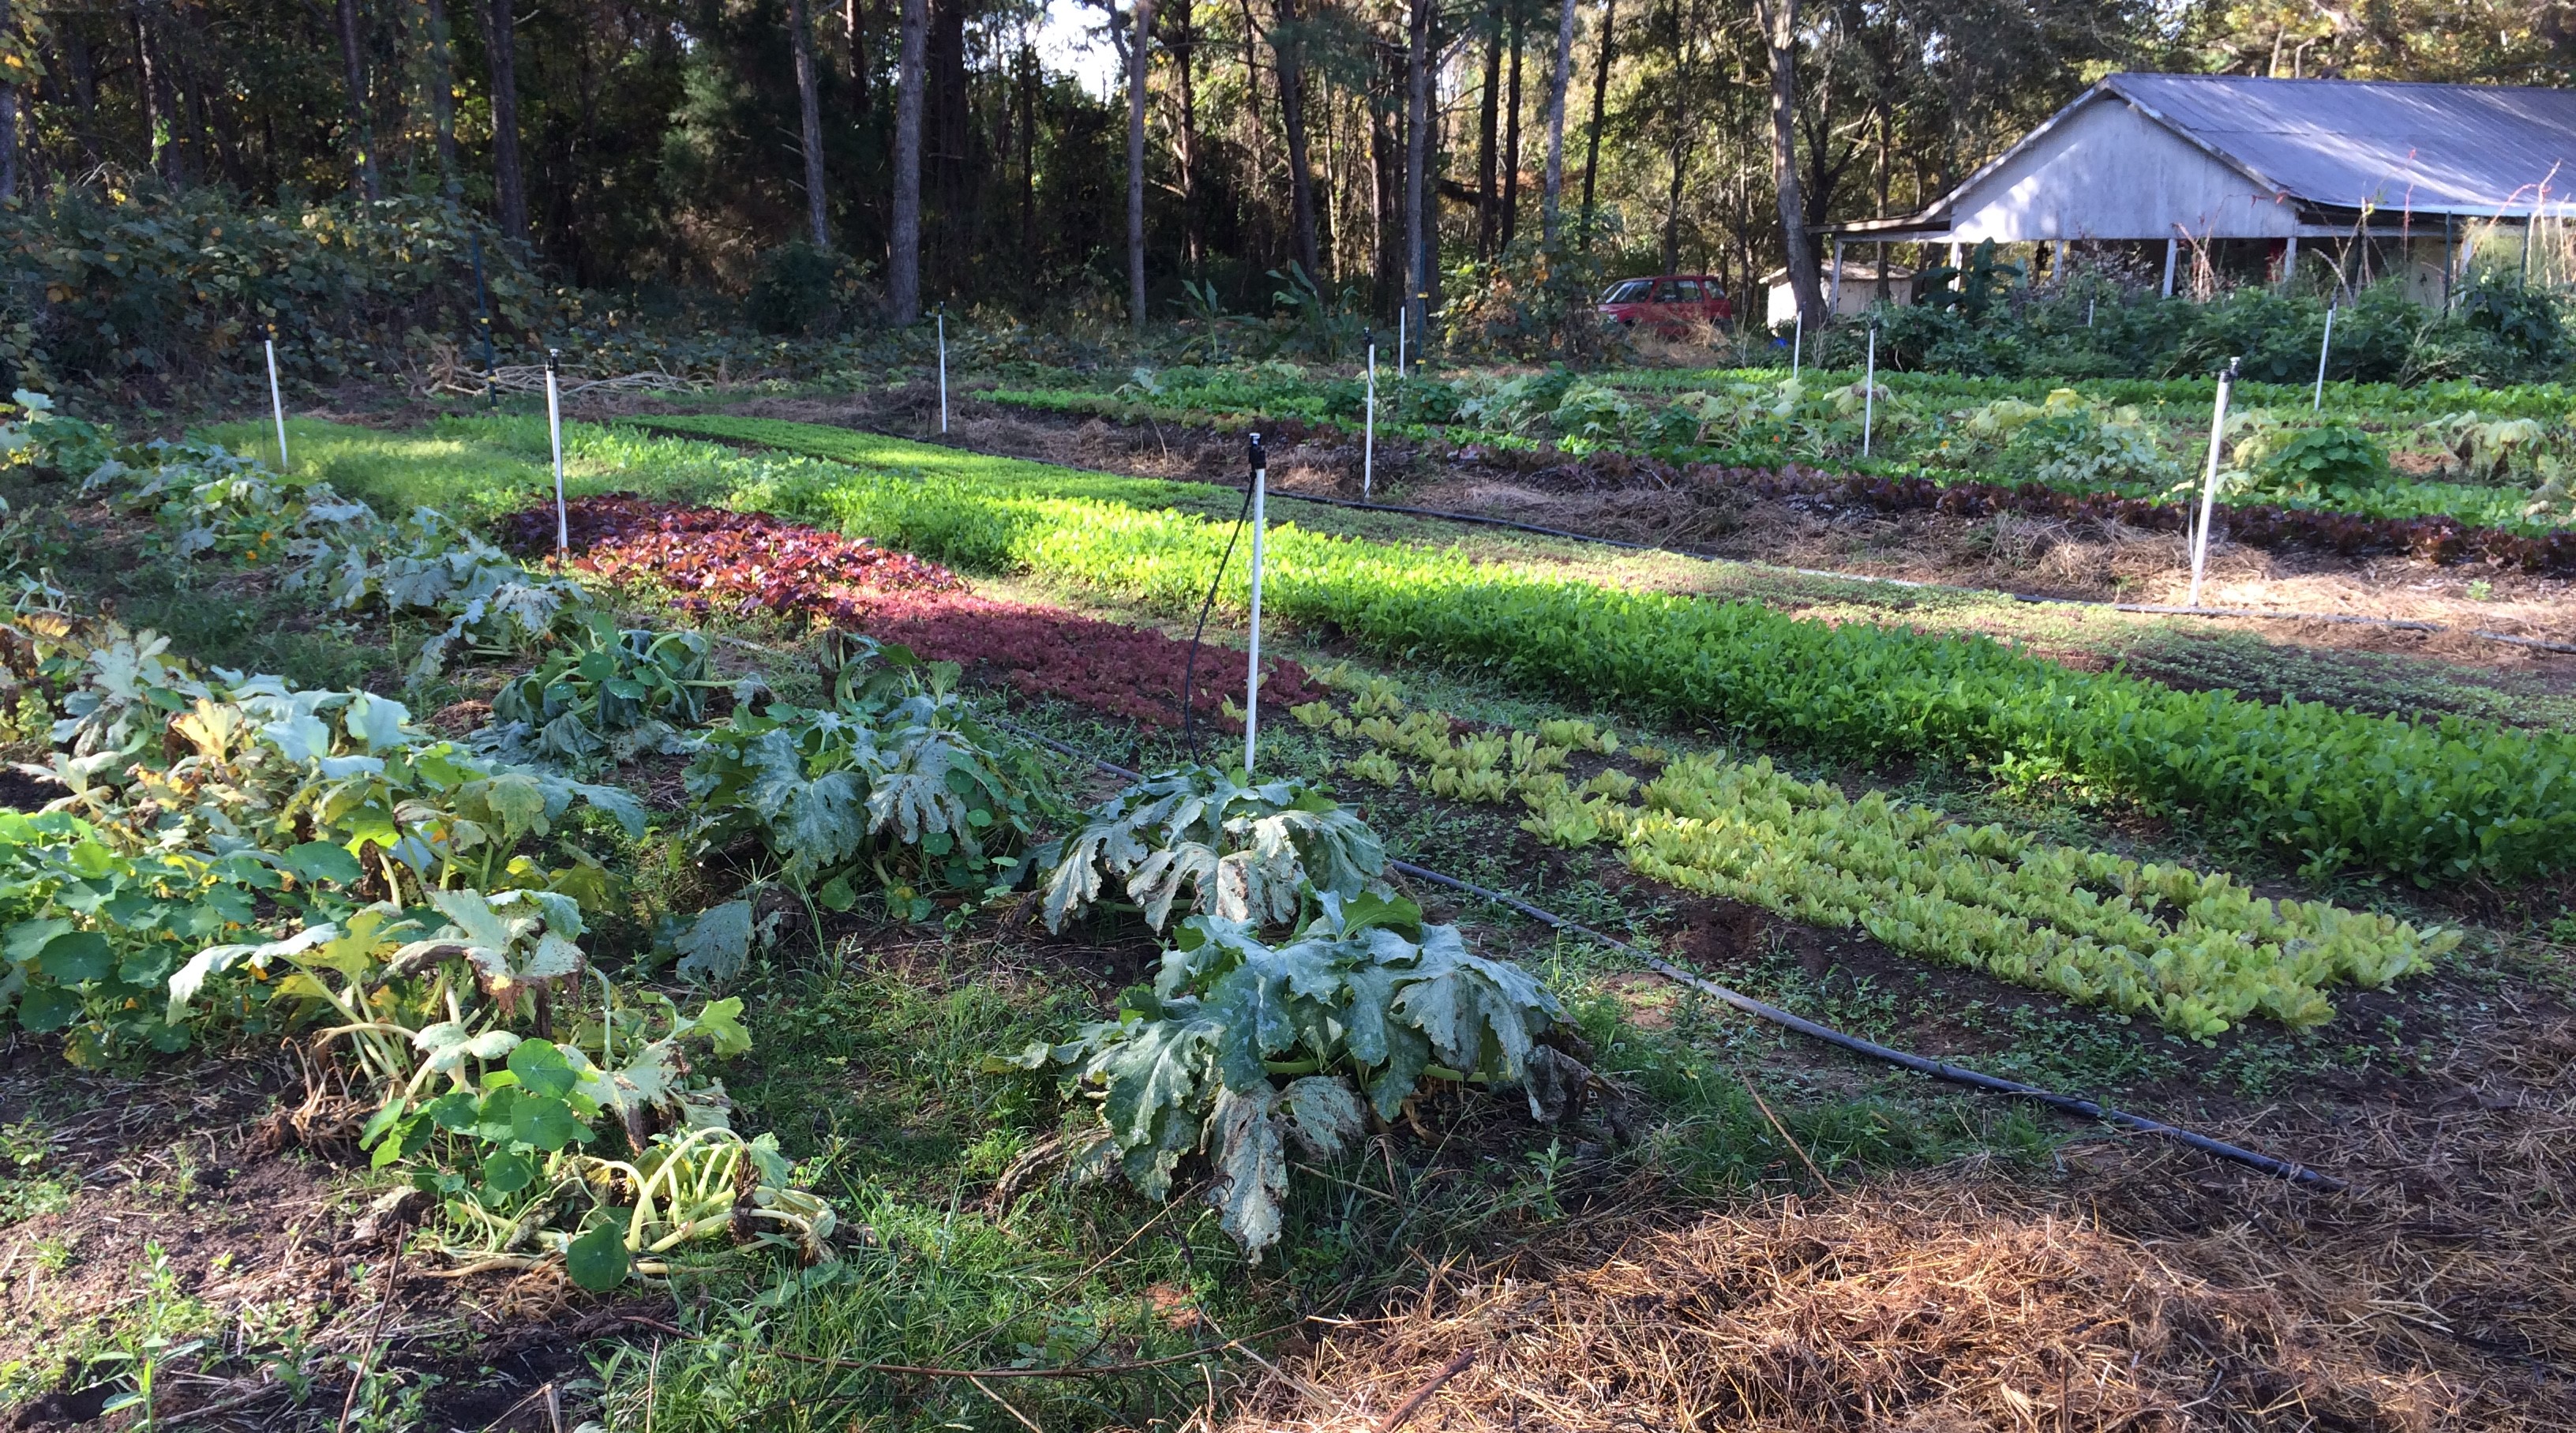
Take lessons from a farmer to control fire ants in your garden. Photo by Molly Jameson.
As I near the three-year mark of being an Extension Agent, I think about how fortunate I am to have a career that not only encourages me to meet all our local farmers, but also to learn from them and share their knowledge with the community.
A few months ago, I visited Blake Canter of Owen River Farm. Blake gave me the grand tour of his small mixed vegetable plot, which is in far east Tallahassee.
One thing that I remember most about my visit with Blake was what has worked for him in controlling the notorious red imported fire ant (Solenopsis invicta). I have heard of many different ways to control these non-native invaders, each with its drawbacks, and, it seems, anecdotally limited success.
For instance, spinosad, a nervous system toxin, has been known to be effective on fire ant populations and is considered safe to use in vegetable gardens. But in practice, I have heard mixed reviews. In my home garden, I either douse the mounds with boiling water (be careful!) or leave my garden hose in the hot sun and scorch them while the water is still hot. But often, I signal defeat, letting them take captive of two corners of my raised beds.
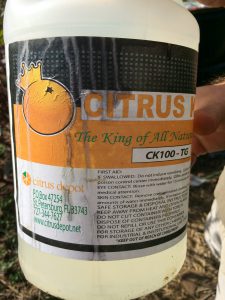
Blake at Owen River Farm makes his fire ant control mixture by combining commercial grade d-Limonene and a hefty squirt of eco-friendly dish soap into five gallons of water. Photo by Molly Jameson.
Blake’s technique on Owen River Farm is using commercial grade d-Limonene, which is a distilled orange oil nerve toxin. Blake mixes one-third cup of d-Limonene with a hefty squirt of eco-friendly dish soap in a five-gallon bucket of water. He then uses this mixture as a drench for fire ant mounds – which he figures is about as effective as boiling water – but much safer and easier to handle (be sure to follow the label carefully when using any product).
Blake goes out early in the morning (when fire ants move slower and queens are usually higher in their nests) and pours the mixture onto the mounds in a spiral formation, from outside in, to minimize escape. He tries to collapse the mound as much as possible, while pouring slowly so it penetrates deeply, with minimal runoff.
Depending on colony size, Blake uses about half the bucket, or more, on just one mound. He warns that he has lost a cucumber plant that was about a foot away to this method, but he knows the ants will often do even more damage, if not sting and bite (they do both!) him hundreds of times, as he works in his vegetable beds.
Blake likes this method because, “I can specifically target the fire ants, and after doing its job, the all-natural orange oil quickly becomes inert. When I used organic ant bait I found that the native ants took up the poison, often times faster than the fire ants. This was particularly bad because native ants are the number one competition for fire ants.”
Blake also points out, “Make sure anyone you recommend this to can identify the difference between fire ant mounds with no center opening to the mound, and native ant mounds, where there is usually an entrance hole in the center of the mound.”
The hardest part, Blake says, is finding the queens. For instance, he says ants often make auxiliary mounds at the base of okra plants, but this is not where the queen resides. The queen will often be in a central mound many yards away from where her workers are foraging. And, unfortunately, these worker ants love easily habitable soft soil, just like in our raised bed vegetable gardens.
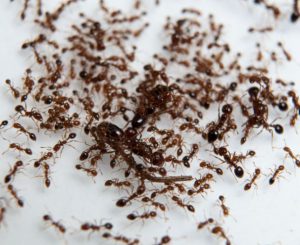
Fire ants in a petri dish. Photo by UF/IFAS.
Despite these challenges, last fall Blake drenched colonies whenever he found a mound around his farm (sometimes daily), and after a few weeks he noticed a drastic reduction in fire ant populations. And happily, an increased population of harmless (and even helpful!) native black ants. His brassica (think kale, collards, broccoli, cabbages) transplants were no longer getting girdled by vicious fire ants and he was no longer ending up with dozens of ant bites every time he worked in his beds!
Blake does warn that you must stay vigilant, especially in the summer and fall and after rain events, when the ants become busy building new colonies.
Lastly, Blake also uses his orange oil mixture as a spray for contact killing ants and other garden pests. However, just as with all horticultural oils and soaps (often made from plant oils, animal fats, or petroleum), care must be taken not to burn the foliage of your crops. Blake will sometimes dilute his mixture for this purpose. But just remember, to really stop an ant infestation, you must take down the queen!
For more information on least-toxic garden pest control strategies, read the UF/IFAS EDIS publication “Natural Products for Managing Landscape and Garden Pests in Florida” available at: https://edis.ifas.ufl.edu/in197.