by Stephen Greer | Jul 1, 2021
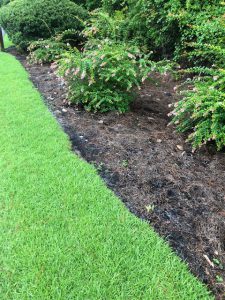
Photo Courtesy: Stephen Greer
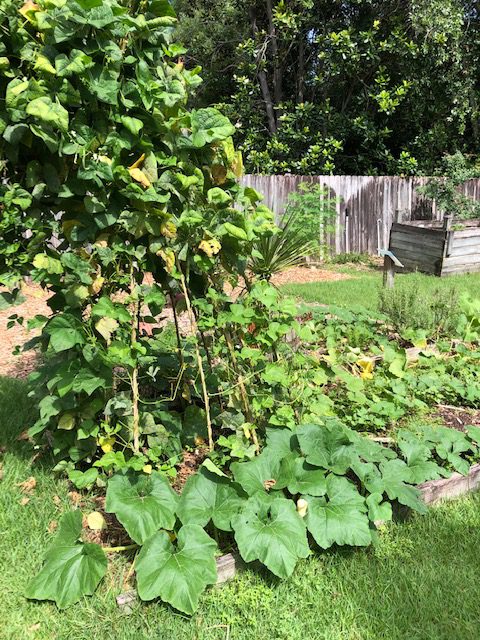
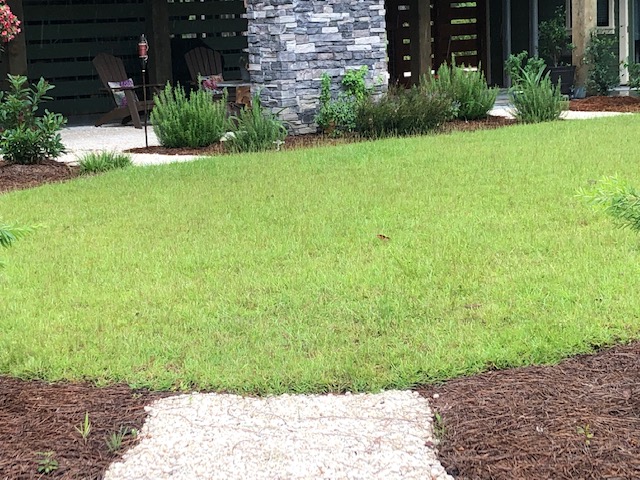
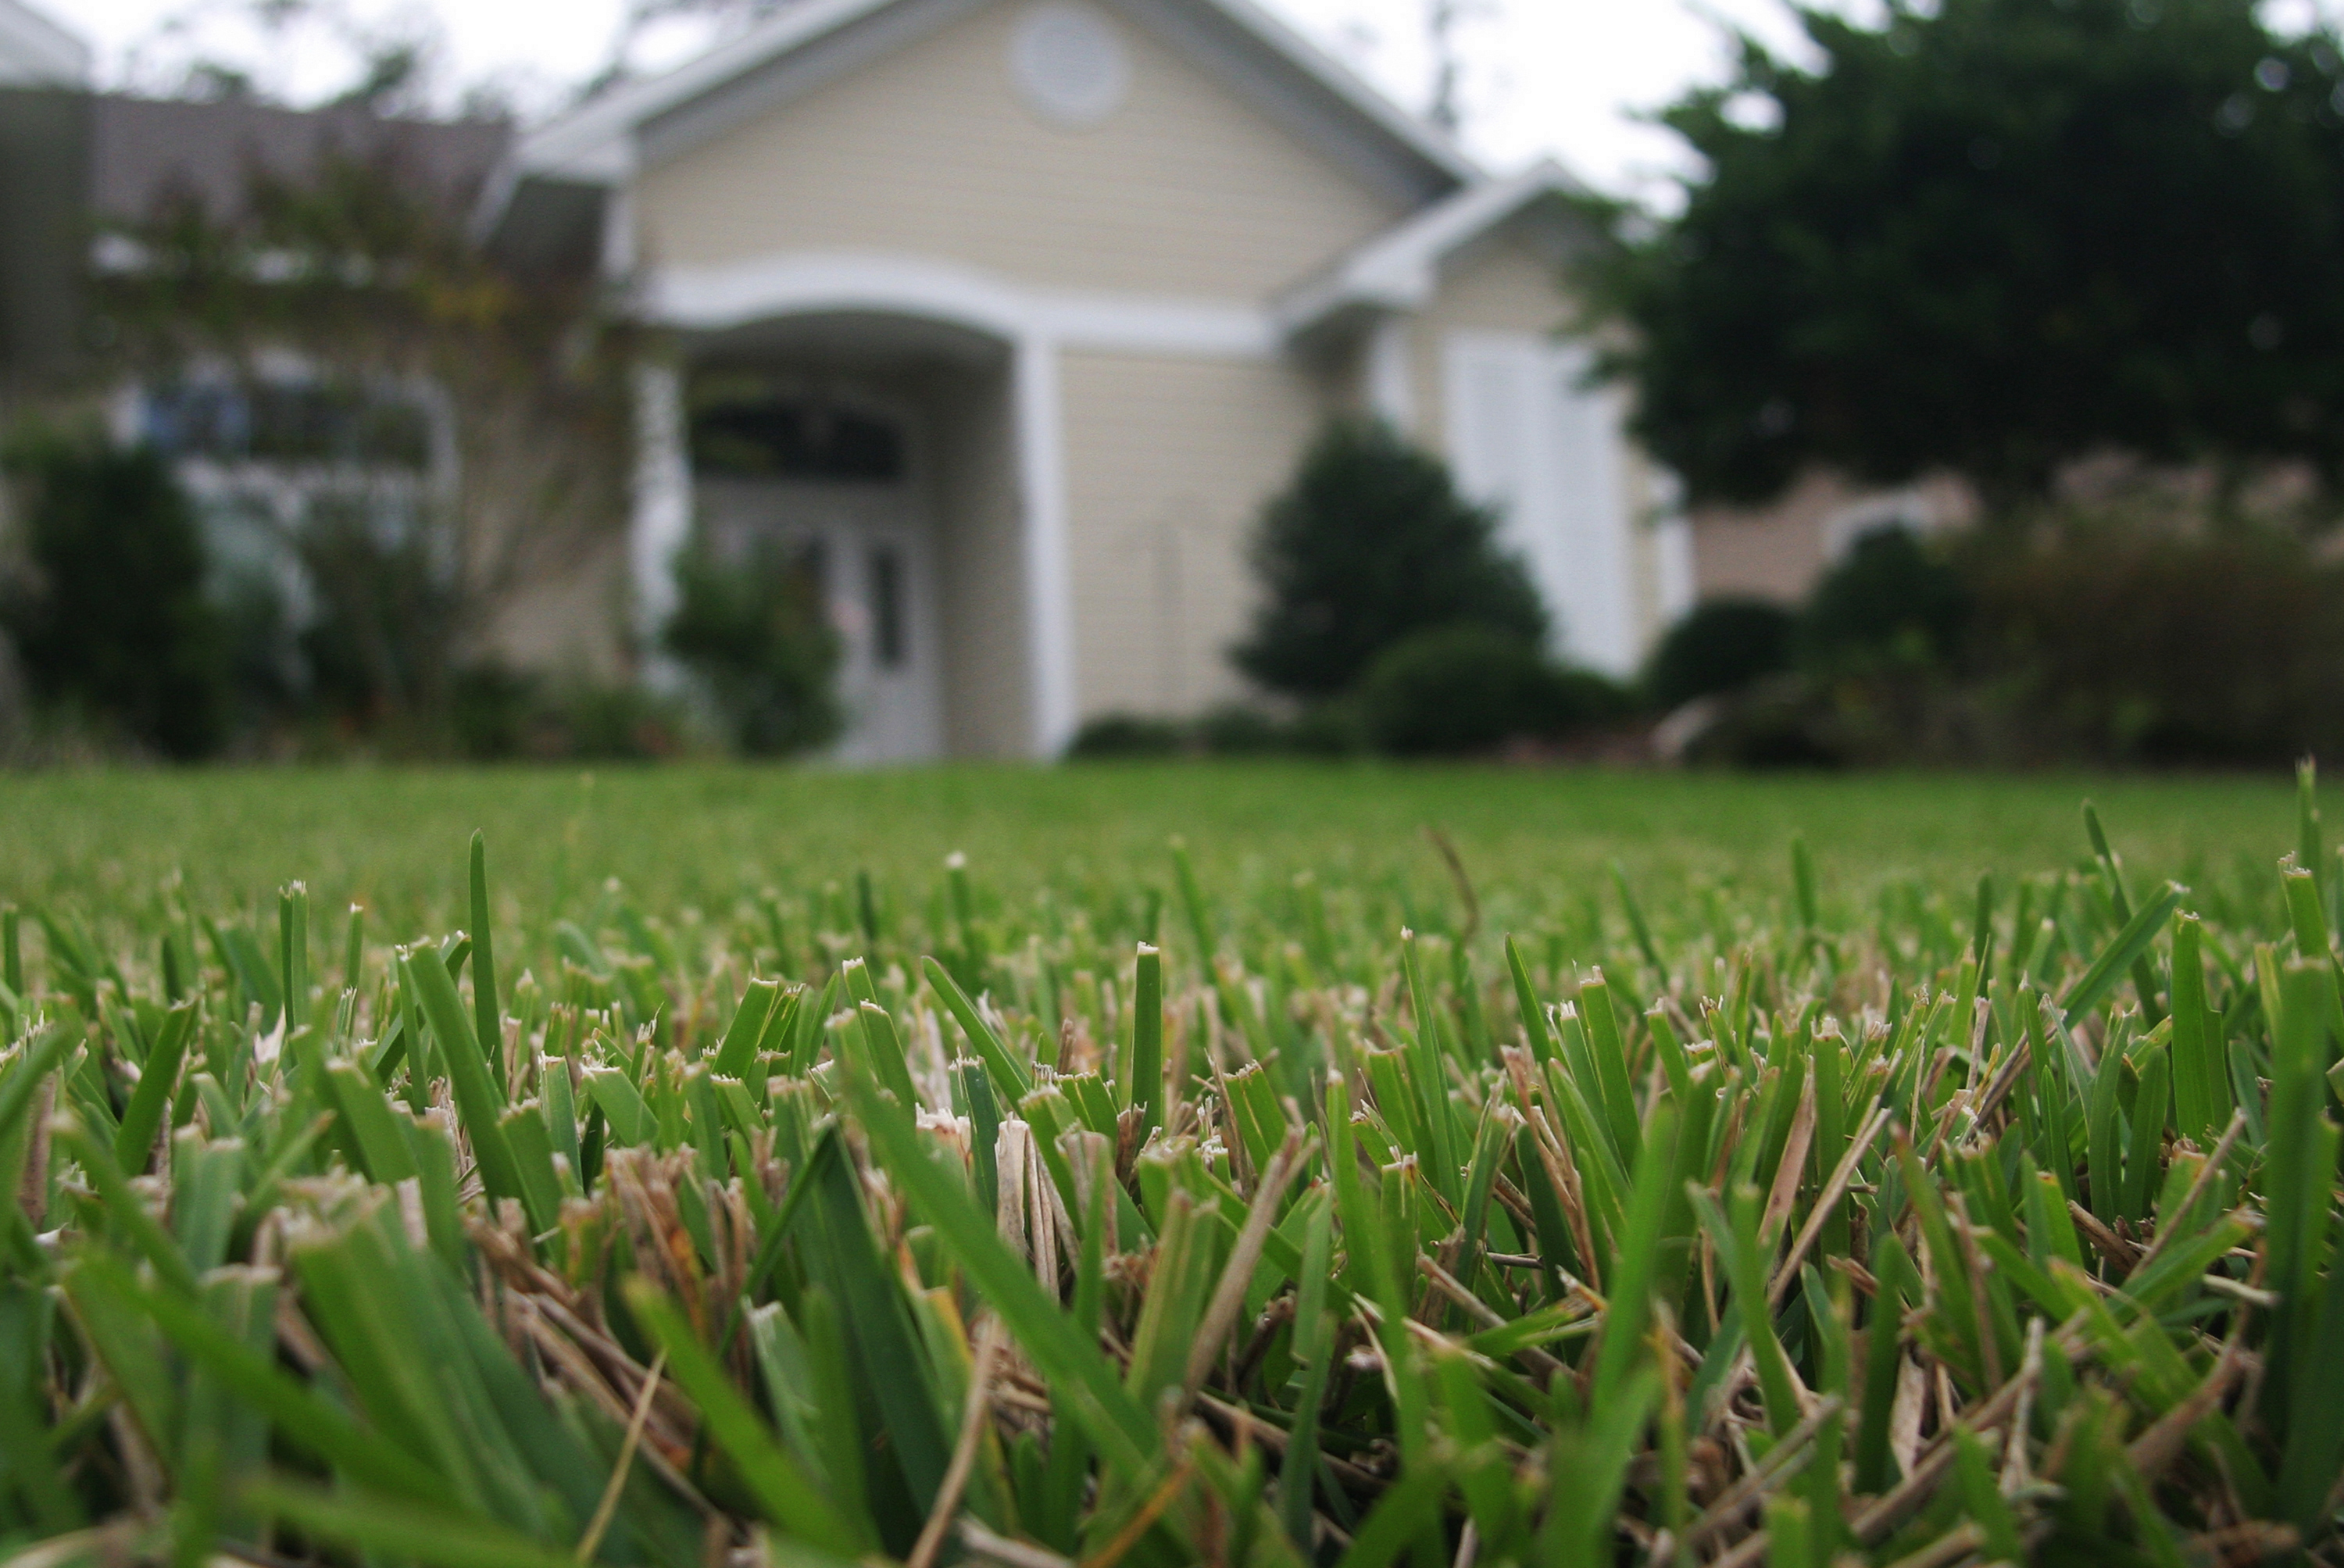
Lawn areas come in all sizes and shapes. Some are large open expanses providing long views and others are smaller versions surrounded by shrubs and trees creating a more private and secluded setting. There are a number of reasons for reducing the size of a lawn with some coming into play with your decisions. A home lawn is often an important part of the landscape that provides a place to play outdoors from picnicking, tossing the ball to taking a quite stroll.
Maintaining a healthy lawn is important to an overall performance of this part of the landscape. Several factors are involved in the success in keeping a strong and resilient lawn. Understanding the needs of a grass to remain healthy involve soil testing to address soil pH and nutrient needs plus water challenges. Misuse of fertilizer and over irrigation can be costly to you and to the overall health of the lawn. These decisions can lead to reducing lawn size to managing cost or removing underused areas.
There are big benefits to reducing your lawn from saving time in mowing, trimming and other manicuring needs to saving energy costs involving the lawn mower not to mention reducing pollution from the mower or weed eater. The reduced amounts of pesticides needed to manage weeds and disease to the lawn saves time and money.
Another way to look at the reducing the size of our lawn is there will be more space for expanding plant beds and potential tree placement. These settings increase the opportunities for a more biodiverse landscape providing shelter, protection and food options for birds and other wildlife.

Photo Courtesy: Stephen Greer
The lawn can serve as a transition space that leads from one garden room space to another, while still offering a location to bring the lawn chair out to enjoy all that is around your lawn. Lawns and the landscape are ever changing spaces, especially as your trees and shrubs grow and mature to sizes that can directly impact the lawn performance. Often levels of shade will diminish edges and other areas of the lawn. This often will define the reduction of the lawn size moving going forward. Just remember that lawns and landscapes occupy a three-dimensional space involving the horizontal, vertical and overhead spaces. Just look around and think about what is best for you, your family and the setting.Are you more interested in developing other parts of the landscape? With many of us spending more time at home over the last year plus it gave time to think about the outdoor areas. Growing our own vegetables may be a new or expanding part of the landscape with the use of raised beds or interplanting into the existing landscape. Gardening can assist in reducing stress while at the same time providing that fresh tomato, lettuce, herbs and other fun healthy produce.
What ever your decisions are enjoy the lawn and landscape. For additional information, contact your local University of Florida IFAS Extension office located in your county.
by Larry Williams | Mar 25, 2021
As a boy in a small town in Georgia we had a St. Augustinegrass lawn. My dad started the lawn before I was born. That lawn was still doing fine when I left for college at age seventeen. I don’t remember weeds in the lawn during summer months. I do fondly remember winter “weeds” in that lawn.
To see clumps of winter annuals in our yard and in neighbors’ yards was a natural part of the transition from winter to spring. They added interest to what

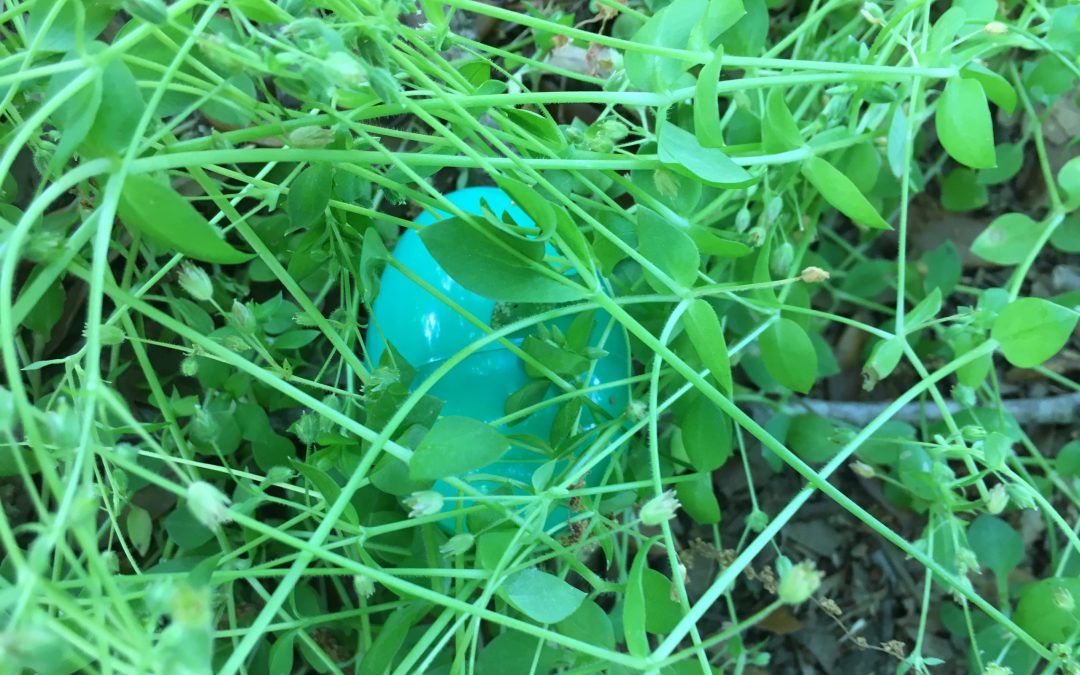
Blue Easter egg hidden in chickweed. Photo credit: Larry Williams
would have been a plain palette of green. It was expected to see henbit with its square stiff stems holding up a display of small pinkish purple flowers in late winter and early spring. A clump of henbit was a great place to hide an Easter egg, especially a pink or purple one.
Wild geranium, another common winter annual, offered another good hiding place for Easter eggs with its pink to purple flowers. Large clumps of annual chickweed would nicely hide whole eggs. Green colored eggs would blend with chickweed’s green leaves.
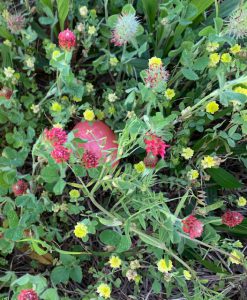
Pink Easter egg hidden in crimson clover & hop clover mix. Photo credit: Larry Williams
Crimson clover with its reddish flowers, hop clover and black medic with their bright yellow flowers were good hiding places for Easter eggs. Plus clovers add nitrogen back to our soils.
I never remember my dad using any weed killer, he rarely watered. The lawn was healthy and thick enough to be a deterrent to summer weeds. But during fall and winter as the lawn would naturally thin and go dormant, winter annual weeds would run their course.
I’ve heard that the sense of smell provides our strongest memories. I remember the first mowing of the season with the clean smell of chlorophyll in the spring air. It was refreshing. Once mowed and as the heat took its toll, by late April or mid-May, these winter annual weeds were gone. What was left was a green lawn to help cool the landscape as the weather warmed. The lawn was mowed high as St. Augustine should be, played on and typically not worried with.
Most people have winter weeds in their lawns that let us know spring is near. Perhaps we worry too much with these seasonal, temporary plants that may have wrongly been labeled as weeds. Besides, how long have we been doing battle with these weeds and they are still here. Most lawns have countless numbers of winter annual seeds awaiting the cooler temperatures and shorter days of early winter to begin yet another generation. By May they are gone.
by Beth Bolles | Mar 18, 2021
Plants with variegated foliage are very popular landscape selections. As flowers fade on other plants, the colors of variegated foliage continue to add interest through multiple seasons.
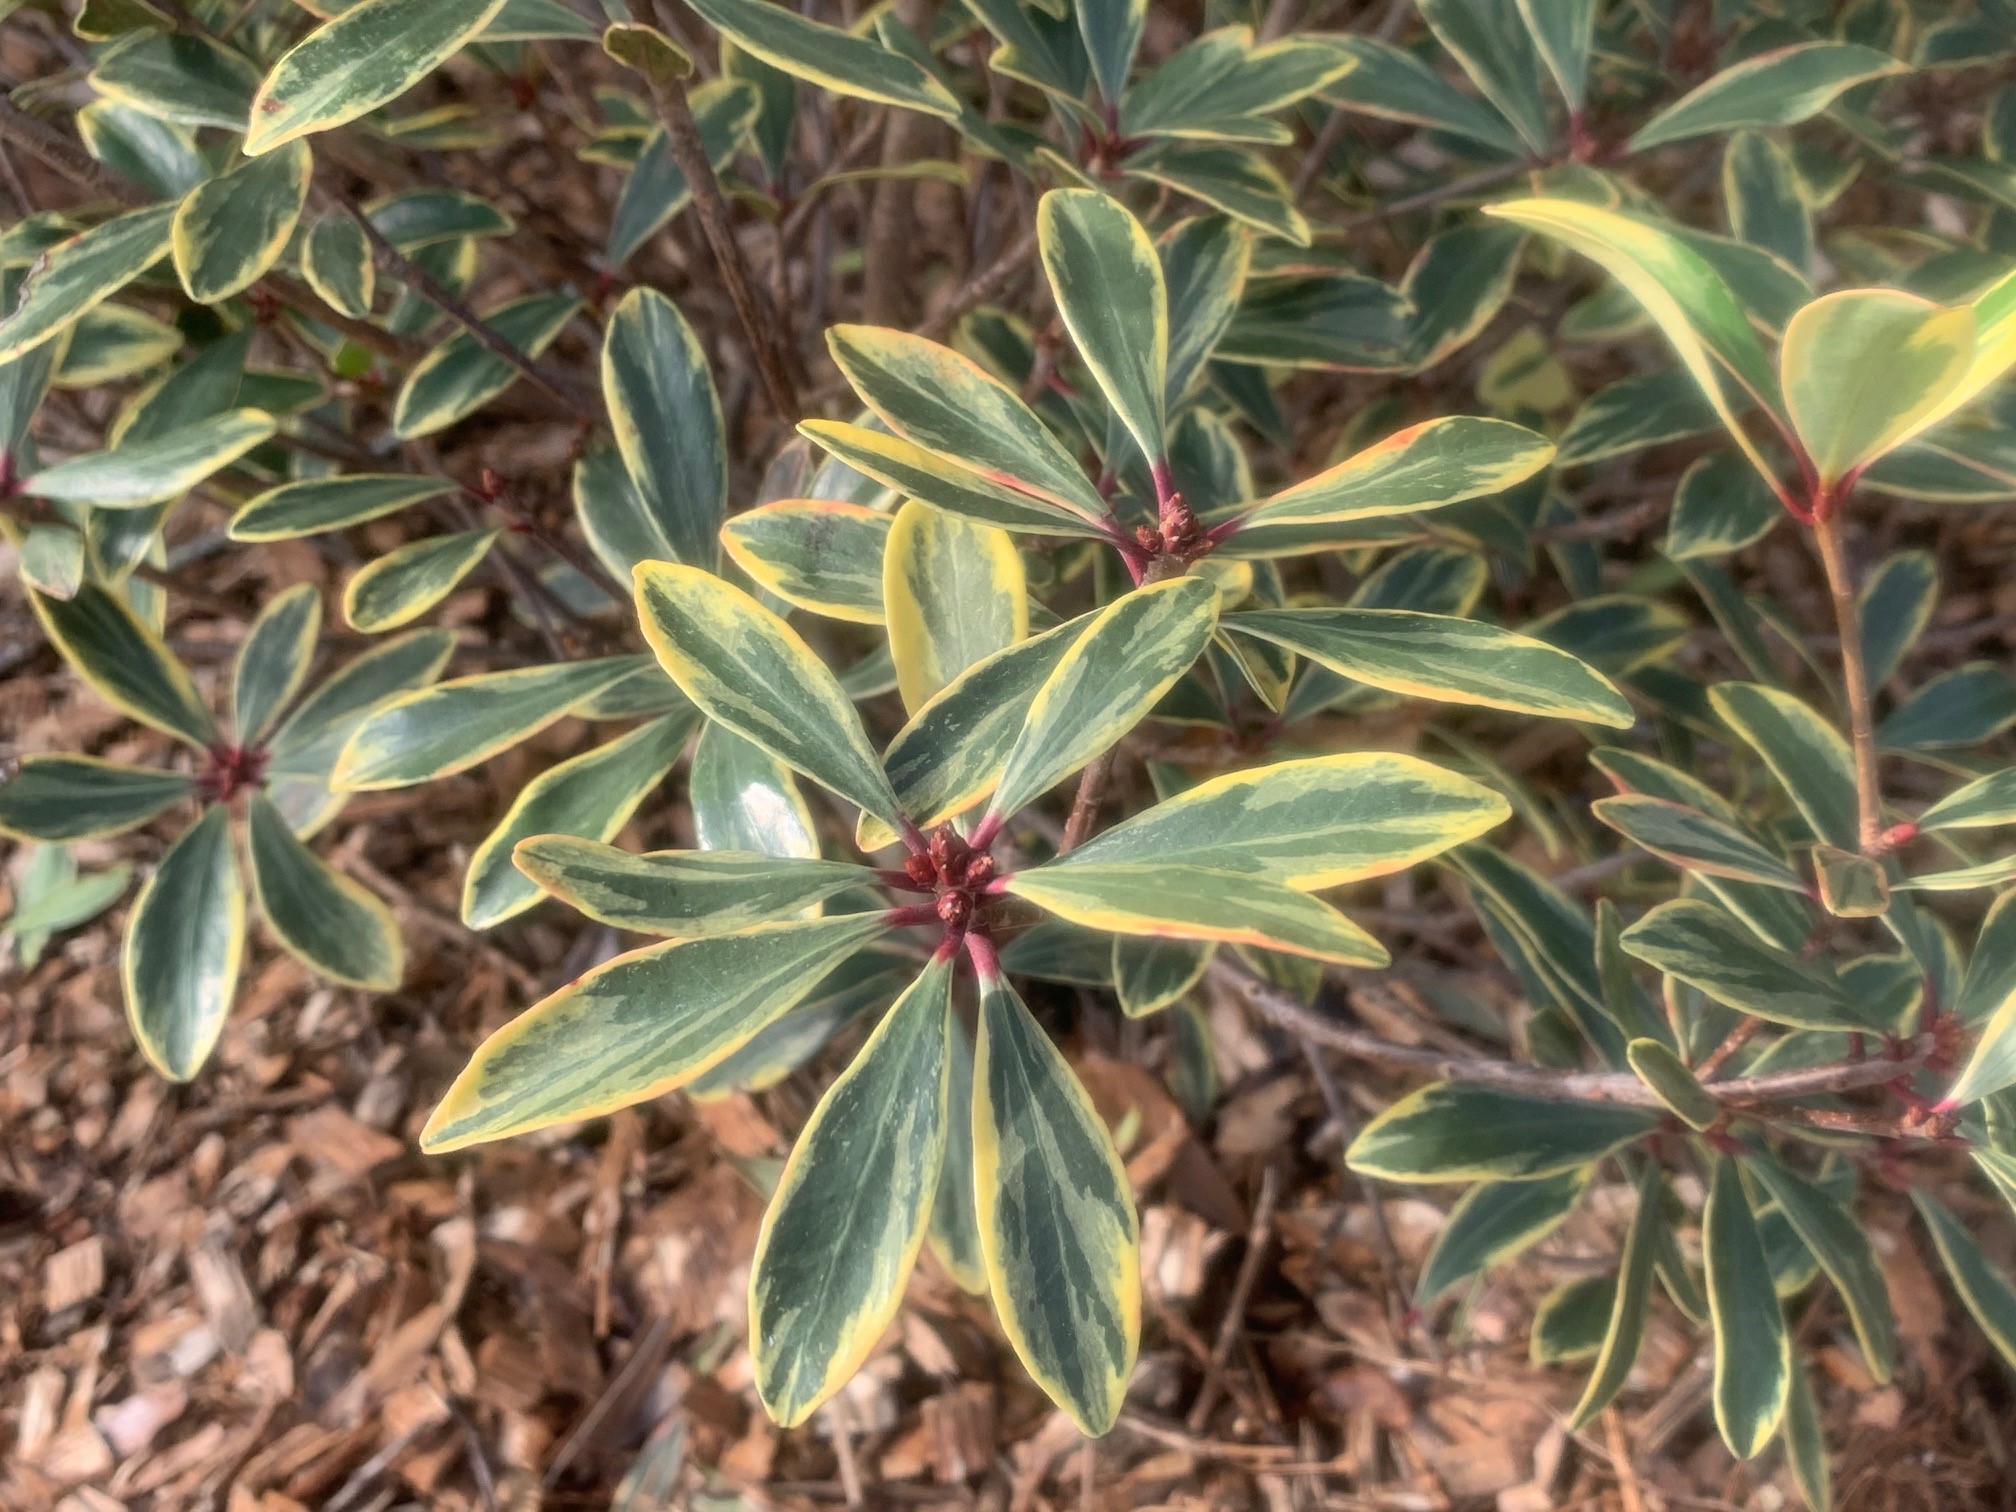
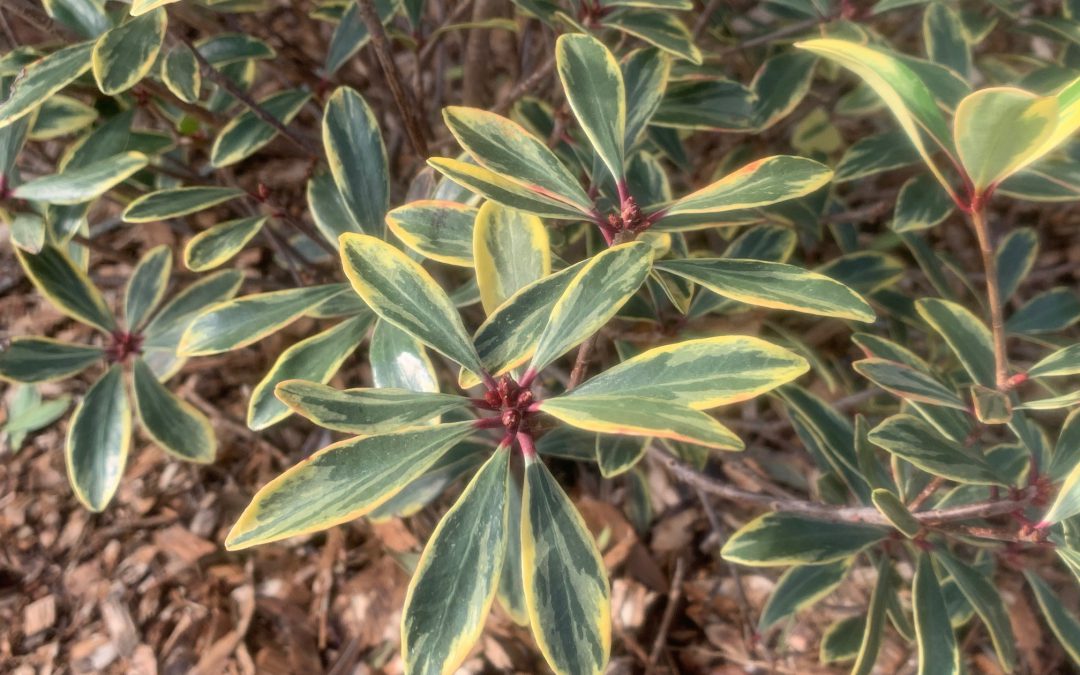
A very adaptable shrub that has been around for a long time, now has a selection with beautiful variegated foliage. Juliet™ cleyera offers green and white evergreen foliage that can brighten up a garden year around. New foliage adds additional interest with a maroon tinge.
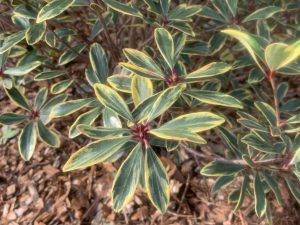
Variegated foliage of Juliet™ cleyera. Photo by Beth Bolles, UF IFAS Extension Escambia County
Like other selections of Cleyera, Juliet™ needs to be matched to an appropriate spot to accommodate its mature size. Shrubs will reach about 8 feet in height with a spread of about 5 feet. Plants may look best when left to grow in a more natural form with light selective pruning. This shrub is probably not suited for planting in front of home windows but used as a specimen or as a nice screen plant.
Once established, cleyera is a low maintenance plant and is adapted to grow well without routine irrigation. My home landscape has very well drained soil and I have not needed to apply supplemental irrigation to two cleyera shrubs in over 20 years. Consider a spot that receives full sun or partial shade for your plants.
An added advantage of cleyera shrubs in general is that bees are attracted to the flowers so it makes an additional nectar source for pollinators in the spring.
by Pat Williams | Mar 11, 2021
Our trees and vines are flowering and lawns are starting to green up naturally, but one glance at the calendar and it is still early spring. The last official frost date for the Florida panhandle can be into April depending on location. We know our day time and night time temperatures are still fluctuating every other day. We also know the stores and nurseries are stocked with shelves and pallets of fertilizer. So the big question is when can I fertilizer my lawn?
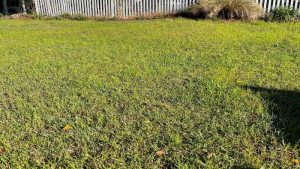
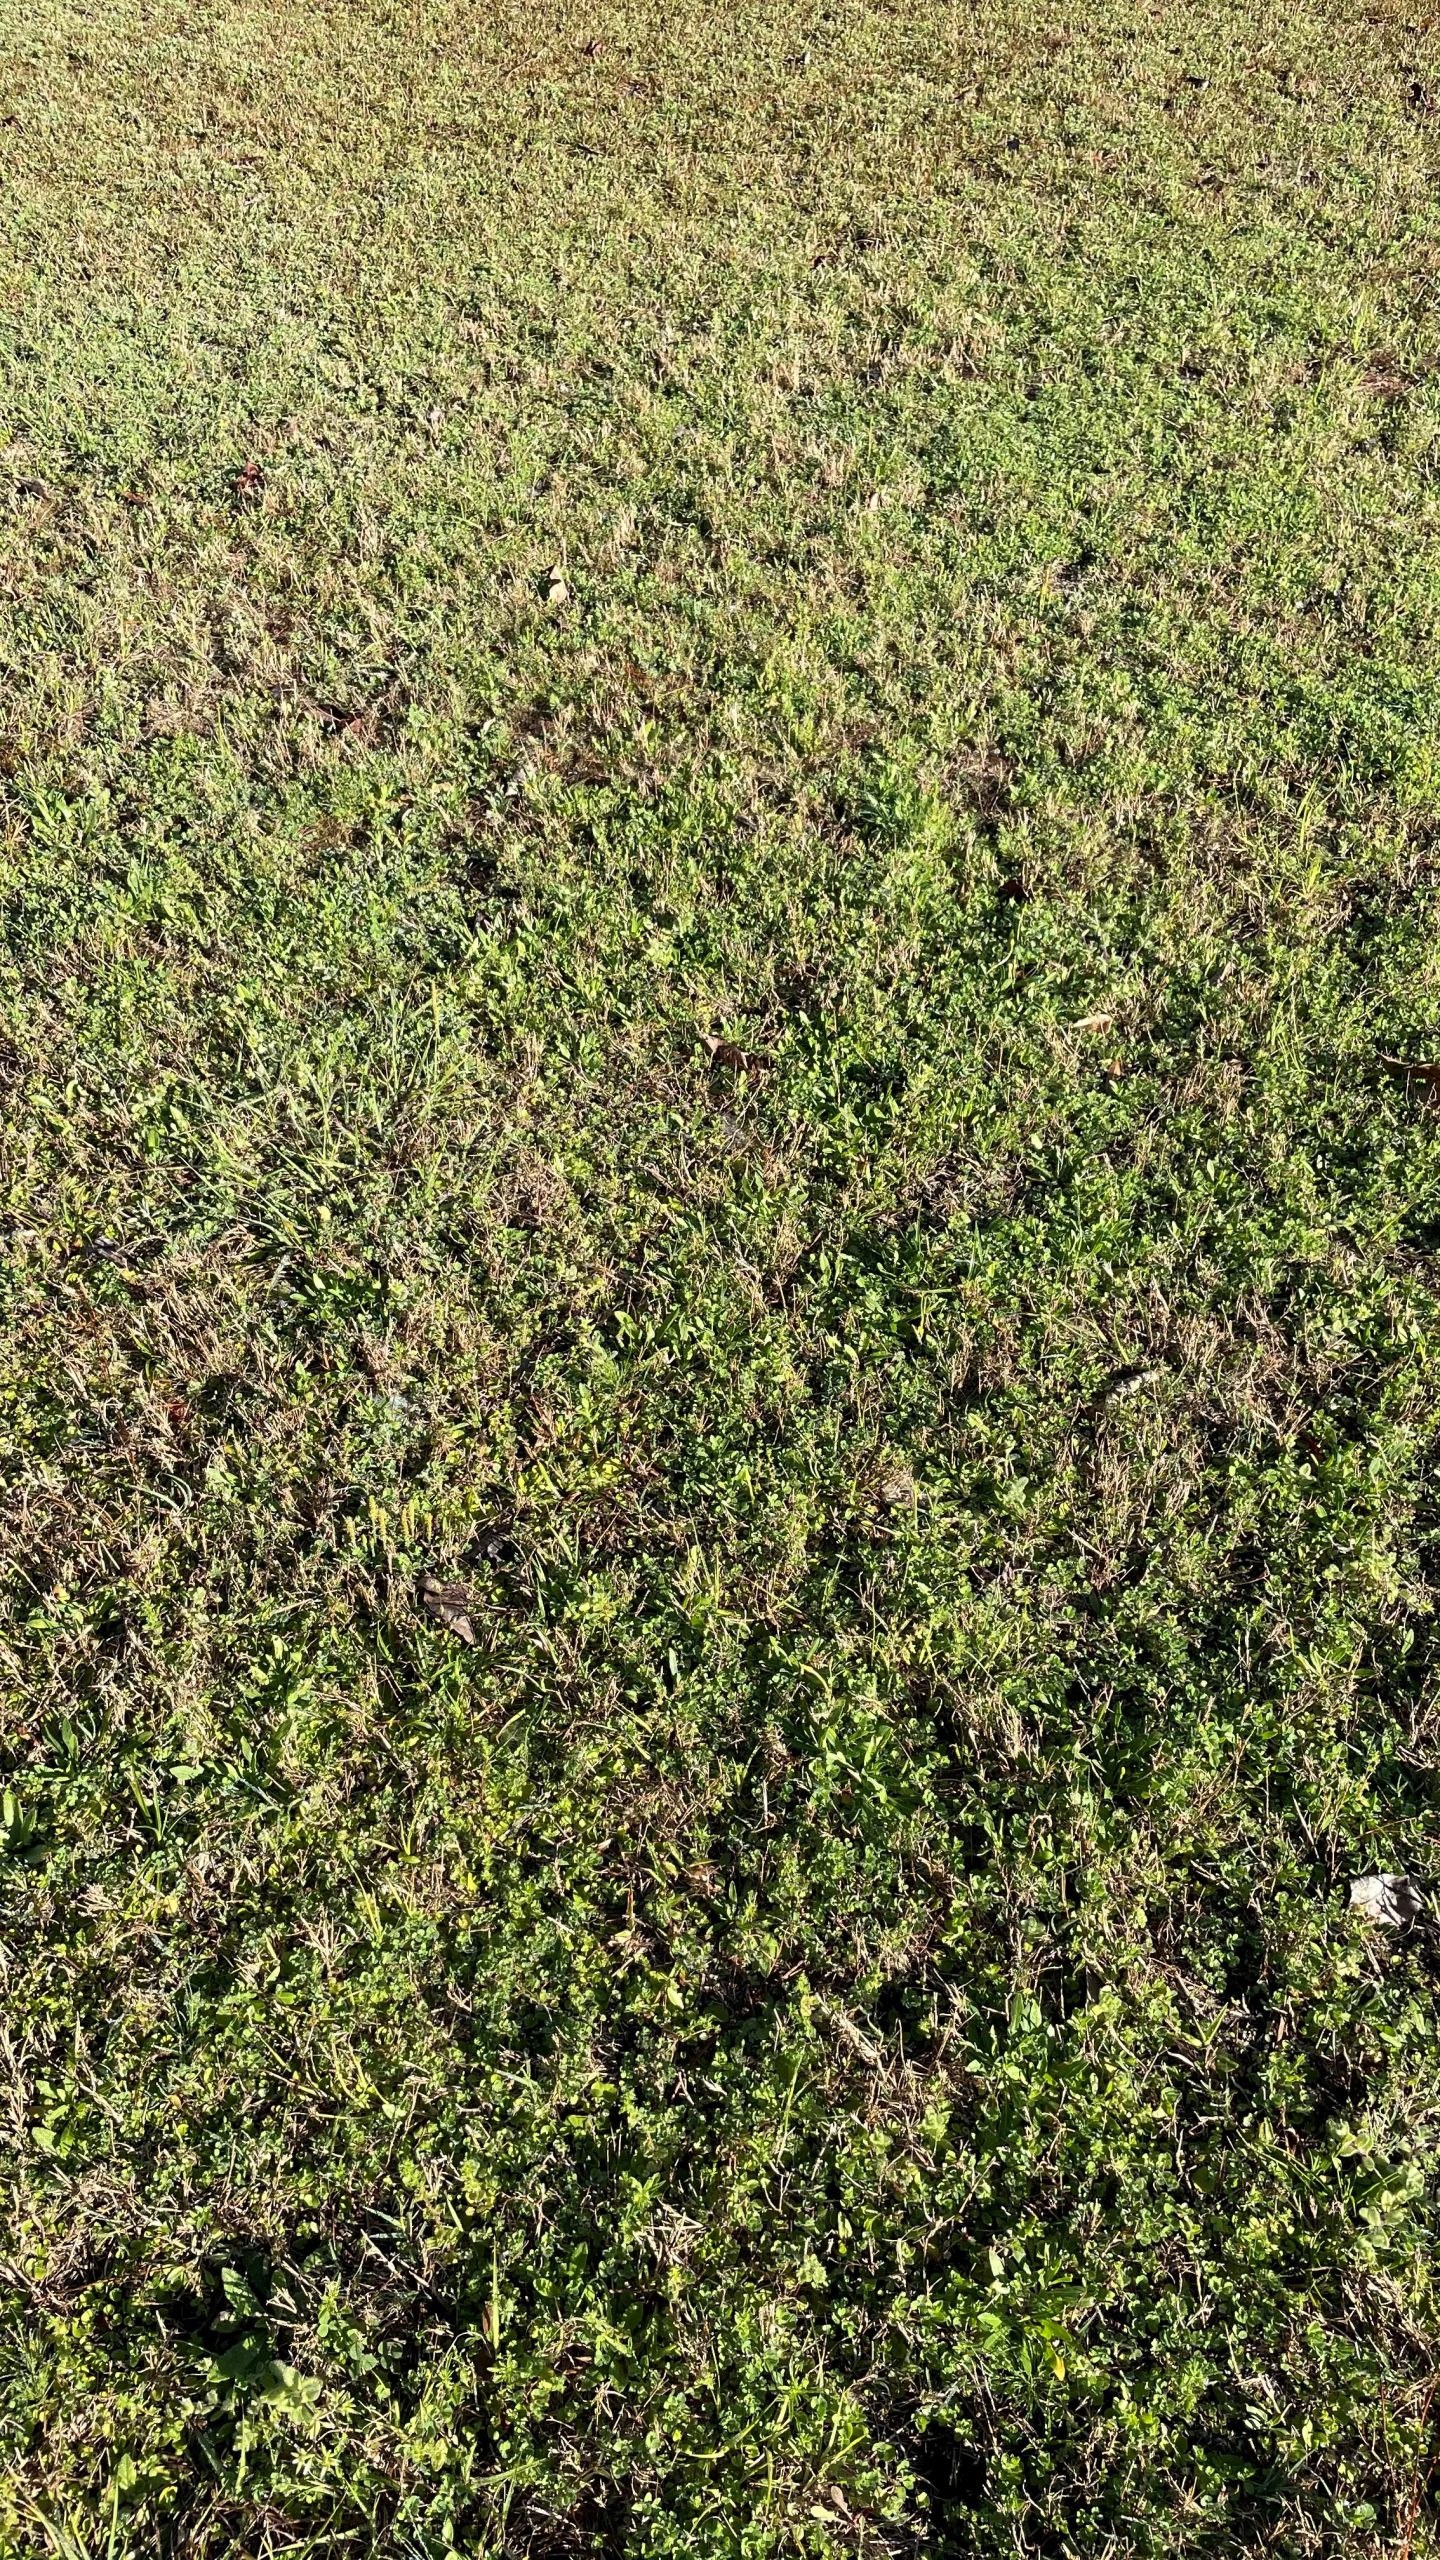
Overseeded ryegrass on a centipedegrass lawn.
My answer after years of practice is always it depends, but my non-scientific rule of thumb to homeowners is wait until you mow three weeks in a row and make sure you’re past the last frost dates for your area. If you need to mow three weeks in a row for height, then your lawn is actively growing and most likely we are into a temperature range good for fertilizer applications. If you apply fertilizer to a lawn that is dormant, the fertilizer will not be taken up by your roots and it can leach below the root zone wasting money while not improving the lawn and possibly causing environmental concerns.
With that said, there are some factors to consider. We always recommend doing a soil test first. This can be done in advance of spring. Your test results might indicate having sufficient nutrients in the soil, so not applying would save you money and the lawn would still look good. The soil test will also indicate what nutrients are in excess or lacking, then you can apply only the nutrients needed.
I have found that fertilizer is still very much misunderstood. When I ask homeowners whether they consider fertilizer to be medicine or a stressor, most will answer medicine and we all know if a little medicine is good, then a bit more is better. However, it is more accurate to think of fertilizer as a chemical stressor. If my lawn is unhealthy, then I force my lawn to grow and it can further weaken my plants. Think of it like this, if you’re not feeling well at night before you go to bed, should you consume one of those big energy drinks? Not if you want to sleep and hopefully feel better in the morning. Apply fertilizer when the lawn is ready and capable of having a positive response when spring fully arrives.
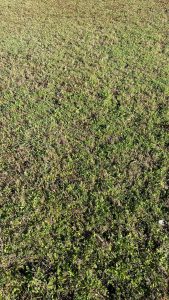
Wakulla County Extension office mixed species turf.
Here are some items you should know before you fertilize the lawn. Fertilizers used in Florida should have a license number that begins with F followed by a series of numbers. It is important to check your fertilizers before you apply. You need to know what type of turfgrass you have in your lawn. We have a lot of bahiagrass and centipedegrass lawns in the panhandle. Each will require a different regiment. You are only allowed to apply one pound of nitrogen per 1,000 square feet per application and you should never apply more than the recommended rate. I always refer to a childhood fable “The Tortoise and the Hare” when thinking about plant health. Slow and steady makes for a better lawn in the long run. This means you need to measure your lawn, understand how to calculate the nitrogen and then apply correctly with the right equipment and spreader patterns. We also recommend very little phosphorus (the middle number on the fertilizer bag 15-0-15) for Florida lawns. Our soils are usually sufficient and this is another item your soil test results will confirm.
Remember, your local Extension office is always here to help especially making sure you treat the lawn right. Think before you apply because your long-term goal is improving the lawn quality.
The Florida Fertilizer Label (https://edis.ifas.ufl.edu/ss170) and General Recommendations for Fertilization of Turfgrasses on Florida Soils (https://edis.ifas.ufl.edu/lh014). T. W. Shaddox, assistant professor; UF/IFAS Fort Lauderdale Research and Education Center, Ft. Lauderdale, FL 33314
Homeowner Best Management Practices for the Home Lawn (https://edis.ifas.ufl.edu/ep236). Laurie E. Trenholm, professor, Extension turfgrass specialist, Environmental Horticulture Department; UF/IFAS Extension, Gainesville, FL 32611.
Bahiagrass for Florida Lawns (https://edis.ifas.ufl.edu/lh006). L. E. Trenholm, professor, turfgrass specialist, Department of Environmental Horticulture; J. B. Unruh, professor, turfgrass specialist, UF/IFAS West Florida Research and Education Center; and J. L. Cisar, retired professor, turfgrass specialist, UF/IFAS Ft. Lauderdale REC; UF/IFAS Extension, Gainesville, FL 32611.
Centipedegrass for Florida Lawns (https://edis.ifas.ufl.edu/lh009). J. B. Unruh, professor, turfgrass specialist, UF/IFAS West Florida Research and Education Center; L. E. Trenholm, associate professor, turfgrass specialist, Environmental Horticulture Department; and J. L. Cisar, professor, turfgrass specialist, UF/IFAS Ft. Lauderdale REC; UF/IFAS Extension, Gainesville, FL 32611.
by Daniel J. Leonard | Feb 2, 2021
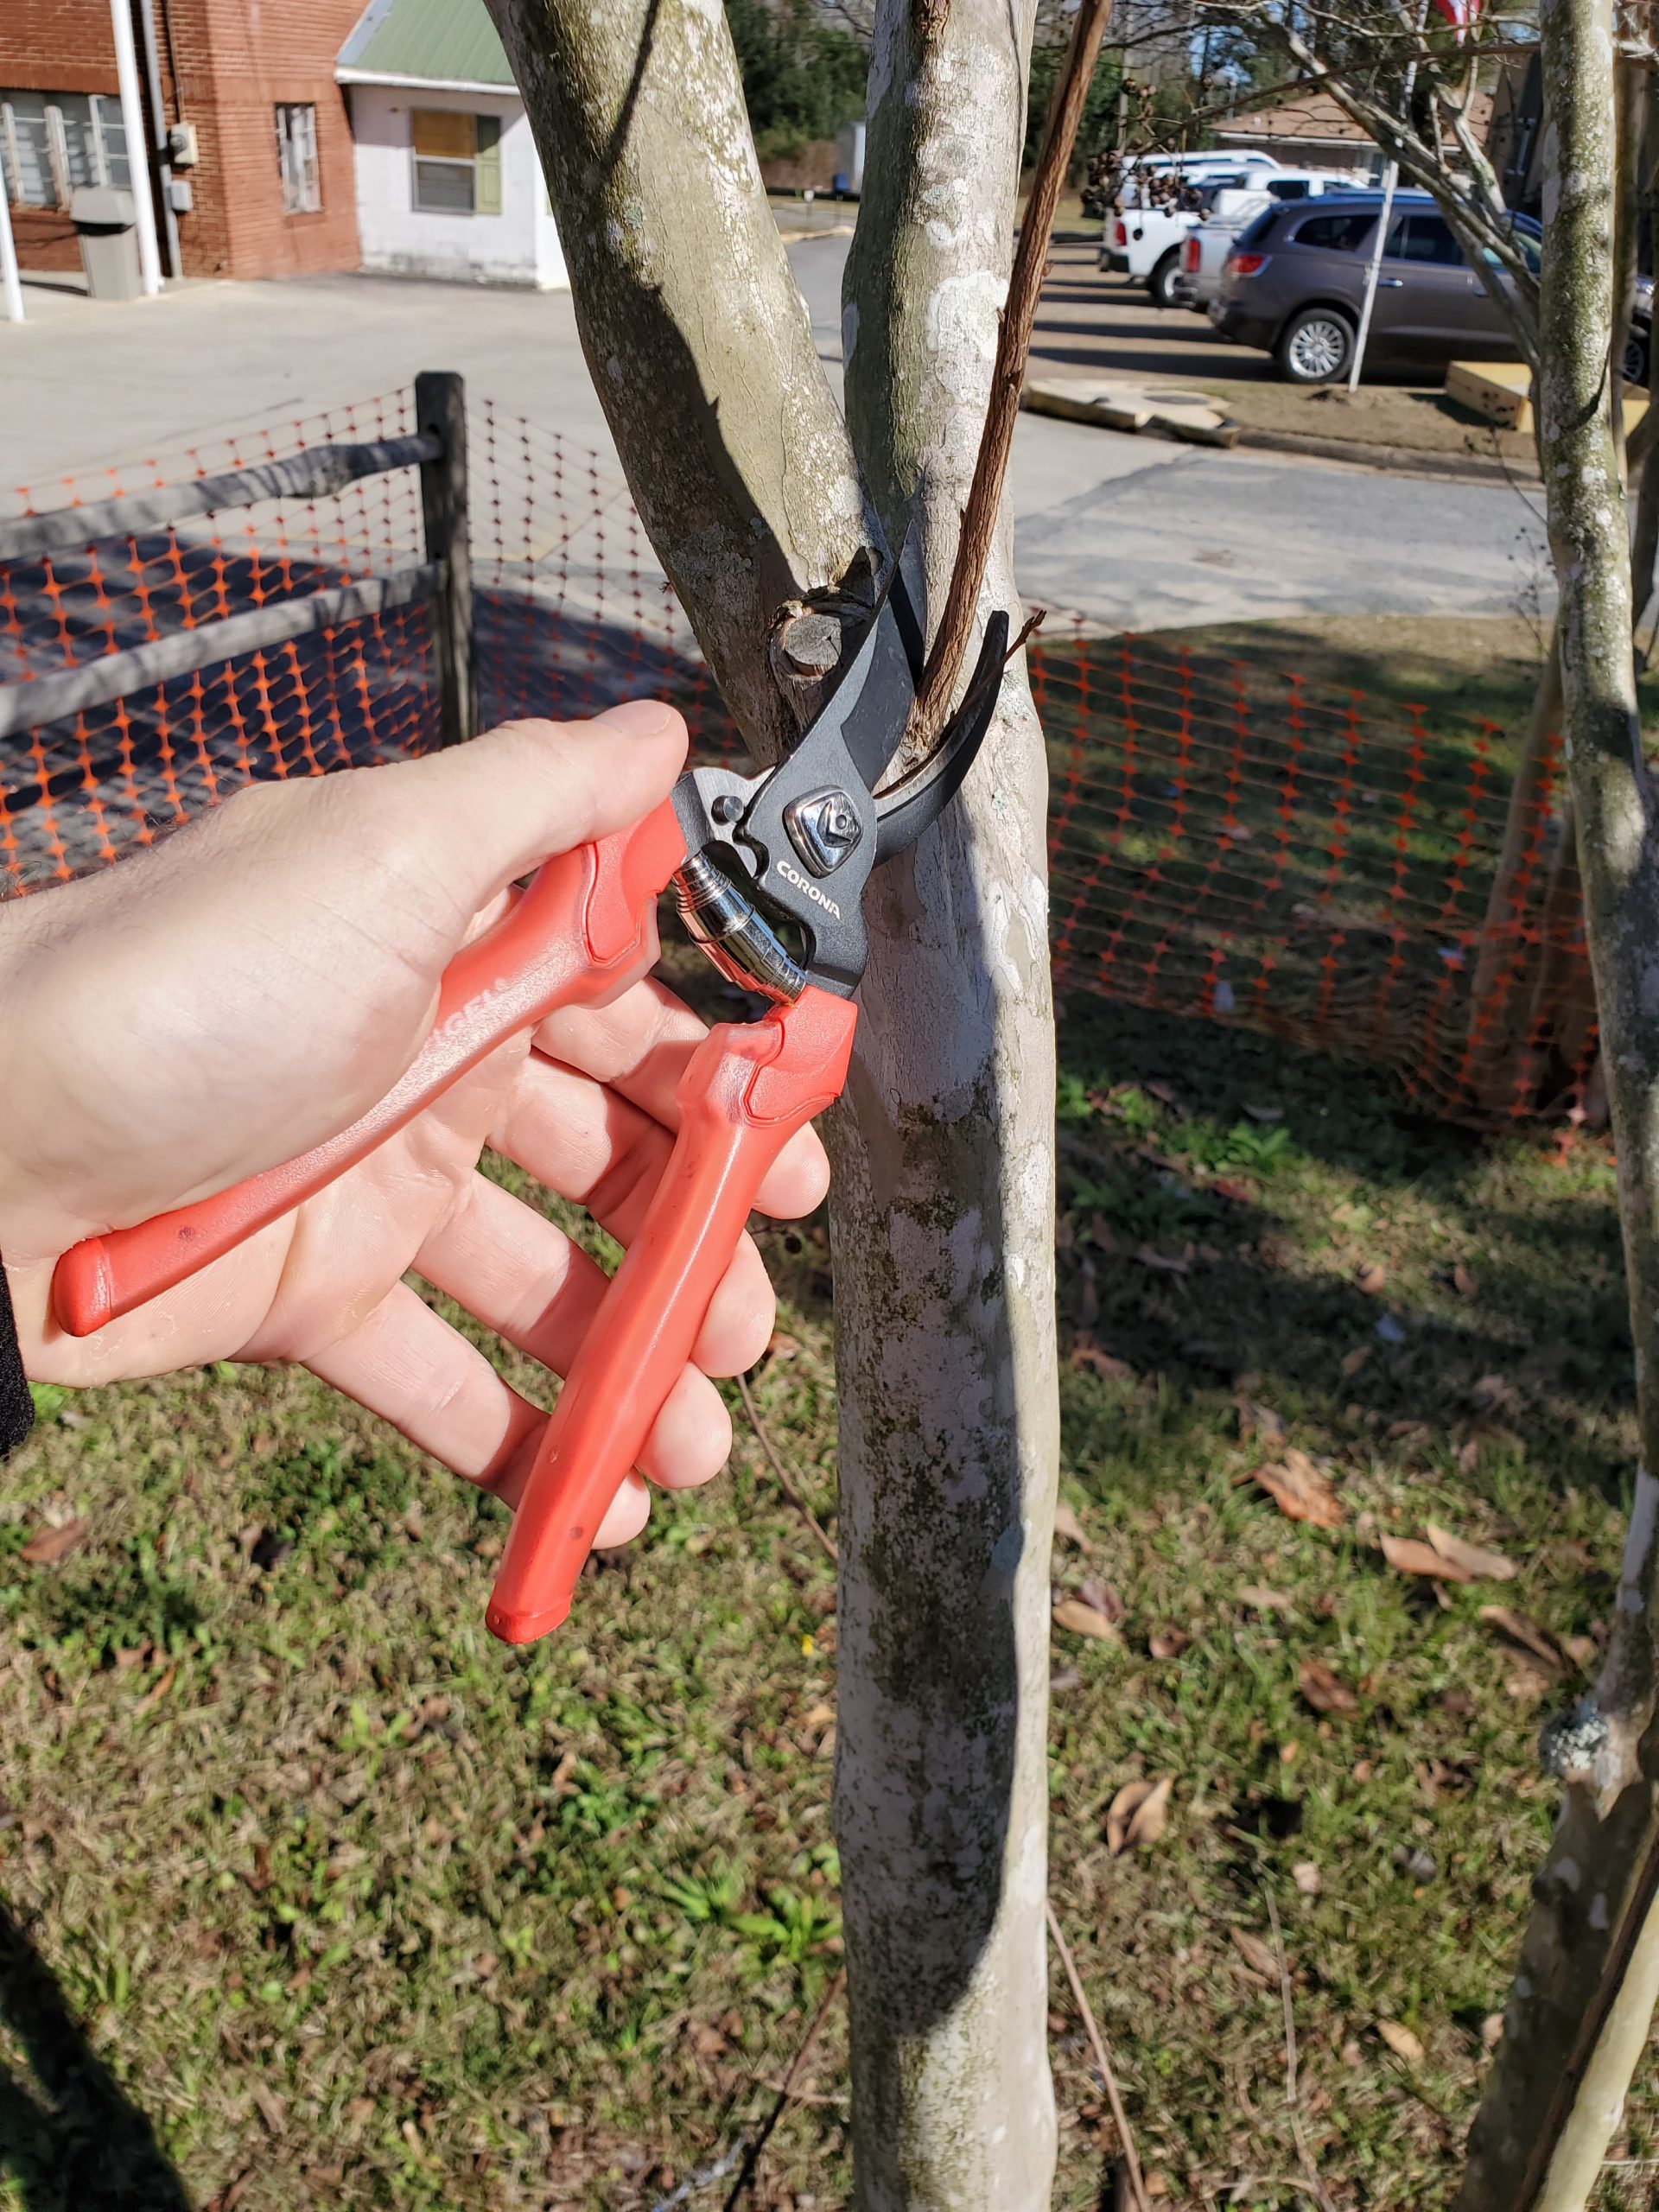
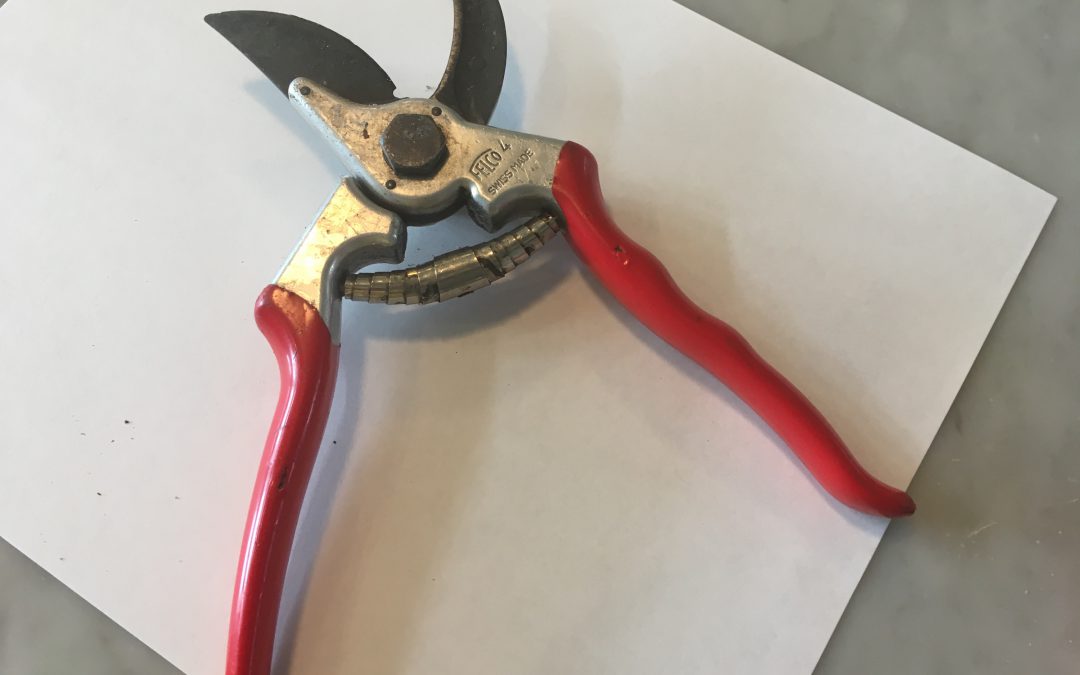
There is an old saying that rings true in pretty much any situation – “You get what you pay for.” Gardening tools, especially pruners, are no exception. We’ve all been there, fumbling around with a pair of rusty, dull, cheap garden pruners that just barely get the job done. Unfortunately, they can also do considerable harm to the plants you’re trying to improve, as anything short of a nice, sharp, clean cut introduces the potential for insect/disease infestation and will produce a wound that takes much longer to heal, if it ever heals properly at all. You wouldn’t want your doctor to start hacking away at you with a dirty, second-rate scalpel. Don’t subject your plants to the same treatment! While I’m not advocating blowing hundreds or thousands of dollars outfitting your garden tool shed with top of the line everything, investing in a pair of quality bypass hand pruners will pay dividends many years into the future and make your gardening experience much more enjoyable!

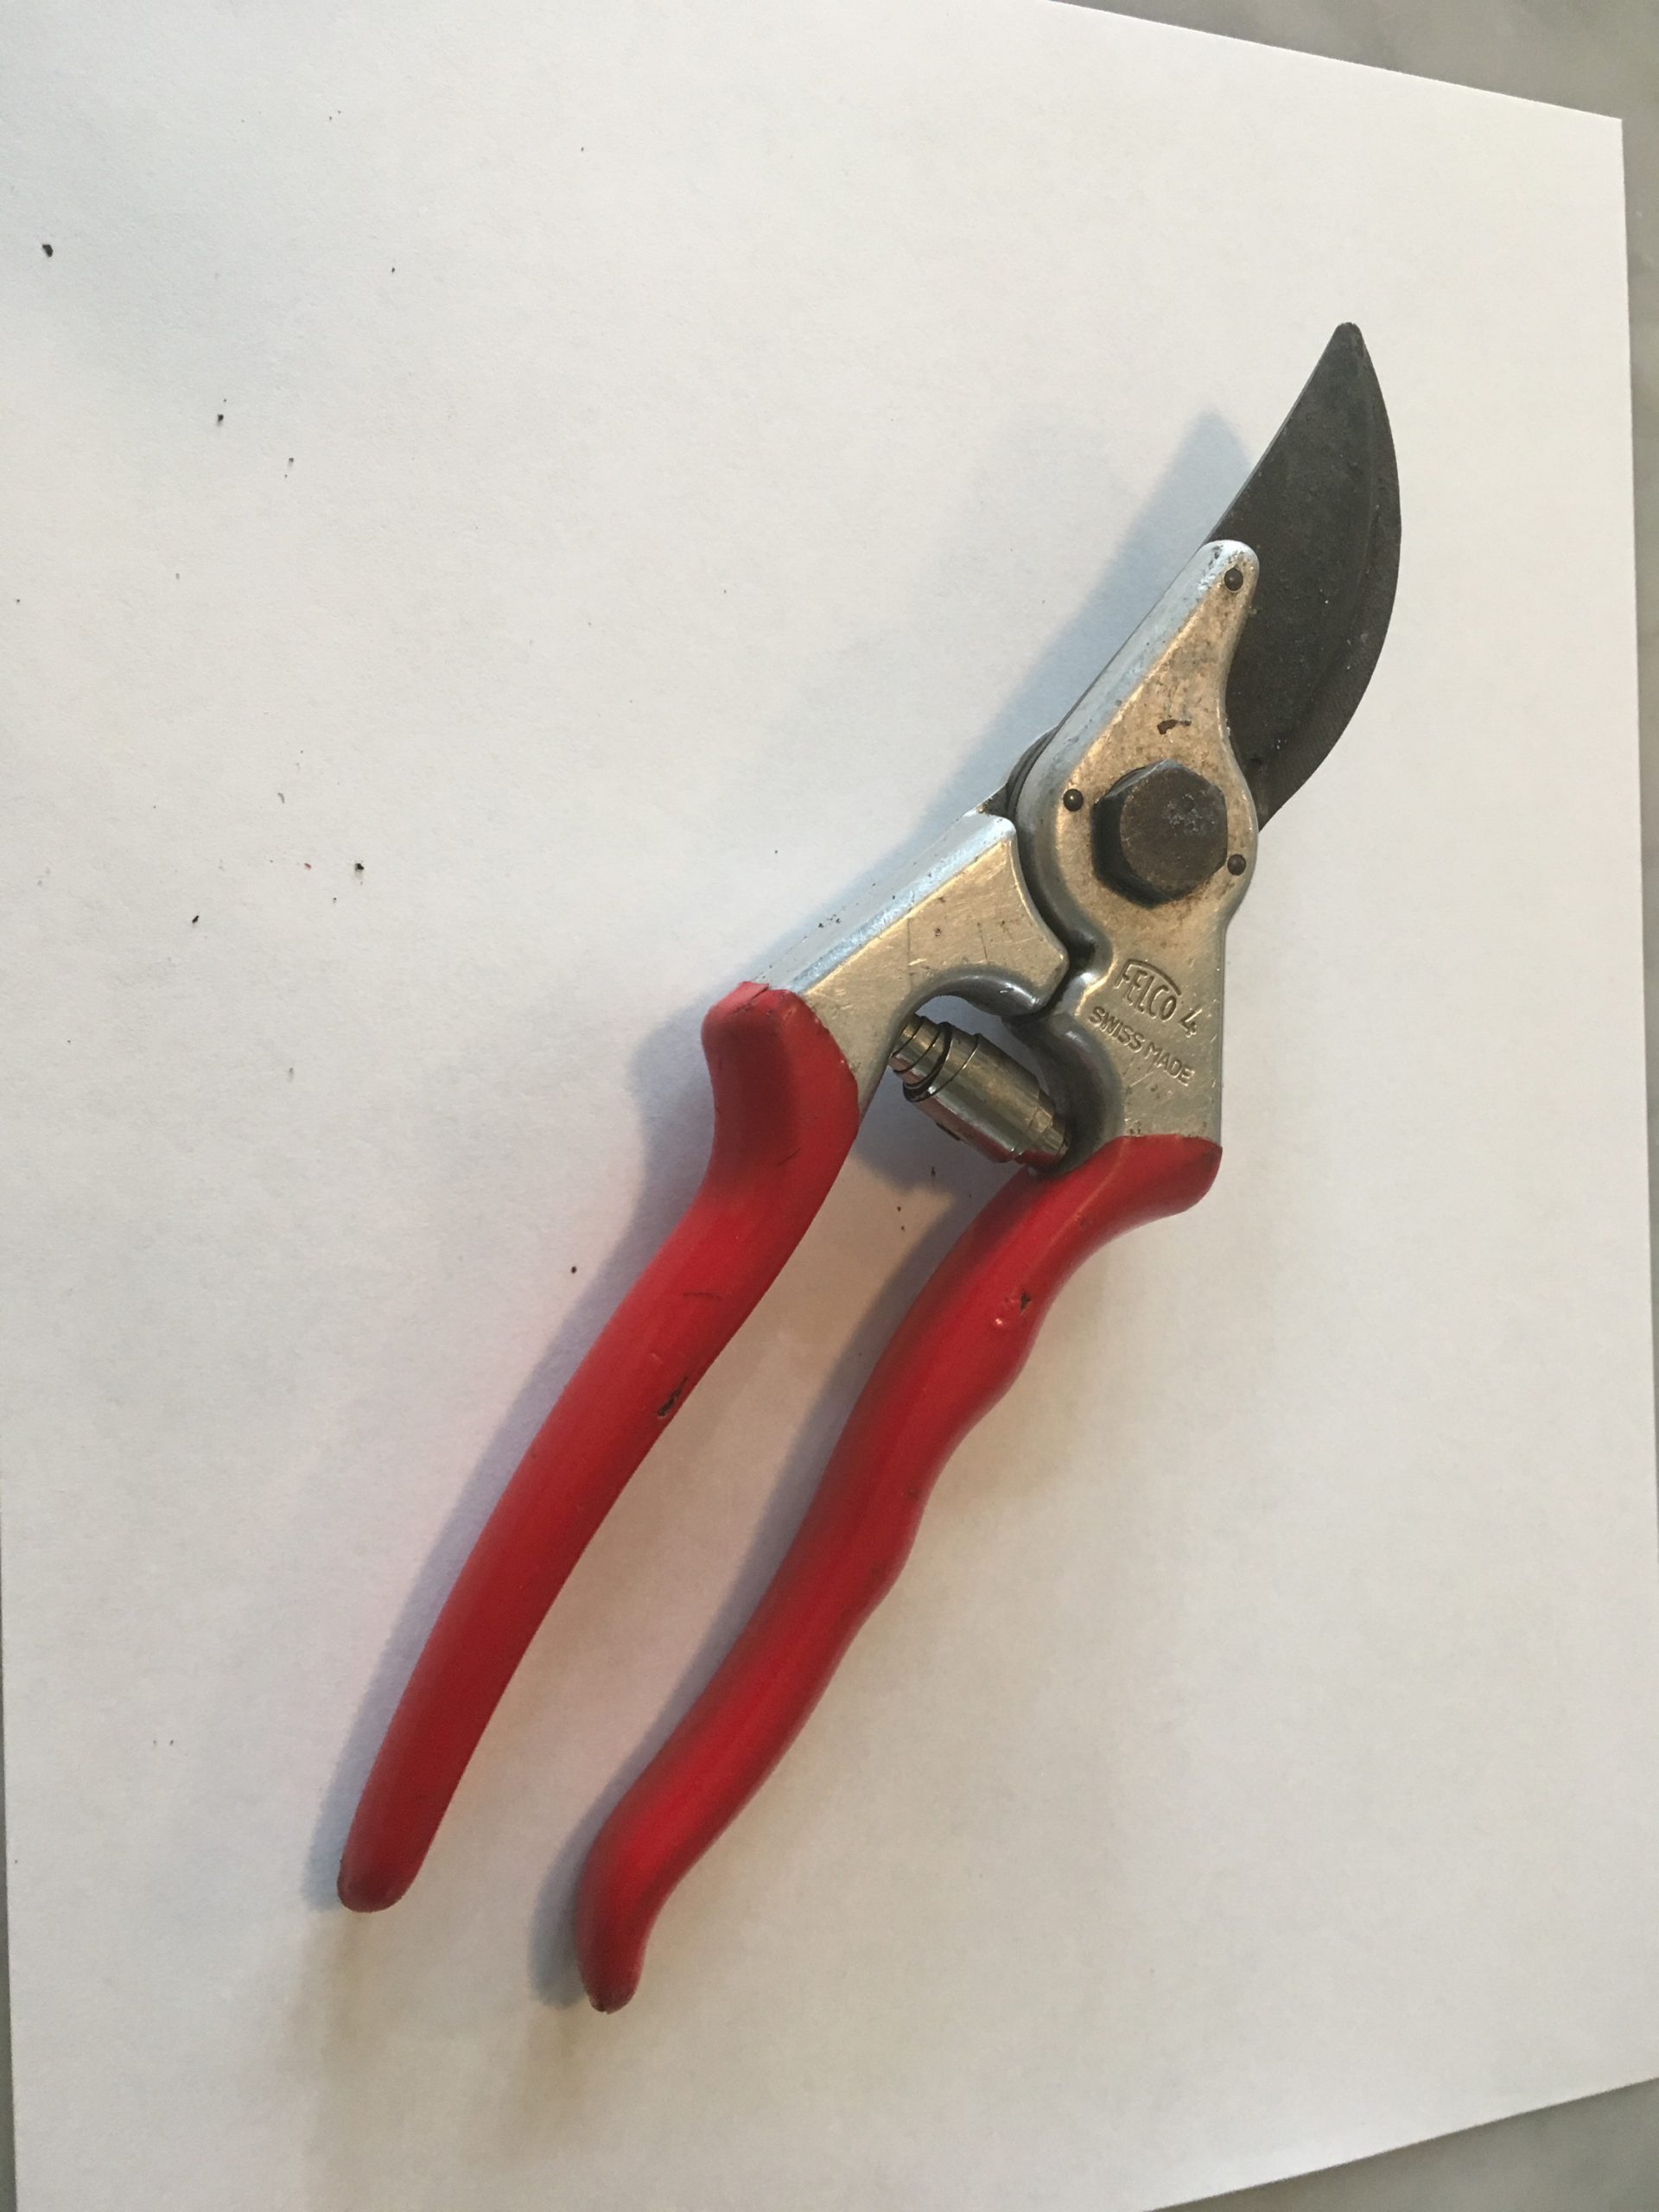
The classic Felco #4 bypass hand pruners. Photo courtesy of Walton County Master Gardener Andrea Schnapp.
Found in three designs, from old-fashioned anvil pruners that smush and smash their way to a cut, to ratcheting pruners that make short work of larger branches but tend to be cumbersome and complicated, to bypass pruners that produce clean cuts in a scissor-like manner, hand pruners accomplish many tasks in the landscape. From cutting small limbs, to harvesting vegetables, to deadheading annual flowers and everything in between, there isn’t a more frequently used, versatile tool. Therefore, it makes sense to buy a quality pair that will perform excellently, still be snipping long after your pruning days are over (if you take care of them), and that are comfortable enough you will enjoy using them. When shopping for your pair of “forever” pruners, there are a few things to look for.
- Only use bypass style pruners. Your plants will appreciate it.
- Look for heavy duty pruners with frames made from quality aluminum or stainless steel; they won’t rust and won’t easily bend or break.
- Buy pruners with replaceable parts. This is especially key because springs eventually rust and gum up and blades break and will eventually lose their ability to hold an edge over time (though you can and should resharpen them).
There are two commonly found brands that fit all three above criteria, albeit at different price points. For a high quality “budget” blade, various models from Corona do an excellent job for the money ($20-30) and won’t hurt your feelings too badly if you happen to lose a pair. Should you decide to splurge a little, Felco makes sharp, indestructible pruners, in multiple models around $50 to fit all size hands. Felco has become the horticulture industry standard and you’d be hard pressed to find a nursery owner or landscaper that didn’t own a pair (or two).

Corona ComfortGel bypass hand pruner. Photo courtesy of Daniel Leonard.
Regardless of which brand you buy (and there are many more than the two above listed) a pair of well-made pruners, if taken care of, should last a lifetime and make your gardening experience much more enjoyable for you and your plants! If you have any questions about gardening tools or equipment or any other horticulture or agronomic topic, feel free to contact your local UF/IFAS Extension Office. Happy Gardening!
by Pat Williams | Jan 22, 2021
For all my years in the classroom, I never let students say the “d-word” when discussing soil science. In some instances, we had a “d-word” swear collection jar of a quarter when you used the term and even today, I hesitate from spelling the word out in text due to feedback from all those I have corrected. In case you still need a clue on the “d-word”, it ends in irt.
As a horticulturist for 46 years, I have read, heard, and been told many secrets to growing good plants. I still hold firm that without proper knowledge of how soil works, most of what we do is by chance. Soil is a living entity comprised of parent material (sand, silt, and clay), air, water, organic matter (OM), and microorganisms. It is this last item which makes our soils come to life. If you have pets, then you know they need shelter, warmth, air, water, and food. From this point forward think of soil microorganisms as the pets in your soil. If you take care of them, they will take care of your plants.
Sandy soil without any organic matter at the Wakulla County Extension office.
There is a huge difference in habitat from a sandy soil to a healthy soil with a good percentage of OM (5% – 10%). In one gram of healthy soil (the weight of one standard paper clip), you can have bacteria (100,000,000 to 1,000,000,000), actinomycetes (10,000,000 to 100,000,000), fungi (100,000 to 1,000,000), protozoa (10,000 to 100,000), algae (10,000 to 100,000), and nematodes (10 to 100) (1). A teaspoon of healthy soil can contain over four billion organisms (2). These microorganisms are part of the soil food web and they form a relationship between soil and your plants. They help convert nutrients to useable forms and assist with other plant functions.
The question becomes how to take care of your soil pets. For years we have performed practices that compromise these populations. Growing up we put all of our grass clippings in the weekly trash. We know now how valuable those clippings are and to leave them be. Two practices still common today though are tilling and raking leaves.
Master Gardener Volunteer vegetable bed with organic matter added.
Tilling has a limited purpose. If I place a layer of organic matter on top of the ground, then tilling incorporates the OM which feeds my pets. Excess tilling of soil introduces large amounts of oxygen which accelerates the breakdown of OM thus reducing our pet populations over time. Another adverse result from tilling is disturbing the soil structure (how the parent materials are arranged) which can reduce pore spaces thus limiting water percolation and root growth. There is a reason agriculture has adapted no-till practices.
Raking leaves (supposedly the sign of a well-kept yard) is removing large amounts of OM. Do you ever wonder why trees in a forest thrive? All of their leaves fall to the ground and are recycled by the microorganisms. Each of those leaves contains macronutrients (carbon, hydrogen, oxygen, nitrogen, phosphorus, potassium, calcium, sulfur, and magnesium) and micronutrients (boron, copper, chlorine, iron, manganese, molybdenum, nickel, and zinc) which are necessary for plant growth. You would be hard pressed to find all those nutrients in one fertilizer bag. So recycle (compost) your leaves versus having them removed from the property.
We are in our off season and tasks such as improving soil health should be considered now for soils to be ready in spring. Remember a little organic matter at a time and never work wet soils. As your OM levels build over the years, remember to change your watering and fertilizing schedules as the soil will be better adapted at holding water and nutrients. Soil tests are still recommended before fertilizing.
If you would like more tips on improving your soil, contact me or your local county horticulture extension agents. For a more in depth look at caring for your soils, read The Importance of Soil Health in Residential Landscapes by Sally Scalera MS, Dr. A.J. Reisinger and Dr. Mark Lusk (https://edis.ifas.ufl.edu/ss664).
- Chapter 2: Soils, Water, and Plant Nutrients. Texas Master Gardener Training Manual.
- The Importance of Soil Health in Residential Landscapes. 2019.