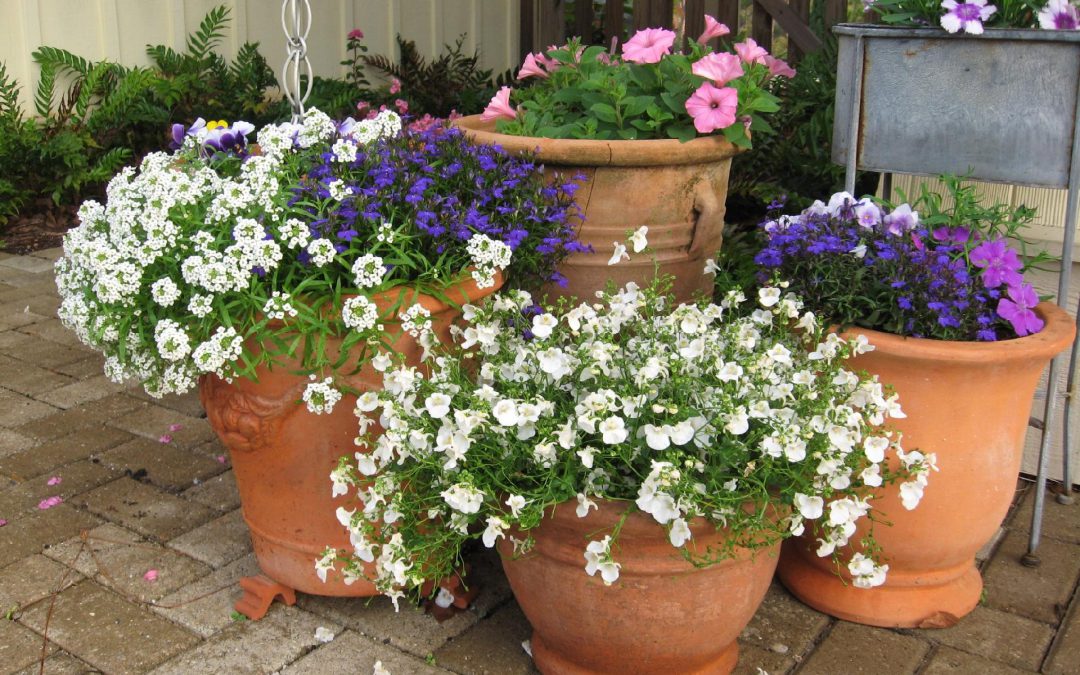
Diascia (Twinflower) in full bloom! Photo courtesy of Walton County Master Gardener Andrea Schnapp.
Since 2005, multiple varieties of Diascia have added to the U.S. fall market of winter flowering plants. Its delicate flowers are far from being ordinary though. In the early part of the last century most British gardening encyclopedias listed just one diascia – Diascia barberae – derived from seed collected by Col. J. H. Bowker and sent by Mrs. Barber to Kew Gardens, England, in 1870. Annual and perennial diascias had, of course, already been discovered and classified by several botanists visiting South Africa much earlier. The dainty, little annual, Diascia barberae, is not a very showy flower, but one which will appeal to the true flower lover. The flowers are rosy pink with yellow-green spots in the throat. The flowers are lipped, being related to the Snapdragons, but have two spurs on the lower lips, and are sometimes called twinspur.
It was not until John Kelly was given a plant called Diascia cordata by Edrom Nurseries in 1971 that anything notable happened to diascias again. He took pollen from his Diascia cordata and applied it to one flower of Diascia barberae. Of the nine seeds he obtained, just one was worthy of attention. He named it Diascia ‘Ruby Field’ (not for the color of the flowers, but for a lady who devoted her live to the long-term care of deprived children). Despite the popularity of this new, hardy hybrid, little more happened with diascias for yet another decade.
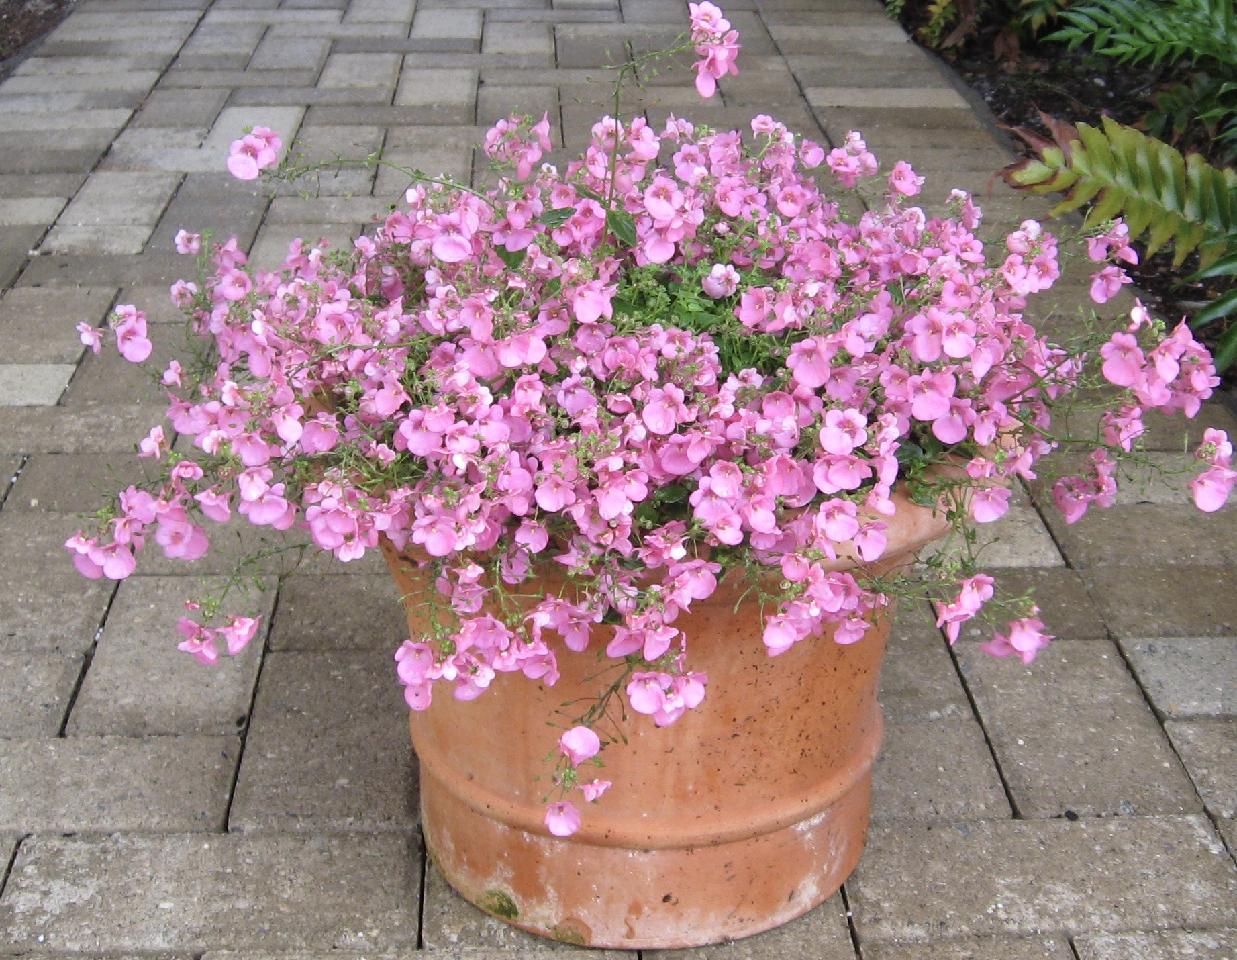
Diascia ‘Romeo’. Photo courtesy of Walton County Master Gardener Andrea Schnapp.
The boom in the diascia trade began only recently. Today’s diascia offers larger flowers, larger plants with a more open growth habit and colors ranging from scarlet through salmon and coral into pink. They bloom throughout the cooler weather and may behave as a perennial in warmer sites. But, the uniqueness of their flower structure and ecological role are as fascinating as the flower is beautiful. The common name of twinspur refers to the two downwardly pointing spurs found on the back of the flower. The spurs contain an oil which is collected in the South Africa wild by Rediviva bees. The female bees have unusually long, hairy forelegs that are used to collect the oil to feed her larvae. However, the Greek origin of the Diascia name doesn’t refer to the spurs, but rather the two sacs found in the upper part of the corolla. The flower petals help the bees to orientate themselves to the oil glands of the spurs. While North Florida isn’t home to the Rediviva bee, we can grow Diascia and it is a wonderful opportunity to show the unique connection insects and plants can have. Look for other specialized flower structures and you will find other animals that fit them perfectly, even within the species found in the Panhandle.
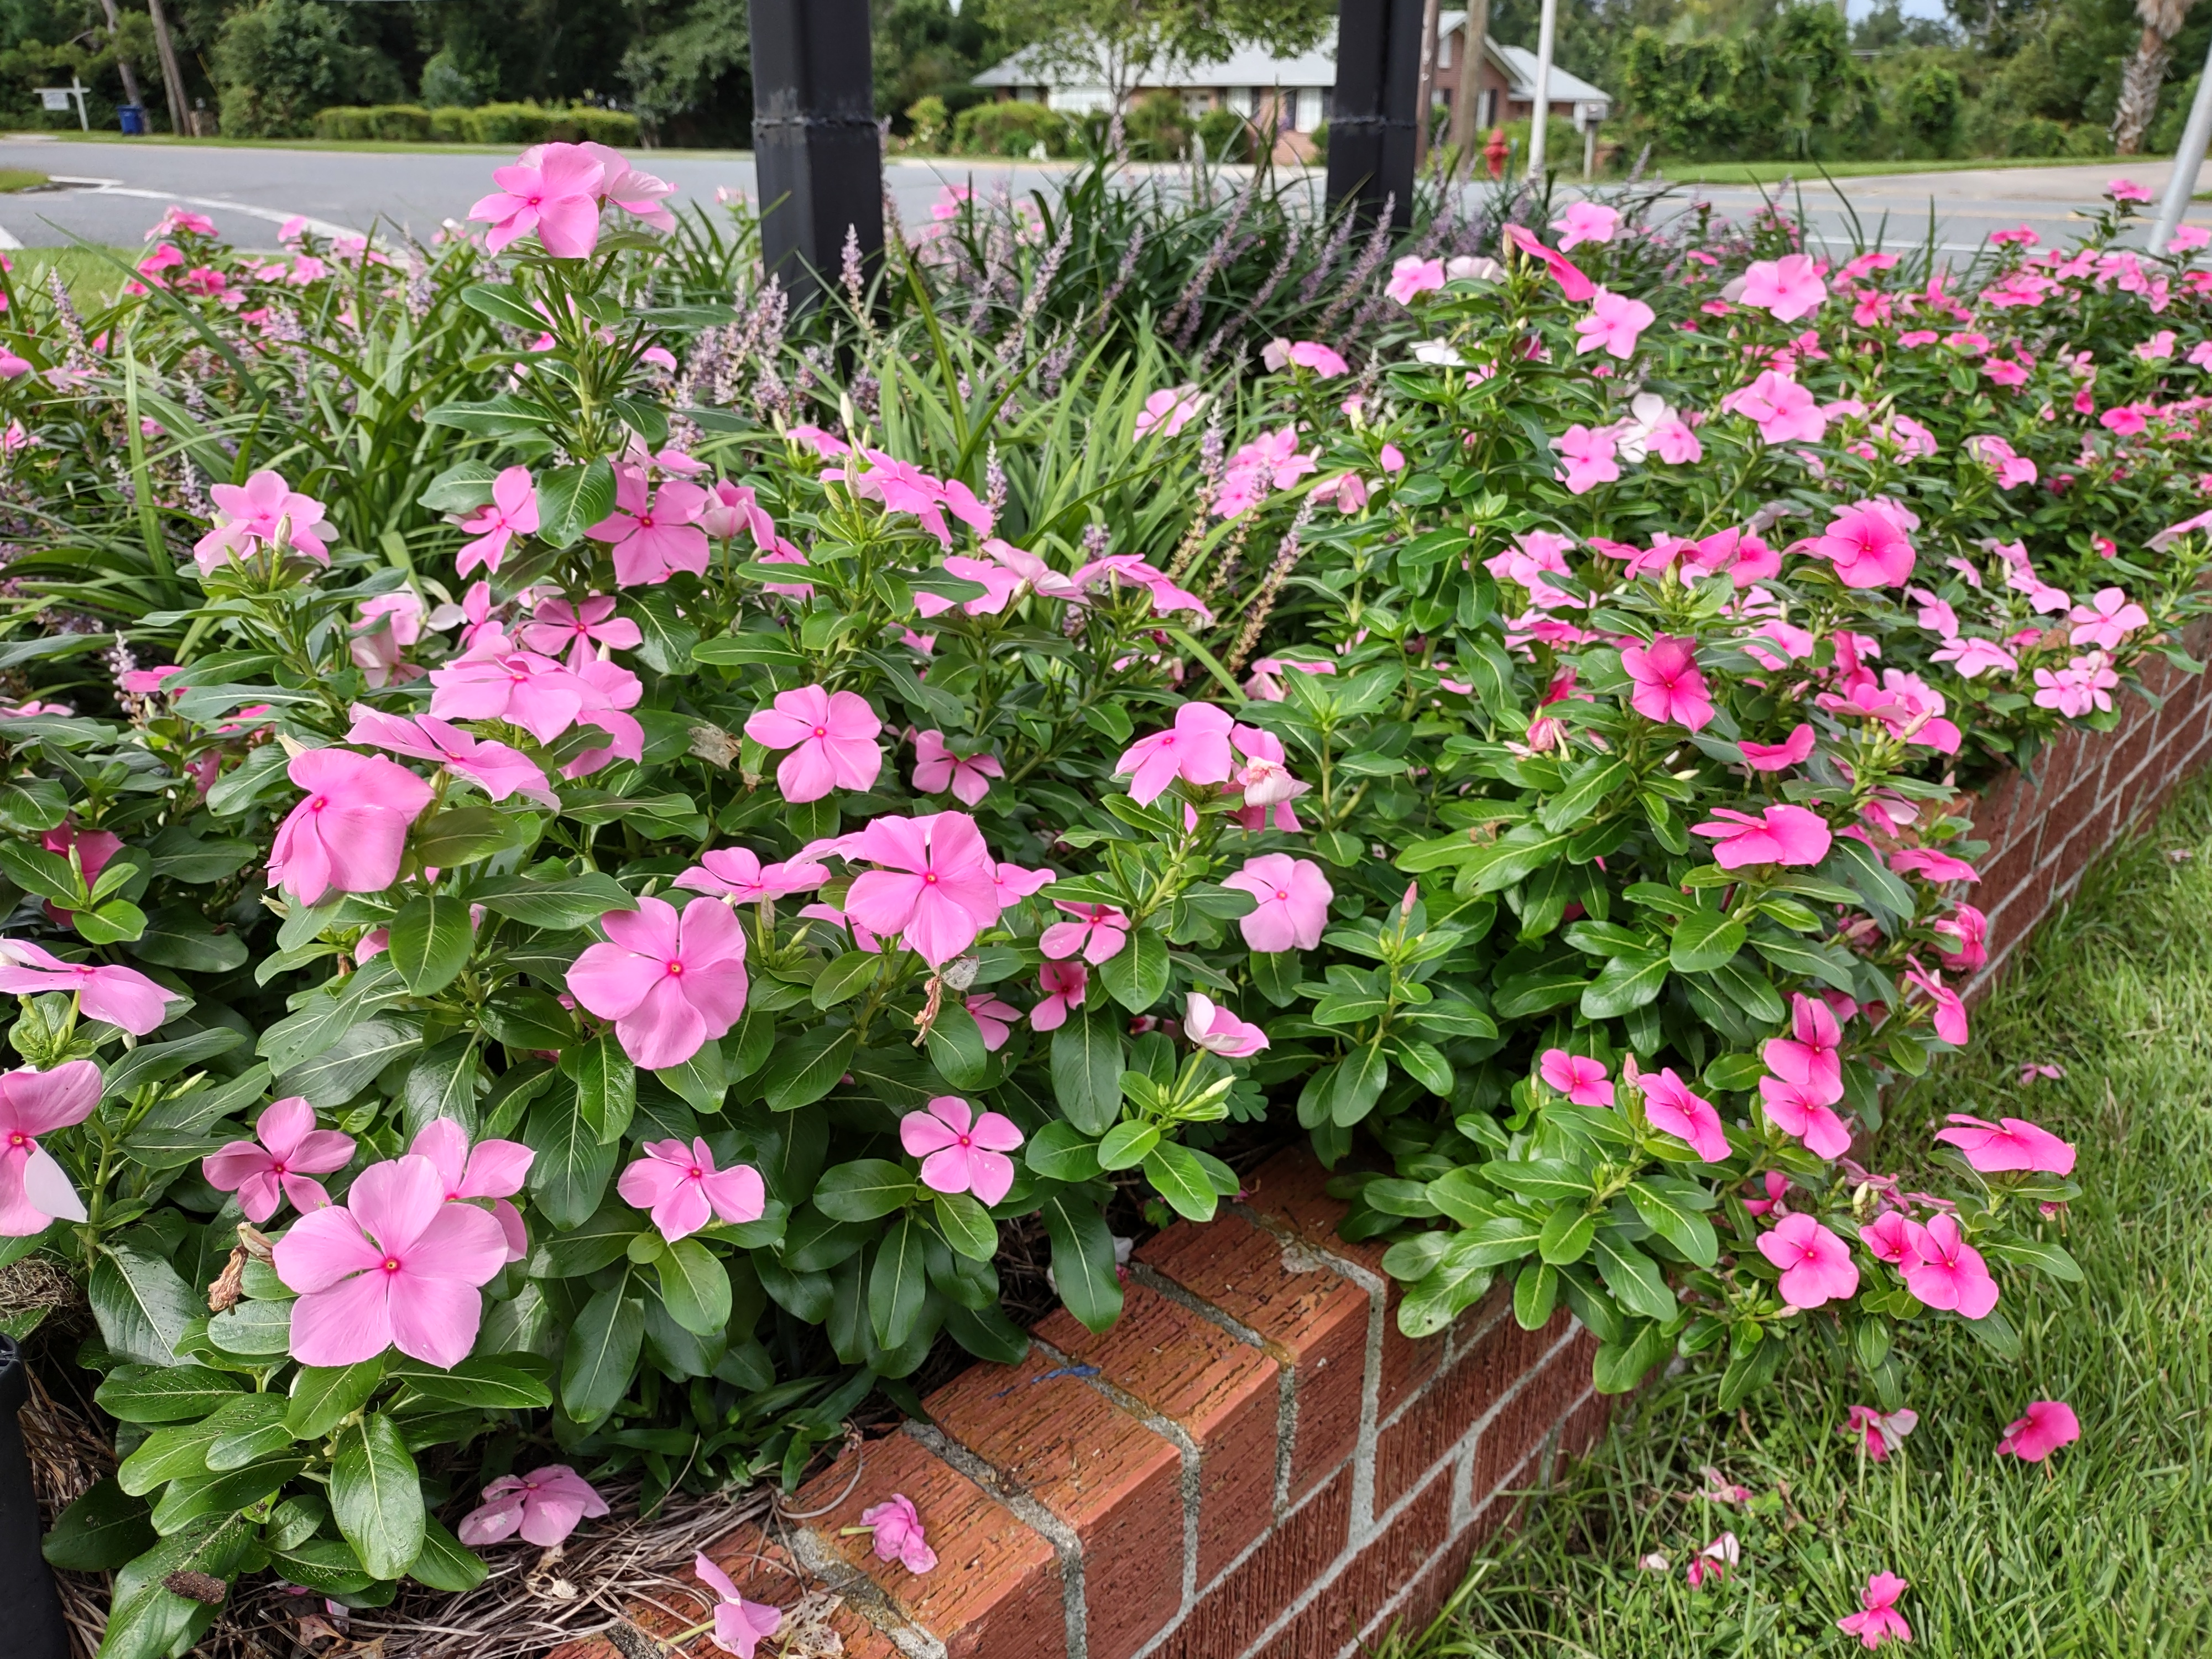
I wish I had a nickel for every time in my Extension career that I’ve heard someone ask me what they can plant in a container or flower bed that will give them no-maintenance color. They just want to plant something, forget about it, and be able to enjoy flowers for months on end. My answer, every single time, is Annual Vinca (Catharanthus roseus), specifically any selection from the newish ‘Cora’ Series.
Often called Periwinkle in the Deep South, this native of Madagascar is the perfect warm weather flowering plant for the Panhandle for a couple of reasons. First, the flowering. Coming in a wide range of colors from white to purple to pink and all shades in between, there is a Vinca to match every garden’s look. These aren’t a one flowering flush and done type plant either, Vinca blooms nonstop. What’s more, gardeners don’t need to remove spent flowers (also called deadheading), as plants are self-cleaning and flower freely from the first warm days in April until frost ends the show. There are even several new selections in the Cora series that have a trailing habit, perfect for creating a continuous cascade of flowers from a hanging basket or tall container!
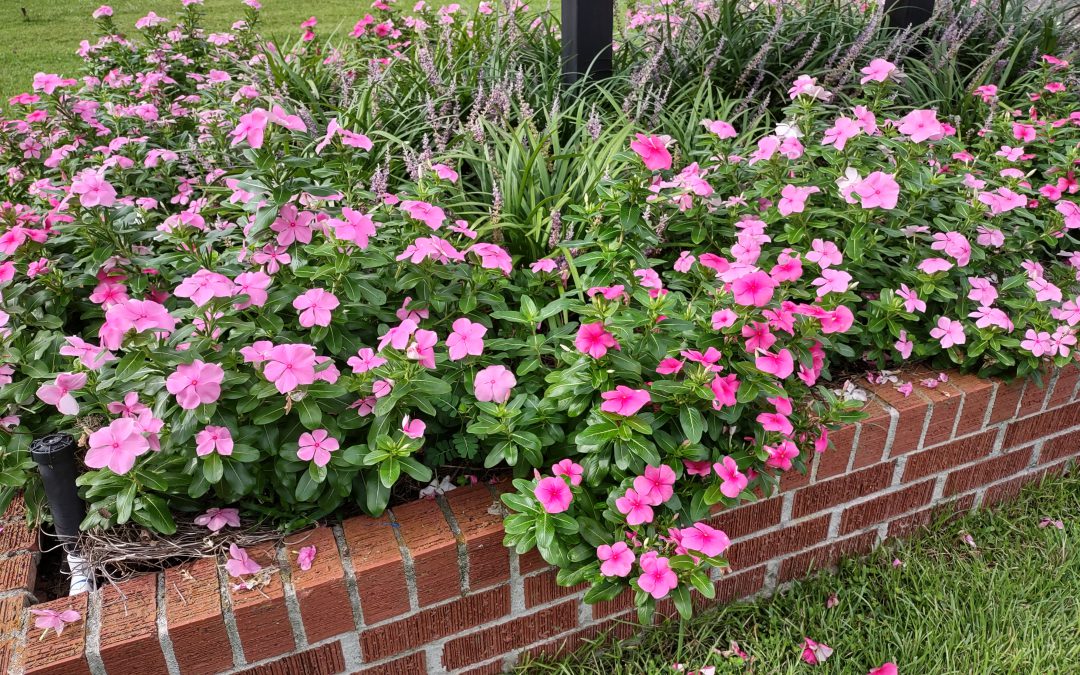
‘Cora’ varieties in a Calhoun County planter. Photo courtesy of Daniel Leonard.
Also, as promised, the ‘Cora’ Vinca series is adaptable and nearly no-maintenance. It never outgrows its bounds, reaching only 12-18” in height and spreading about as wide. It is exceptionally drought and heat tolerant, taking 100-degree days and liking it. It has no major insect or disease pests to be concerned about if sited correctly in full sun and well-drained soil. Bottom line, the new ‘Cora’ Vinca varieties are close to bulletproof. Plant some today!
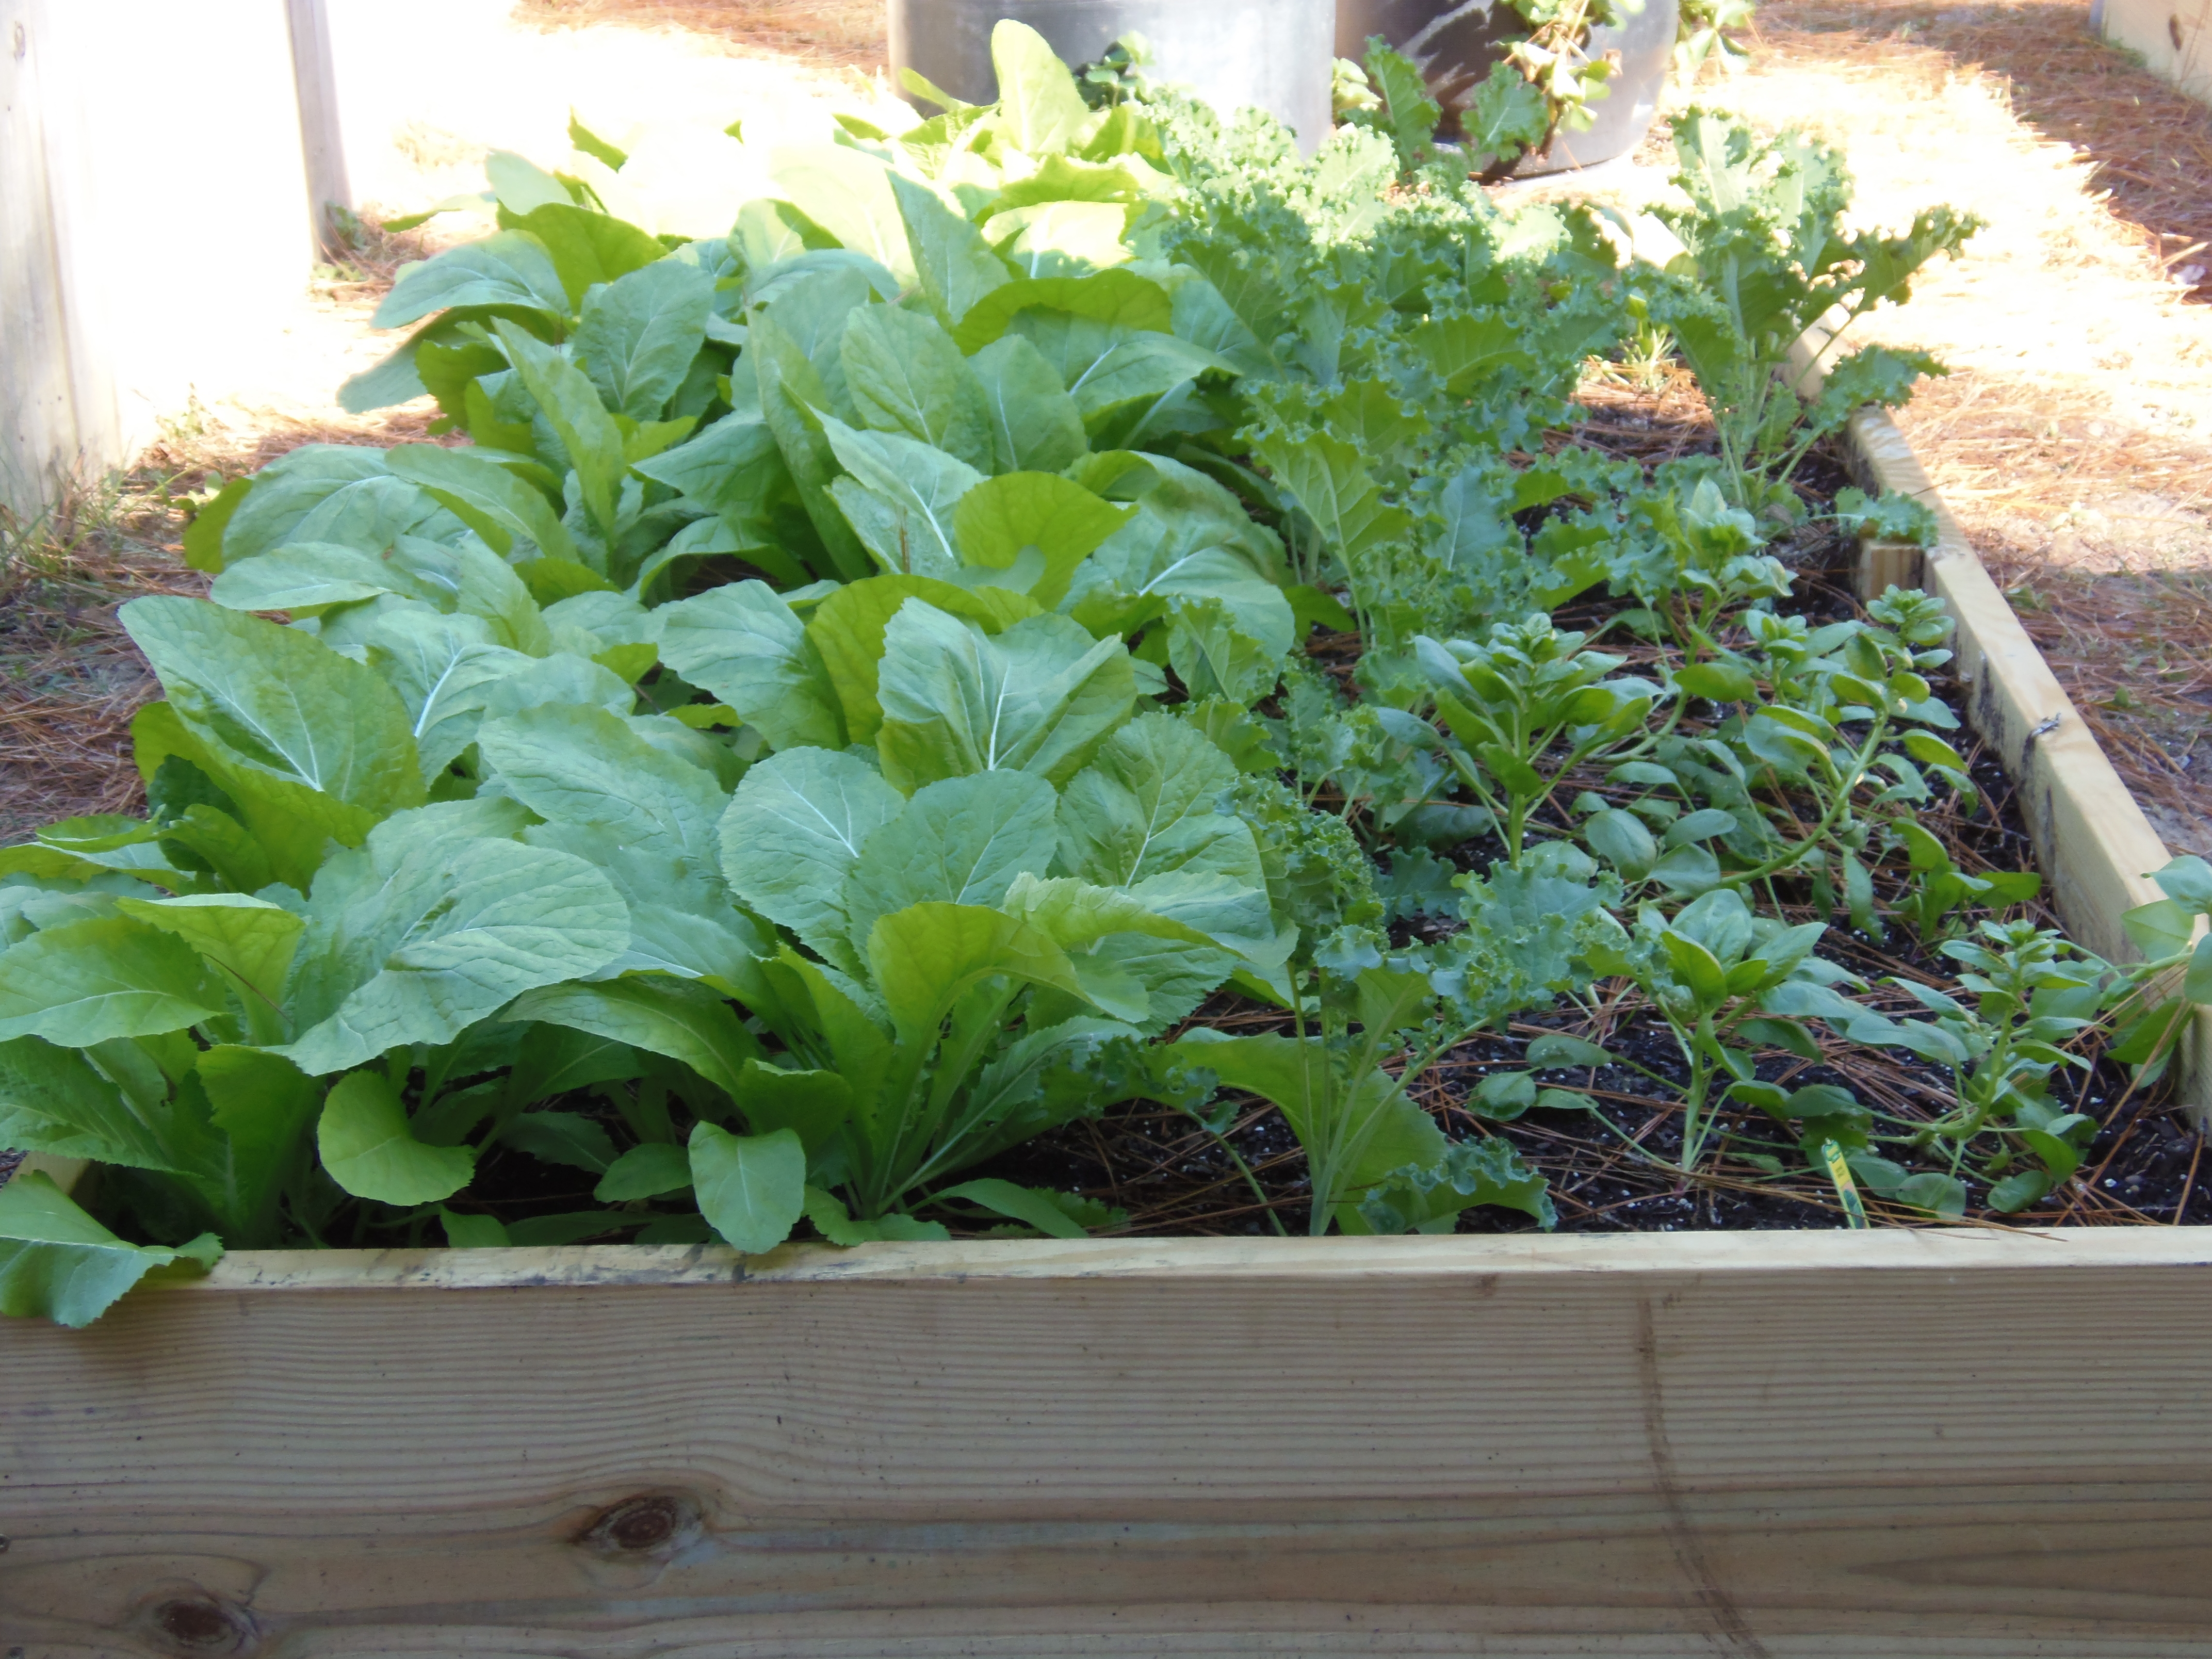
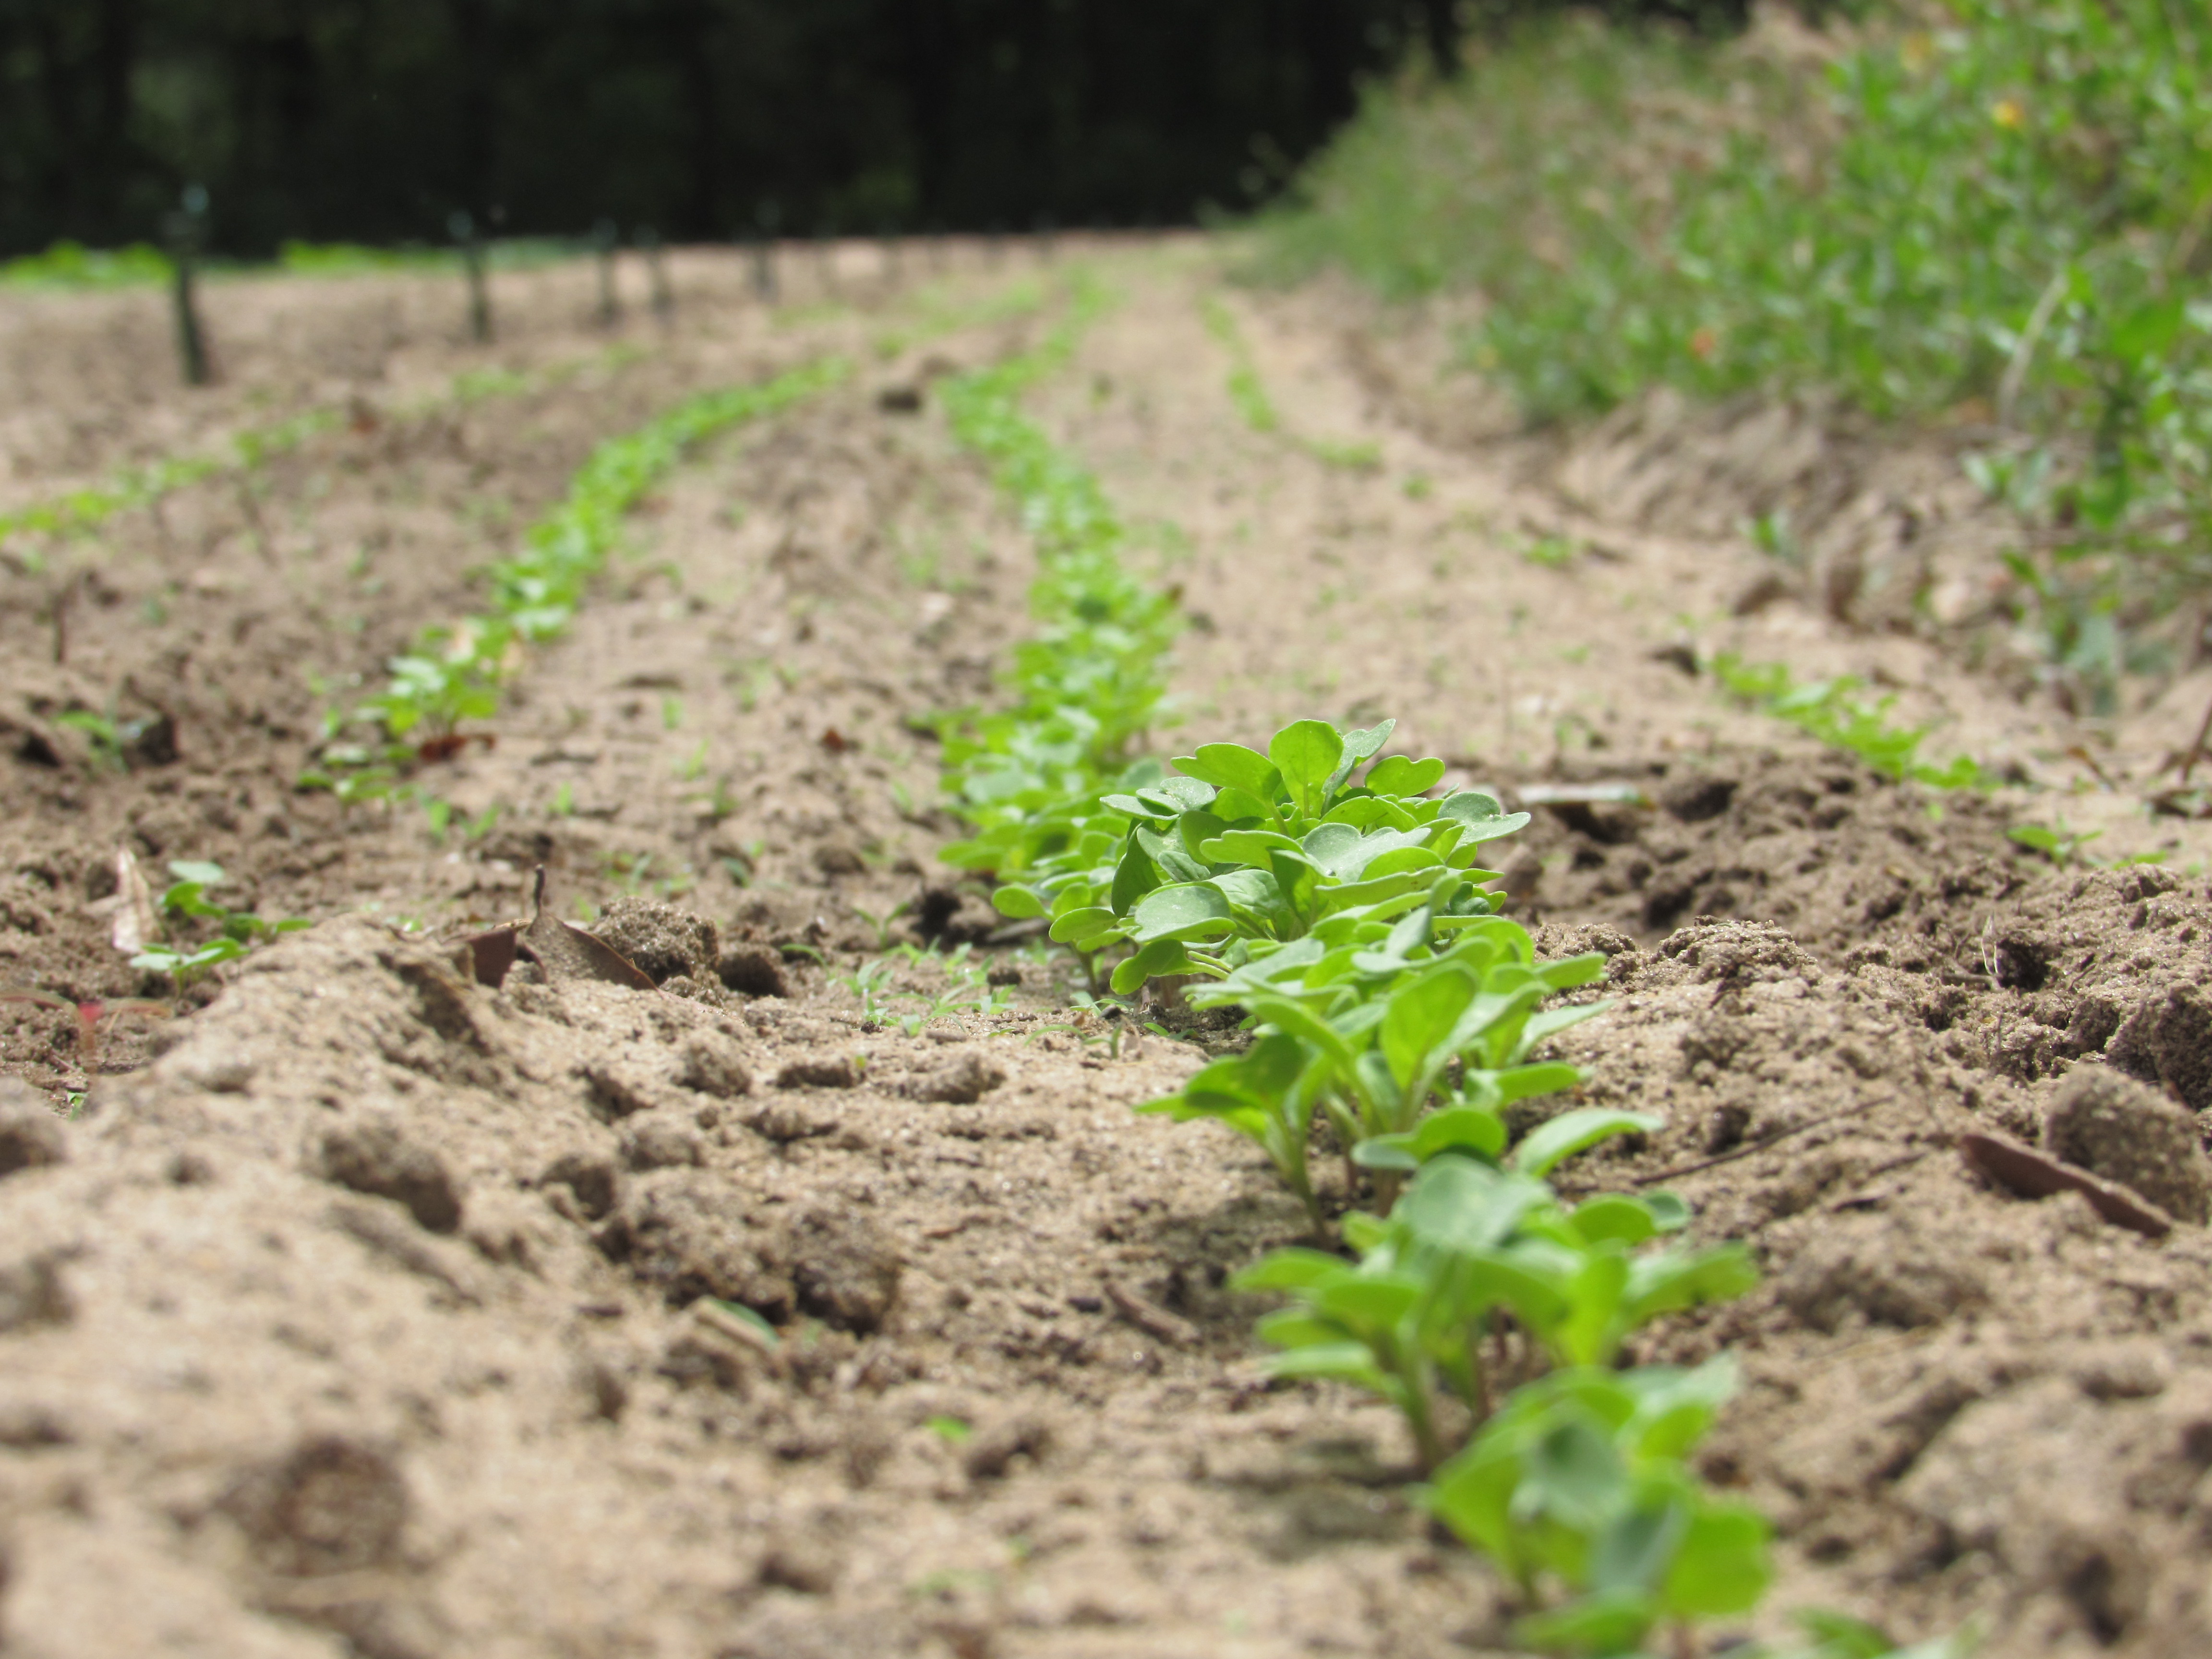
Yay, we are halfway through with August and our summer is winding down! This is the perfect time to start prepping for that fall garden. Growing a productive fall vegetable garden requires thoughtful planning and good cultural practices. This process consists of selecting a site, planning the garden, preparing the soil, choosing the seeds and plants, planting a crop, and nurturing the plants until harvest time. In the Florida Panhandle it can be a challenge to get cool season crops started; there is a balance in starting them early enough to allow them to mature (50-60 days) before a hard frost and getting them through the end of a hot summer.
August and September are the main planting times for a fall garden. There are several cool-season crops and a final crop of warm-season vegetables that can be planted. Some good warm season crops are lima beans, cucumbers, eggplant, peppers, and tomatoes. Going into September it will be a good time to establish strawberry plants. Some good vegetables to start growing just around the corner are broccoli, carrots, cabbage, collards, mustard, and Swiss chard. https://edis.ifas.ufl.edu/NorthFloridaGardeningCalendar Herbs that do well are cilantro, parsley, and lemongrass. Mint, oregano, and thyme should be planted in containers as they tend to spread. Mexican tarragon, mint, rosemary, and basil will also do well in September. See Herbs: http://edis.ifas.ufl.edu/topic_herbs
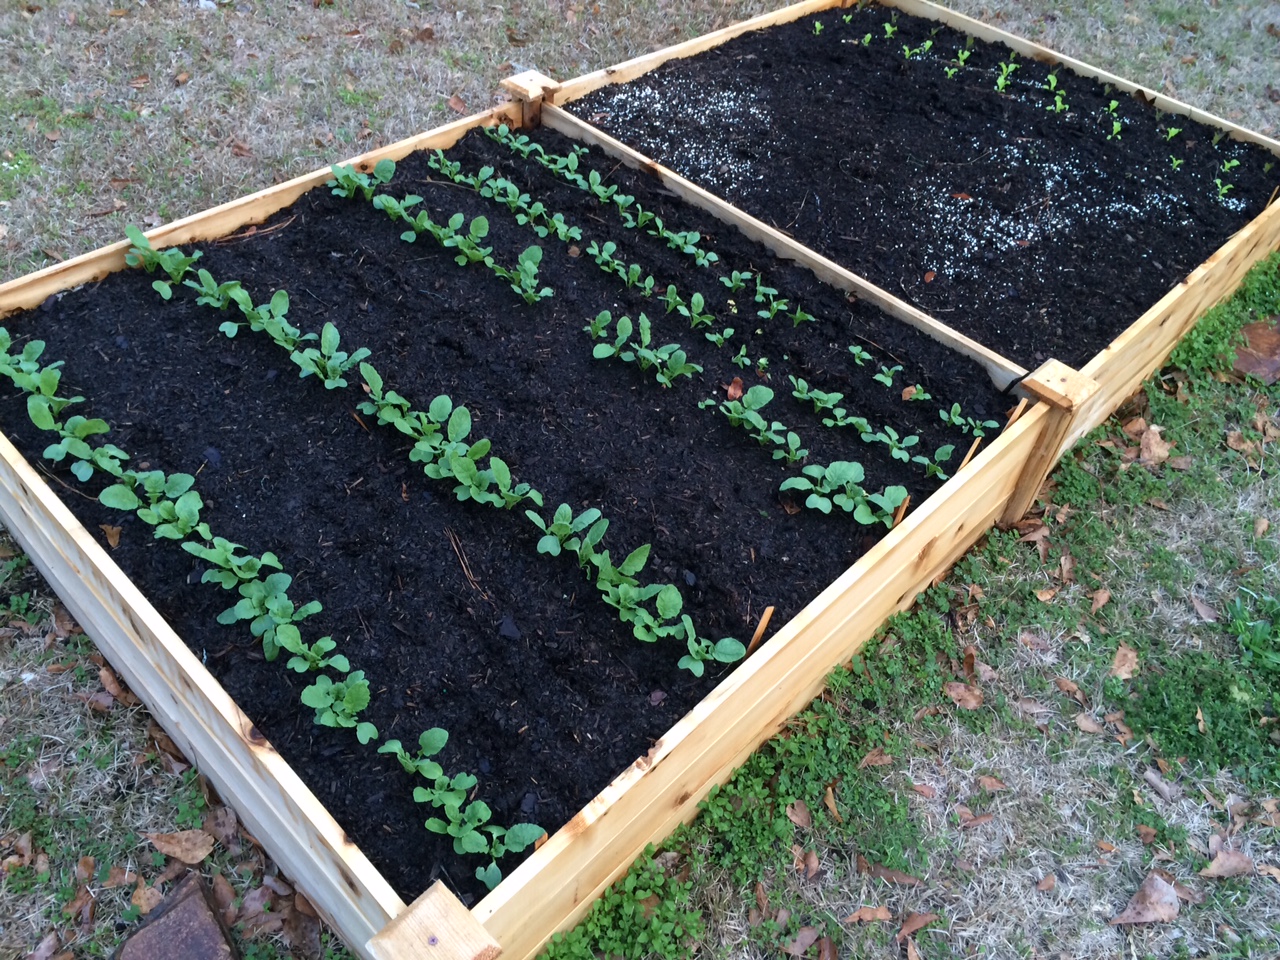
Transplants from the local garden center will get the garden off to a fast start while seeds will offer more varieties to choose from. It is also important to think about your location. A vegetable garden can be in the ground, a raised bed, or even grown in containers. Your plants will need more than just a place to grow. They will also need sunlight, water, air, soil, fertilizer, and care. Most vegetables require at least 8 hours of sunlight. Keep an eye out for pest problems such as insects, diseases and weeds because they will continue to flourish in warm temperatures and high humidity. To help conserve soil moisture a layer of newspaper and mulch can be placed between the rows. Mulch also aids in weed control.
Raised beds are an excellent way to get started with gardening. Photo by Molly Jameson.
The result of a beautiful, successful vegetable garden is fresh produce to eat, share with neighbors, family, and friends and even the possibility to sell your harvest. With patience and practice your gardening skills will improve every year! Follow the above few tips and you will be well on your way to a great harvest! For more information about starting a fall garden or any other horticultural or agricultural topic, contact your local UF/IFAS County Extension Office. Happy Gardening
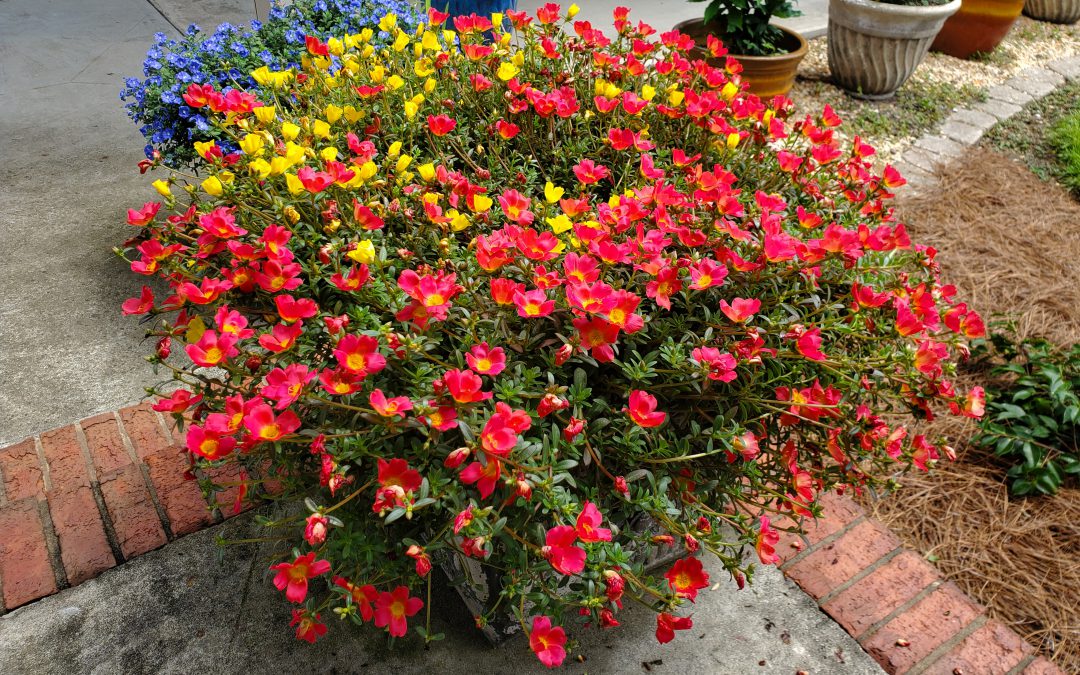
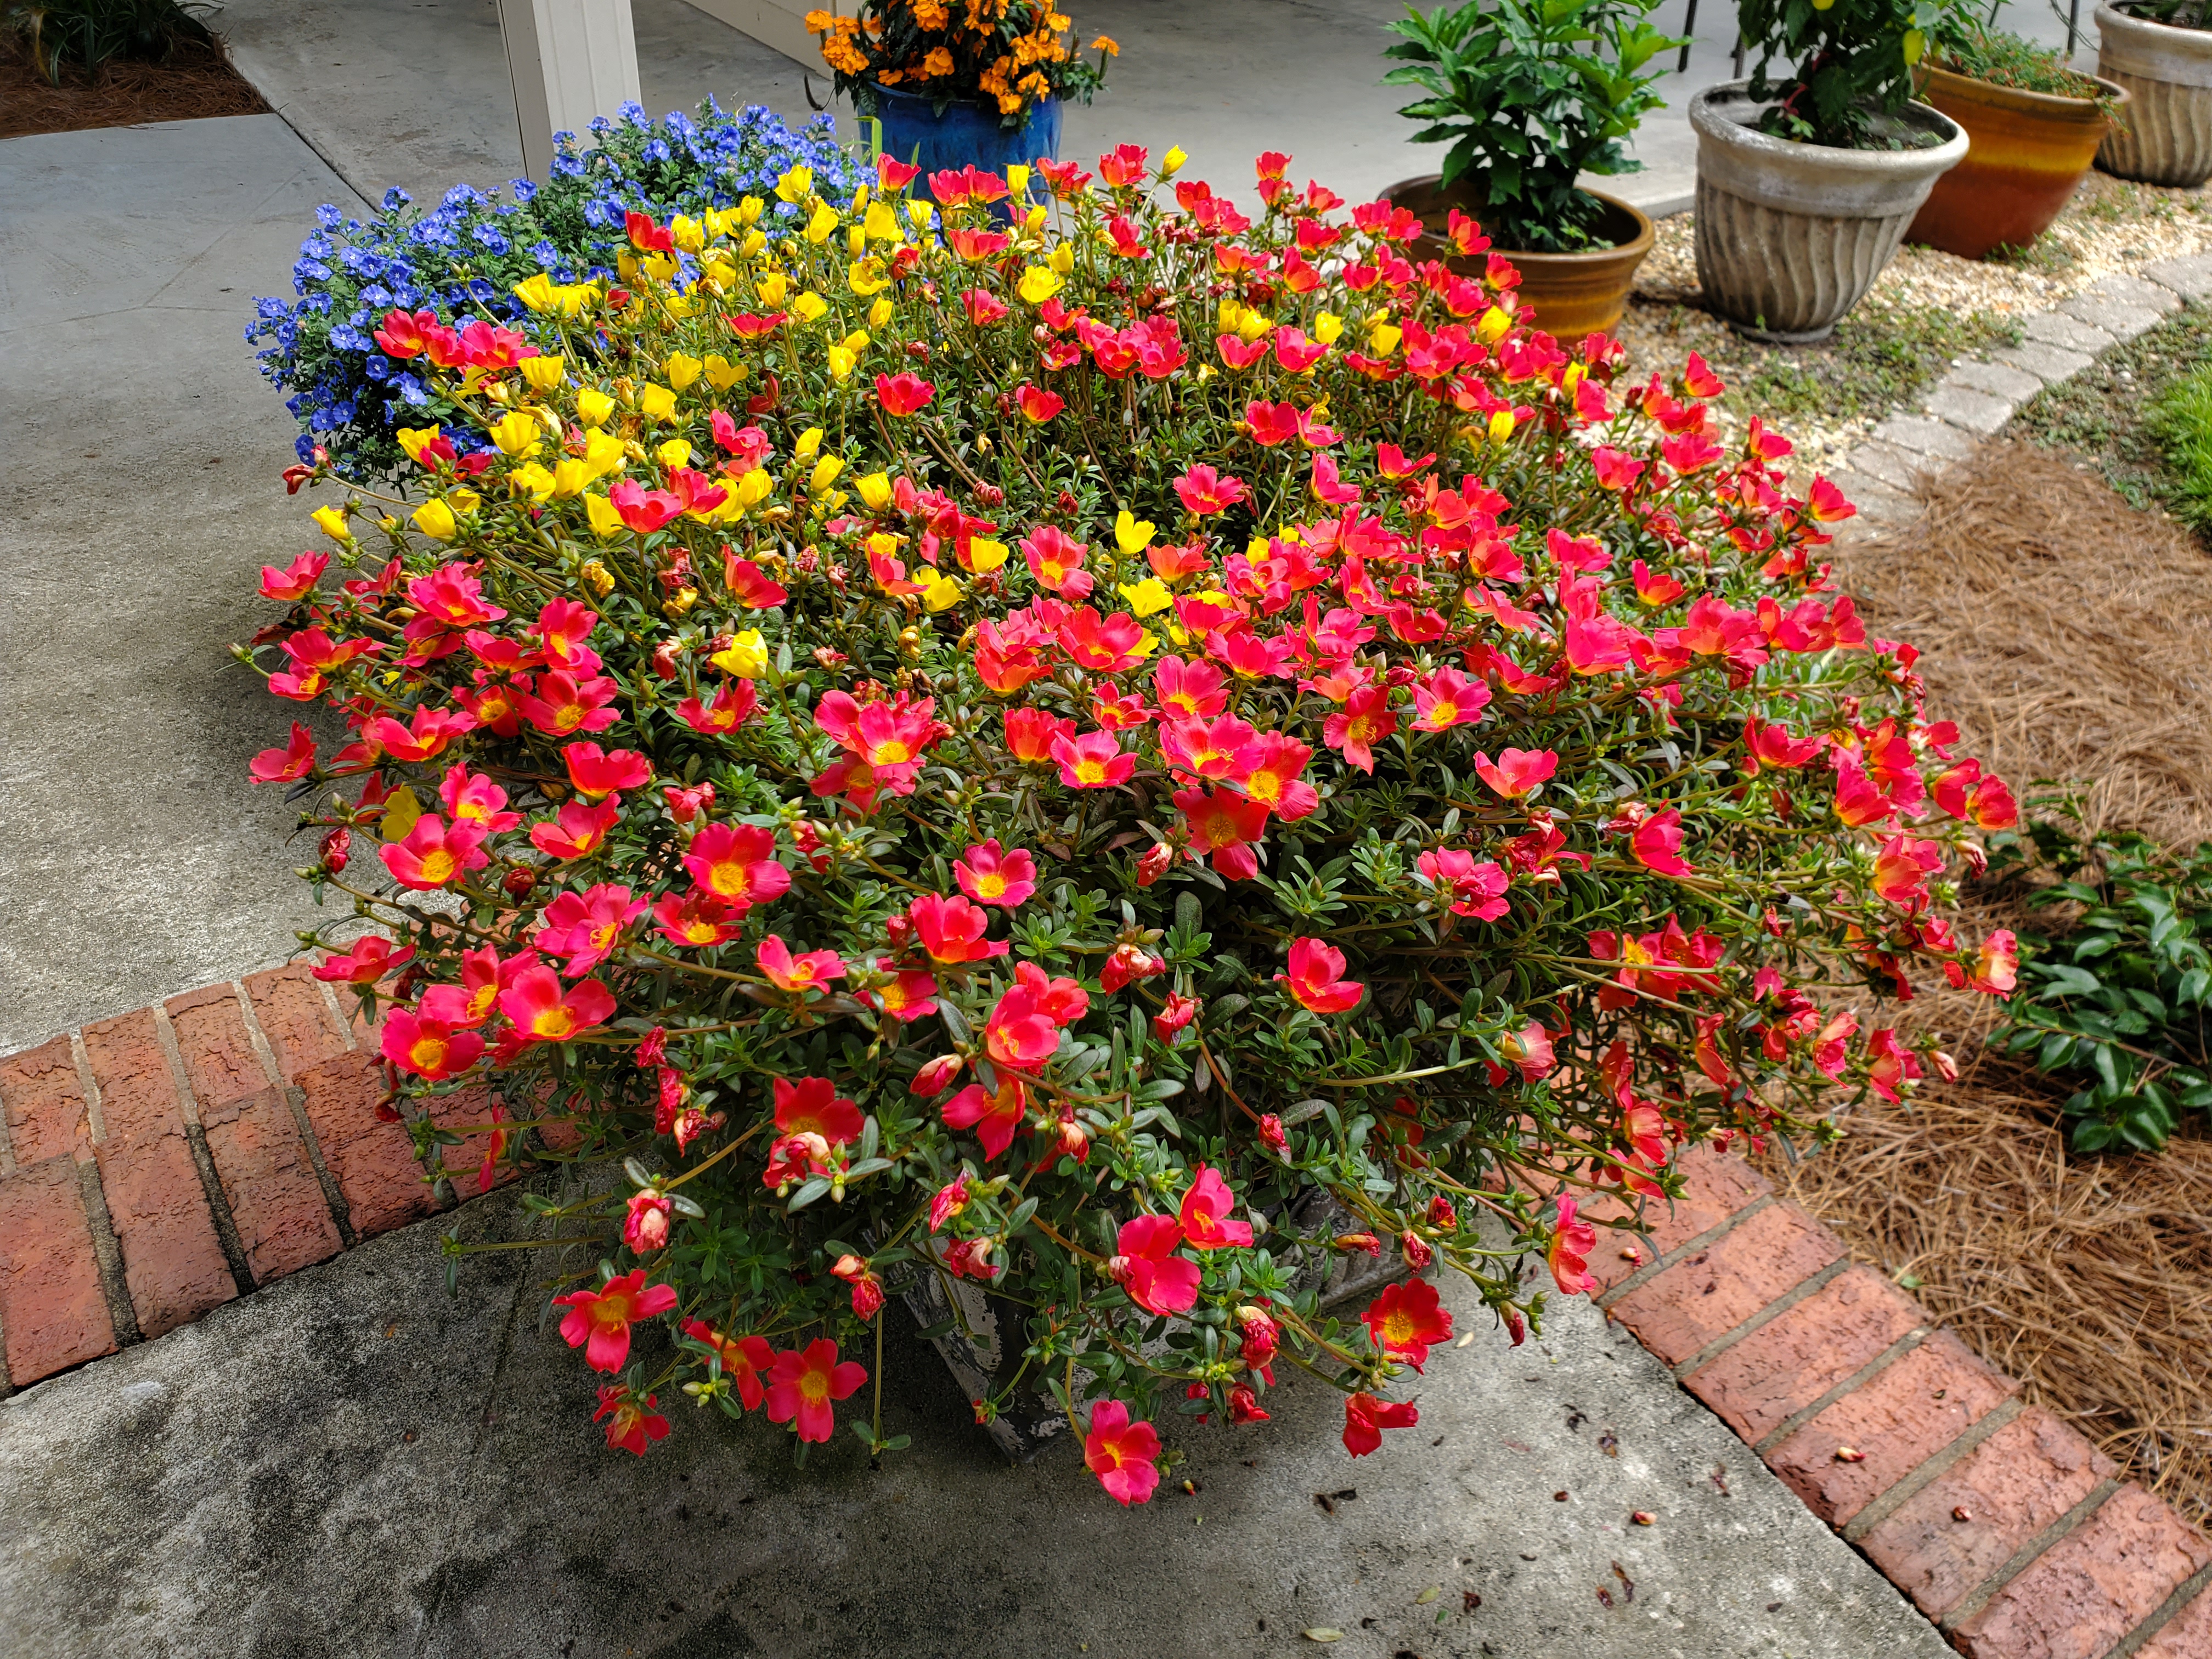
Purslane on a Calhoun County back porch. Photo courtesy of Daniel Leonard.
The biggest problem folks have with flowering potted plants in the heat of summer is remembering that they need water, lots of it. One way to work around having to remember to water every single day is to plant something that doesn’t like too much water but still can churn out a great daily flower show. For this job, there’s only one choice, Purslane (Portulaca oleracea).
Purslane is a super showy, low-growing, succulent-type annual that loves it hot and a little on the dry side. If planted in the ground, it will form a 6-8” tall flowering carpet over the surface of the soil, but I think it really shines when allowed to fill and then spill over the sides of a container! Individual purslane flowers close shop for the day in late afternoon, but cheerily pop back open as soon as day breaks the following day. For best results, make sure the container you plant in has ample drainage holes in the bottom and fill with a quality, quick-draining potting mix. After planting, top dress with a slow-release fertilizer according to the label rate and water only when the soil begins to dry out (every other day or so, generally). Plant a Purslane today!
It seems like every time I pick up a home and garden type magazine, the cover photo is dotted with flowering orchids and indoor foliage plants that are inevitably in pristine condition. However, years of experience troubleshooting issues with both my own interior plants and those for clients tell a different story. All too often, indoor potted plants languish for years, barely alive, until they finally succumb. I’ve taken several to the plant graveyard just past the edge of the back yard because of this exact scenario. In recent times though, I’ve figured out a way to mostly avoid pitiful looking indoor plants – take them outside in the warm months!
To appreciate the perks of getting your indoor plants outdoors, it’s helpful to first think about why most interior situations aren’t very conducive to plant growth. There are three primary reasons houseplants fail: not enough light, improper watering, and low humidity. Most plant species grown for interiorscapes hail from the tropics where they grow in the understory of large trees, receive bright, filtered sunlight, and experience abundant moisture and humidity. These conditions are VERY hard to mimic in the typical American house unless you huddle all your plants near windows, take steps to increase humidity (which doesn’t play super well with furniture and other household items), and really tune in your watering. Taking indoor plants outside to play in the Panhandle summers just really makes the whole situation much easier!
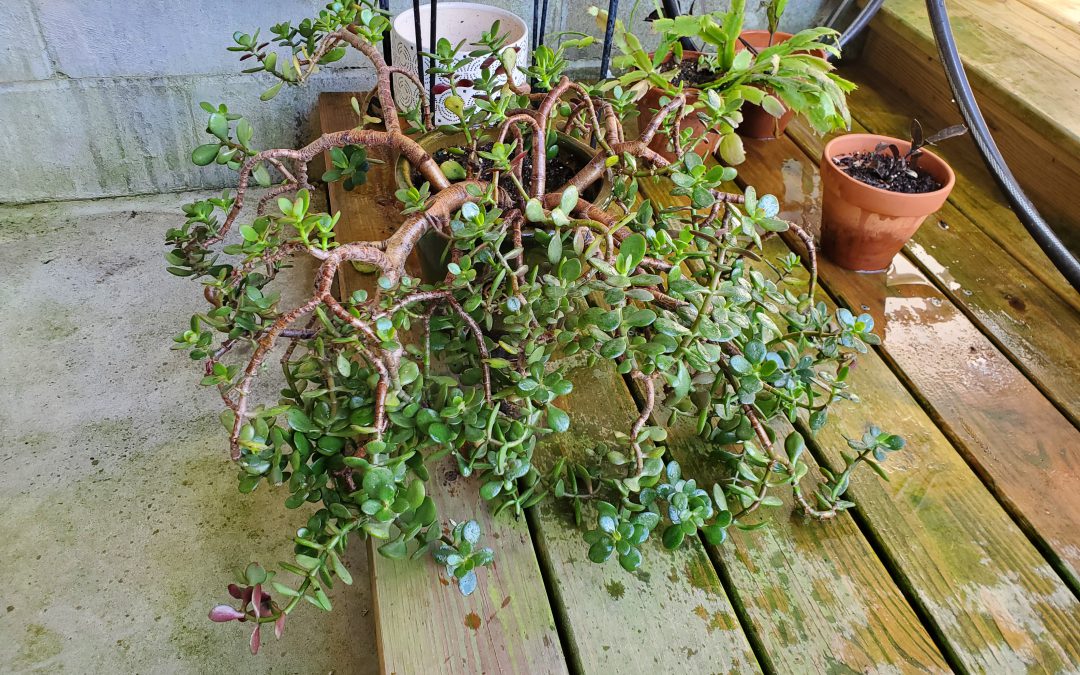
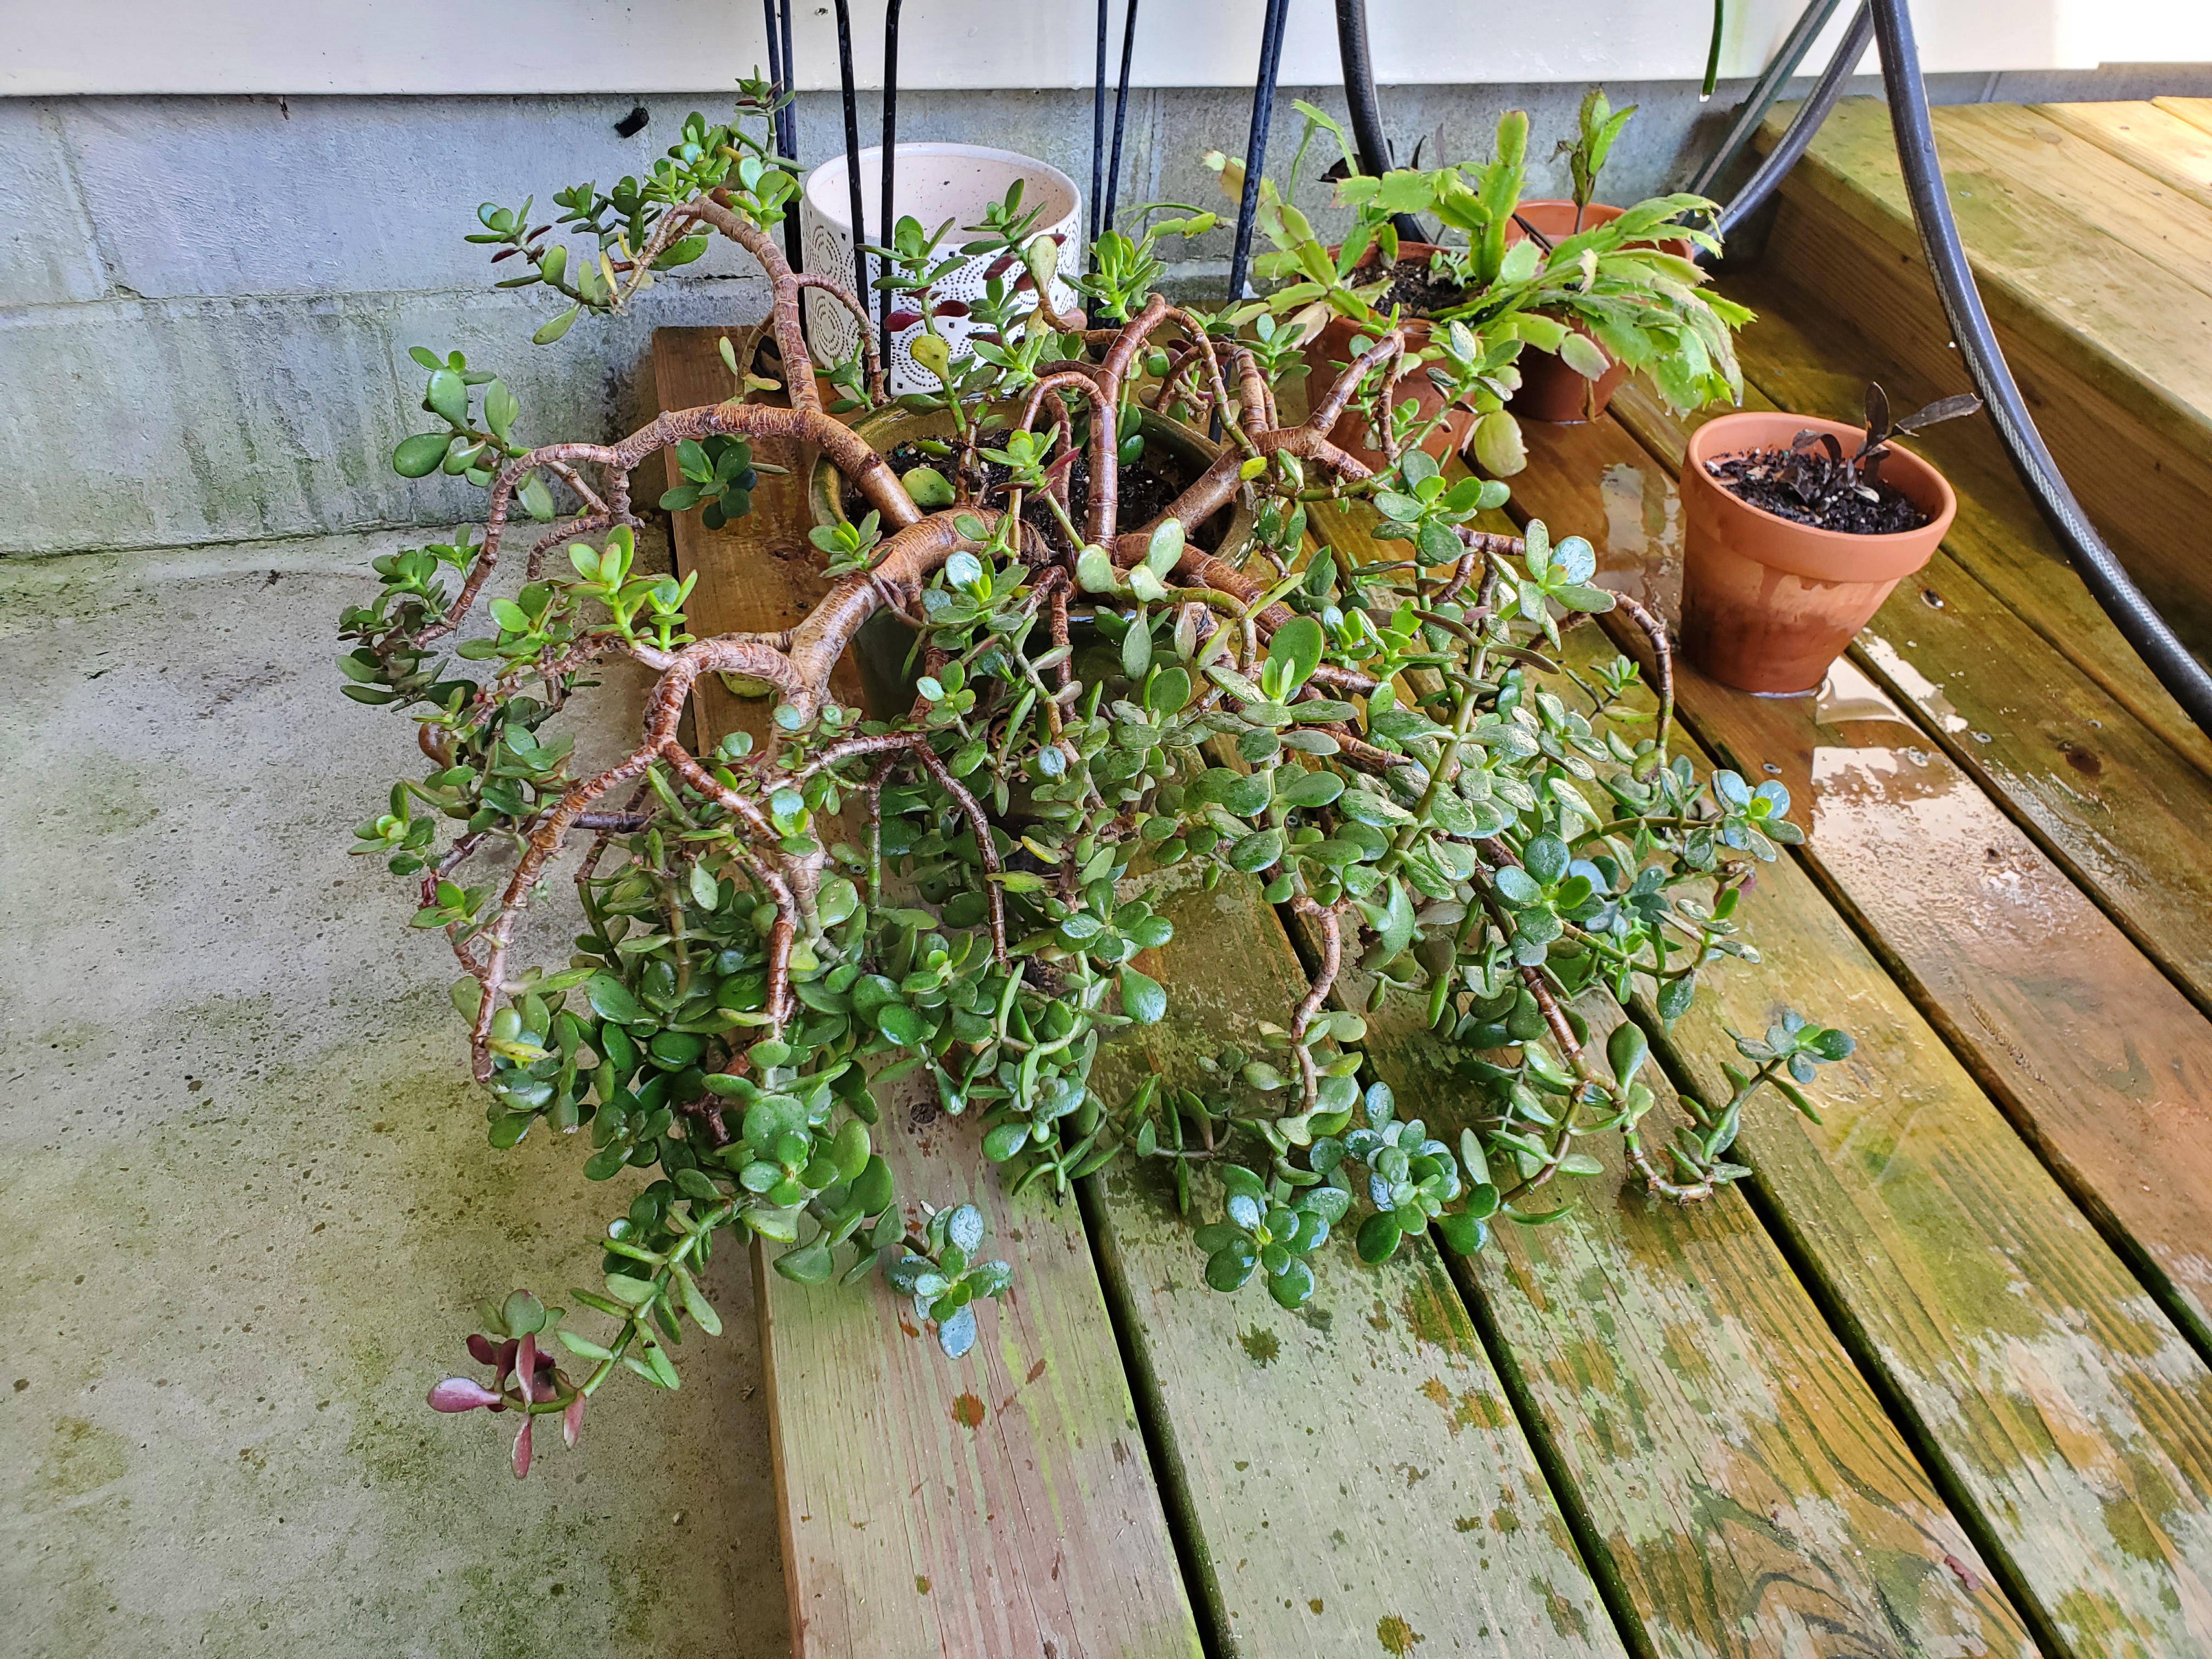
A Jade Plant that had languished indoors during the winter beginning to perk up outside! Photo courtesy of Daniel Leonard.
Now that you’ve made the decision to move your indoor plants out, figuring out where to site them is the next step. I’ve found that, with few exceptions, houseplants prefer to be in a bright area but away from direct sunlight – under mature trees, on a covered porch, anywhere that doesn’t get direct sunlight will do! It is also a great idea to place plants near a watering source. If a hose doesn’t easily reach the spot or it’s inconvenient to tote a watering can to them, your plants won’t get watered regularly and will suffer. You’ll be surprised how much water plants use when they’re in conditions conducive to growth so be sure to check pots every couple of days to prevent droughty conditions! Once in these new and improved growing conditions, your houseplants will also respond very well to a little extra fertilizer. A good general prescription is a topdressing of a slow-release fertilizer using the recommended label rate as soon as you bring them outside and following that up once each month with a supplemental liquid fertilizer.
Keeping houseplants happy in the Florida summer is easy and begins with getting them outside. Find a spot with bright, indirect light, keep them watered well, add a little fertilizer, and watch them grow like they never have before! For more information on growing houseplants or any other horticultural or agricultural topic, contact your local UF/IFAS County Extension office. Happy gardening!
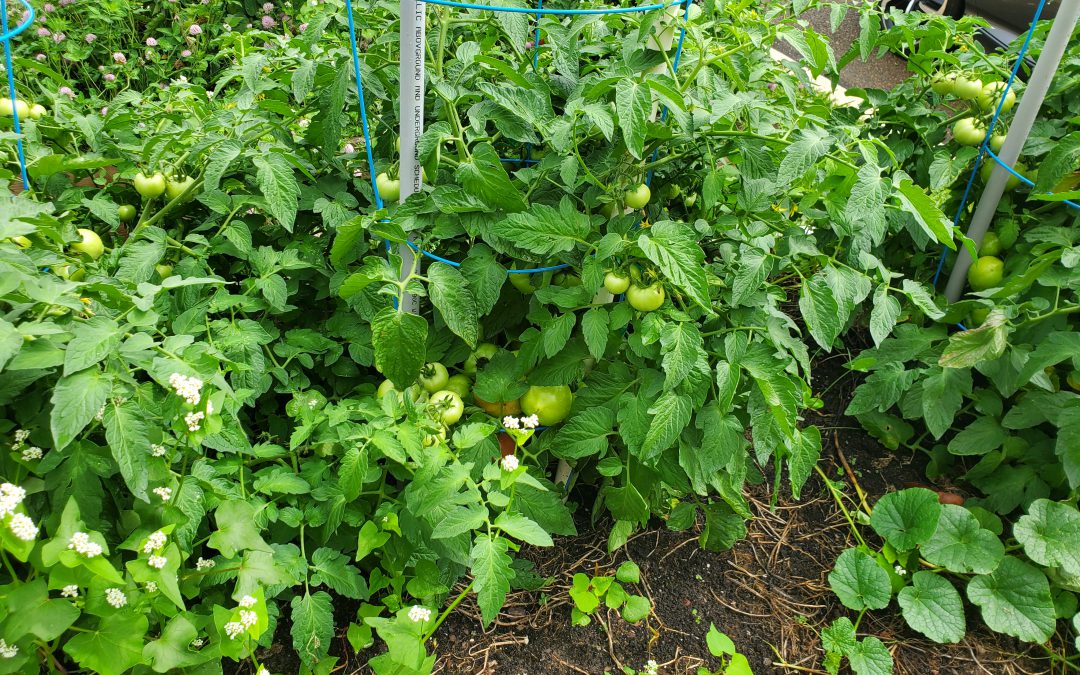
2022 has been a good tomato growing year for many Panhandle gardeners, myself included. It would have been difficult to have better climatic conditions to aid a terrific tomato harvest. After enduring a late frost just before Easter, the Panhandle then experienced two mild months in April and May that combined with nearly a month of dry weather during fruit development to deliver an excellent fruit set season with minimal disease and insect pressure. However, despite the favorable growing conditions, I have talked with several gardeners that once again struggled to yield a good crop of fresh garden tomatoes. Why is that? With the Panhandle tomato home gardening season nearing its conclusion, now is a perfect time to revisit 3 of the most common mistakes that prevent an excellent harvest!
Not Starting Early – Since Memorial Day, the rain and heat have really ramped up. These hot, wet conditions are perfect for developing tomato plant problems like fungal and bacterial diseases, not to mention the fact that tomato plants will stop setting fruit once nighttime temperatures rise above 75 F. While spraying fungicides preventatively can certainly help decrease disease incidence, the absolute best thing a gardener can do is try to get ahead of the disease-bringing heat and humidity by starting plants early when more favorable growing conditions prevail. So, what is early? I try to have tomato transplants in the ground by March 15 or soon after*. If you plan to grow plants from seed, they should be started indoors mid-January for planting outdoors in mid-March. Most tomato varieties take between 60 and 80 days to mature after planting, so a mid-March planting date normally yields harvestable tomatoes by the middle of May, comfortably beating the June disease deadline. *Planting early means protecting plants from occasional late frosts. Be prepared!
Not Scouting Your Plants – Pest and disease problems are a lot easier to manage if caught early and the best way to do that is to spend time with your plants. If you scout (just walking by and giving plants a short inspection) daily, you’ll learn what tomato plants and the beneficial insects that hang around all the time are supposed to look like an and be able to spot abnormalities and bad bugs when they occur. While tomato diseases and pest outbreaks can certainly cause a lot of damage in a short amount of time, they don’t reach disastrous levels immediately – be vigilant and catch them early!
Not Fertilizing and Watering Correctly – It takes a lot of energy for a tomato plant to grow a nice, bushy plant AND yield an abundance of America’s favorite vegetable (or fruit, depending on who you ask). To produce that necessary energy, gardeners must ensure plants receive adequate nutrition and water. Here’s my general prescription. At planting, apply a general purpose, slow-release fertilizer according to the label rate (for example, Osmocote, Harrell’s, or similar) and gypsum (a calcium supplement that helps prevent blossom end rot) at one pound per hundred square feet of garden. Then, supplement later in the season with a quick-release general purpose fertilizer sufficient to drive growth and fruit development. Watering is more of an ongoing concern. For the first couple of weeks of the tomato plant’s life, you can get by with watering once a day or every other day. As the plants get larger and the days get hotter however, watering twice daily is often needed to prevent wilting down in the heat of the day. Allowing tomato plants to wilt, even for a little while, is an excellent way to encourage blossom end rot and a subpar harvest!
When tomato season rolls around in 2023, remember to start early, scout often, and water and fertilize correctly. Follow those few tips and you’ll be well on your way to a great harvest in 2023! For more information about growing tomatoes or any other horticultural or agricultural topic, contact us at the UF/IFAS Calhoun County Extension Office at 850-674-8323 or email d.leonard@ufl.edu. Happy Gardening!