by Roy Carter | Oct 28, 2014
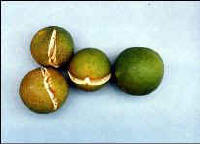
Split citrus fruit. Image credit UF / IFAS
Citrus trees require a lot of care and attention to produce good quality fruit, yet even the most careful gardeners may run into the problem of split-fruit on their citrus trees. Split-fruit is a condition which strikes citrus trees in September and October and can wipe out a hundred or more fruit on a single tree. Researchers at the University of Florida have been studying fruit splitting for many years. Clear cut causes or solutions have not been found. My information on fruit splitting was provided by Extension Fruit Crop Specialist, Dr. Pete Andersen with IFAS located at Quincy, North Florida Research and Education Center.
Researchers have found that certain varieties of citrus tend to split more often than other. “Sweet Oranges” Tangelos” and certain varieties of Satsuma’s tend to split more than citrus which is not sweet. Grapefruit and acid fruits, such as lemons and limes rarely split.
The condition is known to be more common in seedlings and young trees than in older, more settled trees. However, split-fruit can be a very serious problem when it occurs on mature trees, because they usually have more fruit to lose.
Another condition which will cause fruit to split is insufficient copper in the soil. This used to be a much greater problem than it is today, due to the wide-spread use of copper in most fertilizer and spray programs. Potassium deficiency results in small, firm fruit with thin peels and increased fruit splitting. However, added potassium doesn’t correct splitting related to citrus varieties.
The most commonly held belief is that fruit splitting is caused by climatic conditions, since it only seems to occur at one time of the year. During the late summer and high humidity, followed by periods of drought. After a series of heavy rains, the trees absorb a great deal of moisture and force it into the fruit. Since the fruit is near maturity, the rind becomes less pliable and can’t expand rapidly enough to absorb the great volume of water from the trees. As a result the fruit splits.
Despite these findings, there are numerous cases of fruit splitting that doesn’t appear to be related to any of the above conditions. When the cause of the split is not fully understood, there is not absolute method of control. Also, there is no way to stop fruit splitting while it is occurring. The problem must be prevented before it starts. Attempts to control splitting through irrigation practices, fertilization and growth regulators have met with some success.
Fertilizer and irrigation practices won’t cure splitting, but may help to avoid large increase in the number of split fruit. In addition, growth regulators are available which can thicken the peel of the orange. Thicker peels have been found to split much less often that the thinner peels, due to their ability to withstand extra water pressure during the critical moths of the year.
If fruit splitting is a problem this year follow a recommended fertilizer program next year. This will insure a good supply of minor nutrients, especially copper. Make sure to keep the trees well watered during the dry periods of late summer and early fall. This will keep the fruit from swelling too rapidly, and splitting as a result.

by Matthew Orwat | Oct 14, 2014
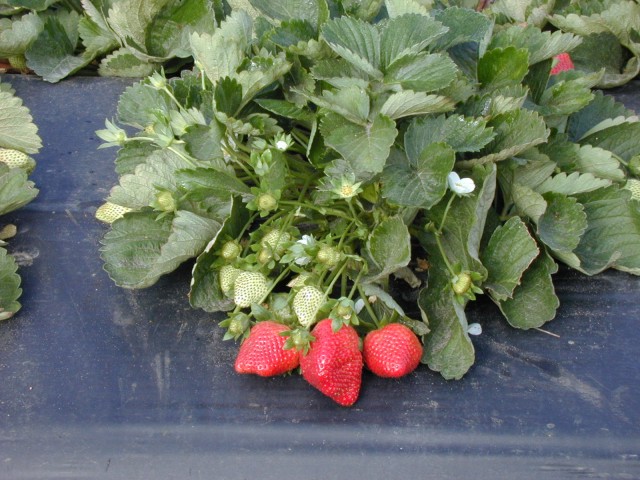
Sweet Charlie Strawberry. Credit: C.K. Chandler, UF IFAS Extension
Now is the time for Northwest Florida gardeners to plant strawberries for bountiful production of fruit beginning in January and continuing into May. The following procedure will lead to a successful strawberry garden if followed:
The best location for strawberry production provides well-drained, moist, sandy soil with substantial organic matter. It must not be too wet. A fertilizer scheme of 2 lbs of a 6-8-8 fertilizer per 100 sq ft should be broadcasted over the plot, and spaded or disked in. Prepare the bed by leveling out the soil. Commonly, a preferred system is the development of a hill system, which entails making a raised bed 6-8 inches high and 24 inches wide. A raised bed can be filled with well-rotted compost mixed at a 50:50 rate with soil. After bed preparation, provide another application of fertilizer in a single, narrowband in the middle of the bed, 4 to 8 inches deep, but DO NOT apply fertilizer directly below the plants, as the fertilizer may burn the young transplants. Do not use fertilizer with more than 6% nitrogen on strawberries, so that they have less chance of burning and greater chance of setting sweet, quality fruit.
Short day, certified disease free plants for Florida such as Sweet Charlie and Camarosa should be purchased from a reputable nursery.
If growing the plants using plastic mulch or grow fabric, put drip irrigation underneath in the form of drip emitters or bubbler type soaker hose.
When setting out the transplants:
- Keep plants moist before planting
- Spread roots out in fan-shape
- Set plants in moist soil at the correct depth. Do not cover the plants crown with dirt or leave its roots exposed above the soil.
- Space plants 12 to 18 inches apart.
- Pack the soil firmly around the roots, then sprinkle with water. Overhead sprinkling may keep the tops from drying out until the roots can get established.
For best results, strawberries should be mulched. Black polyethylene plastic mulch at 1 to 1½ mil thick is best (completely cover the top and sides of bed before planting). Be sure the bed is firm, formed correctly, moist, and fertilized adequately. Place soil on the edges of the plastic to hold it in place. Cut slits in the plastic for the transplants.
When using alternatives like straw, bark or other natural organic materials mulch to a depth of 1 to 2 inches, but do not completely cover the plant.
For more information on growing strawberries contact your local UF IFAS Extenison office or read this publication on strawberry production.

by Matthew Orwat | Sep 16, 2014
Prolific producing muscadine cultivar ‘Granny Val’ – Image Credit Dr. Peter C. Andersen
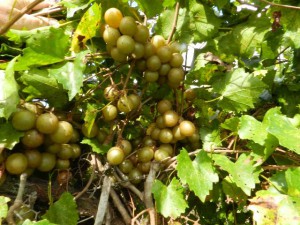
Mother always said “never be late” but in the case of certain muscadine (Vitis rotundifolia) cultivars, it’s good to be late.
Although muscadine harvest can begin as early as July, gardeners with late bearing muscadines are still reaping the benefits of fruit harvest and may until early October.
Northwest Florida gardeners often grow muscadines as a substitute for traditional grape (Vitis vinifera) cultivars such as ‘Concord’ or ‘Thompson’s Seedless’, since they are prone to Pierce’s Disease. In fact, muscadines are native to the southwest USA and resistant to a variety of insect and disease pests, so much so that they can be grown in the home garden without the use of insecticides or pesticides.
An additional advantage of gardening with muscadines is that they can easily be asexually propagated. To mimic the natural asexual propagation of wild muscadines, home gardeners may use the pegging method. Pegging entails wounding the branch in several locations, then burying the wounded section of the branch in moist soil while leaving the shoot tip exposed. If this is done in the late spring or summer, roots should form from the main branch in about a month. After roots are confirmed, the connection with the mother plant can be cut.
Planting time for muscadines depends on the type of plant purchased. If gardeners want to plant bare root vines, they should plant them between December and January, but containerized plants can be planted any time.
Before muscadines are planted, soil tests should be performed to determine pH. Muscadines can be grown in the pH range of 5.5 to 7.0, with the optimal level between 6.0-6.5. Since many soils in northwest Florida are highly acidic, tests should be done at least 3 months before planting. This will allow the addition of an optimal lime source Dolomite, which takes 3 months to raise the pH but also adds magnesium to the soil.
If this article prompts the reader to plant muscadines, refer to HS # 753 “The Muscadine Grape” for information about establishment, irrigation and fertilization.
Here is a list of recommended late bearing cultivars to look for when selecting plants.
-
Big Red
-
Delight
-
Doreen
-
Farrer
-
Granny Val
-
Late Fry
-
Nesbitt
-
Polyanna
-
Supreme
-
Pineapple

by Mary Salinas | Sep 2, 2014
Need some advice to get started with a fall garden? The horticulture agents of the Northwest Extension District are pleased to present an interactive video series for the beginning gardener.
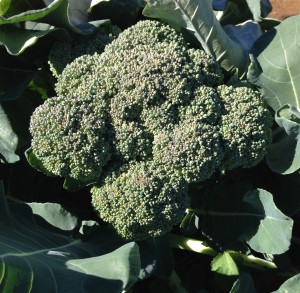
Broccoli, a popular winter vegetable. Photo by Mary Derrick, UF IFAS
The schedule is as follows:
September 9th – Starting a Home Vegetable Garden: Expectations, planning and site preparation
September 16th – Starting a Home Vegetable Garden: Tips to use whether you are starting with seeds or transplants
September 23rd – Tops and Bottoms for the Cool Season Garden: Cool season crops such as lettuce, broccoli, cabbage, chard, strawberries, onions, potatoes and carrots
Consult the list of Participating counties for the location nearest to you. The cost is $30 for an individual and $45 for a couple and covers all three sessions and informative handouts. All classes are held 6-7:30 p.m. Central time.
by Blake Thaxton | Aug 12, 2014
Color can make a landscape. Color highlights features of the landscape and draws the eye as a focal point itself. Spring color is dominated by lush new green growth, Summer brings on flowers of all kind, and fall brings the spectacular show of foliage.
[important]A new suggestion: use vegetable crops as fall color![/important]
Fall and winter vegetable crops for the panhandle of Florida bring a different hue of colors that can be utilized in the landscape. Let’s walk through a few that you may want to start seed for to brighten up your fall garden.
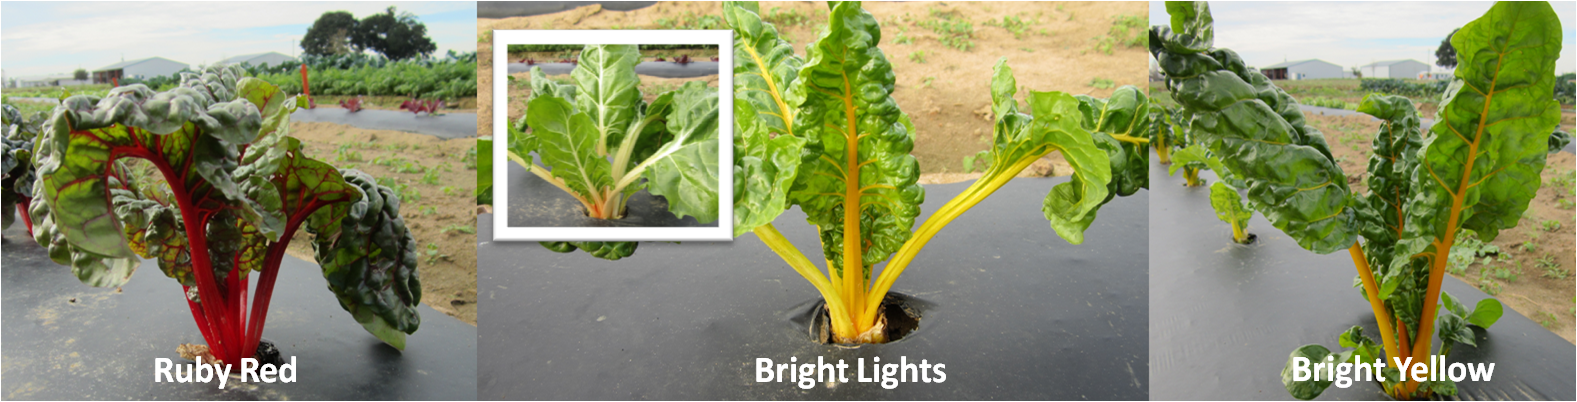
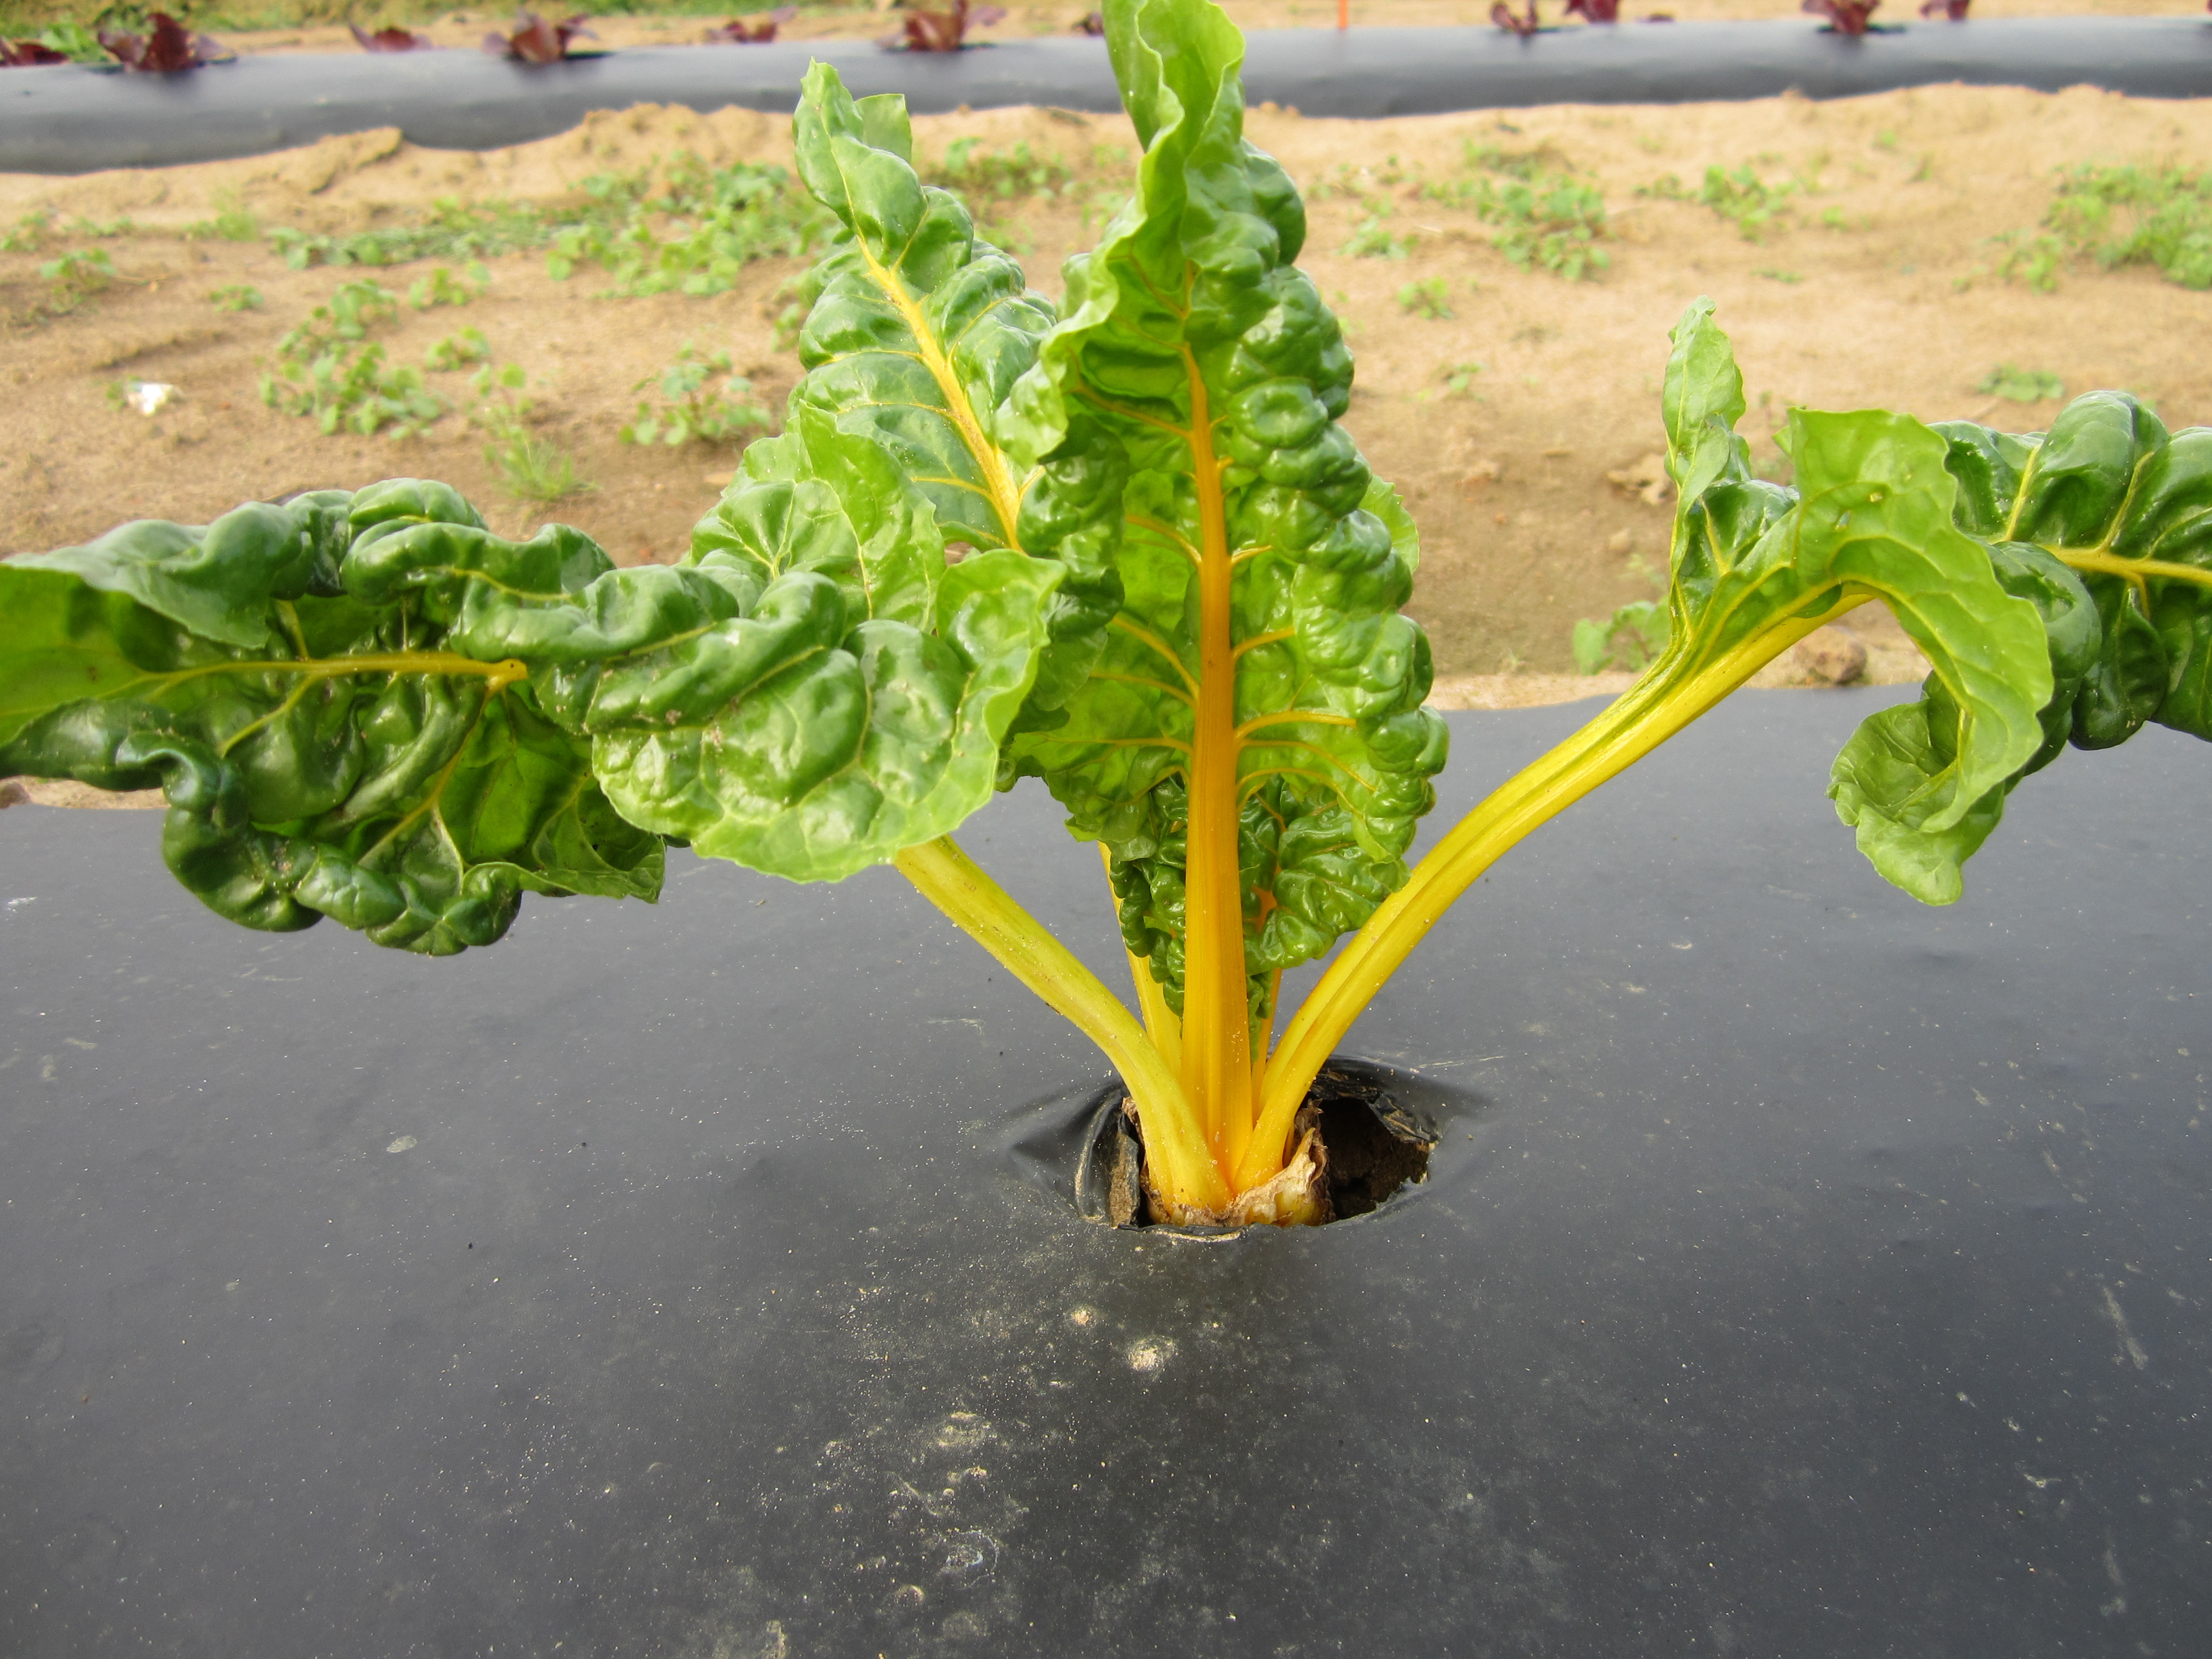
Swiss Chard
Swiss Chard brings several colors to our finger tips. Reds, Whites, Greens, and Yellows are all available from different varieties of these crops. Not only do they bring great color to the landscape but they also are sometimes referred to as the “Champagne” of greens. They can be directly seeded or transplanted and should be planted 6-12 inches apart.

Swiss Chard Varieties. photo credit – Blake Thaxton
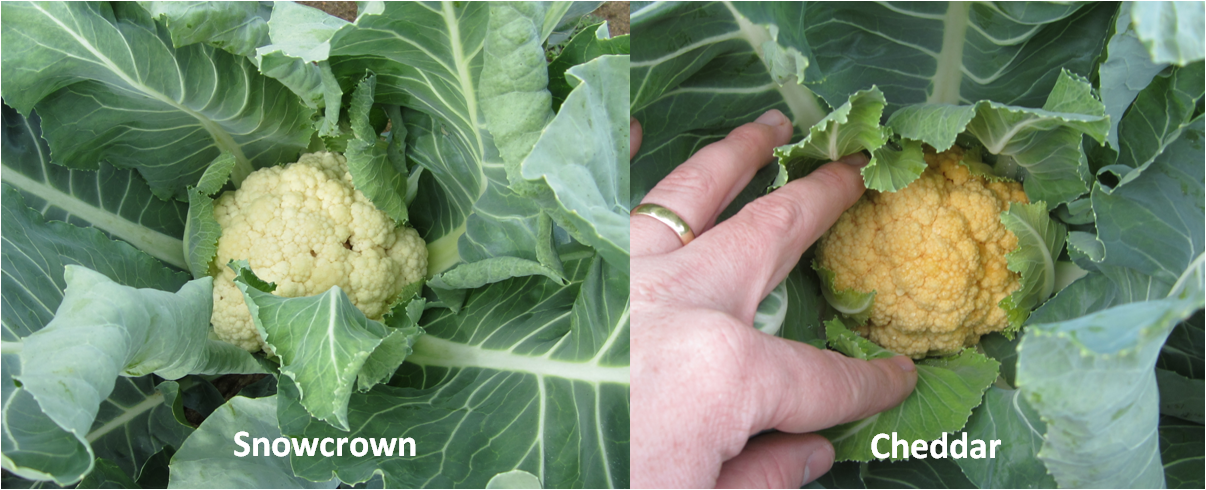
Broccoli & Cauliflower
Broccoli brings a blue/green foliage and Cauliflower various colored heads. Both can bring great color to the landscape and allow for something delicious to eat in the very near future. Broccoli and Cauliflower transplants should be used for planting. Broccoli and cauliflower should be given plenty of room with approximately 24 inches between plants.
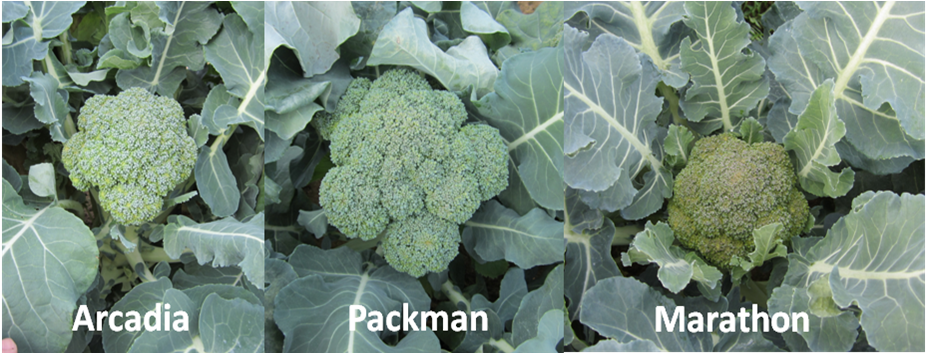
Broccoli Varieties. photo credit – Blake Thaxton

Cauliflower Varieties. photo credit – Blake Thaxton
There are many other crops to consider for fall color such as Lettuces, Cabbages, Kale, Etc. Comment below with other vegetable crops that can be used for fall color.
by Eddie Powell | Aug 12, 2014
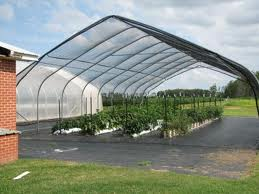
Shade House for early fall crop
Credits: UF/IFAS
In fall, many Florida homeowners enjoy growing their own vegetables but are faced with late summer heat issues. This happens during the first few days of August here in north Florida. Most cole crops are recommended to be planted for the fall as early as August 1, but they must be protected from the hot weather or they may need to be replaced if hot weather damages them. A diverse selection of both heat-resistant and tender plants should be planted in order to prevent total devastation of the garden by extremely hot weather.
The site selection for tender plants should be number one on your list when protecting from heat. Fall vegetable plants need a site with good air flow to protect them from the early season hot temperatures. Arranging susceptible plants along a shade barrier can protect them from direct hot sun, especially from afternoon sun. Poorly drained soils result in weak shallow roots which are more susceptible to drying out during a heat wave.
Plants grown with the correctly applied rate of nutrients will tolerate hotter temperatures better and recover from wilt injury faster than plants grown with little to no nutrients. Watering vegetable garden plants early in the day can help protect them. A well-watered soil will stay cooler than a dry soil and keep plants hydrated. However, saturated soil conditions can damage the root systems of most plants over a few days, so make sure the ground is well-drained.
Healthy vegetable plants are more resistant to heat than vegetable plants weakened by disease, insect damage, or nematode damage. Routine inspection for pests and implementation of necessary control measures are essential. Feel free to contact your local county extension office for information on pest identification and recommended controls.
Shade cloth coverings can help protect vegetable plants more from extreme hot temperatures during the beginning of fall gardening. Shade Cloth that extend to the ground and are not in contact with the vegetable plants foliage can lessen heat injury to the plant. If the vegetable plant foliage is in contact with the cover it is often dried out or injured because of heat transfer from cover the foliage can burn the leaves. One example of excellent plant covers is shade cloth or even an old trampoline cover. To learn more on heat protection of vegetable plants call your local UF/IFAS Extension Service