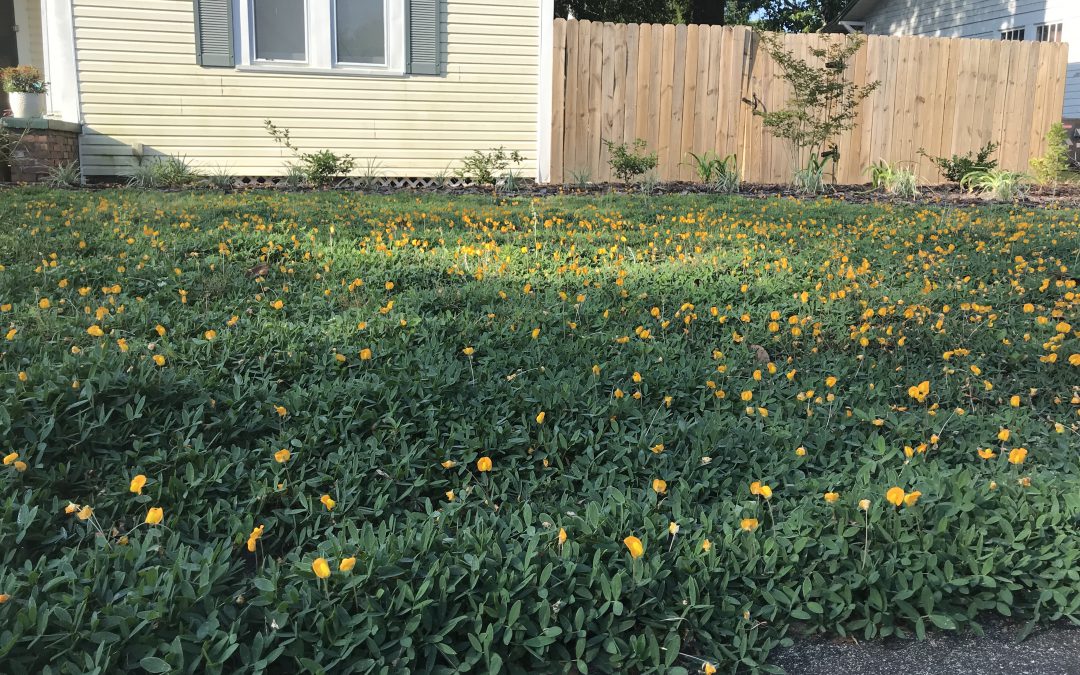
‘Needlepoint’ Perennial Peanut in the author’s lawn.
What began as my journey toward a turf-less lawn in September of 2017 is finally beginning to come together! In the fall of 2017, I installed about 120 one-gallon-sized ‘Needlepoint’ Perennial Peanut (Arachis glabrata) plants, purchased from Sunset Specialty Groundcovers in Live Oak, FL, on roughly 20” centers in my front lawn, an oddly shaped (650 ft2) patch of ground that had been previously filled with spotty centipedegrass and a healthy and diverse weed population. 18 months later, the peanut has almost completely filled in, shaded out all the weeds, and blooms nonstop!
Looking back, I definitely learned a few lessons the hard way. First, you should mulch bare ground in between plants at time of installation. Because there are few herbicides labelled for residential use on this crop and I didn’t want to experiment on my new “lawn”, I spent a lot of time on my hands and knees (much to the amusement of my neighbors and folks driving by) pulling weeds in the first two years that could have been prevented with mulch. Second, have a plan for keeping the perennial peanut in bounds once it has filled in the area it was supposed to and begins to travel into adjacent landscaped beds! The area my peanut inhabits is surrounded on two sides by inescapable concrete. It was on the other two sides, however, that I have had to improvise after they came under siege (literally under, because perennial peanut spreads by underground rhizomes). Installing some sort of edge blocker at planting and vigilance with routine mechanical edging is a must to keep it in bounds! Third, I recommend that you have a counter-argument prepared when the peanut goes dormant in the winter and your wife asks why the yard is bare dirt!
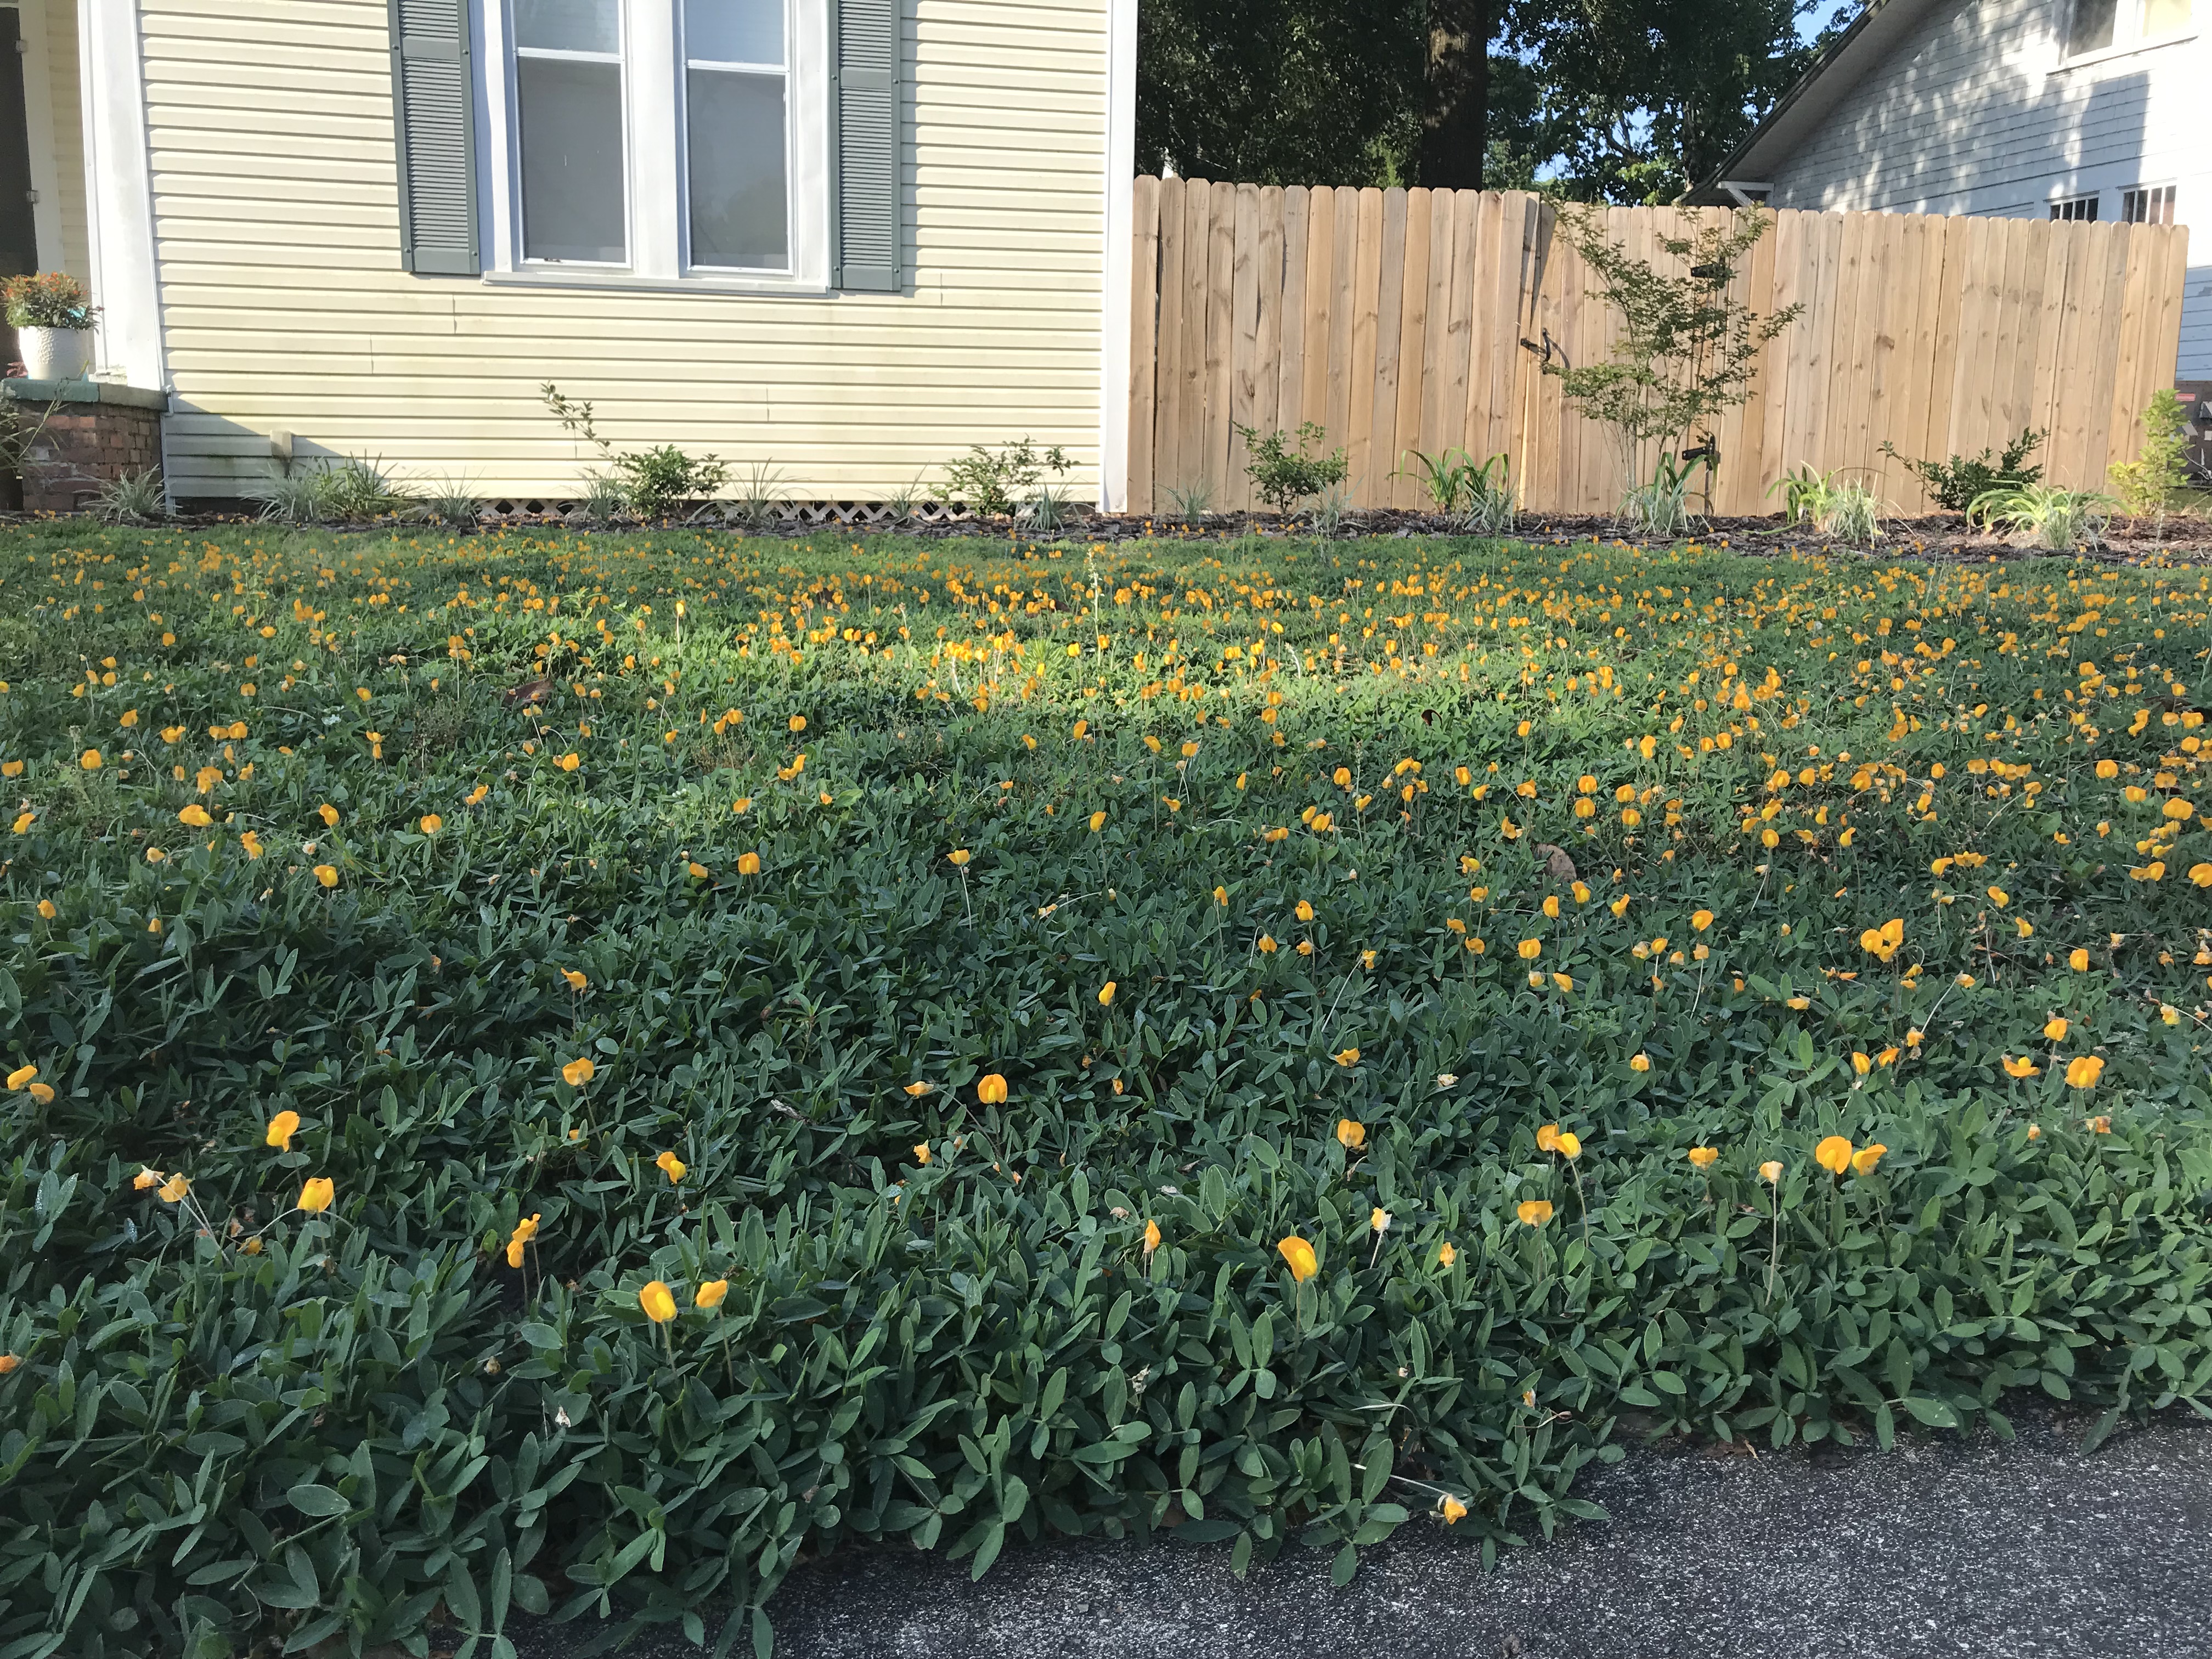
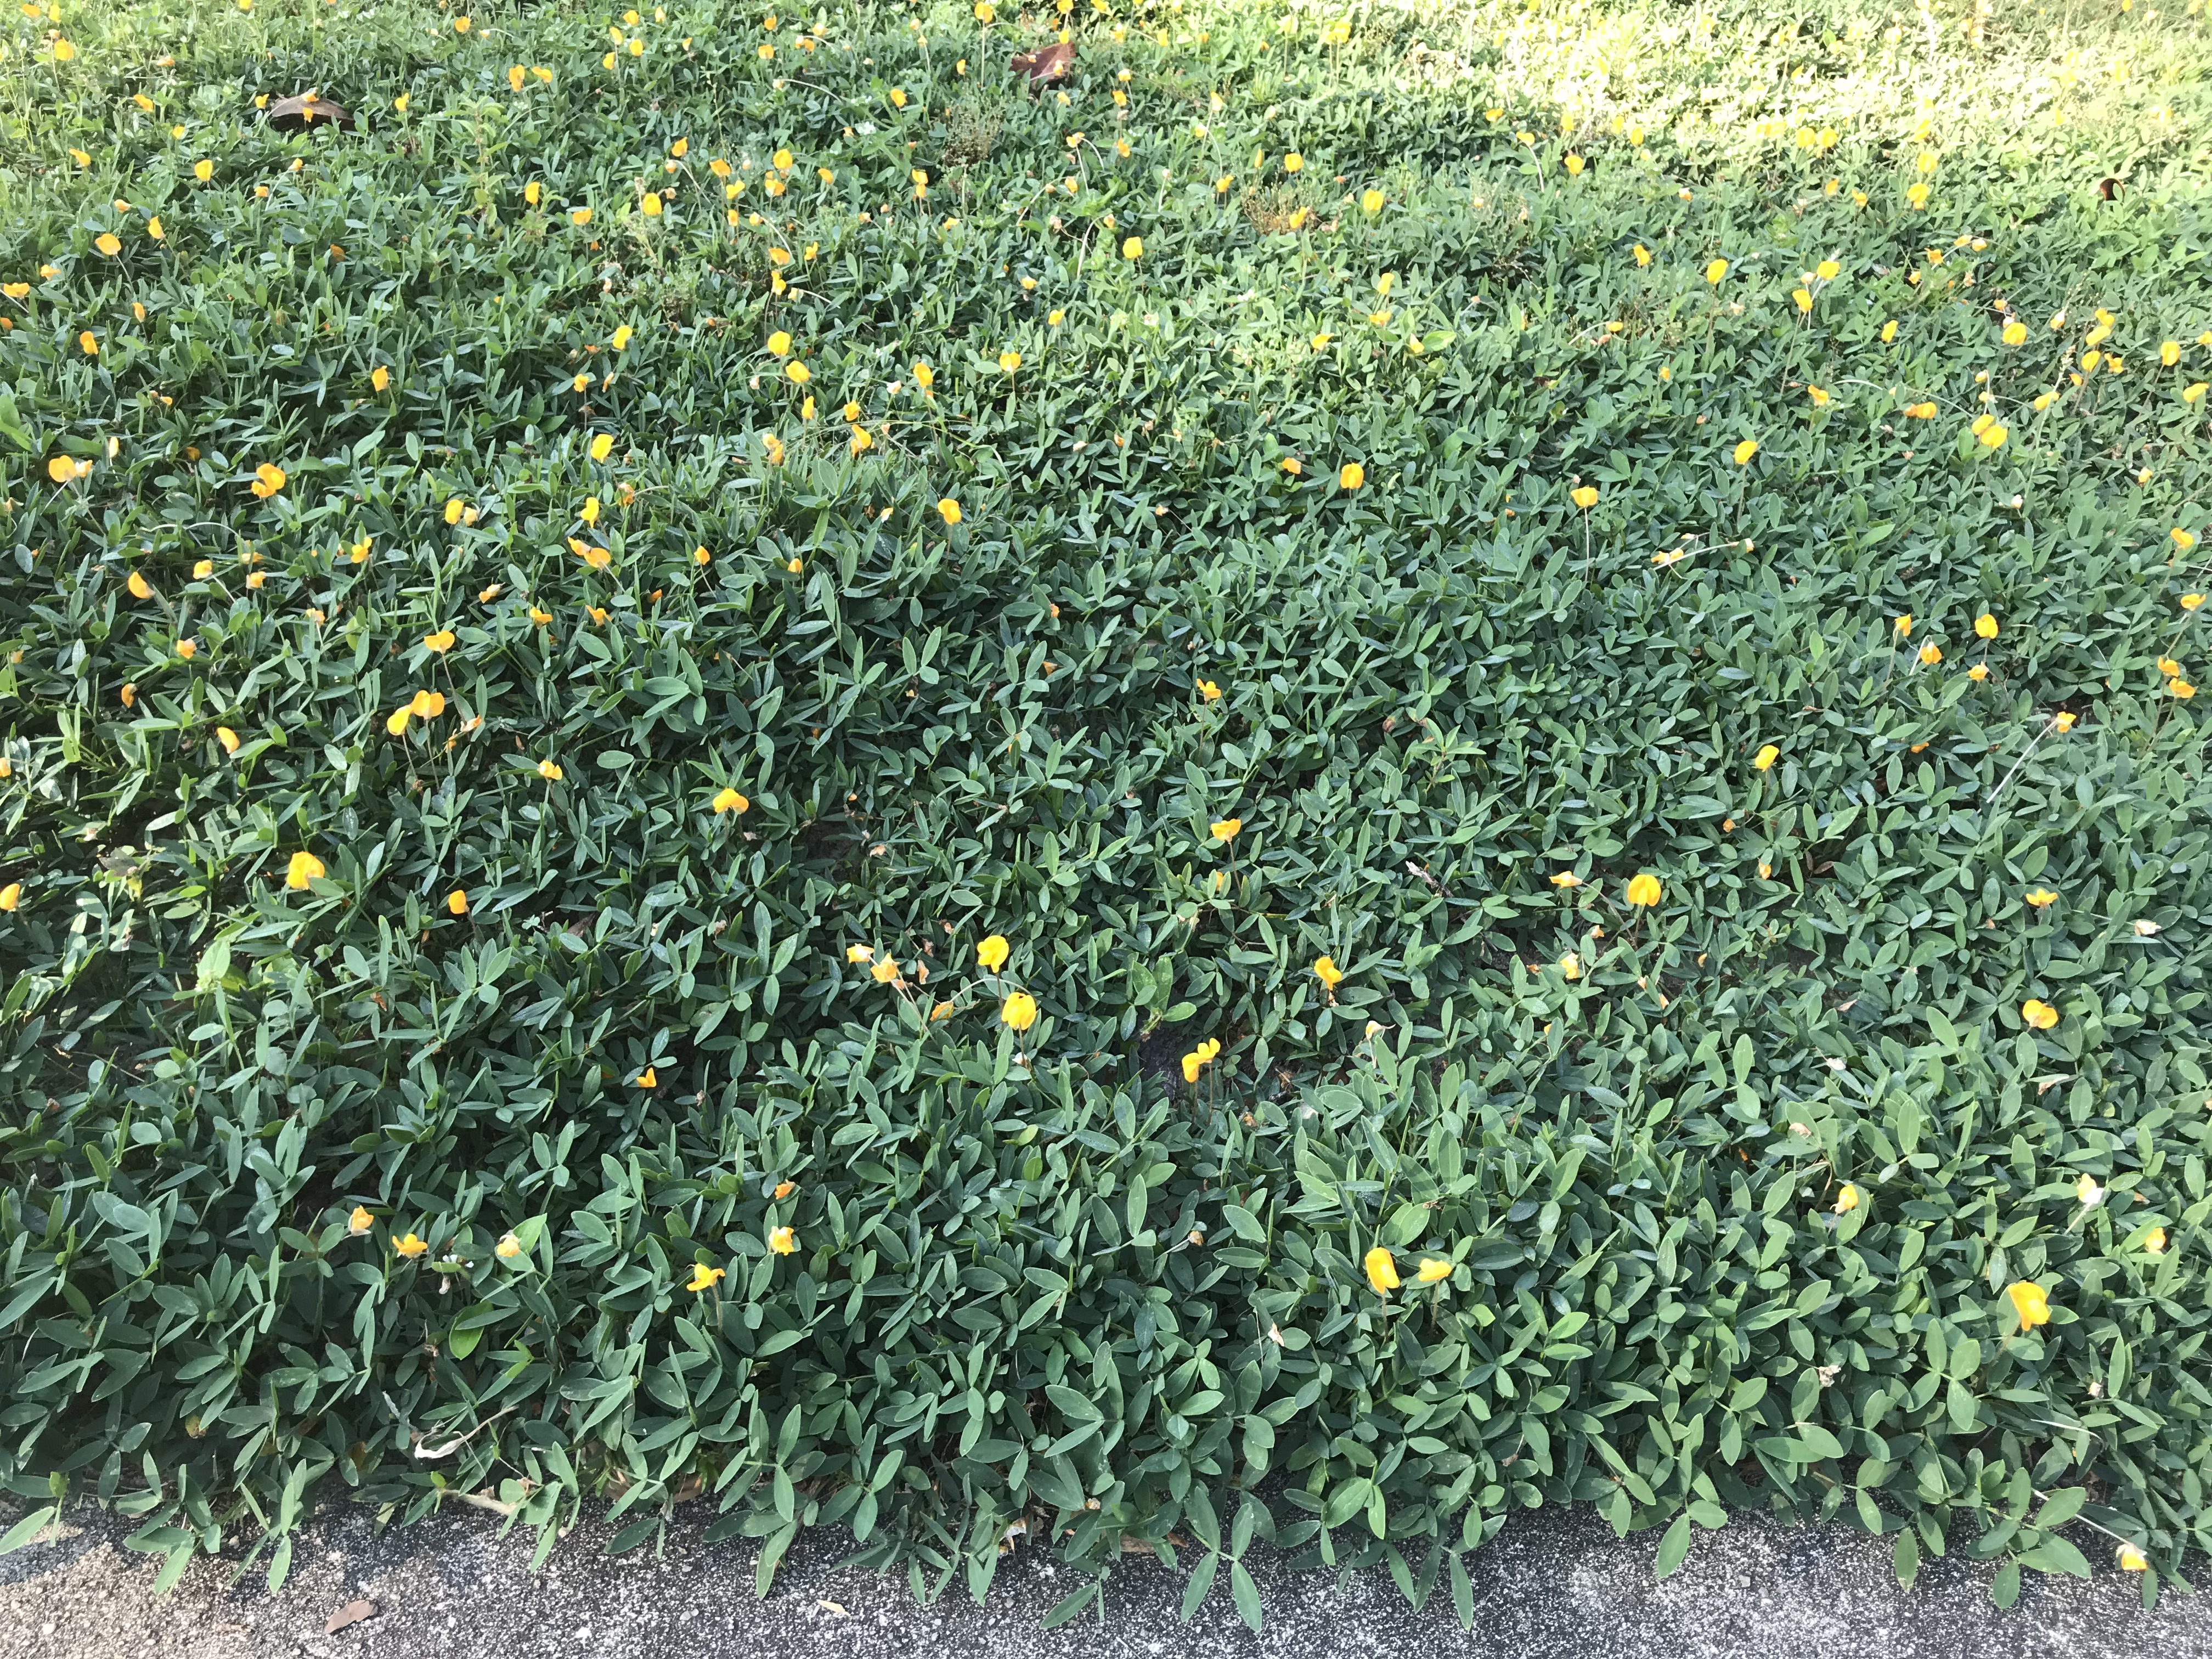
‘Needlepoint’ Perennial Peanut overhead shot showing complete ground coverage in the author’s lawn.
Overall, though there are a couple of things I would have done differently, I’m extremely pleased with my lawn of perennial peanut. It is absolutely stunning in the warm months, incredibly low maintenance, and unique! Plant some today!
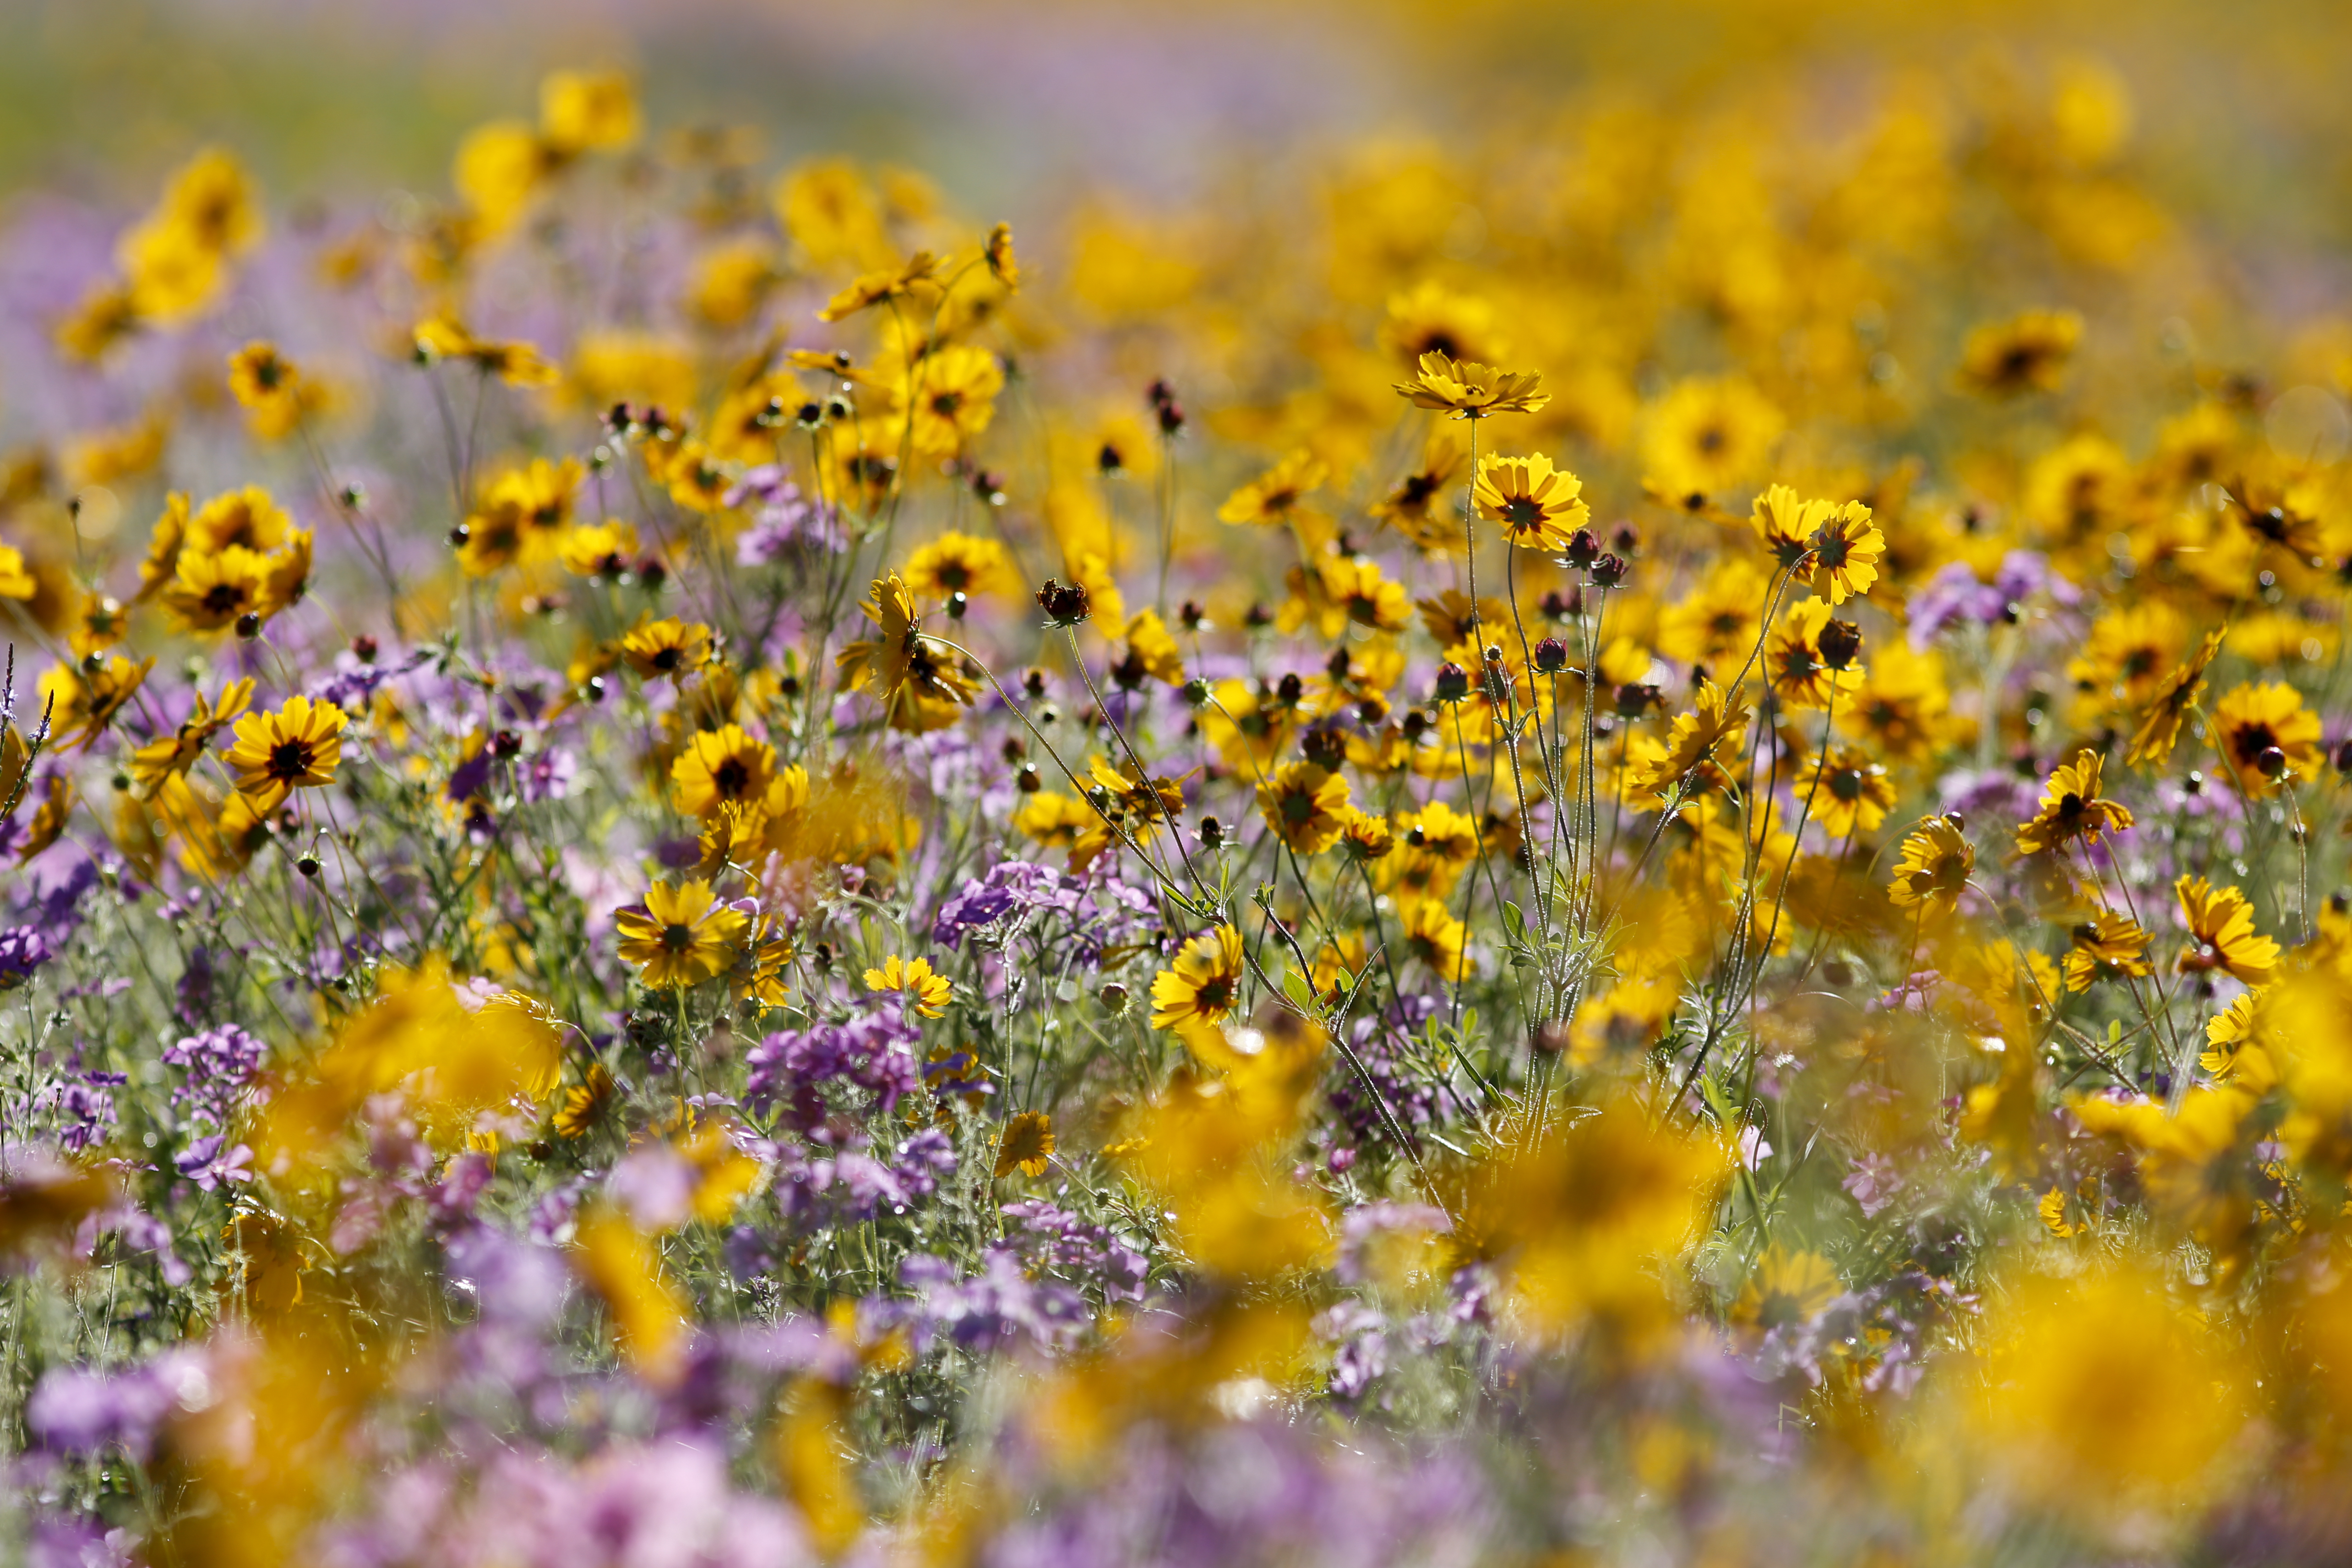
Wildflowers near Live Oak, Florida. Image Credit, UF / IFAS
Florida (“land of flowers” in Spanish) is and has always been full of flowers, and countless civic and public organizations work diligently to protect and promote the beauty of our natural ecosystems. Did you know that the Florida Wildflower Foundation works with the Florida Department of Transportation (FDOT) to preserve wildflower areas on state-maintained roads throughout Florida? This effort really took off in the 1960’s when non-native Crimson clover started sprouting among sod planted by the state FDOT, and has grown into a much larger statewide initiative. The state wildflower license plate program provides funding for these efforts.
Wildflower areas along highways not only improve beauty on the roadsides, but provide habitat for countless pollinator insects that drive our $1.2 billion (annual) citrus and agricultural industries and our own backyard landscapes. In addition, leaving no-mow areas along highways saves money on mowing costs, reduces soil erosion, and improves air quality.
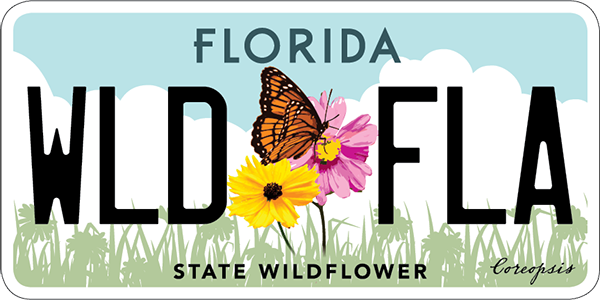
The state wildflower license plate supports wildflower preservation efforts statewide. Photo credit: Florida Wildflower Foundation
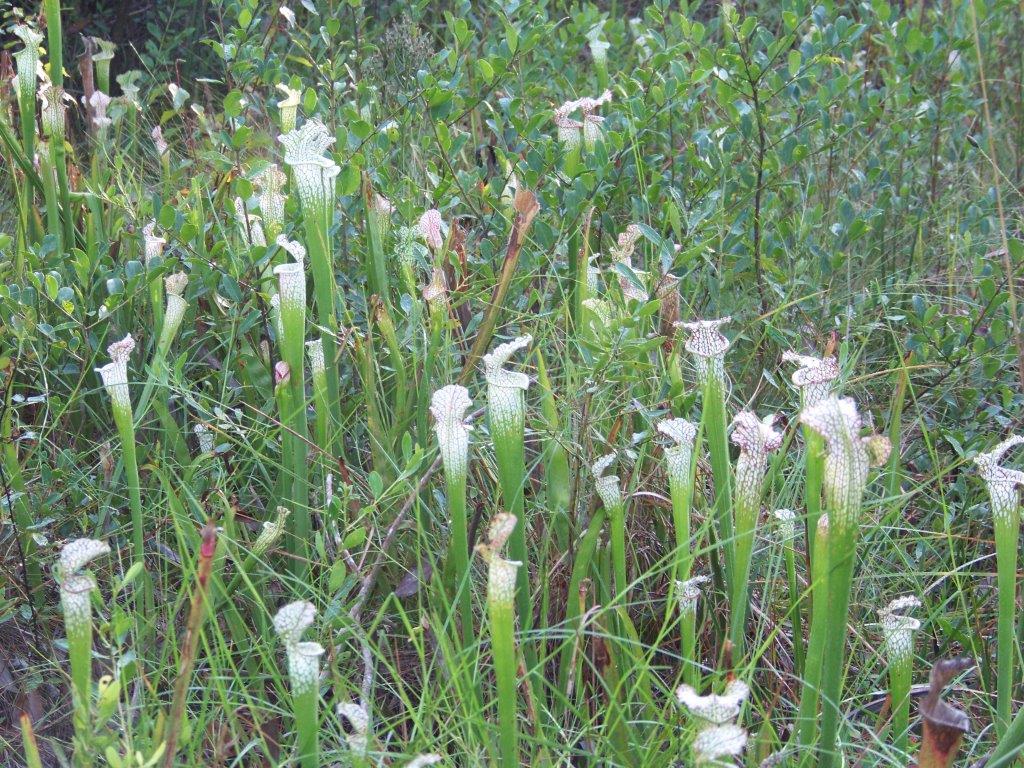
Wildflower viewing is typically best in the spring and fall, and particularly in areas (such as state parks and forests) that have been recently managed by prescribed fire. Many low-lying areas are home to beautiful native species such as pitcher plants, hibiscus, and meadowbeauty. Be very careful when viewing or stopping to see roadside wildflowers, and be sure to find designated parking areas to prevent accidents. To find a map of the wildflower trails, visit your local tourism bureau or go online at https://flawildflowers.org/protect/.
Currently, every Panhandle county from Jefferson County east has designated wildflower areas. The Escambia County Board of Commissioners passed a wildflower ordinance supporting the program, and a committee met in May 2019 to determine more areas of the county appropriate to set aside for the program. As opposed to planting new wildflowers, the program prioritizes conserving roadside areas that already support healthy wildflower populations. If you know of good candidates for preservation on state roads in Escambia or any other panhandle county, please contact me (ctsteven@ufl.edu) or Liz Sparks (liz.aparks57@gmail.com) with the Florida Wildflower Foundation.
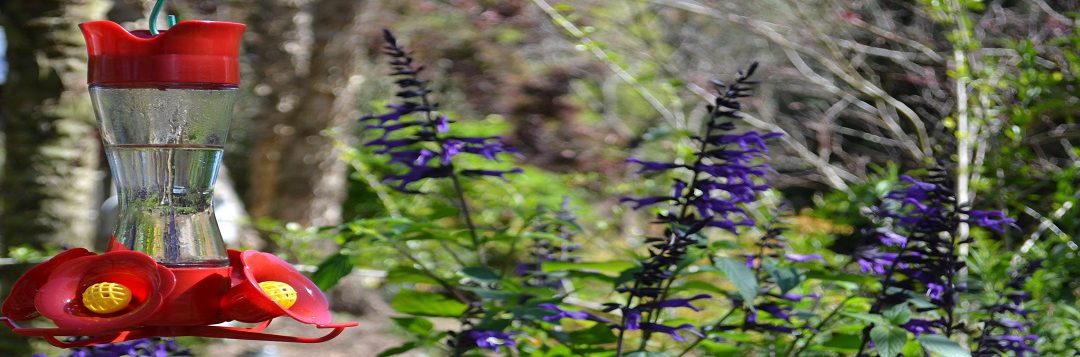
Our landscapes are becoming important spaces for many animals to find food, water, and shelter. You can enjoy many beautiful plants while supplementing the diet of a favorite garden visitor, the hummingbird. Learn about a couple of nectar plants for hummingbirds and how to properly install your hummingbird feeder In the Garden with UF IFAS Extension Escambia County.
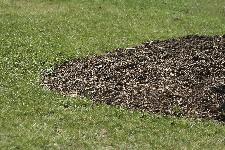
There have been a lot of questions about the use of colored mulches in the landscapes. Many individuals are concerned about the possibility of negative environmental impact from the dyes used on wood chips and pine straw. According to the Center for Agriculture, Food and the Environment (https://ag.umass.edu) the primary concern with colored landscape mulches is not the dyes used for coloring. Rather, it is about the sources of wood chips and the possibility of contamination with toxic substances.
The dyes used in coloring wood mulch are primarily of two types: carbon-based dyes and iron oxide based dyes. Iron oxide, the most commonly used dye, is simply a compound of iron and oxygen. As the compound oxidizes, iron is released to the soil but is not considered to be toxic. Dyes that are not absorbed by or adsorbed to the wood would come off with contact, especially if the mulch is wet. There are also some carbon-based dyes used on mulch. These carbon-based colorants are similar to those used in ink and cosmetics. Other dyes for mulch are vegetable-based and therefore organic. At this time, there is no evidence that the dyes used to color wood chip mulch are toxic.
Most of the wood used for making colored mulch comes from recycled wood, i.e. wood scraps, wood pallets, and wood reclaimed from construction and demolition (C&D) waste. Besides the benefits of recycling waste wood materials, the reason why these wood materials are used for colored mulches is that they are very dry and readily absorb or adsorb coloring agents.
Unfortunately, some of the recycled waste wood used for making landscape mulch products is contaminated with various chemicals, such as creosote and CCA (chromated copper arsenate). CCA is the chemical that was used in the manufacturing of pressure-treated wood.
Even though arsenic-based wood preservatives were banned in 2003, there are still plenty of CCA preserved wood being re-purposed. Sometimes wood pallets that have been used in the transport of chemical agents can become contaminated by spills of these chemicals. CCA and other toxic chemicals have been found to be contaminating soil where colored mulch made from these wood products have been applied. CCA treated wood can kill beneficial soil bacteria, beneficial insects, earthworms and young plants. It can also be harmful to people spreading this mulch and animals who dig in it.
Additionally, dyed mulches break down much slower than natural mulches. The greatest advantage to using them is to reduce the expense and time required to replenish the mulch. When wood breaks down, it requires nitrogen to do so. Colored mulch can actually rob the plants of the nitrogen they need to survive. Natural mulches retain moisture and add organic material back to the soil enabling the plants to better utilize nitrogen. Avoiding the use of colored mulches reduces the risk of contamination better than any other practices. Colored pine straw may be an alternative.
It should not be assumed that all colored mulches are contaminated. However, anyone planning to use colored mulch should become familiar with the supplier and the source of the wood used in making it. If C&D waste wood is used, it should be a red flag that there is a possibility of CCA contaminated mulch.
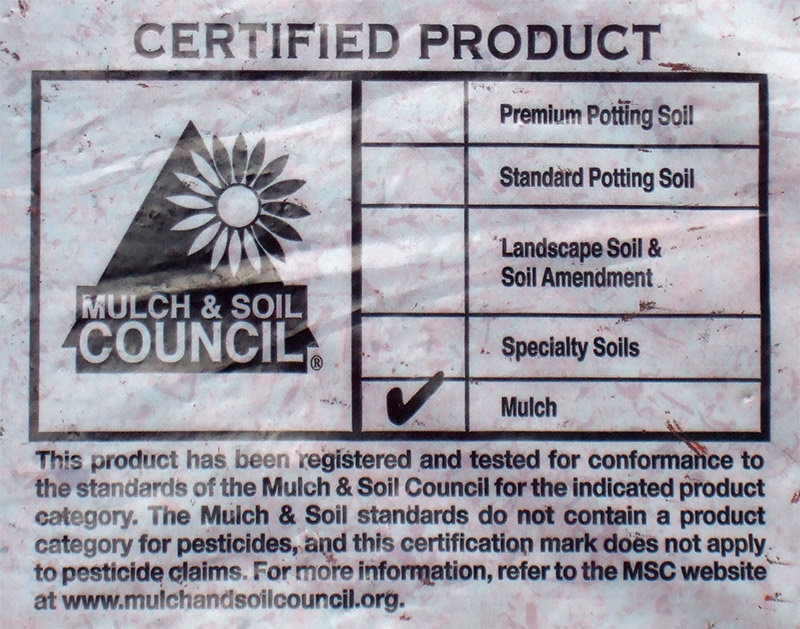
Certified Mulch Label
If you wish to improve the chances that the dyed mulch that you are buying is safe for humans to handle look for the MSC Certification Logo on the packaging. MSC stands for Mulch and Soil Council, whose responsibility is to certify that a mulch or soil product is free of CCA-treated wood. According to MSC’s Product Certification program, “Certified mulches and soils can be found at major retailers and garden centers across the country.” If you have concerns after contacting the supplier about the source of the wood used, contact a private environmental testing lab in your area.
While reading packaging, check the source of the product. If the supplier is a land management company rather than a processing mill it may be that mature trees are being removed and shredded. These mulches are sold as “long-lasting”, “no-float” products. They have the appearance of pine straw, but are actually finely shredded cypress from the heart of trees. These are coming from properties where the bald and white cypress trees are harvested for mulch. You can tell that it isn’t pine straw because the mulch pieces lack pine needle structures such as the fascicles and a revolute shape. While the use of these products is not contaminating, it is still depleting the environment. Mulches that are natural by-products are the most Eco-friendly.
Are you looking for more selective herbicide options for annual beds and around shrubs and trees? The Santa Rosa County Extension Office will be hosting guest speaker Dr. Chris Marble from the UF/IFAS Mid-Florida Research & Education Center on Thursday, May 23. Dr. Marble is a Nationally Renowned Weed Scientist who has published numerous research and extension publications. 2 CEUs available in LCLM, Limited Lawn & Ornamental, Commercial L&O, O&T, Natural Areas, ROW, and Private Ag. Pre-registration fee is $15, or $20 registration at the door the day of the event (includes lunch and resources). Pre-register online at Eventbrite Ticket or bring cash, check, or money order to the Santa Rosa County Extension Office, 6263 Dogwood Dr., Milton, FL before May 23. For additional questions, please contact Matt Lollar at mlollar@ufl.edu or 850-623-3868.
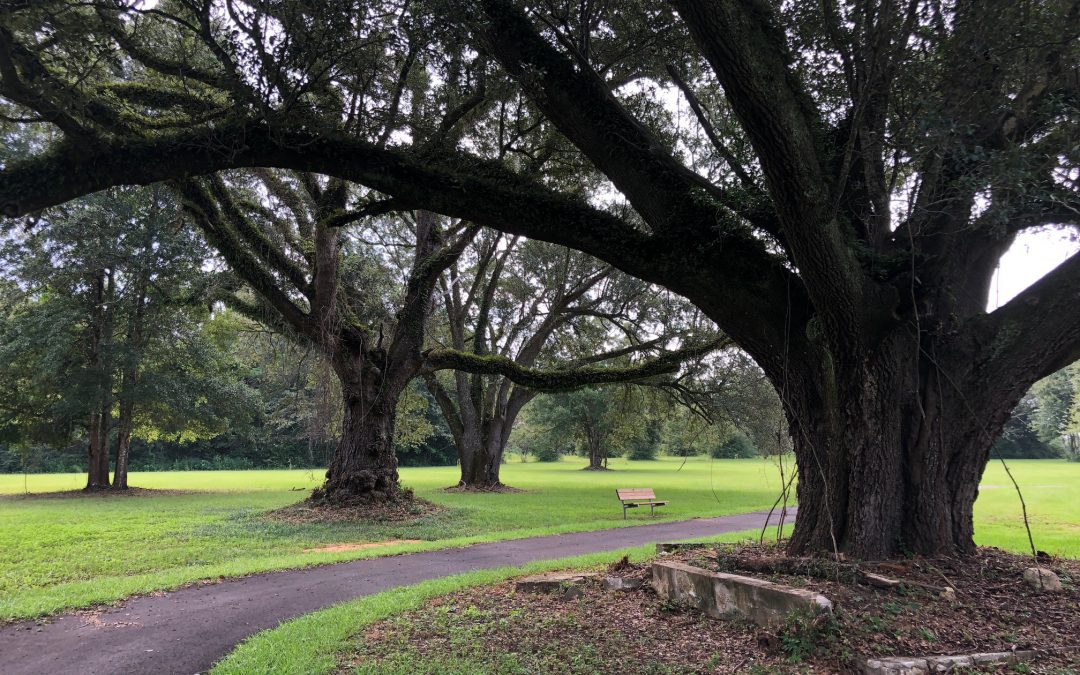
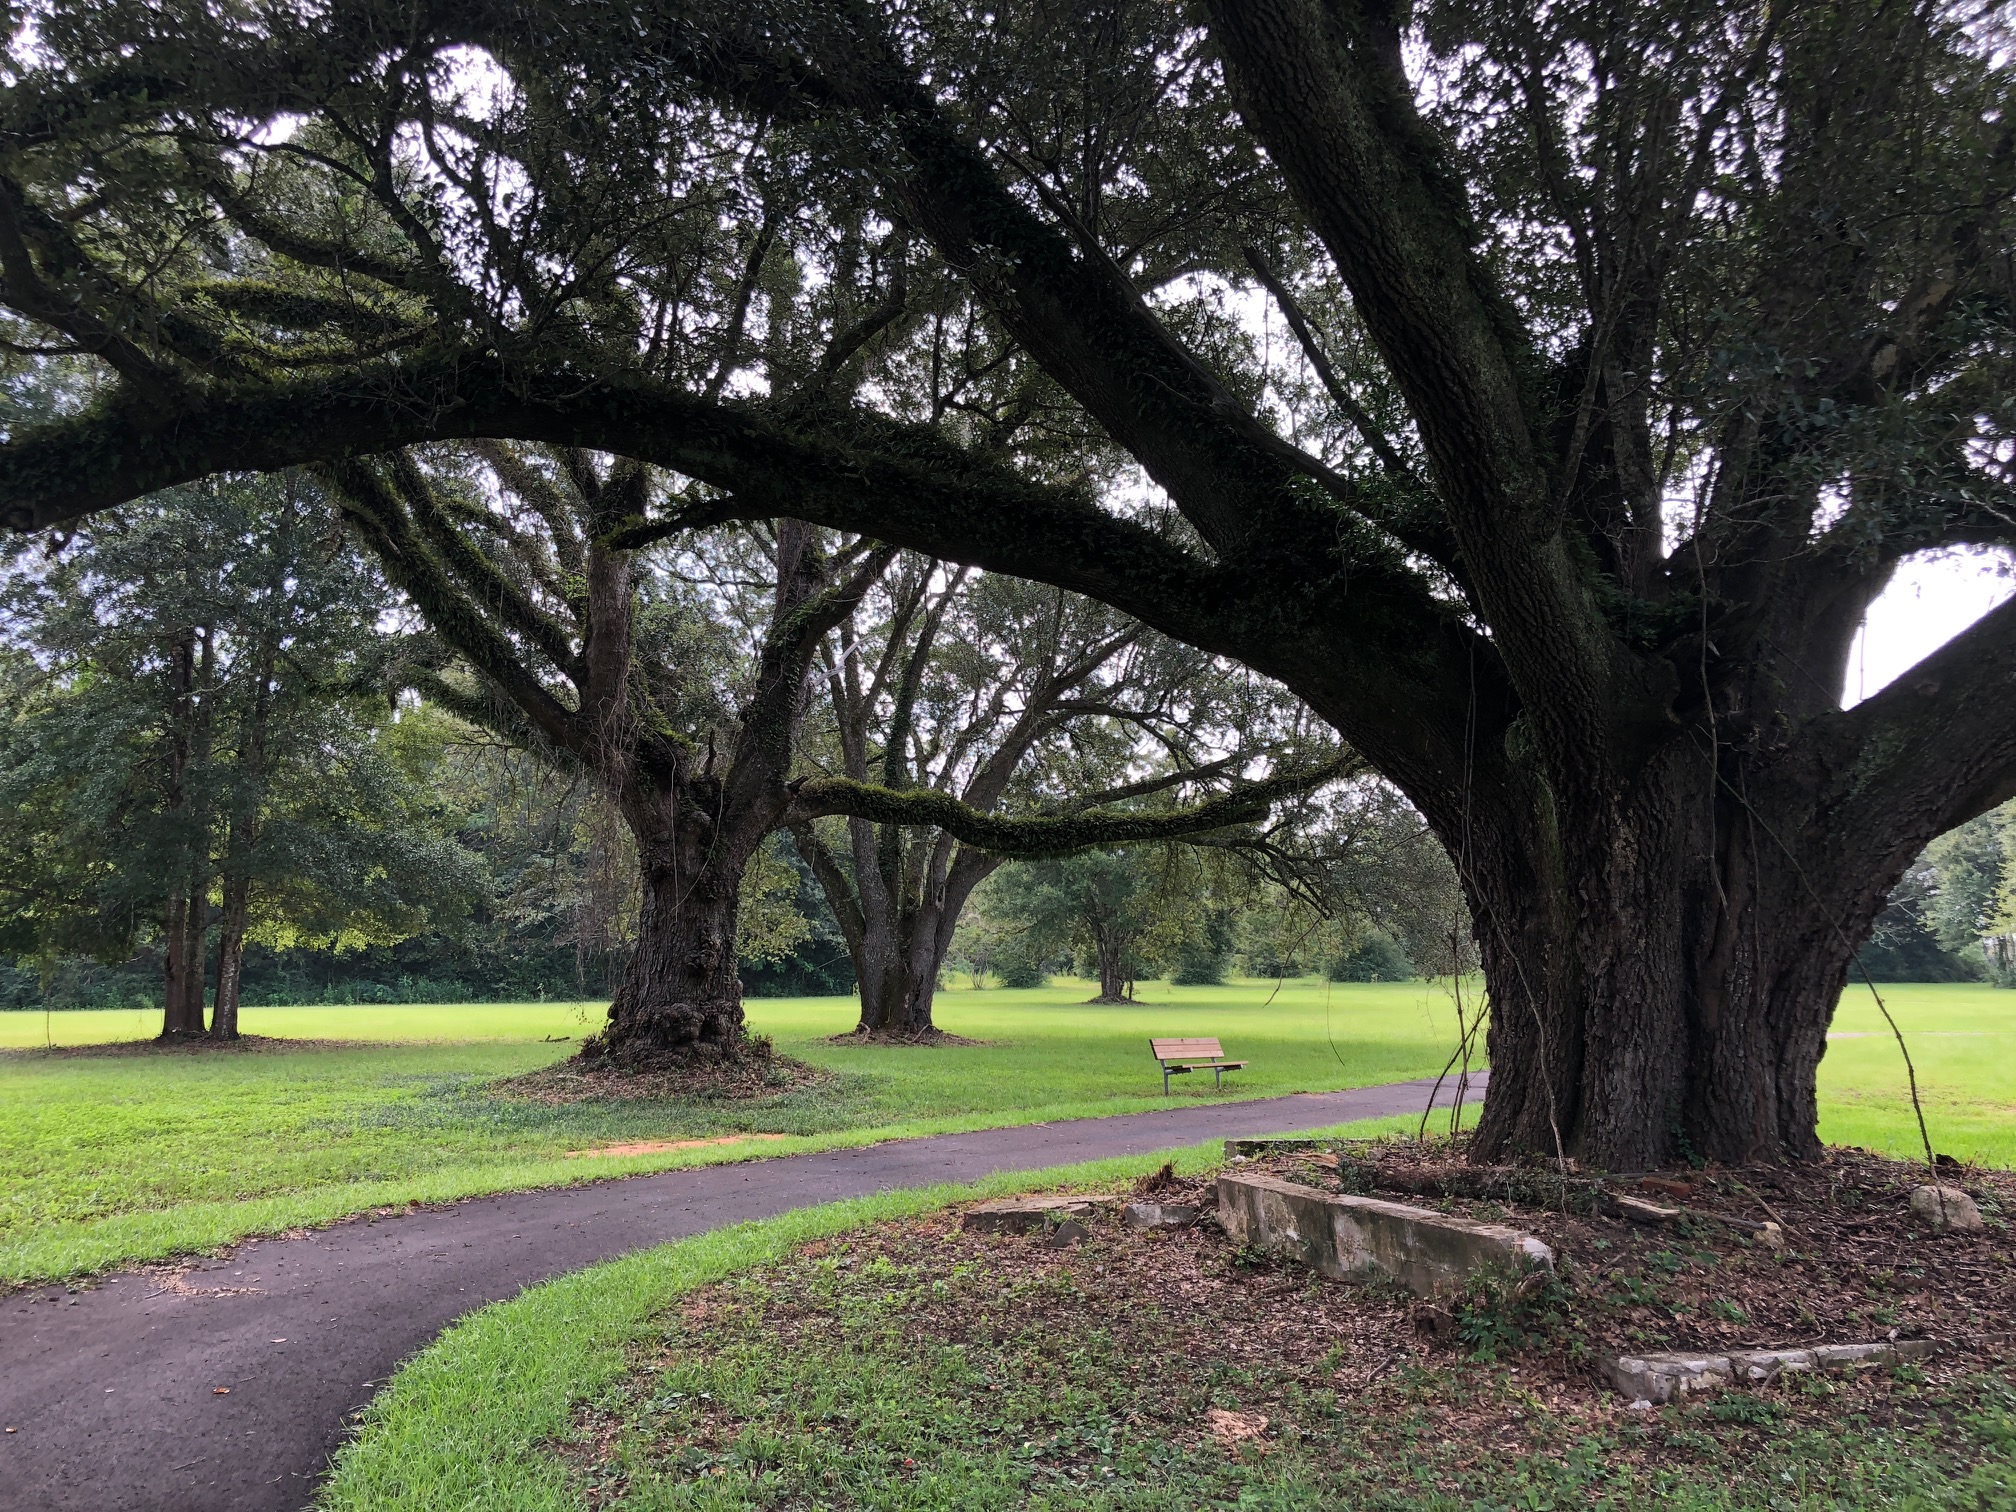
Historic live oaks provide shade and wildlife habitat at the Escambia Extension walking trail. Photo credit: Carrie Stevenson, UF / IFAS Extension
A recent study of 3-5 year olds found that the average pre-reading American child could identify hundreds of marketing brand logos (McDonald’s, Disney, even Toyota). Most researchers would be mightily challenged to find even a middle school student who can identify more than a couple of trees growing in their own backyard. The fields and forests many of us grew up in are steadily converting to look-alike suburban areas, so this lack of local natural knowledge is commonplace. As the quote by Senegalese forester Baba Dioum goes, “In the end, we will conserve only what we love; we will love only what we understand and we will understand only what we are taught.” If kids and adults do not appreciate and understand the natural world around them, we are unlikely to preserve these priceless wonders.
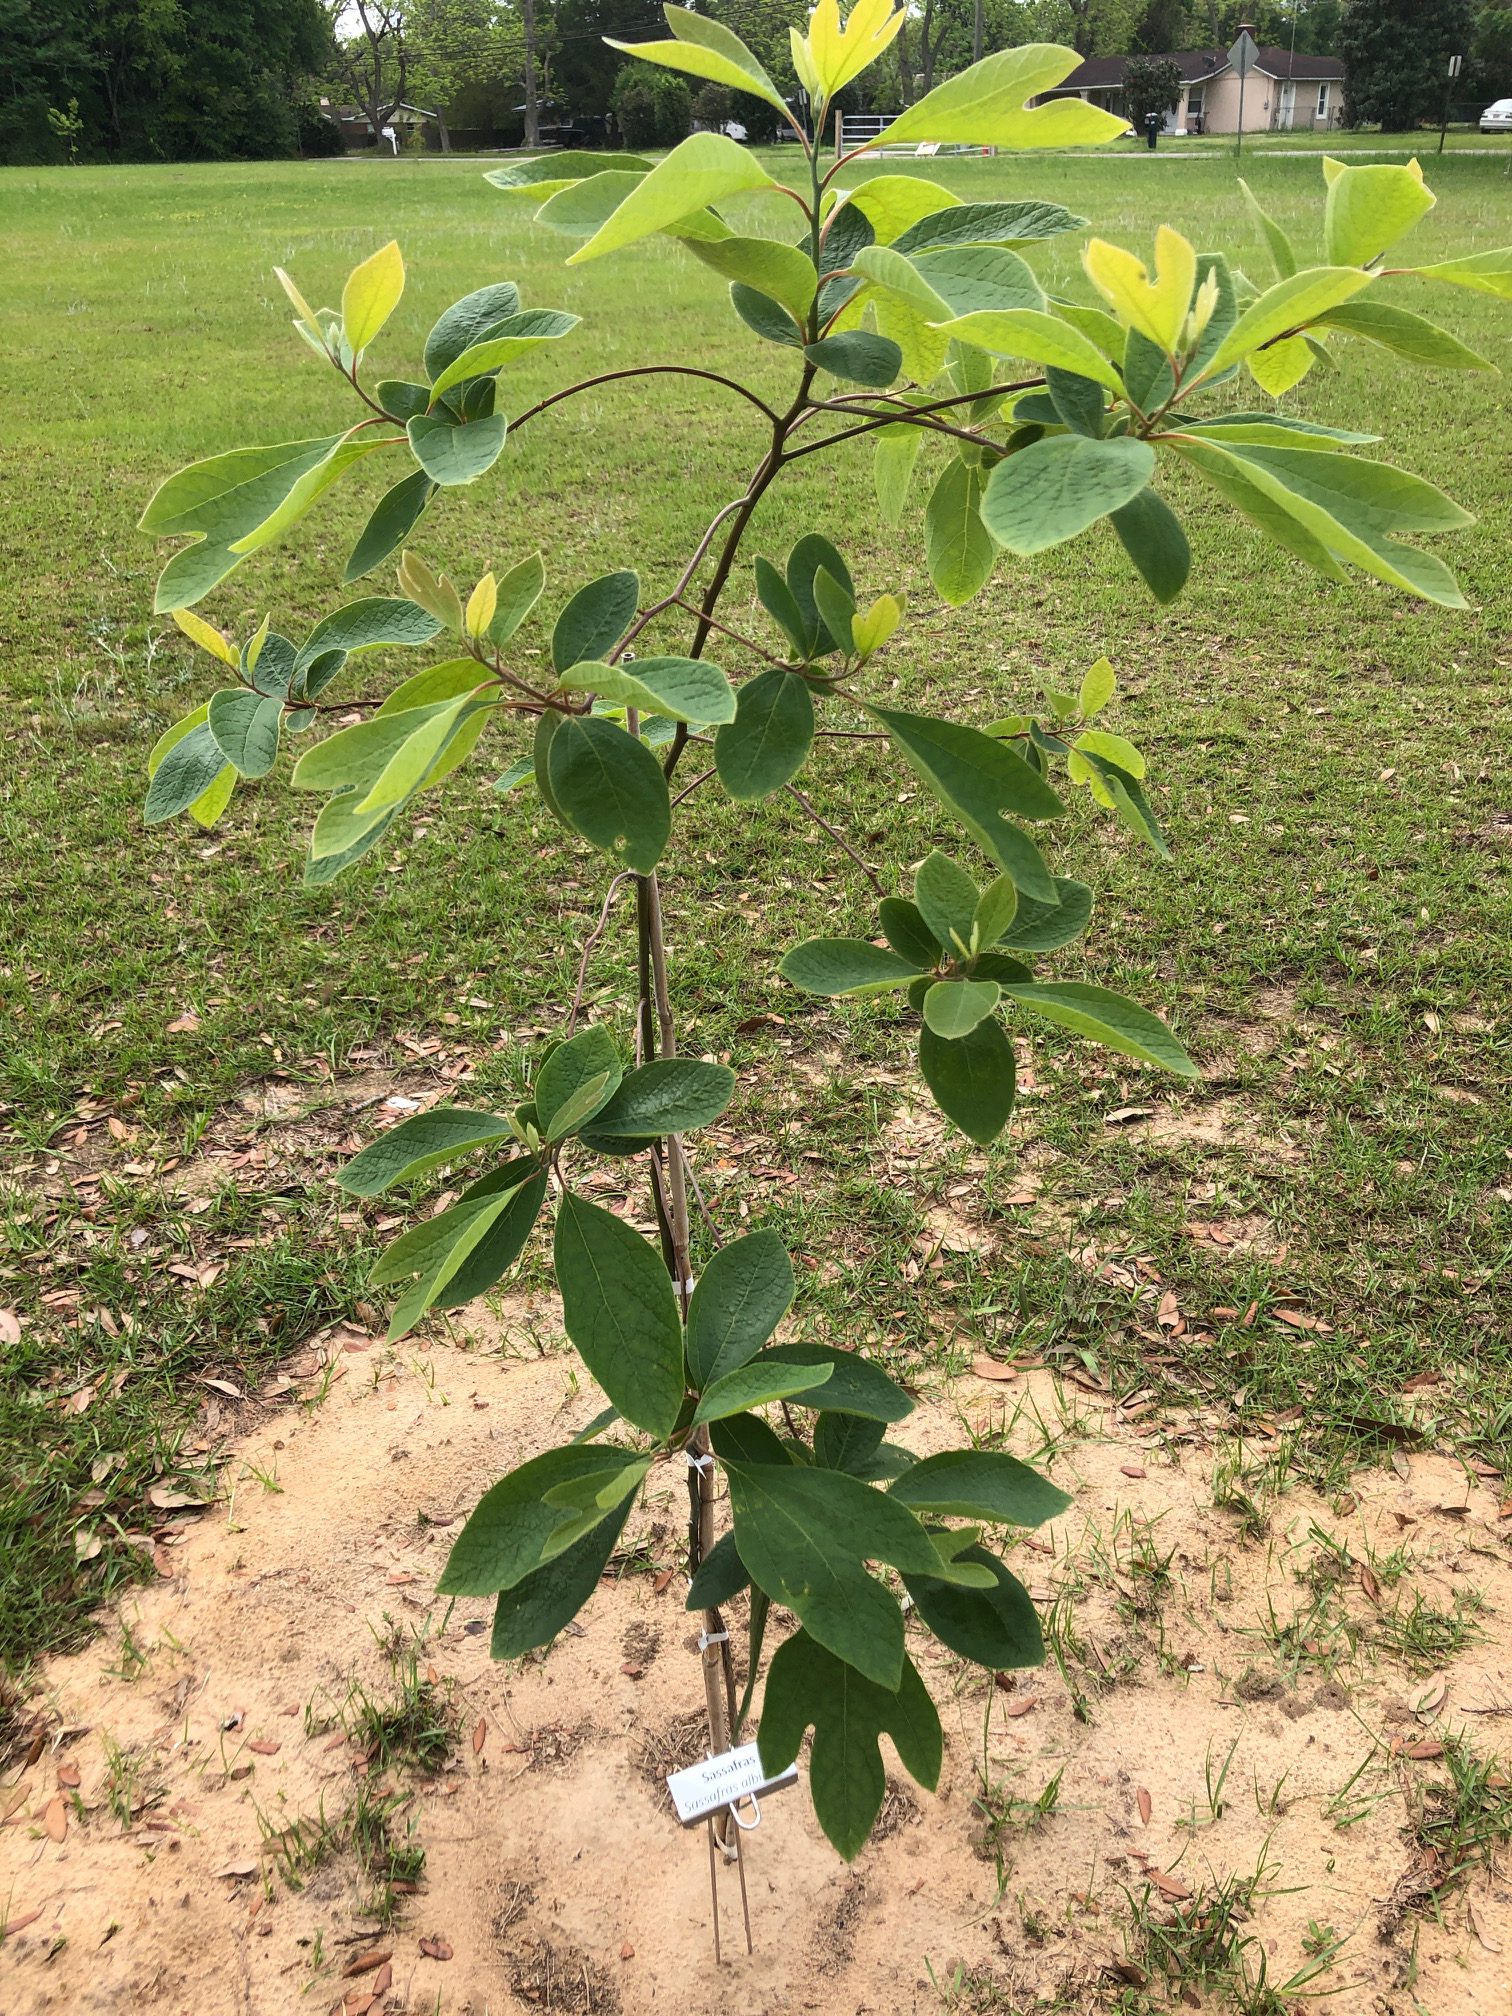
To do our part towards this aim of educating others, we at Escambia Extension received a grant from International Paper to plant 30 trees around our office’s walking track. Every tree has a clearly marked identification tag listing its common and botanical name.
A newly planted sassafras tree on the Extension walking trail. Photo credit: Carrie Stevenson, UF / IFAS Extension
Initially we just planned to add more shade trees to the sunny side of the track, but after a discussion with local foresters, we realized this effort could be an ideal teaching tool. The local middle and high school Future Farmers of America (FFA) chapters participate in a tree identification contest, and are tasked with knowing 50 native tree species. While 10 of them were tropical species that do not perform well in north Florida, we have the other 40 planted here on the property. Students and any interested citizen interested in learning these native species can walk along our track, getting exercise and taking in the natural world around them.
A spring walking event will kick off the official opening of the tree identification trail, so join us April 26 to learn more about healthy living and the value of trees. Or, join us for an Extension Open House on April 27 to explore the demonstration gardens, purchase vegetable plants, or learn more about Extension’s wide array of community services.