Vegetative plant propagation is a way for one plant to create another plant without the need for pollination to occur. This process is often much faster in achieving a new plant than growing from seed. The genetics of the parent plant can be carried on through this vegetative propagation method. There are many methods to propagate plants and the one covered in this article was taught to me by my grandmother many years ago – layering. Layering is a science and an art and has been performed by humans for over four thousand years.
Propagating plants by layering can be accomplished in several ways, including simple, tip, air, mound, compound, and runner production layering methods. Many plants in nature propagate by layering accidentally when long, low-lying limbs contact the soil around the plant and are eventually covered by leaves from other surrounding trees and shrubs. This creates an organic cover over a part of the limb and keeps the area moist. This creates the situation for adventitious roots to develop at the soil contact area. This occurrence is called simple layering and is often mimicked by gardeners in the landscape. Not all plants respond to this type of propagation, but several common species that do are azaleas, jasmine, viburnum, climbing rose, and grapevines.
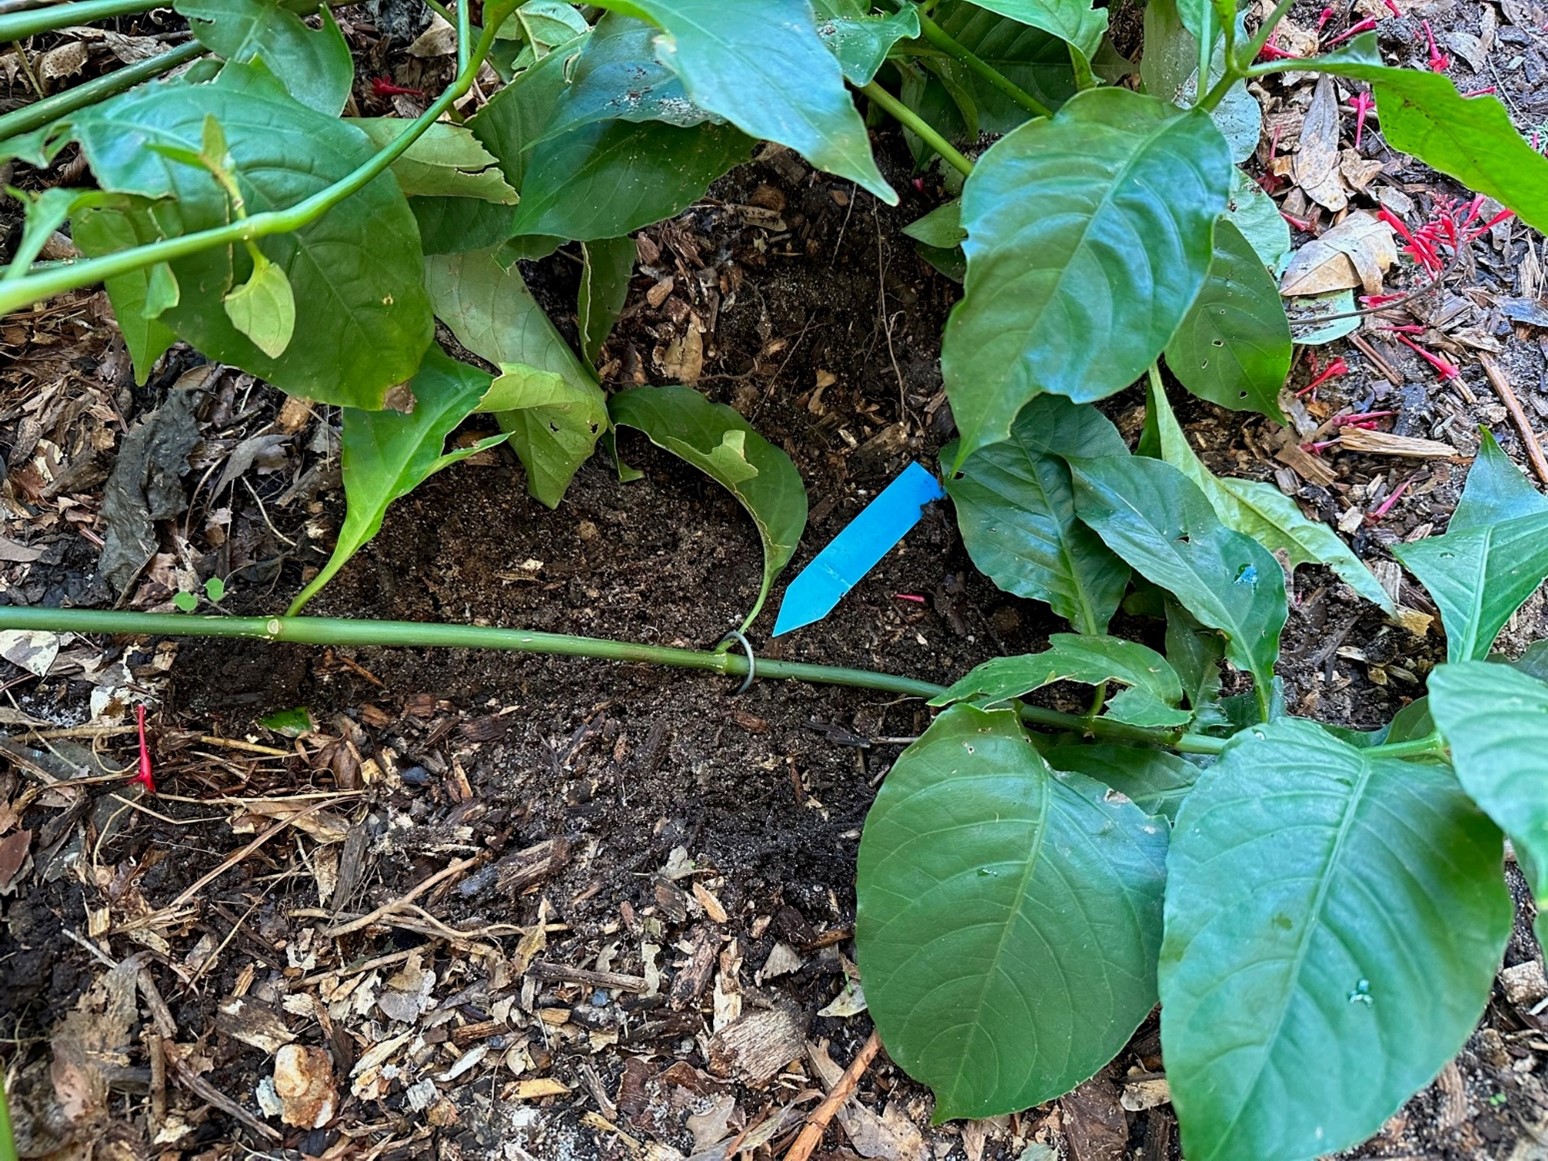
Unlike simple layering, tip layering involves digging out a shallow 3–4″ hole, which will allow space to bend the end of the branch down into the hole with the tip out the other side. Then, simply cover the hole to keep the branch in the ground. It may take something with a little weight placed over the covered hole to keep the branch from popping out. A brick or rock may be all that is needed. Both methods will take months for enough roots to develop before clipping the branch with a new plant ready to be dug and set somewhere new. For best results with both simple and tip layering, begin either in early spring with last seasons growth or late summer, utilizing that current year’s growth.
Simple layering. Photo Credit: Stephen Greer, University of Florida/IFAS – Santa Rosa County
Air layering is a fun adventure to rooting a new plant and can be used with both outdoor and indoor plants. It can be used on outdoor plants like camellia, azalea, maples, and magnolia, or indoor plants including weeping fig, rubber tree, and dieffenbachia. This type of layering requires a bit more planning and preparation than simple or tip layering. If the plant has a bark layer surrounding the cambium layer (this is the growing part of the limb and trunk and appears green) this area will need to be removed with a sharp clean knife. Choose a 1- ½ inch long area of the limb and scrape this area to remove the cambium layer located just beneath the bark. This is done to prevent the outside limb area from reconnecting back to the limb portion connected to the plant. Sphagnum moss will be needed to wrap around the wound site to create a rooting zone. Be sure to soak the moss with water by immersing it in a bucket of water, then squeeze it out. Wrap the moss with plastic wrap, making sure the moss is fully covered and tucked inside of the plastic. Both ends of the plastic wrap need to be secured tightly with twist ties or string. Make sure it remains tight throughout the 2 – 4 months needed for rooting to occur. If this process takes place in a sunny location, cover the plastic wrap with tin foil to block out the light.
Air layering a camelia. Photo Credit: Stephen Greer, University of Florida/IFAS – Santa Rosa County
There are other methods to layering plants and if you are interested, search online through the University of Florida IFAS EDIS site or contact your local UF IFAS Extension office in your local county. Enjoy growing your new plants.
It’s no secret that fall, October specifically, is the best month for wildflower watching in the Panhandle. From the abundant vibrant yellow-gold display of various Sunflowers, Asters, and Goldenrods to the cosmopolitan bright pinks and purples of Mistflower, Blazing Star, and False Foxglove, local native landscapes light up each year around this time. However, if you’re lucky and know where to look, you can also spot two species, Azure Blue Sage (Salvia azurea) and Forked Bluecurls (Trichostema dichotomum) that sport that rarest of wildflower hues – vivid blue.
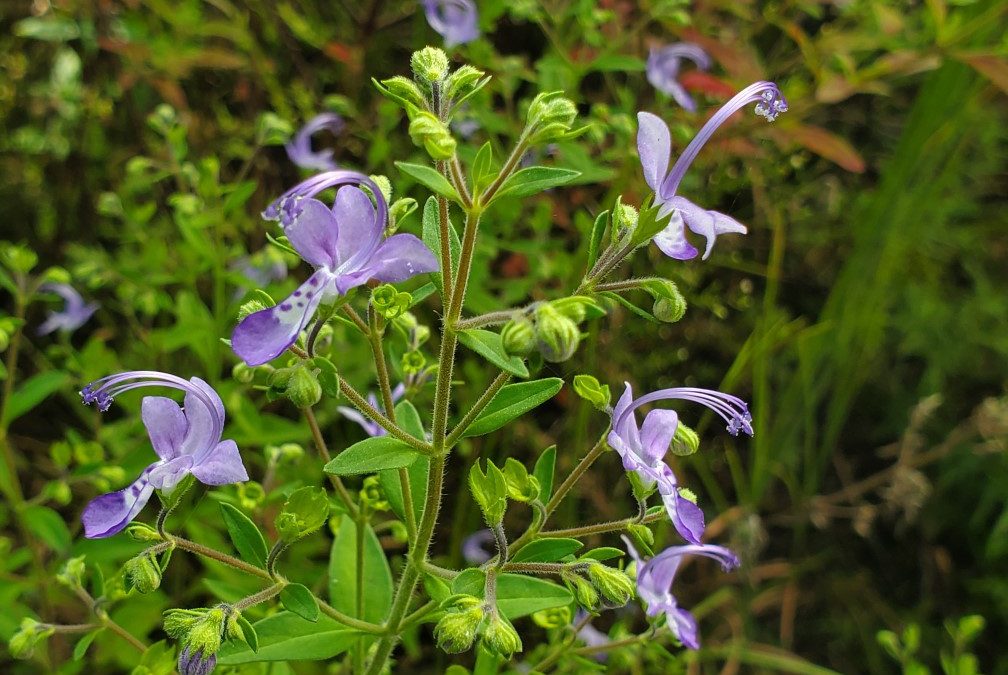
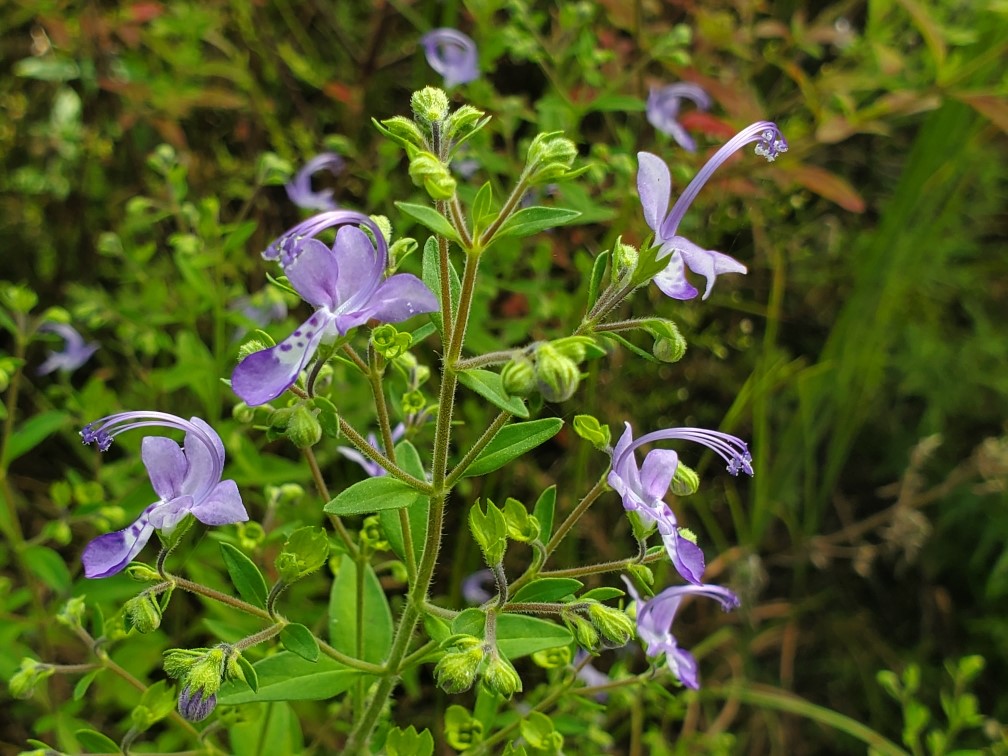
Forked Bluecurls begins its flower show in late summer, picking up steam in fall, and reaching its peak now as nights get cool and the days grow short. The species’ flowers are easily among the most unique around. Each flower has two distinct “lips” – the lower lip is white and dotted with blue specks, while the top is distinctly pure blue – with characteristically curled blue stamens rising to preside over the rest of the flower below. Though individual flowers are very small and only bloom in the morning, they appear by the hundreds and are very striking taken together. Various pollinators, especially bees, also find Forked Bluecurls flowers to their liking and frequent them on cool fall mornings. Though the flowers are obviously the highlight, the rest of the plant is attractive as well, growing to 3’ in height and possessing small, light-green fuzzy leaves. Forked Bluecurls, while not exceedingly common, can be found in sunny, sandy natural areas throughout the Panhandle, including well-drained flatwoods, sandhills, and open, disturbed areas.
Forked Bluecurls blooming in an open natural area in Calhoun County, FL. Photo courtesy of Daniel Leonard.
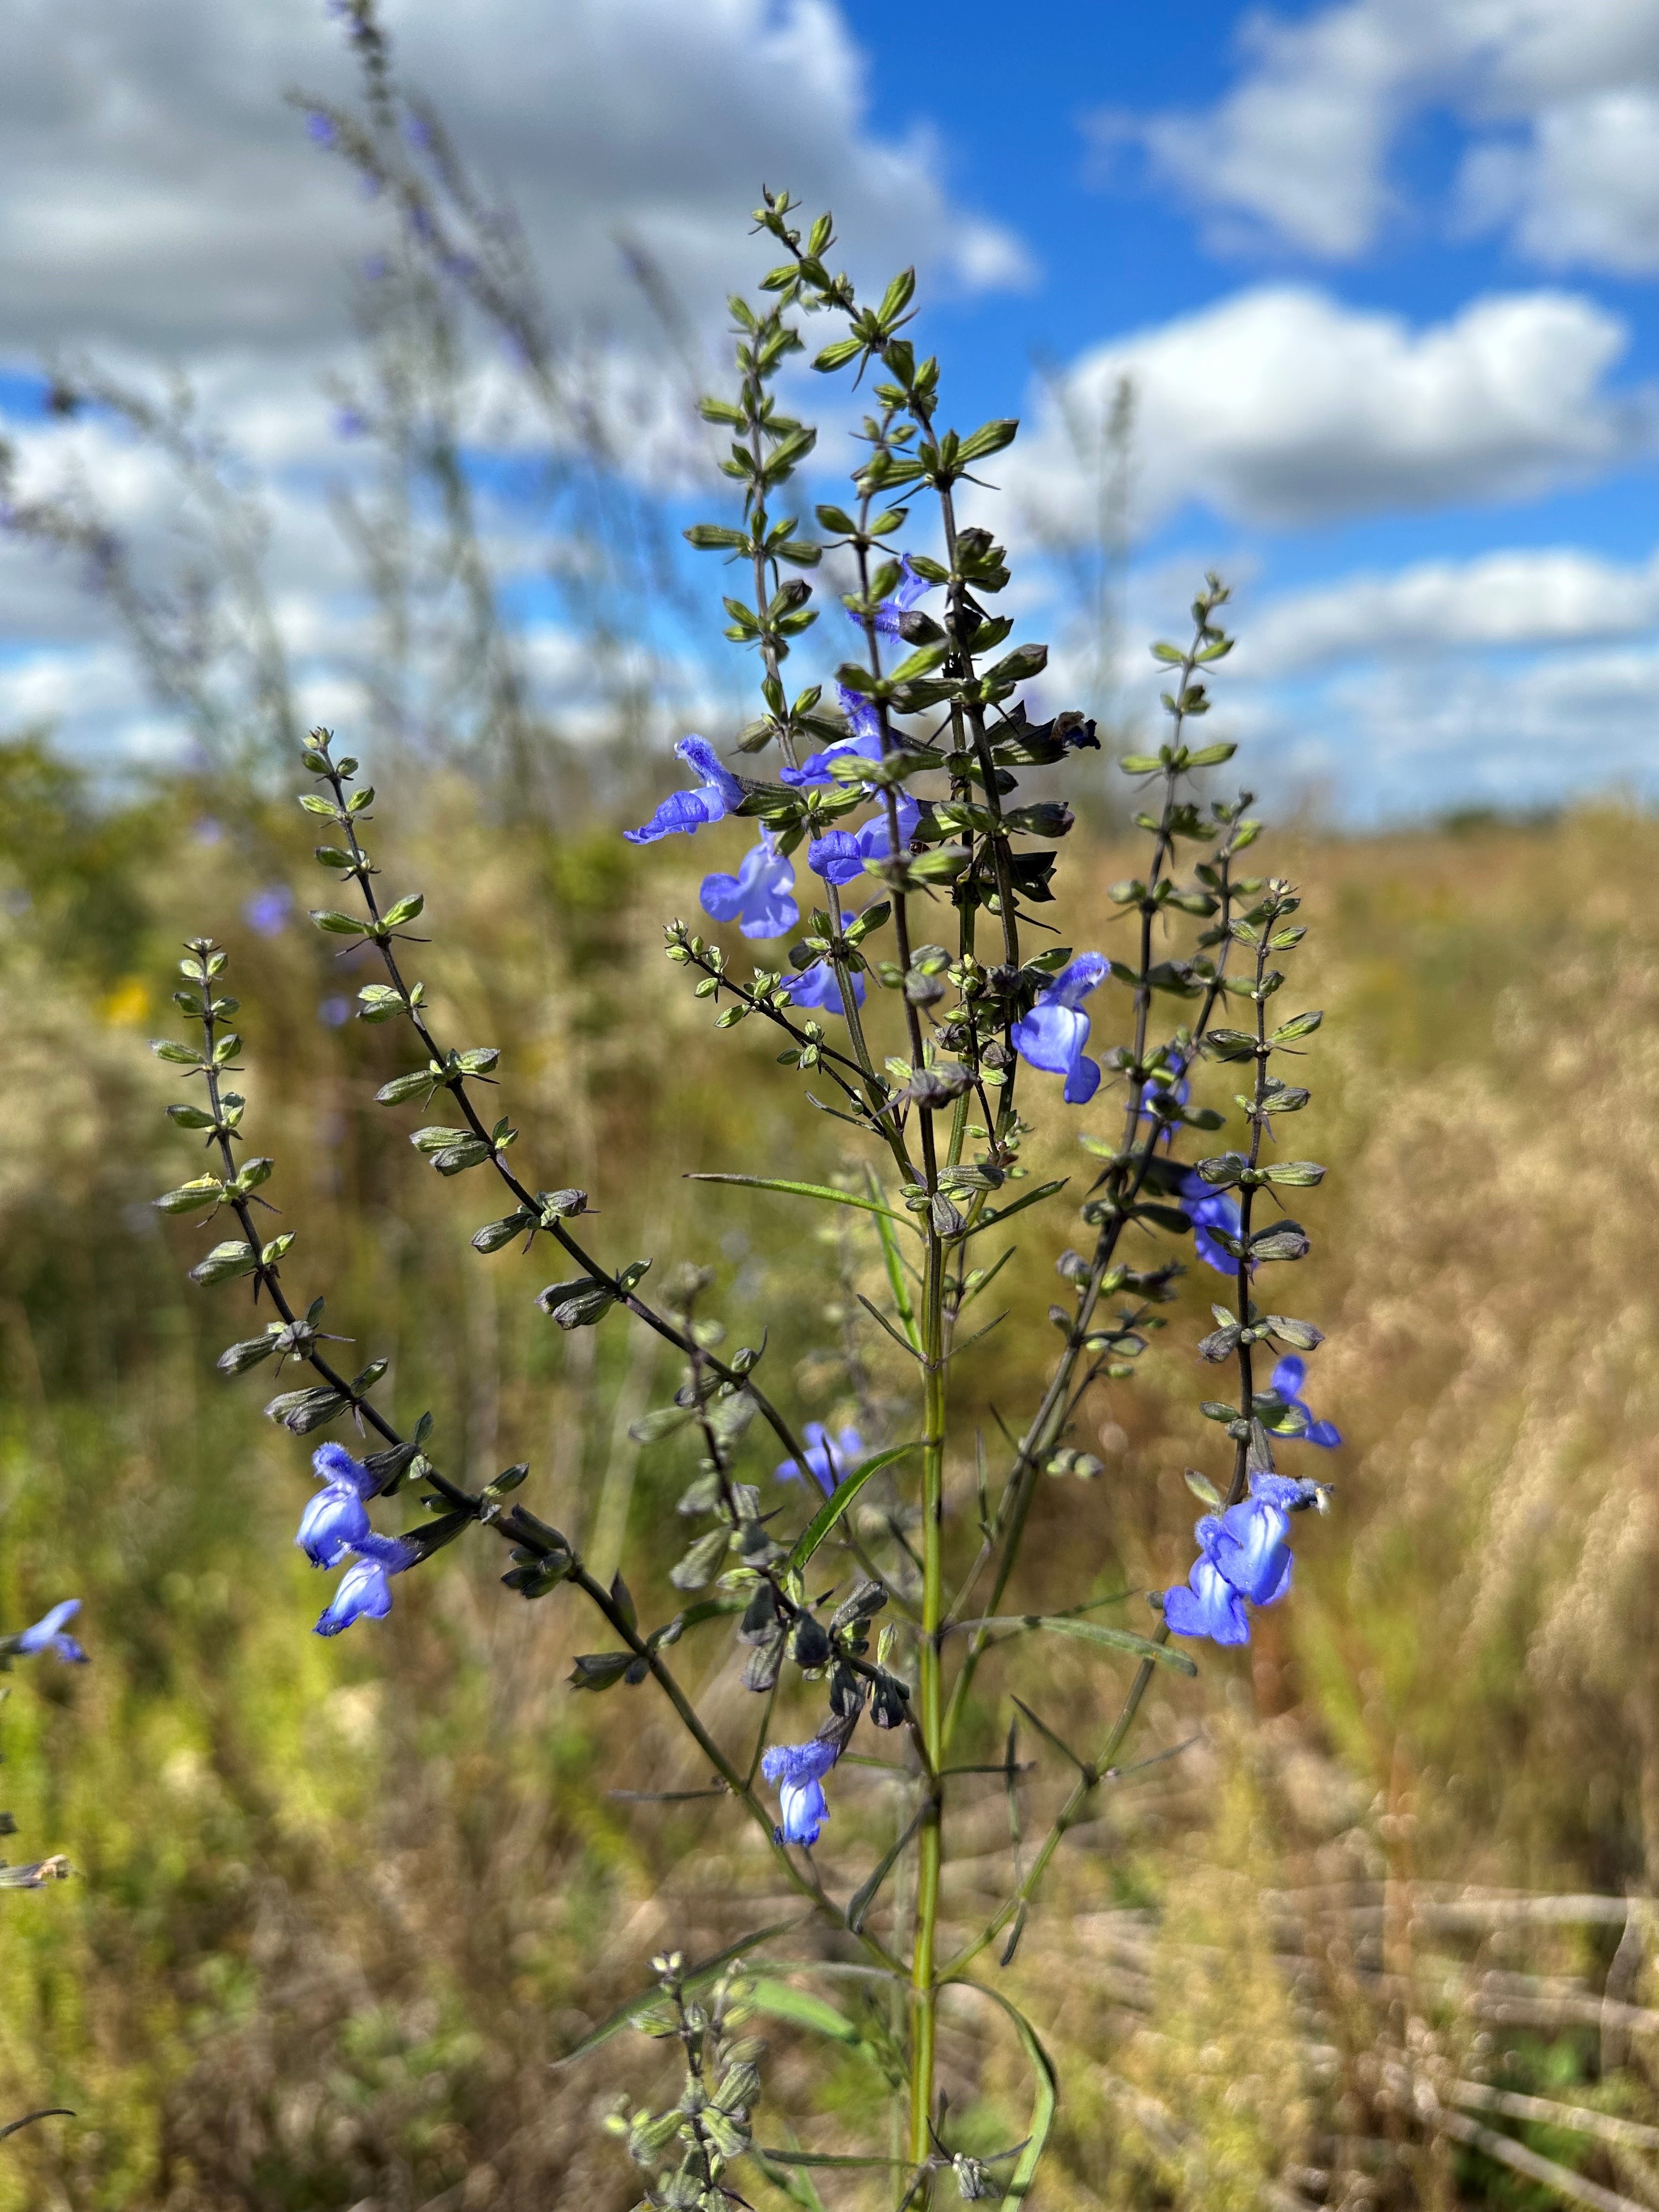
The second blue bloomer, Azure Blue Sage, is possibly even more striking in flower than Forked Bluecurls. Aptly named and blooming around the same time as Forked Blue Curls, Azure Blue Sage is a much larger plant (often 4-6’ in height) and holds its abundant sky-blue flowers high above the surrounding landscape. Because of their height and their propensity to occur in bunches, Azure Blue Sage’s brilliant tubular flowers are immediately noticeable to passersby and the myriad bee and butterfly pollinators that visit. Beyond its flowers, Azure Blue Sage is a very unusual looking perennial plant, tall and spindly with dark green, narrow leaves held tightly to square stems, a giveaway of its lineage in the Mint family. The species can be found in similar areas to Forked Bluecurls – natural areas in the Panhandle that possess abundant sunshine and sandy, well-drained soil.
Azure Blue Sage blooming in a recently replanted pine forest in Calhoun County, FL. Photo courtesy of Daniel Leonard.
Both species would make excellent additions to mixed perennial landscapes where the soil and sun conditions were right, as they are exceedingly low-maintenance and have the propensity to reseed themselves from year to year. Unfortunately, they are rarer in the nursery trade than they are in the wild and can only be found occasionally at nurseries specializing in Florida native plants. (Visit PlantRealFlorida.org to find native nurseries in your area!) However, even if you are unable to source a plant for your home, both these somewhat rare, blue-blooming fall beauties, Forked Bluecurls and Azure Blue Sage, are worth searching out in the many State Parks and public natural areas across the Panhandle! For more information about Forked Bluecurls and Azure Blue sage or any other natural resource, horticultural, or agricultural topic, contact your local UF/IFAS County Extension Office. Happy fall wildflower watching!
As you drive along the highway look out the window at the blooming roadside wildflowers. Fall is the season of yellow and purple, with splashes of red.
St. John’s Wort (Hypericum spp.), many different “daisies” (Aster spp.), tall and short Goldenrod (Solidago spp.), and “sunflowers” (Helianthus spp.) brighten up the landscape with the many shades of yellow. Spikes of Blazing Star (Liatris spp.), clumps of False Rosemary (Conradina canescens), and carpets of Moss Verbena (Verbena tenuisecta) add the purple hues. Here and there clusters of Red Basil (Calamintha coccinea) grab your attention with their fiery color.
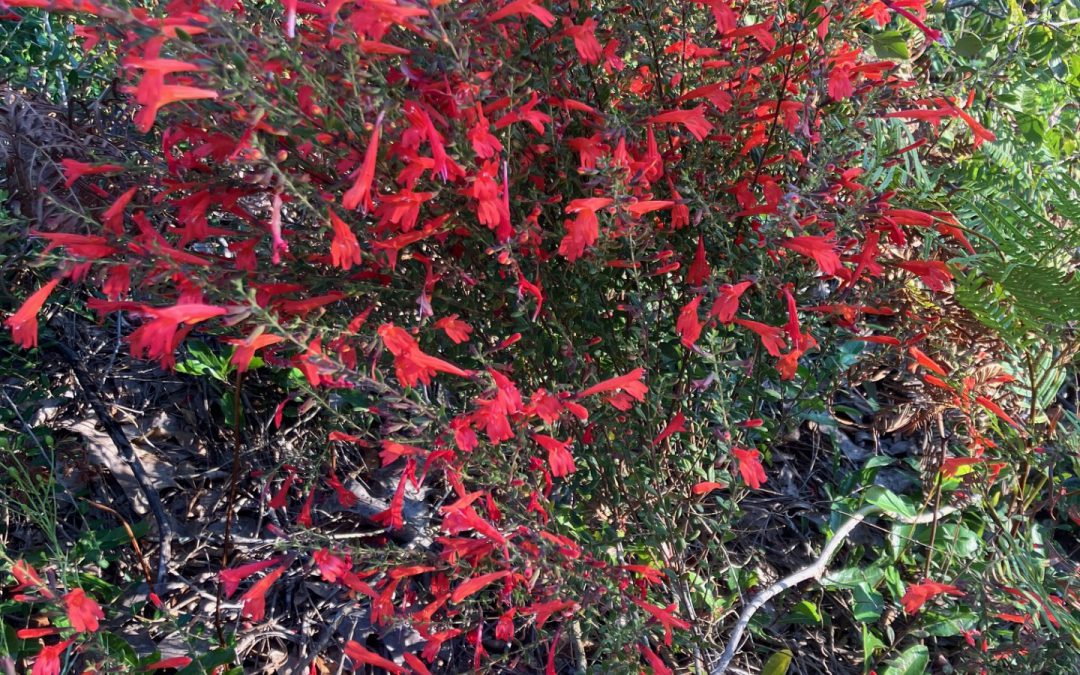
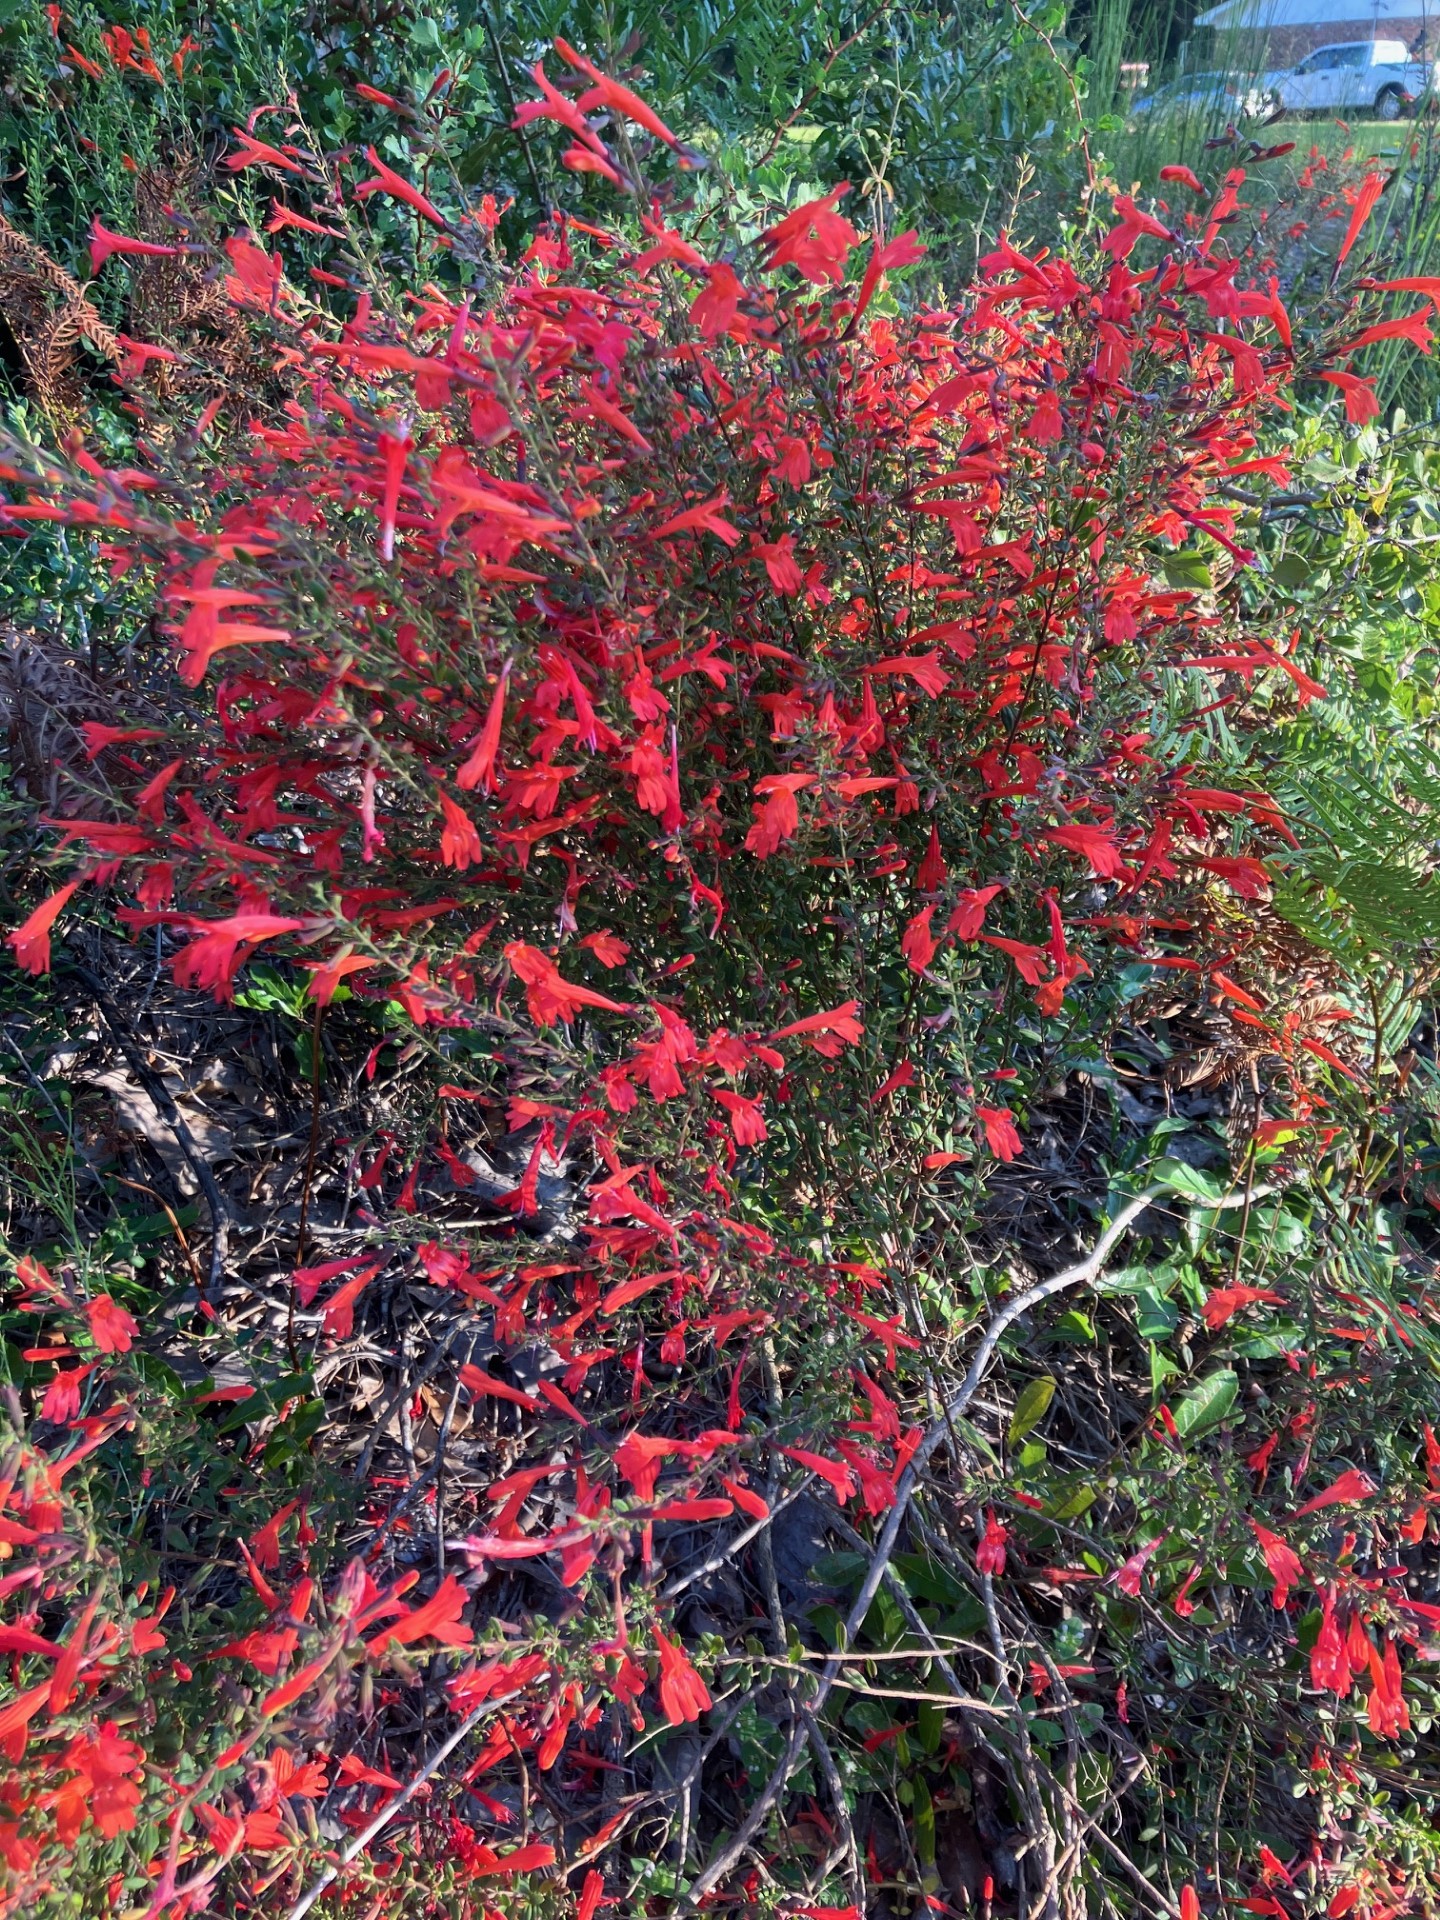
Scarlet calamint, also called Red Basil, with its brilliant red flowers, offer a dramatic contract against the backdrop of scrub, sandhill and coastal dunes where the plant naturally occurs in Florida. They bloom sporadically throughout the year, peaking in the fall with as many as 100 flowers on a single plant. It is the only Florida native Calamintha species with red flowers, and its flowers are the largest.
Red Basil (Calamintha coccinea)
When the Spanish Explorer Juan Ponce de Leon landed on the eastern shores in 1513 he immediately noticed the vast wealth of wildflowers and promptly name his new discovery the “Land of Flowers”, which is the translation for Florida. Habitats throughout the state vary greatly. Changes in elevation by only a few inches can change the soil and impact the types of plants growing there. Associated birds, butterflies, and other pollinators change as the wildflower species vary. Florida has one of the highest biodiversity in the United States.
Learning to identify the roadside wildflowers is the topic of the next Okaloosa County Master Gardener Lecture Series. Join Dave Gordon on Monday, October 23 at the Okaloosa County Extension 3098 Airport Rd. Crestview, FL 32539 from 10 -11 am CDT to learn about what is blooming along the road right of way and how they may be utilized in the landscape. For more information go to:
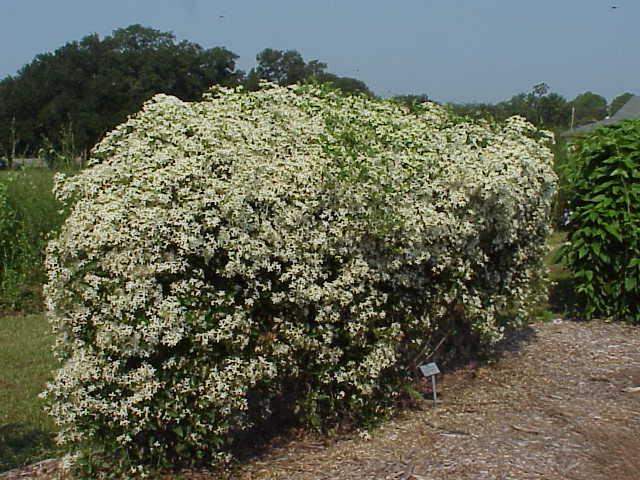
Although a beautiful flowering vine in the late summer and early fall, the non native Autumn clematis can take over an area and escape to natural areas. Learn how to distinguish this plant from the native clematis.
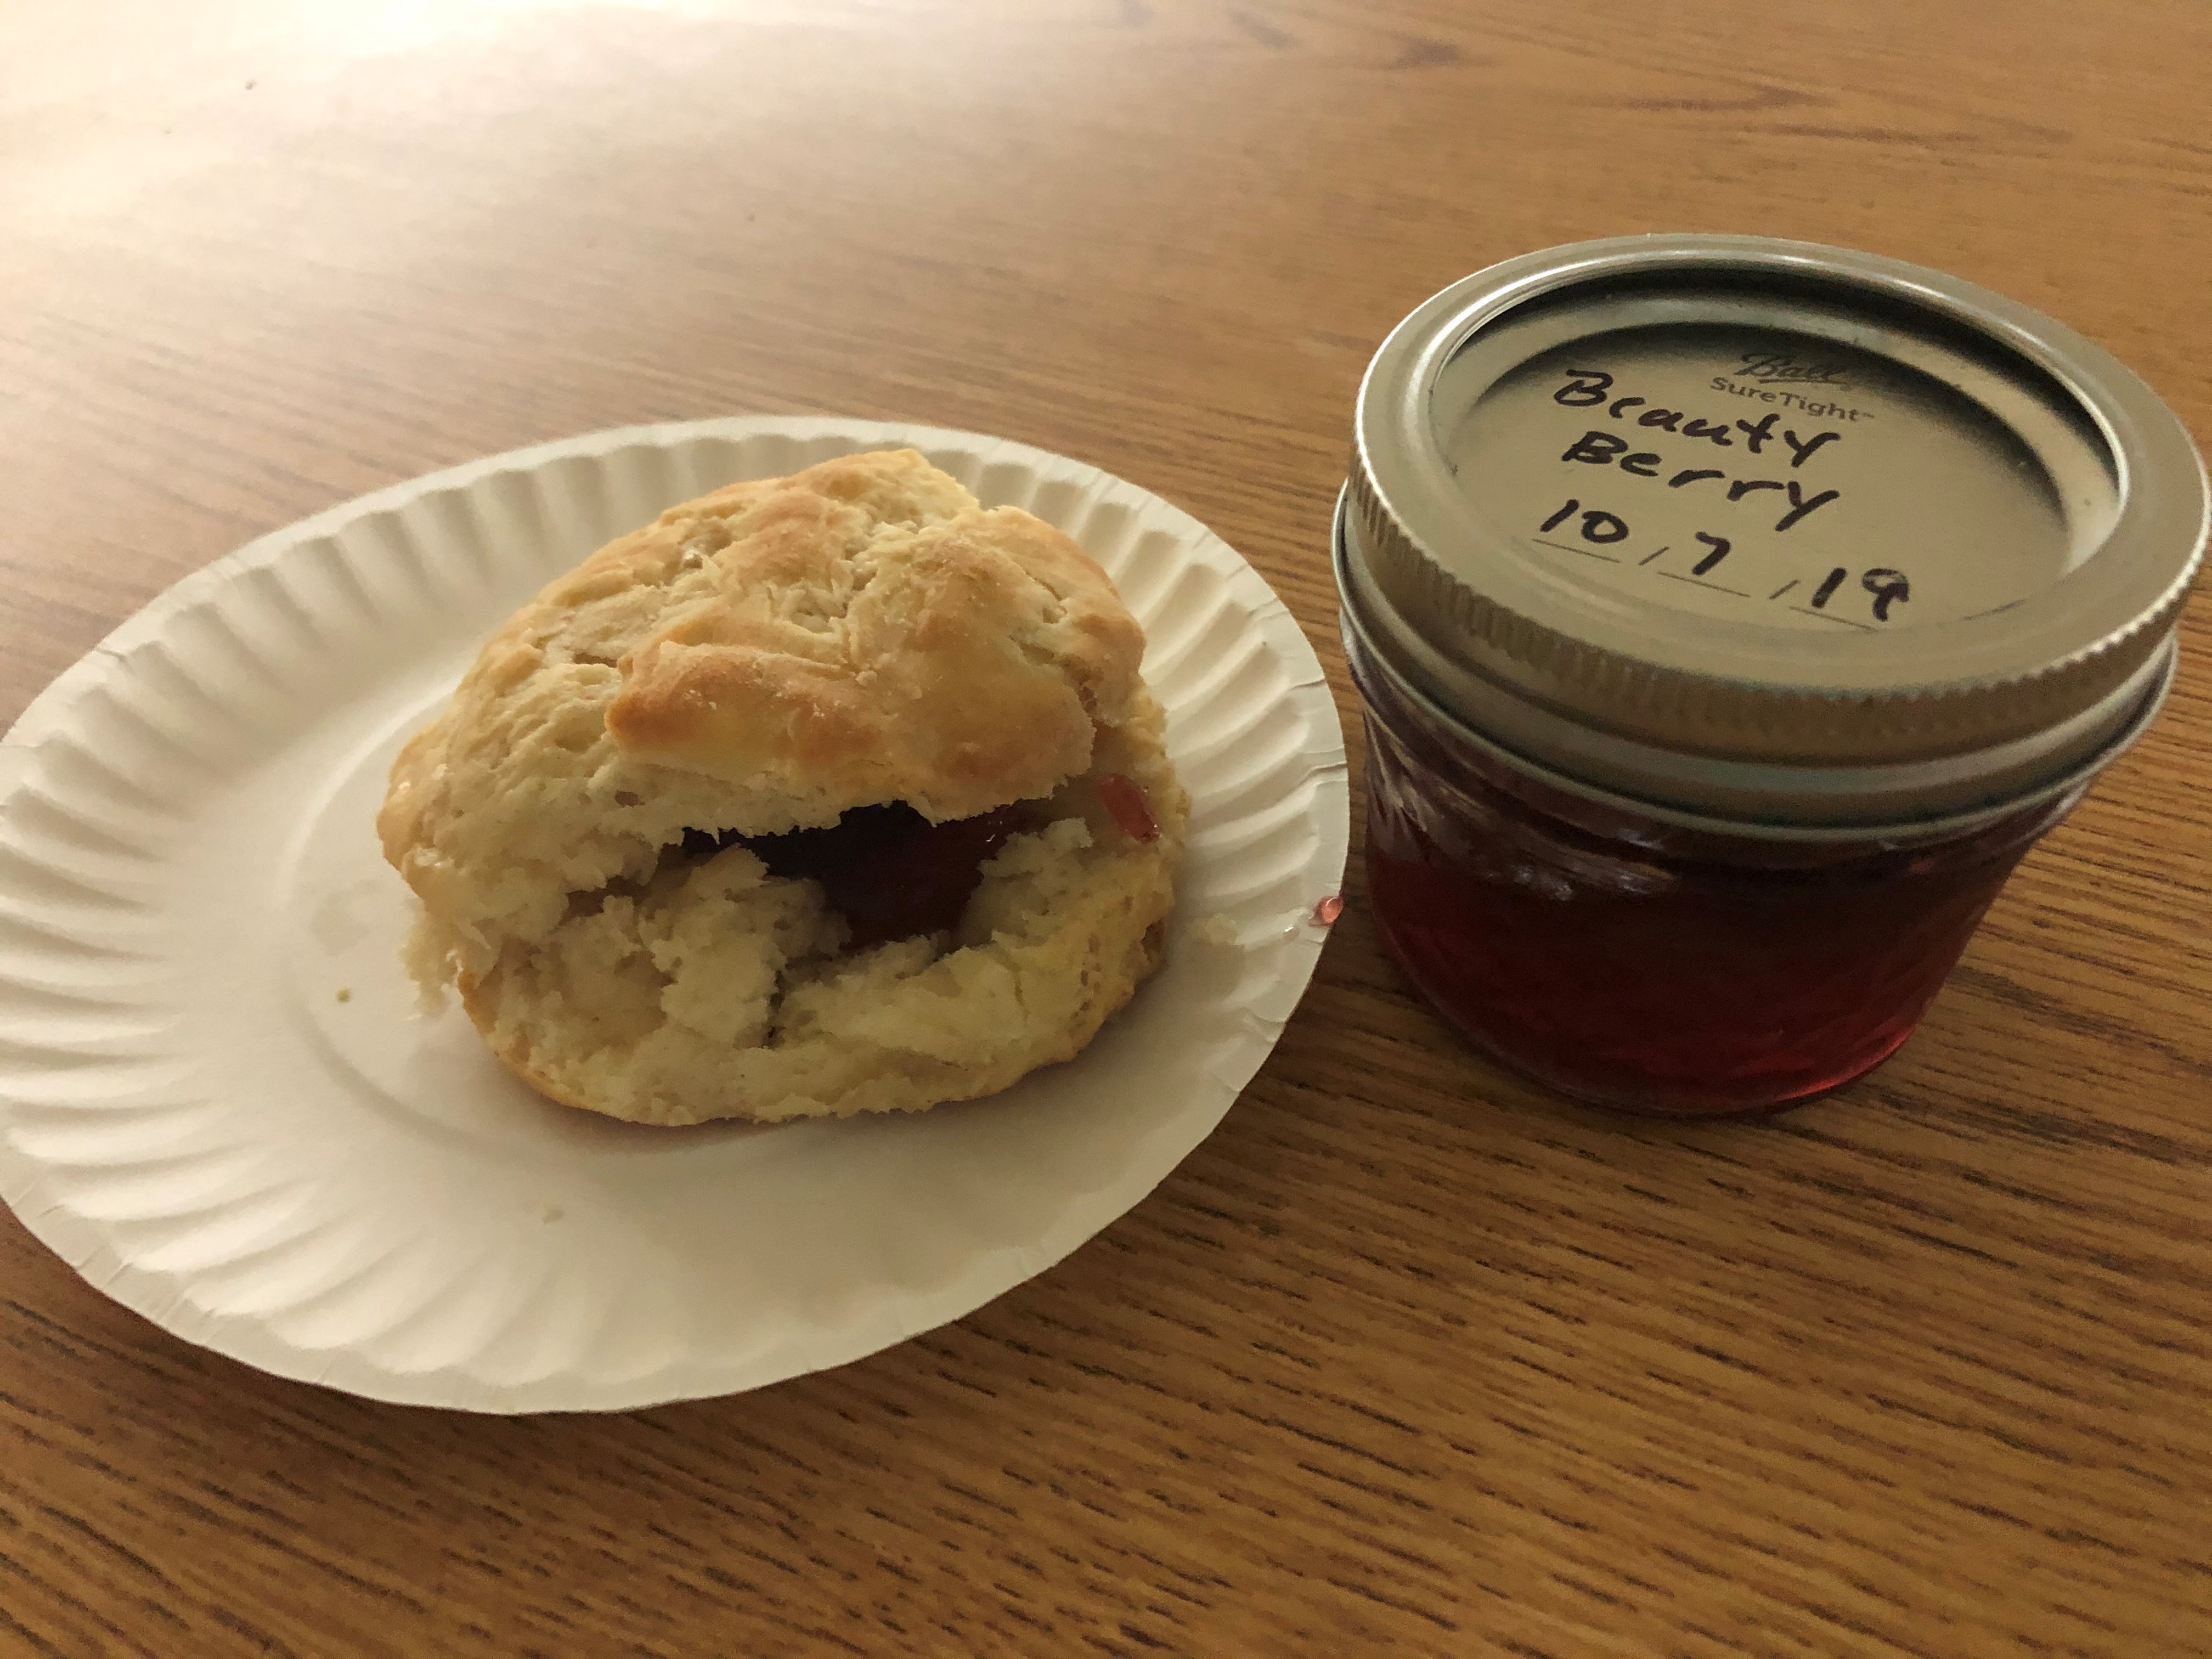
When beautyberries start producing their eye-catching, bright purple fruit in late summer, we start to get lots of questions. People want to know what it is, where can they find it, and can they eat it? While the berries look good enough to eat, it’s best to leave them to the birds and deer. They are not toxic and were used by Native Americans for a root tea to treat fevers, stomach aches, malaria, and more, but the taste has been described as bitter and mealy. Thanks to a generous volunteer, I am lucky enough to have tried beautyberry jelly. A little (or a lot) of sugar can make most anything taste good—and the finished product is a beautiful, translucent shade of fuchsia.
Homemade beautyberry jelly is a real treat for breakfast! Photo credit: Carrie Stevenson, UF IFAS Extension
Even more interesting to me was the revelation that researchers have been able to extract compounds from beautyberry that successfully repel pest insects such as ticks and mosquitoes. The study began about 15 years ago, after a Mississippi botanist with the USDA Agricultural Research Service mentioned to a colleague that his grandfather taught him to rub the crushed leaves of beautyberry on his skin. The technique had been used as a home remedy to prevent mosquito bites for people (and horses) for generations. As a follow up experiment, another group of researchers found these same compounds—callicarpenal and intermedeol—successfully repelled black-legged ticks (which transmit Lyme disease) as effectively as DEET. In the last few years, researchers out of Mississippi have worked towards creating natural insect repellents from the compound that are less harsh on human skin that many commercially available brands.
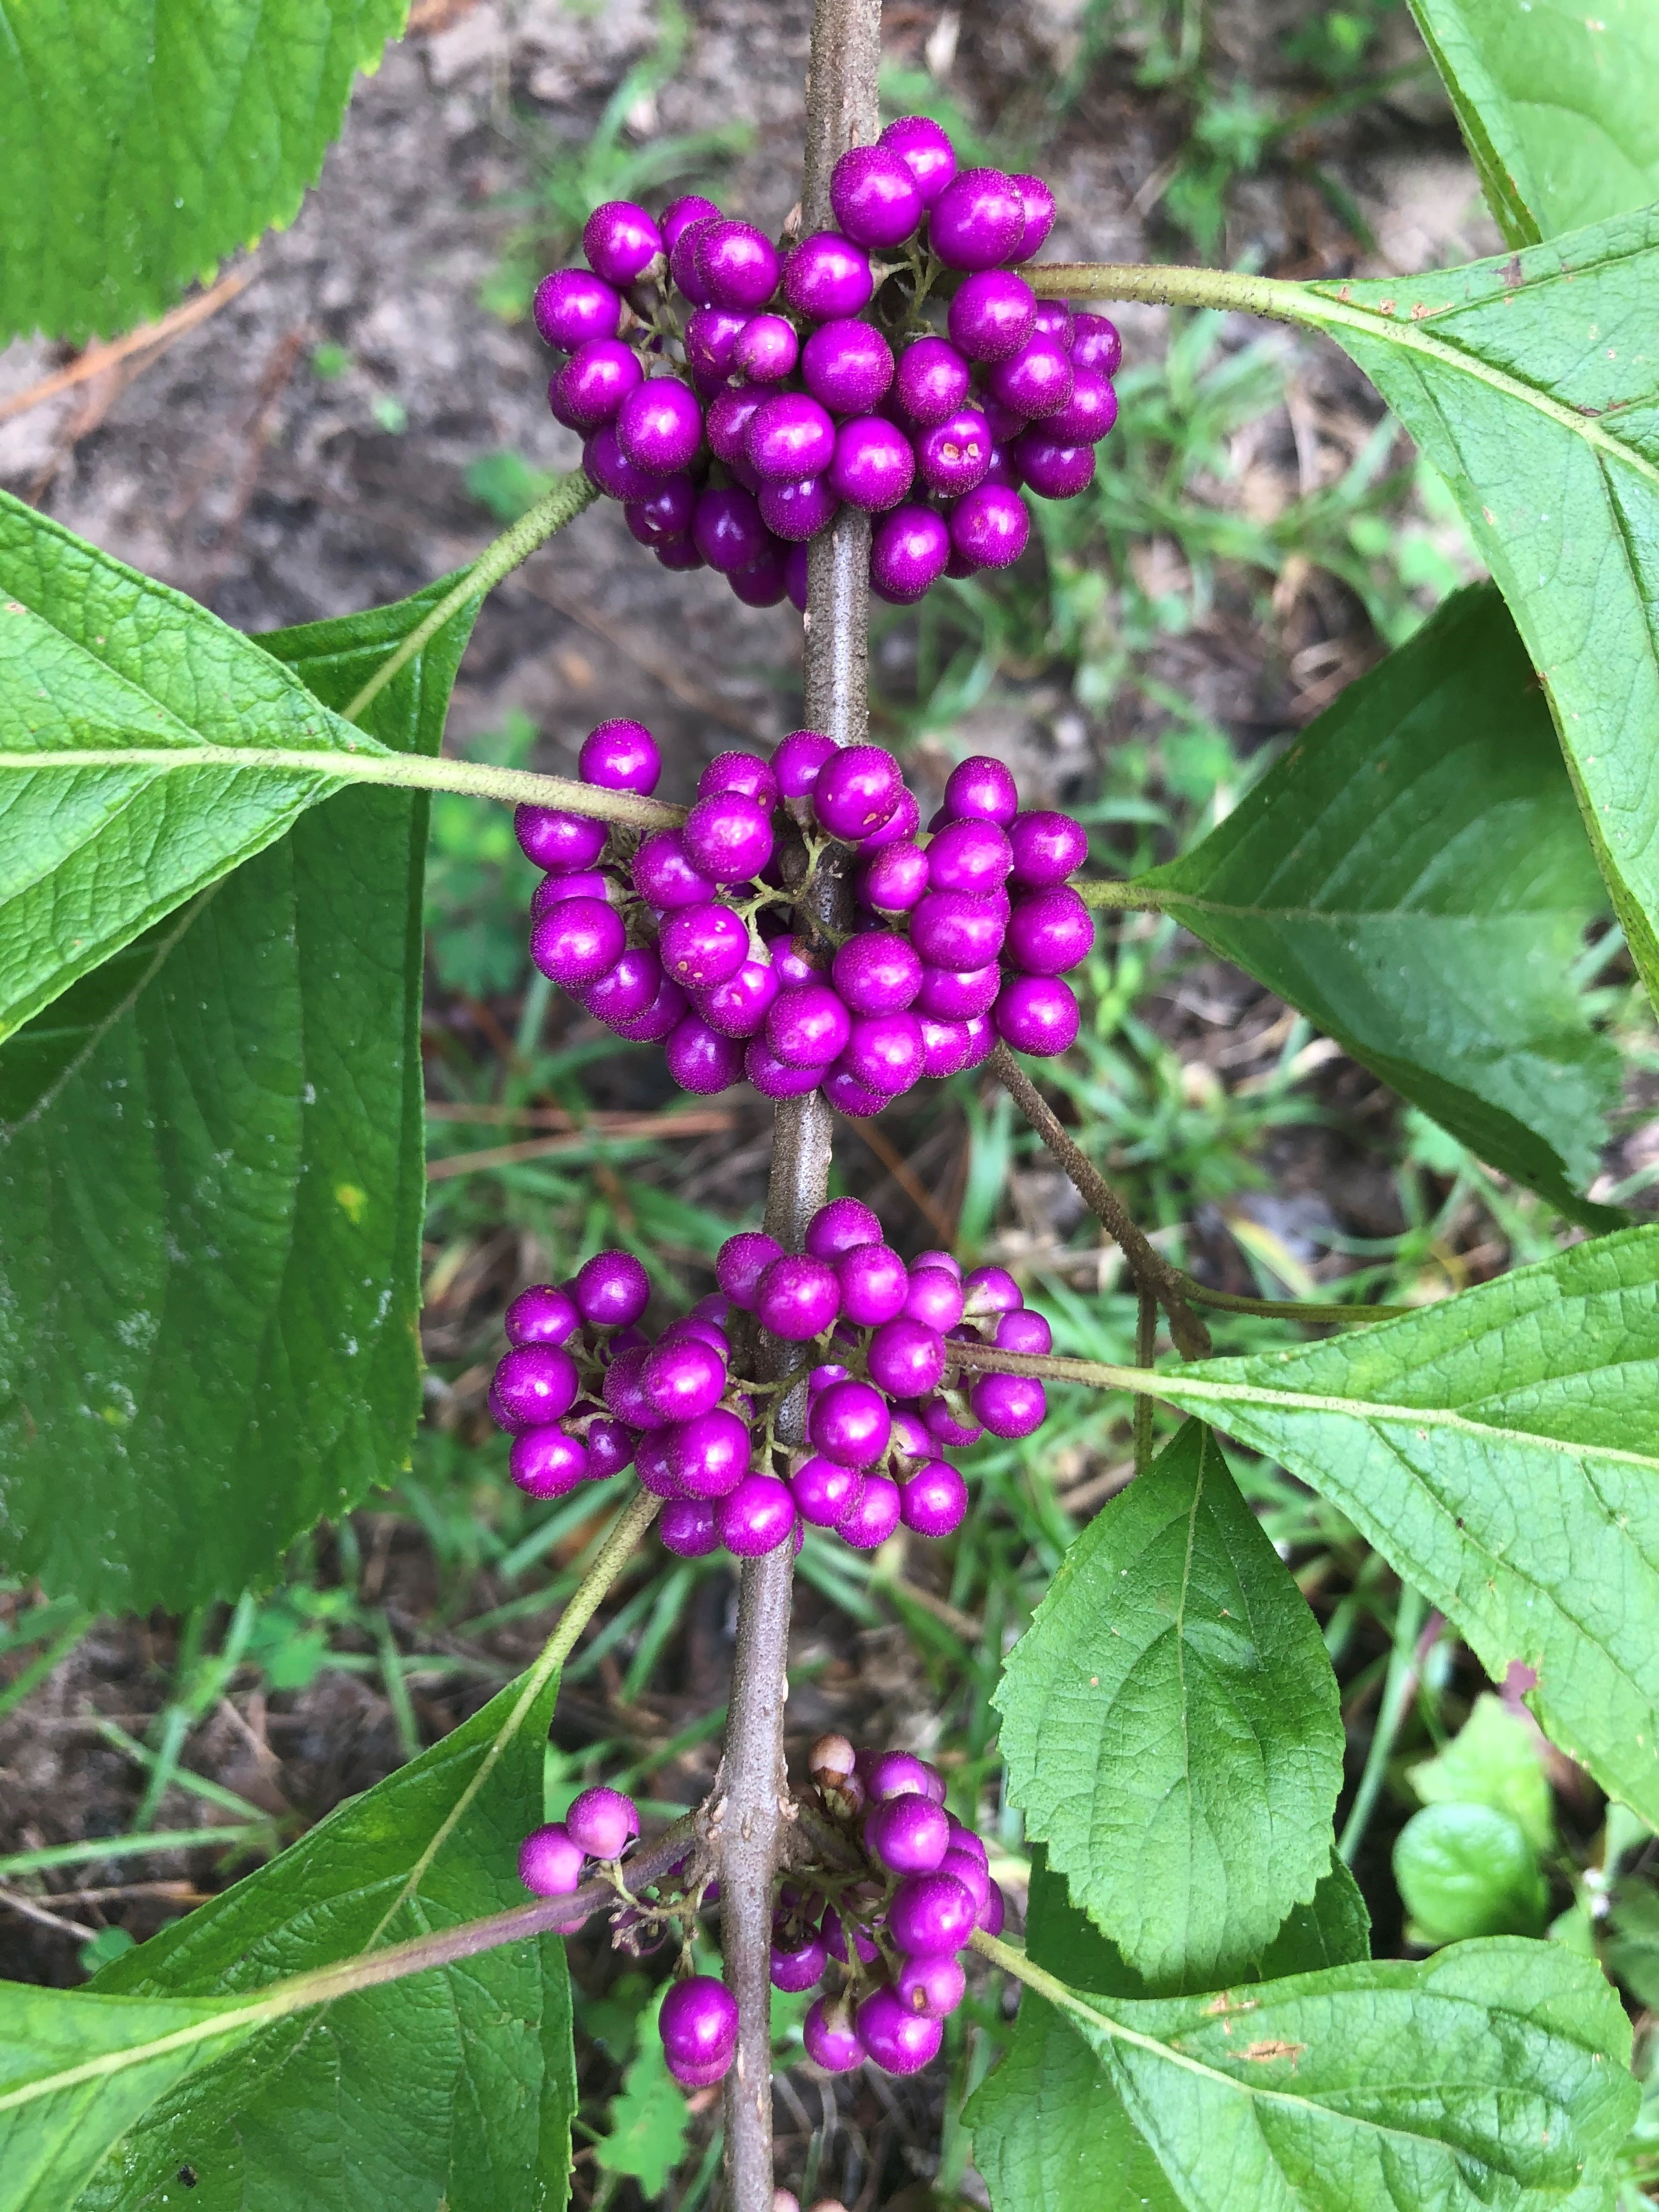
The striking purple berries of the beautyberry shrub attract the attention of people and wildlife, alike. Photo credit: Carrie Stevenson, UF IFAS Extension
Aside from its many practical uses, Callicarpa americana is a beautiful native shrub. It has wide green leaves and the brilliant purple berries grow in clusters along its stem. They stay on through late fall and winter in some places, making a beautiful contrast to fall foliage. Beautyberry shrubs can be found in a wide variety of habitats, including sandy and wet soils, full sun, and part shade. Their adaptability makes them a great plant for tight conditions like roadsides or yard edges, but also for nearly any home landscape. The plants can grow to a height of 4-8 feet and spread 3-6 feet wide. The long-lasting berries make them a great wildlife food source later in the cool season than many berry-producing species.
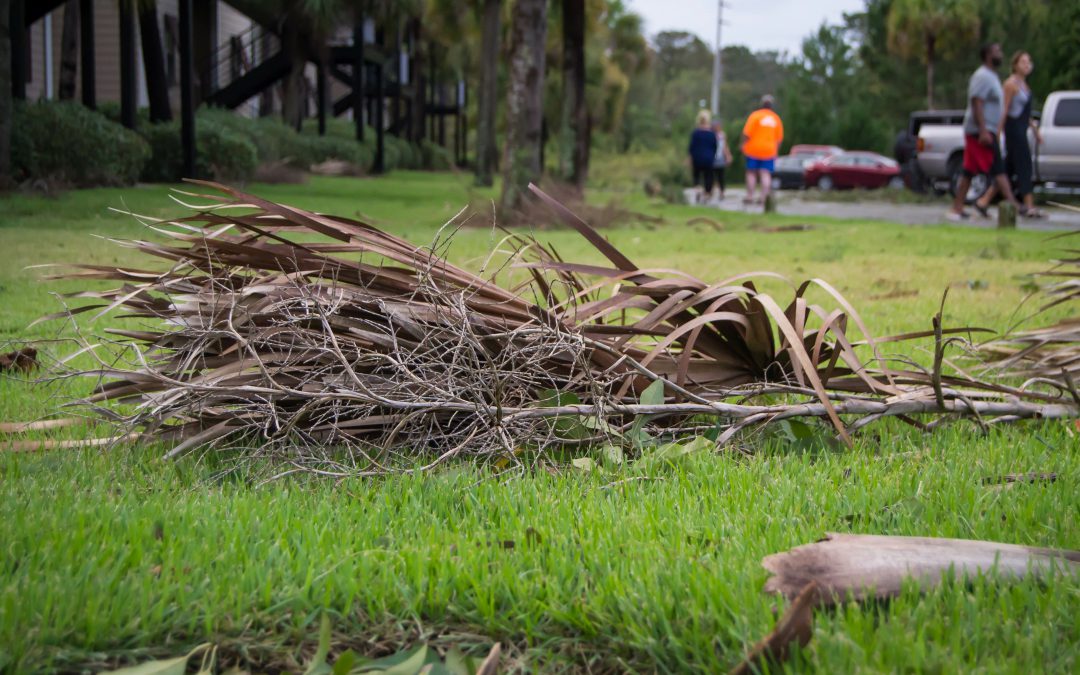
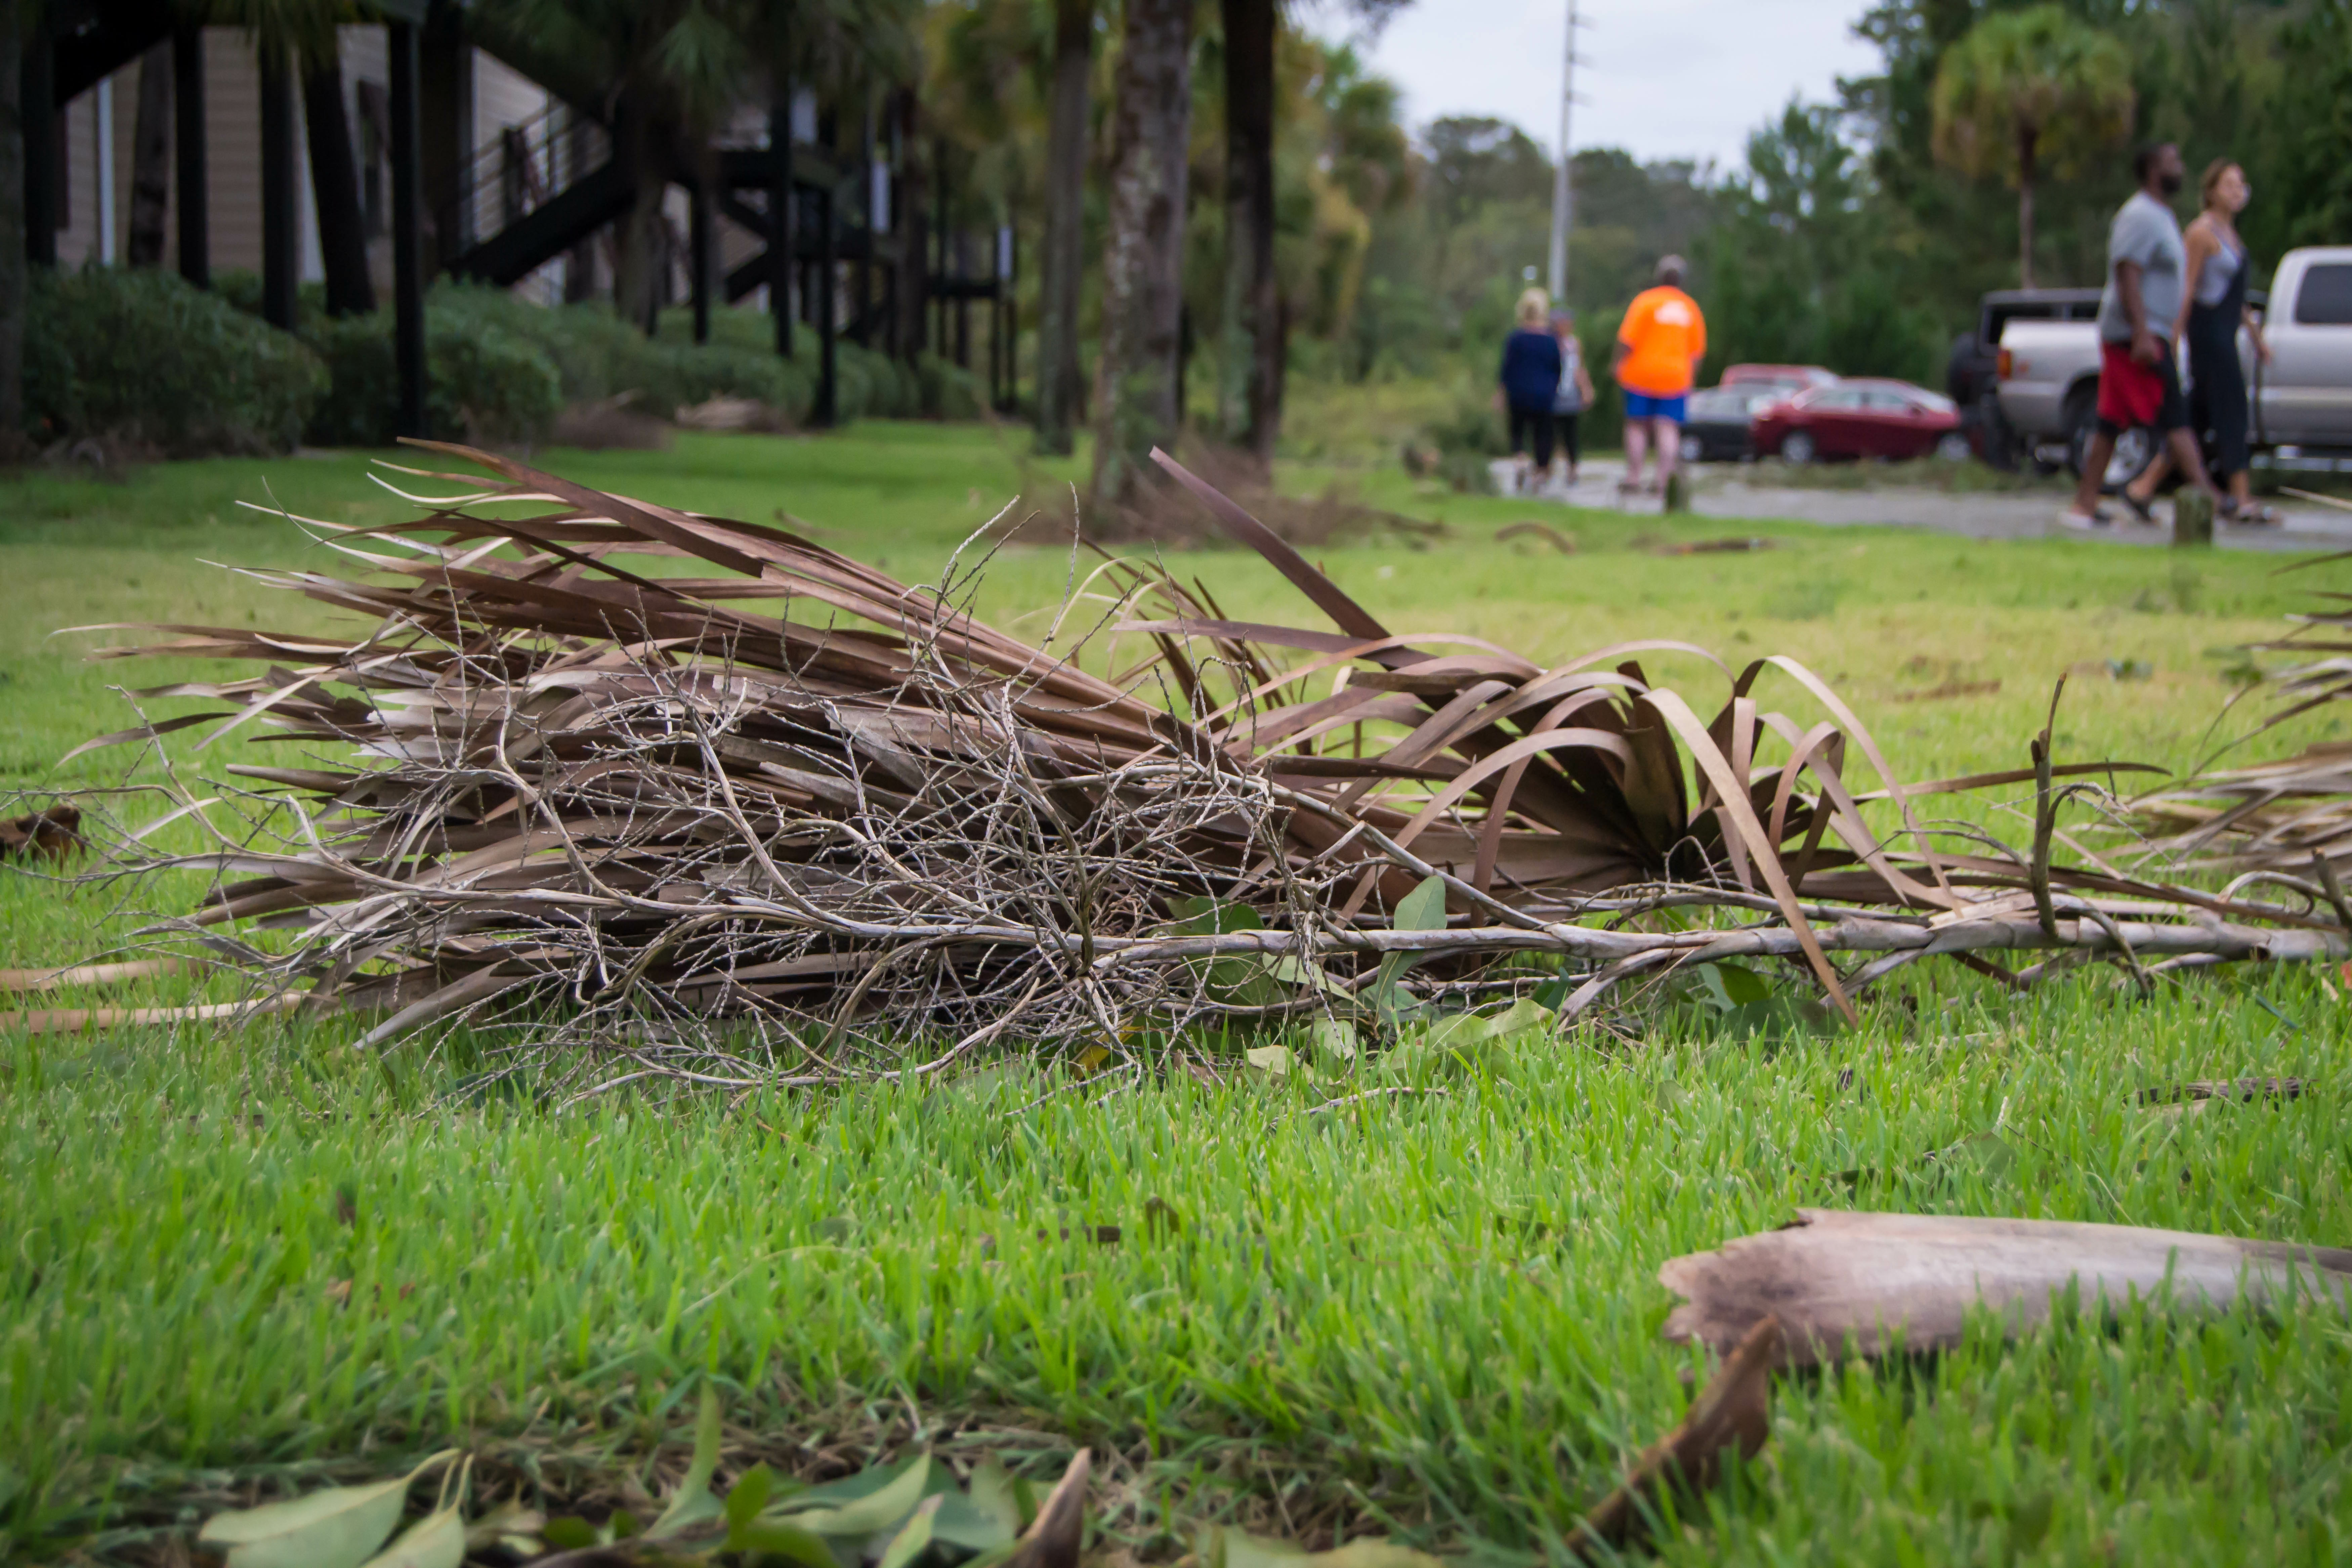
Small debris recently littered area lawns, but these materials are no “trash”. Credit: Adobe Stock
Hurricane Idalia recently tore through the Big Bend area, battering the coast and taking down trees, leaving thousands out of power. While much of the panhandle was safe from the strong winds and storm surge, we still got some gusty weather, and likely had some amount of cleanup to do following the storm. Fortunately for us, this time, it’s mostly a lot of small branches and leaves versus entire trees that our fellow gardeners are cleaning up to the east of us. In addition to being thankful that larger branches didn’t fall here, consider turning those small bits and pieces over to wildlife while collecting your wheelbarrow loads of debris. This is a great opportunity to practice sustainable landscape practices and a few Florida-Friendly Landscaping Principles.
The UF/IFAS Florida-Friendly Landscaping Program has nine principles that it encourages Florida homeowners to practice in their landscape to conserves Florida’s natural resources. Three of the nine principles can be practiced by choosing how you manage the debris that has fallen – #4 Mulch, #5 Attract Wildlife, and #7 Recycle Yard Waste.
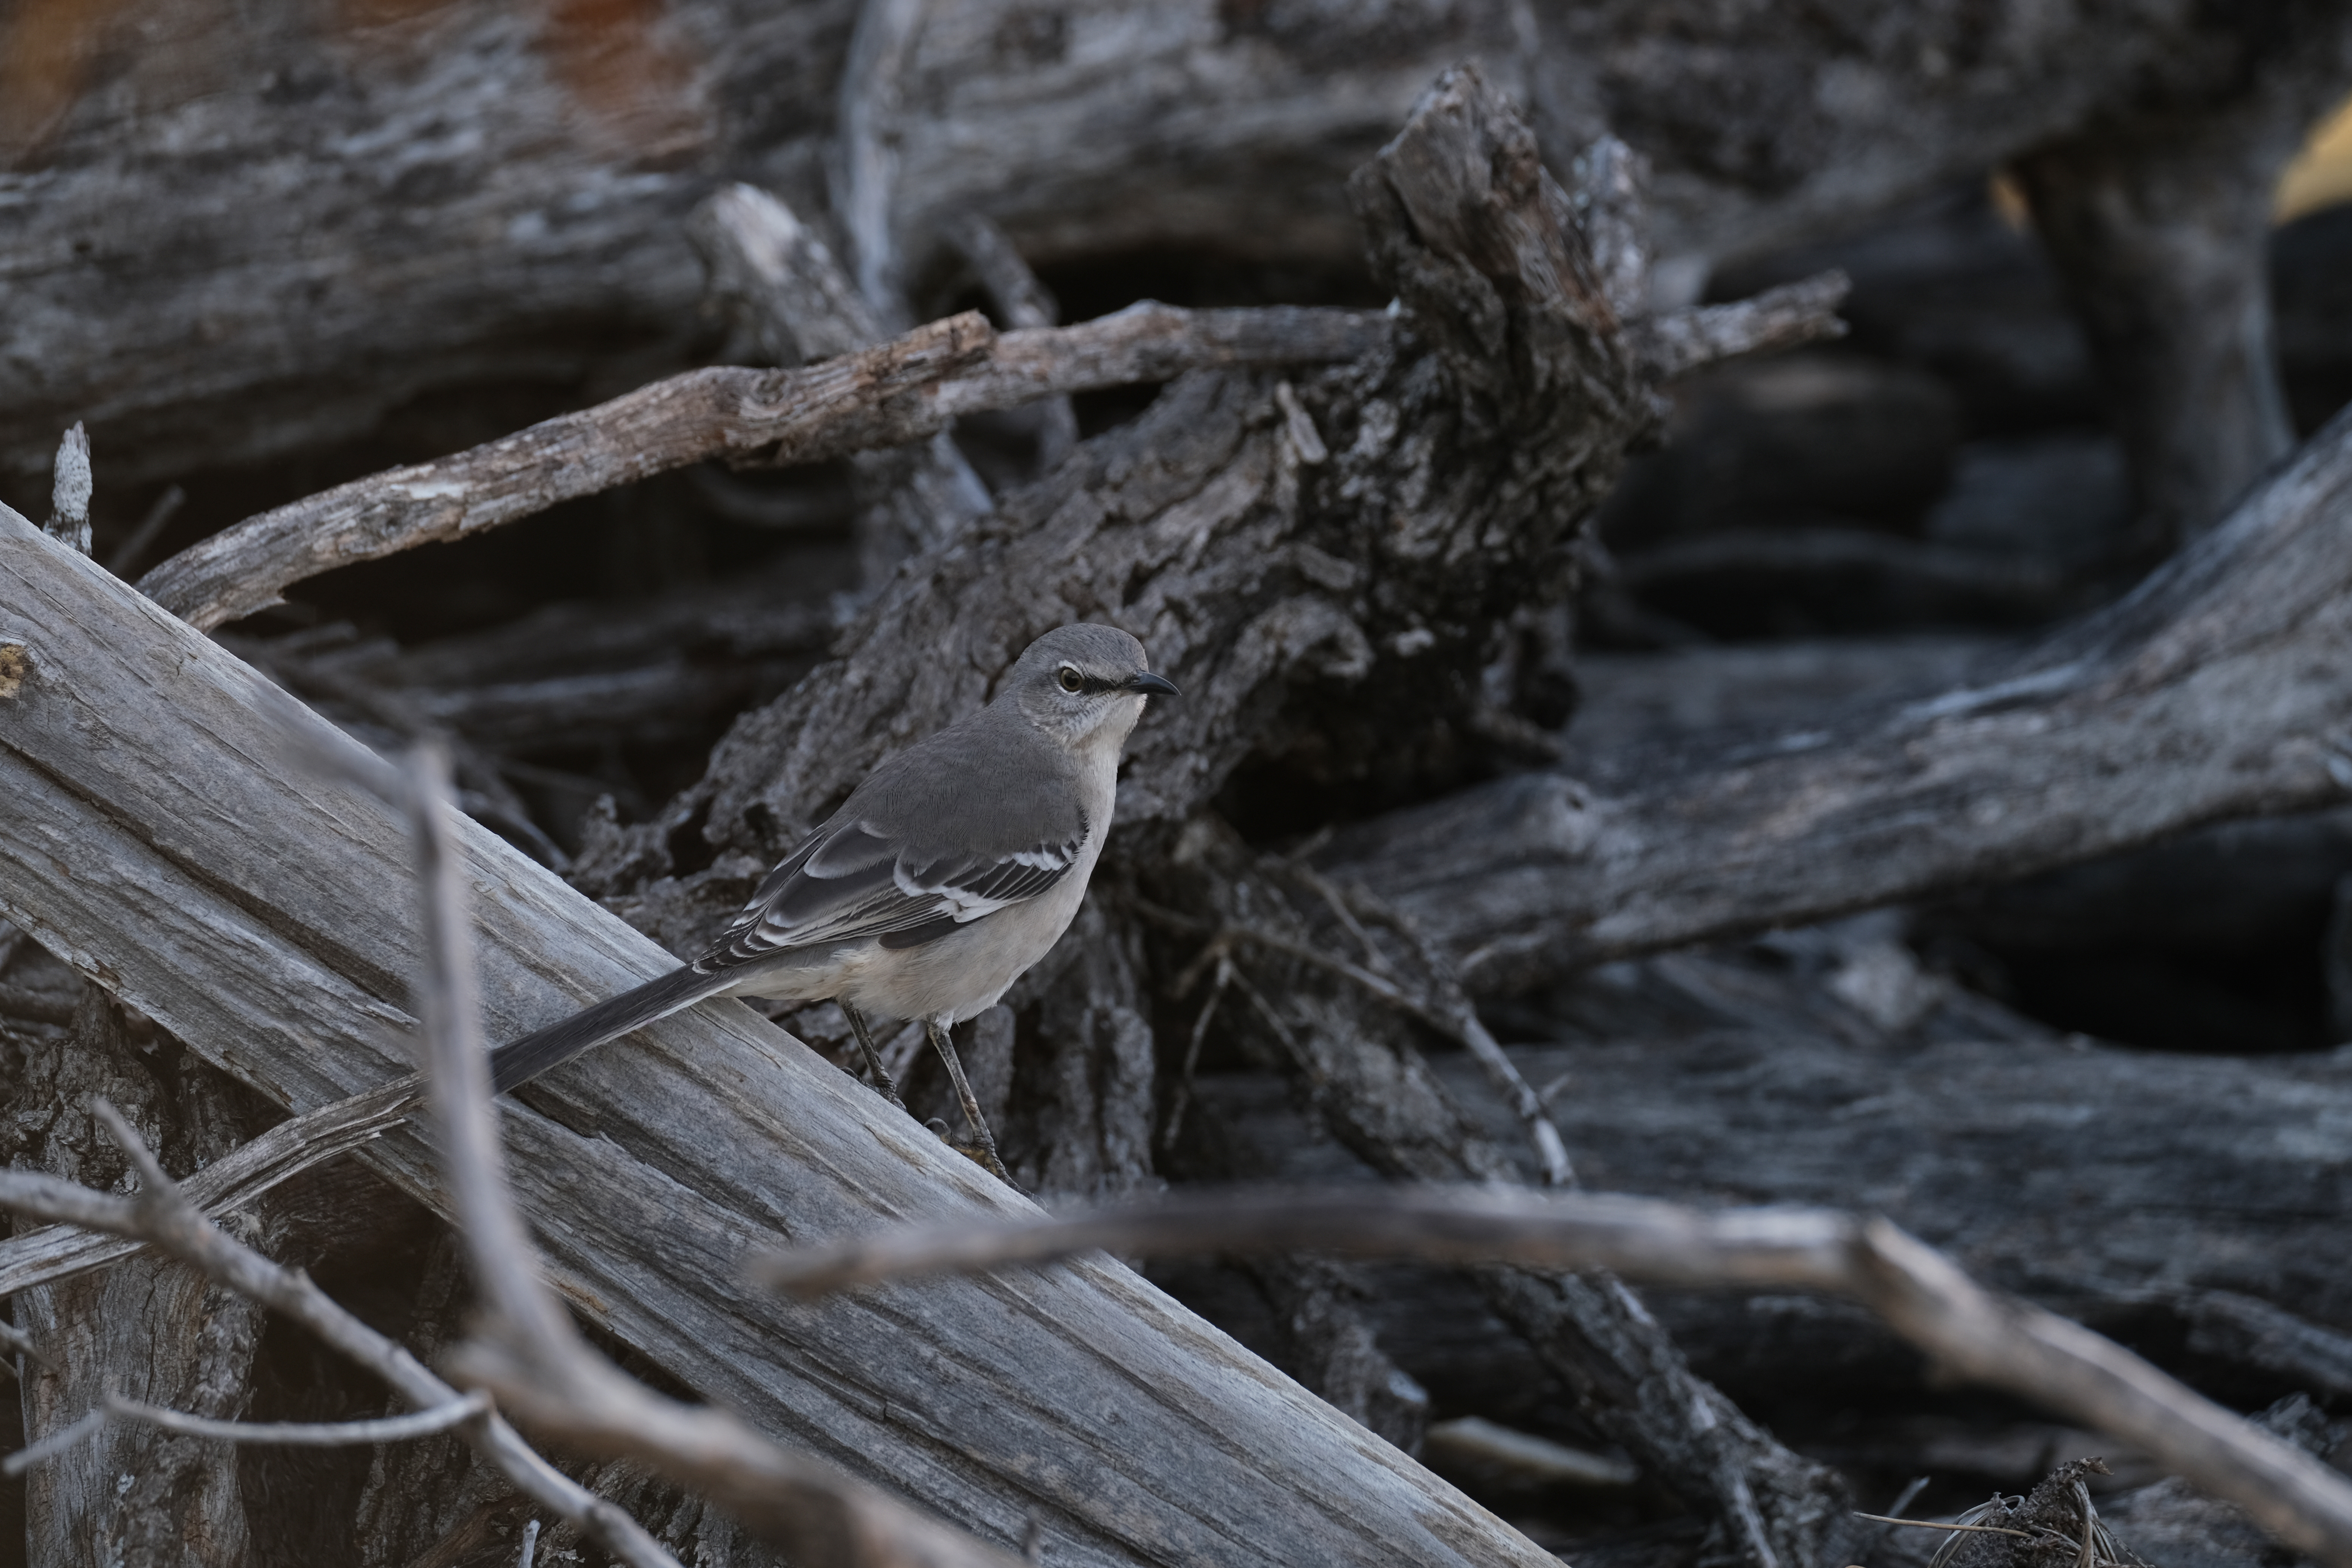
A mockingbird enjoys perching at the brushpile. Credit: Adobe Stock.
The first reaction when looking out at your landscape after a storm is typically “Ugh, there’s a lot of stuff to clean up.” We often want to “clean it up” and get it back to a sea of perfect cut grass, or at least sort of nice grass. However, the small branches and leaves that fall can be a great resource for wildlife, can provide mulch around a tree, and letting them rest reduces the need for you to haul all that stuff up to the road and all that goes into picking up, transporting, and processing the material.
The larger branches (four to six inches in diameter and larger) can be used for firewood or a naturalistic bed edging. Otherwise, they can go into a large brushpile. Smaller sticks and branches are perfect for one large brushpile, or, if a large pile doesn’t meet your aesthetic desires, a series of small piles scattered or hidden behind some shrubs is a good compromise. The leaves and really small stuff (branches no larger than a pencil) can be raked up for mulch, added to the brushpile(s), or just left in place to naturally rot away and/or get shredded up by the mower.
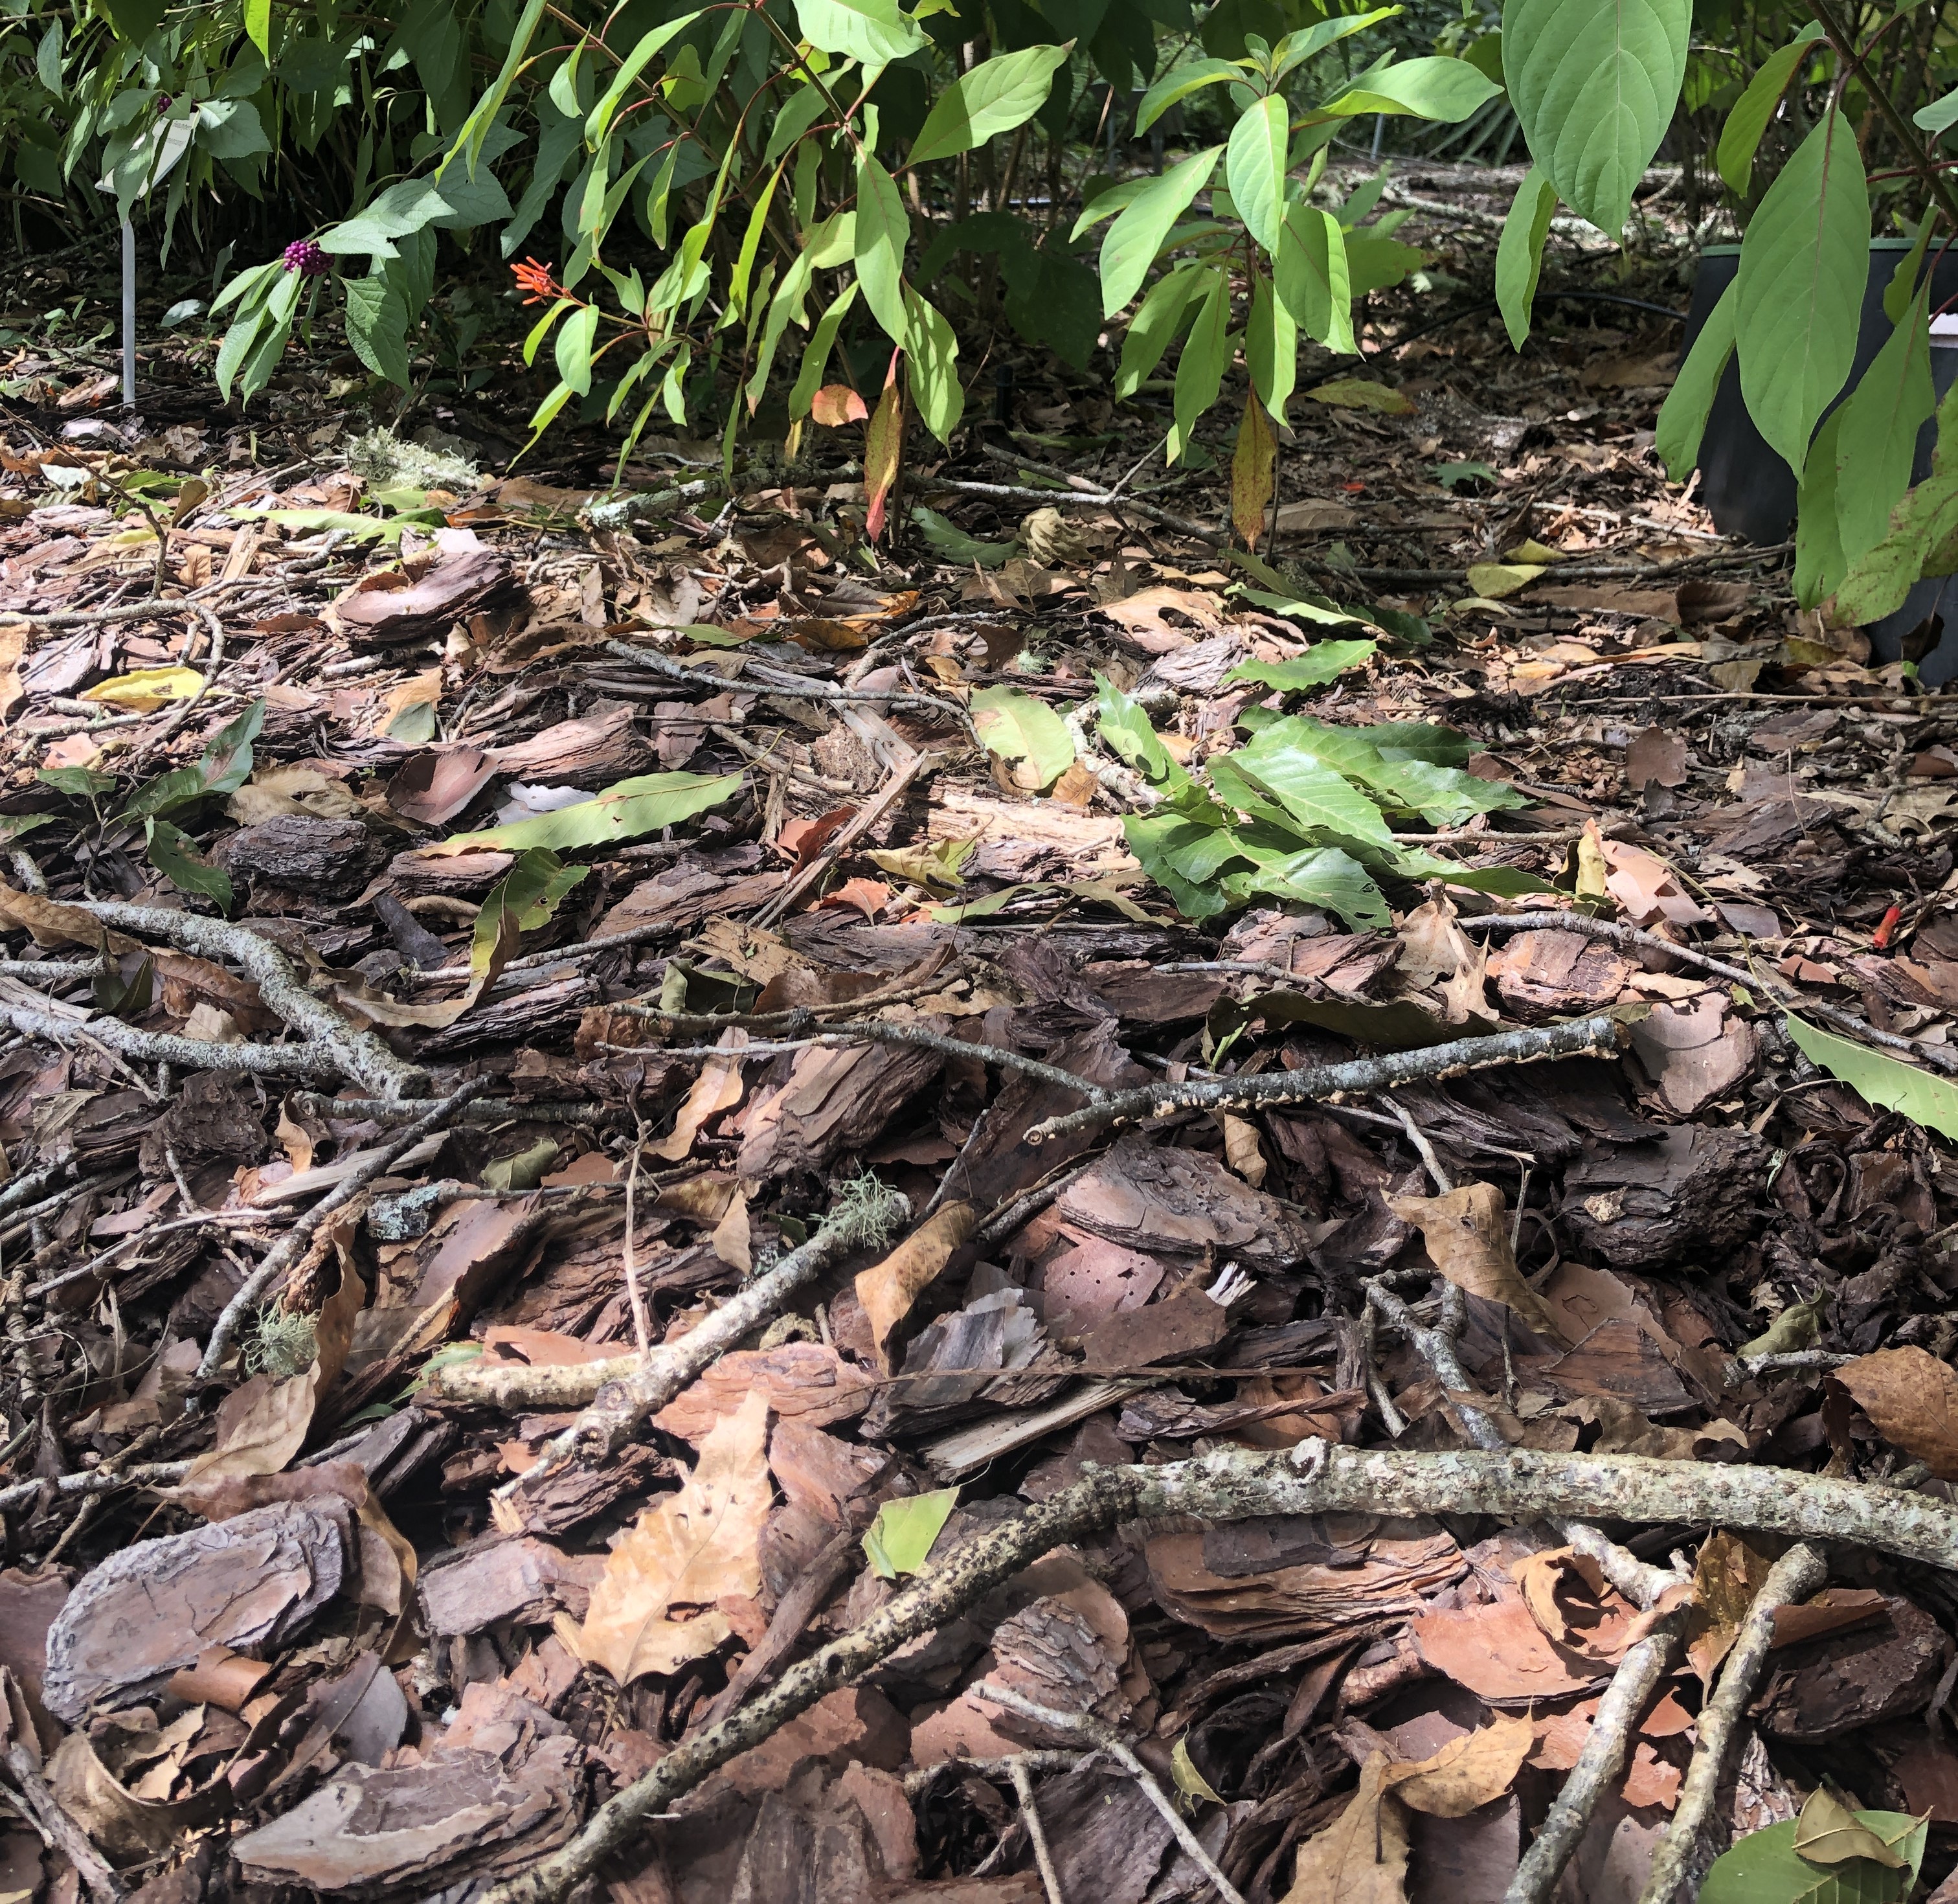
Many small, pencil size twigs, along with leaves, can be left in place as a mulch. Credit: Mark Tancig, UF/IFAS.
No matter how you leave the debris, consider how important this material is for all sorts of wildlife. Dead wood supports microbes, fungi, and animals up and down the food chain and even adds to your soil organic matter. While it may not look “clean” to us, those bits of “trash” are gold to many critters, especially small insects that bring birds to the yard. So, during cleanup, consider leaving little treats here and there for wildlife and spend less time hauling it to the road! For more information about the Florida-Friendly Landscaping Principles, visit the UF/IFAS Florida Friendly Landscaping Program website.