by Donna Arnold | Dec 11, 2025
Winter Bliss and Climate Challenges in North Florida Gardens
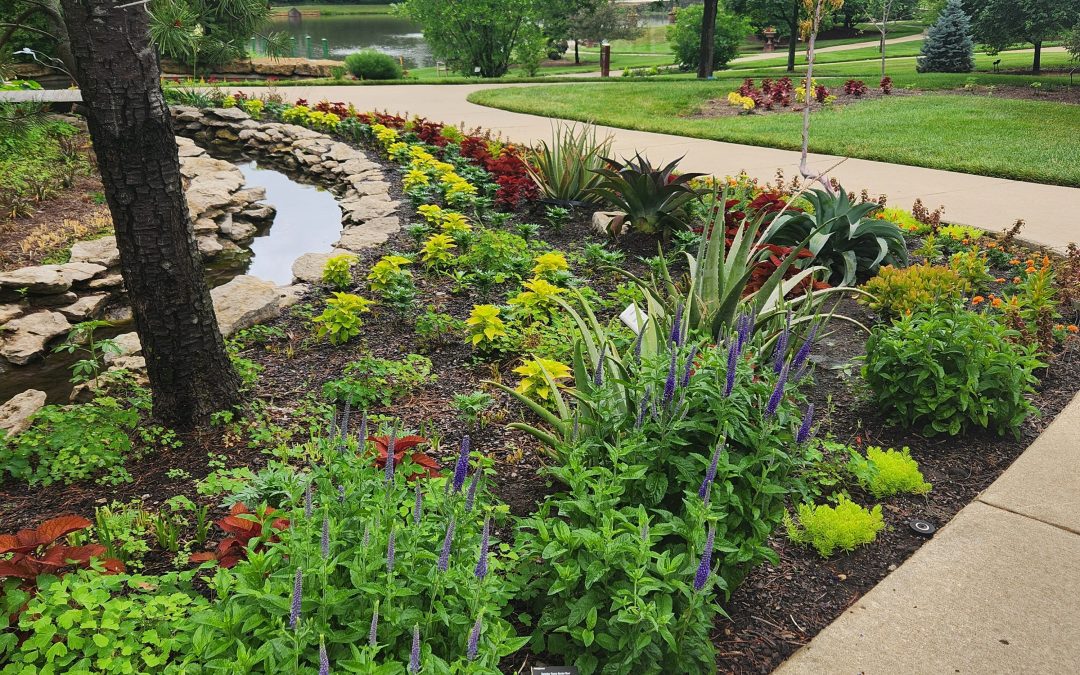
Gardening is far more than a pastime, it’s an endeavor that demands patience, skill, and dedication. Every plant requires careful attention to thrive, and every gardener knows the challenge of protecting their landscape against nature’s shifting moods.
In North Florida, winters from December through February are typically mild, offering residents the chance to cultivate cool-season vegetables, hardy ornamentals, and lush greenery that brighten homes even in the colder months. These gardens are more than decoration; they are living investments in beauty, wellness, and community pride.
Yet, the increasing instability of seasonal patterns has thrown gardeners off balance. Sudden frosts, unexpected heat spikes, and shifting rhythms test both resilience and creativity. What once felt like a predictable cycle now requires constant vigilance, as climate change reshapes the very environment in which these gardens grow. For North Florida residents, tending a garden is not just about nurturing plants, it’s about nurturing joy, identity, and a connection to place, even as the climate itself becomes more uncertain.
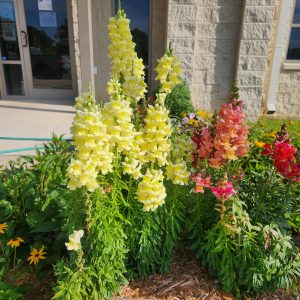
Photo credit: Donna Arnold,FAMU Extension.
The Growing Challenge of Climate Change
In recent years, gardeners have faced out-of-season frosts that damage cold-sensitive plants such as citrus, hibiscus, and tropical ornamentals. Unlike commercial growers with greenhouses, most homeowners lack protective infrastructure, leaving their landscapes exposed. The financial loss of damaged plantings can be significant, but the emotional toll of watching cherished gardens succumb to sudden freezes is equally profound.
Climate change intensifies these challenges. Stronger cold fronts and occasional winter heat spikes disrupt plant growth, weakening resilience and reducing vitality. Homeowners often resort to improvised measures, blankets, plastic sheeting, or makeshift covers, that provide only temporary protection. Without specialized forecasting tools, residents rely on local news or apps, which may overlook microclimate variations across neighborhoods.
Weather vs. Climate: Why It Matters
It’s important to distinguish between weather and climate.
- Weather refers to the day-to-day conditions, temperature, rainfall, humidity, and more, that we experience locally.
- Climate is the long-term average of these conditions, measured over seasons, years, or even decades, across regions or globally.
Florida, for example, has a wet season and a dry season, but rainfall within those periods can vary greatly from day to day. While climate patterns help us anticipate seasonal trends, the unpredictability of weather events, like sudden frosts or heat spikes, creates challenges for gardeners. Understanding this distinction helps residents prepare for short-term weather swings while adapting to long-term climate shifts.
Adapting for Resilience
Climate change is no longer a distant concept; it’s a daily reality for North Florida gardeners. To adapt, communities must embrace:
- Education programs on cold protection and plant selection.
- Affordable protective solutions like frost cloths and portable covers.
- Resilient landscaping strategies, including native plants better suited to fluctuating conditions.
For further reading on climate impacts and gardening adaptation in Florida, see: Cold Protection for North Florida | UF/IFAS Extension; Climate Change and Florida’s Native Plants – Florida Wildflower Foundation; Surviving Winter Storms: Smart Gardening; Frost in the Panhandle? Practical Tips for Protecting Your Garden | Gardening in the Panhandle Practices for Northern Florida Gardens
by Lauren Goldsby | Dec 4, 2025
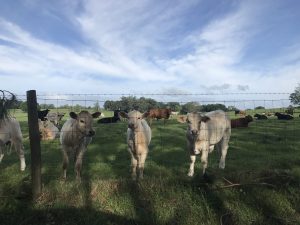
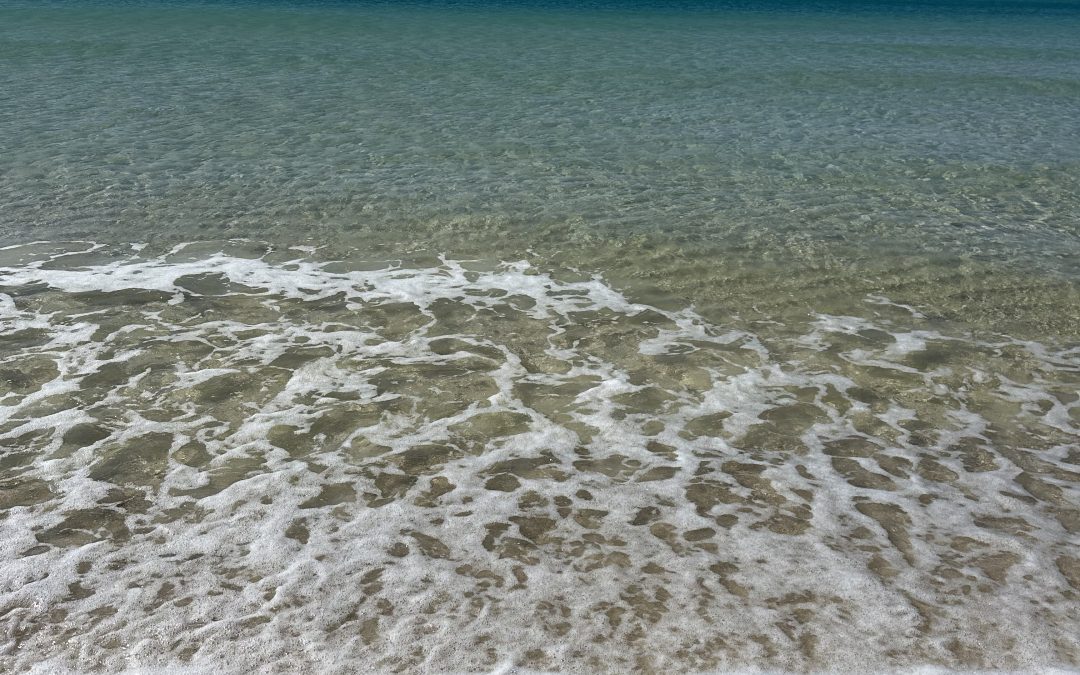
Agriculture is not the first thing that comes to mind when you’re in Bay County, especially when you’re enjoying a day at the beach! In the 2022 Census of Agriculture, 139 farms were reported, covering more than 70,324 acres. Much of what’s counted as farmland in Bay County is forested land managed for timber rather than traditional row-crop agriculture. Other commodities include hay, berries, livestock, honey and aquaculture. Together, agricultural sales generated $3.69 million dollars in 2022. Agriculture exists here, but it is not the primary economic driver. Tourism plays a much larger role, bringing $3.1 billion in visitor spending and supporting over 35,000 jobs.
This can be a common in areas where there is a large amount of tourism. Both systems depend on healthy natural resources, for different but equally important reasons. This is especially true when it comes to water, which makes up 27% of the county by area. Large scale producers use Best Management Practices (BMPs) to reduce the amount of chemical and nutrient runoff into our water systems.
If an area does not have a lot of agriculture does that mean we are safe from pollution in our water? No. Runoff isn’t just a problem in agricultural systems. A single lawn may not contribute much on its own, but when you add them up they can become a significant source of water pollution.
One of the easiest ways you can reduce impacts on our water resources is with how you fertilize your lawns. Here are some residential BMPs you can follow in your own yard. If you are fertilizing next to a body of water, leave a 10-foot strip unfertilized on the water’s edge. Don’t apply more than 1 pound of slow release nitrogen per 1,000 square feet at a time or exceed 4 pounds per 1,000 square feet per year. If you are using a quick release nitrogen do not apply more than ½ pound at one time for the same area. This chart below can be used to calculate how much fertilizer that is based on the percent of nitrogen. Nitrogen is always the first number, followed by phosphorus and potassium. Remember that right now your lawn doesn’t need any fertilizer. Dormancy is a protection from winter freezes, and fertilizer put out now will not be taken up effectively by dormant grass.
| Nitrogen percent in fertilizer |
Pounds of fertilizer to apply 1lb of nitrogen / 1000 sqft |
| 5% |
20 lbs |
| 10% (10-10-10) |
10 lbs |
| 20% |
5 lbs |
U.S. Department of Agriculture, National Agricultural Statistics Service. (2022). 2022 Census of Agriculture, Bay County, Florida. https://quickstats.nass.usda.gov/
Bay County Chamber of Commerce. (2025). Business & community profile. https://panamacity.org/tourism-business/
by Donna Arnold | Sep 25, 2025
When the Ground Moves.
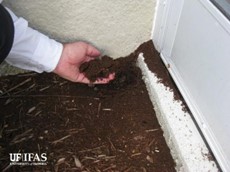
It started with a quiet day, and a curious bag of sand brought into the extension office but inside was more than just sand. It was crawling with tawny crazy ants (Nylanderia fulva), one of Florida’s fastest-spreading invasive pests. Known for their erratic movement and massive colonies that can make the ground seem alive, these reddish-brown ants are now a growing concern for gardeners across some Florida counties. Unlike fire ants, tawny crazy ants don’t sting, but they can nip with their chewing mouthparts. Their sheer numbers can overwhelm outdoor spaces, crawling on people and spoiling the enjoyment of patios, gardens, and recreational areas. They nest in moist, protected areas such as leaf litter, potted plants, and under debris, often forming sprawling colonies with multiple queens.
Beyond being a nuisance, these ants pose serious risks. They’ve been known to cause electrical shortages by infiltrating equipment, sometimes leading to costly damage. In some Caribbean islands, they’ve harmed organic crops, and in Colombia, infestations have even led to the death of small animals due to asphyxiation. Larger animals have been attacked around sensitive areas like the eyes and hooves. Tawny crazy ants also disrupt local ecosystems. Their aggressive spread displaces native ant species and reduces biodiversity. While Florida hasn’t reported agricultural damage yet, the potential remains, especially in organic farming systems.

Identification Tips
Workers are small (less than 1/8 inch), monomorphic, and covered in fine hairs that give them a matte appearance. They have one petiole segment and 12 antennal segments, including a long first segment called the scape. Colonies don’t form mounds but may tunnel in sandy soil. Queens are often found among workers, especially in warmer months. If you suspect an infestation, contact your local UF/IFAS Extension office.

Management Challenges
Controlling tawny crazy ants is notoriously difficult. Spraying alone is ineffective, and most insecticides only work for a few days before ants’ return. Integrated Pest Management (IPM) is the recommended approach. IPM combines multiple tactics, starting with accurate identification and monitoring, followed by strategic product application and habitat modification. Professional pest control services that specialize in IPM are often necessary. Timing is critical, and overuse of products is not only ineffective but may violate legal limits. Keep records of infestation locations to anticipate reinvasion, which typically occurs annually. While complete eradication is unlikely in established areas, population suppression is achievable. Interestingly, research suggests that within about a decade, populations may naturally decline, allowing native species to rebound.
Tawny crazy ants are more than just a backyard annoyance they are a complex ecological and household threat. Awareness, early identification, and professional management are key to minimizing their impact. As these ants continue to spread, staying informed and proactive will help protect your property and Florida’s delicate ecosystems.
For more information call or visit your local extension office or follow the link below.
https://edis.ifas.ufl.edu/publication/IN1076
by Julie McConnell | Sep 18, 2025
 Last month we focused on the 2025 Great Southeast Pollinator Census and how Florida residents and visitors could join in this citizen scientist project. Since this was only the second year Florida participated, we knew you would have lots of great questions!
Below is a recap of your inquiries and any references the panelists shared in case you wanted to dig deeper into the topic.
What is the Great Southeast Pollinator Census (GSEPC) and what is the data used for?
The pollinator census brings awareness of pollinators, encourages people to create habitat, and collects information that can be used to create baseline numbers and compare the population growth or decline over time.
How to identify bees, wasps, and other pollinators I see?
Luckily, you do not have to identify these insects to species – you only have to classify them into broad categories. Resources to help you spot key characteristics can be found here:
Bees of Florida
Pollinator Census Google Site
What time of day should I count?
Mornings and evenings are a great time to count because it is comfortable for the counter but also consider that time of day will affect the insects seen. For instance, many moths and beetles are active at night while honey bees are active during the day. Basically, there is no wrong time to count!
Will we be able to indicate which plants and whether or not they are native or non-native?
The GSEPC count sheet has a place for the plant name you are observing which can be common or scientific. There is not a designation on the form for native/non-native but if you use the scientific name that is easy to check when data is available.
Great Southeast Pollinator Census Counting Sheet
How to best encourage neighbors to get involved?
Print off some extra count sheets and invite people to join you or host a pollinator party!
What can we do to increase pollinators in our yards?
Provide nesting habitats for native pollinators such as undisturbed bare ground, hollow stems, small debris piles, and pollinator hotels. Be sure to maintain pollinator hotels to encourage use.
Responsible use of pesticides – always read labels and avoid products with pollinator warnings.
Pollinator Hotels
Plant diverse flowering plants to provide pollen and nectar and provide water resources.
Simple Steps to Create a Pollinator Paradise in Your Landscape
Provide Water for Pollinators
Are bumble bees a protected species?
There are almost 50 different bumble bee species in the United States, and not all live in Florida. Two are listed as protected species, one that occurs in Oregon and another in the Central Plains and may be in our area. The common species we see in Florida, American Bumble Bee and Eastern Bumble Bee are not currently listed as protected or endangered. Find a Species | U.S. Fish & Wildlife Service
Resources for Schools and Home Schools
Some public libraries have “Seed Libraries” and give out seed which may be appropriate for pollinators.
Seedlings for Schools Grants
Panelists favorite flowers for bees and other pollinators:
Abbey – purple coneflower and other Echinacea, Black-eyed Susan, Zinnia, Coreopsis
Beth – buttercup, goldenrod
Mark – yarrow, Stoke’s Aster (native to FL), Vitex agnus-castus Chaste Tree
Daniel – Vitex, Blue butterfly Clerodendrum, Firebush
Anything in the Aster Family!
Balance of controlling pests in vegetable garden but still welcoming pollinators.
Be tolerant of damage! Regardless of your tolerance level of damage be sure to use Integrated Pest Management strategies which may include trap crops, cover crops, and scouting regularly so you can catch pests early and hand pick when possible. If a pesticide is needed, use very specific targeted products such as Bt, soaps, or oils instead of broad-spectrum pesticides. (Always ensure products are listed for use on vegetable gardens and follow labels). Pesticide Labeling – A Guide to Users
Do you need a license to keep honey bees?
A license is not required; however, all bee hives must be registered with the Florida Department of Agriculture and Consumer Services (FDACS).
Beekeeper Registration– Florida Department of Agriculture and Consumer Services
UF/IFAS Research and Extension Honey Bee Lab has great resources for beekeepers!
If you missed this or other episodes be sure to check out our YouTube Playlist
by Abbey Smith | Jul 27, 2025
It may still be scorching hot outside, but it’s not too early to be thinking ahead of what to plant in your fall garden this upcoming season. There’s much to do to prepare, so knowing the right steps to get ahead will save you time. There are many options for fall and winter vegetables to grow in the Florida Panhandle and picking what is best for you or your family is essential.
The first step when planning a fall garden is to clean all debris from your previous plantings to prevent disease. The next would be to take a soil test. It’s essential to know the nutrients existing in the soil to have a successful growing season and thriving plants. You can contact your local extension office about soil testing availability in your area. Once you know the nutrient levels of your soil in your garden, you can make applicable amendments, such as adding compost. Some people opt to grow a cover crop in between growing seasons. For more information on cover crops in the garden, check out this article: Cover Crops in the Garden
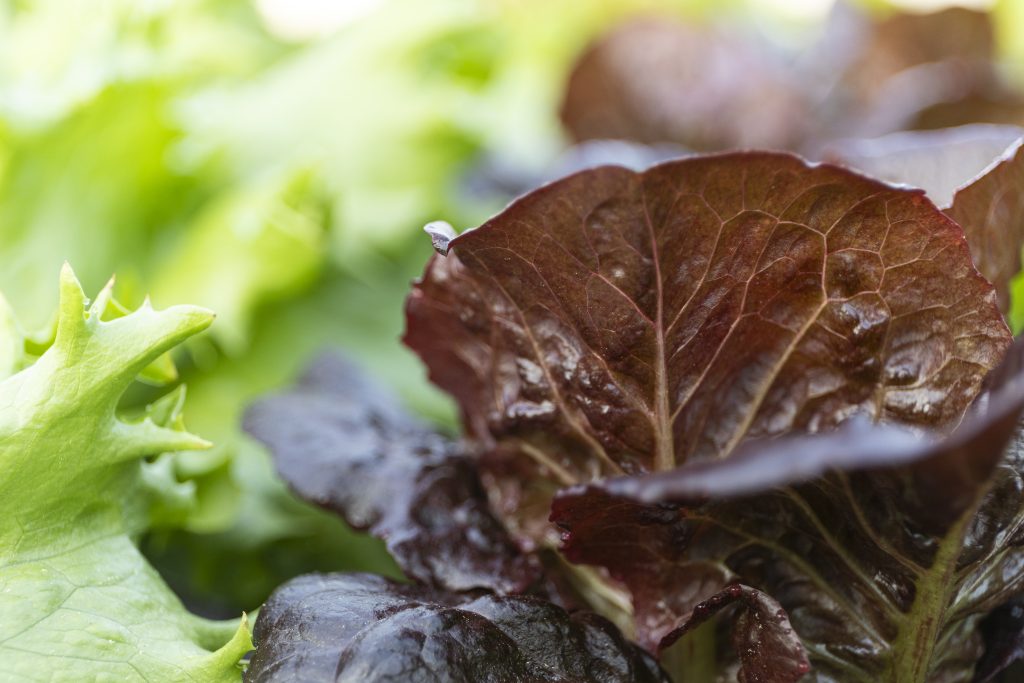
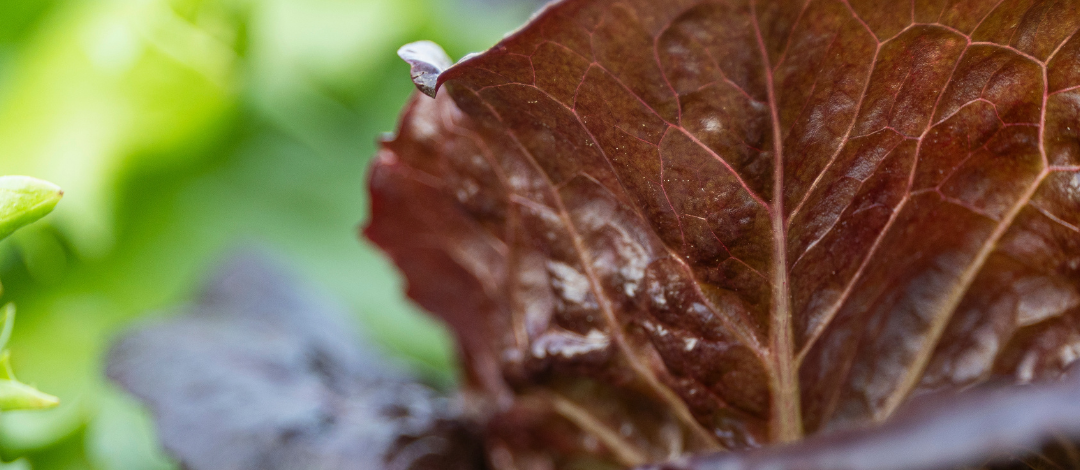
Lettuce leaf. Photo Credit UF/IFAS Cat Wofford
It’s important to know what vegetables grow best at specific times of the year. Most vegetable plants grown in the fall are considered “hardy” or semi-hardy.” A plant’s hardiness determines their level of cold tolerance. While it stays relatively warm in the fall here in North Florida, it is important to understand the lowest temperature a vegetable plant can withstand. You should also know your USDA Hardiness Zone. As of 2023, the Florida Panhandle is considered 9A under the USDA Hardiness Zone map.
Many fall vegetables can be sewn directly into the ground. Some examples of fall vegetables are leafy greens like lettuce, kale, and swiss chard. There are other vegetables in the brassica family that thrive in the fall like broccoli, cauliflower, and brussels sprouts. To get more ideas of what to plant when, refer to the Florida Panhandle Planting Guide
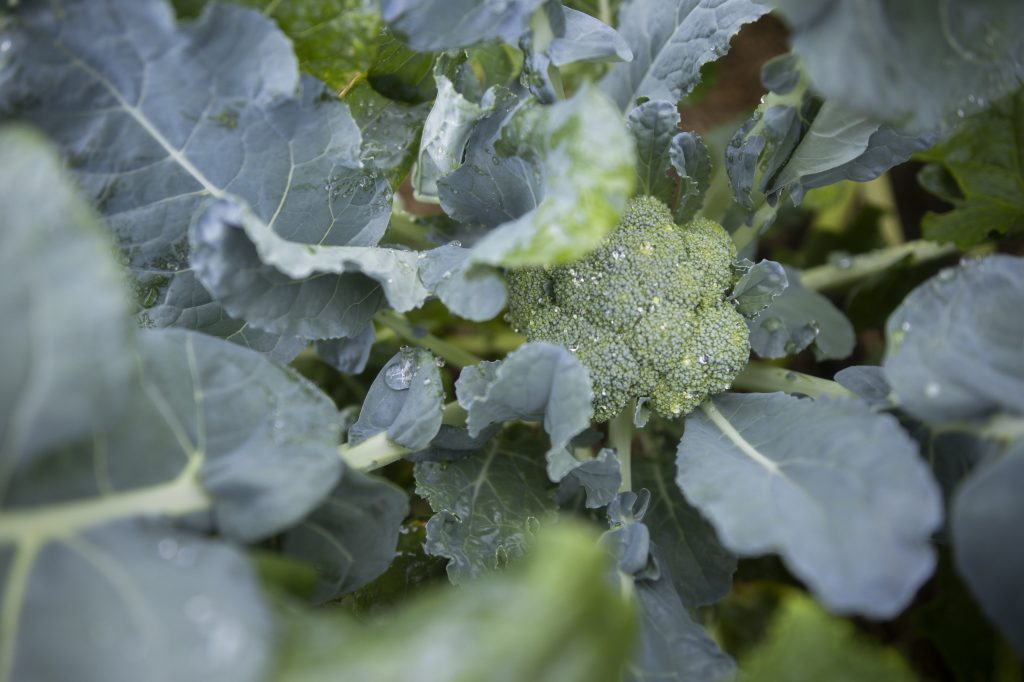
Broccoli on the plant. Photo Credit: Tyler Jones, UF/IFAS
If you would like to learn more about fall gardening and how to prepare the vegetables you grow, the UF/IFAS Jackson County Extension office will be hosting a Garden to Table Workshop on August 28 from 6:00 pm to 8:00 pm. For more information on how to register visit: https://JacksonCountyFCS.eventbrite.com
by Molly Jameson | Nov 6, 2024
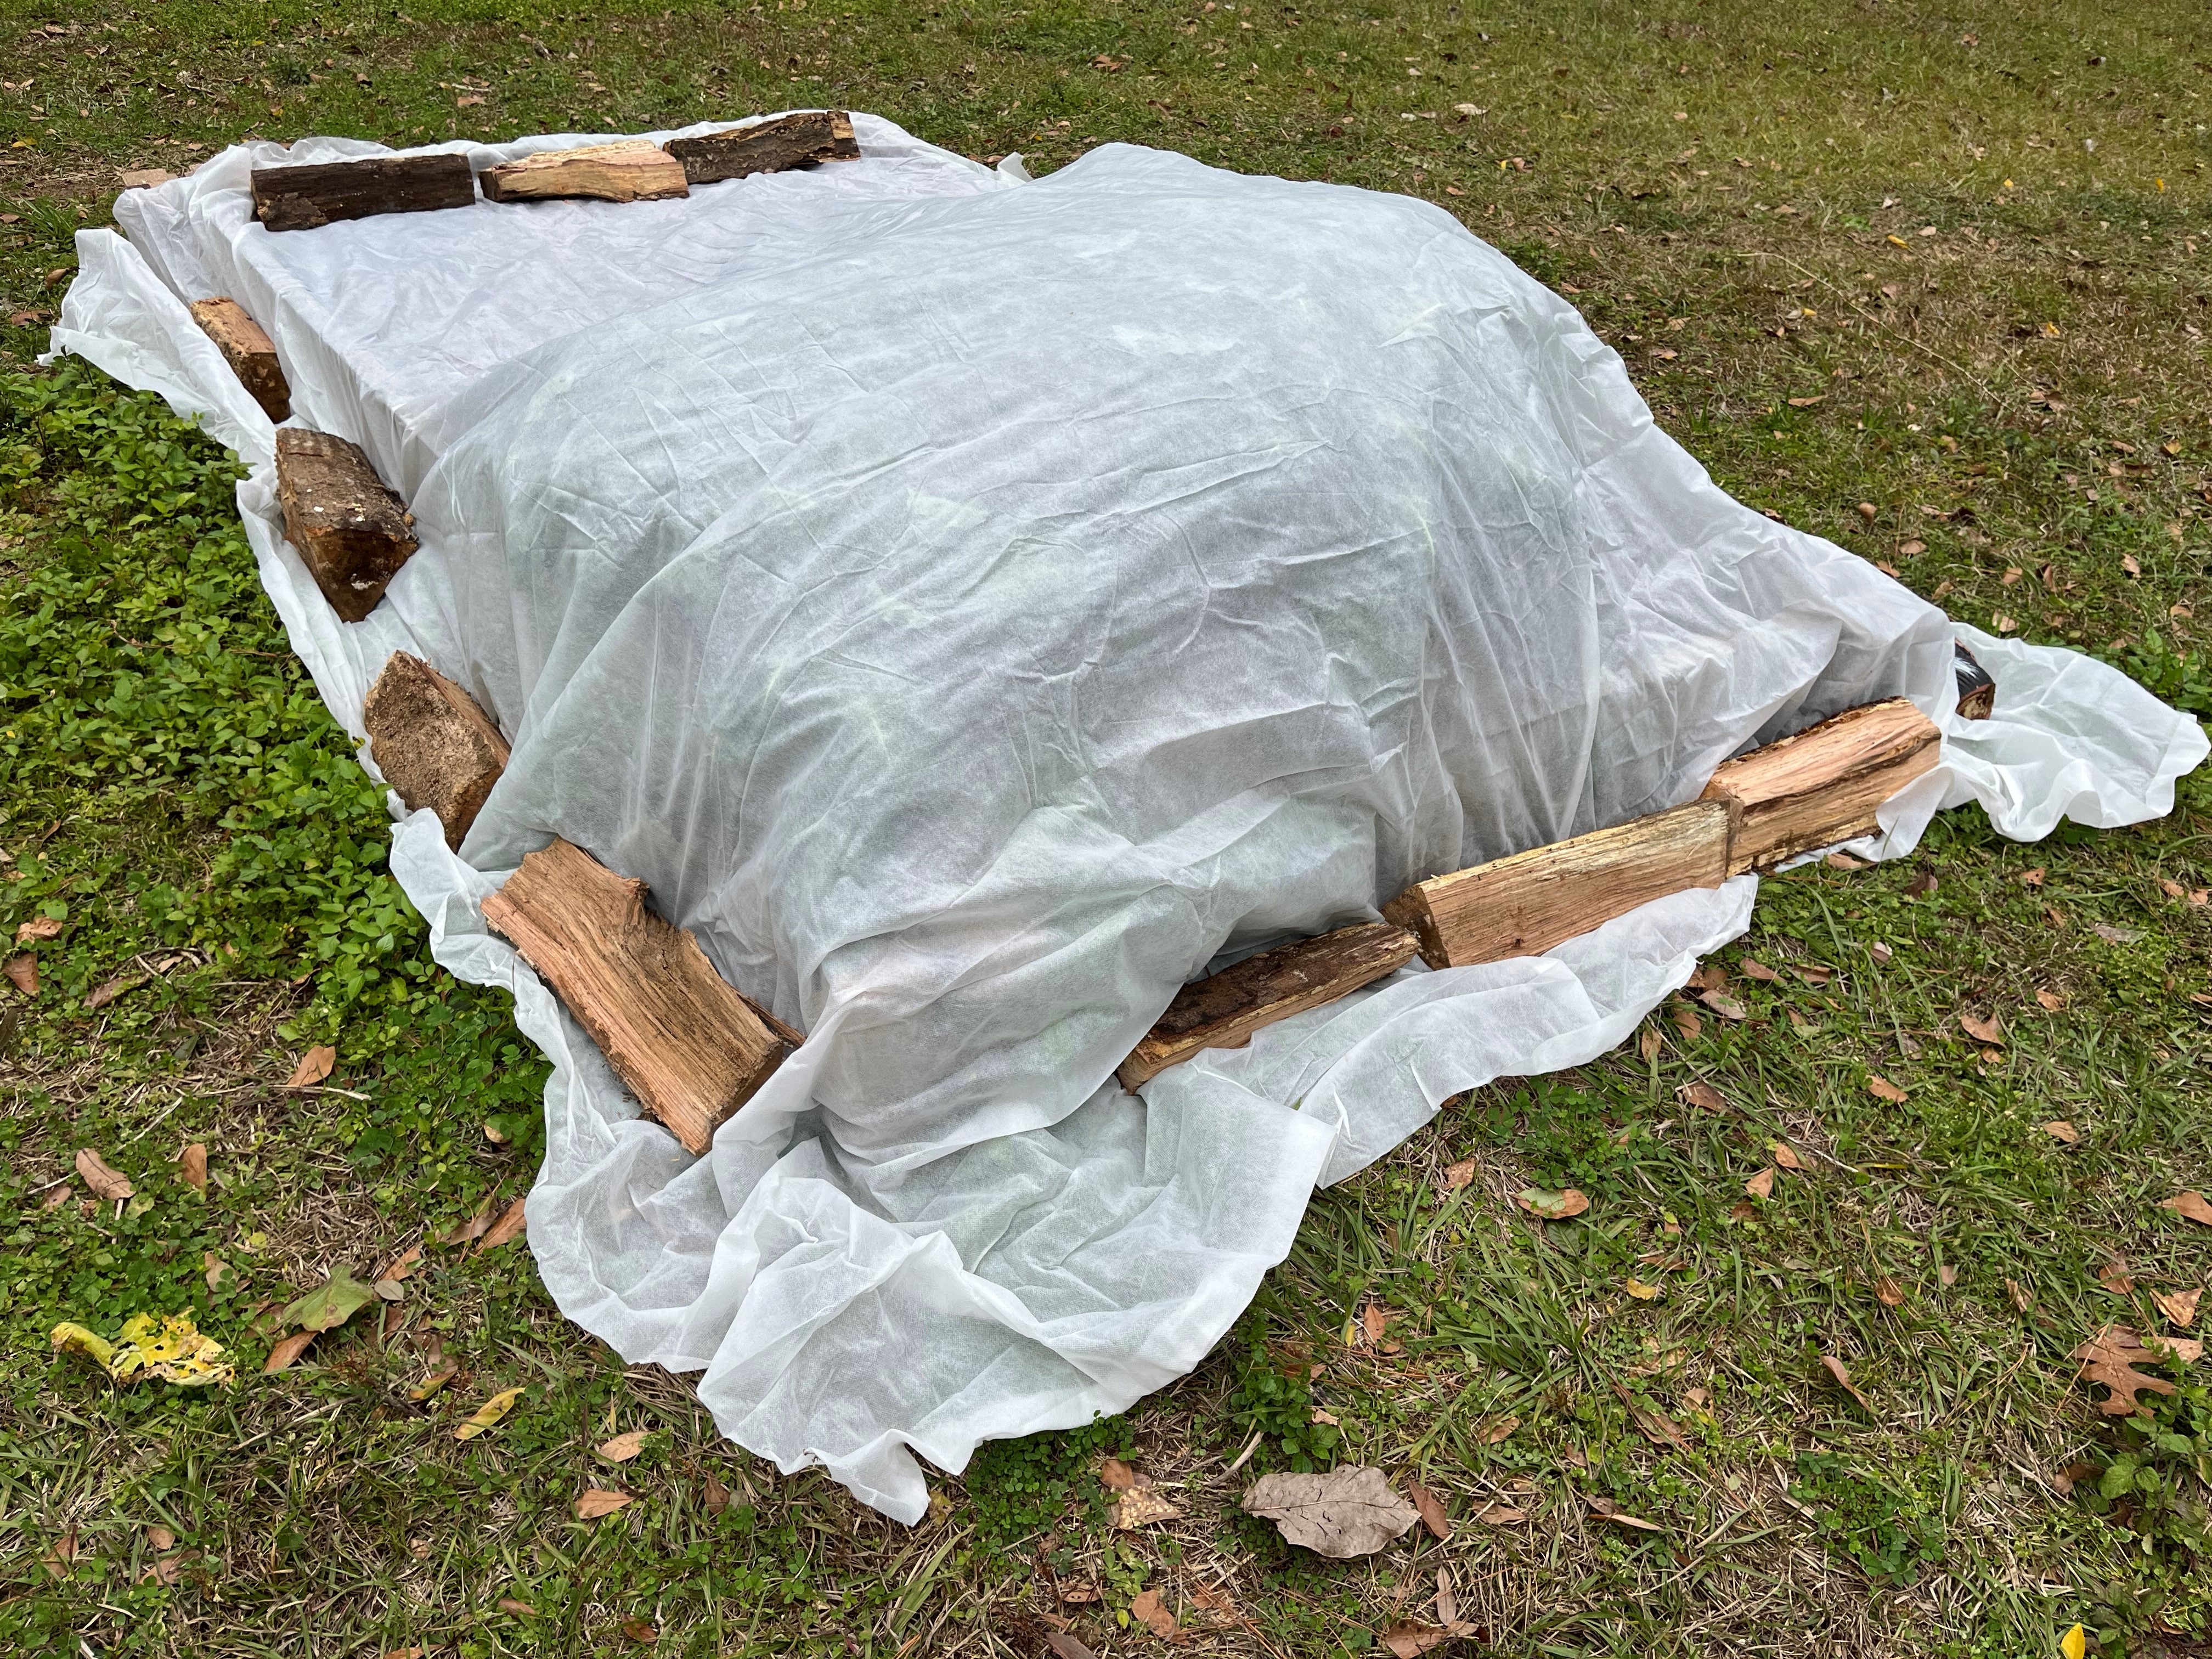
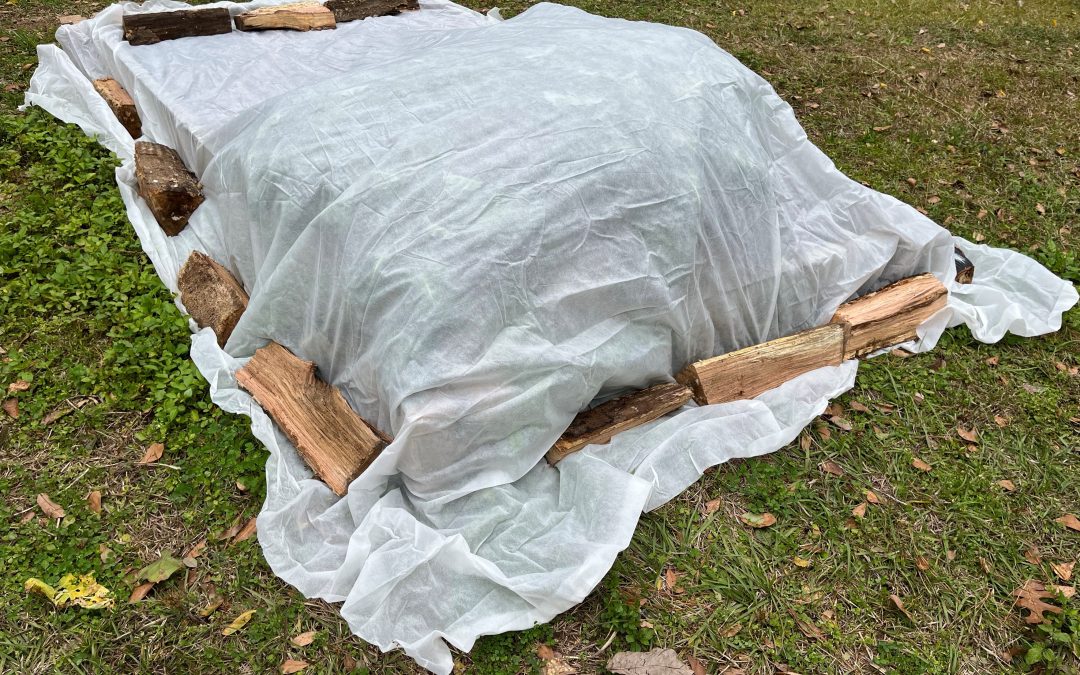
Anchor frost cloth securely to keep it tightly in place, as removing air gaps helps trap ground heat and shield plants from cold air. Photo by Molly Jameson.
Here in North Florida, mild winters are the norm, but our occasional cold snaps can be enough to wreak havoc on our gardens. As you might remember, in December of 2022 the entire Panhandle experienced temperatures dipping into the teens and low 20s for several nights in a row, with some areas reaching as low as 18°F. This kind of unexpected freeze can catch even the most experienced gardeners off guard.
While plant covers are the go-to solution for many of us, pairing them with additional techniques can offer even better protection when temperatures dip. From common cold weather protection myths to practical DIY tips that enhance your plant cover’s effectiveness, knowing your options can make all the difference during an impending cold snap.
Cold Protection Myths and Misconceptions
When a frost or freeze warning hits, there’s plenty of advice flying around. Some of it’s helpful, and some, not so much. Here are a few misconceptions to clear up:
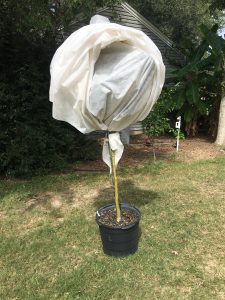
“Lollipop” trees will allow the heat from the ground to escape, giving the tree no cold protection. Photo by Jonathan Burns.
- “It’s All About Covering the Leaves”
Many gardeners believe that simply covering the leaves of their plants will provide adequate protection. However, this can lead to what’s commonly referred to as “lollipop” trees, where only the foliage is covered, leaving the trunk exposed. This is problematic because cold air can still penetrate, and the heat rising from the ground isn’t captured effectively. To ensure proper protection, the plant cover should touch the ground all around the plant to trap heat radiating from the soil, providing insulation from below. For best results, choose a medium-weight frost cloth (about 1 to 1.5 oz/yd²) made from breathable polypropylene or polyester fabric. These materials offer excellent insulation, providing about 4 to 8 degrees of temperature protection, depending on factors like cloth weight, ground heat trapped, and wind conditions. Frost cloth also allows moisture and air exchange, which helps prevent overheating on sunny days.
- “A Plastic Sheet Works Just as Well as Frost Cloth”
Throwing a plastic sheet over your plants might seem like an easy fix, but it often leads to more harm than good. Plastic is non-breathable, which can trap condensation and freeze on the plant’s surface. It also doesn’t insulate well, transferring cold temperatures directly to the leaves and stems. If you must use plastic in a pinch, make sure it doesn’t touch the plants directly and that it’s securely anchored to the ground to effectively trap warmth. Be sure to remove it in the morning once temperatures start to rise to avoid overheating.
- “Covering Your Plants Alone is Enough”
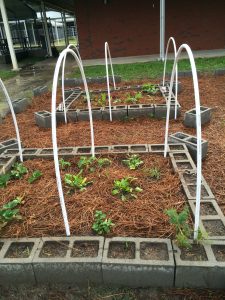
With PVC hoops ready to hold frost cloth and a thick layer of pine straw mulch, these raised beds are prepped for whatever winter throws their way. Photo by Molly Jameson.
While covering plants is crucial, sometimes additional steps can make a big difference. Mulching around the base of plants with a thick layer of pine straw or leaves helps insulate the soil and trap ground heat. It’s a small step that offers big protection to the roots and lower stems.
- “Watering Plants Before a Freeze Doesn’t Help”
Watering the soil around your plants before a freeze is a good practice because moist soil retains heat better than dry soil. This can help keep the root zone warmer overnight. However, it’s important to focus on watering the soil rather than the leaves. Water on foliage can freeze and cause damage, so it’s best to keep leaves dry as the temperatures drop. A deep watering a day or two before the cold hits is ideal for giving your plants a fighting chance.
DIY Cold Protection Solutions
If expensive greenhouses and plant covers are out of your budget or you want to get creative, there are plenty of do-it-yourself solutions for protecting your plants:
- Recycled Materials as Frost Protection
Old bedsheets, towels, or even buckets and cardboard boxes can be used in a pinch to cover smaller plants. Just be sure to anchor them down well, so they don’t blow away.
- DIY Hoop Houses
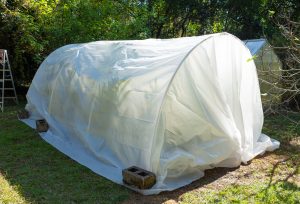
A temporary hoop house can be constructed using PVC pipes as the frame and polyethylene film as the covering to protect cold-sensitive plants during freezes. Photo by David W. Marshall.
For taller or sprawling plants, construct simple hoop houses using PVC piping with breathable frost cloth or lightweight plastic sheeting. Unlike placing plastic directly on plants, hoop houses create an air gap between the plastic and the plants, which helps trap heat from the soil while preventing direct contact damage. If using plastic, seal it tightly at night to trap warmth, and open it partially during the day to prevent overheating or excessive moisture buildup as temperatures rise. These low tunnels are perfect for garden beds or fruiting plants that need a little more room under cover.
- String Lights for Added Warmth
For extra protection, consider using outdoor-rated incandescent string lights (not LEDs, which don’t produce heat). Drape the lights around or near the plant under the covering to create a gentle source of warmth, which can raise temperatures by a few degrees on especially cold nights. For fire safety, keep lights from direct contact with dry materials and use only moisture-safe, outdoor lights.
- Windbreaks to Stop the Chill
In areas with open landscapes, cold winds can make frost damage even worse. Planting a hedge or using temporary barriers like hay bales or pallets can shield your garden from icy gusts and protect your more delicate plants.
Long-term Planning: Choose Cold-Tolerant Varieties
One of the best ways to prepare for cold snaps is to plant cold-tolerant varieties suited to North Florida’s climate. Vegetables like collards, kale, and carrots, or perennials like rosemary and garlic chives, can withstand mild freezes with little effort. If you’re growing fruit trees, look for varieties with proven cold tolerance or dwarf varieties that are easier to cover.
With a little planning and a few simple techniques, you can protect your garden from unexpected cold spells and keep it thriving through our chilliest nights.


