by Mary Salinas | Jul 7, 2015
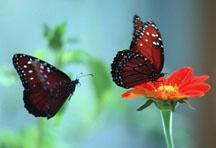
Butterflies are not only beautiful to look at in your landscape; they serve as important pollinators and indicators of the health of our environment. Attracting them to your garden and incorporating some features to get them to stay and make it their home involves a little planning ahead of time for optimum results.
Queen butterfly. Photo credit: Milt Putnam, UF/IFAS.
Choose a location that provides some protection from wind. Trees and shrubs that provide wind protection also serve as a safe harbor from rain and predators. The garden should be mostly sunny with some part sun areas. Ensure that any new plantings have access to a convenient irrigation source so they can be successfully established and maintained in good health.
Now you’ll need to choose the plants. Adults feed on the nectar of many flowering trees, shrubs, perennials, and annuals and, fortunately, there are usually many choices that will meet your site requirements and your taste preferences. In order to keep the butterflies in your garden, certain plants need to be available to serve as host plants for their young. Determine which species of butterfly is common in your area and that you want to attract. Most species have very few plants on which the caterpillars can feed so those host plants need to be chosen wisely. Determine whether any of the plants you already have are host plants and they can be integrated into your butterfly garden. For example, cassia is a host plant for the Cloudless Sulphur and citrus is a host plant for the Giant Swallowtail.
In choosing your nectar plants, select those that are native or Florida-Friendly as they are lower maintenance, giving you less trouble in the long run. Choose plants that have flowers in a variety of color, size, and shape. Different butterflies like to feed at different elevations, so choose trees, shrubs, perennials, and annuals of varying heights. In order to have nectar available throughout the time when the butterflies occur, include plants that bloom at different times of the year. And include some plants that bloom from spring to late fall, like pentas or moss verbena.
Larger plants should be placed in the background with smaller plants layered in the foreground. When you plant smaller annuals and perennials, place them in masses to better attract the butterflies. Consider placing host plants in an area that is in close proximity to the nectar plants, but in an area of your garden that is not a focal point. Host plants can get quite ragged looking from hungry caterpillars!
Good maintenance practices will enhance the health of your garden. Regular fertilization and irrigation if needed will help keep your plants in bloom and healthy; healthy plants are less susceptible to disease and pests. Avoid pesticides as they may harm the very creatures you are trying to attract. Never use Bt or systemic pesticide. If you must, target a pest with lower risk oils or soaps and then only treat the affected plants. Lastly, be aware of beneficial insects that will help you achieve satisfactory control of a pest.
Now that your plants are placed there are several things to do to make your butterfly garden complete. Add a spot where water can puddle on the ground for the adult butterflies to drink. They require minerals from the soil that get dissolved in the water. Also add a rock or log in a sunny spot where butterflies can rest and sun themselves. And consider placing a comfortable place for you to sit and enjoy the beauty of your garden and its inhabitants!
For more information:
Butterfly Gardening in Florida
by Mary Salinas | Jun 23, 2015
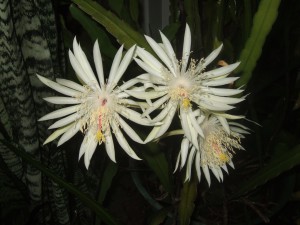
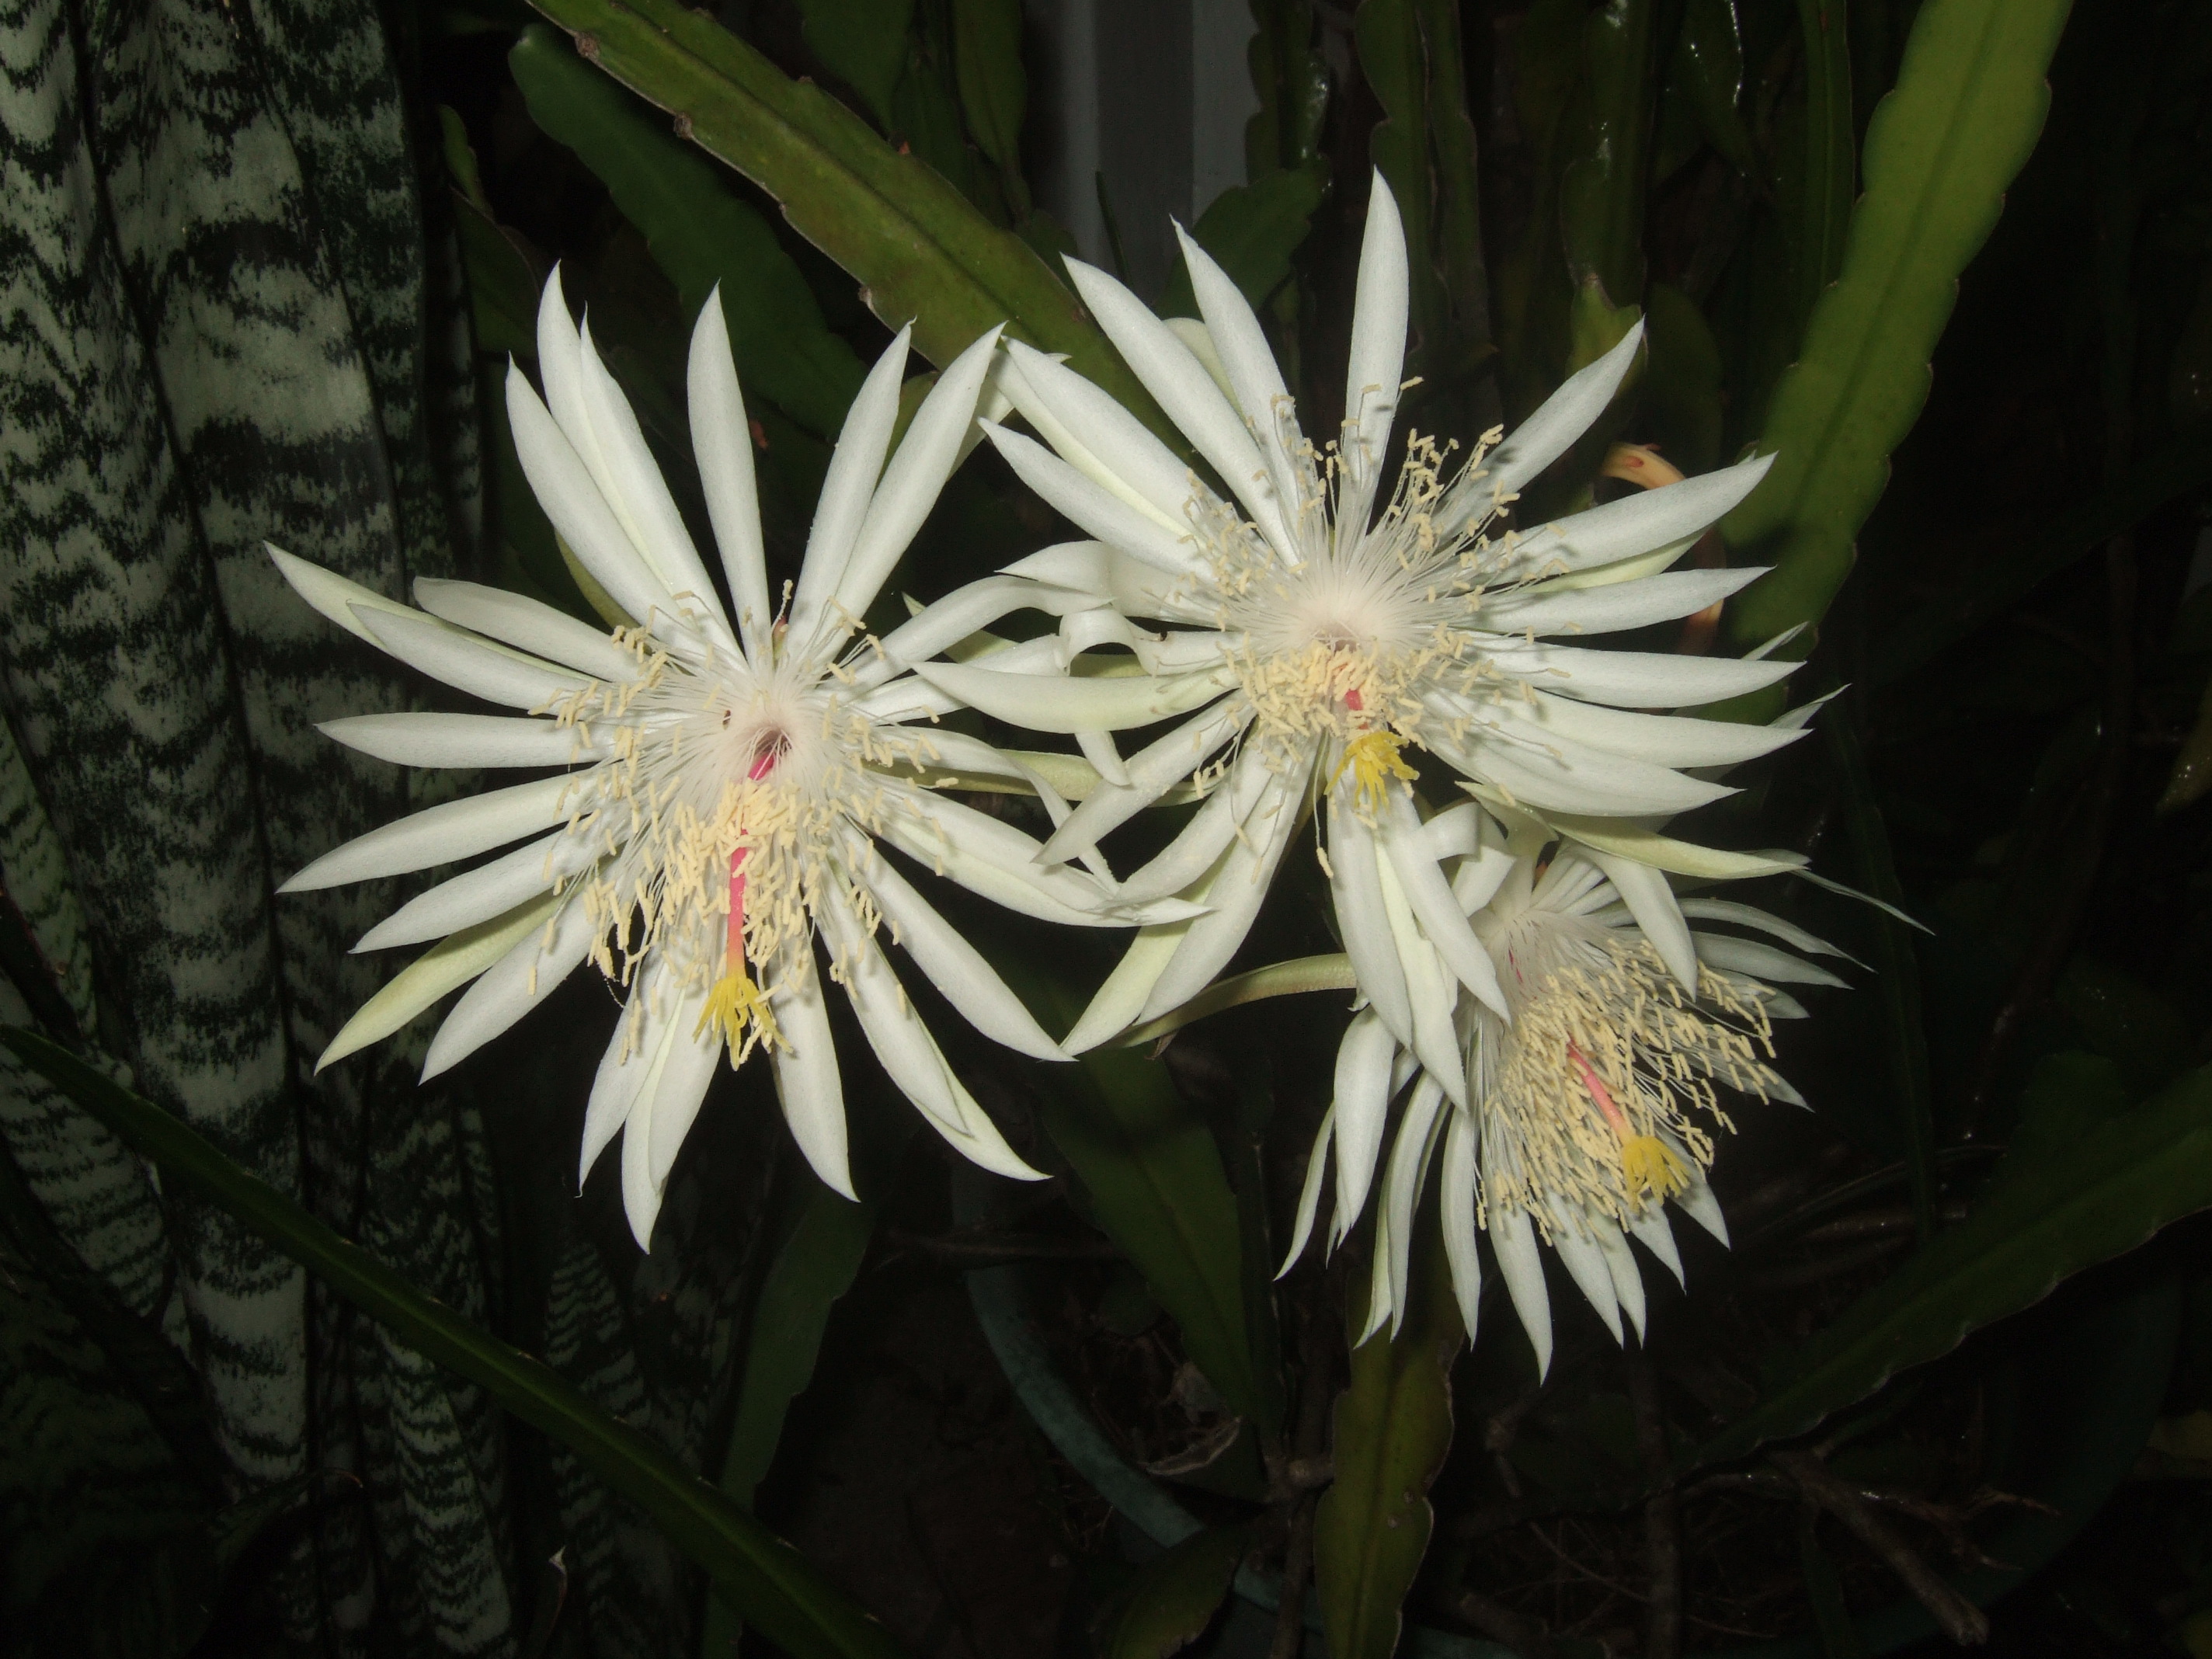
Night blooming cereus makes a stunning display. Photo credit: Sally Menk, Florida Master Gardener.
Many of us are working during the day and are not enjoying our gardens during the daytime. And maybe it is just too warm in the summer to be outside during the heat of the day. That leaves us to enjoy our gardens later in the day when the sun fades and evening approaches.
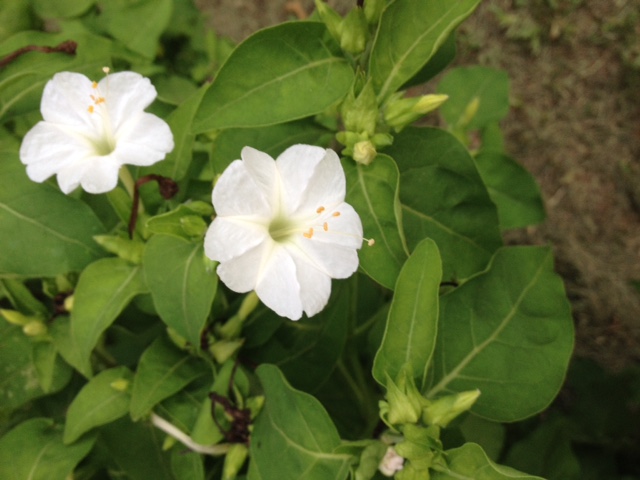
As the sunlight diminishes, the bright colors fade slowly to a black, gray and white world. The first colors to fade are the blues, purples and reds. Pastel pinks, yellows, oranges, grays and blues remain more visible for a longer time and take on a luminescent quality in the pale light. White blossoms now have their time to shine as they stand out against the darker hues of foliage and flowers.
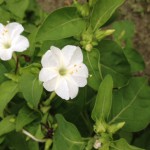
White four o’clock. Photo credit: Sandra Sherman, Florida Master Gardener.
If you find that your time in the garden is late in the day and into the evening, consider planning for that in your plant selections.
Here are some suggestions when planning your twilight garden:
- Add some late-afternoon and night-blooming plants such as four o’clocks, moonflower and night-blooming cereus
- Plants with silvery gray or white foliage glimmer in the moonlight. Consider white caladium, lamb’s-ears, silvery agaves, dusty miller and licorice plant among others. The white in variegated leaves of plants such as pentas, hosta, ginger and dogwood will stand out when dark green leaves have faded into the darkness.
- The tranquil sounds of a fountain will enhance end of the day relaxation.
- And, of course, add plants with white or pastel-colored flowers. The effect will be enhanced when luminous white blossoms are at different levels; for instance white spider lilies near the ground, white roses at eye level and white sparkleberry high above.

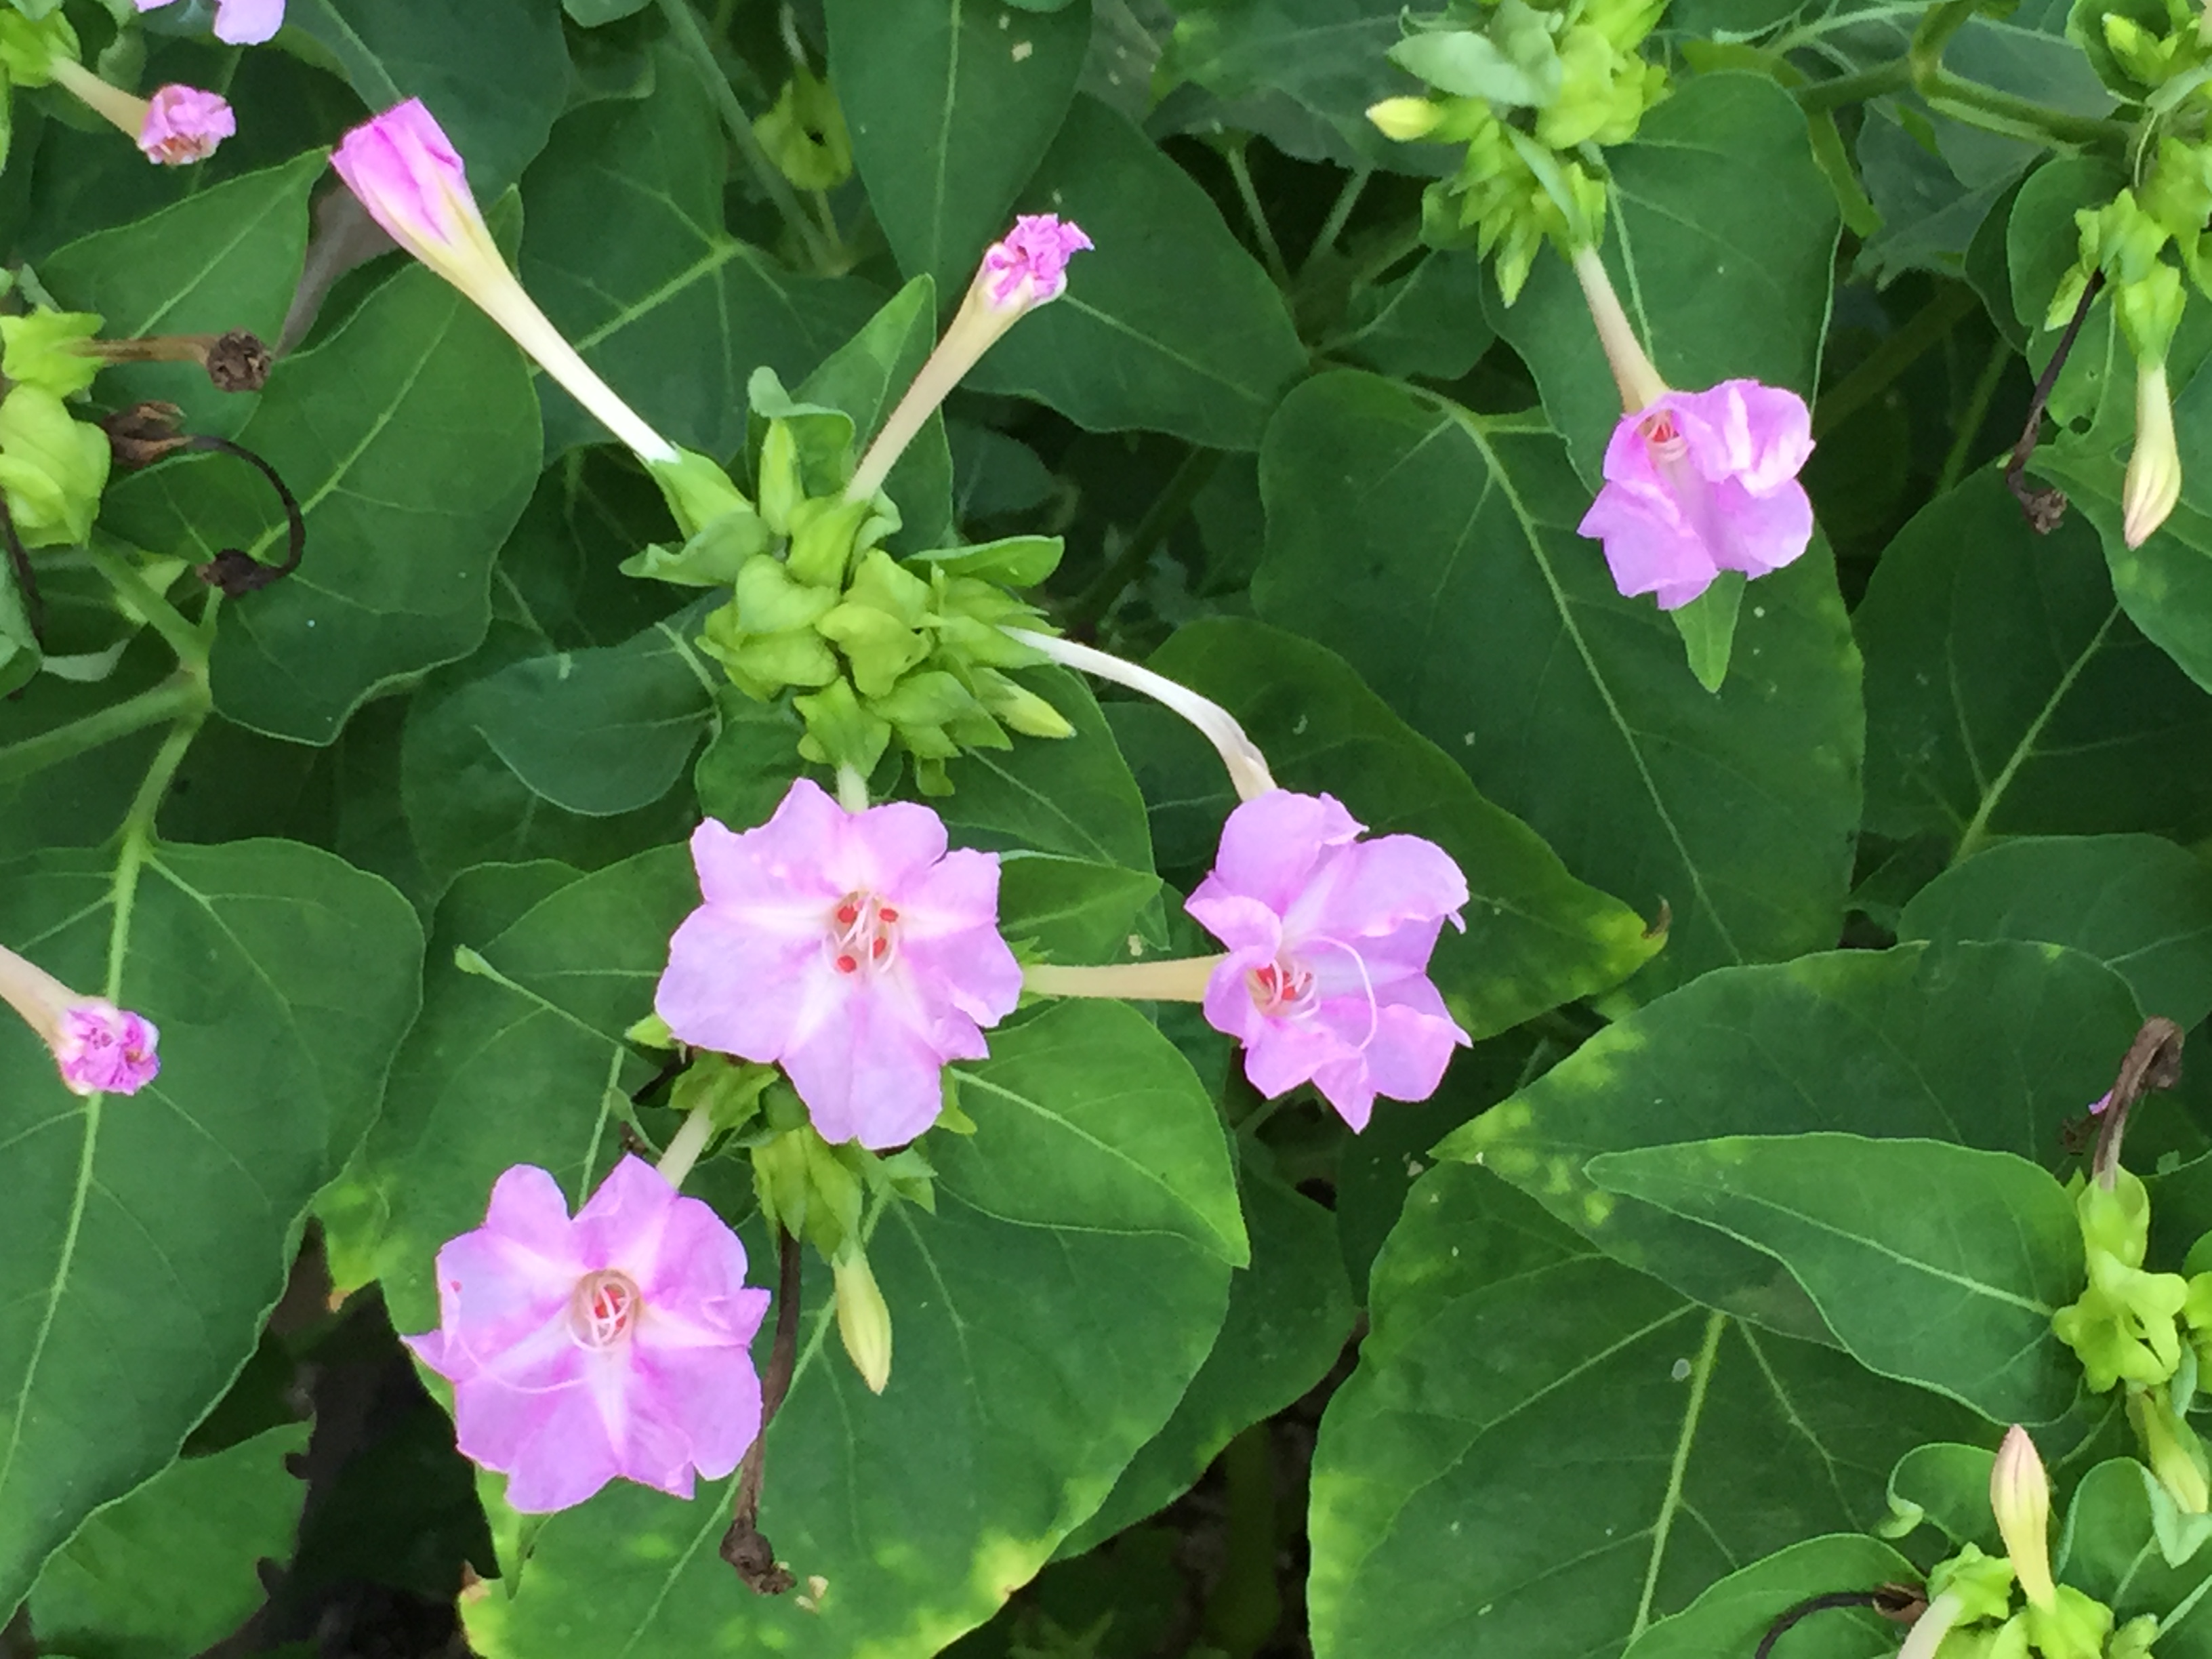
Pastel four o’clock opens late in the day. Photo credit: Linda Griffin, Florida Master Gardener.
by Les Harrison | Jun 15, 2015
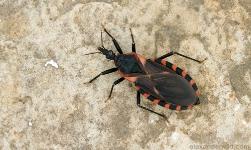
Eastern Blood-sucking Conenose bugs are found in and around plant where they are hunting for insects.
While it is not exactly a jungle “out there” in the landscape, there are some occasionally encountered insects which can inflict pain. The kissing bug and the blood-sucking conenose are native insects which are best not physically encountered.
The native kissing bug, Triatoma sanguisuga, is part of the assassin bug family. This insect is commonly called a kissing bug because it targets the soft tissues around the mouth of mammals as a feeding site.
As if being in the assassin bug family is not bad enough for its image, this pest’s South American cousin is responsible for inoculating victims with Chagas disease. Chagas disease, a protozoan infection, has occurred in some western states but not Florida.
The bloodsucking conenose, in assassin bug family too, is found in north Florida. It is a dark brown, winged bug, 3/4 inch long, with the edges of its abdomen alternating in light and dark colors.
They have a slender, straight beak with piercing-sucking mouthparts. The antennae are inserted on the side of the head between the eyes and the end of the beak.
They are rarely seen during the day, instead hiding in leaf litter and other debris near their intended host. Birds apparently consider them quite tasty and are easy targets for avian predators.
Kissing bugs primarily feed at night on the blood of sleeping animals, such as raccoons and opossums which burrow in the vicinity.
Their life cycle varies considerably depending on temperature, humidity, and availability of hosts. Females lay one egg at a time, up to five eggs each day.
Problems arise when these insects encounter humans. If this creature enters a home or dwelling, its nocturnal habits make humans easy prey.
The bloodsucking conenose will enter into a home by crawling through cracks in the foundation, torn window screens, or other structural flaws or inadequacies. Many times they enter by simply clinging to a domestic pet or to the clothing of an unaware person. Once indoors, they are found in bedding, cracks in the floors and walls, or under furniture.
Most bites from conenose bugs are rarely felt. However, some can be quite painful and infection can occur if the wound is scratched and contaminated.
The assassin bug, the entomological cousin of the kissing bug, usually is encountered in foliage and has little inclination to enter homes. It is capable of delivering a nasty surprise to the unsuspecting gardeners who disturb this ambush predator.
The green leaves and pretty flowers are an ideal habitat for the assassin bug and the kissing bug to put the bite on ideal menu selections. This is something to keep in mind this spring when enjoying the panhandle Florida’s great outdoors.
To learn more about the assassin bug or the kissing bug, contact your UF/IFAS Extension Office.
by Gary Knox | May 26, 2015
Summer is here, along with its heat, humidity, drought and stress! One easy way to garden during summer is to use succulents and other drought adapted plants.
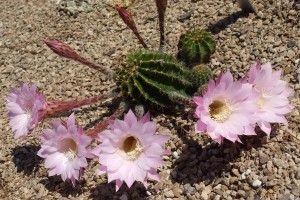
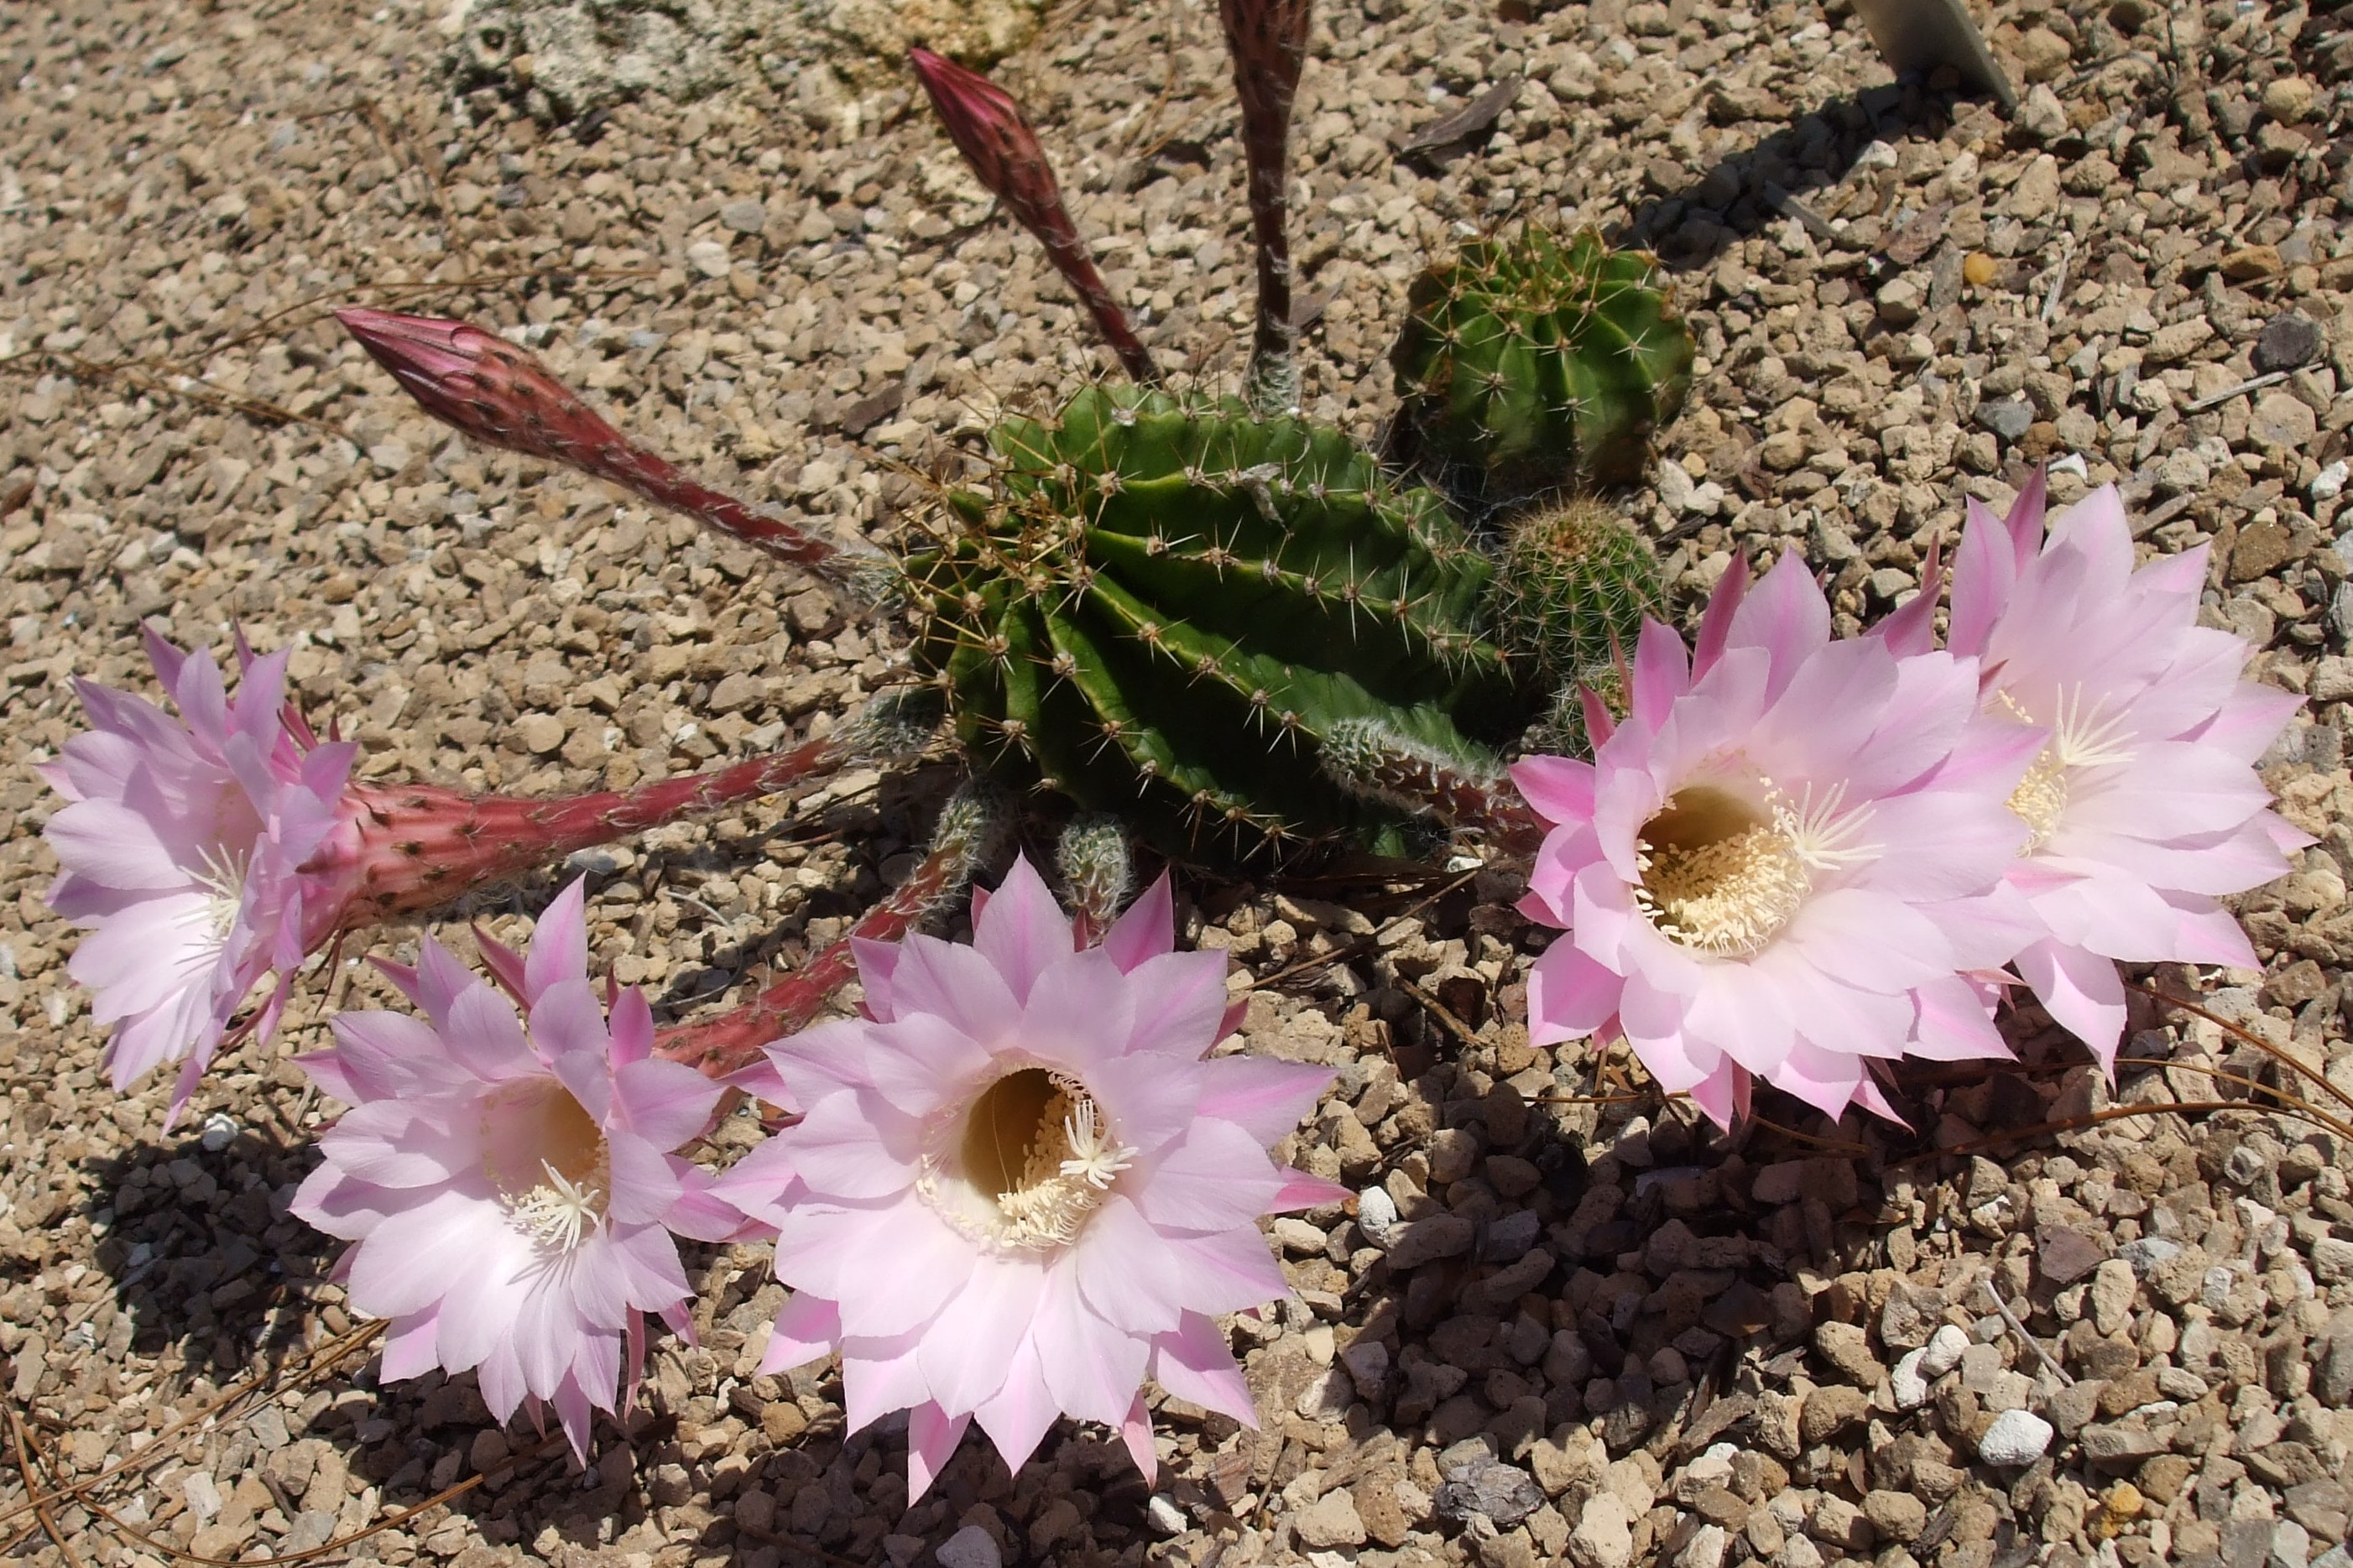
The sea urchin cactus (Echinopsis spp.) produces large, stunning flowers.
Succulents are heat-adapted, water-efficient plants often associated with deserts and dunes. Usually succulents have thick leaves or stems that store water. A cactus is a familiar type of succulent, as are agave, aloe, yucca as well as bromeliads like dyckia. Other dry-adapted plants can retreat into bulbs, rhizomes or other thick plant parts to go dormant until rains resume. A few other strategies used by plants to save water include: waxy or hairy coverings to reduce water loss; extensive root systems to absorb water; and silver- or blue-colored leaves and stems to reflect light and reduce heat.
Succulents’ tough qualities make them well-adapted to the harsh conditions of urban living amid concrete, brick, asphalt and other “hardscapes”. This adaptability translates into low maintenance since they need little or no irrigation, fertilization, pruning or spraying. Do you like container gardens? Succulents are almost the perfect container plant, because they hardly ever need watering!

The American century plant (Agave americana) is a large growing succulent with silver-grey leaves.
Above and beyond their toughness, succulents capture our imaginations because they are often dramatic, dangerous and slightly unpredictable. Drama stems from the architectural forms of many thick-leaved plants like agave. Danger arises from the thorns and spines of plants like cactus. Unpredictability results from bulbs and perennials that can quickly explode into flower, and then disappear just as suddenly. Often succulents have outrageous flowers with wild, bold colors and strange shapes!
While many succulents are native to deserts, others are Florida natives where they can be found in coastal dunes or in areas with sandy soils that have little water-holding capacity. For example, many native yuccas are excellent succulents for use in dry gardens or in containers.
For best growth and appearance, most succulents require well-drained soil and full sun (at least 6 hours of direct sunlight per day). Succulents are ideal plants for garden beds near roads, sidewalks, driveways and south-facing walls because they tolerate limited soil moisture, higher soil pH and reflected heat and light usually associated with these areas. On the other hand, try to avoid planting succulents in shady areas, wet areas, low areas that collect water and areas with heavy soils.
Summer gardening is easy with succulents!
For more information:
Agave and Yucca: Tough Plants for Tough Times

by Mary Salinas | May 12, 2015
An easy to care for perennial to add to your flower garden is the coneflower, Echinacea purpurea. The daisy-like flowers stand tall above the foliage on sturdy 2 to 4 foot stems. Blooms appear about the last part of April or the first of May in the Florida panhandle and last throughout the warm season until late fall. This Florida native reliably comes back year after year. Plant coneflower in part to full sun in rich but well-drained soil for best results.
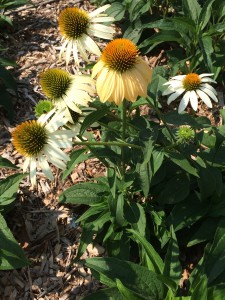
White coneflower. Photo credit: Mary Derrick, UF/IFAS Extension.
Coneflowers are traditionally purple but many new colors and variations of their form have become available from the horticultural industry. You can find them in white, yellows, pinks, oranges, and greens as well as all shades of lavender and purple. No matter what color you choose, the blooms will attract a host of butterflies and other pollinating insects. In order to protect these delicate creatures, avoid the use of pesticides when they are present.
Once you have a few coneflowers, you will notice that the clumps will grow in time and new plants will sprout from seeds left behind by the spent blooms. In our demonstration garden, this has created a stunning display that has been allowed to take over one of the garden beds. When any one clump gets too big, the number of blooms can decrease and it may be time to dig up the clump and divide it. This is a great opportunity to expand your coneflower bed or share them with some friends or neighbors!
For more information:
Ornamentals for your landscape
Butterfly Gardening
by Roy Carter | May 12, 2015
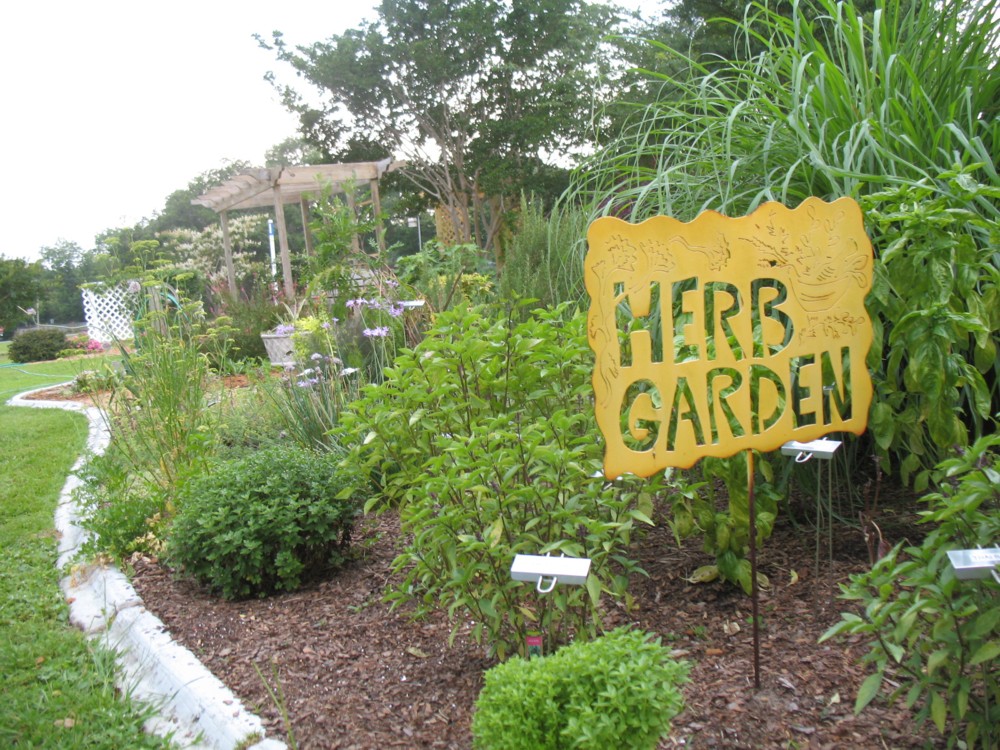
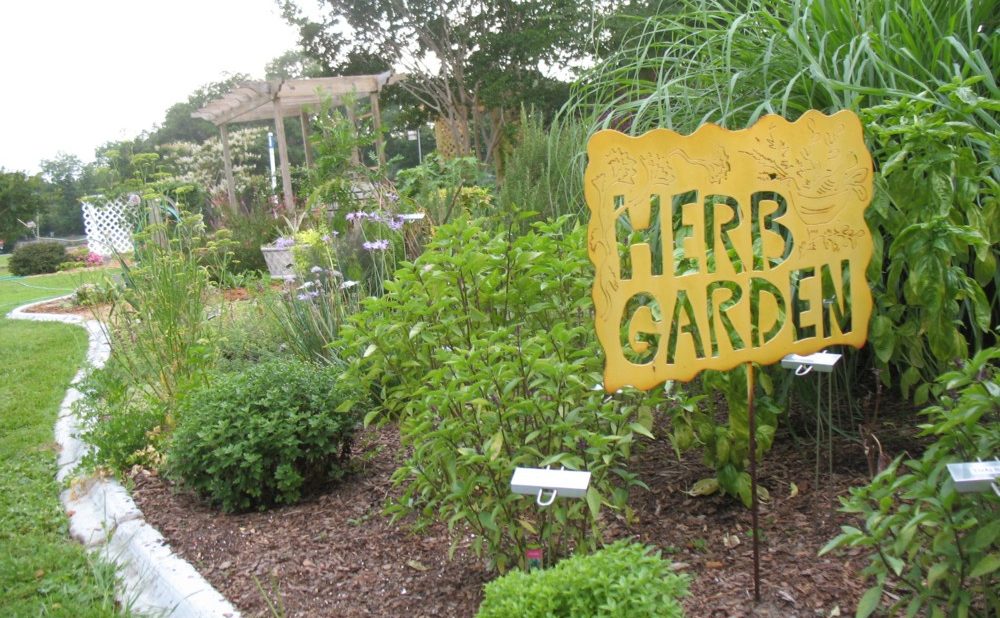
Herbs are plants that are grown for the special flavor and aroma of their various parts. They are used mainly to season, enrich, or otherwise improve the taste or smell of certain foods. Since they are not classified as vegetables. Since their growth habits and cultural requirements are similar, herbs are often included with vegetables in the garden.
One of the best ways to enjoy year round gardening is to plant an herb garden. Herbs are easy to grow, they require very little care, and they don’t take up much room. Even if you don’t have a large backyard, you can still grow herbs successfully. A small garden bed, a window box, or even a few clay pots, can provide you with fresh, aromatic herbs year round. Herbs are rapid growers and they have a wide variety of uses in the home. They can be used either fresh or dried and when dried they’ll keep for long periods of time.
Herbs are fairly easy to grow. A good garden soil that’s free of weeds and close to a water supply will keep your herbs healthy and growing rapidly. If you can, plant herbs on a narrow strip of land, preferably at the border of your vegetable garden. This will keep your herbs easy to reach. If you scatter them across a wide garden plot, you’ll end up having to walk over the plants to reach and gather them unless you can provide some pathways within your garden. Of course, if you’re growing herbs in window boxes or clay pots, this won’t be a problem.
Dill is probably the easiest and the hardiest herb you can grow. It’s usually planted in late fall and early winter because of its ability to withstand cool temperatures. It may also be planted in the spring. Dill isn’t particularly fussy about its soil so any all-purpose soil that’s suitable for your regular garden vegetables is fine for dill. Another plus is that dill is rarely bothered by any diseases or insects. Fresh dill leaves add excellent flavor to salads and cream sauces, and as a dried herb, dill is well known for the distinct flavor it gives to pickles.
Another popular herb enjoyed by gardeners is sweet basil. This herb is an annual, and it can be replanted in the same area year after year. Basil is also used both fresh and dried. It is widely used as a flavoring for soups, meats and fish. One word of caution: don’t over plant this one. A few basil plants will usually provide more leaves and flowers than an entire family can use in a year.
A few plants, such as sage, balm, and rosemary can be propagated best by cutting. Stems from new growth or the upper parts of older stem make the best cutting for easiest rooting. Cut the stem into 3 to 4 inch pieces each containing a set of leaves or leaf buds near the upper end. To prevent wilting place the cutting in water as soon as they are removed from the plant. A shallow box filled with 4 to 5 inches of a mixture of clean sand, peat, and perlite makes a good root bed. Insert the cutting to a depth of one half-to two thirds their length in the moist mixture; then saturate the mix with water. Place the box in a protected place and keep moist (but not sopping wet) continuously until roots develop in about two weeks. Continue to water until the cuttings are ready to set out in pots or in the garden.
Such plants as thyme, winter savory and marjoram can be propagated by simple layering, which consist of covering the lower portion of the side branches with soil, leaving much of the top of the plant exposed. When the covered part of the stem have rooted, they can be cut from the parent plant and set as individual plants.
Older plants of chive, rosemary and tarragon can be multiplied by dividing the crown clumps into separate parts. These divisions can be set as individual plants.
Mint spreads rapidly by means of surface or underground runners that may grow several feet from the parent plant. The runners, with roots attached, can be removed and transplanted to other locations
Obviously, the list of herbs which grow very well in Florida is quite lengthy, so we won’t be able to go into all of them here. If you can keep in mind just a few points about herb gardens, maybe you can enjoy the virtues of some of these herbs yourself. Remember that herbs are generally very easy to grow and can be adapted to either outdoor garden or indoor container growing conditions. For just a small amount of effort, growing herbs can provide you with year-round gardening satisfaction.
For more information see UF/IFAS Gardening Solutions.