by Ray Bodrey | Oct 22, 2019
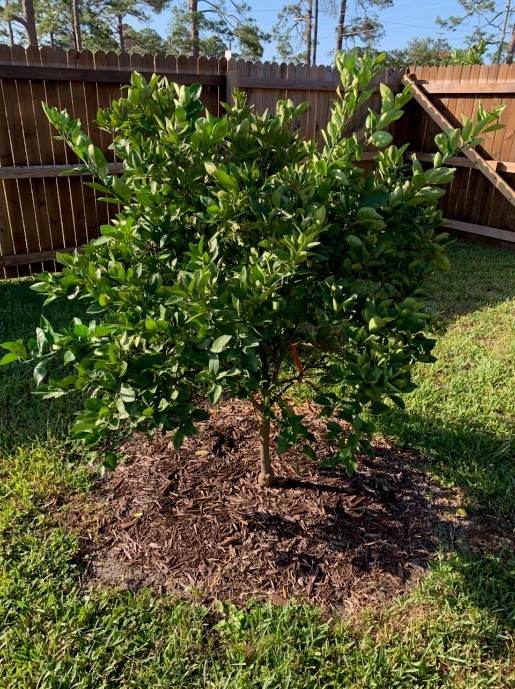
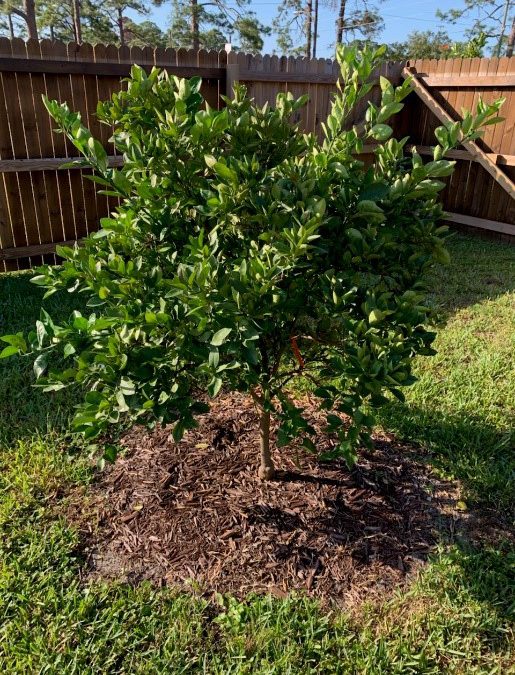
Root rot may develop if citrus trees are mulched closer than 12″ to the trunk
Thankfully, cooler temperatures have finally made it to the Florida Panhandle, but it took until the middle of October. The last two months surely taught us lessons about helping our gardens beat the heat. One strategy to help plants cope with extreme heat or drought is mulching.
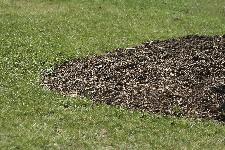
Many of us either have or can easily find, piles of wood chip mulch from fallen trees, thanks to the hurricane. This material will come in handy now, as fall and winter mulching is a great gardening practice with many benefits.
Think of mulch as a blanket for plants. By acting as a cover to the root system, mulch can perform as both a cooling factor during warm months and can help warm the root system during cooler weather, as well as assist in retaining moisture. This is important, as regulated soil moisture will accept rain or irrigation water much easier than crusty, dry soil. Water will simply runoff and can cause erosion in dry soil conditions. Mulch is a great weed barrier and is also aesthetically pleasing in the landscape by helping define borders and gives depth. A 3-4” thick layer of mulch, in a 2-3’ diameter, is typically a sufficient amount of mulch for landscape plants and fruit trees.
There are two types of mulch material that you’ll find in our area, organic or inert. Components of organic mulch include compost, bark, leaves grass clippings, straw, wood chips and even saw dust. Straw, wood chips and saw dust contain very little nitrogen, however. If mulching with these materials, it’s a good idea to add some nitrogen fertilizer. One or two cups of a complete fertilizer like 10-10-10 should help you avoid nutrient issues. Organic mulch will need to be replenished yearly to some degree, as it breaks down into a soil amending compost. This breakdown into compost will improve soil water holding capacity and fertility.
Inert mulch can be made of shells, gravel, pebbles, plastic and rubber. However, inert options are not as easy to use in controlling moisture and temperature levels and of course provides no nutrient value. With Inert mulch, you should always fertilize the area first, especially vegetable gardening. Use approximately two pounds of 10-10-10 fertilizer for every 100 square feet of vegetable garden. This may not seem like much fertilizer, but since plastic mulch reduces the amount of fertilizer that leaches out of the root zone of your plants, you can apply less fertilizer to begin with. That’s a big reason why UF/IFAS researchers recommend plastic mulch to commercial vegetable and ornamental producers in Florida, but organic mulches are more appropriate for most home garden settings.
Mulching may be one of the most valuable and cost-effective garden practices. Mulch helps control weeds, conserves moisture, moderates soil temperatures, improves soil fertility and last, but not least, adds to the beauty of the landscape.
For more information contact your local county extension office.
Information for this article provided by Dr. Robert Black and Dr. Gary W. Knox of UF/IFAS Extension. More information can be found at this website: http://gardeningsolutions.ifas.ufl.edu/care/planting/mulch.html
UF/IFAS Extension is an Equal Opportunity Institution.
by Mary Salinas | Oct 22, 2019
Gardeners are always fighting the endless weeds that pop up in landscape and flower beds. When homeowners put in a new landscape bed and want to prevent future weed invasions, many think that putting down landscape fabric is a great way to keep the weeds from emerging and protect the newly planted trees, shrubs or perennials.

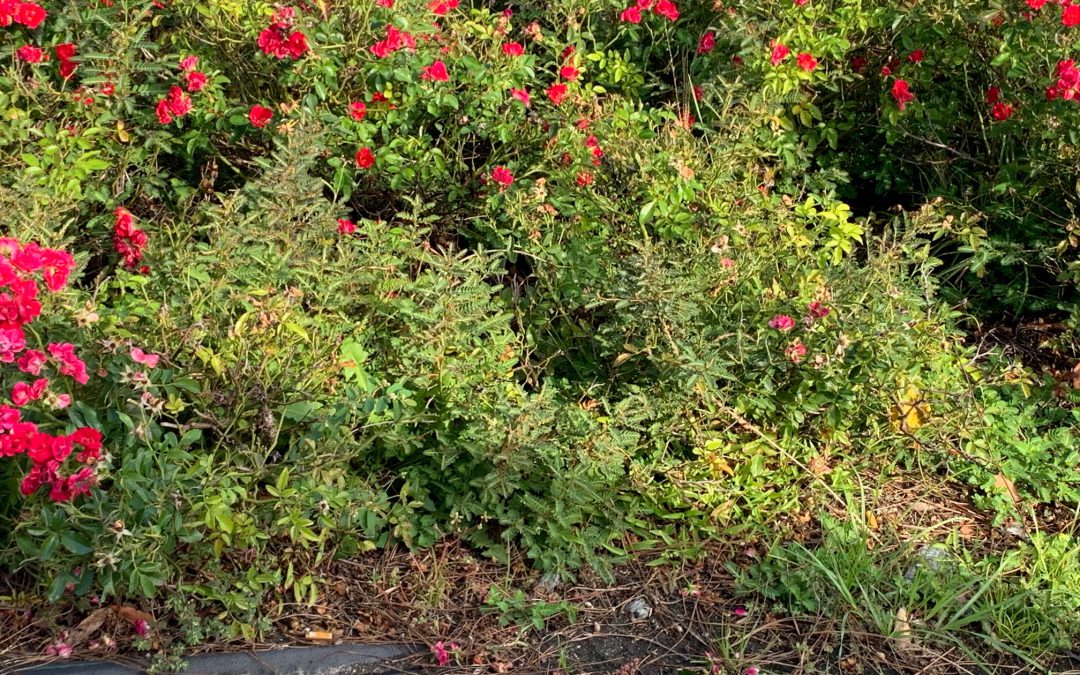
An example of failure of landscape fabric to control weeds less than 2 years after planting. Note the peeking through at the edges. Photo credit: Mary Salinas, UF/IFAS Extension.
Is Landscape fabric a good choice? Why or why not?
If landscape fabric is not covered up, sunlight will degrade the fabric. When mulch is placed on top of the fabric (and we all do want to cover it up – the fabric is not very attractive) the mulch breaks down into soil. Inevitably, weed seeds blow in and settle and germinate and grow on top of landscape fabric. And here you are with a weed problem. Weeds also find their way into the openings cut for desirable plants and along the edge of the fabric.
Landscape fabric is porous when put in place to allow water to pass through, but as time passes, the pores can get clogged and water penetration is restricted – rain and irrigation runs off and the plants you meant to protect are not getting the water they need.
Maybe the worst effect is that the landscape fabric creates unfavorable soil conditions. A healthy soil is key to good plant health. One thing soil needs to have is an exchange of carbon dioxide and oxygen between the soil and the atmosphere. Recent studies from Washington State University demonstrated that gas movement between the soil and the atmosphere is restricted about 1,000 times more when landscape fabric is present than when areas have only wood mulch.
So, if landscape fabric is not a good choice, what is?
Mulch made from wood, bark, fallen leaves and pine needles. See Gardening Solutions: Mulch for sustainable ideas.
For more information:
Improving Weed Control in Landscape Planting Beds
by Daniel J. Leonard | Jun 25, 2019
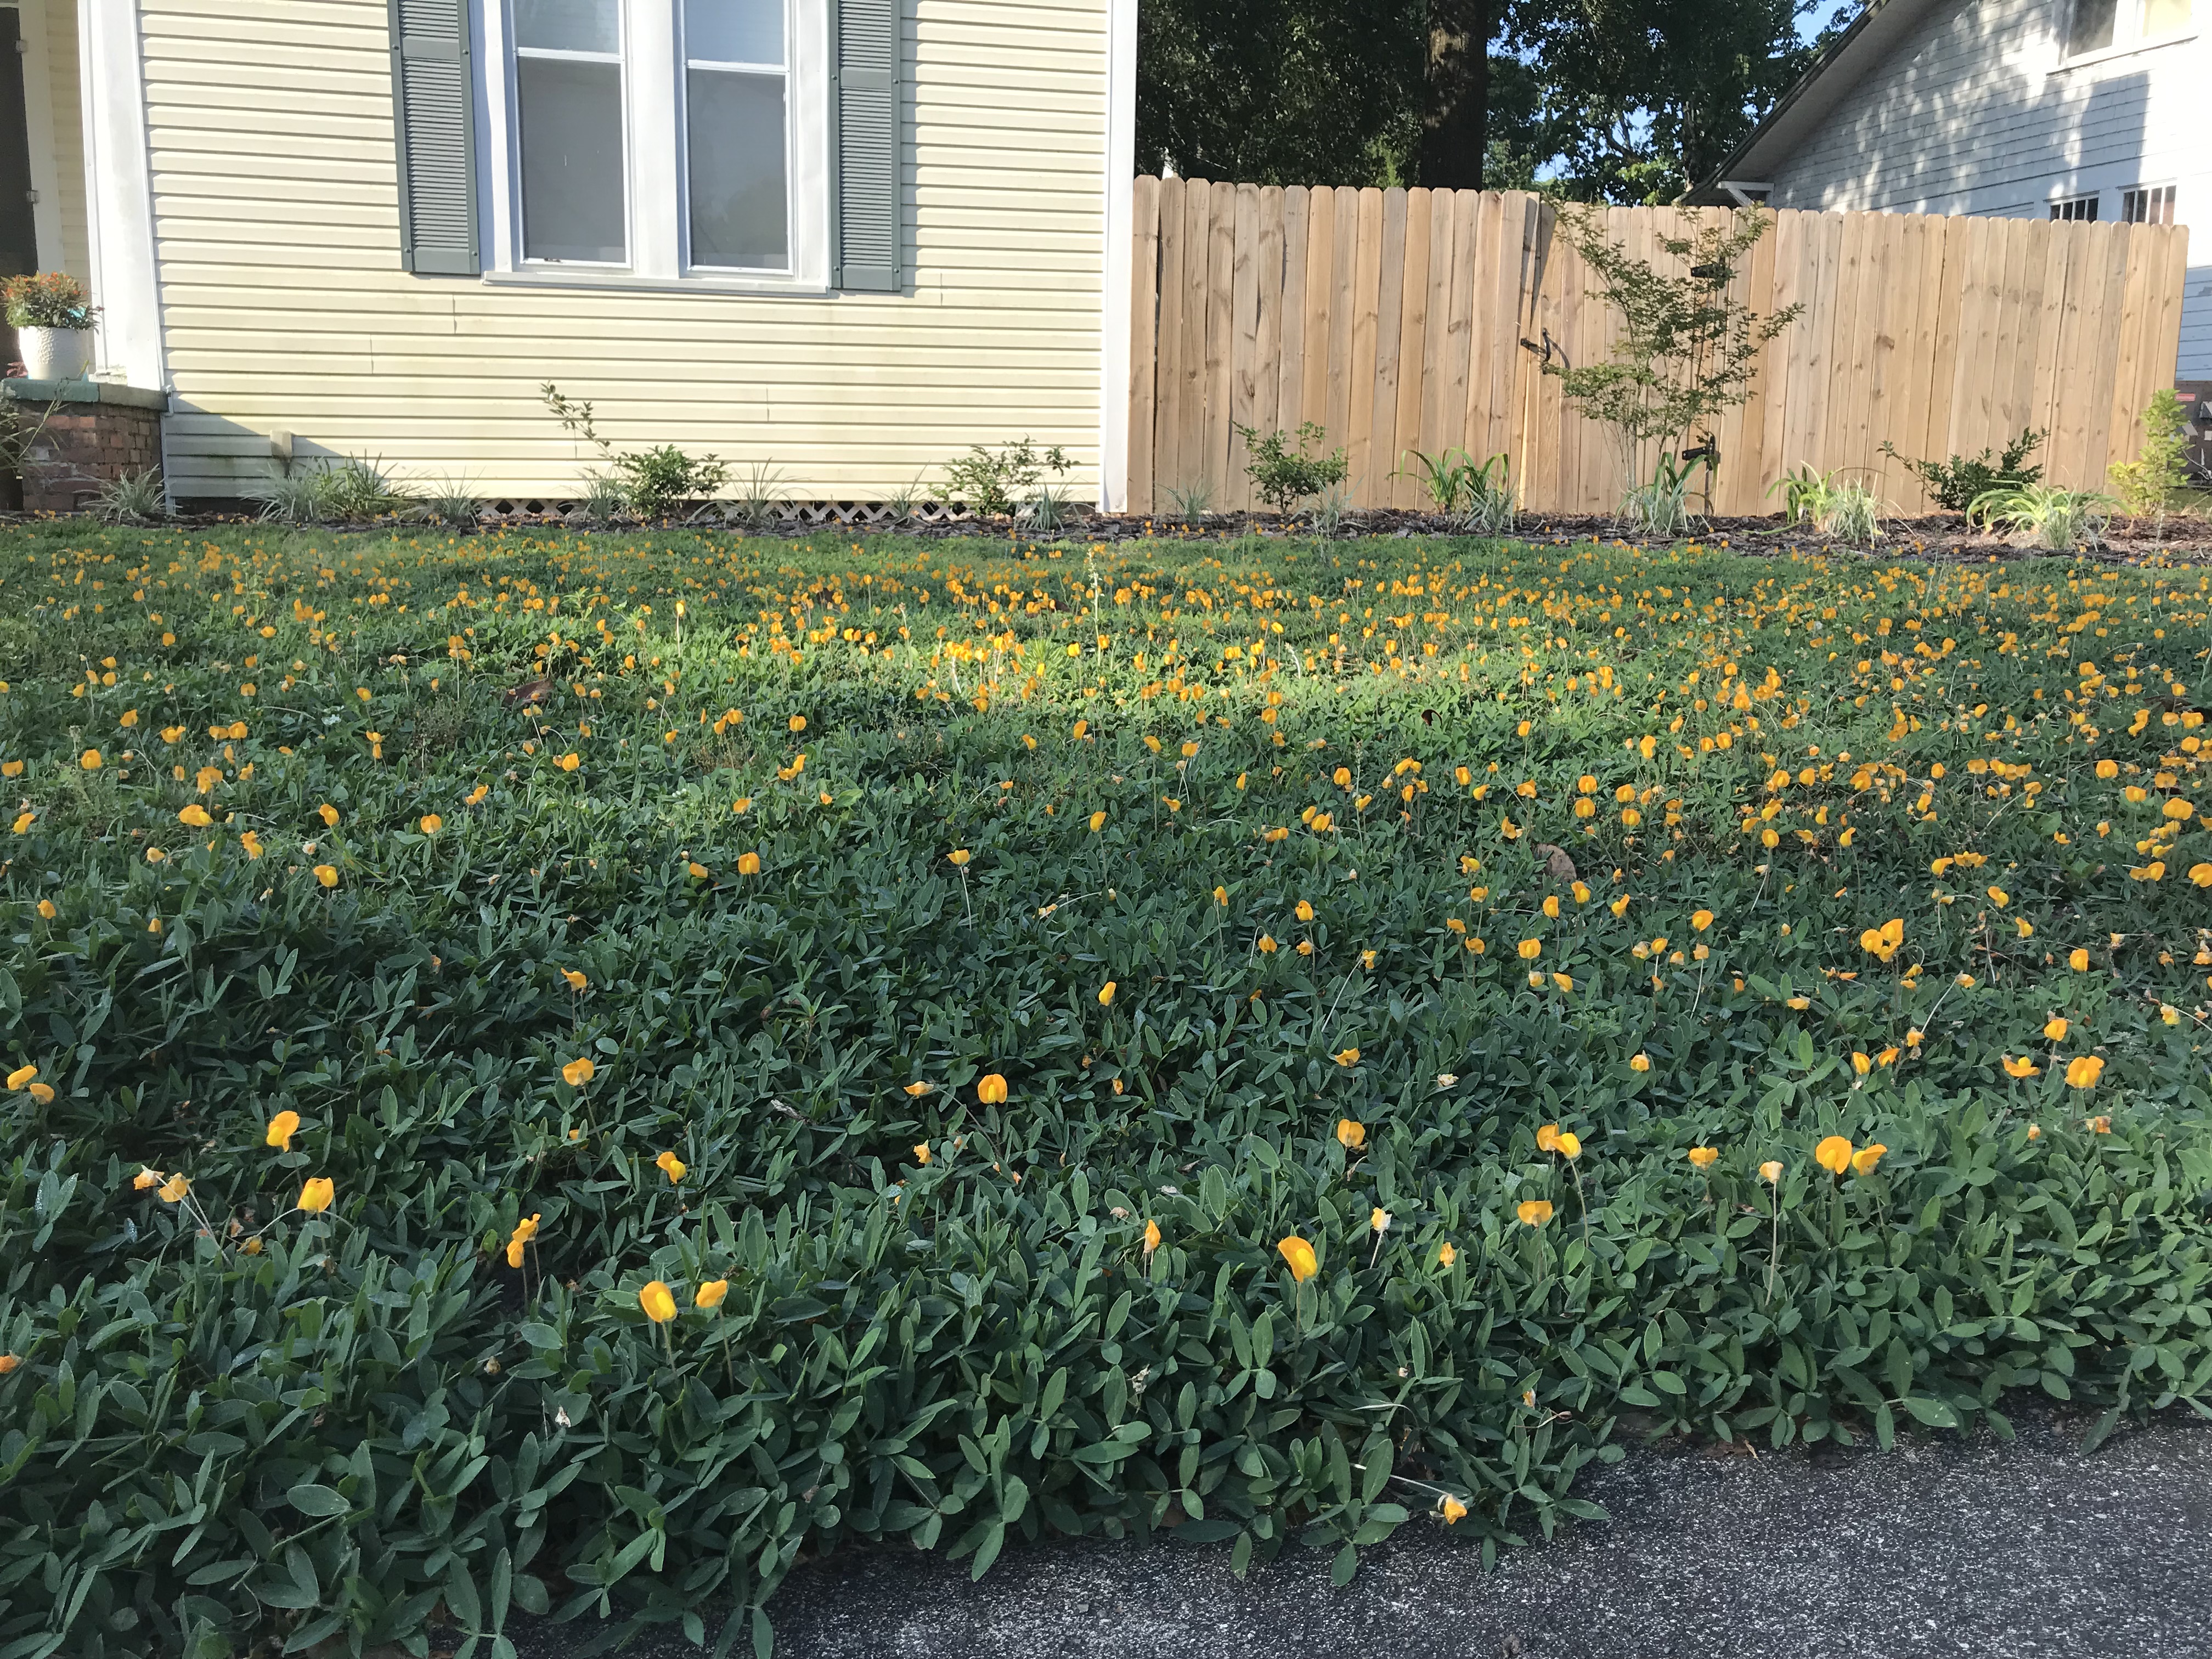
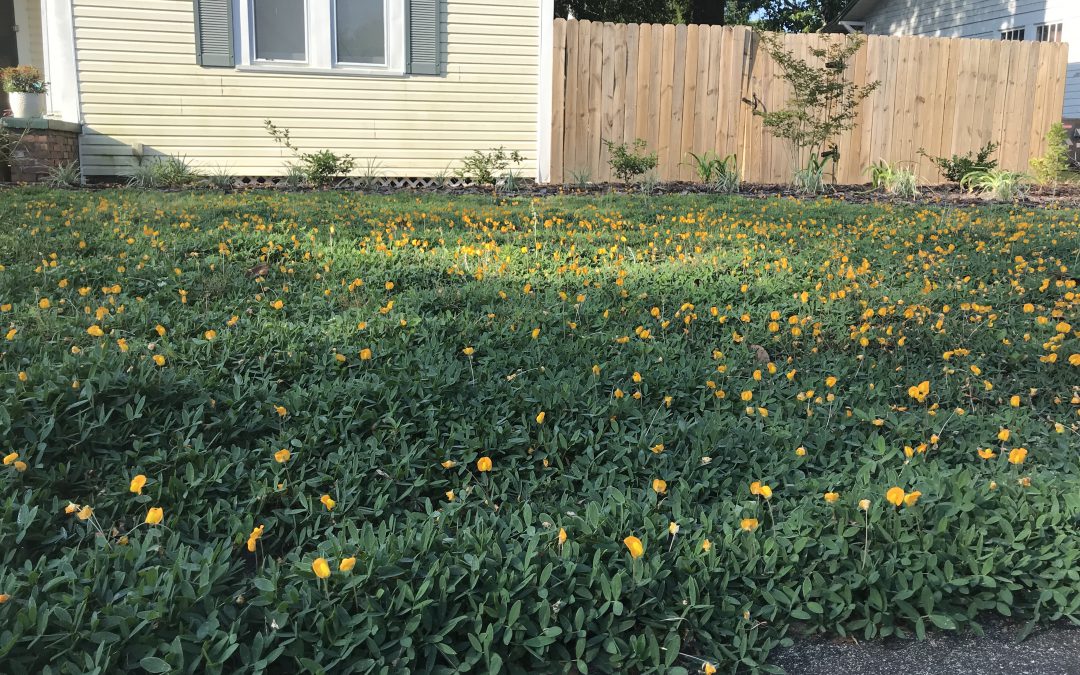
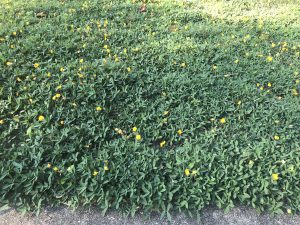
‘Needlepoint’ Perennial Peanut in the author’s lawn.
What began as my journey toward a turf-less lawn in September of 2017 is finally beginning to come together! In the fall of 2017, I installed about 120 one-gallon-sized ‘Needlepoint’ Perennial Peanut (Arachis glabrata) plants, purchased from Sunset Specialty Groundcovers in Live Oak, FL, on roughly 20” centers in my front lawn, an oddly shaped (650 ft2) patch of ground that had been previously filled with spotty centipedegrass and a healthy and diverse weed population. 18 months later, the peanut has almost completely filled in, shaded out all the weeds, and blooms nonstop!
Looking back, I definitely learned a few lessons the hard way. First, you should mulch bare ground in between plants at time of installation. Because there are few herbicides labelled for residential use on this crop and I didn’t want to experiment on my new “lawn”, I spent a lot of time on my hands and knees (much to the amusement of my neighbors and folks driving by) pulling weeds in the first two years that could have been prevented with mulch. Second, have a plan for keeping the perennial peanut in bounds once it has filled in the area it was supposed to and begins to travel into adjacent landscaped beds! The area my peanut inhabits is surrounded on two sides by inescapable concrete. It was on the other two sides, however, that I have had to improvise after they came under siege (literally under, because perennial peanut spreads by underground rhizomes). Installing some sort of edge blocker at planting and vigilance with routine mechanical edging is a must to keep it in bounds! Third, I recommend that you have a counter-argument prepared when the peanut goes dormant in the winter and your wife asks why the yard is bare dirt!
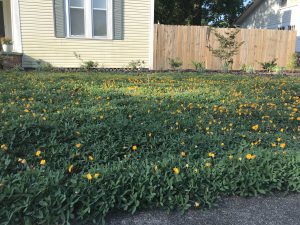
‘Needlepoint’ Perennial Peanut overhead shot showing complete ground coverage in the author’s lawn.
Overall, though there are a couple of things I would have done differently, I’m extremely pleased with my lawn of perennial peanut. It is absolutely stunning in the warm months, incredibly low maintenance, and unique! Plant some today!
As always, if you have any questions about perennial peanut or any other plant/crop, contact your local UF/IFAS Extension office.
by Daniel J. Leonard | May 27, 2019
Talk to nearly any Panhandle gardener and one of the first things brought up in conversation is the difficulty growing large, beefsteak/slicing tomatoes (Solanum lycopersicum) in their home garden. Large tomatoes are indeed among the more challenging garden vegetables in North Florida, affected by myriad pests, pathogens and abiotic issues. However, giving up growing this garden favorite is unwarranted as success can be had by following a couple of often overlooked, simple steps to ward off potential problems.
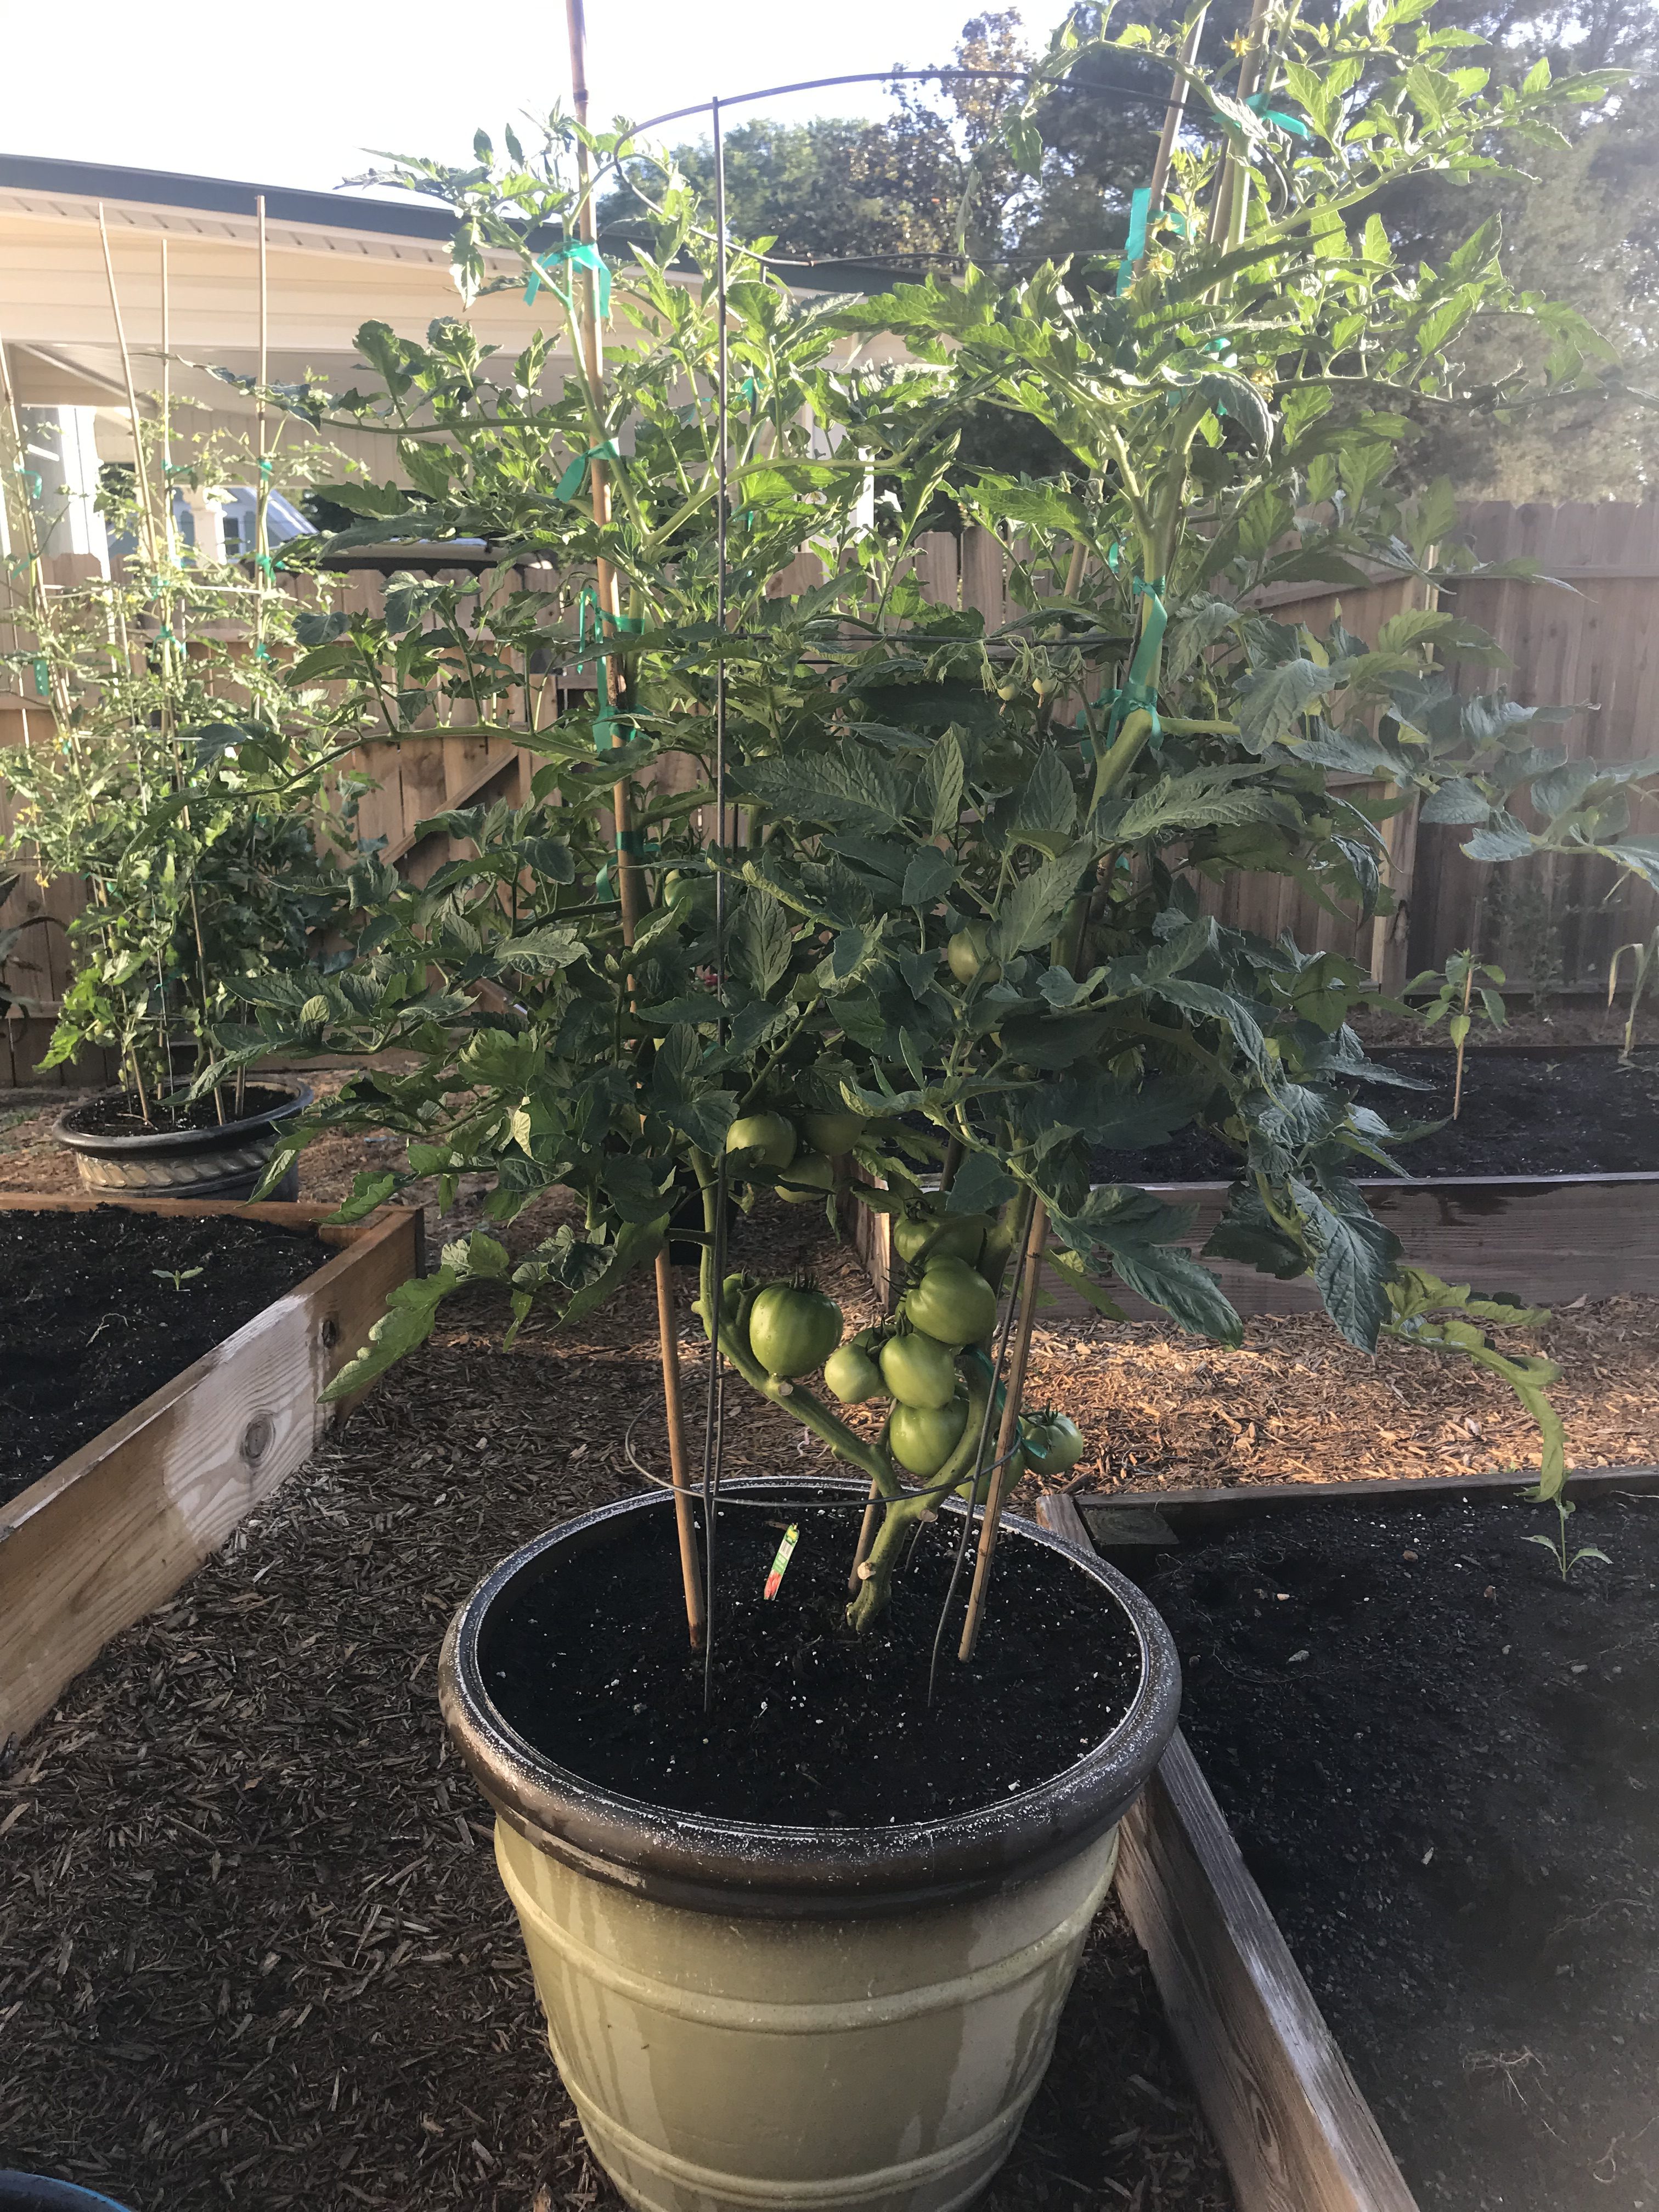
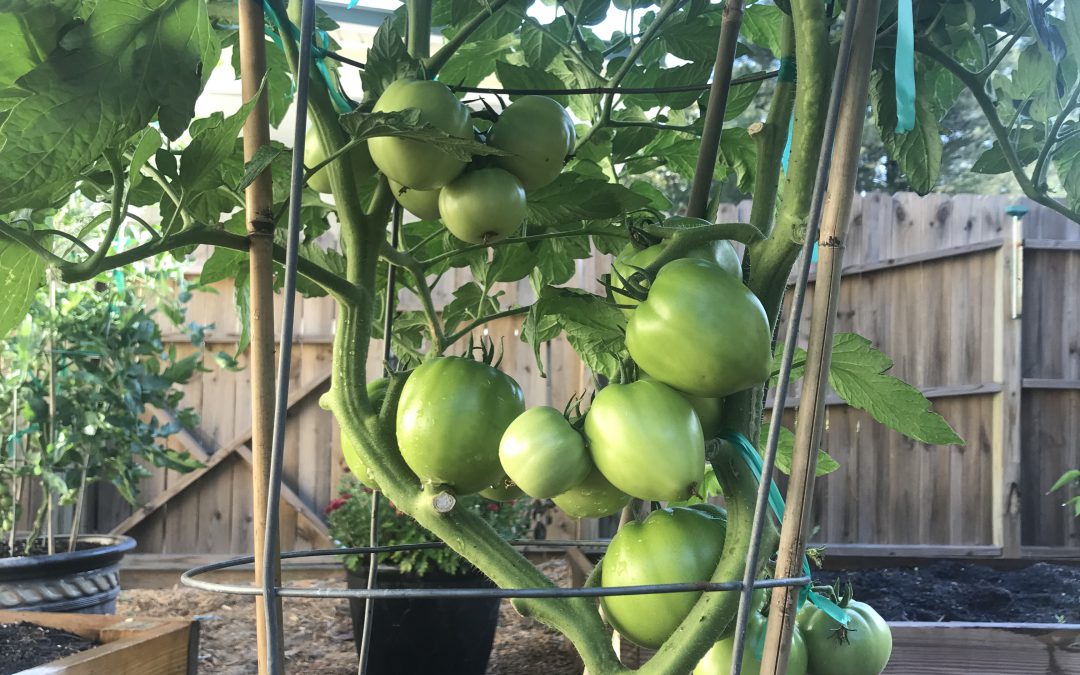
Choose Resistant Cultivars – One of the major recent gardening trends is the rise of heirloom veggies, particularly heirloom tomatoes. While many of these varieties certainly are interesting and often possess superior flavor/texture, heirlooms are, as a group, extraordinarily susceptible to disease in our climate. Fortunately for gardeners, there are a number of excellent varieties available with large resistance profiles to many common diseases and a similar taste profile to heirloom favorites! ‘Big Beef’ (pictured), ‘Better Boy’, ‘Celebrity’, and ‘Skyway’ are just a few of the many great cultivars with extensive disease resistance available as transplants at garden centers or as seed from quality online seed vendors.

Tomato ‘Big Beef’ in 15 gallon decorative container
Start Early – Once, you’ve selected the proper cultivar, the next key is to get them in the ground early! I’m convinced one of the primary reasons folks fail with tomatoes is waiting for “traditional” garden planting dates. For instance, an old tradition in the South is to plant your garden on Good Friday before Easter. However, according to Johnny’s Selected Seeds Southeast Sales Representative Blake Thaxton, tomatoes should be germinated and growing in the garden no later than March 15. Mr. Thaxton notes two primary reasons for this, the most important being pest/disease avoidance. Beefsteak tomato varieties take around 70 days from planting to harvest, so a March 15th planting date yields ripe tomatoes around the third or fourth week of May, when pest/disease pressure is still manageable. Pests and disease occurrence becomes exponentially worse in the Panhandle as May trickles into June and July, therefore it is critical that your fruit begin ripening prior to this onslaught. An important second motivation to plant early is that tomatoes stop setting fruit when nighttime temperatures rise above 75°F. At these temperatures, tomato pollen is rendered sterile and though the plant will continue flowering, no fruit will be set.
Mulch – Another overlooked best management practice in backyard veggie gardening is mulching! Those of us who tend flower beds already know many benefits of mulch like soil temperature moderation, weed prevention, and moisture conservation. But for tomato growers, mulch has another benefit – disease prevention! Several serious diseases that affect tomato are soil-borne pathogens (i.e. Early Blight, Late Blight, Bacterial Spot, etc.). These pathogens find their way onto plants either indirectly via water splashing from soil onto leaves or direct contact from leaves and fruit resting on the soil. To prevent these pathogens from infecting plant tissue, apply an organic mulch (preferably wheat straw or tree leaves) under and around plants. This simple step goes a long way toward season-long, yield-saving disease prevention.
Consistent Watering – Everyone knows plants need water but what you might not know is that irrigation consistency makes a huge difference in plant health, particularly tomatoes. Consistent watering is key in helping ward off one of the most frustrating tomato maladies, blossom end rot (BER) – you know, the one where the bottom end of your perfectly good tomato fruit turns to a brownish mush! Though BER is caused by calcium deficiency, the condition is commonly induced by creation of distinct wet and dry periods from non-regular watering, interfering with calcium uptake and availability to the plant. So, while you may have adequate soil calcium, if you don’t water correctly, the condition will happen anyway! It’s also good to keep in mind that mature tomato plants use large quantities of water daily, so during the heat of summer, plants in containers may need to be watered multiple times daily to maintain consistently moist soil. Think about it, you don’t drink 8 glasses of water when you wake up and then never drink again throughout a hot day. A tomato is no different. Allowing your plants to wilt down before providing additional water ruins productivity and can induce BER.
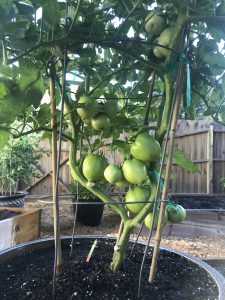
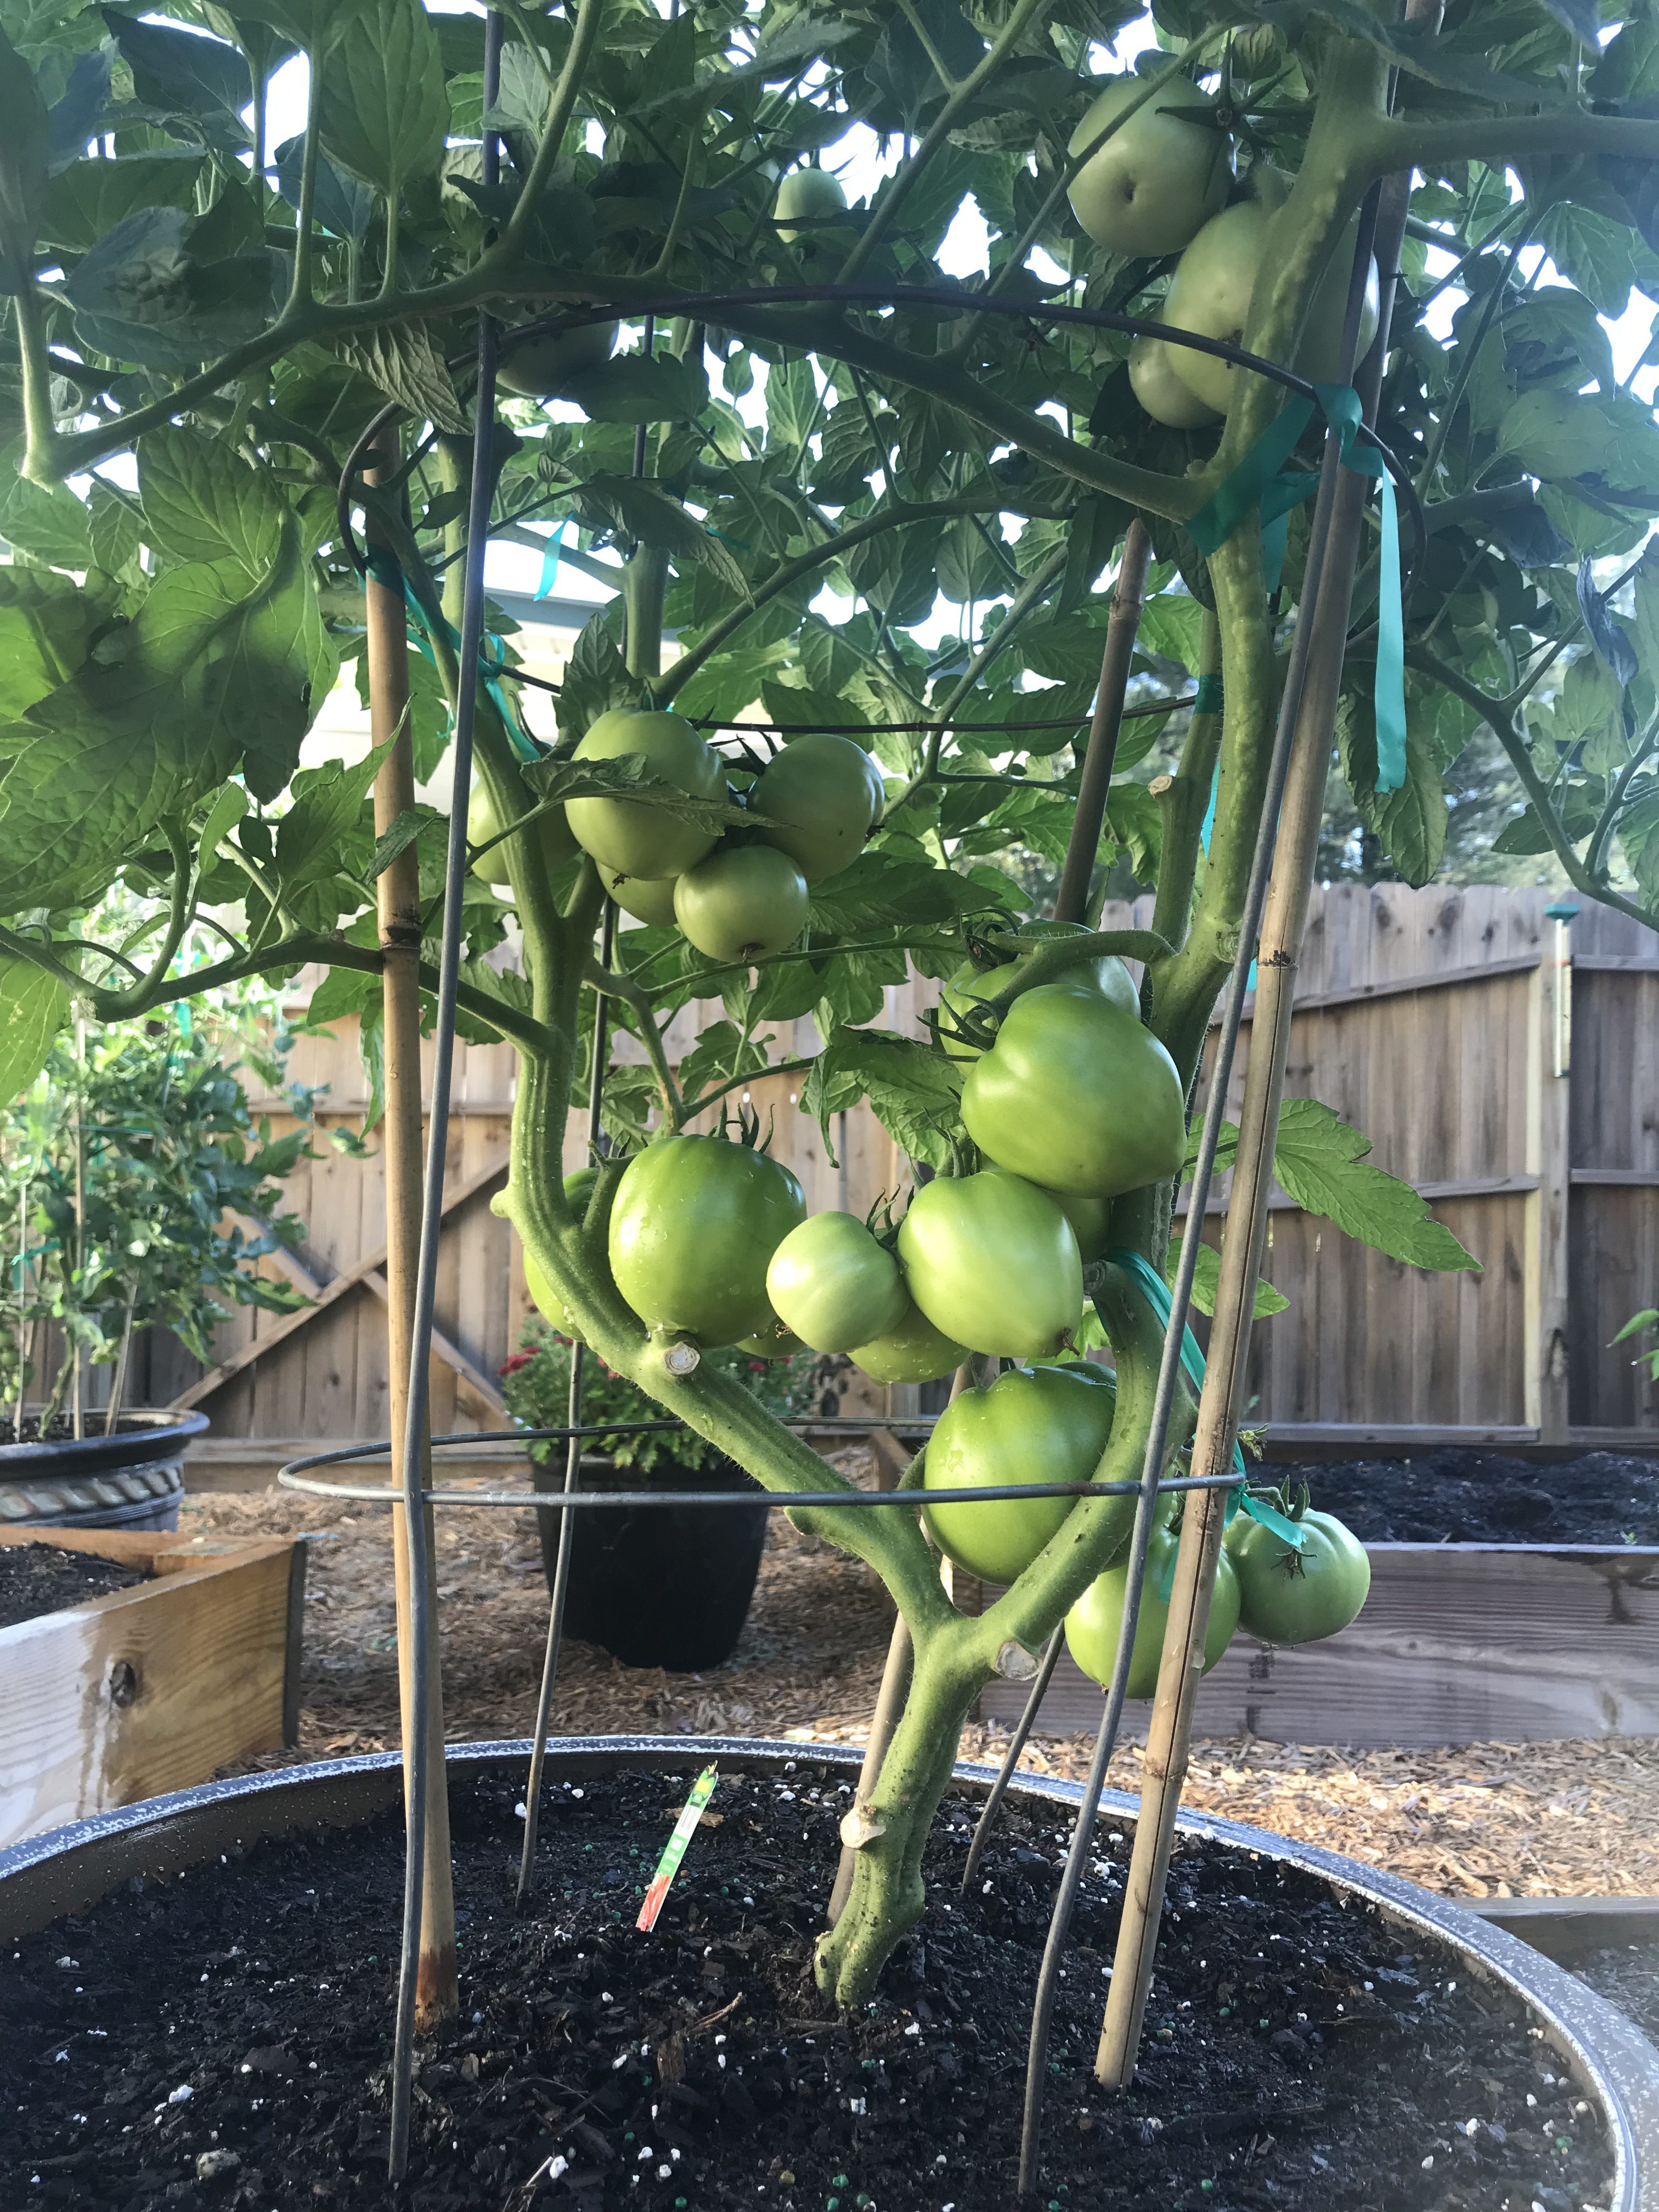
Tomato ‘Big Beef’ demonstrating pruning for soil clearance and airflow.
Pruning – I get it. Once you’ve nursed your baby tomato from a wee transplant or seed into a rapidly growing and flowering plant, it seems counter-intuitive to break out the pruners, but to keep your tomato plant as healthy as possible for as long as possible, that is what you must do! Pruning tomatoes should accomplish two things. First, remove the bottom layer of foliage from the plant base, so that water will not readily splash onto the lowest remaining leaves. (I tend to remove all leaves up to the second set of flowers 8-12” from the soil’s surface.) As with mulching, this prevents bacterial and fungal pathogens from spreading easily from the soil surface onto your plant. Second, tomato plants, especially the vigorous indeterminate varieties, often grow more foliage than is necessary for fruit production. This excess foliage can prevent airflow and trap moisture in the canopy of the plant, promoting disease. To open up the canopy and allow for more airflow, I prune off leaves that grow from the primary stems inward to the center of the plant. The idea is to keep the inside of the plant open while allowing enough leaves to power photosynthesis and shade the developing fruit below.
Tomatoes are notoriously hard to grow, but by following a few easy preventative practices, gardeners can greatly increase their chances of realizing harvestable fruit come summer. Please keep in mind that this is not an exhaustive list that will ensure disease-free plants over the entire growing season (you should also get a soil test to make sure your pH and soil fertility are correct and ideally you’d never work in your tomatoes when they are wet, etc., but this is a good place to start!). However, a little bit of planning and prevention early in the season can make growing tomatoes a lot less frustrating! As always, if you have questions regarding tomatoes or any other horticultural topic, please contact your local UF/IFAS Extension Office. Happy gardening!
by Sheila Dunning | May 17, 2019
Natural bark mulch
There have been a lot of questions about the use of colored mulches in the landscapes. Many individuals are concerned about the possibility of negative environmental impact from the dyes used on wood chips and pine straw. According to the Center for Agriculture, Food and the Environment (https://ag.umass.edu) the primary concern with colored landscape mulches is not the dyes used for coloring. Rather, it is about the sources of wood chips and the possibility of contamination with toxic substances.
The dyes used in coloring wood mulch are primarily of two types: carbon-based dyes and iron oxide based dyes. Iron oxide, the most commonly used dye, is simply a compound of iron and oxygen. As the compound oxidizes, iron is released to the soil but is not considered to be toxic. Dyes that are not absorbed by or adsorbed to the wood would come off with contact, especially if the mulch is wet. There are also some carbon-based dyes used on mulch. These carbon-based colorants are similar to those used in ink and cosmetics. Other dyes for mulch are vegetable-based and therefore organic. At this time, there is no evidence that the dyes used to color wood chip mulch are toxic.
Most of the wood used for making colored mulch comes from recycled wood, i.e. wood scraps, wood pallets, and wood reclaimed from construction and demolition (C&D) waste. Besides the benefits of recycling waste wood materials, the reason why these wood materials are used for colored mulches is that they are very dry and readily absorb or adsorb coloring agents.
Unfortunately, some of the recycled waste wood used for making landscape mulch products is contaminated with various chemicals, such as creosote and CCA (chromated copper arsenate). CCA is the chemical that was used in the manufacturing of pressure-treated wood.
Even though arsenic-based wood preservatives were banned in 2003, there are still plenty of CCA preserved wood being re-purposed. Sometimes wood pallets that have been used in the transport of chemical agents can become contaminated by spills of these chemicals. CCA and other toxic chemicals have been found to be contaminating soil where colored mulch made from these wood products have been applied. CCA treated wood can kill beneficial soil bacteria, beneficial insects, earthworms and young plants. It can also be harmful to people spreading this mulch and animals who dig in it.
Additionally, dyed mulches break down much slower than natural mulches. The greatest advantage to using them is to reduce the expense and time required to replenish the mulch. When wood breaks down, it requires nitrogen to do so. Colored mulch can actually rob the plants of the nitrogen they need to survive. Natural mulches retain moisture and add organic material back to the soil enabling the plants to better utilize nitrogen. Avoiding the use of colored mulches reduces the risk of contamination better than any other practices. Colored pine straw may be an alternative.
It should not be assumed that all colored mulches are contaminated. However, anyone planning to use colored mulch should become familiar with the supplier and the source of the wood used in making it. If C&D waste wood is used, it should be a red flag that there is a possibility of CCA contaminated mulch.
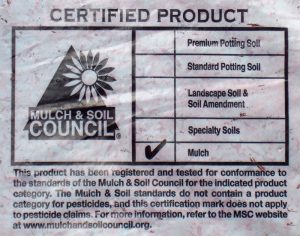
Certified Mulch Label
If you wish to improve the chances that the dyed mulch that you are buying is safe for humans to handle look for the MSC Certification Logo on the packaging. MSC stands for Mulch and Soil Council, whose responsibility is to certify that a mulch or soil product is free of CCA-treated wood. According to MSC’s Product Certification program, “Certified mulches and soils can be found at major retailers and garden centers across the country.” If you have concerns after contacting the supplier about the source of the wood used, contact a private environmental testing lab in your area.
While reading packaging, check the source of the product. If the supplier is a land management company rather than a processing mill it may be that mature trees are being removed and shredded. These mulches are sold as “long-lasting”, “no-float” products. They have the appearance of pine straw, but are actually finely shredded cypress from the heart of trees. These are coming from properties where the bald and white cypress trees are harvested for mulch. You can tell that it isn’t pine straw because the mulch pieces lack pine needle structures such as the fascicles and a revolute shape. While the use of these products is not contaminating, it is still depleting the environment. Mulches that are natural by-products are the most Eco-friendly.
by Julie McConnell | Jan 3, 2019

Storm debris turned into holiday cheer in Bayou George. Photo: J_McConnell, UF/IFAS
By the time this article publishes, we will be more than 70 days since Hurricane Michael toppled or damaged an incredible number of trees in the Panhandle. Enormous piles of once stately shade trees line the streets in neighborhoods and business districts in. The cleanup efforts have been phenomenal, over 4 million cubic yards of storm debris picked up in Bay County to date, but there is still a long way to go in the recovery process.
So, as gardeners, how can you help our community get back on track amidst your own struggles to recover? A few Florida Friendly Landscaping™ Principles come to mind.
- #1 Right Plant, Right Place – as you rebuild your landscapes, make sure to choose the appropriate plant for the location. Consider mature size and give those plants space to thrive!
- #4 Mulch – do you have bare ground that will eventually become landscape beds or turf but no resources or time to replant yet? Consider mulching the area to keep soil from eroding and to help improve soil though decomposition of natural products. Hint – see Recycling for free sources!
- Mulch tips https://sfyl.ifas.ufl.edu/media/MulchBrochure.pdf
- keep mulch 12 inches from tree trunks
- recommended depth in beds or under dripline of tree canopy (excluding within 12” of trunk) is 2-3 inches
- leave an 18-24 inch buffer around building foundations mulch free to reduce conducive termite conditions
-
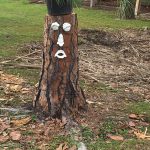
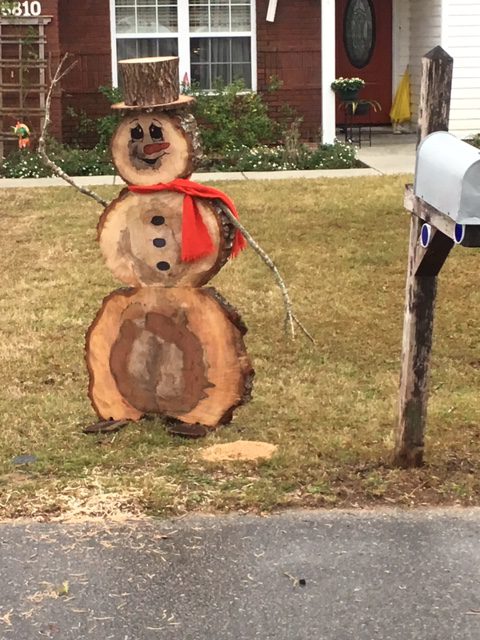
Dress up stumps with plants and whimsical designs. Photo: D_VanderMeer, UF/IFAS Master Gardener
#7 Recycle – driving around town I have seen some really creative uses for stumps, trunks, and branches that homeowners have constructed and messages of hope that bring a smile to my face. Another method of recycling is to use the chipped vegetative debris as mulch, either available as “utility mulch” by cities and counties or you may have some in your own yard right now.
- Utility mulch does come with some words of caution because there is an increased risk of introducing weeds to your landscape with untreated storm debris. However, if you need mulch for pathways or planting beds you will be helping your community’s cleanup effort by reducing waste accumulation. Just watch for “volunteer” plants and manage as needed.
In Bay County, there are 4 locations where you can load and haul off your own utility mulch from storm debris
- Under the Oaks Park – 5843 E. U.S. 98, Panama City, FL 32404
- G. Harder’s Park – 8110 John Pitts Rd., Panama City, FL 32401
- Chapman Park – 2526 Rollins Ave., Bayou George, FL 32404
- Laird Park – 6310 Laird Park Rd., Panama City, FL 3240
For sources in your county, check with your Solid Waste Department for utility mulch availability.