by Eddie Powell | Sep 9, 2014
Throughout the year I get calls asking about this mossy-like stuff growing on the bark of trees. For the most part, the calls are in the spring time when people have come out of winter hibernation and see their landscape plants covered with this alien figure. I am here to say that it is not an alien figure, though it may look like it is. These are lichens.
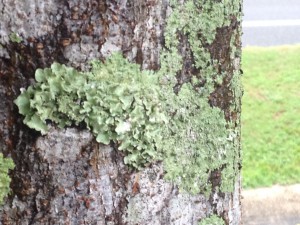
Photo Credit: Eddie Powell
Lichens often get mistaken for some unusual fungus that is killing trees. However, lichens are not single organisms, but rather a combination of two organisms that live together in a mutually beneficial way. There are over 20,000 different types of lichens found in nature. Lichens consist of a fungus and an algae; the fungus is more dependent upon its algae partner which produces enough food for both to survive. Lichens are very different from plants in that they can survive a complete body water loss. During this time, brittle pieces that flake off can later grow into new lichens. When moisture becomes available again, the lichen absorbs water and returns to its fleshy form.
The lichens growing on trees and shrubs are not parasites and do not harm the plants in any way. The lichens use the landscapes as a structure to become established.
There are four different forms of lichens found, crustose (crust-like, growing tight against the substrate), squamulose (tightly clustered and slightly flattened pebble-like units), foliose (leaf like, with flat sheets of tissue not tightly bound), and fruticose (free-standing branching tubes). Colors range from white to gray, green, red, yellow, and black. Lichens commonly found in our area are in the crustose, foliose, or fruticose form, and are white, gray, or gray-green in color.
Because lichens produce chemicals, they have very few natural predators. However, the most serious threat to lichens is air pollution. Most lichens will not grow in a polluted atmosphere and therefore you should be glad to see lichen here or there in your yard, as this is an indication that the air is relatively clean.
by Gary Knox | Aug 19, 2014
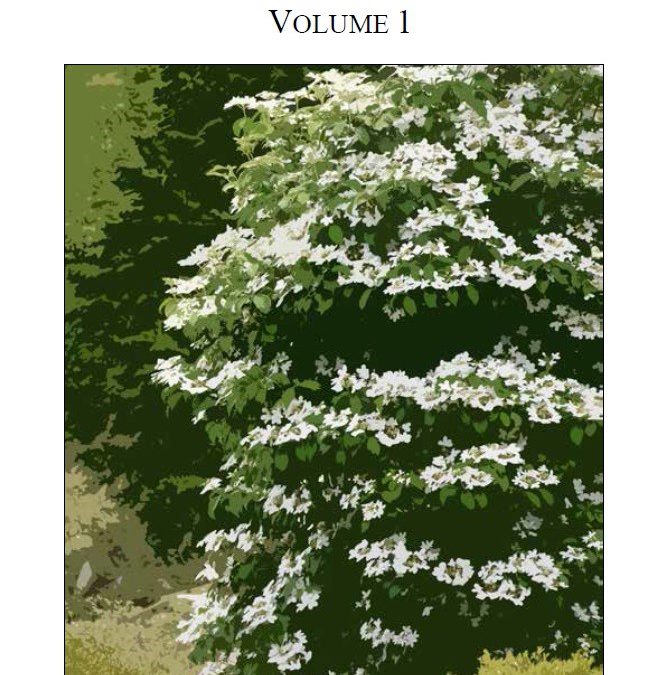
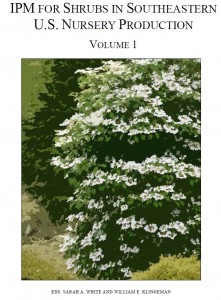 A new IPM guide is making it easier to grow five common southeastern shrubs. Growing five southeastern shrubs is now easier thanks to a free, new IPM resource from the Southern Nursery IPM Working Group.
IPM for Shrubs in Southeastern U.S. Nursery Production is a compilation of Integrated Pest Management (IPM) information for five major shrubs in nursery crop production in the southeast. This 175 page book covers sustainable management for insects, mites, diseases, and weeds for these shrubs, as well as nursery production information. This IPM resource was developed for nursery growers although professional landscape managers and collectors of these plants also will find the information valuable.
Individual chapters cover abelia (Abelia spp.), camellia (Camellia spp.), shrub rose (Rosa spp.), blueberry (Vaccinium spp.) and viburnum (Viburnum spp.). Each chapter provides comprehensive information on the species, primary cultivars and their nursery production. Major pests, diseases, weeds and abiotic disorders are presented for each genus along with sustainable management methods and tables listing labeled pesticides and fungicides by mode of action and site. An additional chapter discusses weed management in shrub production. Future volumes covering additional shrubs are anticipated.
Edited by Clemson University’s Sarah A. White and University of Tennessee’s William E. Klingeman, this free guide was developed by the Southern Nursery IPM Working Group, including University of Florida NFREC’s Gary Knox and Mathews Paret. The award-winning, multi-disciplinary group is composed of experts from universities across the southeast. This group formed in 2008 to develop and deliver educational programming to the southern U.S. nursery industry and Extension personnel. The team recently won the 2014 Bright Idea Award from the Friends of Southern IPM and Southern IPM Center.
This resource joins the tree IPM book previously released by this group, IPM for Select Deciduous Trees in Southeastern US Nursery Production. The tree IPM book is similar to the new resource in that it contains IPM information for insects, mites, diseases, and weeds of nine major tree crops as well as production information. Individual chapters cover birch (Betula spp.), cherry (Prunus spp.), crapemyrtle (Lagerstroemia spp.), dogwood (Cornus spp.), chinese elm (Ulmus parvifolia), magnolia (Magnolia spp.), maple (Acer spp.), oak (Quercus spp.) and redbud (Cercis spp.).
Both books can be downloaded free through iTunes (http://www.apple.com/itunes/) or each chapter is available as a free pdf through the Southern Nursery IPM Working Group website, http://wiki.bugwood.org/SNIPM. A limited number of hardcopy books were printed and distributed to authors. Thanks to the Southern Region IPM Center for their generous support to make this resource possible!

by Mary Salinas | Jul 15, 2014
We all seem to have this dilemma: A desire to re-landscape or just add a few plants to an area, but not knowing what would be the best choice. Plants need to be compatible with their location. The right plant should be chosen for the right place. Many have particular light, moisture and zone requirements in order to do their best. The ultimate size of the plant is also an important consideration; if you want to avoid constant pruning, choose plants that only grow to size you would like to ultimately have. Some great resources are provided below to get you the information you need.
UF IFAS Extension has a brand new app for your mobile device or web! The app contains a database of over 400 Florida-friendly plants is searchable by plant name, type, shape, native status, light requirements and more. The yearly subscription is only $1.99 to have great info on the go.
The downloadable 104-page Florida-friendly Landscaping Guide to Landscape Design and Plant Selection not only has photos and detailed information about plants by category, it also has great ideas on how to improve your landscape design! 
UF’s Florida Yards & Neighborhoods maintains a searchable Florida-friendly Plant Database. Make choices based on region, plant type, light and moisture quantity, soil texture salt tolerance.
For native plants, the Florida Association of Native Nurseries has two websites where you can find plants for your particular zone, plant community (like at the beach or in pine flatwoods), plant type and by wildlife usage. There is a site designed for nursery professionals that lets you find local wholesale growers and also a similar site for homeowners that has resources on where to find desired plants at local nurseries.
Speaking of native plants, the Florida Native Plant Society also has a searchable list of plants appropriate for your particular needs.
Gardening Solutions has lots of great information for lawn, landscape and garden by category, and it is easily accessed.
Happy Gardening!
by Julie McConnell | May 3, 2014
The last week of April 2014 brought with it 10-22 inches of rain across the panhandle in a matter of days. Some areas had immediate flooding and standing water, while others may be in areas at risk of rising rivers and streams. As the water recedes, many people are wondering how all the water will affect their landscapes.
Only time will tell what the long term impact will be, but here are a few things to watch for and what you can do to try to moderate damage.
- Let soils dry out before driving vehicles or other equipment on grassy areas. Even if the water is not visible, if the soil is still saturated, driving lawn equipment or cars may cause ruts.
- Do not leave automatic irrigation systems running on established shrubs, trees, and lawns. If your system is set to run in the early morning hours, you may not think about it being on, check your systems and hold off on adding water until soils dry out and the plants need it.
- Watch for fungus symptoms and treat if needed. Wet plants and cool weather are ideal for some Brown Patch on lawns, be aware and monitor landscapes closely. If disease is suspected, contact your local county extension office for recommendation.
- When mowing, leave a longer leaf blade to compensate for root stress.
- Look at the base of trees and shrubs to make sure silt and sand have not buried the crown or root flare. Also look for erosion of root zone, these areas may need correction. “Salvaging Flood-Damaged Shrubs and Ornamentals.”
- Adjust fertilization as needed; if you recently applied fertilizer it has likely runoff or leached from the site. However, if you suspect fungal disease do not fertilize until disease is managed.
- Stress in turfgrass, for details read “Watch Turf for Flooding Stress”
- You may see new weeds (seeds or segments may have washed or blown into your yard)
- Tree and shrub decline or death read “We Had Plenty of Rain, Why are My Trees Dying?”
- Although this storm was not a hurricane, “Assessing Damage and Restoring Trees After a Hurricane” has helpful information for areas with wind damage
- Nutritional deficiency symptoms in palms may show up 4-5 months from now. “Nutrient Deficiencies of Landscape and Field-grown Palms in Florida.”
- Decreased availability and increased price of sod (flooded fields prevent harvest and increase inputs for disease, weed, and nutrition management)
- Scheduling changes or maintenance adjustments by landscape contractors. Turfgrass and ornamentals will likely need different maintenance applications than in years past to correct issues related to flooding and excess rain.
by Julie McConnell | Feb 18, 2014
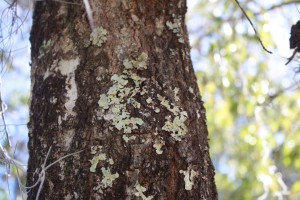
Lichen on trunk of oak tree. Image: Julie McConnell, UF/IFAS
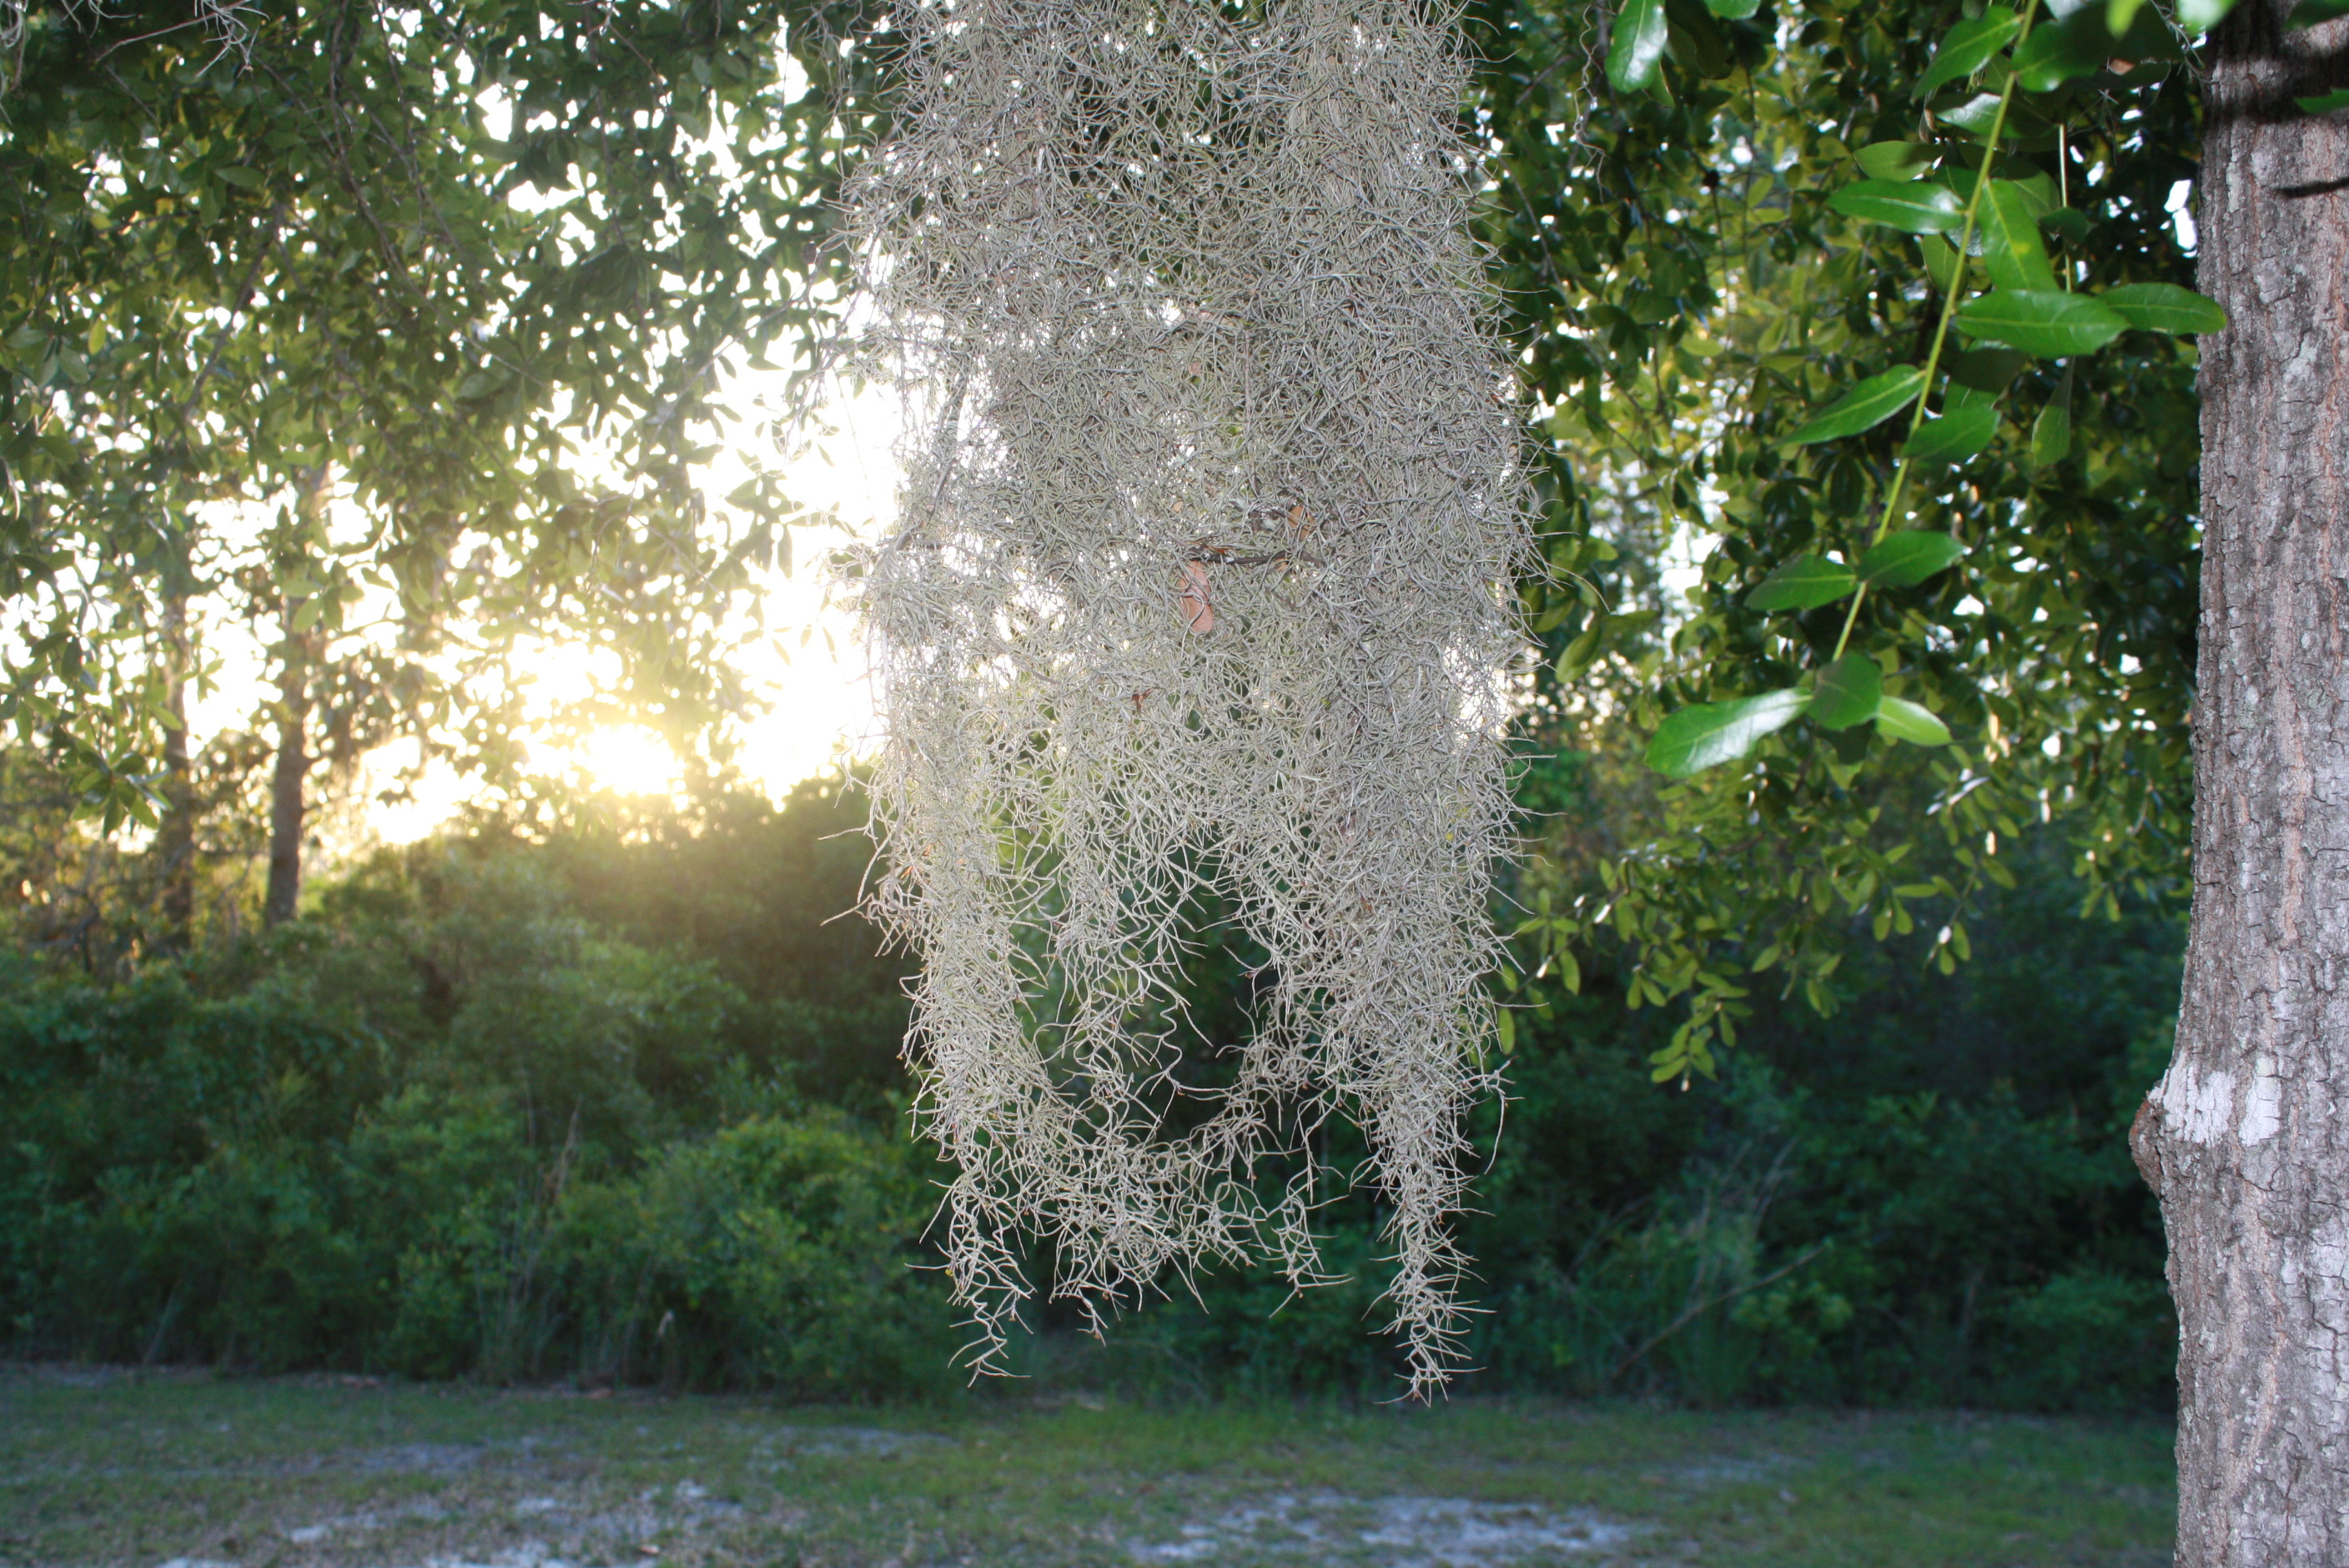
Spanish moss and lichen have earned an inaccurate reputation for damaging trees and shrubs in the Florida landscape. Although they may be found in plants that are in decline or showing stress symptoms, they are simply taking advantage of space available to survive. Both plants are epiphytes and are obtaining moisture and nutrients from the atmosphere rather than from the plants they rest upon.

Spanish moss. Image: Julie McConnell, UF/IFAS
Lichen are more commonly found on plants that are in poor health because they need a plant that is growing slowly and access to sunlight. These conditions can typically be found in thin canopies of trees and shrubs under stress. Although they are firmly attached to the surface of the plant, they are not taking nutrients from the tree or shrub, but rather from the air and other sources such as organic debris and bird excrement. If you find lichen on your landscape plants, look further into what stress factors might be causing the plant to grow slowly such as compacted soil, extreme weather conditions, drought stress, disease or insect pressure.
Spanish moss does not harm trees and many people find it an appealing asset to their landscapes. Common misconceptions about Spanish moss include that the weight causes branches to break and that it is a host site for chiggers. Spanish moss is very light and any additional weight is typically insignificant. Although it may harbor some insects and provide nesting material for birds and other wildlife, Spanish moss in trees is not a site conducive to chiggers because they favor low-lying moist environments.
To read more about Spanish moss, lichens, and other common epiphytes please read the EDIS publication “Spanish Moss, Ball Moss, and Lichens – Harmless Epiphytes.”

by Beth Bolles | Feb 18, 2014
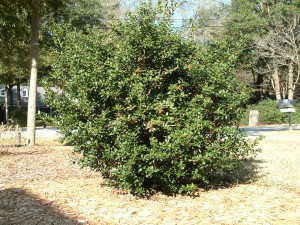
Looking for a new shrub or small tree this year? Interested in one that is low maintenance and offers beautiful green color? Why not try a holly.
Hollies can be found in landscapes throughout North Florida. Many times these plants are used in foundation plantings around homes. They can help make the transition from the hard lines of a home to other parts of the yard. In other landscapes, hollies make an excellent screen, dividing property or blocking a view.
Because hollies are commonplace, they may be overlooked by homeowners who want to add an attractive new plant to the landscape. Hollies have many uses and there are new selections entering the market worth considering.
In general hollies will not need a great amount of maintenance. Once established most species will require only occasional water, fertilizer, and pruning. Many hollies have even grown well under neglected conditions. If you are one that keeps holly plants pruned as hedges, you will need to watch for the scale insect and spray plants with a horticultural oil every year.
When selecting a holly plant, it is good to know a little about the area where you want to place the plant. Hollies vary in size and ability to tolerate wet soil, so it is important to match a species with your specific site. Also consider holly leaf shapes when using the plants in areas where people walk. Some holly leaves are very stiff and sharp and could injury visitors to you home or be a nuisance when you are working in the yard.
If you are interested in the added beauty of holly berries during the year, remember to select a female plant.
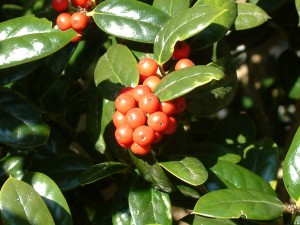
Hollies also attract bees to the landscape.
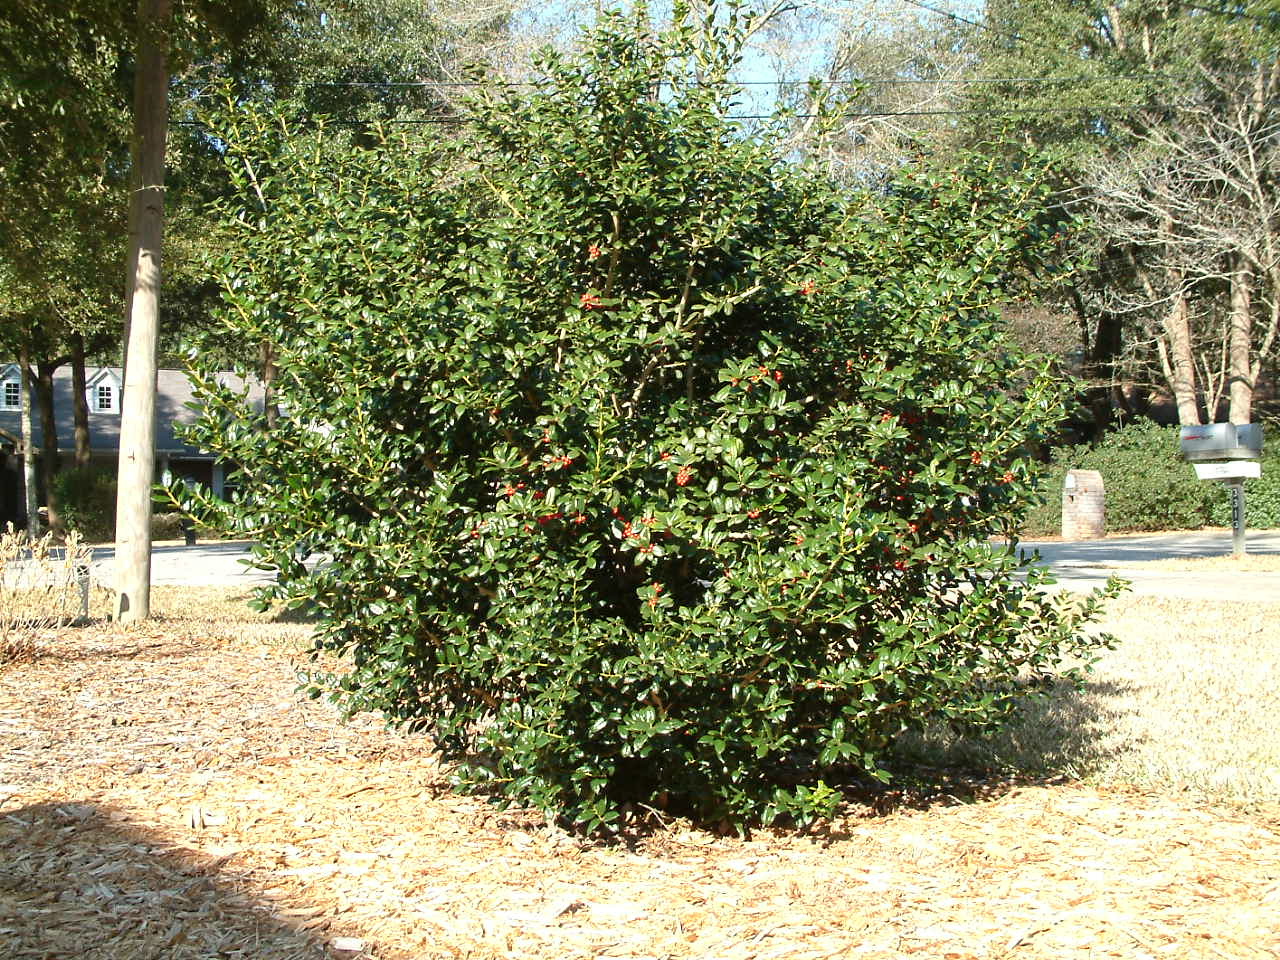
Credit: Beth Bolles, UF IFAS Extension Escambia County
Tree form hollies that you may select include the American holly (Ilex opaca), Savannah holly (Ilex x attenuata ‘Savannah’), and the Burford holly (Ilex cornuta ‘Burfordii’). All three plants will need well-drained soil. The American and Savannah holly will both reach heights between 20 and 40 feet and have a pyramidal growth form. The Savannah holly leaves will be a lighter green color than the leaves of other holly species. Burford holly has thick dark green leaves and grows about 12-15 feet in height over time.
Burford holly is a beautiful holly that gives birds a place to hide.
Credit: Beth Bolles, UF IFAS Extension Escambia County
If you have a wet site, consider the Dahoon holly which can be a specimen plant or used as a screen. This plant will develop attractive grayish bark and grow about 20 feet in height with more of a spread than the previously mentioned hollies.
There are medium-sized hollies that make excellent specimen plants about 12 feet in height. ‘Festive’ holly has dark green foliage and forms dense growth in a pyramidal form. The ‘Robin’ holly has a similar growth form but displays beautiful reddish new growth. Both of these plants will need well-drained soil and full sun or partial shade.
For those areas that require smaller evergreen plants, consider a ‘Bordeaux’ yaupon holly. These plants will grow about 4 feet in height and spread and form a dense growth of stiff stems with small leathery leaves. Since these plants keep a naturally round form it is not necessary to shear them. Both hollies will tolerate a wide range of soil conditions and require little maintenance once established.