Sometimes we just need a little privacy. This is especially true if you live on a busy road or just have annoying neighbors. There are a few things to consider when selecting a screen tree: 1) full-grown size; 2) speed of growth; and 3) aesthetics. With these three factors in consideration, let’s review some screen options for different situations.
Pineapple Guava (Acca sellowiana) hedge. Photo Credit: Daniel Leonard, University of Florida/IFAS Extension – Calhoun County
Pineapple Guava (Acca sellowiana)
At one time this shrub was hard to find, but it is slowly becoming more available. Pineapple guava is native to South America, but it adapts well to the Florida Panhandle. This plant can reach 10 to 15 feet in height with an equal spread and has a moderate rate of growth, so it’s a great choice when you just need a small screen. Pineapple guava is moderately salt-tolerant and does well in coastal landscapes. As a bonus, the flowers and fruit are edible. It’s hard to find a more aesthetically pleasing large shrub. Pineapple guava is evergreen with leathery green leaves that have grey undersides. This plant can be grown as a large shrub or pruned to be a small tree.
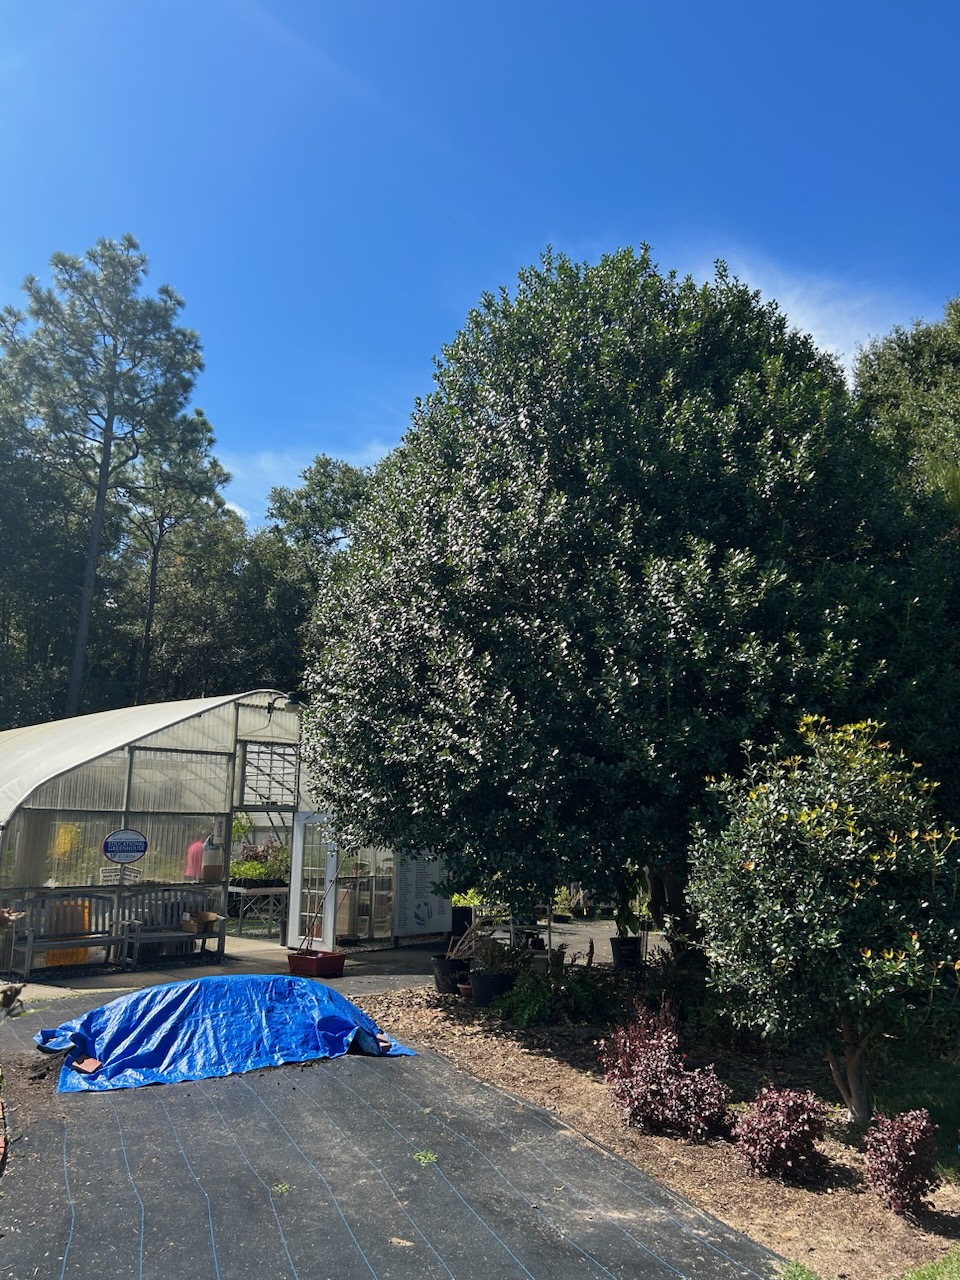
A large ‘Emily Bruner’ holly at the Santa Rosa County Extension Office. Photo Credit: Matt Lollar, University of Florida/IFAS Extension – Santa Rosa County
‘Emily Bruner’ Holly (Ilex x ‘Emily Bruner’)
‘Emily Bruner’ holly is a cross between the Chinese holly (Ilex cornuta) and the lusterleaf holly (Ilex latifolia). This evergreen shrub has glossy green leaves. It has a pyramidal growth habit and is listed as reaching 15 to 20 feet tall by 5 to 8 feet wide, however the specimen at the Santa Rosa County Extension Office is about twice that size. ‘Emily Bruner’ holly prefers moist, well-drained soil. This holly has dense, prickly leaves so it does well keeping people out of your yard in addition to buffering sound. The flowers have a sweet scent and are a favorite of honey bees.
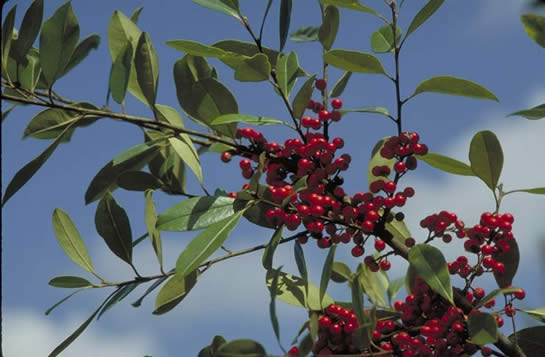
Dahoon holly foliage and berries. Photo Credit: University of Florida/IFAS
Dahoon Holly (Ilex cassine)
Dahoon holly is native to North America, is tolerant of wet, shady sites (but can also handle full sun), and displays some salt tolerance. This evergreen, small tree is somewhat shrubby. It can grow to be 25 to 30 feet in height with an 8 to 12 foot spread. Dahoon holly has nice light green leaves that are smooth, not prickly like ‘Emily Bruner’ holly. It has a moderate growth rate.
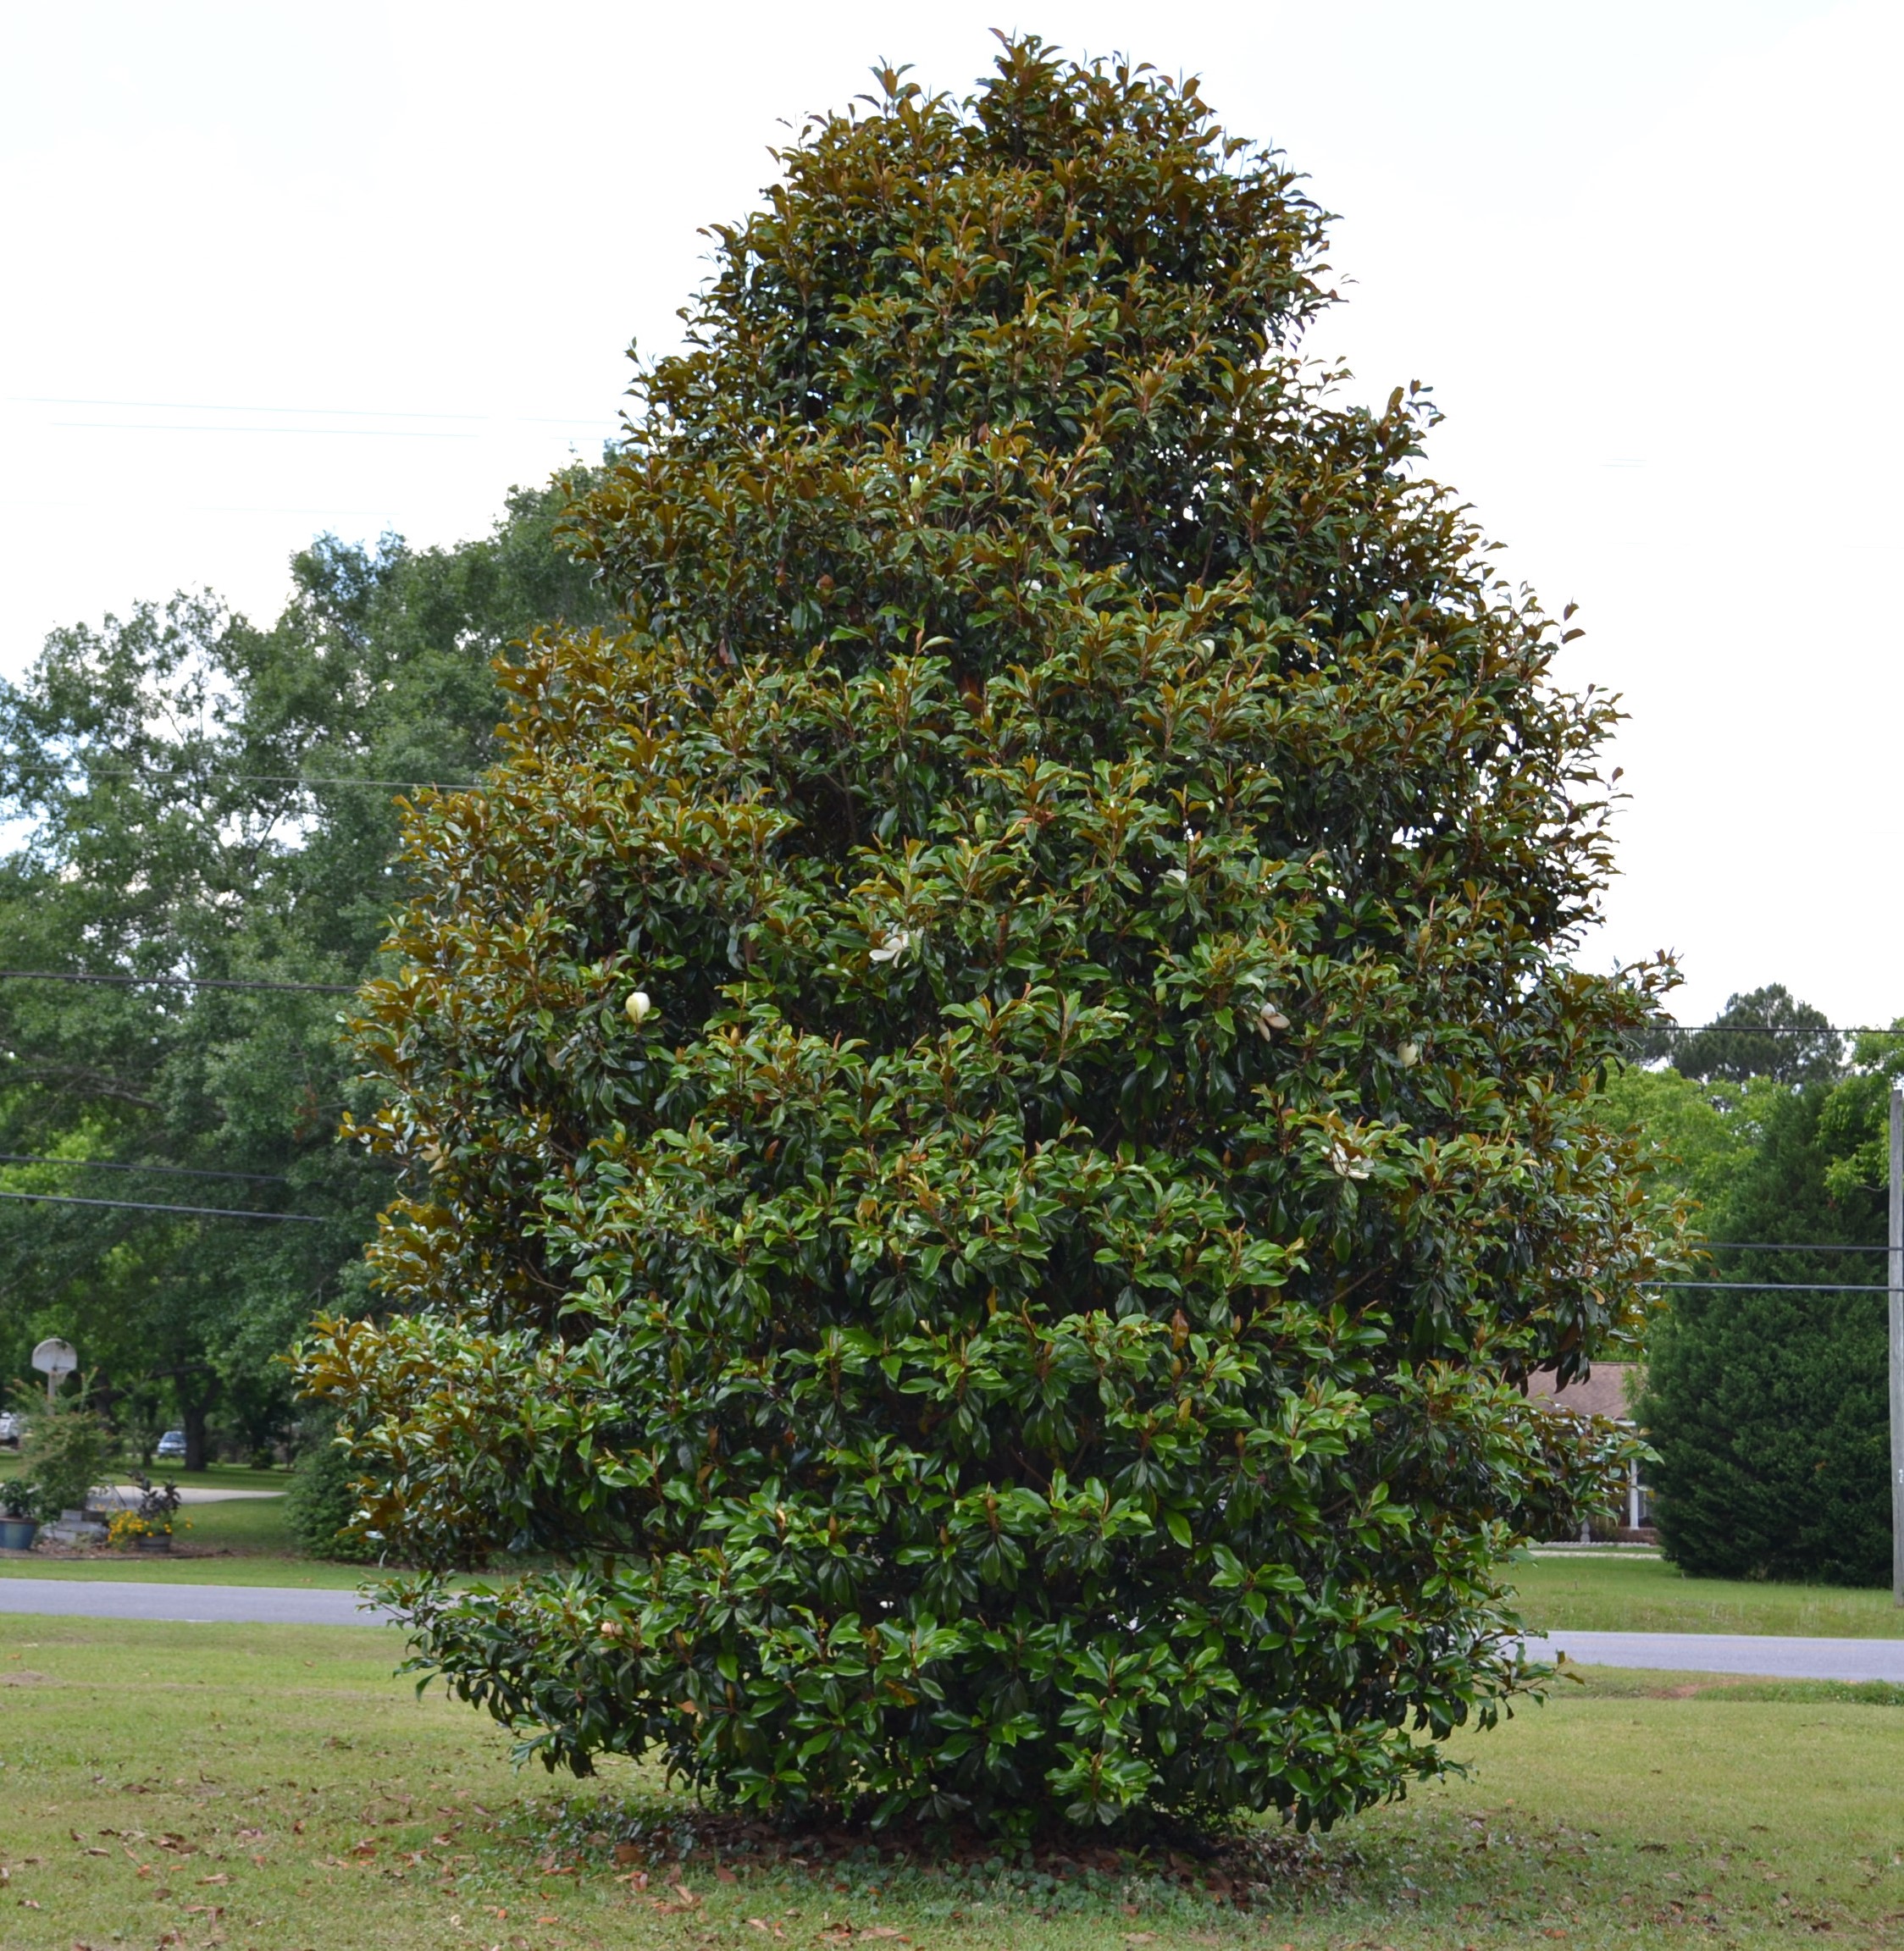
Bracken’s Brown Beauty as an accent tree in a lawn area. Photo Credit: Beth Bolles, University of Florida/IFAS Extension – Escambia County
Southern Magnolia (Magnolia grandiflora)
It’s hard to beat a majestic southern magnolia in the landscape. Why not utilize it as a screen tree? Now, not all southern magnolias are made equal. There are a few cultivars that do well as screens as well as on their own. ‘Bracken’s Brown Beauty’, ‘Claudia Wannamaker’, and ‘D.D. Blanchard’ are three that come to mind and are readily available in the trade. Southern magnolias can reach up to 80 feet tall and 20 to 40 feet wide depending on cultivar and growing conditions. Not only do these three cultivars have beautiful dark green, leathery leaves, their leaves also have brown undersides. These versatile trees can tolerate are variety of soil conditions and they are very wind resistant. And as another bonus, they have beautiful, fragrant flowers.
Middle-aged Juniperus virginiana ‘Burkii’: Burk Eastern Redcedar. Photo Credit: Ed Gilman, University of Florida/IFAS
Eastern redcedar (Juniperus virginiana)
If your looking for softer texture in your landscape, then you can’t go wrong with a cedar tree. Unbeknownst to its name, eastern redcedar can be found growing all over the United States. This evergreen conifer prefers well-drained sites in full sun. It can grow 30 to 40 feet in height by 10 to 20 feet wide. Eastern redcedars have good salt tolerance. These trees produce beautiful, blue-green foliage. One key to growing this tree successfully is to give it space. Plant trees 12 to 24 feet apart. If using as a screen, you may consider staggering this tree to give it the space it needs.
There are lots of good options when selecting trees for a screen. It’s important you select plants that fit the site. The University of Florida has an excellent plant selection tool found at the Florida Trees for Urban and Suburban Sites webpage.
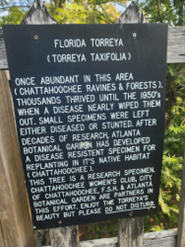
In a tranquil forest area beside a pond, within the confines of the Florida State Hospital in Chattahoochee, stand two rare Florida Torreya trees, safely enclosed within a fenced perimeter and safeguarded by securely locked gates. As one approaches, a prominently posted sign on the fence conveys a message. “Once abundant in this area (Chattahoochee Ravines and Forests) thousands thrived until the 1950s when a disease nearly wiped them out. Small specimens were left either diseased or stunted. After decades of research, Atlanta Botanical Garden has developed a disease resistant specimen for replanting in its native habitat (Chattahoochee). This tree is a research specimen Chattahoochee, F.S.H and Atlanta Botanical Garden are partners in this effort. Enjoy the Torreya’s beauty but please DO NOT DISTURB.”
As we toured the site where the trees are planted, it was evident that members of the Chattahoochee Women’s Club worked diligently and patiently tending to these two rare trees, sparking my desire to further explore this rare beauty. In the Apalachicola drainage area of Gadsden and Liberty counties, along with southern Decatur County in Georgia, you can encounter Florida Torreya trees, which are also known as stinking cedar or gopher wood. Additionally, a group of these trees can be observed west of the Apalachicola River in Jackson County.
This evergreen tree has an upright, pyramid-like shape and features slender branches that gracefully arch downward and has unique needle-like glossy, dark green leaves. These trees can reach heights of up to 40 feet, with a canopy that spreads about 20 feet, and they are known for their notably slow growth rate.
The torreya tree, often regarded as one of the rarest conifers in North America, has witnessed a persistent decline spanning several decades, dating back to the late 1930s where the initial decline was noticeable, until the 1960s where no adult tree could be found. This decline can be attributed to various factors, including diseases, alterations in ecosystems, and other contributing factors. However, the primary cause has been identified as diseases caused by two fungal species of fusarium, specifically leading to leaf spots and stem cankers. Collaborative endeavors between various organizations, including government agencies, academic institutions, horticultural groups, and dedicated volunteers, continues to focus on conserving and safeguarding this endangered species. The future of the Florida Torreya hinges on understanding the disease-causing agent, Fusarium as well as the ongoing joint efforts of all stakeholders involved.
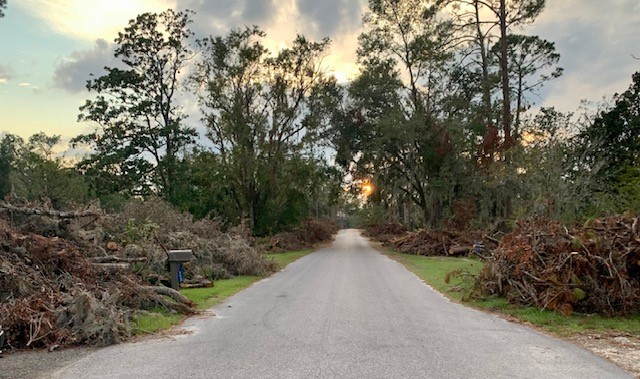
Recently, I spent some time with my uncle at his home in Perry, Florida. Perry specifically and Taylor County as a whole were one of the hardest-hit areas from Hurricane Idalia. My uncle said that most of the powerline poles had been replaced in his and surrounding neighborhoods as a result of this storm. Some were still being replaced when I was there. Every home in the area had large amounts of tree debris cut and piled up along the streets for pickup. Most every pile had the remains of large pine trunks intermingled in the debris.
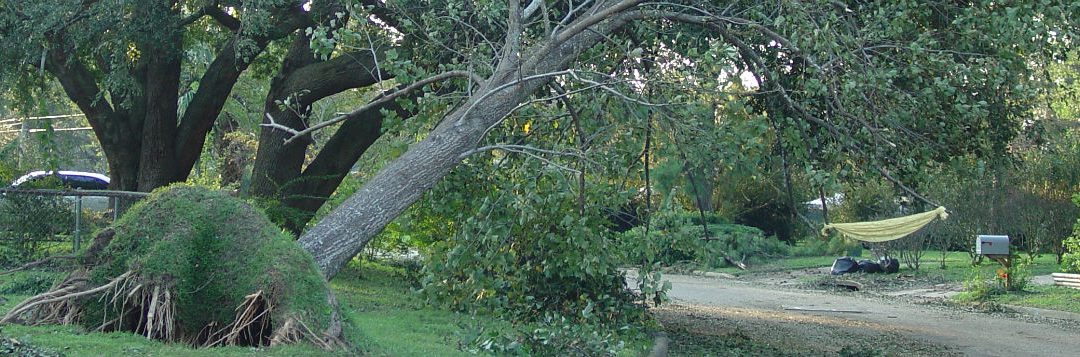
Tree debris along street following Hurricane Idalia in Perry, Credit Larry Williams
The only damage to my uncle’s home was from a neighbor’s large pine tree. The top of that tree was blown through the air and slammed into his roof, puncturing the roof and leaving a large hole through the bottom of the garage ceiling. In addition to the direct wind damage and resulting downed trees, with a storm such as Idalia, there will be much follow up removal and pruning of leaning, partly uprooted, and damaged trees.
Trees are an important part of our ecosystem, economy, landscape and heritage here in North Florida. As a matter of fact, Taylor County began a Pine Tree Festival in 1955 to help educate the public about the timber industry in that area. Now known as the Florida Forest Festival, the goal of the festival is to promote the benefits of our state’s forests as well as to celebrate people who protect and work in them. The 68th Annual Florida Forest Festival is scheduled to take place in Perry on October 28, 2023. Here is a link with more information on the festival: https://floridaforestfestival.org.
It is important to not wait until a storm event such as Idalia to inspect and manage trees on your property. An ounce of prevention is worth a pound of cure when preventing tree damage. Even without a major storm, we have relatively high winds associated with our frequent thunderstorms here in Florida. Compared to many parts of the United States, we live in a fairly high-risk area for storm damage with lots of large trees.
Professional help sometimes is your best option when dealing with trees. Property damage could be reduced by having a professional arborist evaluate unhealthy, injured or questionable trees to assess risk and treat problems.
Hiring a certified arborist can be a worthwhile investment. To find a certified arborist in your area, contact the International Society of Arboriculture at 888-472-8733 or at www.isa-arbor.com. In addition, here is a UF/IFAS Extension link with a wealth of information related to trees and hurricanes: https://hort.ifas.ufl.edu/treesandhurricanes.
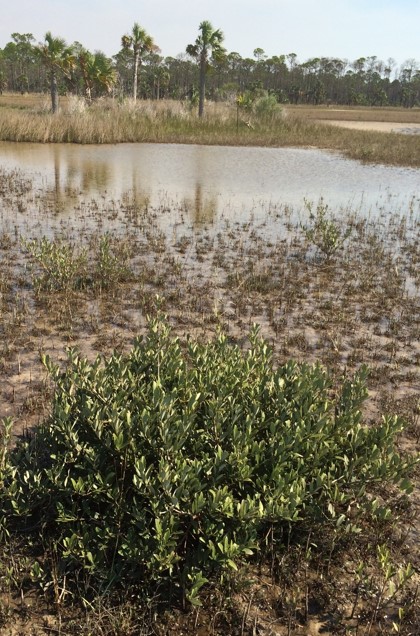
Today I’ll be spotlighting the mangrove. If you’ve been to the southern part of the State, you’ve most likely come in contact with this truly Florida native plant. They’re an essential part of the shoreline ecosystem in that region and as common as pine trees are to our area. The Florida Department of Environmental Protection estimates 600,000 acres of mangrove forests in the State’s coastal zone. If your investigative skills are sharp, you may now find pockets or singular mangrove plants in the Panhandle.
Mangroves are woody trees that live along tropical and subtropical shorelines in either marine or brackish tidal waters. Typically, mangrove distribution has been found between latitudes 25 degrees south to 25 degrees north. There are 80 species known worldwide with 3 species (red, black & white) historically calling south Florida home.
Black Mangrove in St. Joseph Bay. Credit: Ray Bodrey, UF/IFAS Extension Gulf County.
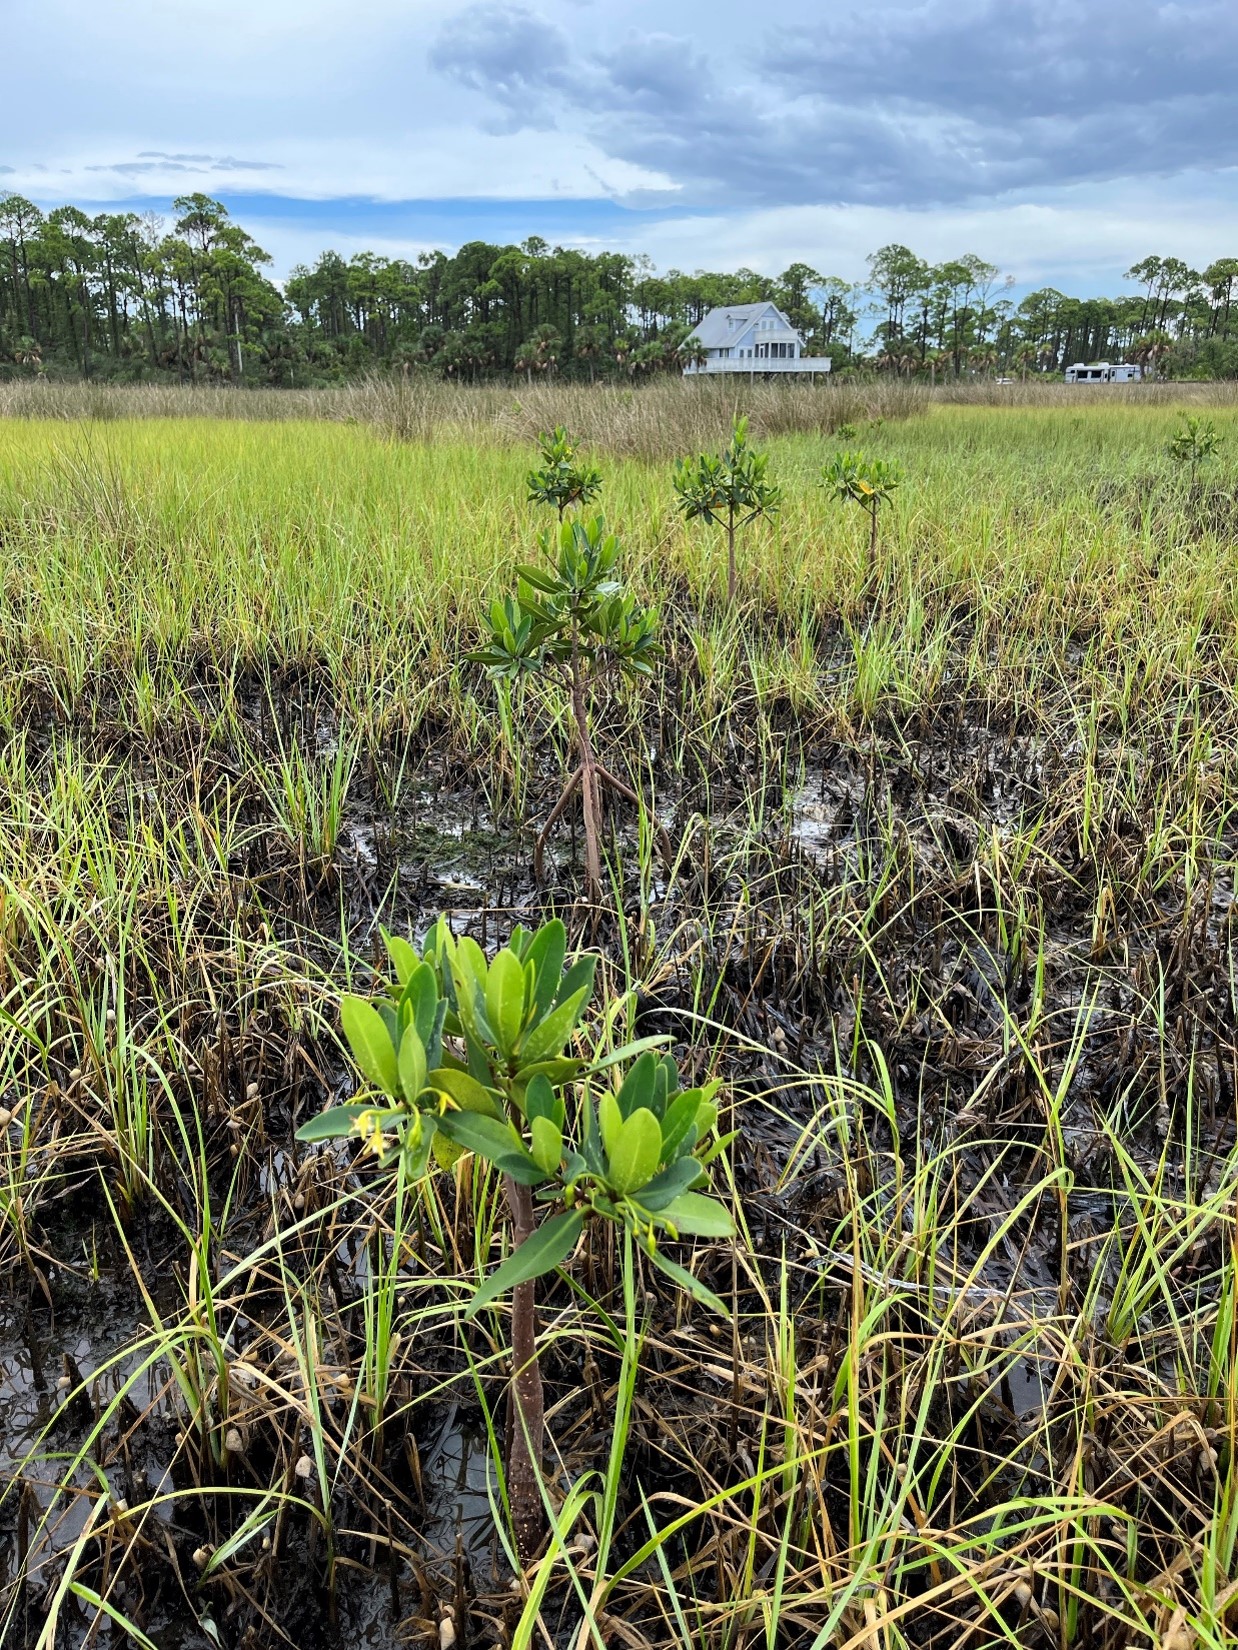
However, warmer ocean waters and more frequent and stronger tropical storm activity has helped the spread of mangrove seed or “propagules”. Mangroves have been slowly migrating northward in Florida, on both the Atlantic and Gulf sides. From the early 1990’s, researchers began to find mangroves in both Cedar Key and Cape Canaveral.
A multi-state partnership to assess mangrove expansion in the northern Gulf of America began in 2018. Sea Grant Agents from the Panhandle of Florida to Louisiana collaborated to conduct field surveys in chosen coastal wetland and estuary zones. More than 500 plants were recorded over a 3-year period with 188 plants found in Florida. The study also confirmed the abundance of black mangrove species due to their ability to withstand light freezing temperatures over red and white mangroves.
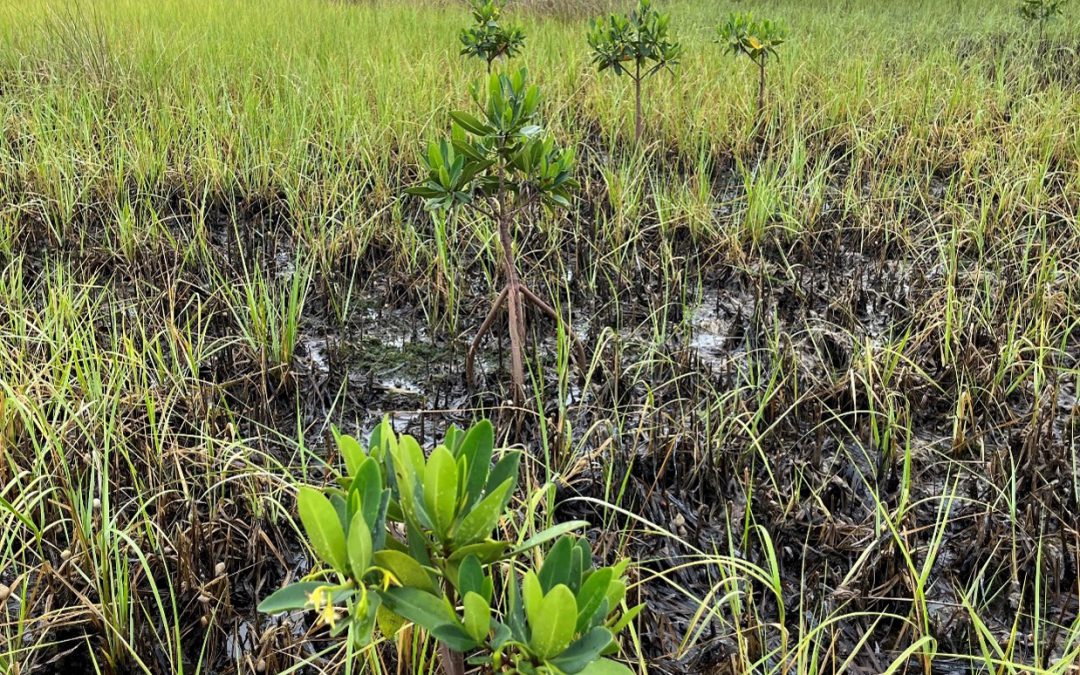
Red Mangrove Seedling in St. Joseph Bay. Credit: Ray Bodrey, UF/IFAS Extension Gulf County.
As for their impact on our Panhandle wetland ecosystems, one consistent theme found in the literature is that there are ecological trade-offs for consideration by coastal scientists and natural resource managers (Osland et al, 2022). The benefits of mangroves are broad. Mangroves have been shown to filter runoff, trap carbon in peat, act as a buffer against flooding, improve water quality, and to provide an amazing habitat and food web for invertebrates, fish, terrapins and many bird species. Mangrove range expansion may also affect wetland stability in the face of extreme climatic events and rising sea levels and be used as a shoreline stabilization technique, as taught in the Florida Master Naturalist Program: https://masternaturalist.ifas.ufl.edu/. Mangroves are also a pollinator plant and a favorite of honeybees. Mangrove honey has become a sought-after delicacy for many and a niche crop for south Florida beekeepers. But what about the negatives? Some of the environmental concerns are increased nuisance insects, altered food webs, freeze vulnerability and the economic factor of reduced accesses to fishing areas (Osland et al, 2022).
With mangrove expansion being a relatively new topic, researchers, naturalists and plant enthusiasts alike, will be following the movement with great enthusiasm.
For more information about mangroves, contact your local county extension office.
Reference:
Osland, M. J., Hughes, A. R., Armitage,R., Scyphers, S. B., Cebrian, J., Swinea, S. H., Shepard, C. C., Allen, M. S., Feher, L. C., Nelson, J. A., O’Brien, C. L., Sanspree, R., Smee, D. L., Snyder, C. M., Stetter, A. P., Stevens, P. W., Swanson, K. M., Williams, L. H., Brush, J. M., … Bardou, R. (2022). The impacts of mangrove range expansion on wetland ecosystem services in the southeastern United States: Current understanding, knowledge gaps, and emerging research needs. Global Change Biology, 28, 3163–3187. https://doi.org/10.1111/gcb.16111
If there is anything that is more refreshing than the cool shade of a tree on a hot August afternoon, I cannot quite think of it. Here on the Gulf Coast, the thought of the heat in the “Dog Days of Summer” conjures up images of the dogs lying by their owners’ rocking chairs on the veranda – shaded of course by the majestic live oaks out front. If you ever observe older homes in our region, they usually have large established shade trees to shade the house most of the day. In the days before air conditioning, I imagine a world without shade would be intolerable, nigh unlivable. If you have ever had to work on an asphalt parking lot or roof on a 100+ degree August day with no shade, you fully understand the term “heat island”. The steam rising off the same parking lot later after a passing shower or thunderstorm reinforces how hot that surface is.
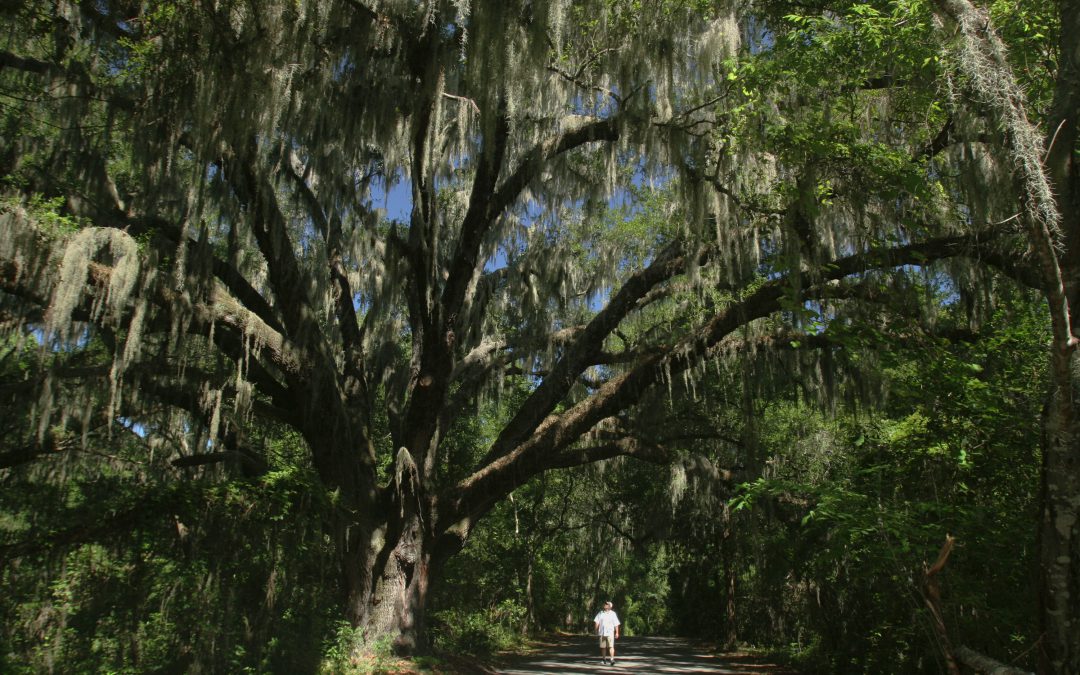
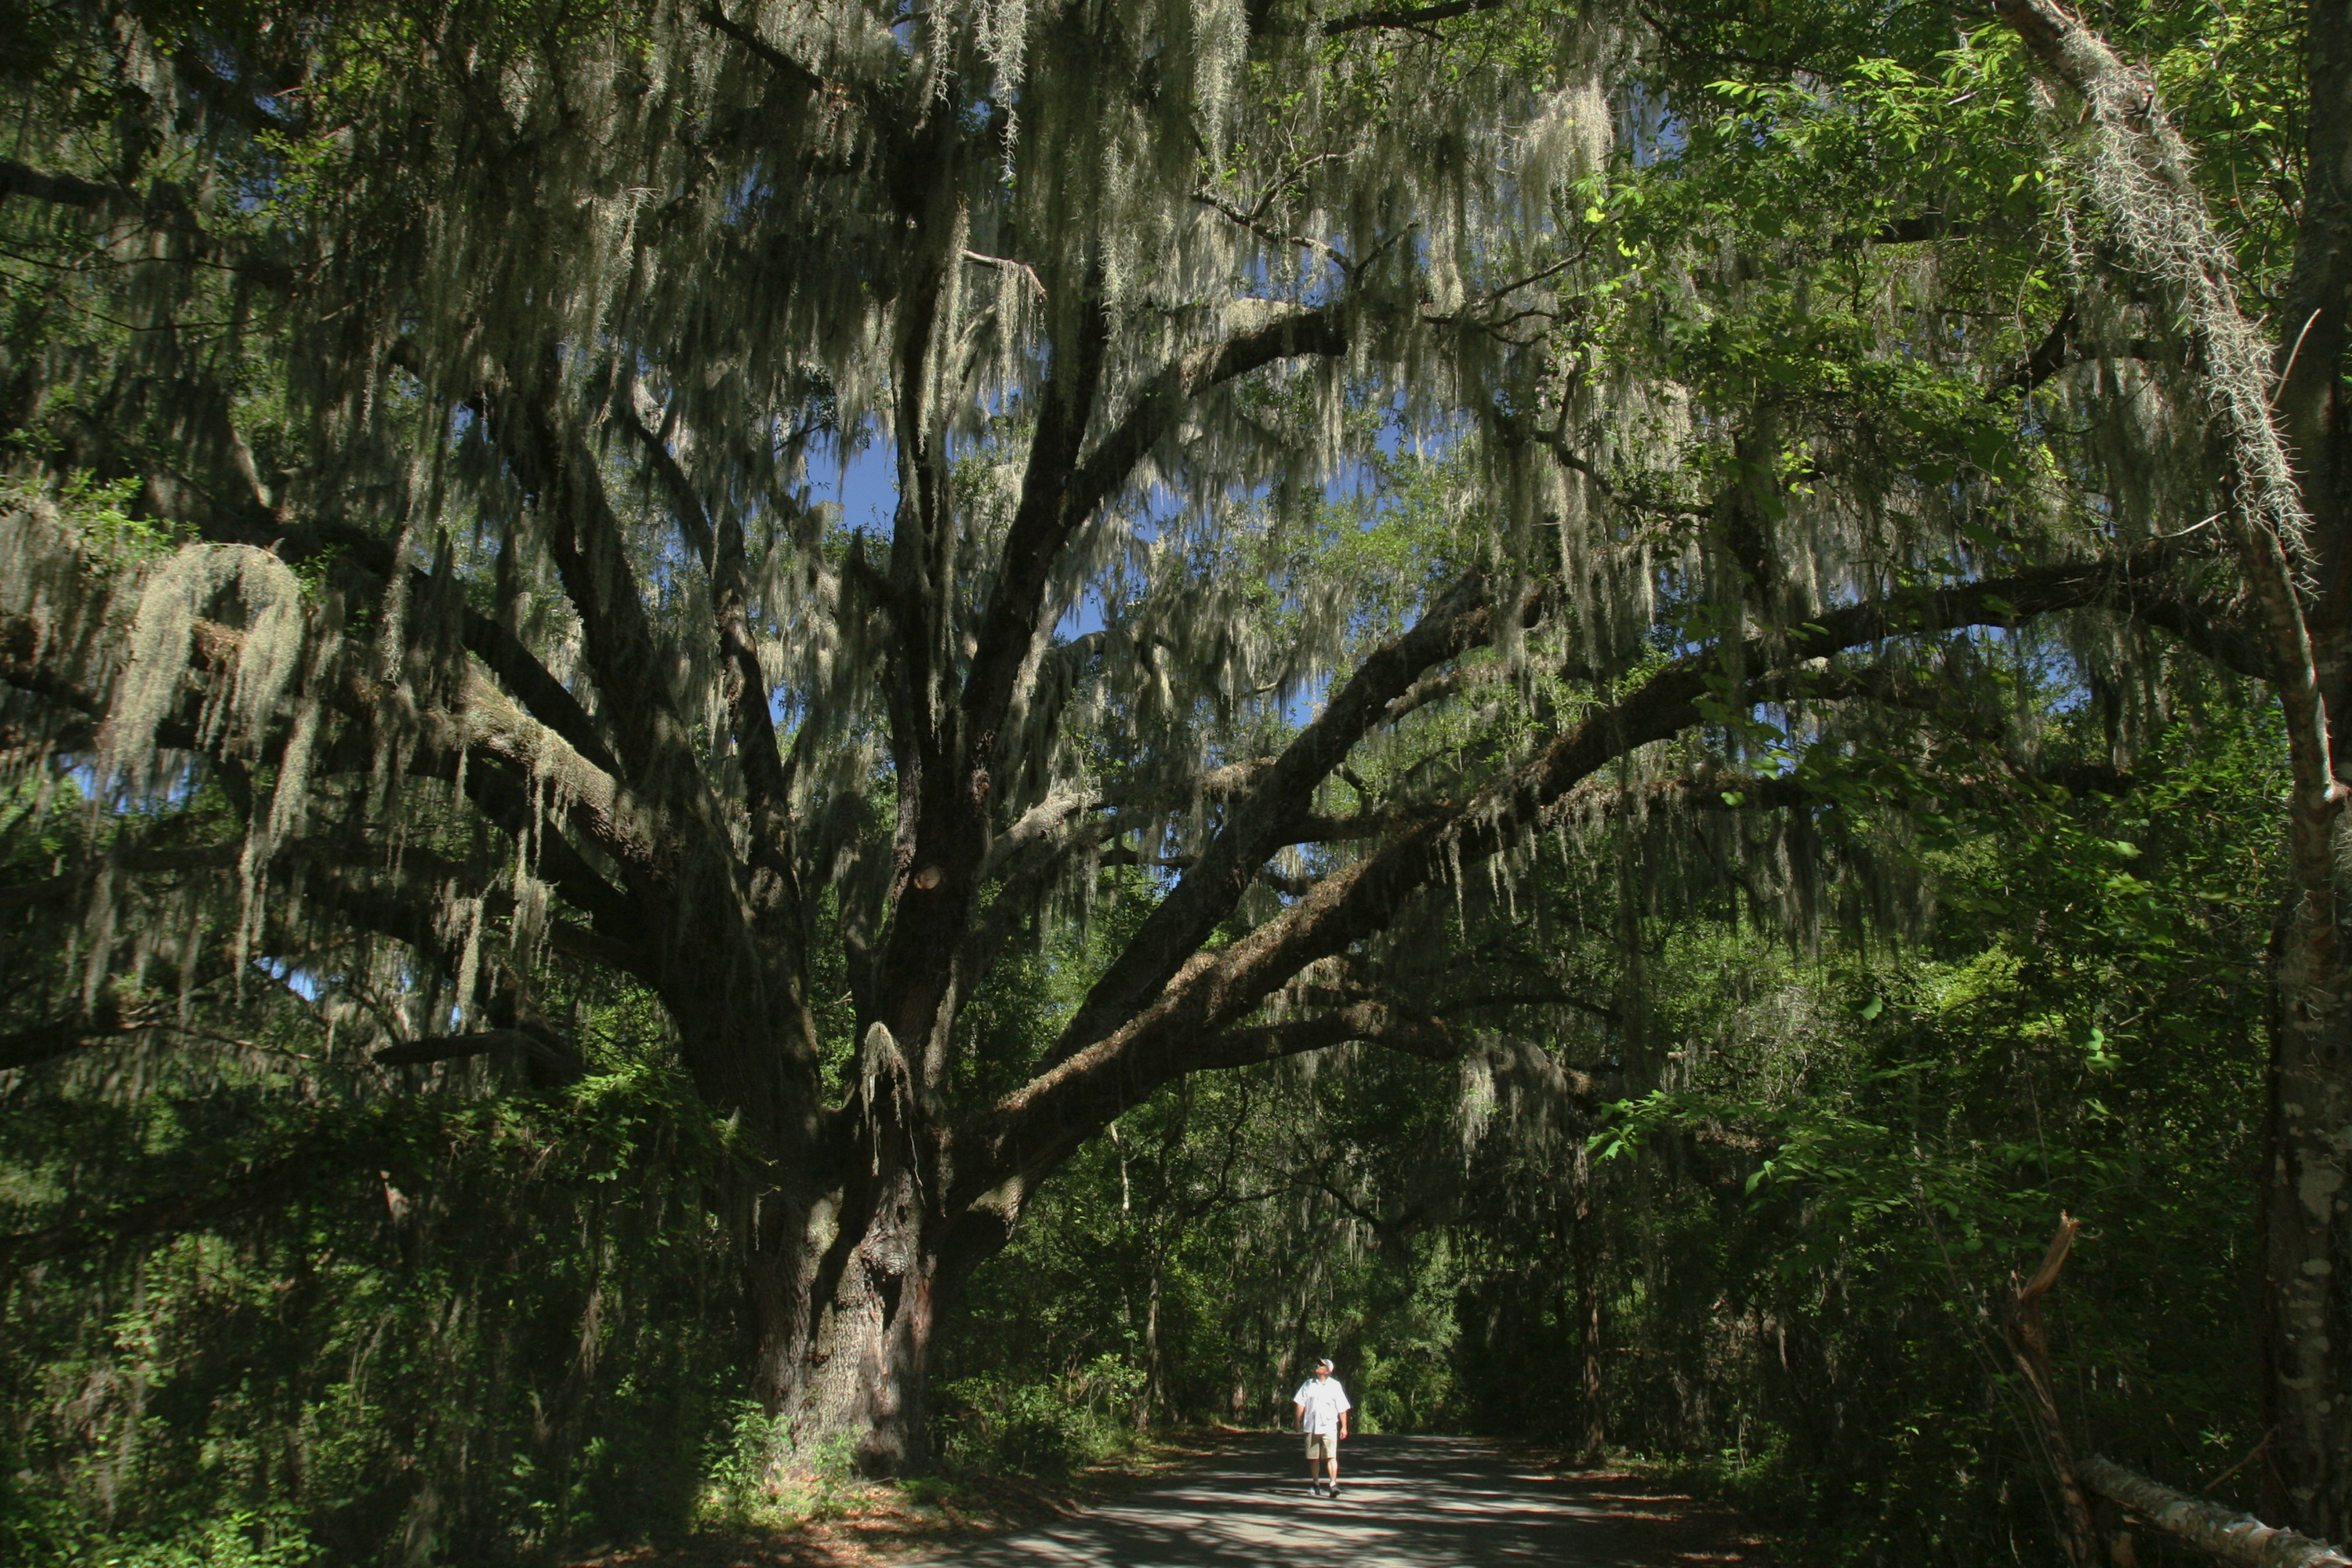
Man walking a trail in Oak Hammock. UF/IFAS Photo: Thomas Wright.
These past few weeks the oppressive heat has made anything outside unbearable, especially in the heat of the afternoon. You can quickly understand why old farmers in our area worked from sunup to about 10 a.m. or so, then did lighter work in shaded areas or inside. They would go back out and work hard in the cool of the evening too, but you seldom saw anyone out in the open fields during the mid-day heat if it were avoidable. A shade tree in the pasture or up at the house was a welcomed oasis and favorite lunch spot. Going back in the air conditioning just caused you to have more trouble acclimating to the heat and could even cause medical problems if you we very hot and suddenly went into very cool air conditioning. I remember these summer patterns well growing up on the Gulf Coast, and still follow them when doing forestry field work. Being under a closed forest canopy was like being in air conditioning compared to the open sun of a logging deck or pasture. The shade of a tree or a forest canopy offered an amazing relief from the blazing August heat and humidity.
It is impossible to stress enough the importance of individual shade trees and tree cover to our urban areas. Imagine our towns and cities devoid of trees! Imagine Tallahassee without its canopy roads, themselves sort of an early cooling effort for travelers. Without these trees it would make these heat waves, as oppressive as they are already, downright scorching and close to unlivable. If you are doing any gardening or other outdoor activity during these hot days, it is highly likely you seek out a shady area to be in. As that shade moves with the sun through the day it is equally likely that you relocate and follow it as it moves. If you have a neighbor that has no tree cover and shade on their house, and you are on good and friendly terms, ask to compare power bills with them. Odds are their power bill is noticeably higher because they do not have the shade of trees. With all the important features our urban forest provides, we must realize that our trees and the urban forest they form are critical to our urban ecosystem we live in. Yes, I said urban ecosystem; we must remember that we are part of nature too and even though we have altered it to our needs, our urban environment is part of our ecosystem. Trees are the backbone of that here on the Gulf Coast and our cities show it. Gulf Coast cities generally have extensive tree cover, despite our disturbances from Hurricanes.
So, what do these shade trees and urban forests really do for us in terms of actual measurable data? We know from just walking under a tree on a 100+ degree day we can feel the difference but what does it equate to. A study published in the Journal of Forestry in 2018 found that an estimated 5.5 billion urban trees provided an estimated $5.4 billion in energy reduction alone (Nowak and Greenfield 2018). This same study found that Florida was the state with the highest annual urban forestry value with an estimated annual value of $1.9 billion. Those are some impressive numbers and help put the value of urban forests into some monetary terms, but this is just one study. Professionals studying urban forests and their benefits are constantly finding out more on just how valuable our urban tree cover is. A UF-IFAS EDIS publication in 2020 helped to further characterize our urban forests across the state. Urban areas in the Northern part of the state had the highest percentage of canopy cover, with our local Okaloosa-Fort Walton-Destin area being the highest at 74.4% (McLean et al. 2020). Our local Panhandle metropolitan areas all had high canopy cover in the 50% or higher range. That is good news for Panhandle urban areas as this tree cover helps improve quality of life in these areas.
The benefits provided by urban forest cover are not just confined to shade, cooling, and reduced energy use. We get other major benefits from our urban forest and tree cover. The same 2020 UF-IFAS study found that in Florida’s urban areas, trees remove 600,000 tons of air pollutants through their canopies, which results in $605 million in health care savings related to air pollution. Urban tree cover also prevents stormwater runoff into our waterbodies. The study found that Florida’s urban forest cover prevents 50 billion gallons of stormwater runoff, which results in a $451 million saving from avoided stormwater treatment. Those benefits would not be possible without our urban trees. Once you see the numbers, it is clear how our urban forest provides us with so many benefits we rarely see or consider.
When you walk under the shade of a tree or under a forest canopy on these scorching summer days you get an instant reminder of the benefit of that tree cover. The cool relief from the sun and heat is just one of the many benefits our trees and urban forests provide. Trees are one of our favorite parts of the landscape for many reasons and studies that quantify these benefits put in real term just how critical our urban forests are to us. Our tree cover helps clean our air and capture stormwater in our summer downpours. As our communities grow and expand, we need to be sure to preserve the trees we have and plant new ones as the need arises. By keeping our urban forest cover intact, we can enjoy the cool shade and all the other benefits our urban trees provide.
References and further reading:
Nowak, David J; Greenfield, Eric J. 2018. US Urban Forest Statistics, Values, and Projections. Journal of Forestry. 116(2): 164-177.
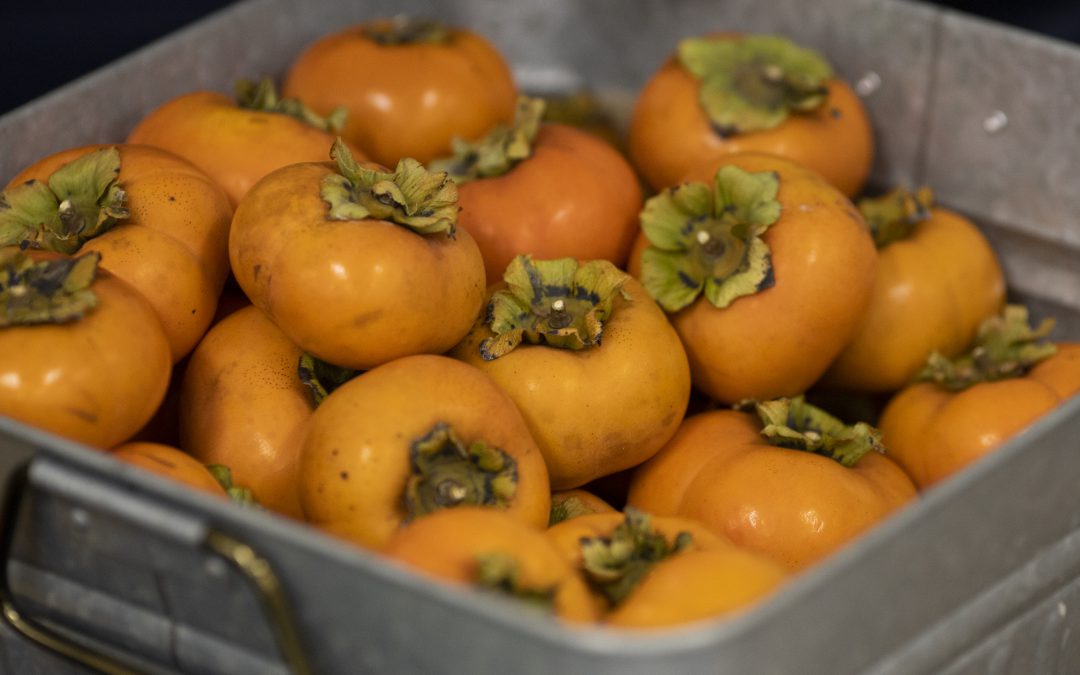
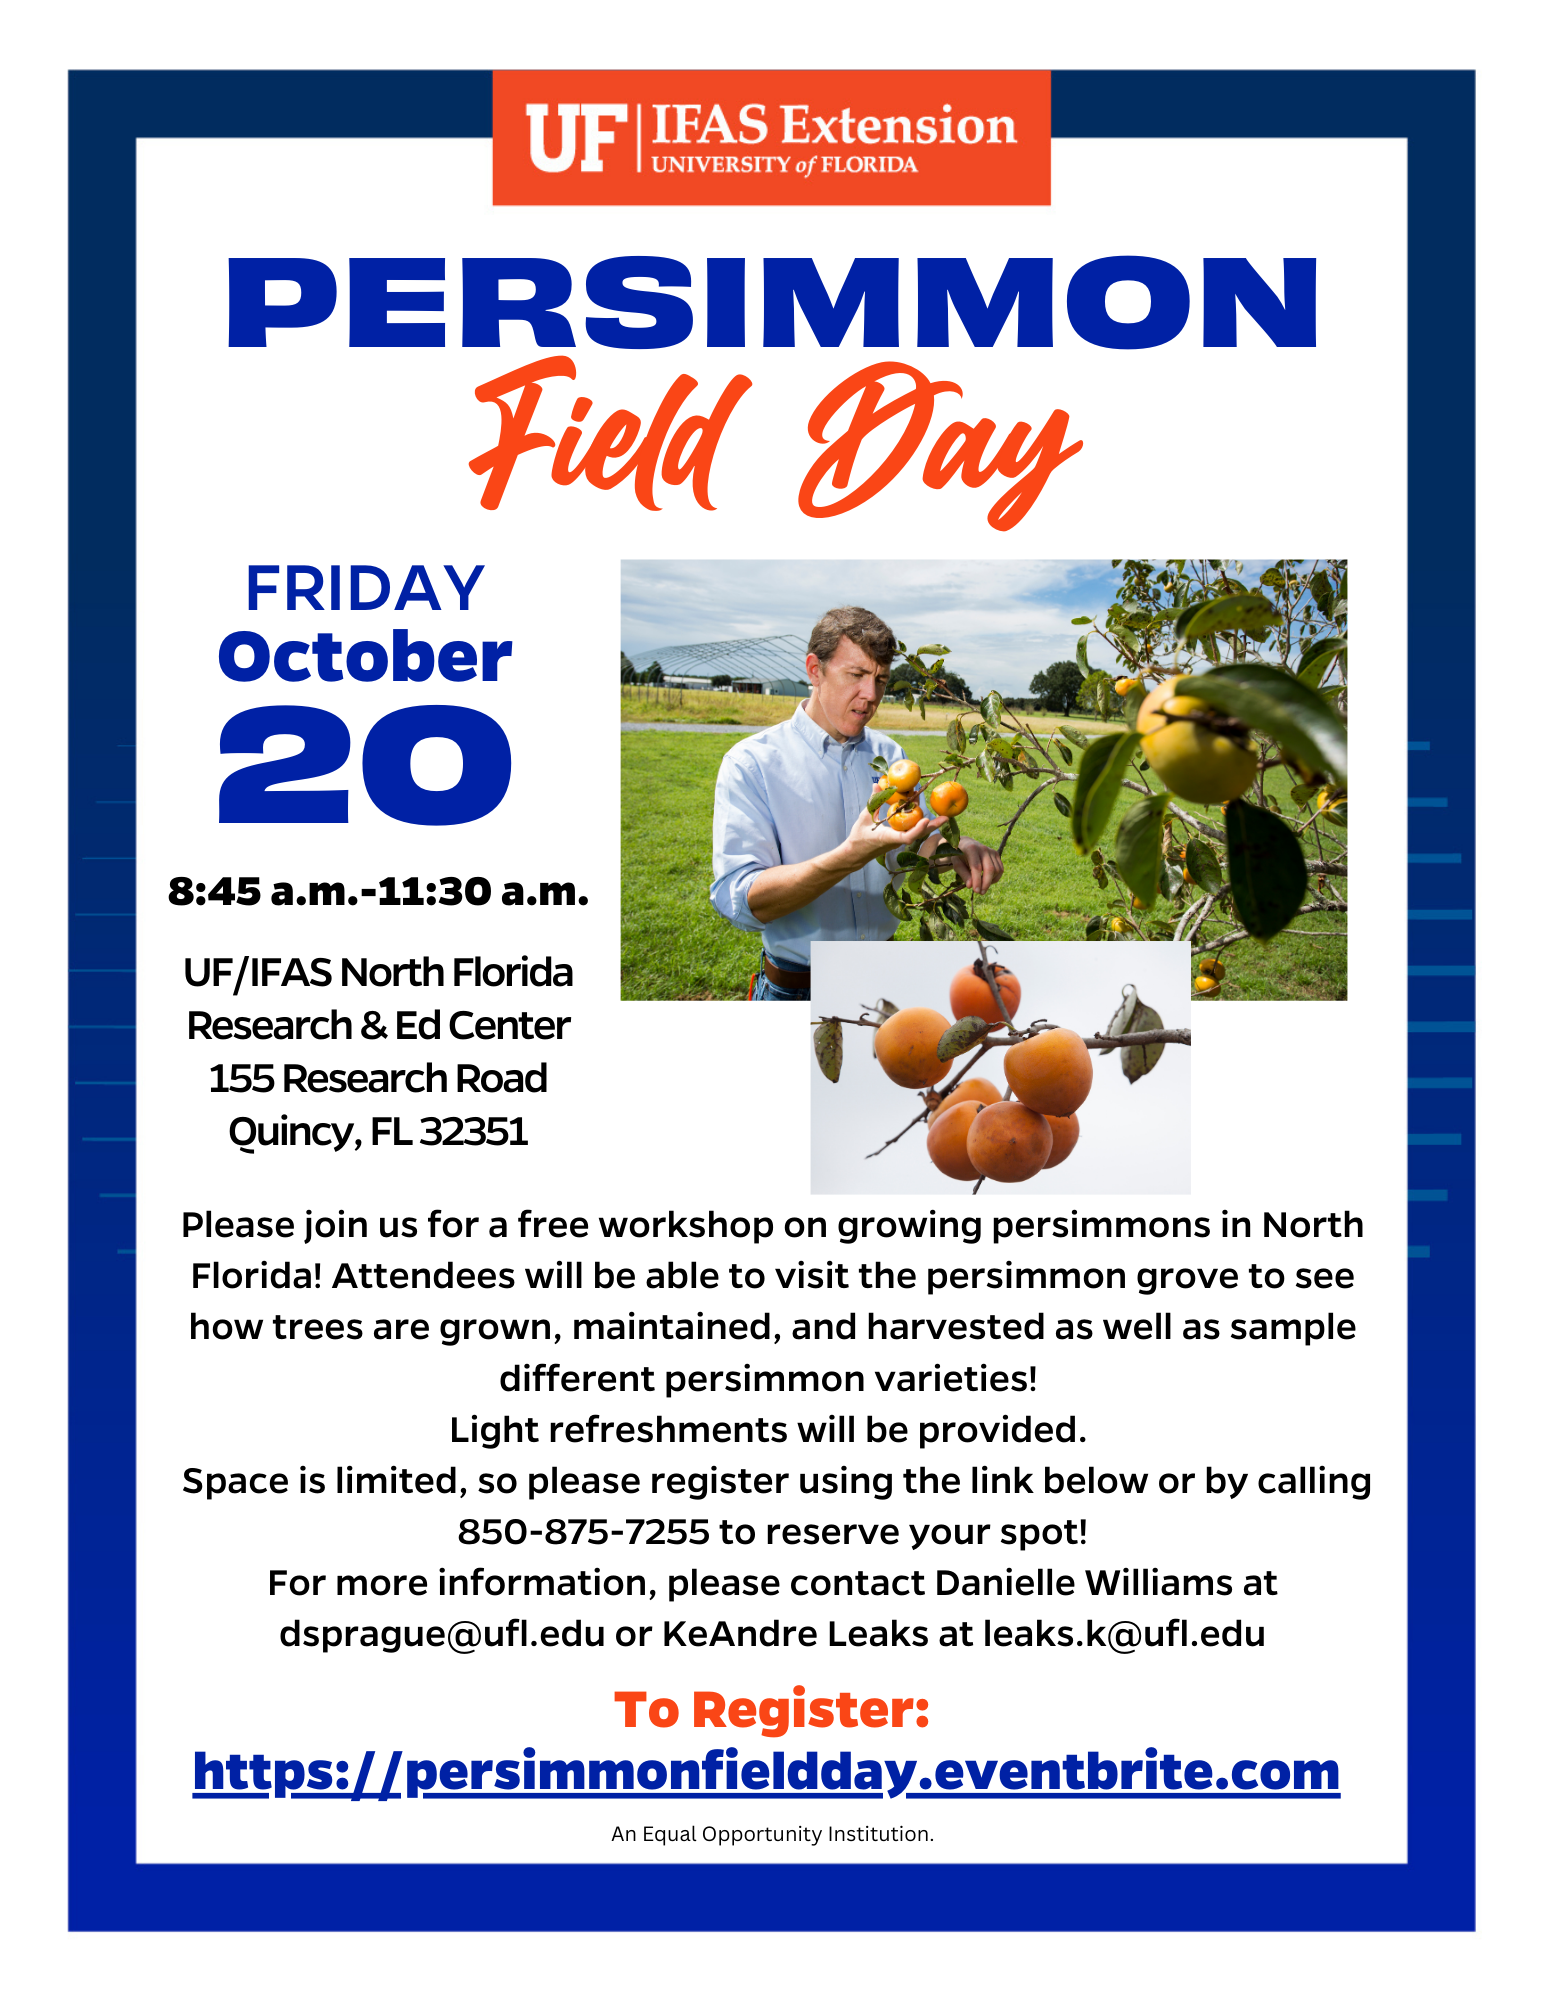
Please join us for the Persimmon Field Day on Friday, October 20th, from 8:30 – 11:30AM at the UF/IFAS North Florida Research & Education Center (NFREC), located at 155 Research Road, Quincy, FL.
This is a free field day on growing persimmons in North Florida! Attendees will be able to visit the persimmon grove to see how trees are grown, maintained, and harvested as well as sample the different persimmon varieties grown at the UF/IFAS North Florida Research & Education Center in Quincy. Light refreshments will be provided. Space is limited, so please register using the link below or by calling 850-875-7255 to reserve your spot!
Tentative Agenda:
(All Times Eastern Standard)
8:30-8:45 AM – Registration
8:45-9:00 AM – Welcome and Introduction, Dr. Muhammad Shahid, Fruit Physiologist, UF/IFAS North Florida Research and Education Center
9:00-9:05 AM – Opening Remarks, Dr. Dean Pringle, Center Director, UF/IFAS North Florida Research and Education Center
9:00-9:35 AM – Introduction to Persimmon Fruit, Dr. Muhammad Shahid, Fruit Physiologist, UF/IFAS North Florida Research and Education Center and Dr. Ali Sarkhosh, Associate Professor, UF/IFAS Horticultural Sciences
9:45-10:00 AM – Load Trolley and Travel to Persimmon Grove at UF/IFAS NFREC
10:00-11:00 AM – Persimmon Grove Walk and Talk (Persimmon Fruit Tasting and Open Discussion in the Field)
11:00-11:15 AM – Load Trolley and Travel Back to NFREC Conference Room
11:15 AM – Adjourn
For any questions, please contact Danielle Williams (dsprague@ufl.edu or 850-875-7255) or KeAndre Leaks at leaks.k@ufl.edu or 850-875-7150.
The University of Florida is committed to providing universal access to all of our events. For disability accommodations such as sign language interpreters and listening devices, please contact KeAndre Leaks, (leaks.k@ufl.edu, 850-875- 7150) at least 2 weeks in advance. Advance notice is necessary to arrange for some accessibility needs.