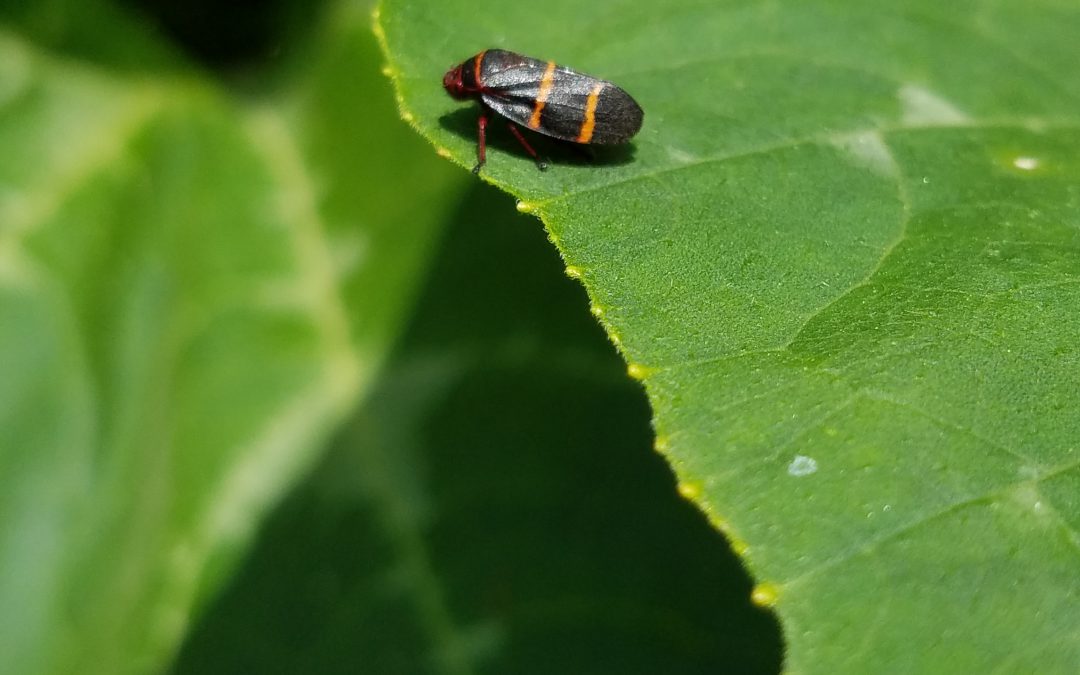
Two-Lined Spittlebug. Photo courtesy of Evan Anderson.
Problems with turfgrass come in all shapes and sizes. One that may affect your lawn is an insect that has two very distinct life stages. Named for the two distinct stripes on its back, the two-lined spittlebug looks like a plant or leafhopper during its adult life. When it is young, however, it is often camouflaged and not readily visible. The small green nymph hides in a mass of white froth or spittle that it secretes for protection.
The two-lined spittlebug is not a picky eater, though it cannot harm people or pets. It feeds on a variety of plants, piercing the stem or leaves with its mouthparts and sucking out the juices within. While it may not be picky, it does have favorites. Holly bushes are one food of choice for this pest and centipedegrass is another, so those growing this grass should keep an eye open. The protective spittle masses are usually close to the ground, so they may not be readily visible from above.
Centipedegrass displays feeding injury from spittlebugs in the form of purple or white striping along its leaf blades. If infestations are particularly heavy, the grass may turn yellow, then brown, and eventually curl up as the leaves die. Populations of the adults that cause most of this damage are typically largest in June, with another spike around August or September as the year’s second generation matures. Years with excess rainfall in spring and summer will see increased numbers of spittlebugs.
Spittlebug damage on Centipedegrass. Photo courtesy of Larry Williams, Okaloosa County Horticulture Agent.
If you are having a problem with these pests, make sure you are keeping your lawn as healthy as possible with good cultural practices. Proper watering, fertilization, and mowing to the appropriate height can all help to keep grass strong enough to withstand pests. Remove excess thatch, as it holds moisture and can favor the growth of spittlebugs.
Insecticides may be used to help with control as well. Options for Florida include pyrethroids such as bifenthrin, permethrin, and cyfluthrin. Products with the active ingredients imidacloprid and carbaryl are other options. Read the label of any product you choose. If you have questions or need help in identifying a pest problem in your lawn, contact your local Extension office.
During these unusual times, the Gardening in the Panhandle Team has been working to bring you quality remote content through this online newsletter. In that vein, we have developed some new educational programming for our loyal readers.
We are providing one hour “Gardening in the Panhandle LIVE!” sessions on Zoom. These will occur during lunch hour, from 12:00 to 1:00 CDT. They will also be hosted on the Gardening in the Panhandle Facebook page and recorded if you can’t participate live. So, whether you are at home or work, bring your lunch up to your desk (or smart device) and enjoy Gardening in the Panhandle Live!
Click on the topic below to pre-register and submit your questions one week in advance.
Archived videos with closed captioning are linked to topics about one week after event airs.
Nearly everyone dreams of having a perfectly lush, green turfgrass lawn in the backyard. Indeed, lawns provide many benefits to homeowners! A well-managed lawn is an excellent filter of chemical and nutrient runoff, builds soil through the breakdown of clippings, thatch and organisms that exist in turf systems, is aesthetically pleasing and increases property values, reduces ambient air temperatures and provides a durable surface for pets and play! However, none of these turf benefits can be realized if you don’t install and establish sod correctly.Remember these ten tips when planning, installing, and establishing sod to realize your perfect lawn dream!
Choose the Correct Species for Your Site. Not every site is equal. Is irrigation present, or will the turf be on its own? Are you willing and able to provide a higher level of care or will you sacrifice some aesthetic appeal for a lower maintenance turf? These and other questions need to be answered before you buy! Do some homework before settling on a particular grass species and cultivar; they all have merits and drawbacks.
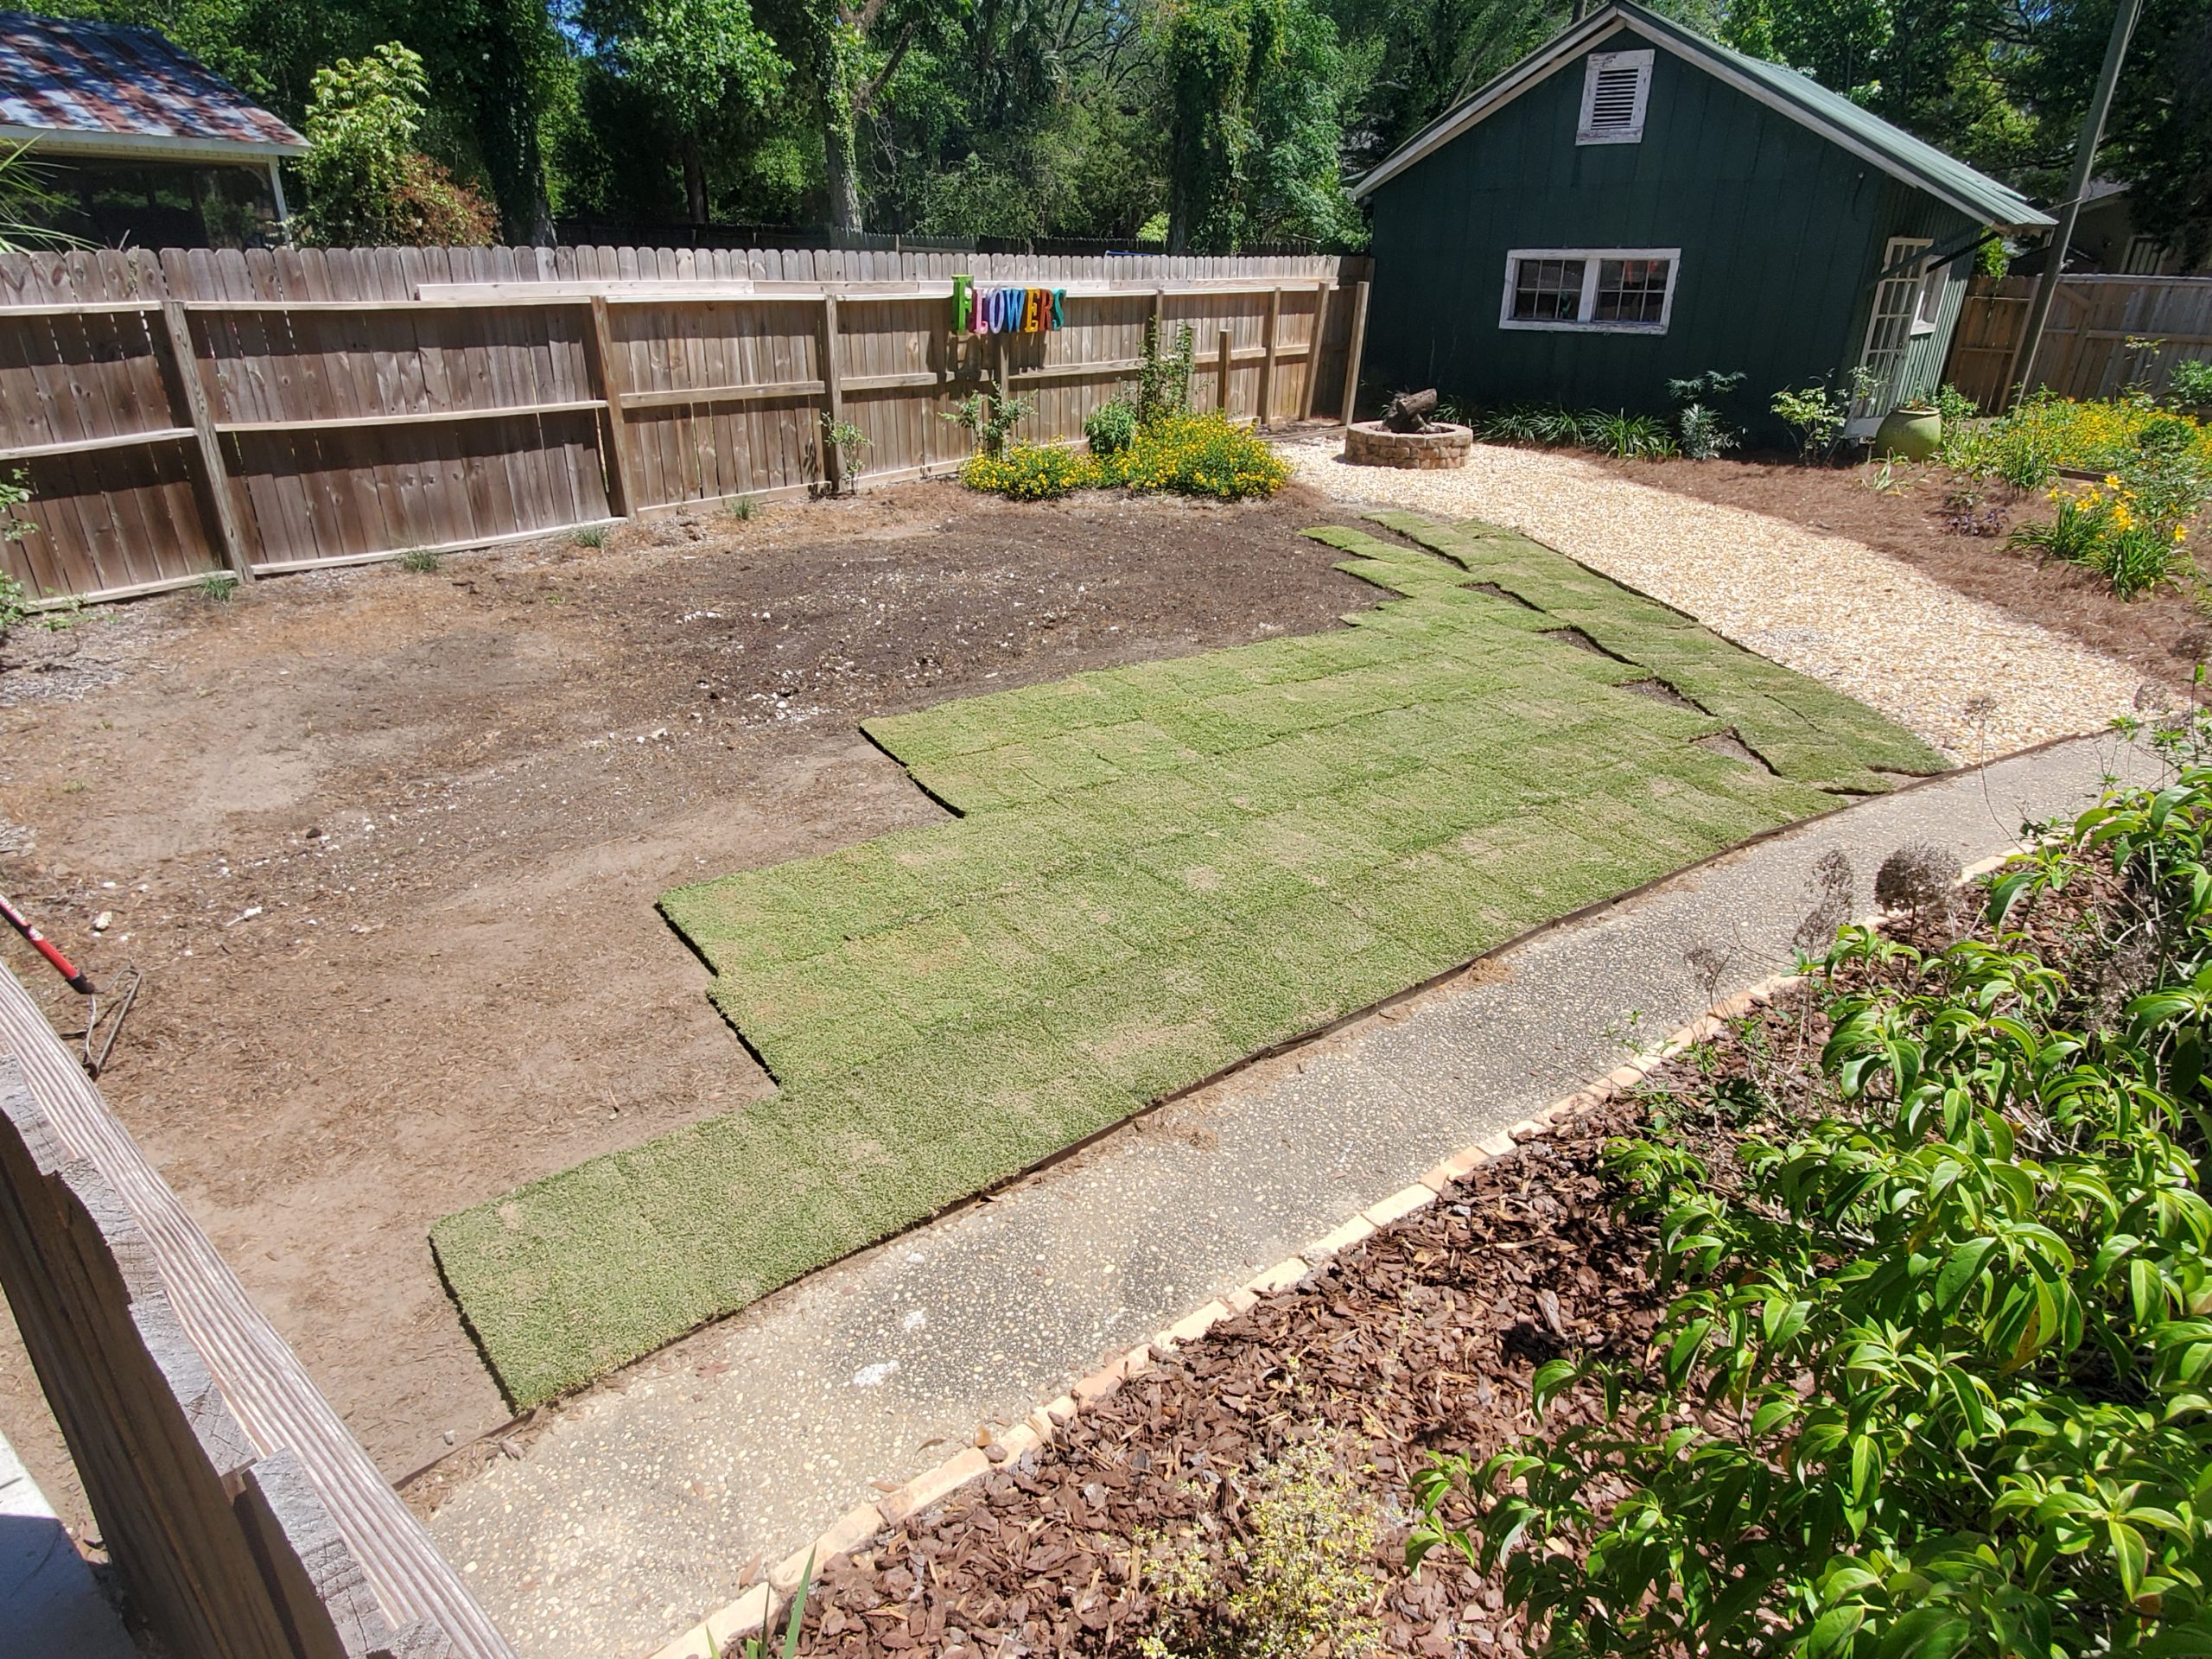
Prepare the Site. Ensure the area you’ll be installing your new sod is weed-free, not compacted, and smooth. Several weeks before installation, apply a non-selective herbicide to “clean” the site of weeds. After existing weeds die, it’s a good idea to till the area or at least “rough it up” with a heavy rake. This helps alleviate site soil compaction which allows easier root initiation from sod to soil. Finally, smooth the site to ensure good root to soil contact and prevent a bumpy surface later.
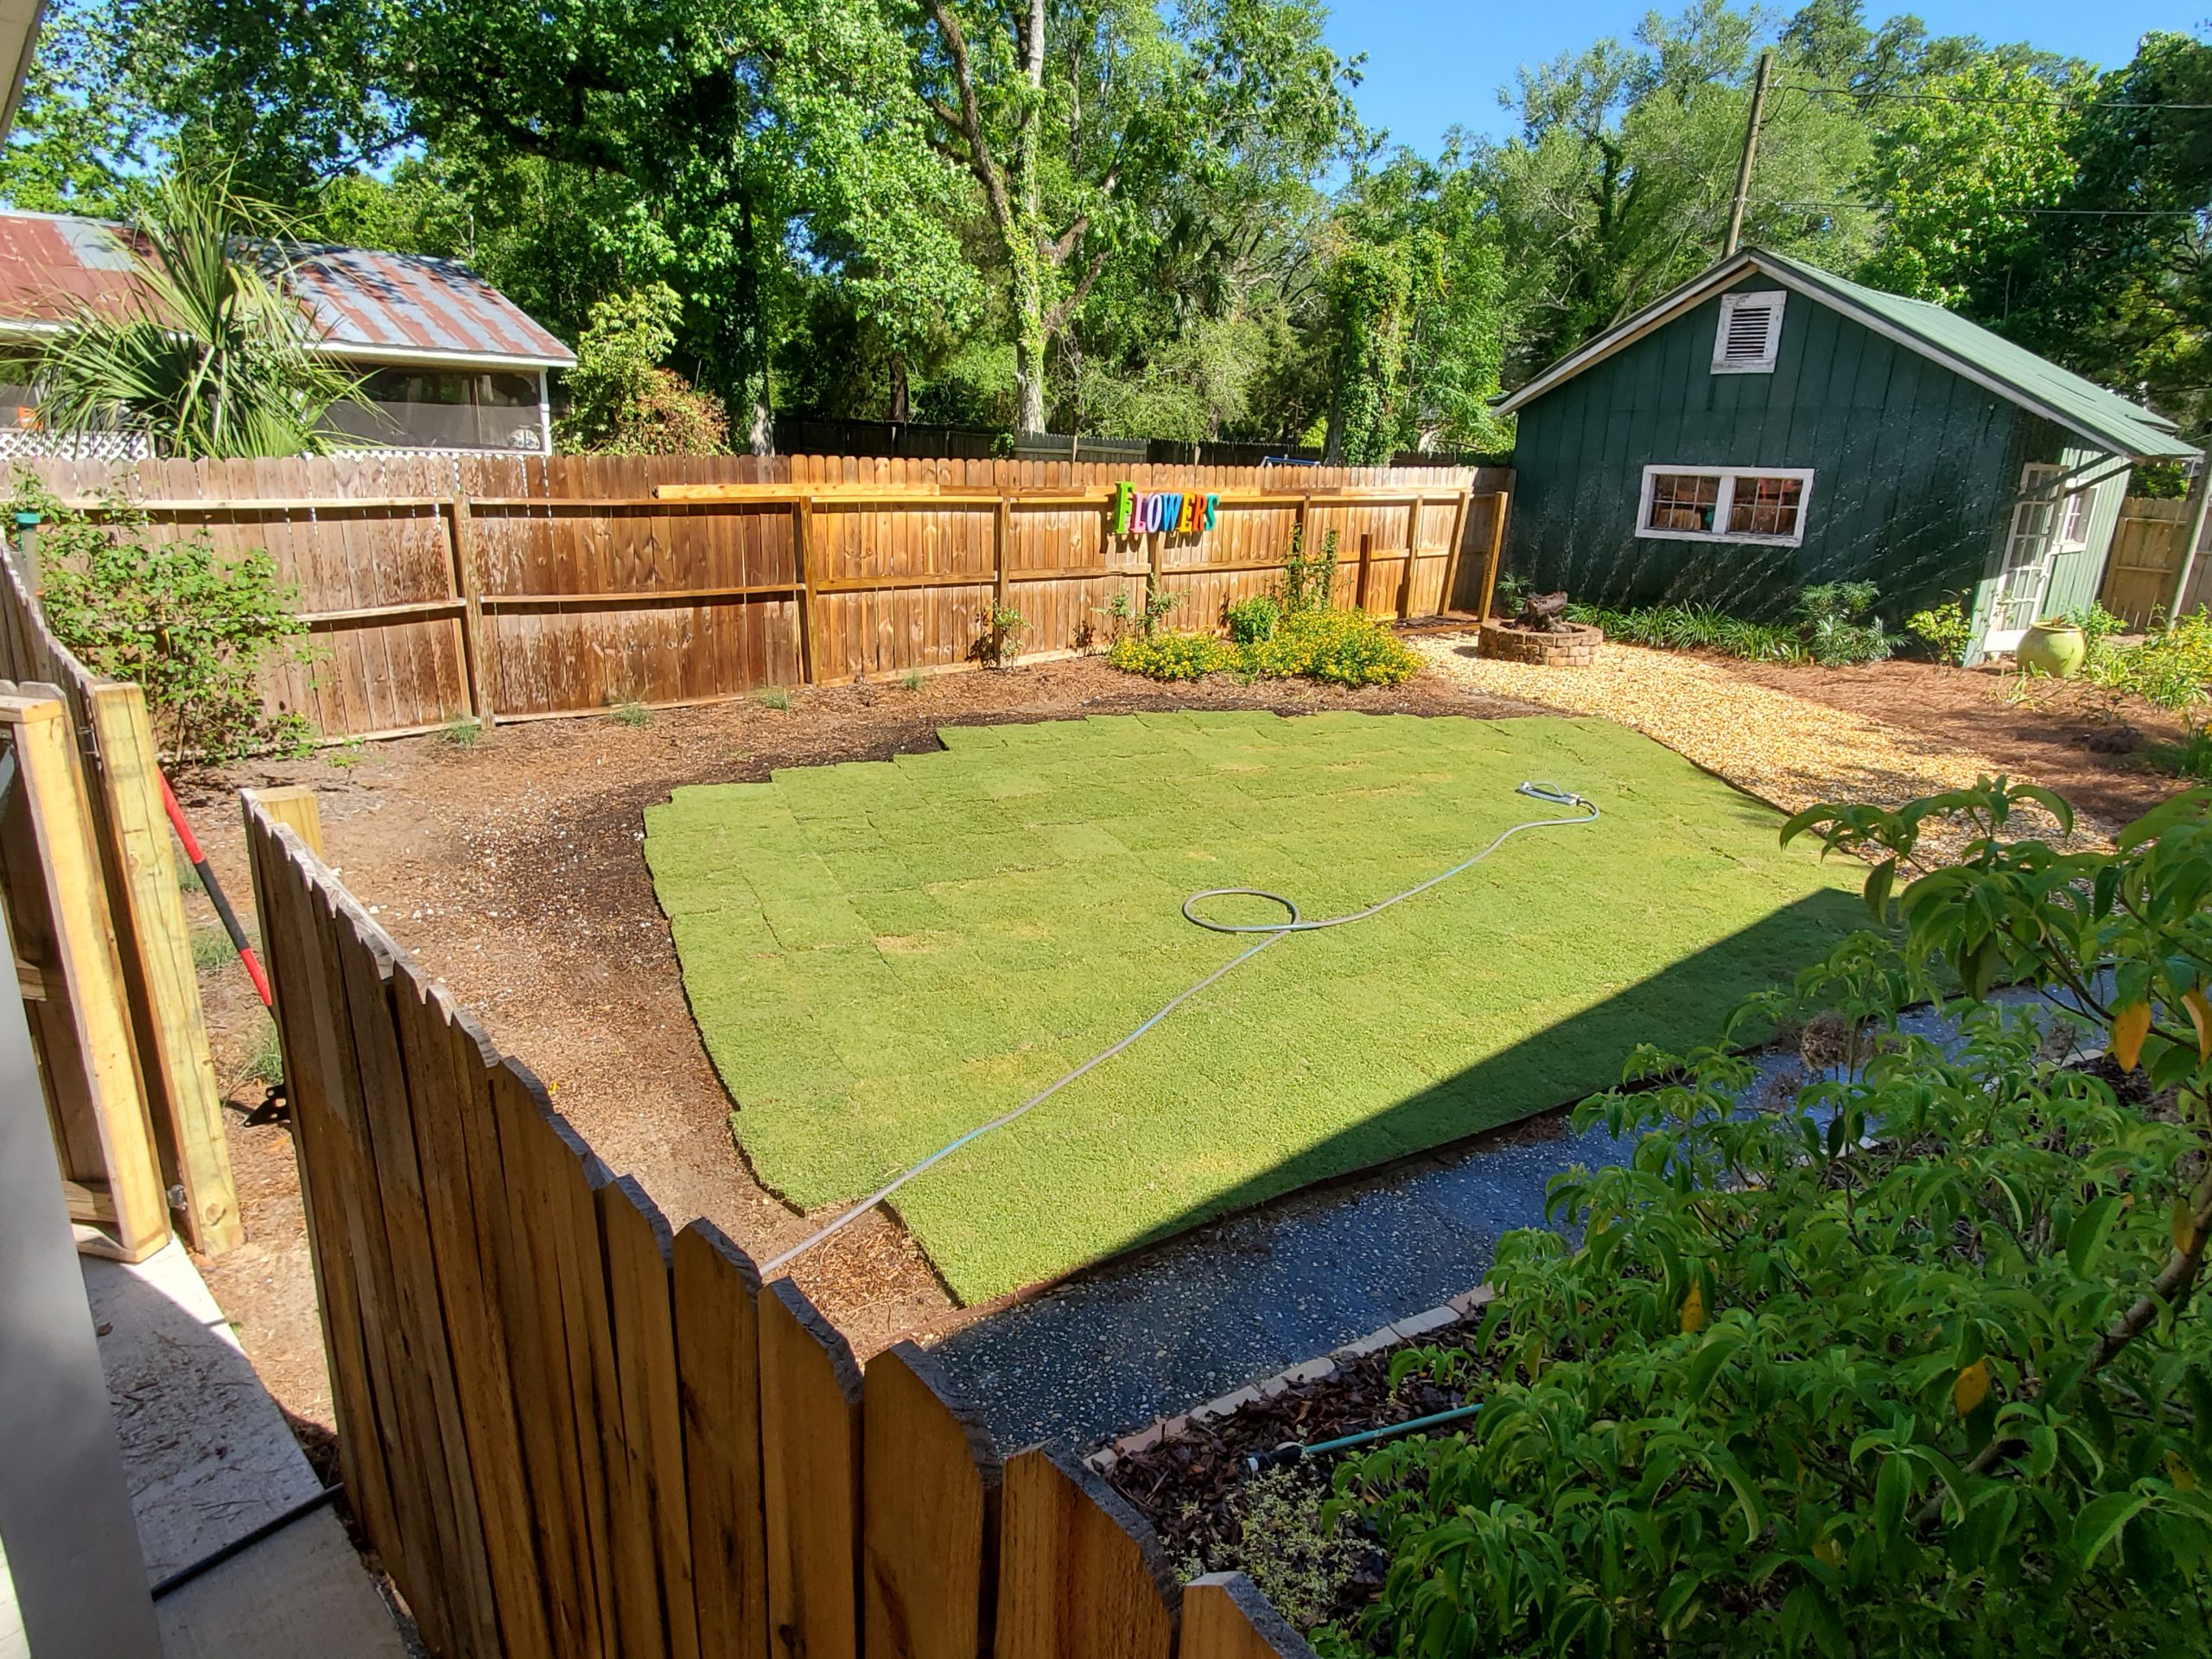
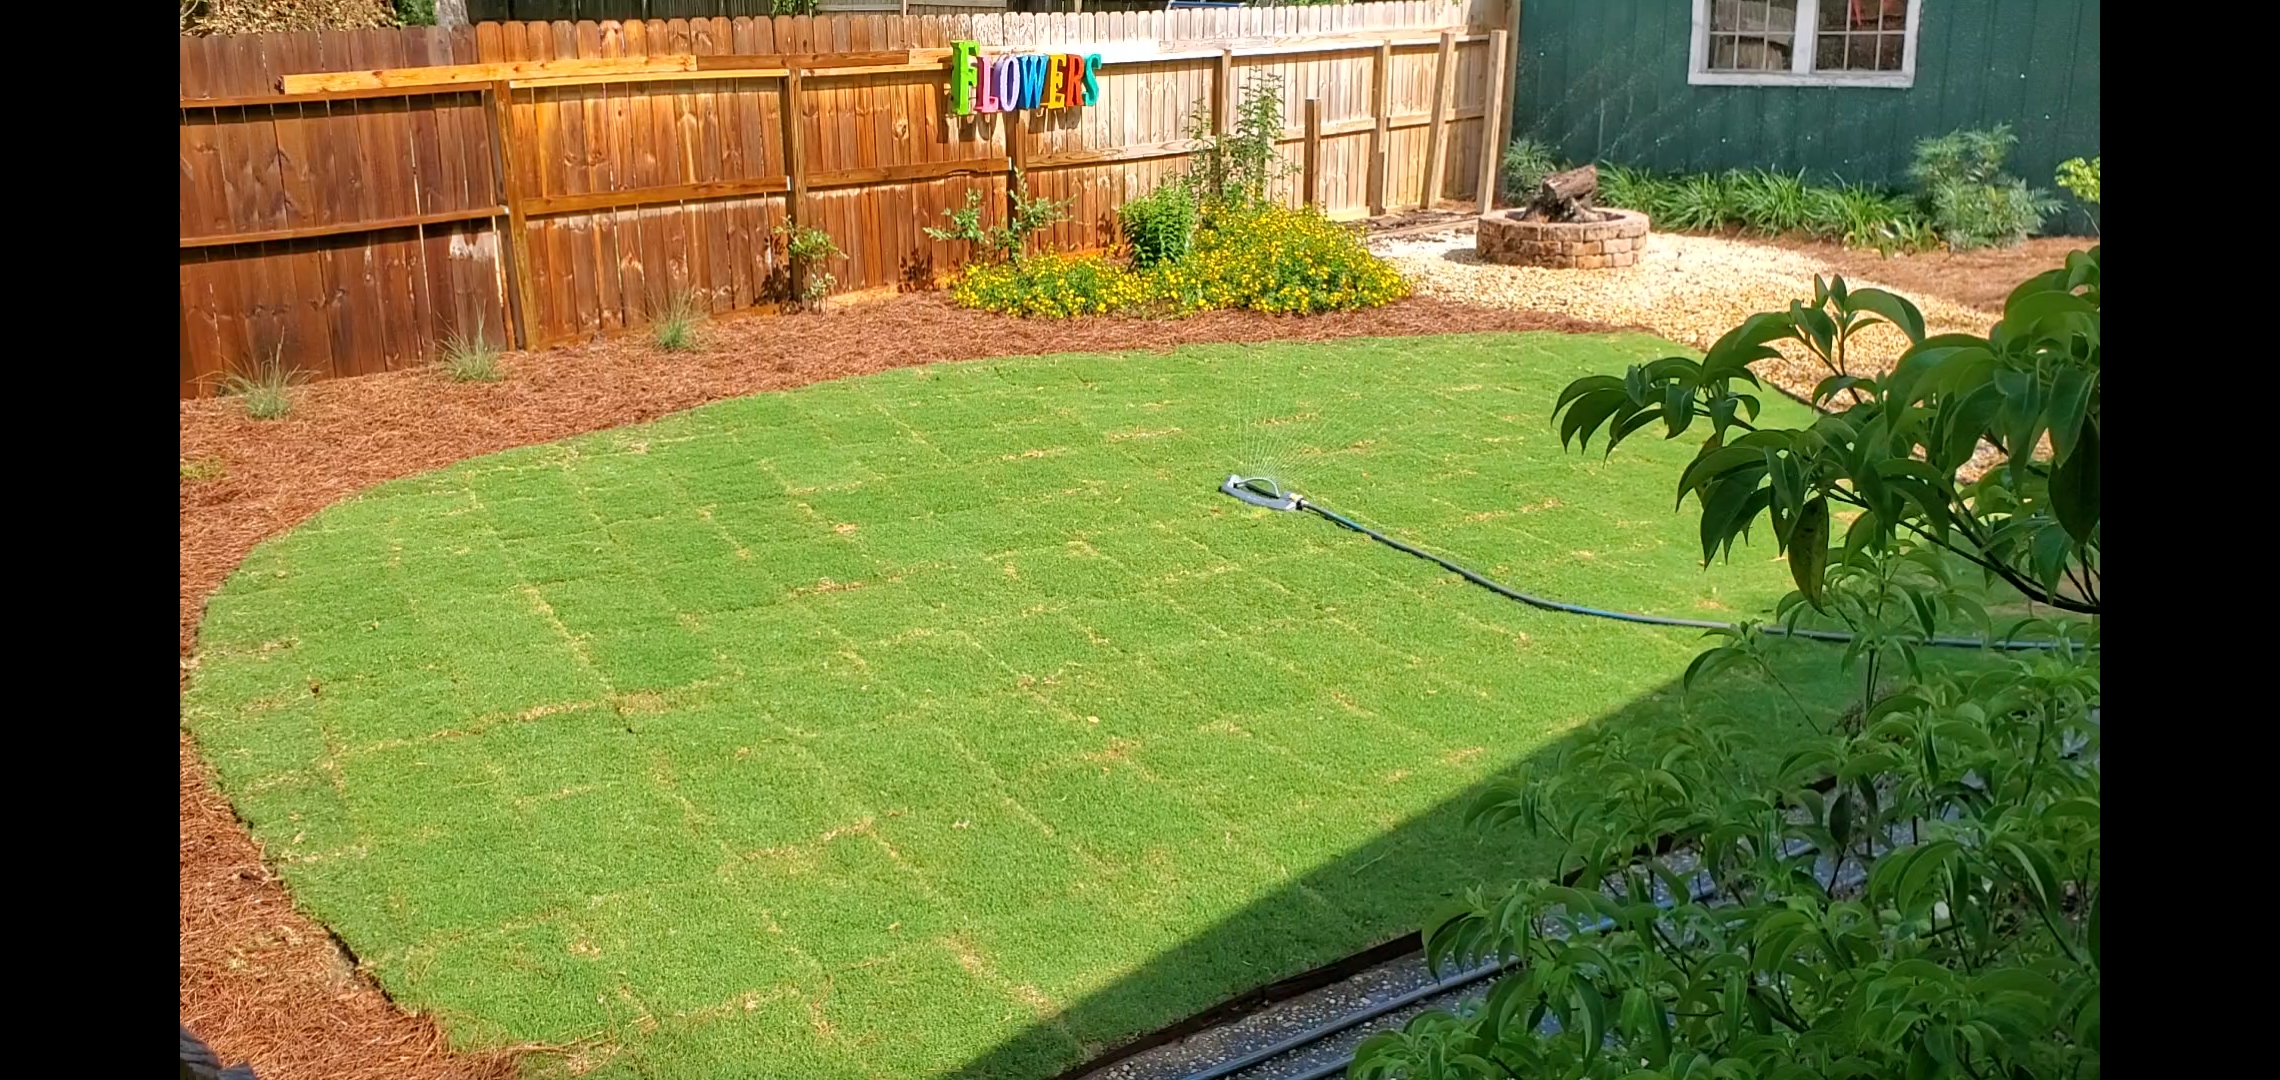
Time for some water! ‘Tiftuf’ Bermuda sod ready for a mid-lay watering. Hot and dry conditions demand sod be kept moist. Photo courtesy of the author.
Buy Quality Sod. Research where the dealer you purchase sod from sources their grass. Ensure you’re buying turf from a respected operation that follows Sod Production Best Management Practices. Not all farms are equal.
Lay it Quickly. If buying from a retail dealer, make sure their sod is fresh. Sod quality declines rapidly after 48 hours from cutting. Ideally, sod is installed the same day it’s cut on the farm, but not later than the next day.
Water periodically during installation. If installing a large area of turf, periodically wet sod you’ve already laid. Think about the day the sod you’ve laid has had. It was ripped from its home soil, windblown on a trailer en route to your site, laid onto a warm, bare soil surface and is currently baking in the sun waiting on you to finish laying the rest. That’s stressful and a good way to have a crispy brown patch in the new lawn! Ease the sod’s stress by periodically wetting as you lay it. It’s also not a bad idea to lightly moisten the site prior to laying the new sod. Avoid making it muddy.
Mound Soil Around Edges. This prevents the edges of freshly laid turf from drying quicker than the rest of the grass and browning out. It doesn’t have to be a lot, just take a heavy rake and fill in the gap between the soil surface and the leaf blades. Think of it as hiding exposed roots from the sun and wind. Trust me, this step keeps you from having a nice brown ring circumventing your new green lawn!
Pack it Down. You can be fancy with a drum roller partially filled with water or simply use a rake or tamping tool to lightly tamp the grass down. This helps ensure good root contact with the soil, prevents dry patches in the establishing sod, and quickens rooting time.
Almost finished! Remember to tamp down and mound soil around the roots of the edge pieces. Photo courtesy of the author.
Water Correctly. Your new sod needs to be thoroughly watered daily for the first 10-14 days after installation. Remember how stressful the sod laying process is to turf. It takes a little while for sod to recover and initiate rooting into its new home. Don’t miss a day! Following this initial 10-14 day period, back off to once every couple of days for another two weeks or so. After that, the sod should be rooted in nicely and be able to rely on regular, as needed, lawn irrigation intervals.
Stay Off It! Minimize traffic on new sod for several weeks after installation. Roots are establishing during this time and are extremely vulnerable to disturbance until anchored. I know you’re ready to enjoy your new lawn, but you’ve come too far now to mess it up!
No Fertilizer for 30-60 days! Plants without roots have a hard time taking up nutrients. Therefore, it makes sense that until sod has firmly anchored into place and established a new root system, fertilizer application should be withheld. Fertilizer applied during the initial establishment period will likely be wasted and leach through the soon-to-be rootzone and could even burn fragile new roots. Also, avoid using a starter fertilizer for the same reason – there aren’t any roots to take up the nutrients.
‘Tiftuf’ Bermudagrass sod being watered after installation is finished. Do this daily for 10-14 days following installation. Photo courtesy of the author.
By following these ten tips, you’ll be well on your way to a perfect lawn! For more information on these and other lawn care topics, contact your local UF/IFAS Extension Agent and consult The Florida Lawn Handbook, a research-based publication written by UF/IFAS Extension specialists.
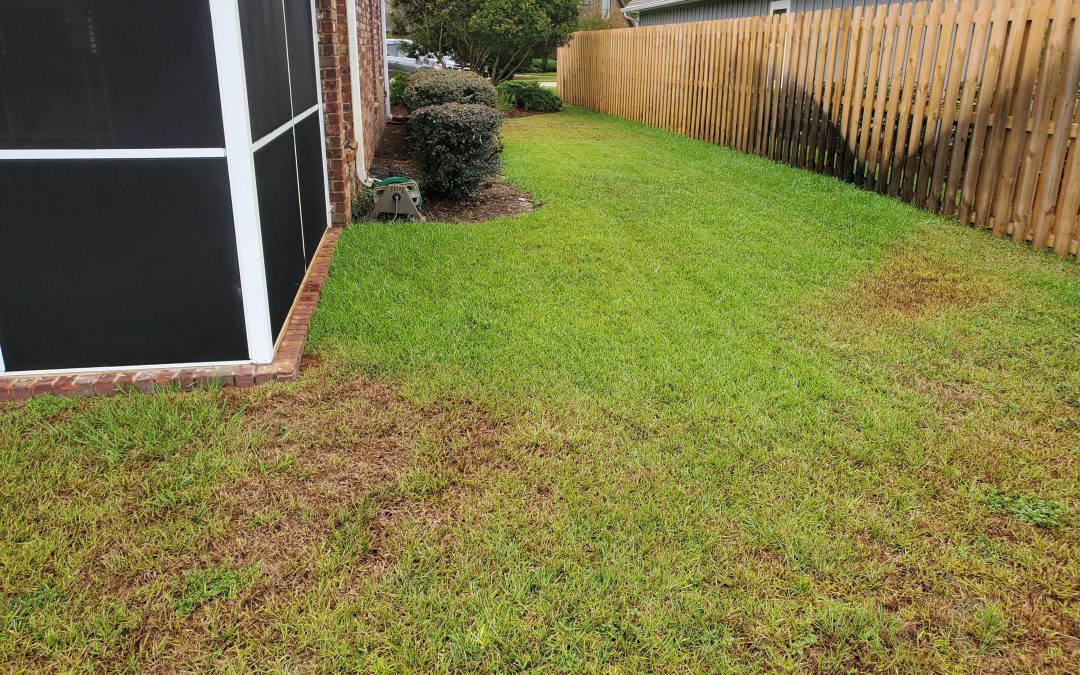
As temperatures lean more toward summertime highs, conditions can sometimes leave a landscape looking sad. Water issues can be a major source of headaches for homeowners when they cause plants to decline. The cause is not always readily apparent.
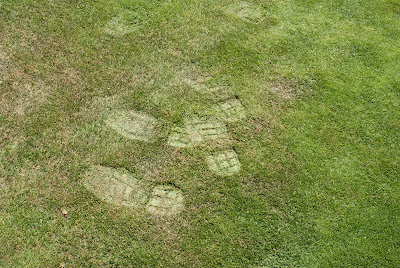
Footprints remain in droughty grass. Photo courtesy of Taylor Vandiver.
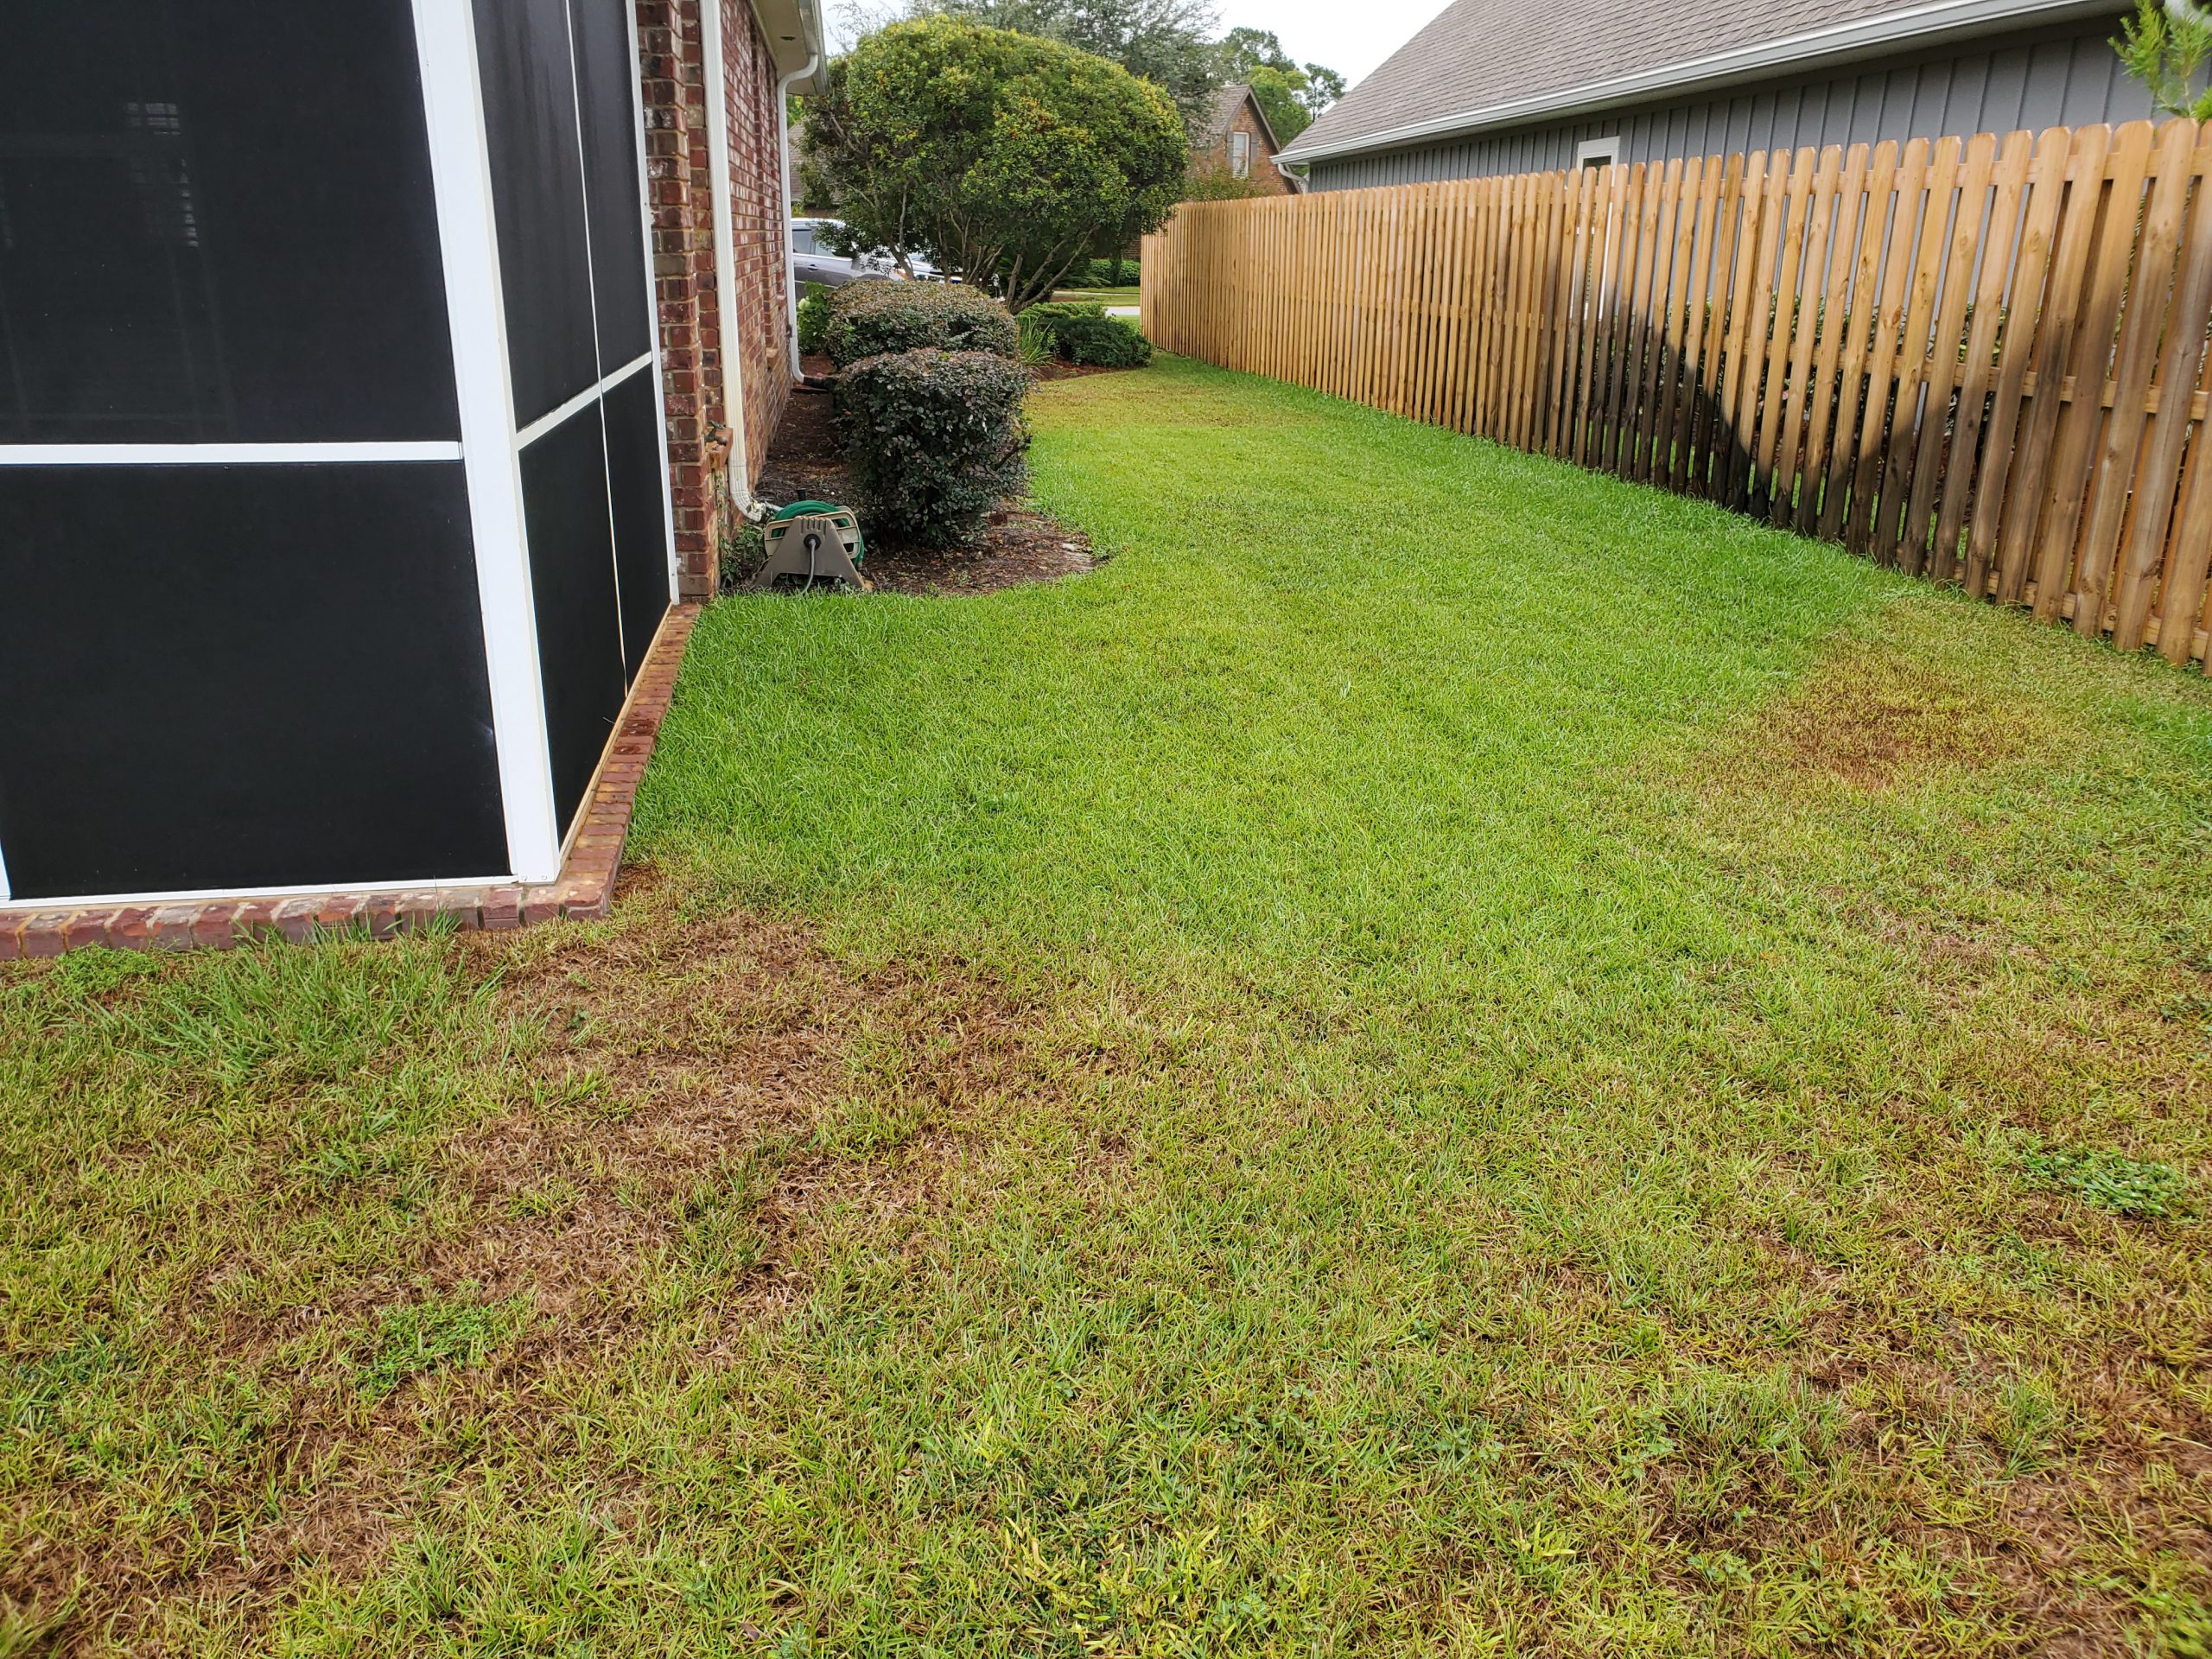
Water is something not even the meanest cactus in the driest desert can do without. Too little, and plants start to develop symptoms of drought stress. These symptoms include more than just wilting; stunted growth, curling or rolling leaves, fruit or leaves dropping, and yellowing or browning especially at leaf edges are all clues that a plant is thirsty. In lawns, underwatered grass may not spring back when stepped upon, leaving visible footprints in the turf. Long periods of drought stress can cause grass to thin. Plants exhibiting symptoms such as these may require extra water. A layer of mulch around landscaping can also help to retain moisture if soil dries out too quickly. Newly installed plants are particularly susceptible to drying out, and hot weather dries out all plants more quickly.
Plants can also be overwatered, however. Even with the well-drained, sandy soils that are present in much of the Florida Panhandle, it is possible to put too much water on a lawn or landscape. This can lead to problems that may be similar to those caused by underwatering – stunted growth, curled leaves, wilting, limbs or leaves dying, and increases in fungal disease can all occur. Lawns may become patchy and weeds, especially those that enjoy damp conditions such as sedges or dollarweed may establish themselves.
Improperly calibrated sprinklers. Photo courtesy of Evan Anderson.
Stress of any sort can also leave plants more susceptible to pest and disease issues. A healthy plant is better able to compete with weeds and fight off infestation or infection. If you notice problems with fungal disease, increased insect populations, or weed issues, it could be made worse by over- or underwatering!
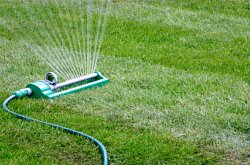
To help avoid watering issues, make sure plants with similar water requirements are planted near one another. If you have irrigation for your lawn or landscape, it is important to calibrate it regularly. Make sure the system has a rainfall shutoff device and check systems for damaged or malfunctioning emitters. And remember, if you are having trouble with your lawn or landscape, contact your local Extension office for help!
Your lawn will likely need supplemental water during the growing season. Instead of setting your irrigation system to come on every few days, learn exactly when your grass needs water with Turfgrass Talk from your UF IFAS Extension Panhandle Horticulture Team. You may then apply water when it is needed by the grass, helping to prevent turf issues from overwatering.
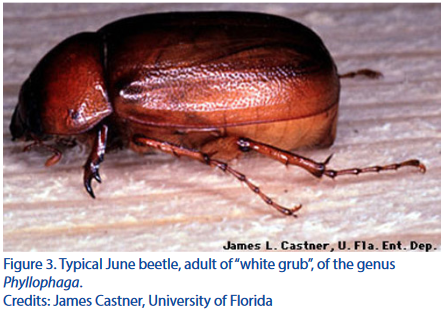
Members of the Phyllophaga genus are found throughout Florida and most of North America. One of them is the May/June beetle. Adults are most active during the rainy season. So in parts of the country where the wetter months are May or June, the common name of this insect makes common sense. But, when an area experiences extra rain earlier in the spring, the May/June beetle may emerge from the ground in March or April. That is what has happened in the western Panhandle this spring. May/June beetles have been leaving the soil and flying to the lights of people’s homes.
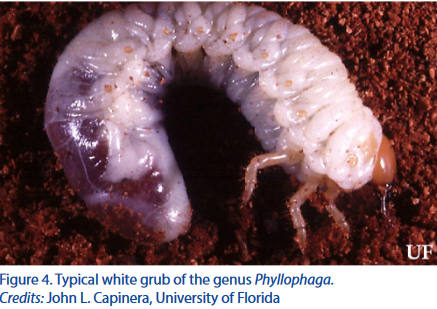
The life cycle of these beetles varies from one to four years. Eggs are laid in soil each spring by females. In 3 to 4 weeks, small grubs (larvae) hatch from eggs and develop through three stages (instars), with the first two stages lasting about 3 weeks. The larvae will move closer to the surface and back deeper in the soil as the soil temperature changes. While close to the surface, larvae feed on grass roots about one inch below the soil surface. Damaged grass turns brown and increases in size over time. Heavy infested turf feels spongy and moves when walked upon. The last larval stage remains in the soil from the fall through spring. The cool soil temperatures drive the larvae deeper in the soil where they remain relatively inactive. Typically, on the third year, white grubs pupate 3 to 6 inches deep in the soil and emerge as adults.
Larvae, called grubs, vary in length from ¾ to 1 ¾ inches depending on the stages. Grubs are white with a C-shaped body with a brown head and three pairs of legs near the head. Adults have ½ to 1 inch long, shiny bodies that are dark yellow to brownish-red in color. Adults do feed on the foliage of several species of ornamental plants, but the damage is typically only aesthetic; not causing long-term harm.
Monitoring of and managing emerging adults can help with deciding on the need for insecticide control for the grubs. To catch and remove adult beetles, place white buckets containing soapy water near plants that have chew marks or areas with lights at night. Leave it overnight. The beetles can easily be disposed of the next day. If there are more than 12 in the bucket be prepared to monitor the lawn for grubs. Extra rain or frequent irrigation during the adult flight time may attract more egg-laying females.
To inspect for grubs, turn over sod to a depth of at least two-inches. If there are an average of three or more per square foot, an insecticide treatment may be needed. To confirm that they are May/June beetles inspect the darkened rear of the grub. Locate the anal slit. It should be Y-shaped with two rows of parallel bristles that point toward each other. This is referred to as the raster pattern. All grub species can be identified using their unique “butt” features.
The most effective time to control this pest is summer or early fall when the larvae are small. Remove as much thatch as possible before applying an insecticide. Spot treat the off-colored area plus the surrounding 10 feet with products containing imidacloprid or halofenozide in early summer. Follow up in the fall with insecticides such as trichlorfon, bifenthrin or carbaryl if grubs persist.