Join us via Zoom on Saturday, August 8, for our Leon County Seed Library Virtual Workshop. Graphic by Molly Jameson.
Leon County’s Seed Library Program Continues On
The COVID-19 pandemic has changed many aspects of our lives. In Extension, we have learned new ways to be innovative in our programs, and we have made adaptations to continue to reach the community through technology. While these technologies have allowed us the opportunity to connect with clientele and continue to allow important discussions related to the life sciences, there is no substitute for hands-on learning.
For this reason, I am thankful that the Leroy Collins Leon County Public Library System is proceeding with the Leon County Seed Library Program this fall. Since the spring of 2015, the Leon County Public Library has provided Leon County community members with sample vegetable seed packets to take home and plant in their gardens. While many aspects of the Seed Library Program will be altered this season, seeds will still be available to be “checked-out” from all Leon County library branches.
While face coverings and other safety precautions will be required, Leon County residents can still “check-out” seeds starting August 8. Photo by the Leon County Public Library.
As we continue to strive to keep ourselves and our community safe, many of us have used gardening as a way to relax and find some peace during these turbulent times. Planting vegetable seeds is a great way to learn about agriculture and our natural environment and gives us an opportunity to spend some time outdoors.
As an Extension Agent in Leon County, I have had the pleasure of partnering with the Leon County Library to help pick out the Seed Library Program seed selections, plan kickoff events, and provide hands-on workshops at various library branches. While “checking-out” seeds at the library this season will be a socially distanced activity, we still want to provide an opportunity for the community to engage with UF/IFAS Extension and learn about planting seeds, growing vegetables, and how to incorporate vegetables into snacks and meals to stay healthy.
Whether you are located in Leon County or not, everyone is welcome to join us Saturday, August 8, from 10:00 a.m. to 12:00 p.m., our Leon County Seed Library Virtual Workshop. Via Zoom, agents with UF/IFAS Extension Leon County will discuss vegetable gardening techniques and the importance of eating healthfully. We will also be doing a live virtual cooking demonstration featuring vegetables available in the Fall 2020 Seed Library Program.
For more information about the Leon County Seed Library Virtual Workshop, please visit our Eventbrite page: https://seedlibraryworkshop2020.eventbrite.com. There is no cost to attend the workshop, but registration is required.
Here is the list of the vegetable seeds that will be available starting August 8: Calabrese Broccoli, Cosmic Purple Carrots, Georgia Green Collards, Lacinato Kale, Buttercrunch Bibb Lettuce, Giant of Italy Parsley, Easter Egg Radishes, and Silverbeet Swiss Chard.
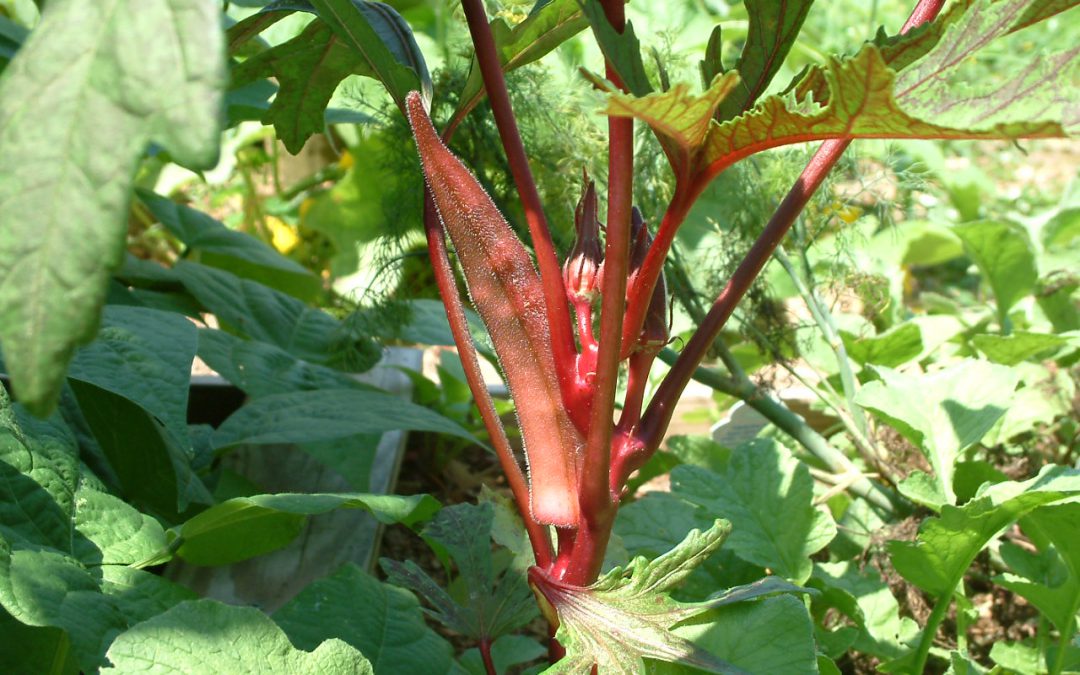
I enjoy starting my garden from seeds. Ordering seed opens so many more options relative to the limited old-fashioned seed and transplant selections that line garden shelves. Picking newer, improved varieties has several other advantages as well, including increased disease resistance, earlier fruiting, unusually colored/shaped fruit, and generally more vigorous plants. One of the most exciting days of the year in my house is when the cardboard box full of the season’s seed packets comes in the mail! However, I garden exclusively in small, 4’x8’ raised beds and only need a couple of plants of each veggie variety to fill the fridge with fruit; meaning I always have leftover seeds in the packets! In the past, I’ve thrown the excess seed away and chalked it up to the cost of gardening in small spaces, but this spring, as seeds became somewhat hard to come by and several of the varieties I normally grow were out of stock, I started saving and storing my leftover seed packets for future seasons to ensure I have what I want! You can save and store seeds too, here’s how.
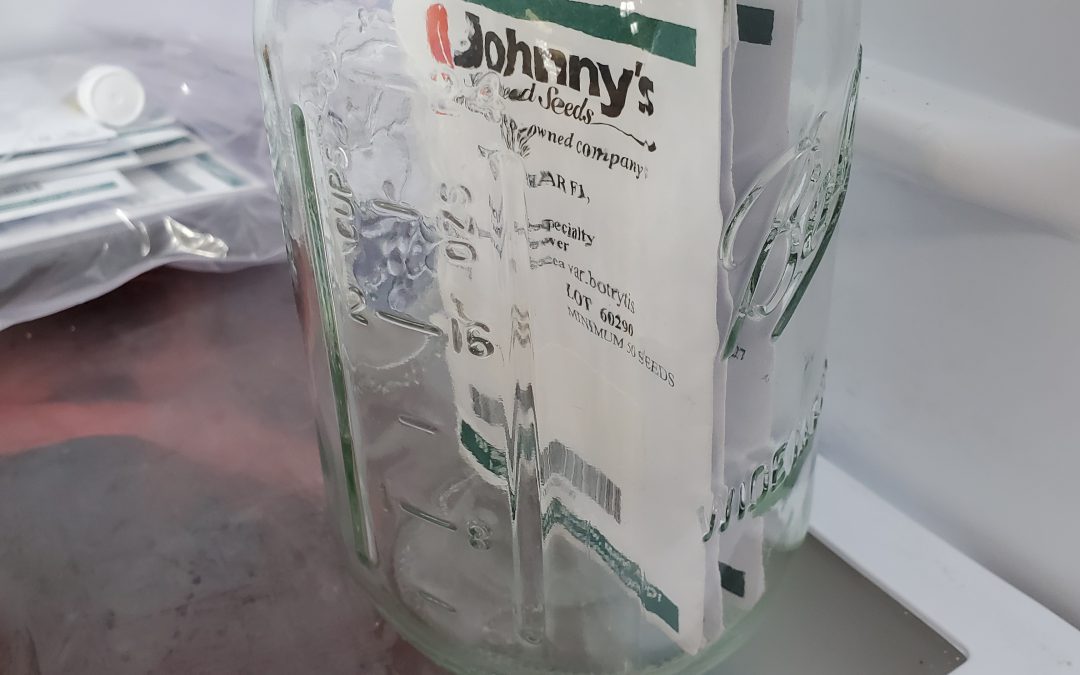
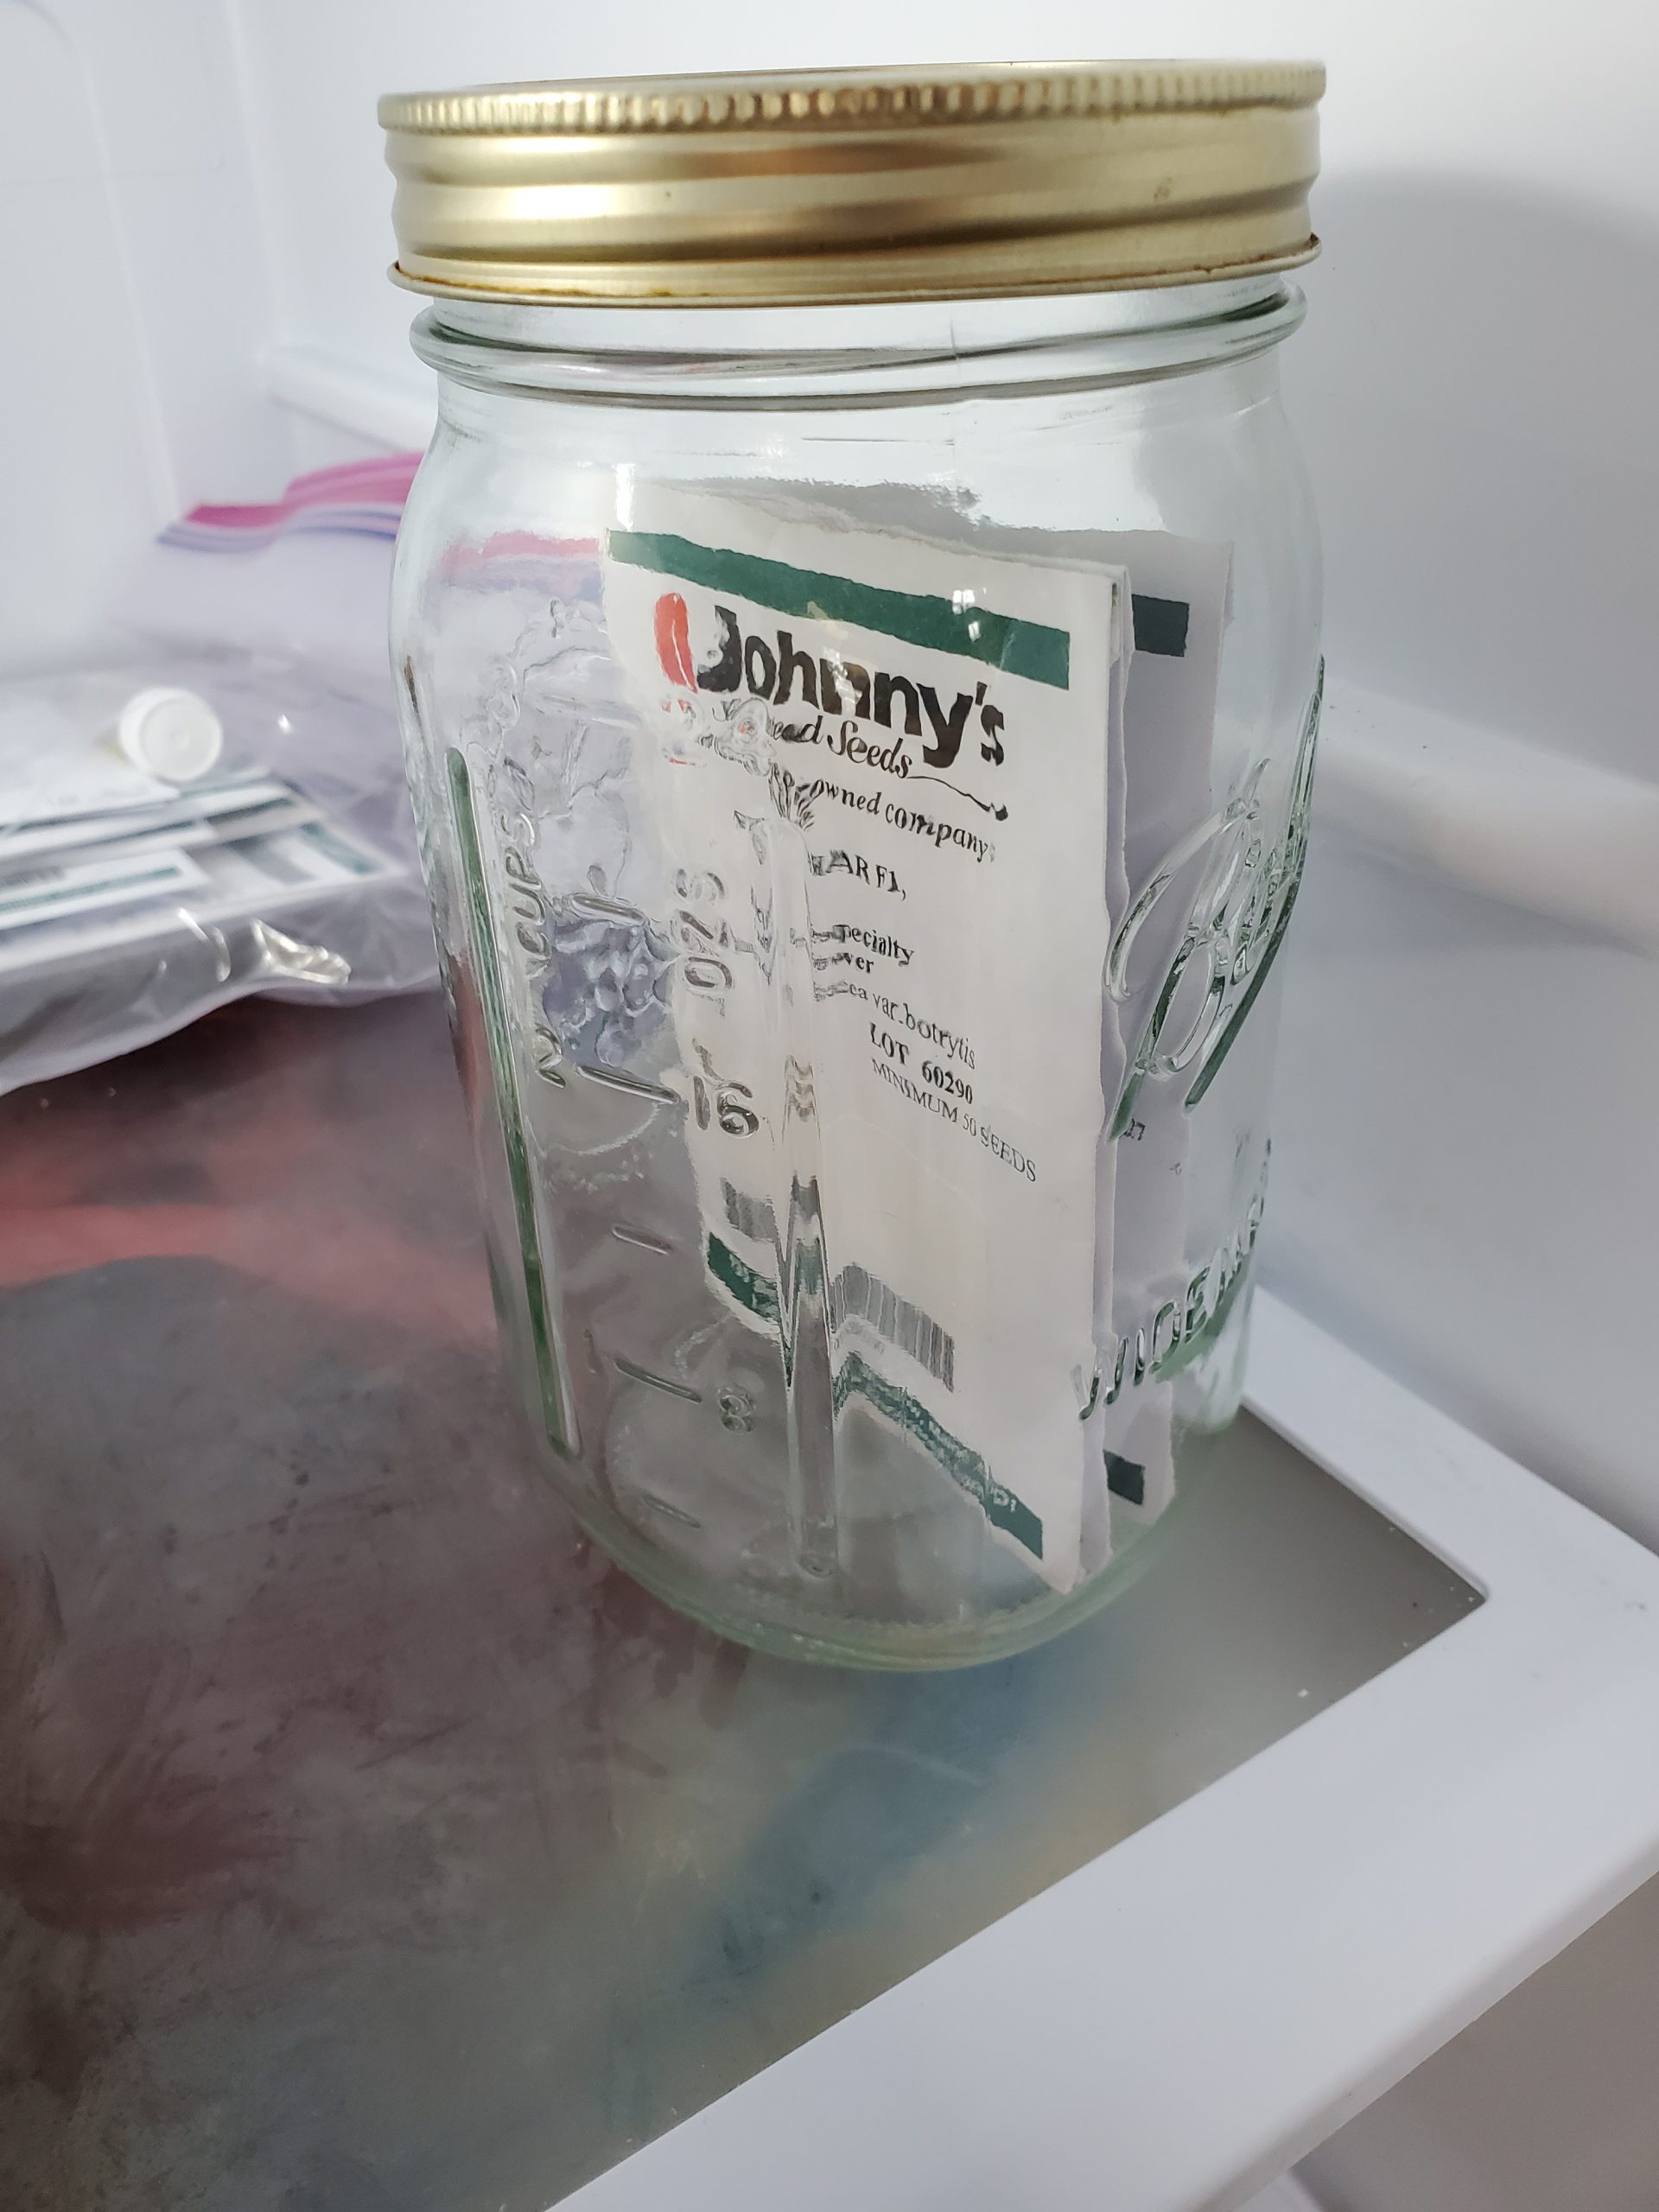
Cauliflower seed waiting for the fall garden in the author’s refrigerator.
Properly storing your leftover seeds is a relatively simple process. While seed longevity definitely varies somewhat according to species, regardless of how they are treated by you, remembering the following few tips can help improve the stored seeds’ viability and vigor for the next season.
Store Cool. Seeds like to be stored in a refrigerator around 40 degrees F. Seeds stored warmer, near room temperature, or colder, as in a freezer, will decline much more rapidly than those in the fridge.
Keep it Dry. Humidity or moisture in the seed storage area is a sure way to reduce the shelf life of seeds. Store dry in plastic bags or glass containers and add a dessicant. Dessicants help keep storage containers dry and can be found for around $1 each from various online purveyors, making them a cheap insurance policy for your home seed bank!
Don’t Store Pelleted Seed. These days, you can buy pelleted seed for many of the smaller seeded vegetable varieties, like lettuce and carrots. The pelleting process and materials used, while making it easier for old eyes and those of us with fumbling fingers to plant, reduces seed longevity. Do your best to plant all the pelleted seed you purchase. If you store pelleted seed, don’t say you weren’t warned when next season’s germination is poor!
Plant All Stored Seed the Next Season if Possible. Remember, that while most non-pelleted vegetable species’ seed can remain viable in storage for more than a year, it’s best to only store seeds until the next season and use them up. Regardless of how well you store them, seed germination percentage (how many in the lot will sprout when planted) and vigor (how strong the germinating seedlings are) decline in direct proportion to time spent in storage.
Plant Old Seed Heavy. As germination rates in storage may have declined, it’s best to plant stored seed a little thicker than you normally might. If you need a squash plant in a certain spot, instead of just planting one seed, put three or four in the hole to ensure you get a plant. You can always thin extras later, but time lost replanting cannot be regained.
By following these few simple tips, you can waste a lot less seed and ensure that you have what you want to plant for the following year! As always, if you have any questions about saving and storing seed or any other agriculture or horticultural topic, please contact us at the UF/IFAS Calhoun County Extension Office. Happy Gardening!
The following resources were used as references when writing this piece and may prove helpful to you also, check them out:
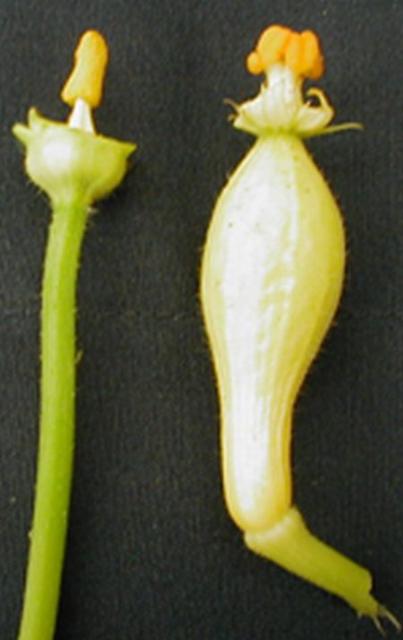
Figure 1. “Flowers from Yellow Crookneck squash. Male flower on left with petals removed to expose male anther with pollen. Female flower on right with petals removed to show stigma.” EDIS Publication #HS1149 Credits: E. Thralls
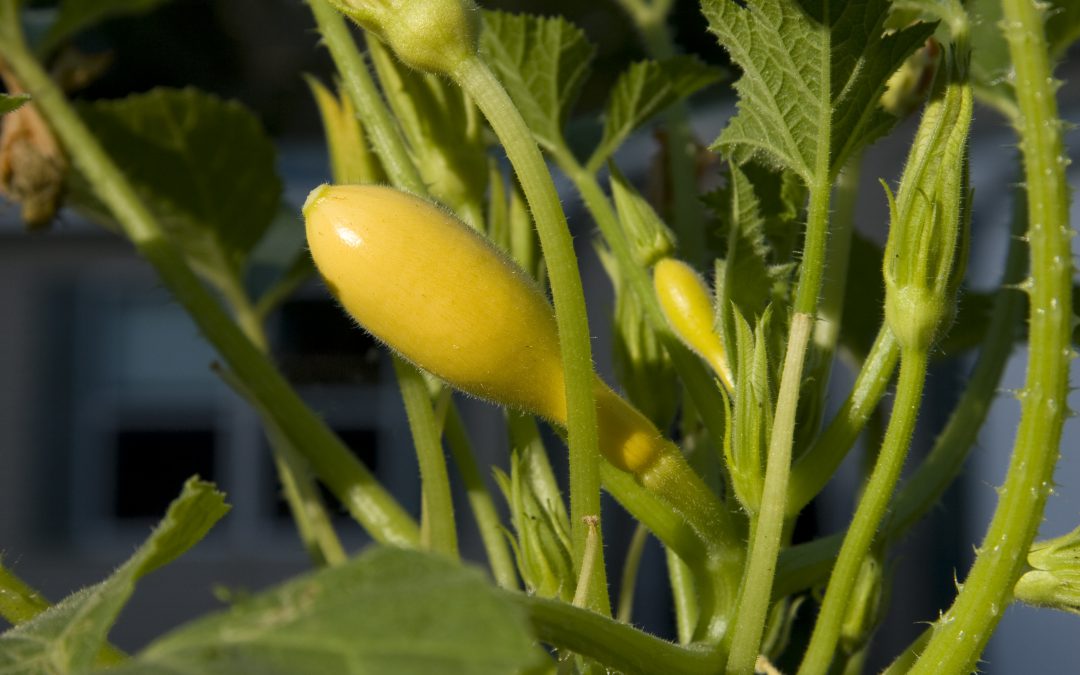
This spring, I have received several questions about spring squash. Some of the most worried gardeners asked me why their squash was not producing? Initially, I thought it was a pollination issue. It turns out, in more than one case, their plants were not producing female flowers. Botanically, squash are monecious, meaning that one plant will produce different flowers, some male and some female.
So, why were these squash plants not producing female flowers? The answer is somewhat complected. If squash were planted later in the season and exposed to primarily hotter temperatures, there will be a bias for production of male flowers. This is particularly true when nights are above 70 degrees F and days are above 90 F. I noticed that this spring, squash were only producing male flowers when we were having several days of sustained daytime temperatures over 90 F, but once highs came down into the 80s, production of female flowers resumed. This makes sense from a biological standpoint, since it is very stressful for plants to produce fruit during times of extreme temperature and plants will conserve energy to later be able to produce fruit under more favorable circumstances.
Another factor that can influence production of female flowers is the level of nitrogen in the soil. If nitrogen levels are extremely high, likely due to over fertilization, then plants will remain in a vegetative growth stage for much longer. Growth will be vigorous and dark green, but little female flower production will occur. To avoid this scenario, only apply fertilizer at recommended rates.
Hopefully, if you have run into this problem, this article will help you have better production success in the future. An excellent source that describes this phenomenon further is this article from Iowa State University titled ” Where are the Female Flowers?”
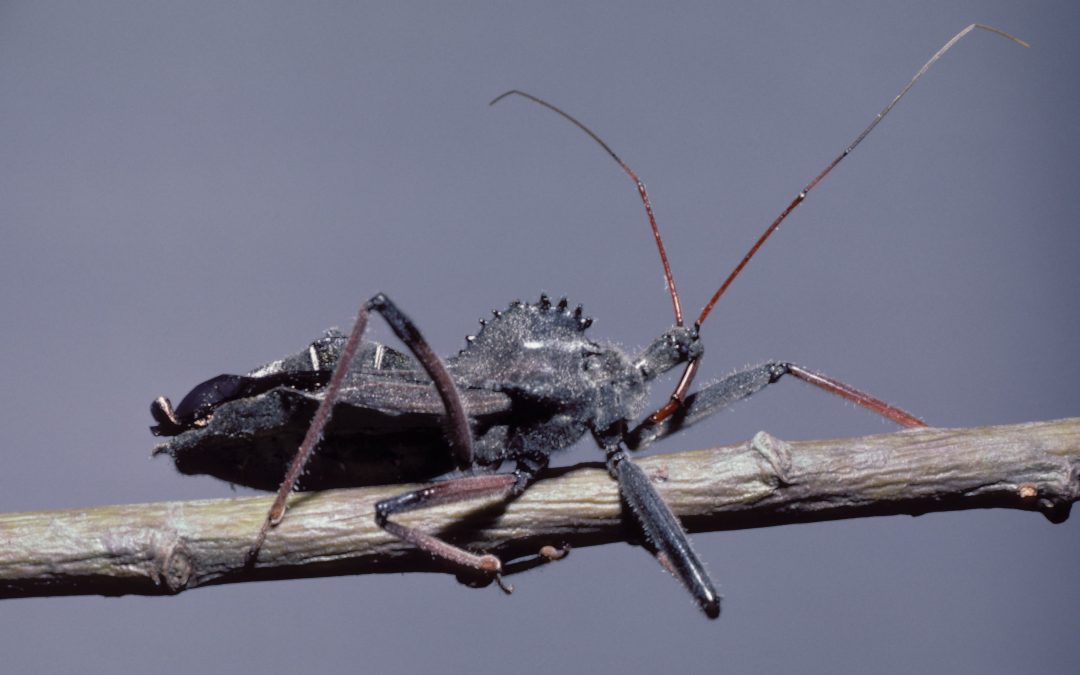
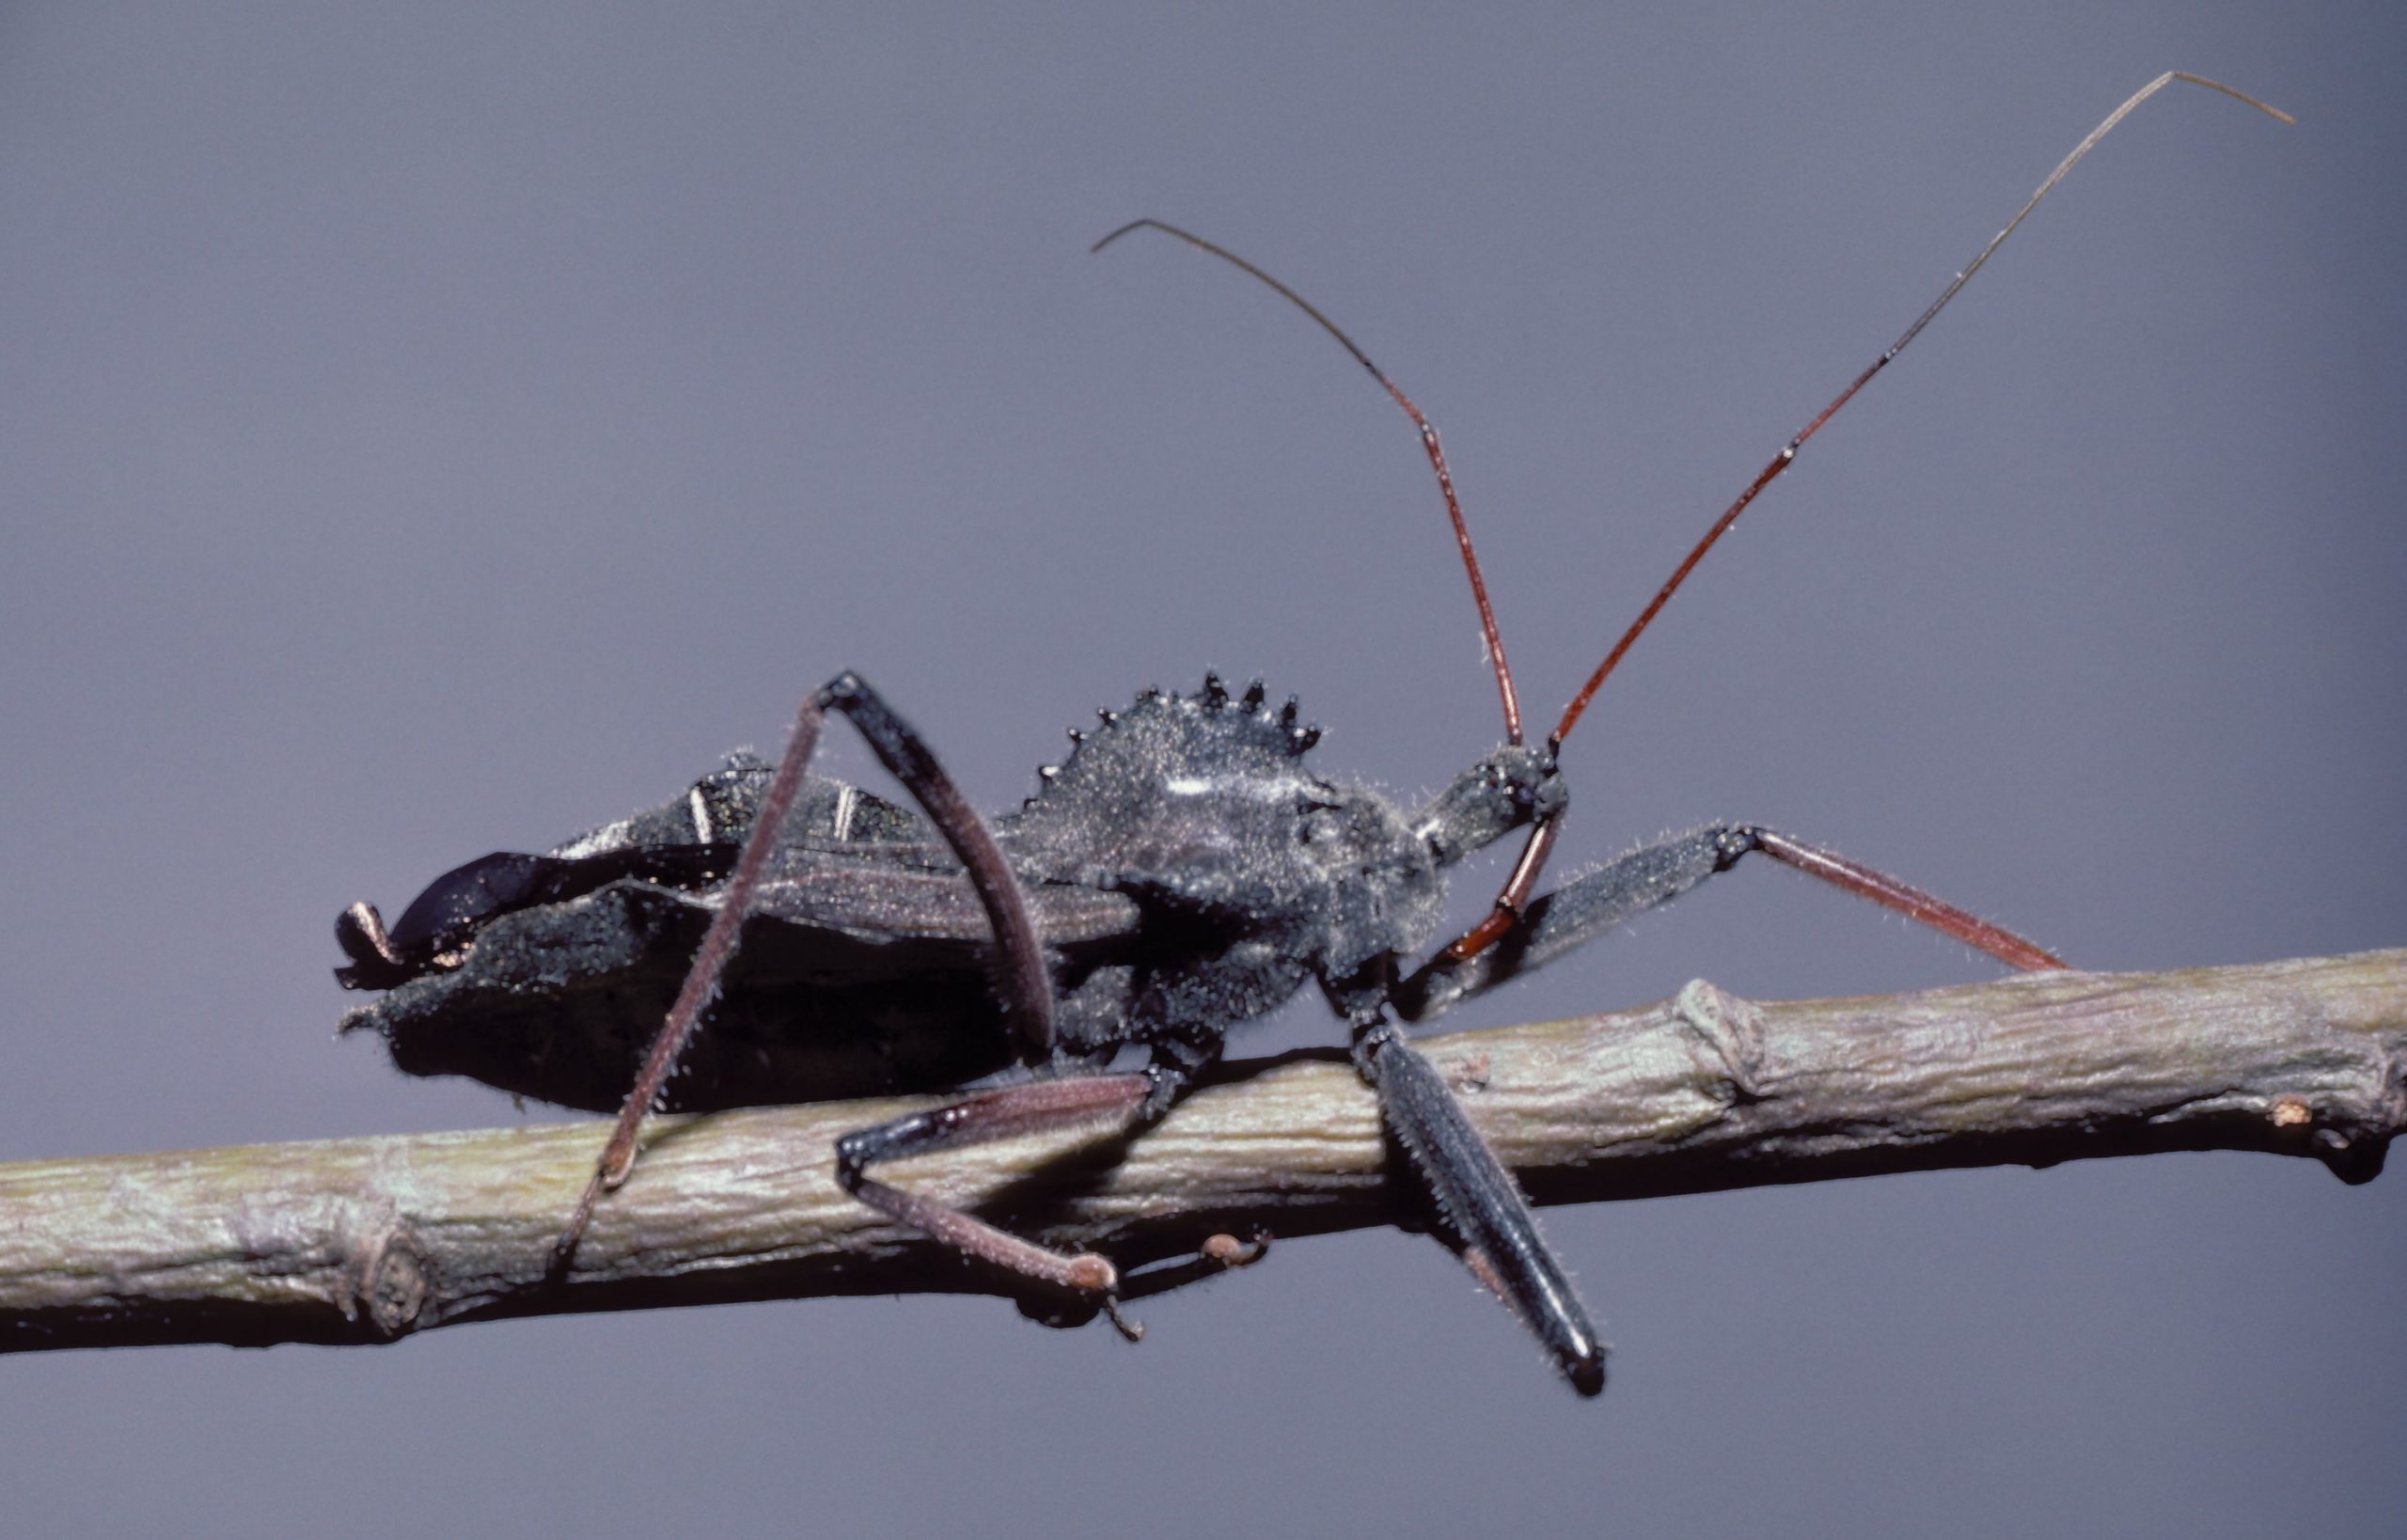
Wheel bugs have large beaks and a distinctive semicircular crest on their backs resembling a cogwheel. Photo by Gerald J. Lenhard, Louisiana State University, Bugwood.org.
As a gardener, the summer is the season you might feel it takes knightly status to grow fruits and vegetables. You put on your metaphorical armor, hold up your shield, and draw your sword to battle the stink bugs, squash vine borers, armyworms, green peach aphids, and more.
In these instances, it may feel like nothing in nature is on your side. But alas, there are a few insects out there that carry their own defenses. One of them is the ferocious assassin bug. These insects are predacious, loaded with powerful curved beaks called proboscises that pierce their unsuspecting prey. Once pierced, the assassin bug injects a toxin that liquefies the muscles and tissues of the prey. It then sucks out the liquefied tissue, killing its host.
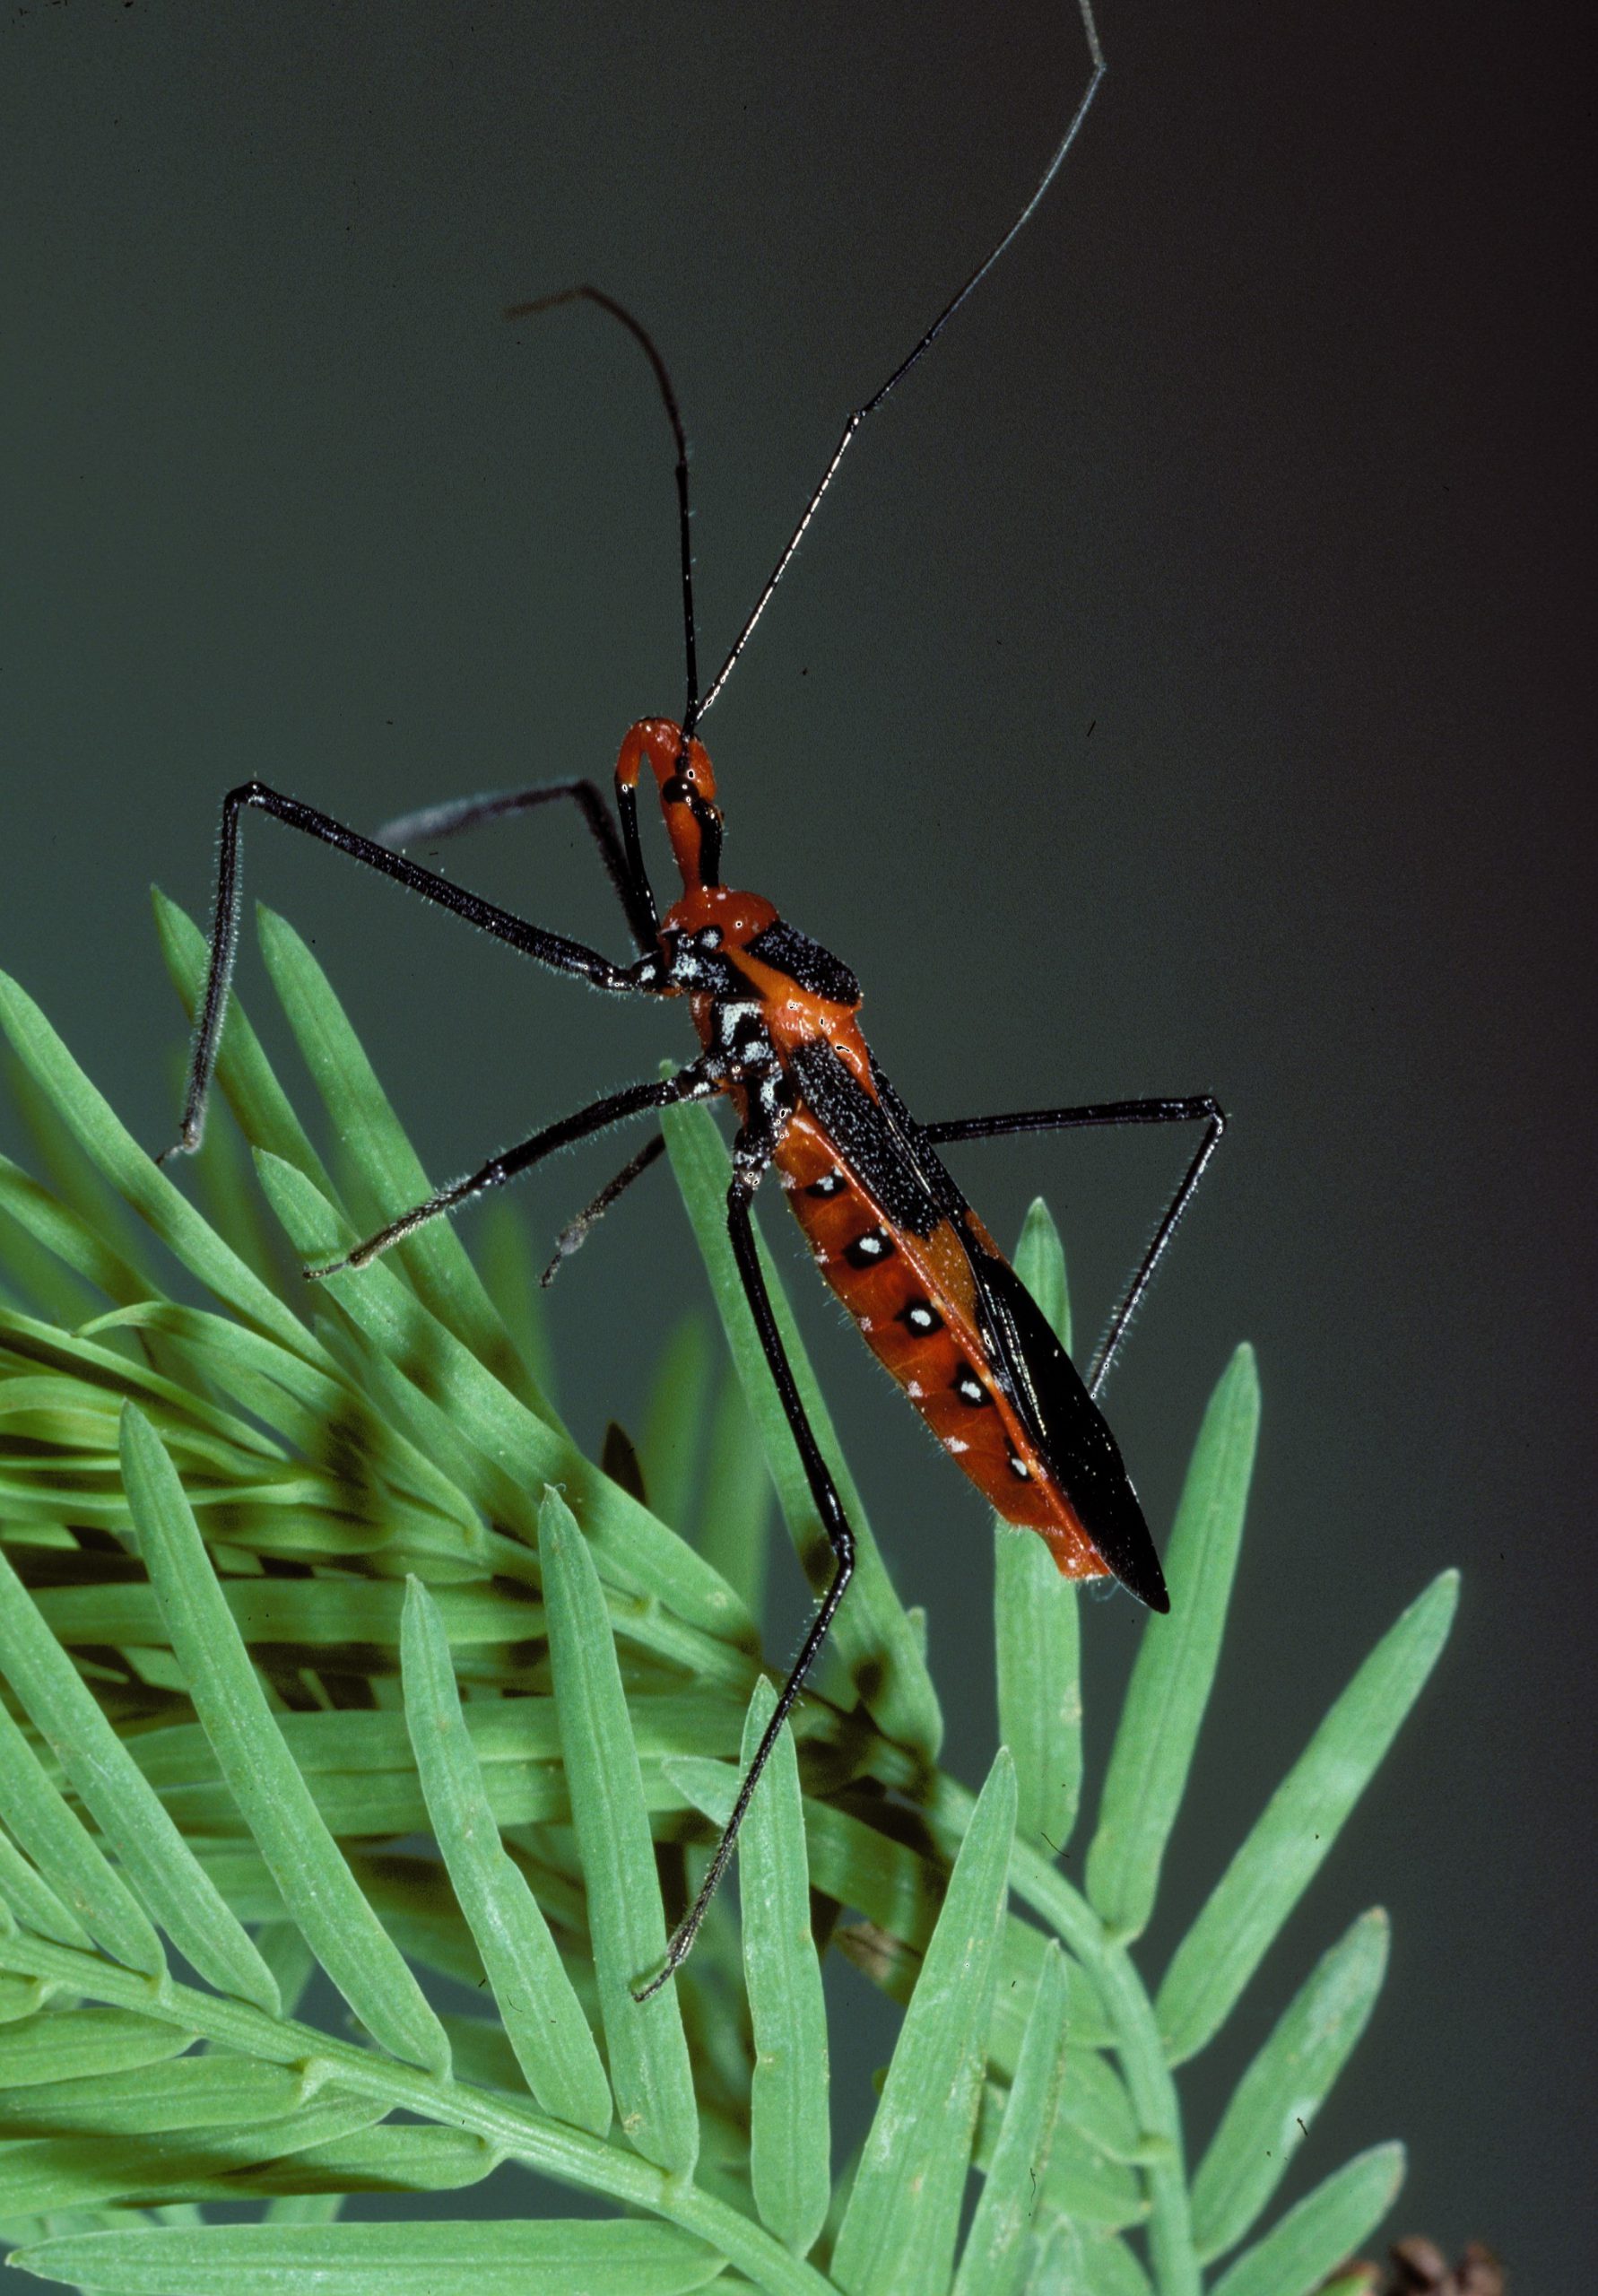
Although milkweed assassin bugs vary in appearance worldwide, those found in the United States are distinctly orange and black. Photo by Gerald J. Lenhard, Louisiana State University, Bugwood.org.
Assassin bugs feed on a wide range of insects, including many types of caterpillars, stinkbugs, aphids, flies, beetles, and even mosquitoes.
While assassin bugs are our garden allies, be mindful, as their injection does pack quite the punch! Fortunately, although a “bite” from an assassin bug is painful, they do not generally require medical attention. But do seek medical attention if it causes any type of allergic reaction such as swelling, itching, hives, or difficulty breathing.
There are nearly 3,000 known assassin bug species, including many in Florida. Common species you may come across in your Florida garden are the wheel bug (Arilus cristatus) and the milkweed assassin bug (Zelus longipes). Give them their space but know that they are on your side.