by Daniel J. Leonard | Apr 29, 2020
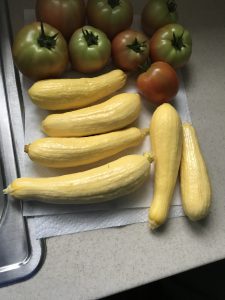
‘Multipik’ fruit. Photo courtesy the author.
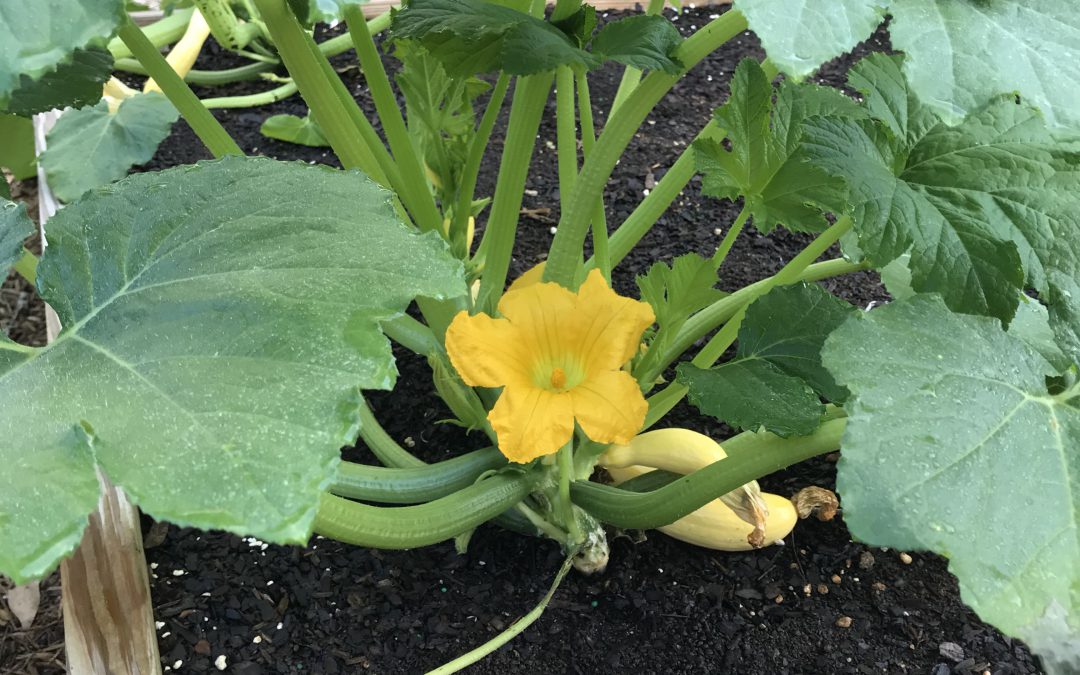
Never one to be satisfied growing “standard” vegetable varieties, last year I decided to peruse various seed sources in search of a superior yellow summer squash selection. Plain ‘Yellow Crookneck’ just wasn’t doing it for me anymore. After doing a little research and consulting a friend who works for Johnny’s Selected Seeds, I settled on a straightneck variety called ‘Multipik’.
Developed in the 1980’s by Harris Seed and now sold by many seed purveyors, ‘Multipik’ enjoyed immediate popularity with commercial squash growers due to its many outstanding qualities but curiously, is just making inroads with the home garden market. Even as it is set to celebrate its 30th anniversary next year, two years of personal experience with ‘Multipik’ verify several important characteristics making it a superior choice to many other traditional summer squash varieties: earliness/heavy yields and a precocious gene.
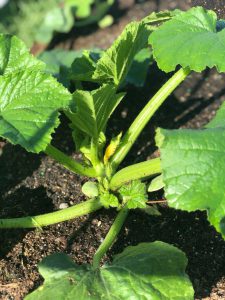
Newly developing ‘Multipik’ fruit. 4 weeks after planting. Photo courtesy the author.
The longer I garden, the more I’m convinced that earliness to maturity is directly related to yield potential in home gardens, especially in the Panhandle. Lots of varieties have high yield potential but that potential is often at least partially wasted here due to the length of time from seed to harvest. Ideally, you could plant, grow a crop and be done by mid-late June, before intense heat, humidity and all the wonderful garden pests and diseases arrive to destroy spring gardens. Maturing just 50 days from planting, ‘Multipik’ beats that deadline (when planted on time in late March) and yields heavily for at least a month before succumbing to the harsh Panhandle summer. Many traditional summer squash varieties, including ‘Yellow Crookneck’ mature 8-14 days later. While 8-14 days doesn’t sound like much, it can mean a major yield difference when factoring in the almost certain late season pests, diseases, and adverse weather conditions.
The next major advantage ‘Multipik’ offers is a precocious gene, meaning that it will mask symptoms and maintain its yellow color if infected with either Watermelon Mosaic Virus (WMV) or Cucumber Mosaic Virus (CMV), two destructive pathogens commonly affecting squash by discoloring fruit and reducing yield. This trait is critical to commercial growers because yellow squash that isn’t yellow isn’t marketable and is important to home gardeners too as a means to eke out higher yields under virus pressure. While the precocious gene isn’t a cure for either virus, it can help hold them at bay while you harvest! Another quirk caused by the precocious gene is the all-yellow appearance of the fruit, from the peduncle (the stalk holding the fruit to the plant) to the apex! From one end of the fruit to the other, Multipik ensures that when you plant yellow squash, you harvest yellow squash.
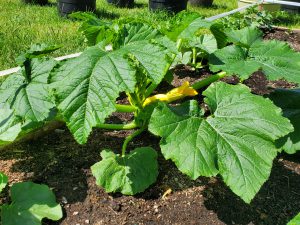
‘Multipik’ just days from harvest. Photo courtesy the author.
Whether you are trying to avoid yield loss from late season insect and disease pressure plaguing your traditional squash plantings or just want to try something a little different, I highly recommend planting ‘Multipik’ Squash. This early, disease-resistant cultivar with delicious medium sized, light yellow fruit is sure to be a hit in both in the garden and on the table. As always, if you have any questions about vegetable gardening or any other horticultural topic, give your local UF/IFAS County Extension Office a call! Happy gardening!
by Beth Bolles | Apr 23, 2020
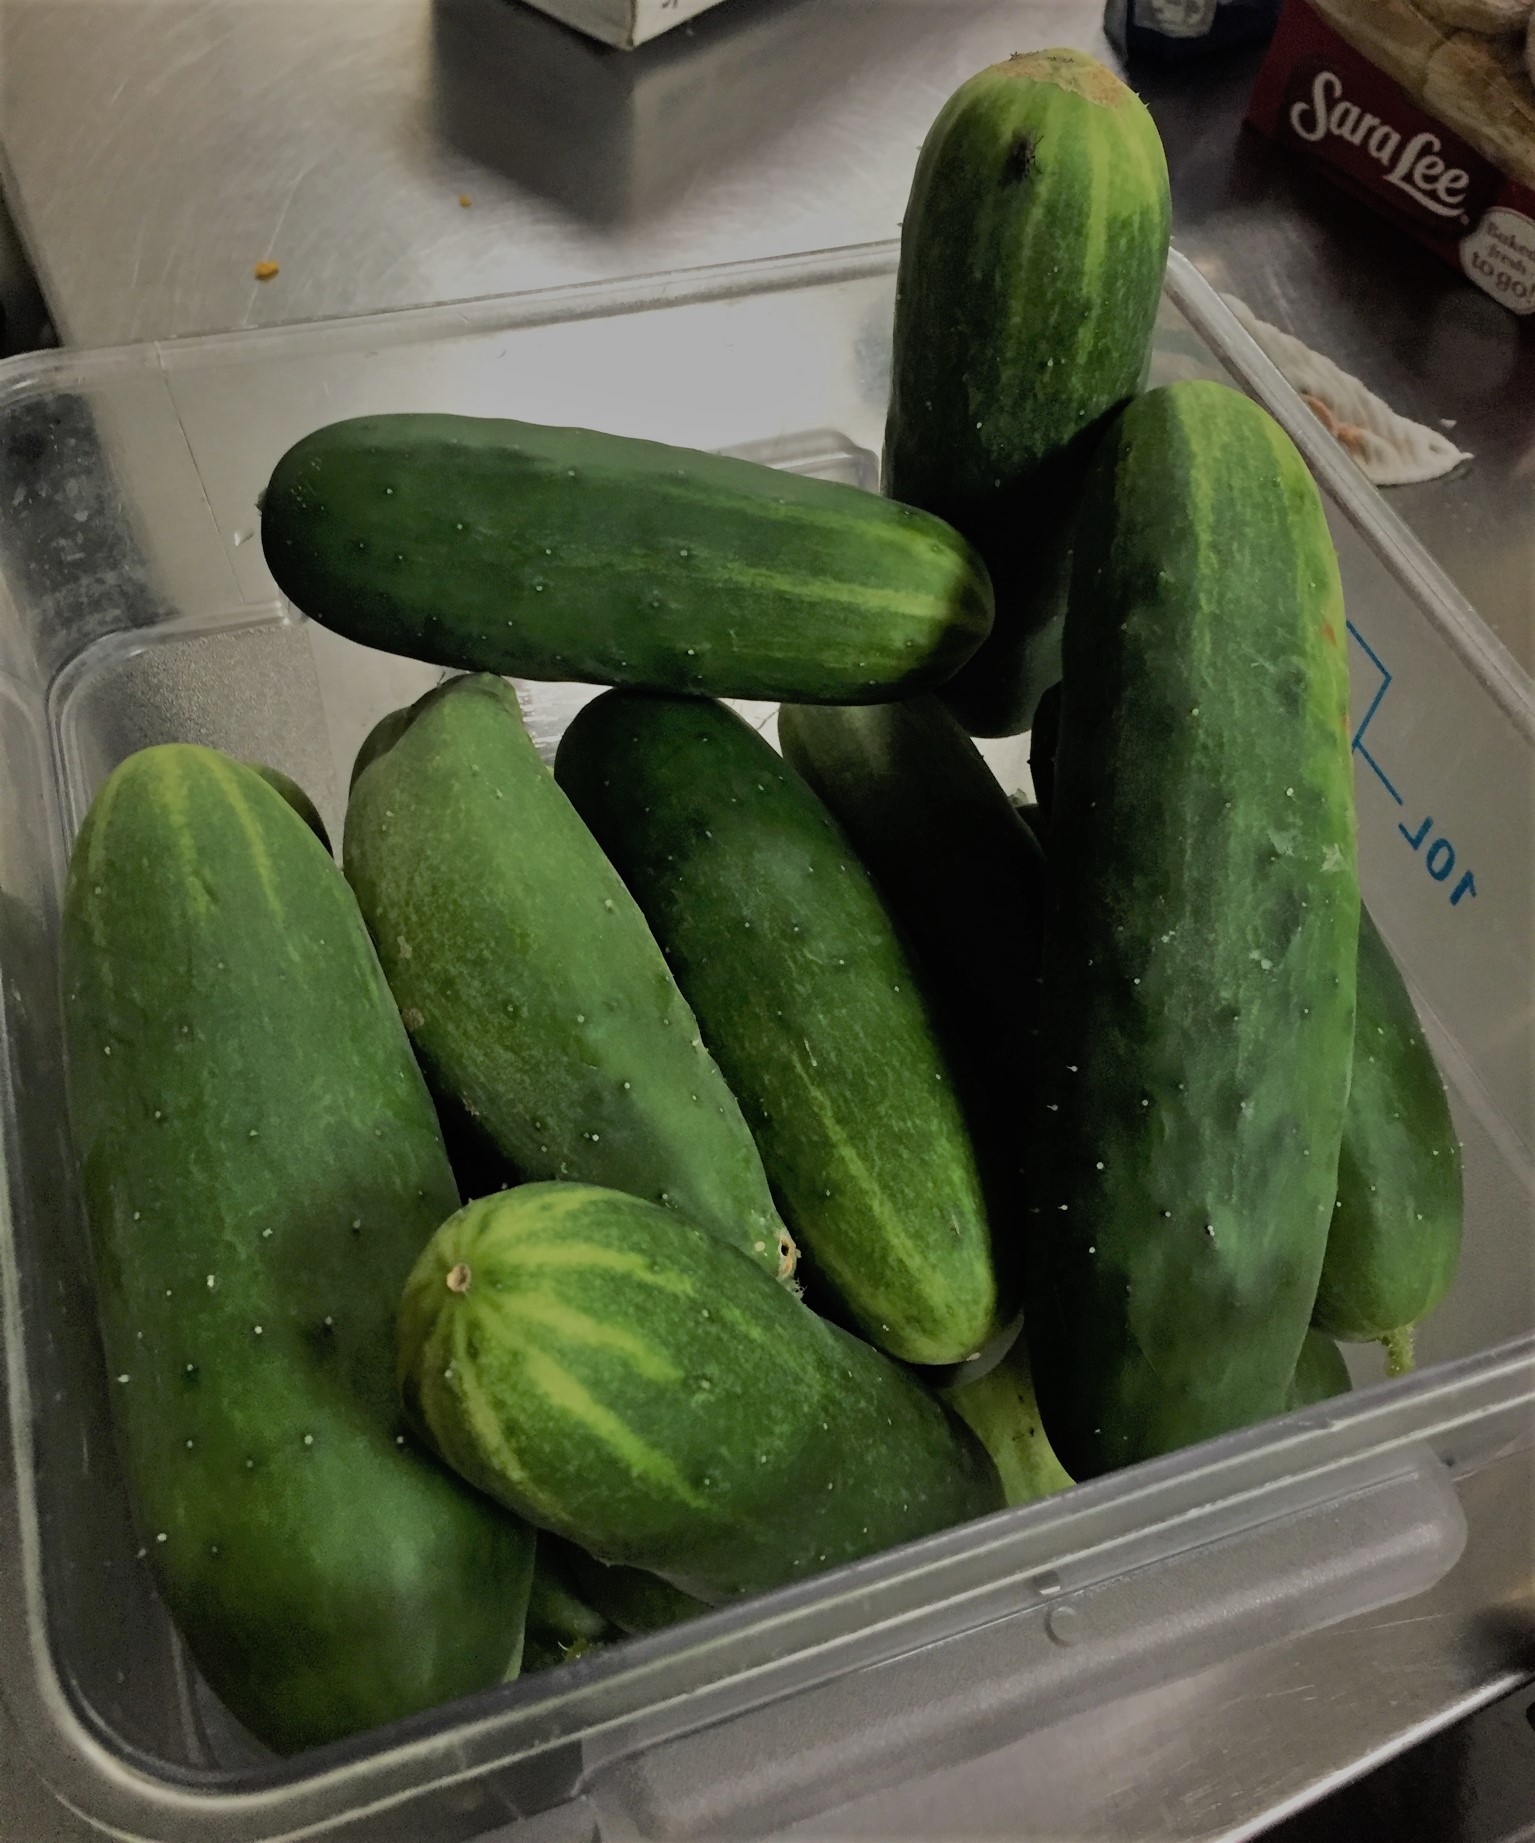
Cucumbers are a favorite fruit of many gardeners and with a little routine care, you can harvest fresh fruit from your own home garden. Learn some basic information about starting your own cucumbers In the Backyard Garden with UF IFAS Extension Escambia County.

by Molly Jameson | Apr 15, 2020
During the COVID-19 crisis, many of us have found that we have more time for activities at home. One activity that can be beneficial to your mental and physical health is gardening. Not only will gardening get you moving physically, but simply being outdoors can help you feel more relaxed during these stressful times. By vegetable gardening, you get the added bonus of becoming more self-sufficient by growing your own healthy food.
You can still gather your gardening supplies at local garden centers during COVID-19. Photo by Brenda Buchan.
To grow vegetables successfully, you will need some basic gardening supplies. This includes seeds or seedlings, fertile soil, gardening tools, and irrigation materials. If you are an avid gardener, you may already have these items at your house. But if you are new to gardening – or if you are simply missing an essential item in your everyday gardening arsenal – where do you go?
Thankfully in Florida, industries regarded as essential during these tough times include food, agriculture, and infrastructure support services. This means farmers, farm workers, farmers’ markets, produce stands, food banks, agribusiness support services, and landscaping services can continue to operate.
But for these essential services to operate safely, they still need to follow social distancing principles to protect the health of both their customers and workers. Therefore, many of our agriculture and horticulture industry personnel are finding ways to adapt. Although this involves making many adjustments, operations such as garden centers and plant nurseries are changing how they function to meet the demand of their customers while remaining safe.
Become more self-sufficient by growing your own healthy food in your backyard. Photo by Molly Jameson.
For example, Native Nurseries in Tallahassee has temporarily closed its doors to the public, but they offer pickup and delivery options that are consistent with social distancing guidelines. Customers can either email or call the nursery and provide their contact and billing information, their purchase requests, and specify either pickup or delivery. Pickup orders are placed in a labeled designated parking space for the customer. For a fee, Native Nurseries also offers delivery of purchased items.
If you plan to make a trip to a garden center or plant nursery, call ahead or check the company’s website to learn about its social distancing policies, pickup and delivery options, and any potentially reduced hours of operation.
By continuing to support our local agriculture and horticulture businesses, we can ensure that they can weather this storm and continue to provide us with their essential services long into the future.
So, gather your supplies, stay home, and get your spring and summer vegetable garden growing!
For more information about essential services in Florida, visit: https://www.floridadisaster.org/.
by Beth Bolles | Apr 1, 2020
Bush beans are an easy and enjoyable plant to grow in the home garden. These particular beans do not require a trellis and will be ready to start harvesting in about 50 days. Learn more about growing your own bush beans with UF IFAS Escambia County Extension In the Home Garden.
by Daniel J. Leonard | Apr 1, 2020
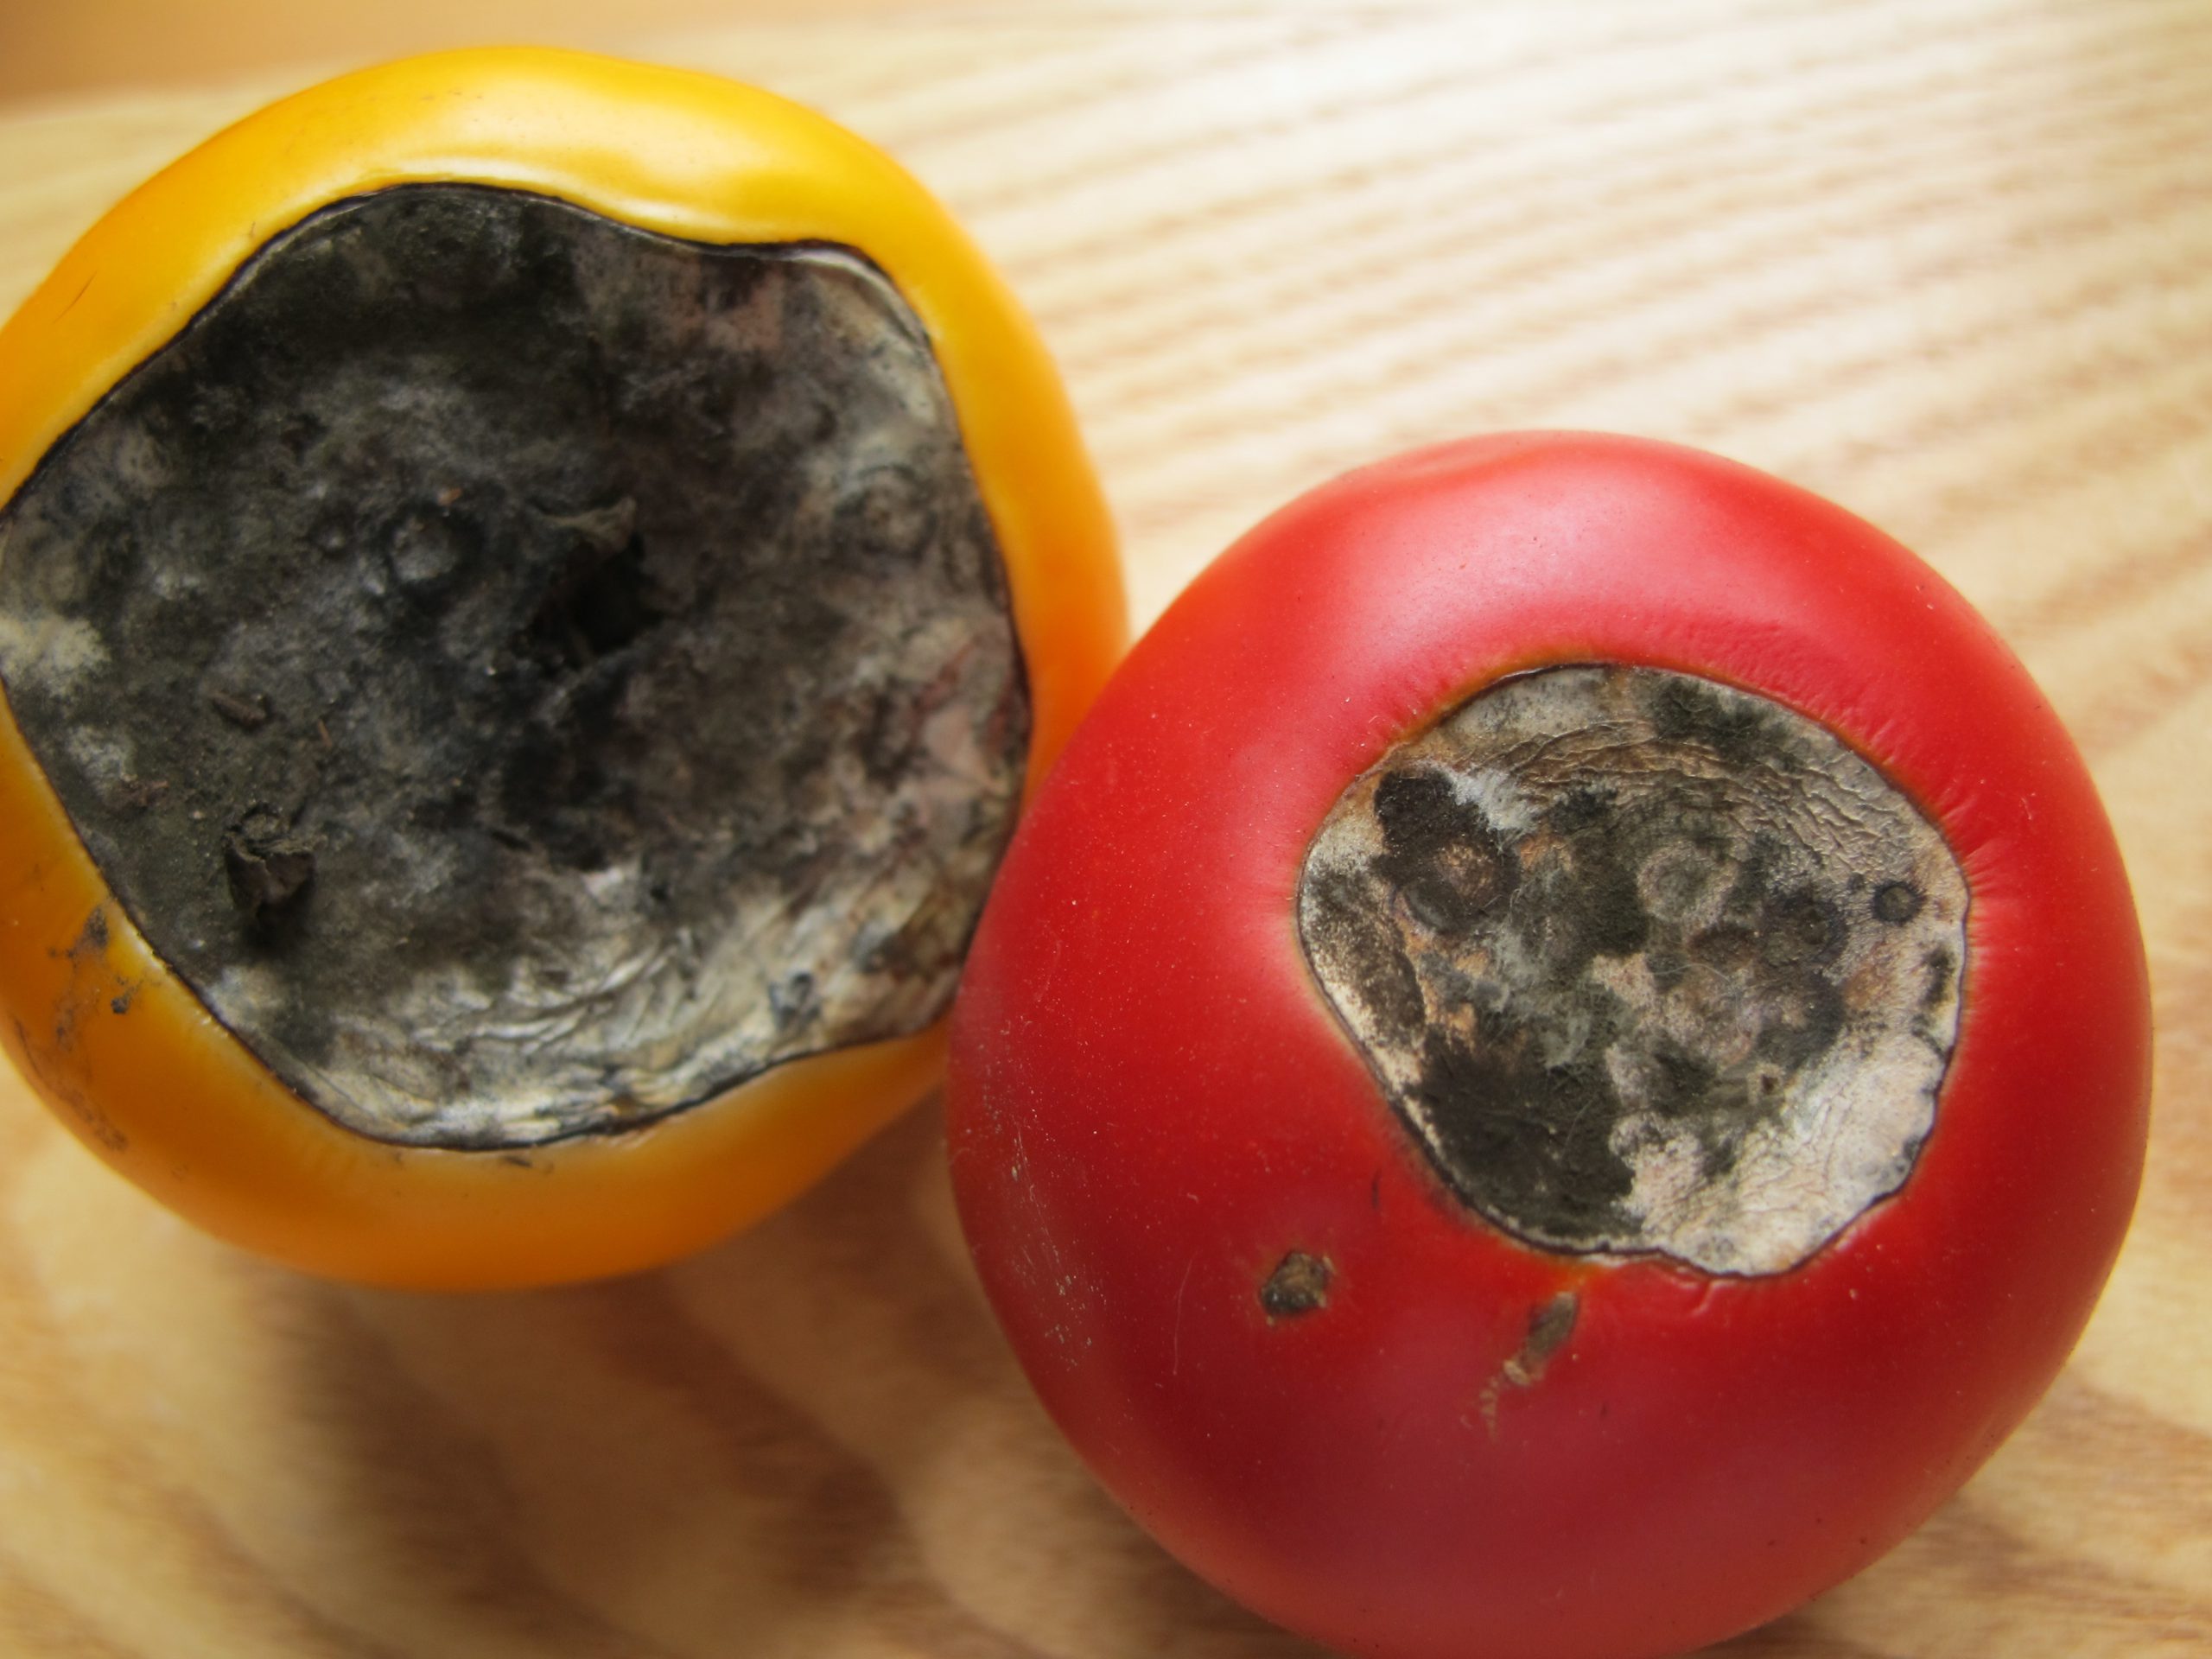
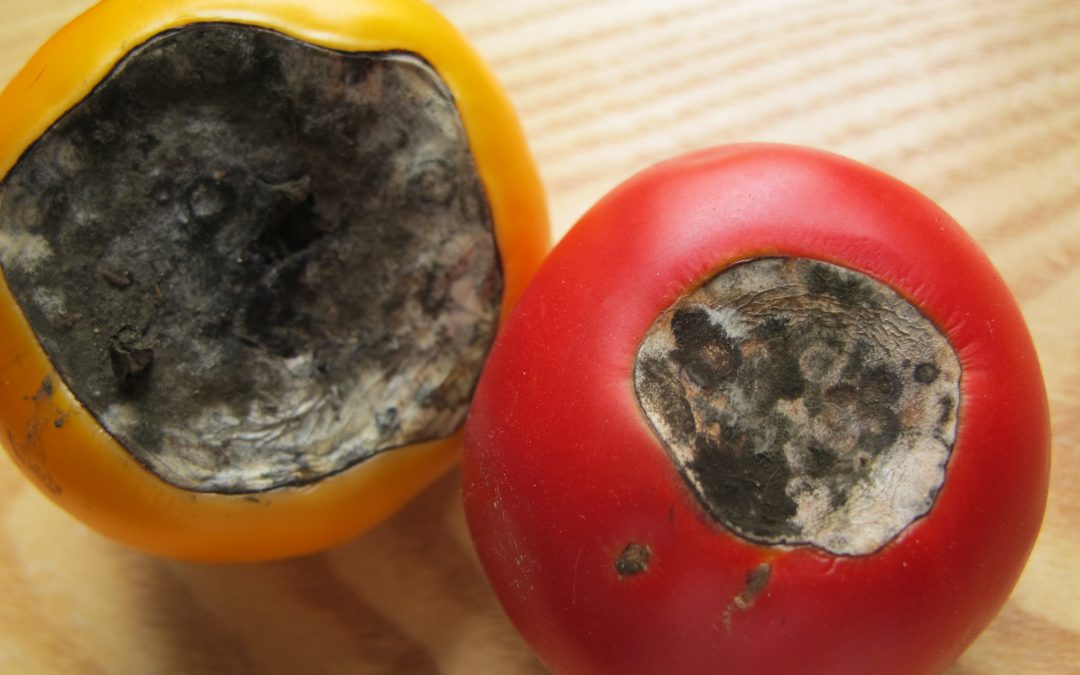
There aren’t many more frustrating things than growing seemingly healthy tomatoes, those plants setting an abundance of flower and fruit, and then, once your tomatoes get about the size of a golf ball, having the fruit rot away from the base. This very common condition, called Blossom End Rot (BER), is caused one of two ways: by either a soil calcium deficiency or disruption of soil calcium uptake by the plant. Fortunately, preventing BER from occurring and then realizing an awesome crop of tasty tomato fruit is relatively simple and home gardeners have a couple of possible preventative solution!
Blossom End Rot damage. Photo Courtesy Larry Williams, Okaloosa County Extension.
- Soil Test & Lime if Needed. The only way to really know if your soil calcium level is sufficient is through a soil test. A complete soil test through the UF Soil Lab or other lab measures both raw nutrient levels and pH. Testing for pH is especially critical. For calcium, either already in the soil or in a supplement you apply, to be available to tomato plants, soil pH needs to be between 6.0-7. In more “acidic” soil pH below 6, nutrients like iron and aluminum become more available to your tomato plants, outcompeting calcium for uptake into the roots. We don’t want that. If your soil test indicates a pH below 6, it will give a lime recommendation somewhere between 3-5 lbs/100 ft sq of garden area to raise the pH to the sweet spot between 6.0-7.0 where your tomatoes will thrive.
- Use a Non-Lime Calcium Supplement. If you’ve had your soil tested and your pH is fine, adding more lime as a calcium supplement isn’t helpful. Using lime as an additional calcium source can actually lift pH above that 6.0-7.0 zone and cause other problems. At this point, once pH is where we want it, I like to add a non-lime calcium supplement. There are lots of options here. Traditional fertilizers labeled for tomatoes and veggies tend to have a good calcium content in the 6-10% range and work great. However, if you’re into organic gardening or just don’t need the extra nutrient value of a complete fertilizer, Gypsum is a good calcium supplement and is widely available. Regardless of which non-lime source you choose, apply at planting or shortly after and follow label rates for best results.
- Water Properly. Consistent watering is key in helping ward off BER. Though we know BER is generally

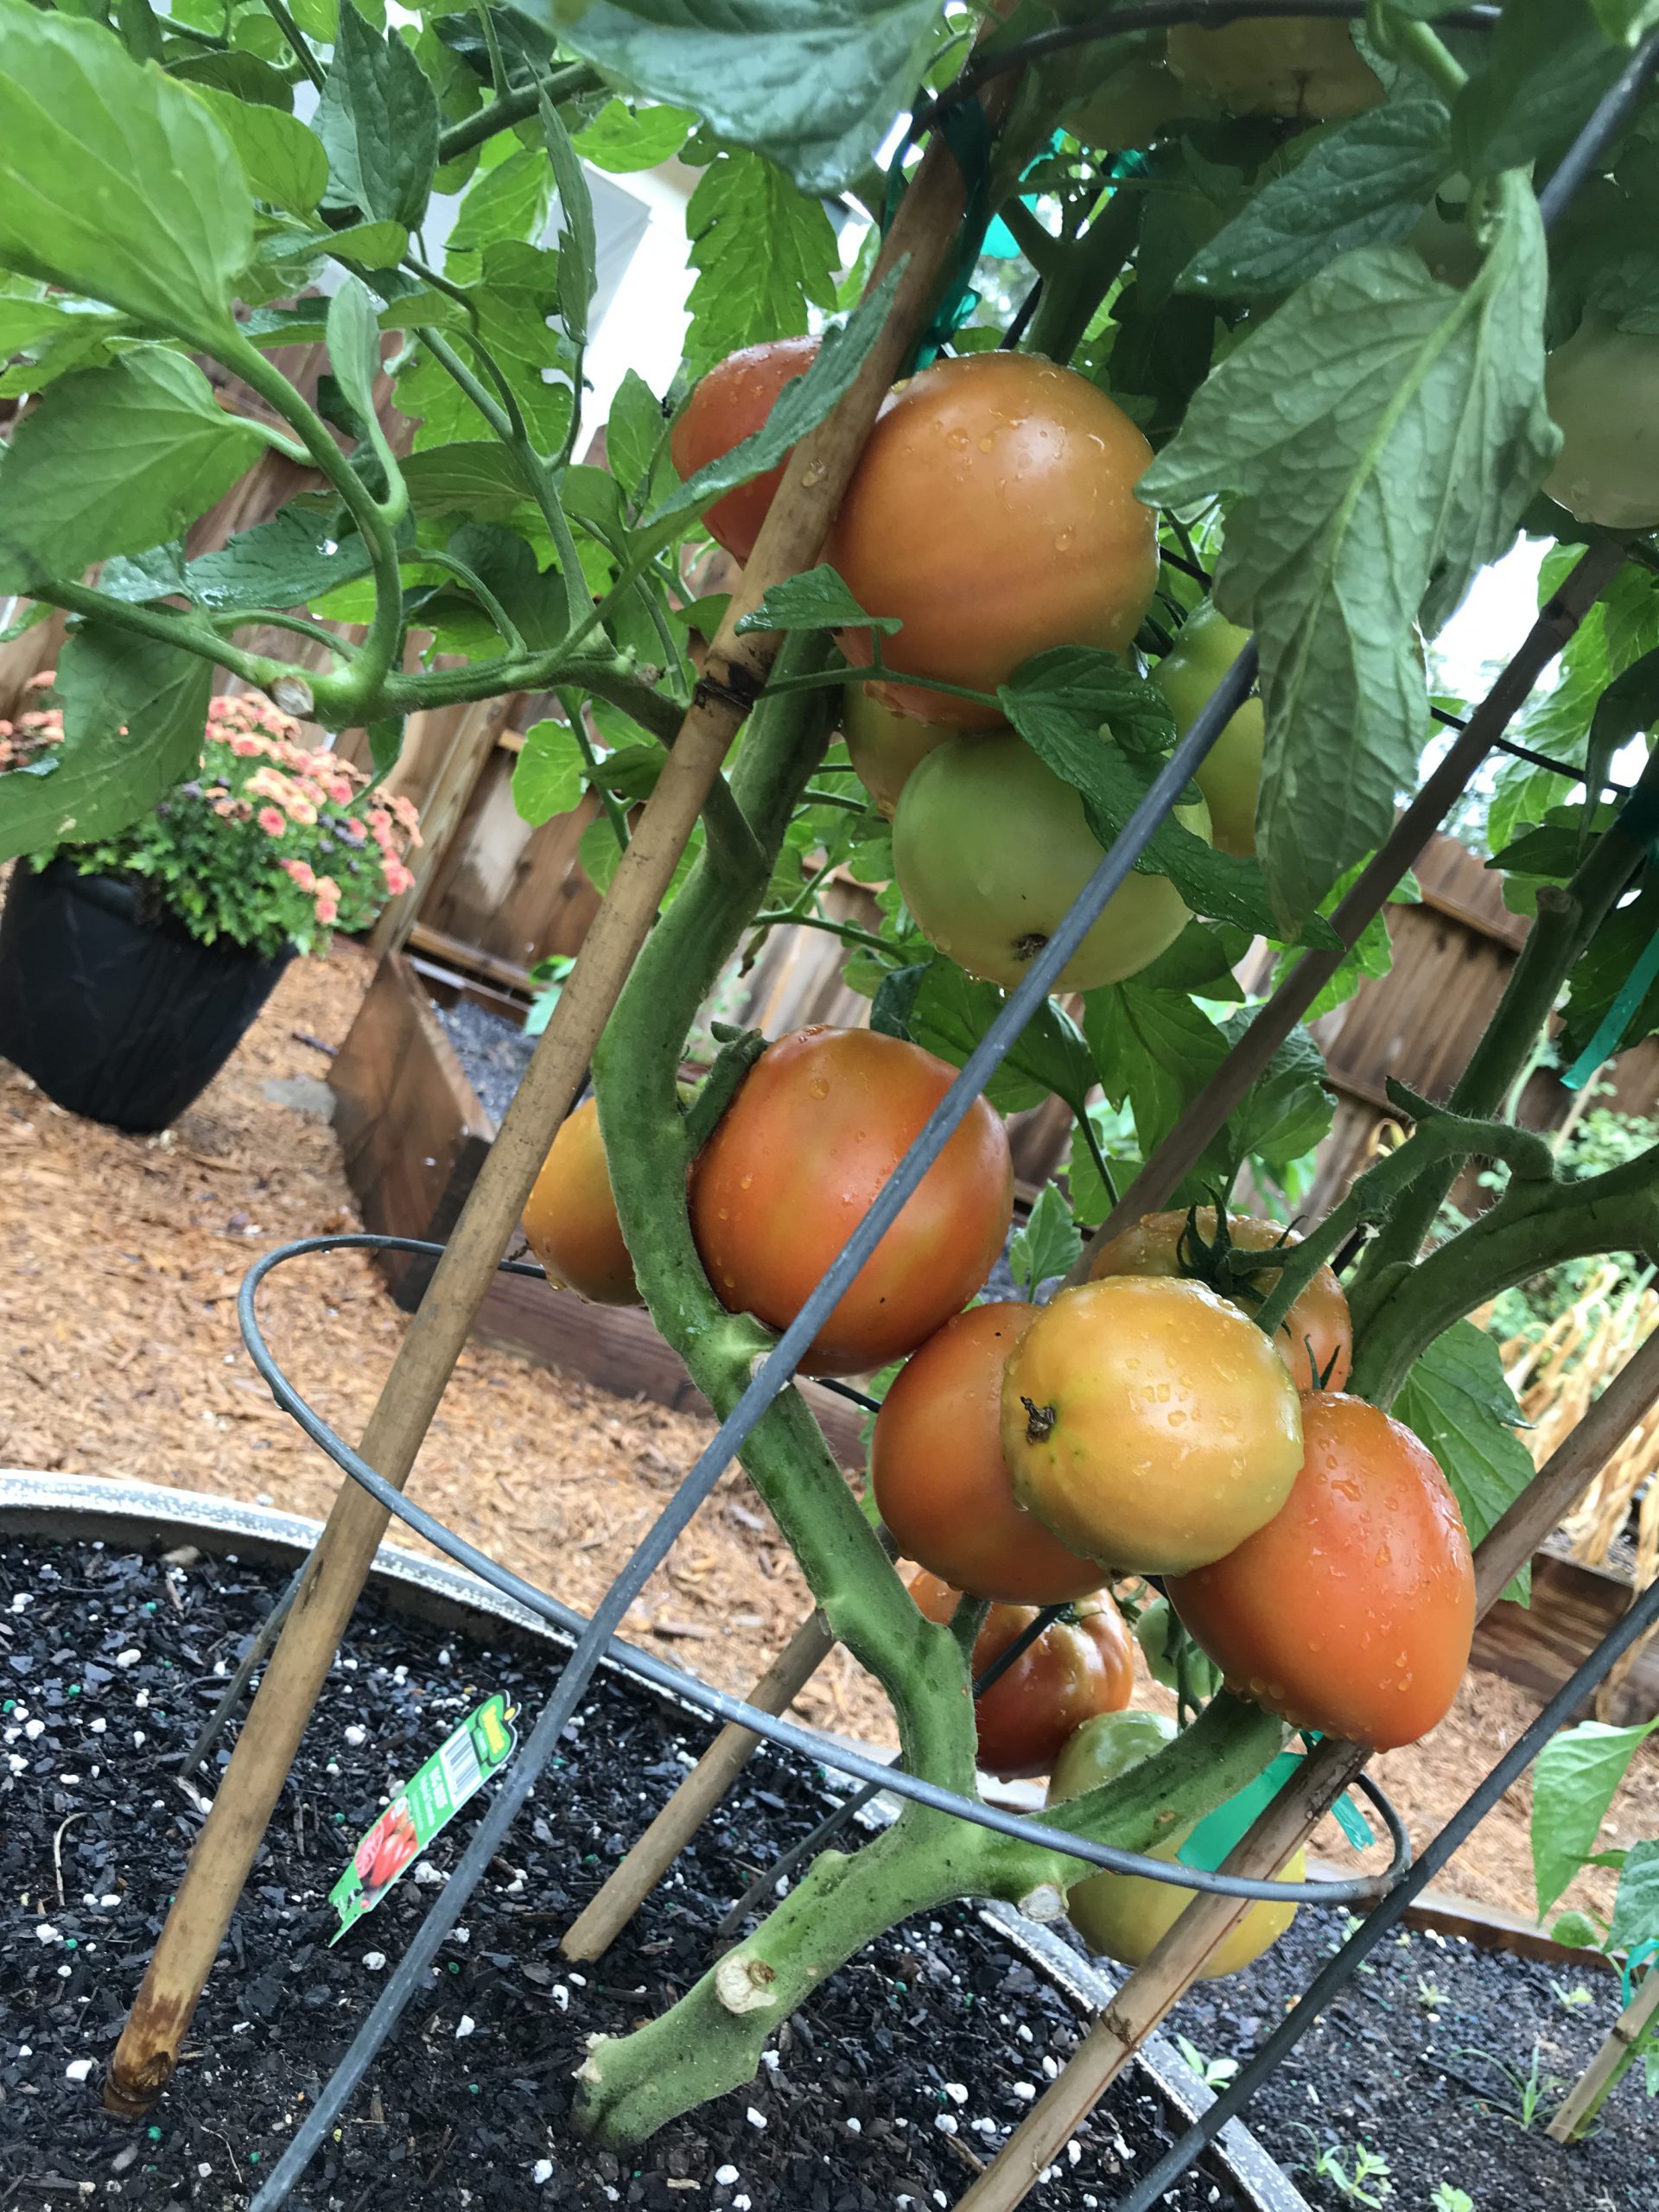
Healthy ‘Big Beef’ tomatoes grown in 2019 with a pH of 6.5, amended with Gypsum at planting, and watered regularly each day! Notice no BER. Photo courtesy the author.
caused by calcium deficiency, it can be induced by creation of distinct wet and dry periods from non-regular watering, interfering with calcium uptake and availability to the plant. So, while you may have adequate soil calcium, if you don’t water correctly, the condition will happen anyway! It’s also good to keep in mind that mature tomato plants use large quantities of water daily, so during the heat of summer, plants in containers may need to be watered multiple times daily to maintain consistently moist soil. Think about it, you don’t drink 8 glasses of water when you wake up and then never drink again throughout a hot day. A tomato is no different. Allowing your plants to wilt down before providing additional water ruins productivity and can induce BER.
Blossom End Rot, while one of the more destructive fates of tomatoes, is totally preventable by a little legwork early in the growing game from you! Soil test and change pH with lime if needed, add a shot of calcium through a tomato blend fertilizer or non-lime supplement like gypsum, and water regularly! Do these three things and you’ll be well on your way to a great crop of early summer tomatoes. If you have any questions about tomato blossom end rot or any other horticulture or agricultural topic, please don’t hesitate to reach out to us at the UF/IFAS Calhoun County Extension Office. Take advantage of this beautiful spring weather and get in the garden today! Happy gardening.
by Molly Jameson | Feb 27, 2020
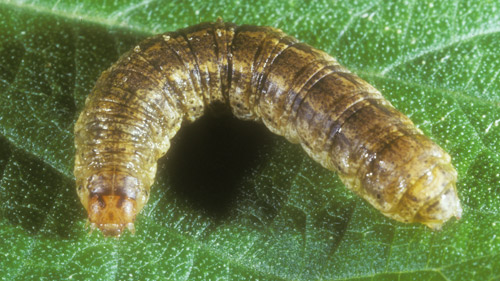
Larva of the granulate cutworm (Feltia subterranea). Photo by John L. Capinera, Entomology and Nematology Department, University of Florida.
One of the biggest predicaments growing vegetables in my backyard garden is dealing with cutworms. Cutworms are a type of nocturnal moth larvae that feed by wrapping themselves around seedling stems at the soil surface. They then cut the stem of the seedling in two – as if Edward Scissorhands dropped by for a visit – killing the plant. There are multiple species, but one of the most common in Florida is the granulate cutworm (Feltia subterranea). They are distributed most frequently in the tropics but can occur as far north as Southern Canada and regularly occur in the Southeastern United States.
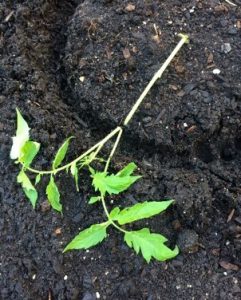
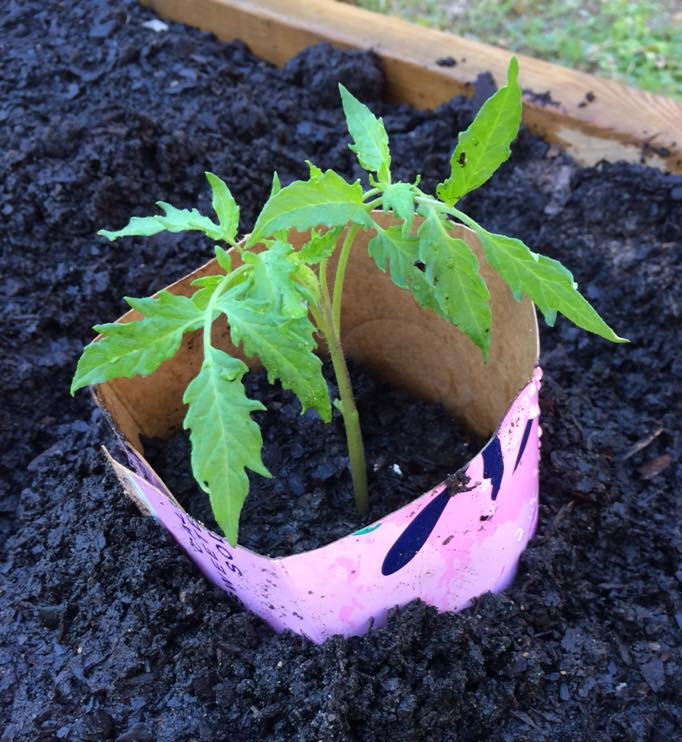
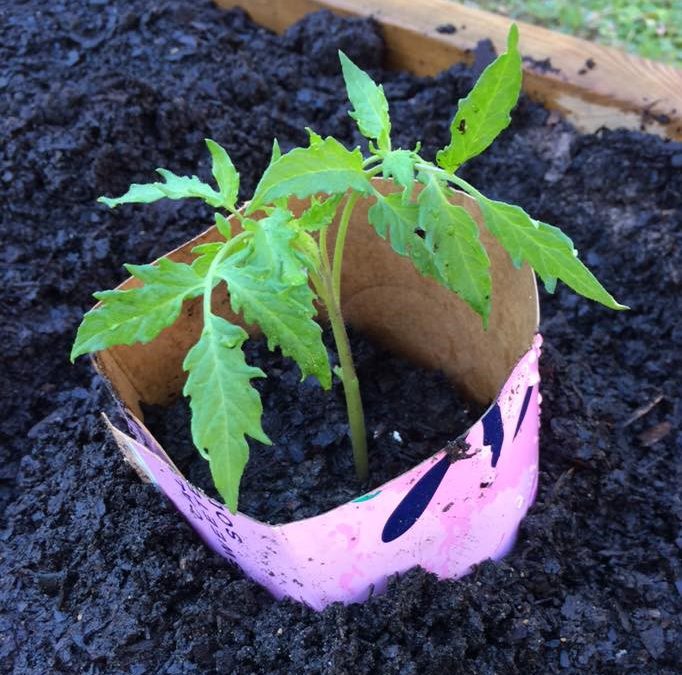
My plan was to install cutworm collars the next morning. But that night, cutworms chewed through the stem of this tomato seedling in two locations. Photo by Molly Jameson.
Since cutworms feed at nighttime it is particularly frustrating, as you will find plants which appeared fine in the evening destroyed by morning. What’s even more frustrating is they feed in multiple seasons on a very wide range of crops, including tomatoes, beans, corn, eggplant, lettuce, peppers, watermelon, celery, broccoli, cabbage, and kale, to name a few. This fall and winter, I even found they had attacked my carrots and onions, which I thought would be more resistant.
One approach a backyard gardener can take in combatting cutworms is to use physical barriers. Netting or row cover can help prevent mature moths from ovipositing their eggs. But if you already have larvae invading, this technique will be ineffective.

For plants with stems less than pencil-width thick, make cutworm collars to help protect young seedlings from attack. Photo by Molly Jameson.
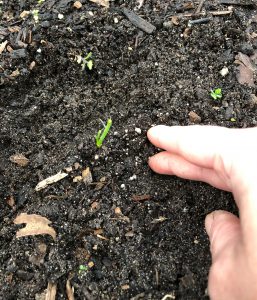
Plants with stems that are less than pencil-width thick are most susceptible to cutworm damage. A useful tactic is to make what are called “cutworm collars.” Surround individual seedlings with toilet paper rolls, taking care not to break fragile stems as you position the rolls over the plants. Materials such as soda cans or cereal boxes can be cut into strips to encircle seedlings if toilet paper rolls are too small to safely fit over the plant. Try to extend the cardboard two inches below and two inches above the soil surface. In this way, the cardboard acts as a barrier, and can help keep cutworms from accessing the stems.
Unfortunately, if cutworms are already hiding in soil close to the plants, the collars might not be effective. Another technique to try, especially if cutworms are already present, is the toothpick method. Place two toothpicks vertically in the soil on each side of the stem. They should be right up against the stem. In this manner, the toothpicks should prevent the cutworm from wrapping around the stem to chew through.
This onion start was given a moonlit haircut by feasting cutworms. If you are lucky, you may be able to find the culprit by digging around the soil adjacent to the afflicted plant. Photo by Molly Jameson.
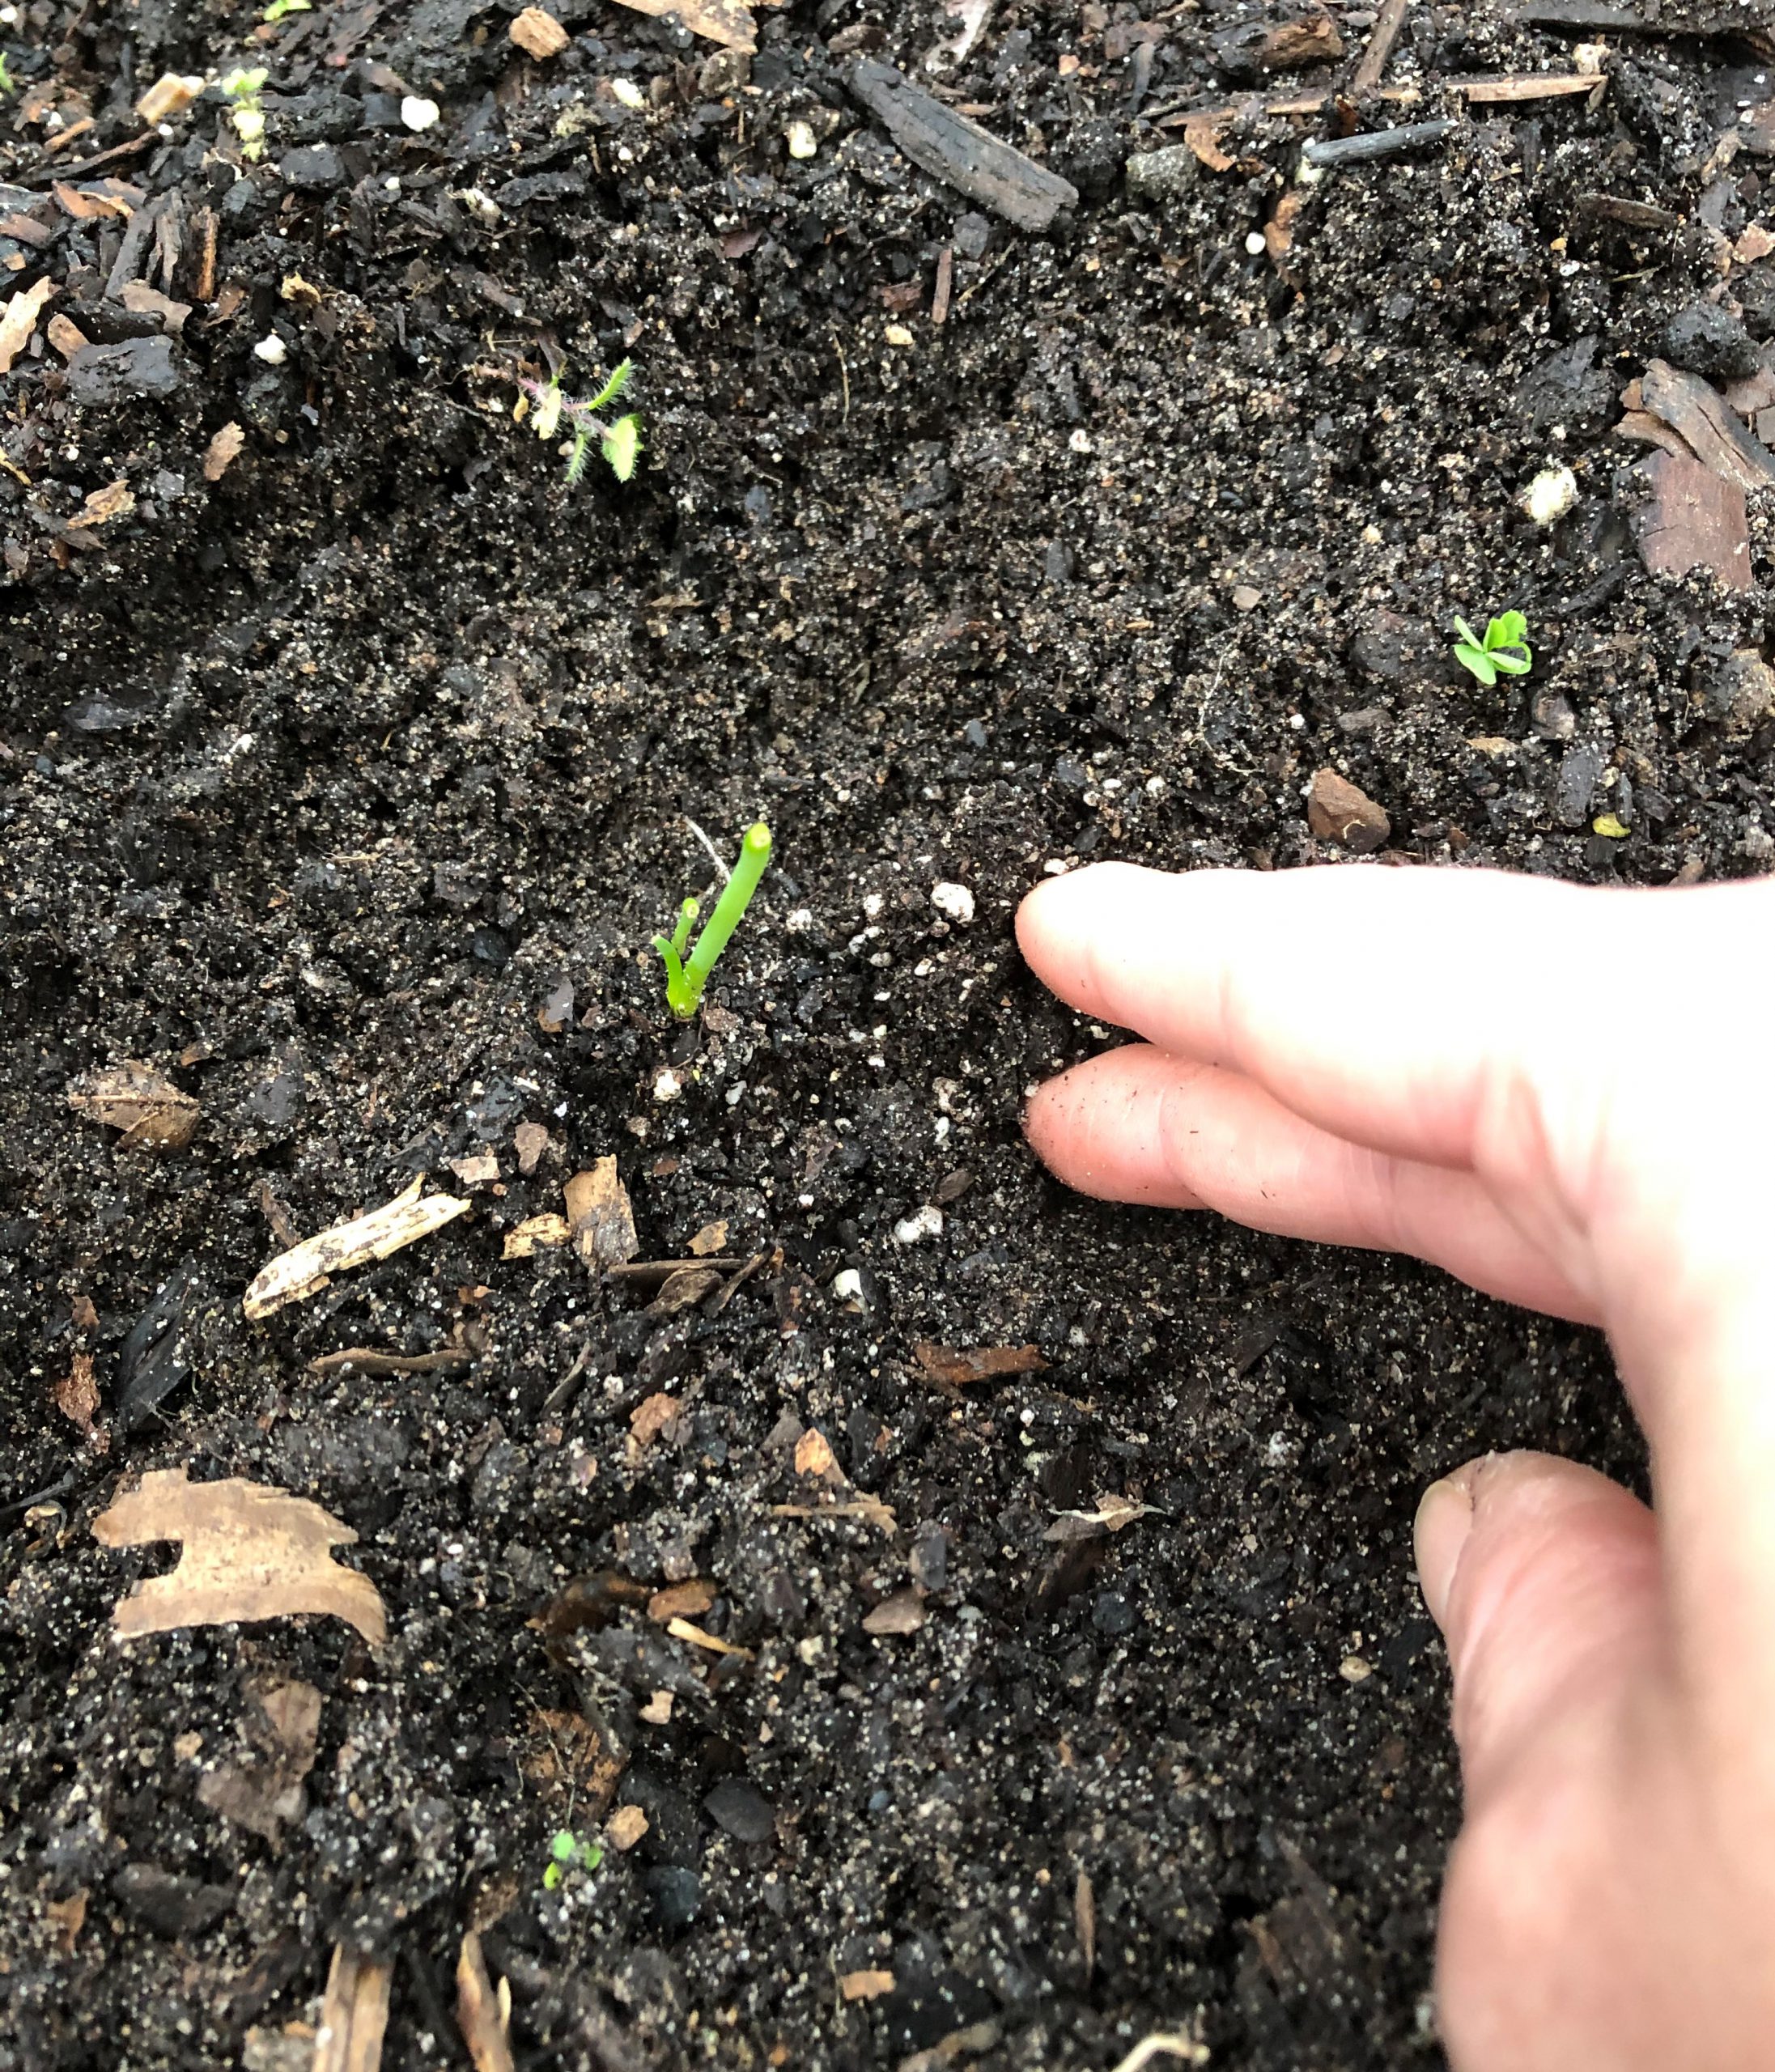
It can also be helpful to scout your garden for cutworms. Carefully dig one to two inches into the soil near afflicted seedlings. The caterpillars are small, growing from a few millimeters up to less than two inches in length, but tend to stay curled up near the soil surface within about a foot radius of their vegetative victims. Crush any cutworms you find, or for the squeamish, simply drop the cutworms into soapy water.
Applying the bacterial insecticide Bacillus thuringiensis var. kurstaki (Bt for short) may help control cutworms but be sure to apply in the evenings and not before a rainfall or irrigation event, as sunlight and water render Bt useless. And keep in mind, cutworms must digest Bt to be effective, so you may need to apply multiple applications. As with any insecticide, always remember to follow the directions on the label. Once seedling stems grow larger than pencil-width, they should be safe from cutworm mayhem. That is… until the next garden vandal comes along!
To learn more, visit the University of Florida Entomology and Nematology Department’s Featured Creatures page about the granulate cutworm (http://entnemdept.ufl.edu/creatures/veg/granulate_cutworm.htm). You can also search for cutworms on the UF/IFAS EDIS website to learn about additional cutworm species found in our area (http://edis.ifas.ufl.edu/).