by Ashley Stonecipher | Mar 10, 2022
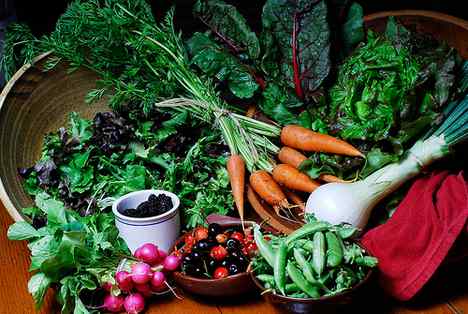
Some of the many benefits of starting your own home garden are having fresher, more nutritious produce, the positive effects on physical and mental health, increased consumption of fresh fruits and vegetables and a potential cost savings. Also there are many advantages to starting a garden in the spring with transplants. You avoid bad weather, achieve earlier and higher yields, avoid insect and disease issues, and can choose the best and strongest plants to add to your garden.
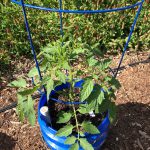
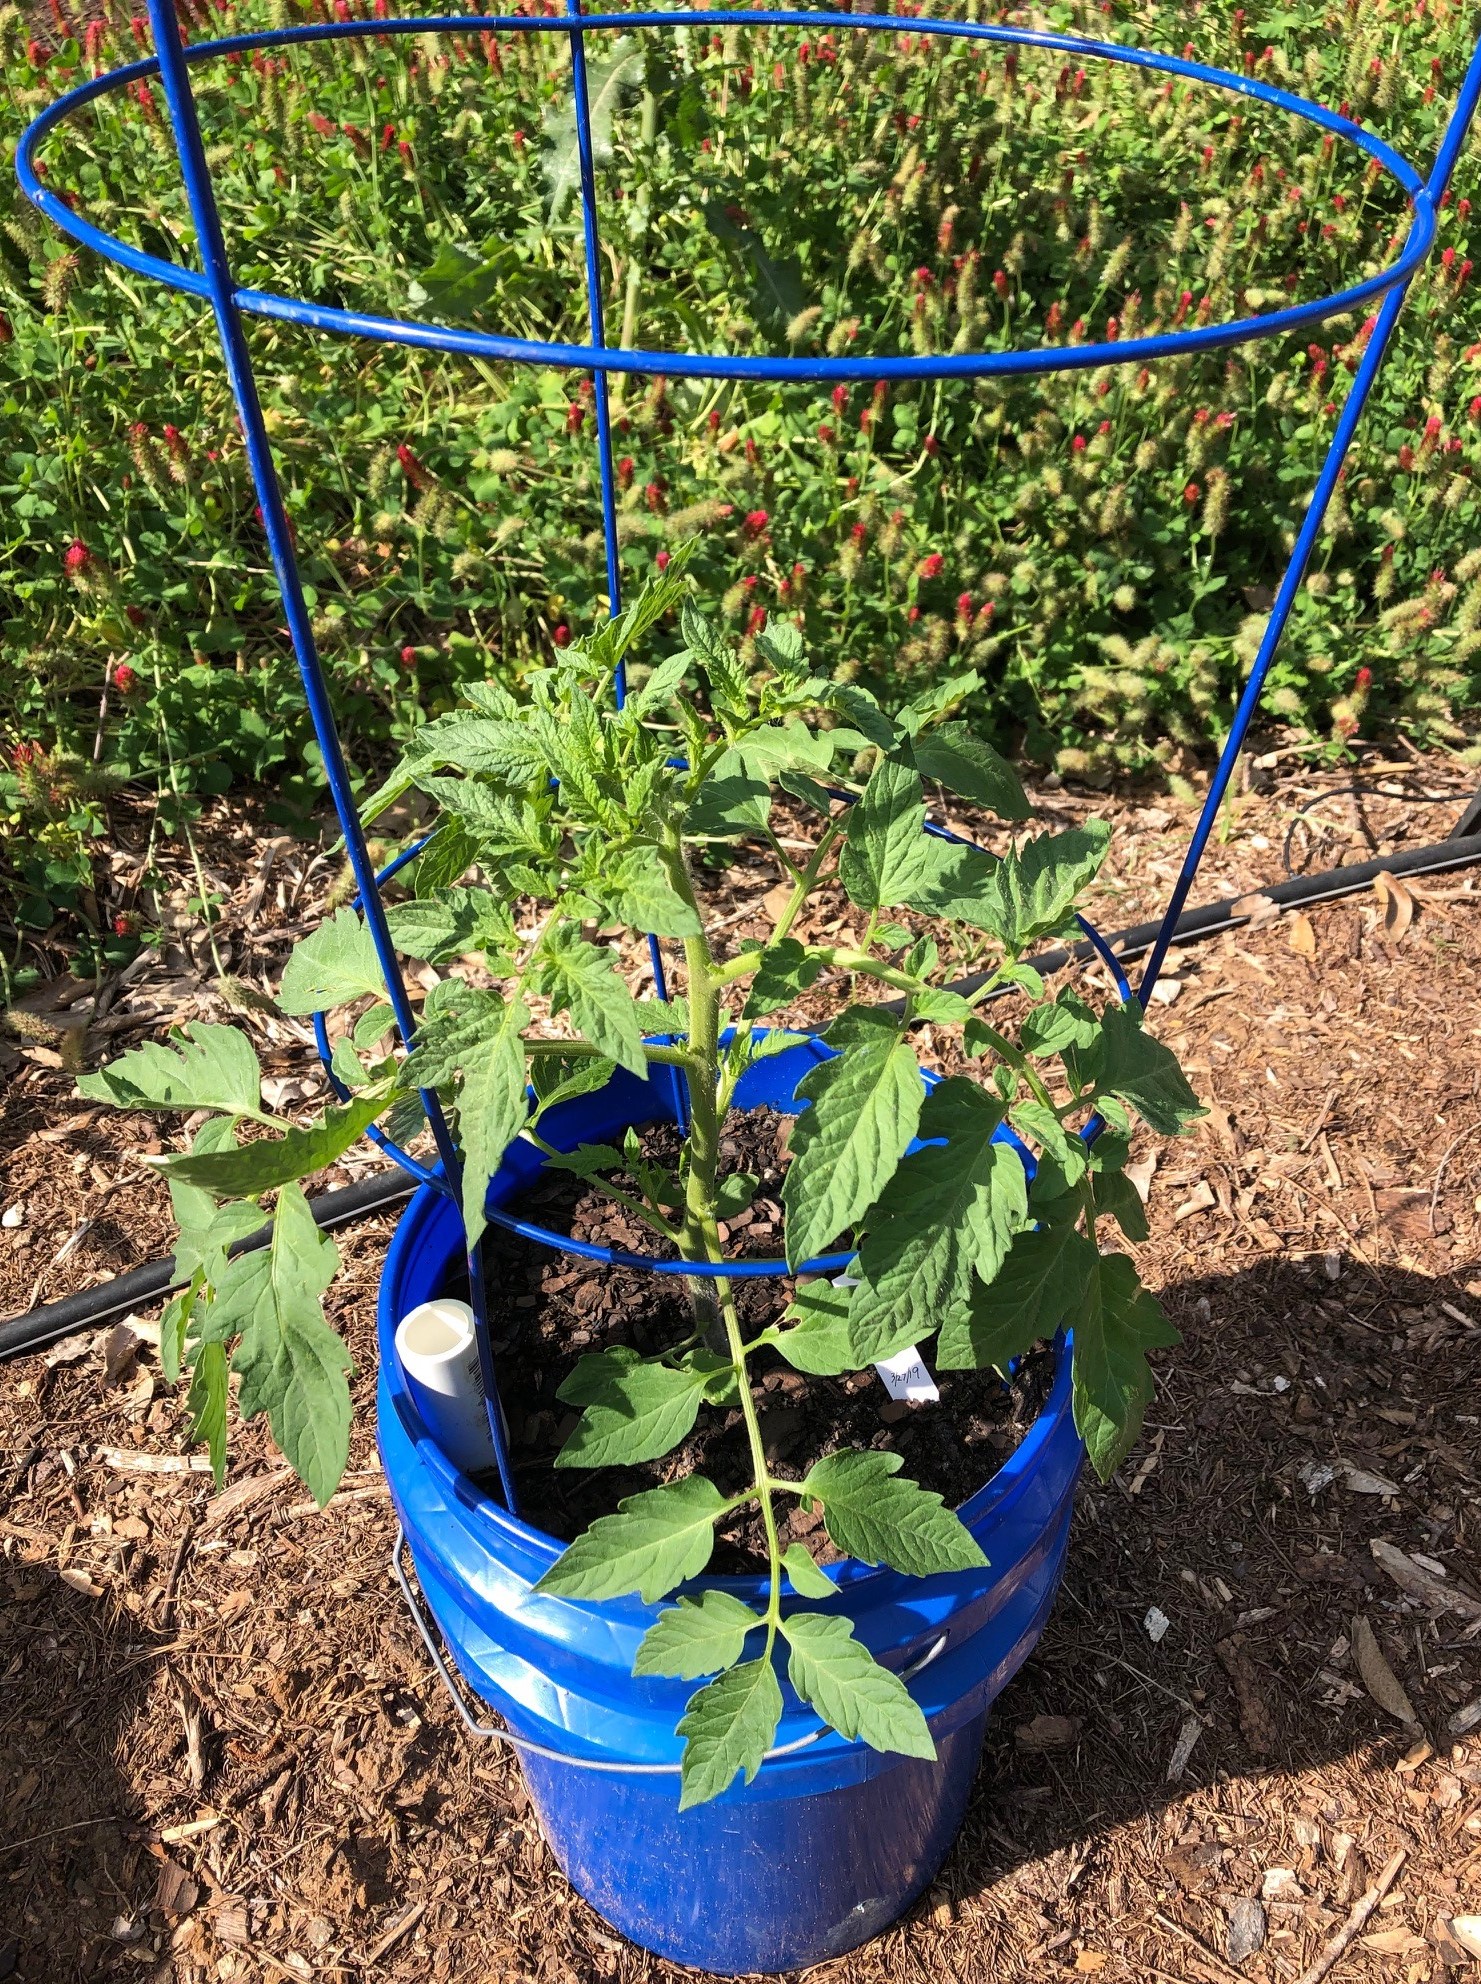
Using a self-watering container is an excellent option if you find yourself away from the garden this summer. Photo by Molly Jameson.
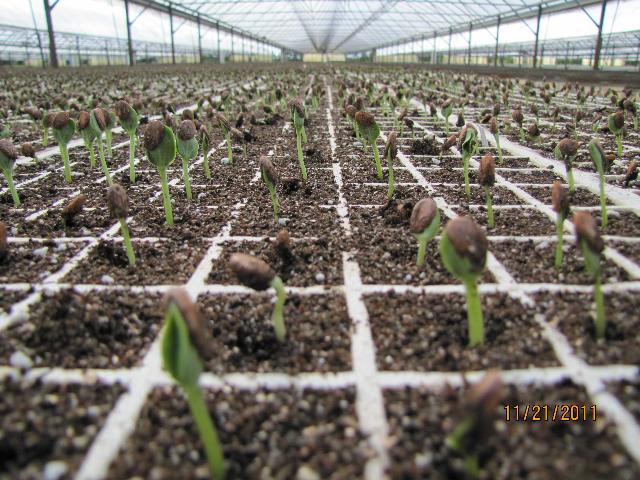
Now is the time to start planting seeds indoors for warm season crops such as tomato, pepper, cucumber, eggplant, okra, summer squash, watermelon and many more. It is important to consider the number of days to harvest, planting zone, and location to plant. Buy seeds from a reputable source and check the expiration dates/sell-by dates and follow the packet.
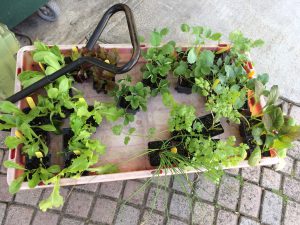
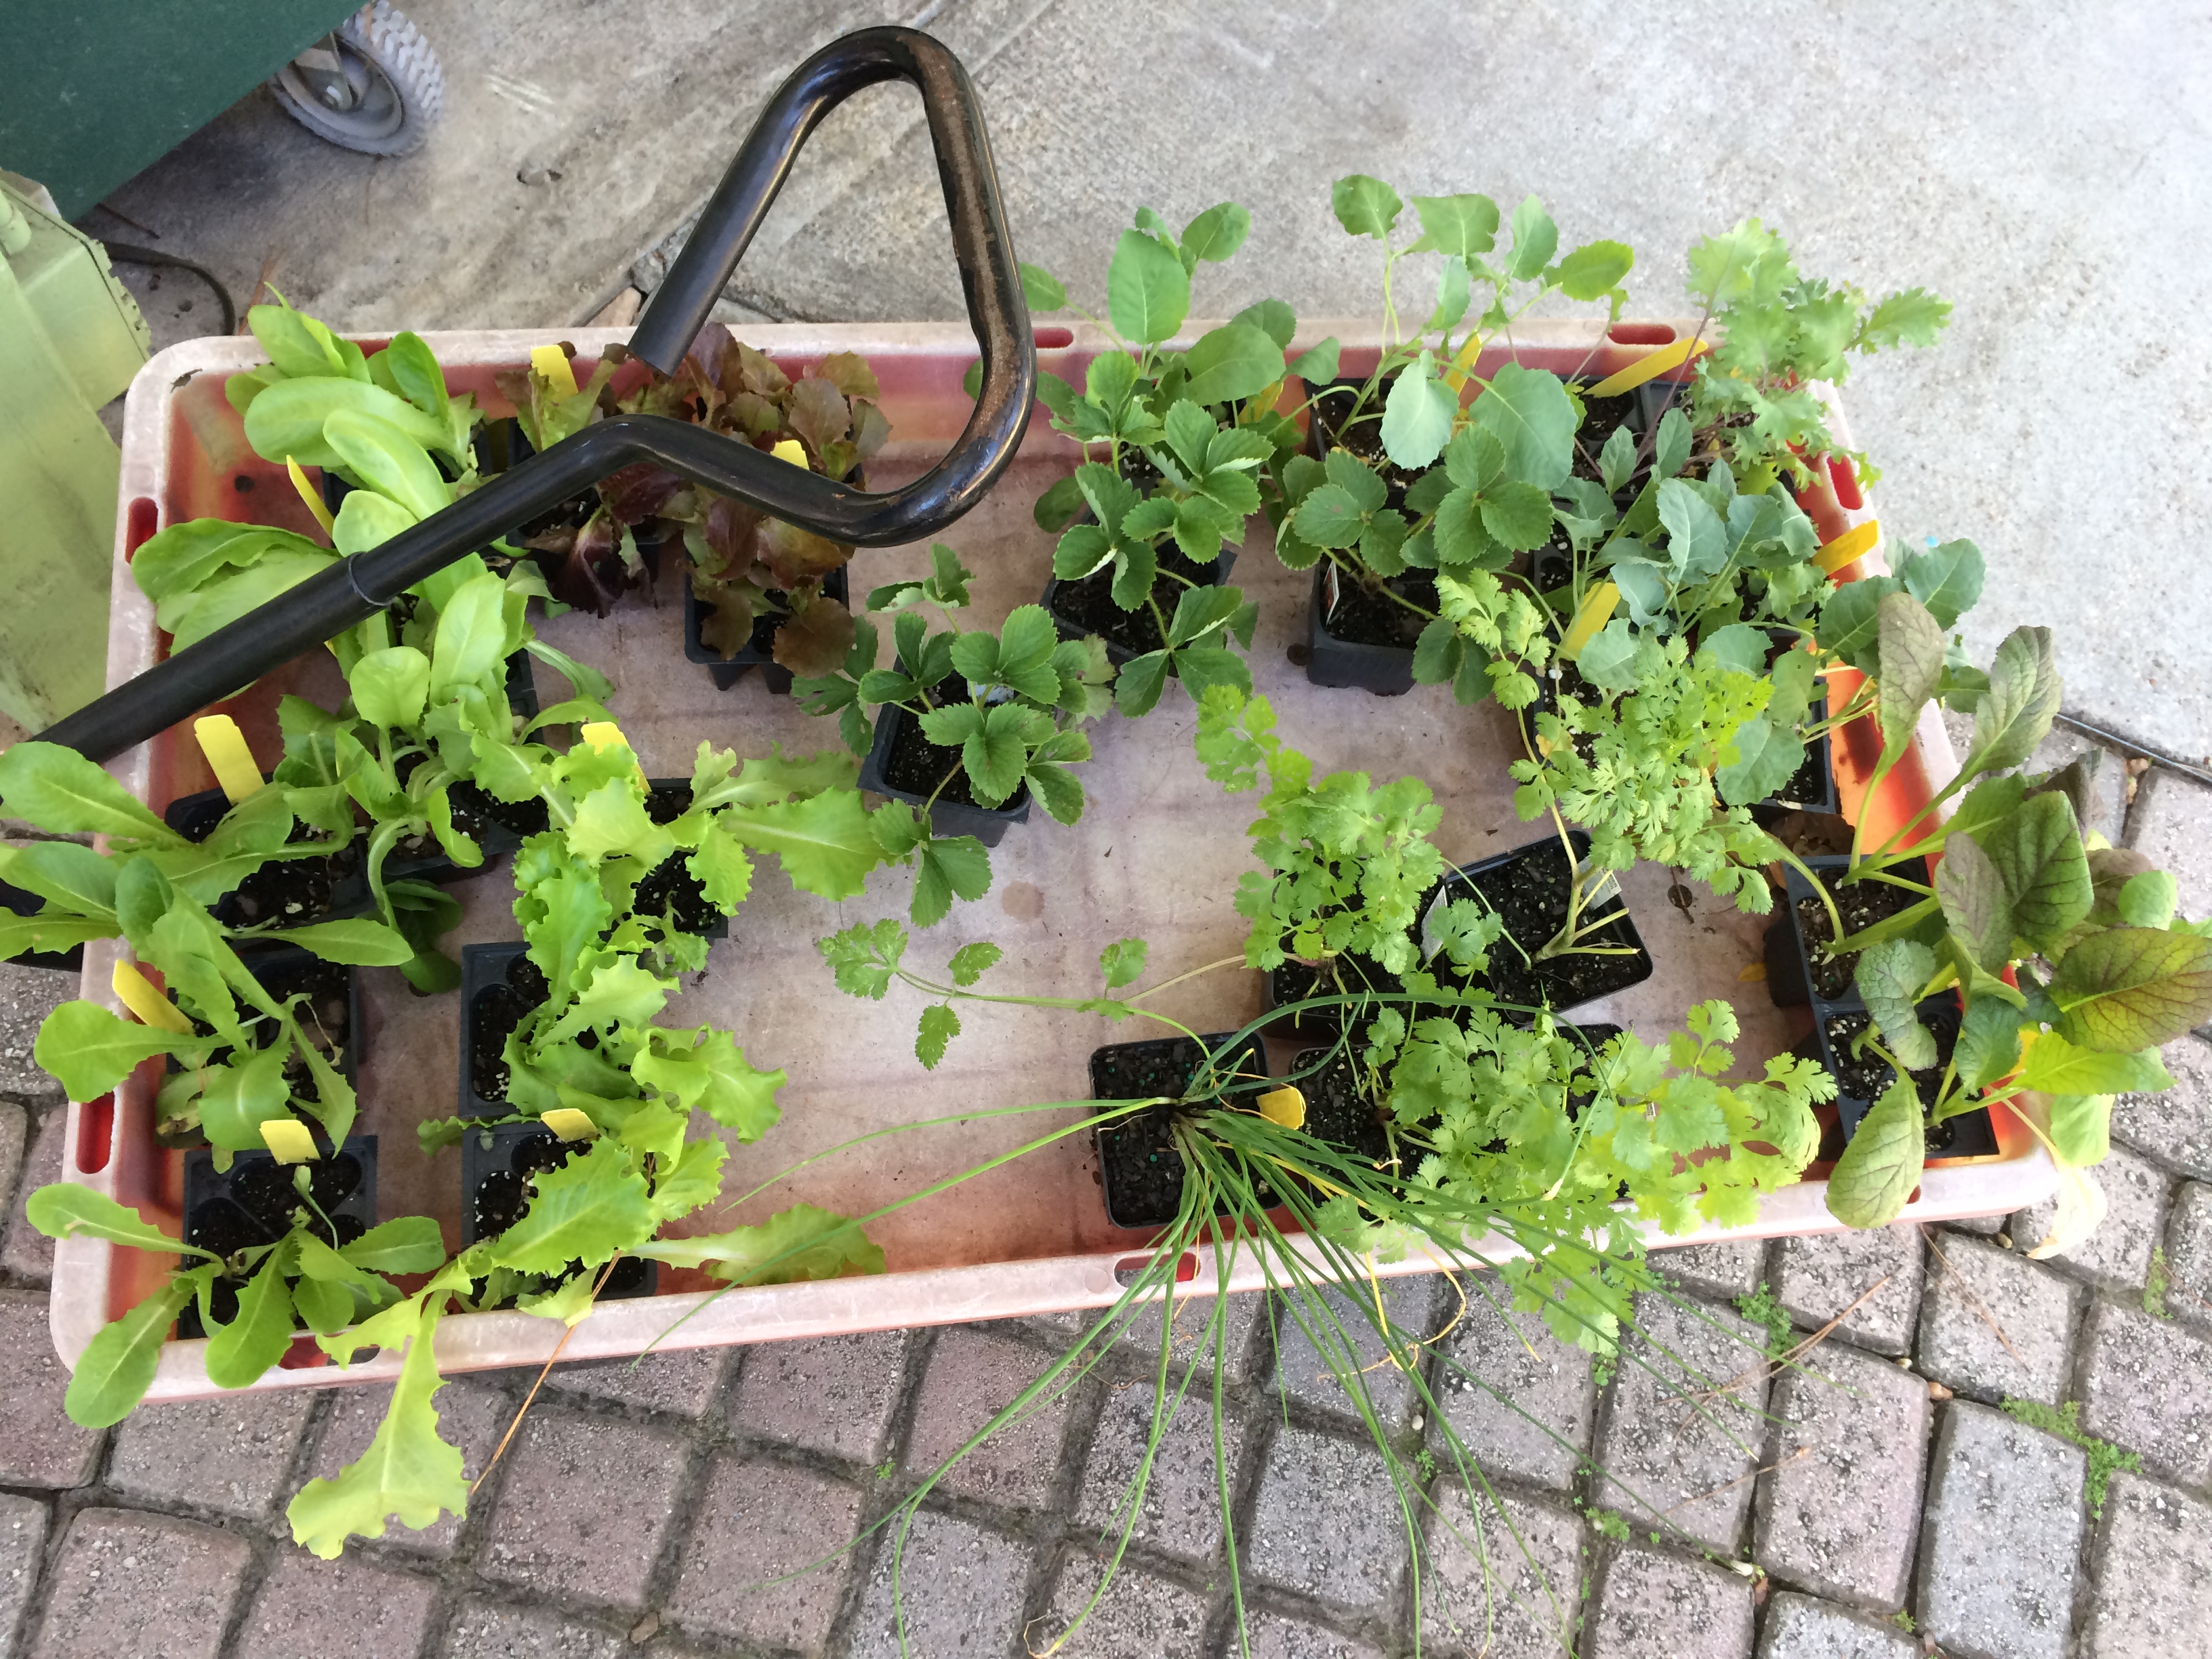
For some vegetables, buy transplants from your local nursery. Photo by Molly Jameson.
When seeding the containers follow instructions for the seeding rates, spacing and depth on your seed packet. Smaller seeds can be broadcast over the surface and larger seeds will need to be covered with soil. Temperature and humidity are important for germination. Your packet will be specific on how deep to plant the seeds and a range of how long it will take to germinate. Label your container with the vegetable name and date seeded. You may find yourself like me and thinking you will remember what it is only to be guessing what you have as it germinates!
Most seeds started indoors will be ready for the garden in 4 to 6 weeks. Transplants must be hardened off first which means you should reduce the amount of water and stop fertilizing 1-2 weeks before they are ready to go into the garden. The seedlings will need a good bit of sun/light and moisture once they germinate to avoid leggy and stretchy plants.
The next step is to care for your transplants. As you have taken the time to seed them, watch them grow, and then put the plants into their new home it is important to set them up for success. Monitor the transplants for insect and disease on a weekly basis. Make sure the garden is free of weeds before the plants go into the ground. Weeds will fight for the same water and nutrients as the transplants. Transplant when the environmental conditions are best. This means to plant them in the morning, on a cloudy/overcast day, and when there is not a big storm in the forecast. When taking the little transplant out of the pot be careful to not disturb the roots and do not pack the soil around the roots.
If you have any questions on spring gardening please contact your local extension office for more information.
by Ashley Stonecipher | Mar 9, 2022
This is the third session in a 3-part series focused on growing and cooking food from your own garden.
About this event
Do you want to grow vegetables such as okra, peas and summer squash? Join us for a workshop focusing on how to best grow and care for your summer vegetable garden and learn some new recipes to make with your harvest!
Participants will have the chance to taste several foods and will take home a variety of seeds and starter plants.
For persons with disabilities requiring special accommodations, please contact the Extension Office (TDD, via Florida Relay Service, 1-800-955-8771) at least five working days prior to the class so that proper consideration may be given to the request.
The University of Florida (UF), Institute of Food and Agricultural Sciences (IFAS), UF/IFAS Extension is an Equal Opportunity Institution authorized to provide educational information without discrimination with respect to race, creed, color, religion, age, disability, sex, sexual orientation, marital status, national origin, political opinions or affiliations.
by Ray Bodrey | Feb 17, 2022
Are you “chomping at the bit” to get started gardening this year, but not sure what you can do at this point? Well, good news, there’s plenty of things that can be done whether landscaping or vegetable gardening is your passion.
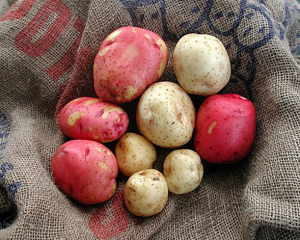
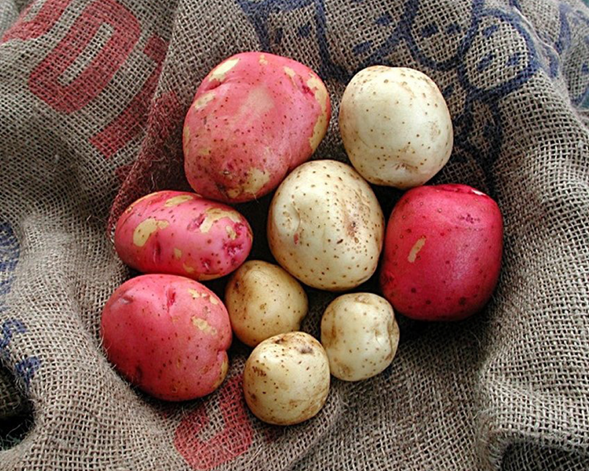
“New” potatoes grown in Florida. Photo Credit: C. Hutchinson, UF/IFAS
Temperatures can drop significantly in the Panhandle this month, and with short notice. If you want to enhance your flower beds, be sure to use annual bedding plants that can withstand the chill. Dianthus, pansy, viola and dusty miller are some good suggestions to plant. It’s a good time to plant bulbs too. Dahlias, crinum and agapanthus are good choices this time of year. Be sure to provide adequate mulch and water during this cold weather month. There are plenty of trees and shrubs that are beginning to bloom this time of year also. If you’re like me, your allergies will tell you this too. Red maple and star magnolia, just to name a couple, will soon be in bloom.
As for vegetable gardening, the potato is a good choice for Florida gardens. As Americans, we consume approximately 125 pounds per person a year. Potato farming is done commercially in Florida, but mostly with “new” potatoes. These are the small, rounded immature potatoes that have a thin skin and are perfect for low country boils.
It’s February, so it’s Irish potato planting season. The planting season for this cultivar for the Panhandle is from February 1st to mid-March. Sweet potatoes can be planted beginning in late March through June. A hundred pounds of seed potatoes should yield approximately ten bushels. Buy healthy certified seed potatoes from a garden center. Avoid using table stock potatoes. Often, table stock will not sprout successfully. Store bought potatoes are often treated with sprout inhibitors too. This treatment can cause development issues if used as seed potatoes.
Raised beds, at least 6”, are the best way to grow potatoes. Be sure to fertilize the bed soil mixture and fertilize again down furrows when planting. Irish potatoes require copious amounts of fertilizer. For fertilizer, use a general, complete formulation like 10-10-10. Before planting, be sure to dust the seed potatoes with a fungicide to reduce the chance of decay. Plant seed potatoes 3” in depth, at 12” apart and allow for 36” row spacing.
Please take these gardening tips into consideration this month and the next. Spring is just around the corner. Happy gardening! For more information please contact your local county extension office.
Supporting information for this article can be found in the UF/IFAS EDIS Publications, “ Florida Vegetable Gardening Guide” by Sydney Park Brown, Danielle Treadwell, J. M. Stephens, and Susan Webb : http://edis.ifas.ufl.edu/pdffiles/VH/VH02100.pdf and “Growing Potatoes in the Florida Home Garden”, by Christian T. Christensen, Joel Reyes-Cabrera, Libby R. Rens, Jeffrey E. Pack, Lincoln Zotarelli,Chad Hutchinson, Wendy J. Dahl, Doug Gergela, and James M. White: http://edis.ifas.ufl.edu/pdffiles/HS/HS18300.pdf
Supporting information can also be found on the UF/IFAS website under “Florida Gardening Calendar” by Sydney Park Brown: http://solutionsforyourlife.ufl.edu/lawn_and_garden/calendar/pdfs/February_North.pdf
by Matt Lollar | Jan 6, 2022
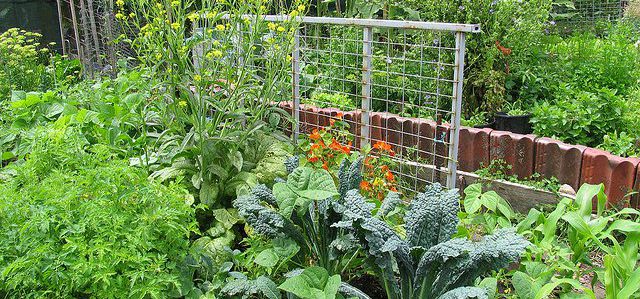
A mixed vegetable garden. Photo Credit: eXtension.org.
It’s never too early to start thinking about your spring vegetable garden. Have you ever wondered how much it costs to grow your own vegetables? Does it cost less to grow your own vegetables or buy them from the grocery store or farmers market? A number of factors are involved with answering these questions and budgeting for your home garden.
Materials
The materials used are specific to your own vegetable garden. If you do everything by hand you may need a hoe, rake, and spade along with a number of other tools you can use from year to year. When budgeting for you garden you would need to think about the life expectancy of these tools. Let’s say a $20 rake lasts for 10 years. In that case, you would budget $2/year ($20 ÷ 10 years = $2/year) for the rake. This might also be the case with a bag of fertilizer. You may buy a 50 pound bag of fertilizer and use half the bag in year one and the other half in year two, so the cost of the fertilizer would be cut in half for your yearly budget. Other materials may be purchased for just one growing season such as pine straw for weed suppression or you may buy only enough seeds for the season.
Labor
A lot of work goes into growing your own vegetables. If you have the time and enjoy gardening then you may choose to charge yourself nothing for your work. However, from a cost analysis perspective you may want to put a value on your work. This will give you a better comparison to buying vegetables.
Budgets
Of course you could create your own budget based on all the costs that go into gardening. But why do that, when it’s already been done for you. The UF/IFAS Costs and Benefits of Vegetable Gardening publication includes a Microsoft Excel Cost Workbook to help answer some of these cost questions. This budget template is customizable, so it’s important that you consider all the costs for your vegetable garden. If you are looking for more detailed crop budgets, there are a lot of North Florida Enterprise Budgets available from UF/IFAS.
by Daniel J. Leonard | Dec 15, 2021
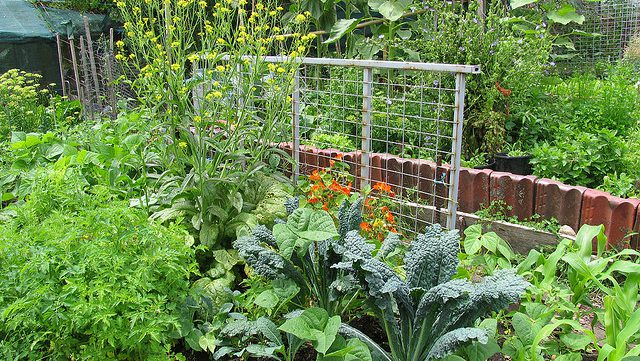
For many people in the Panhandle, gardening season begins when the weather warms in spring and nurseries start setting out tomato transplants. While I understand the allure of the yummy summer veggies and spring/early summer are the most traditional times to garden, cultivating a winter garden in the Panhandle unlocks many tasty options. Among these cool-season garden veggies is a classic southern staple that is among the easiest and most rewarding of all vegetables to grow, sweet onions!
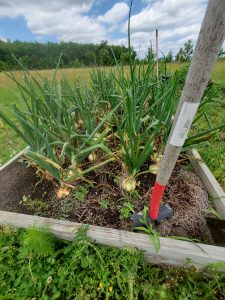
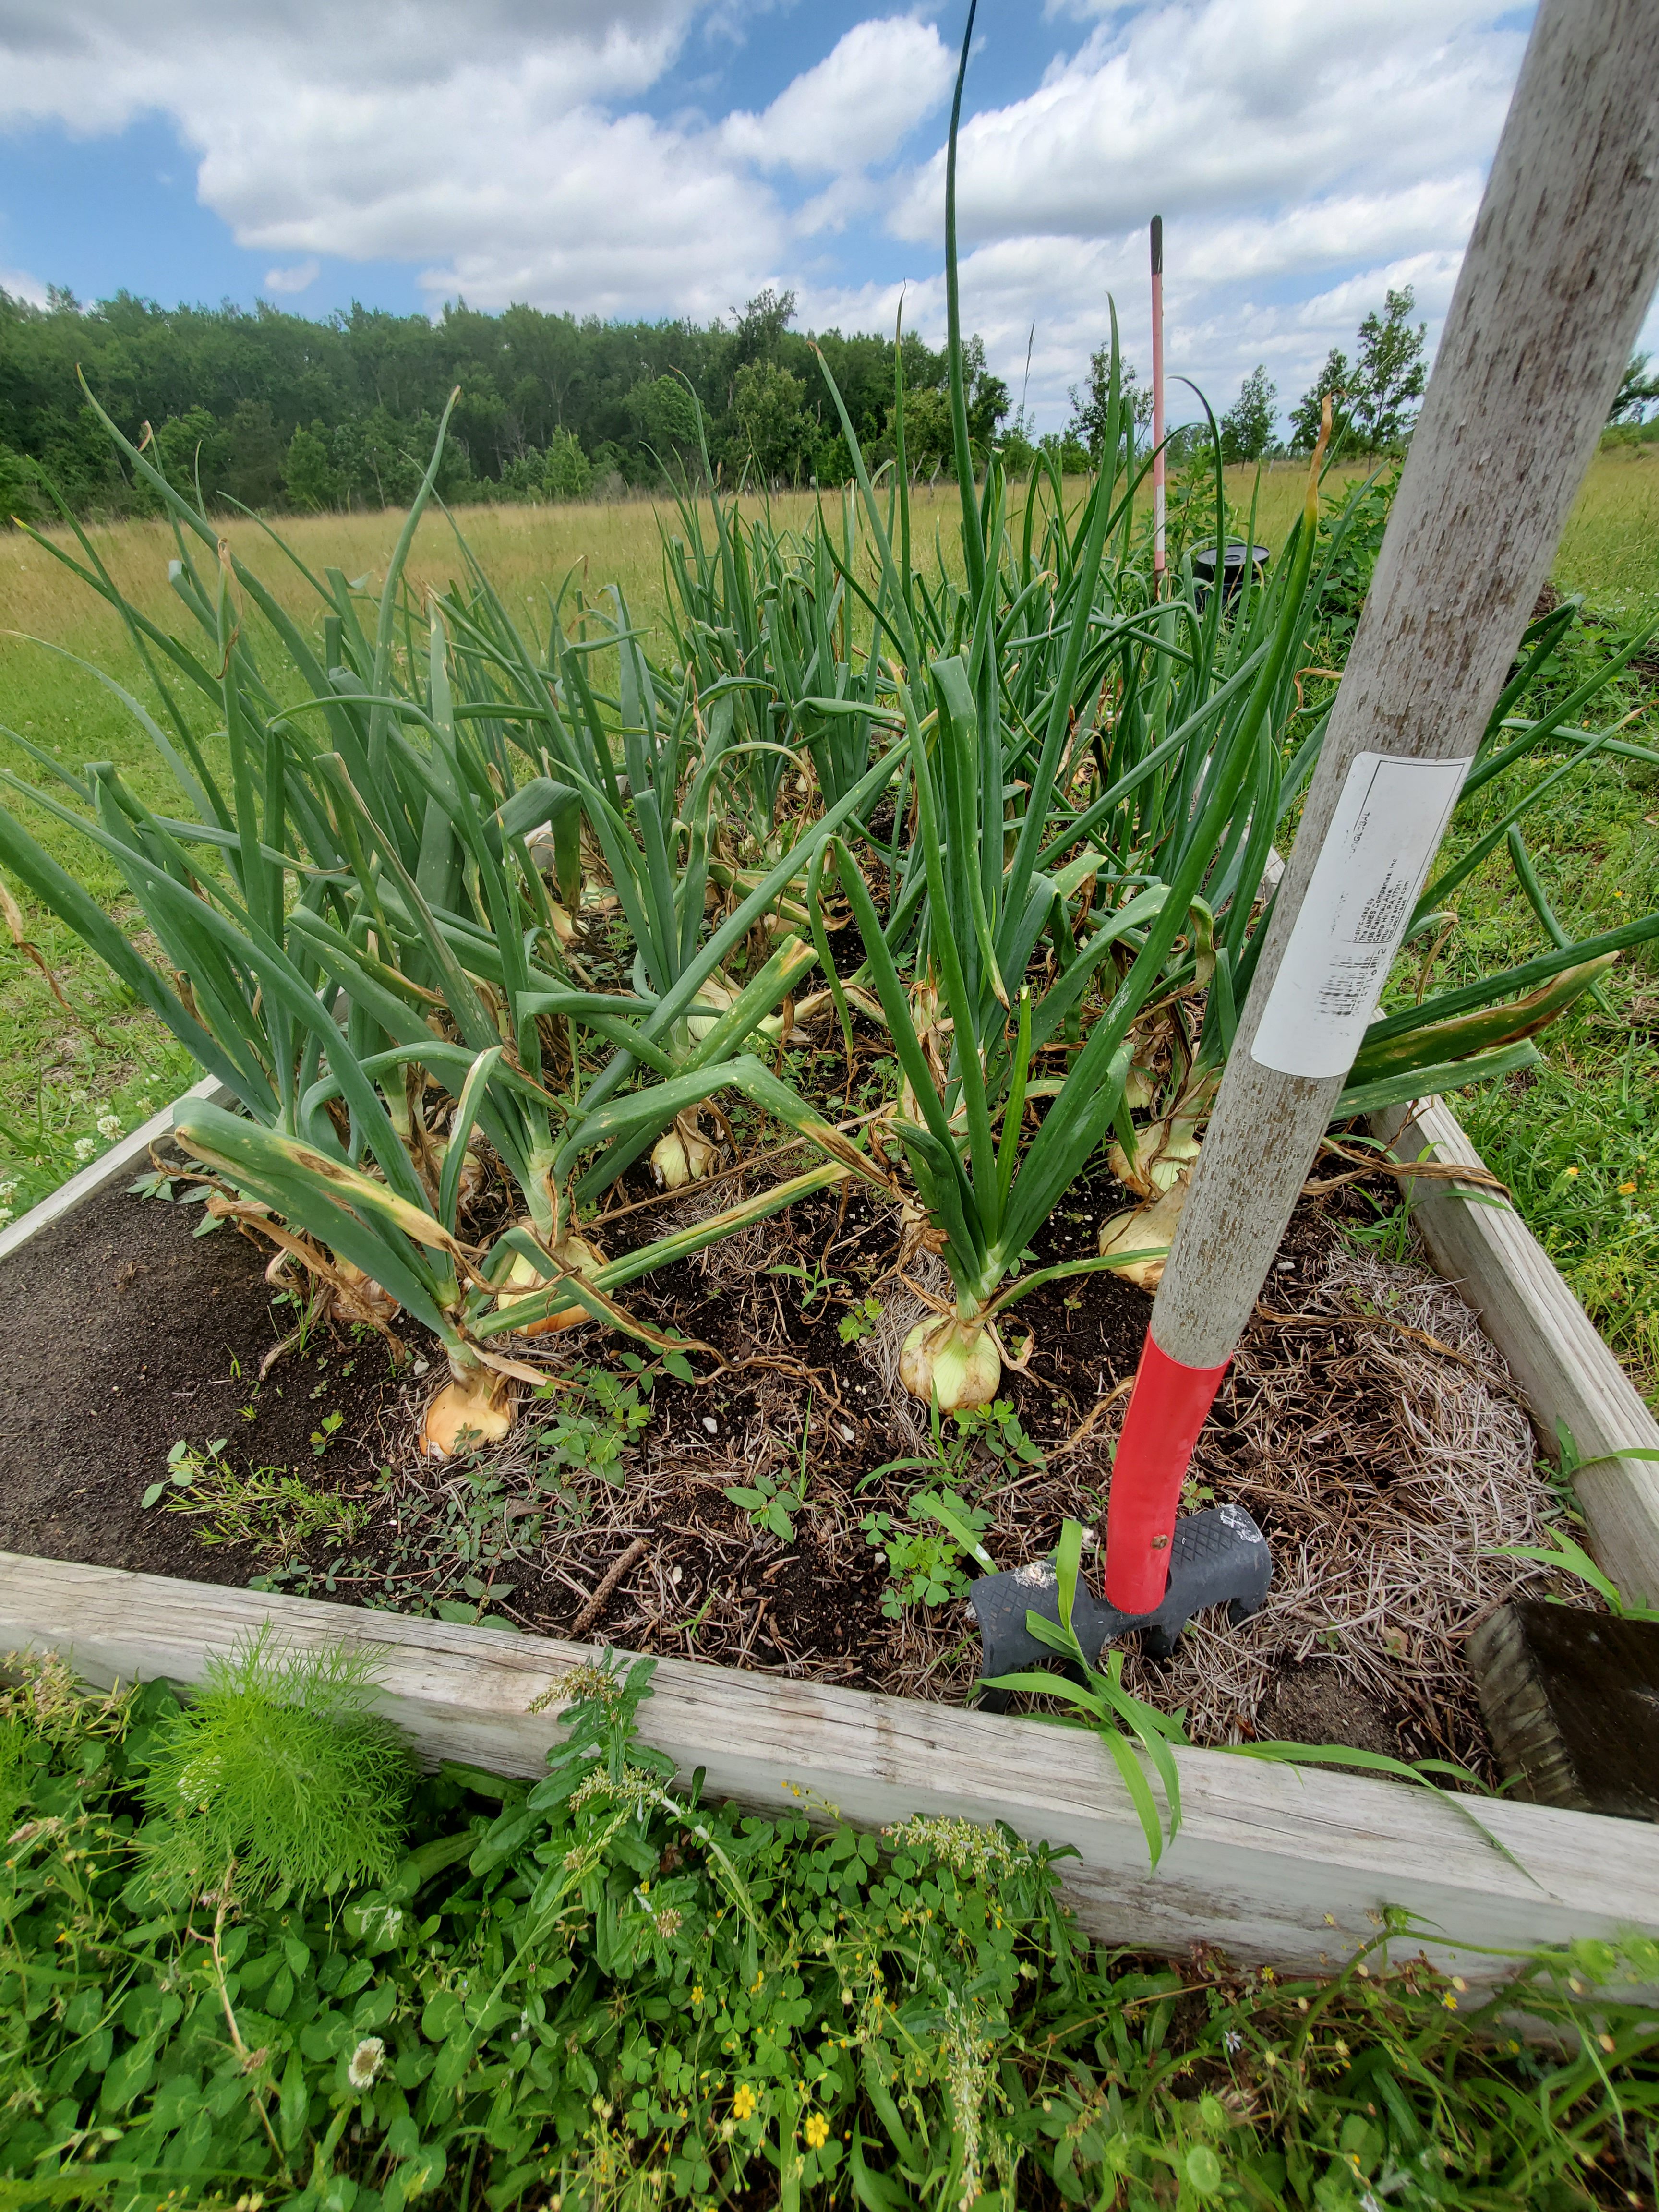
‘Texas Super Sweet’ Onions almost ready for harvest in a Calhoun County garden. Photo courtesy of Joe Leonard.
Sweet onions are very popular in the culinary world for their mild flavor and soft texture and are among the most widely grown group of onions across the world, but the most famous of them, Vidalia’s, hail from Georgia! Despite its fame, the “Vidalia” onion is actually nothing more than a trademarked name for a specific variety of sweet onion that was bred in Texas (‘Yellow Granex’ and its derivatives), grown in a 20-county region in South Georgia with excellent onion-growing soil, and made famous by excellent marketing from the Vidalia Onion Committee. While they can’t be called Vidalias legally, you can absolutely grow your very own Vidalia type sweet onions at home here in the Florida Panhandle!
Sweet Onions are most easily grown at home if purchased in the fall as “sets”. Sets are small bulbs that have been started, harvested, dried to prevent rotting during storage, and shipped to garden centers ready to be “set” out in home gardens. Sweet onions may also be grown from seed but take much longer and have a lower success rate. When browsing onion set varieties for purchase at garden centers or in seed catalogues, make sure to purchase a short-day “Granex” type like “Texas Super Sweet” or similar. It is critical to remember that sweet onions are classified by how many hours of daylength they require to produce bulbs. The three classifications are Short, Mid, and Long-Day. Since sweet onions require cool weather to develop properly, Floridians must grow short-day varieties to compensate for decreased daylight hours in the winter. In the less hot Northern states, long-day sweet onions are grown in the summer, where they’ll be able to soak up 15-16 hours of daylight. Therefore, for best results in the Panhandle, select ONLY short-day onion varieties.
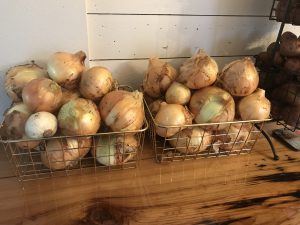
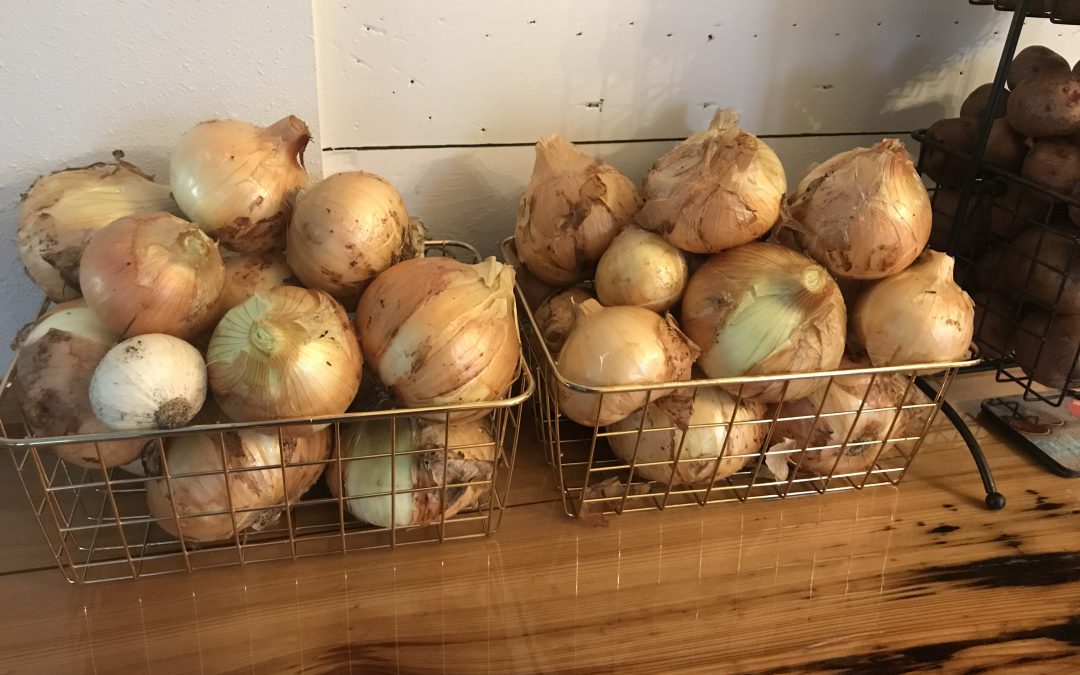
‘Texas Super Sweet’ Onions that have been harvested and are ready for use! Photo courtesy of Daniel Leonard.
Once you’ve selected your onion sets in the fall, they can be planted in the garden anytime from early October to mid-December. Individual bulbs should be planted about an inch deep in well-drained garden soil with high organic matter content (mushroom compost, composted manure, or other rich organic matter works) and spaced 4-6” between plants and about a foot between rows. Onions in general, and sweet onions in particular, are heavy feeders and require ample nutrition to meet their potential! To meet these fertility needs, I apply a slow-release fertilizer like Osmocote or a Harrell’s product at planting and supplement that with either a quick release granular or liquid fertilizer monthly during the bulb enlargement phase. Sweet onions also have a shallow root system and require frequent watering to develop properly and avoid splits, doubles, and small bulbs. Don’t let your onion bed dry out!
Finally, sweet onions planted in late fall/early winter are normally ready to harvest in April and May. However, rather than relying on a calendar, begin harvesting your onions when the tops start to turn yellow and fall over, this indicates maturity. After harvesting, allow your onions to “cure” with tops and roots still attached for a couple of weeks outside in a shaded, protected area. Once they’ve had an opportunity to “cure”, remove tops and roots and store the cured bulbs in a cool, dry place (a dark pantry in an air-conditioned room or the refrigerator crisper drawer work fine) and use at your convenience!
While they can’t be called Vidalias, sweet onions grown at home are oh so rewarding and very tasty! Provided they are planted in quality soil, receive plenty of water and fertilizer, and are harvested/stored correctly, sweet onions will provide a delicious, home-grown culinary treat throughout the year! For more information about growing onions in the home garden or any other horticultural/agricultural topic, contact us at the UF/IFAS Calhoun County Extension Office. Happy Gardening!
by Molly Jameson | Dec 10, 2021
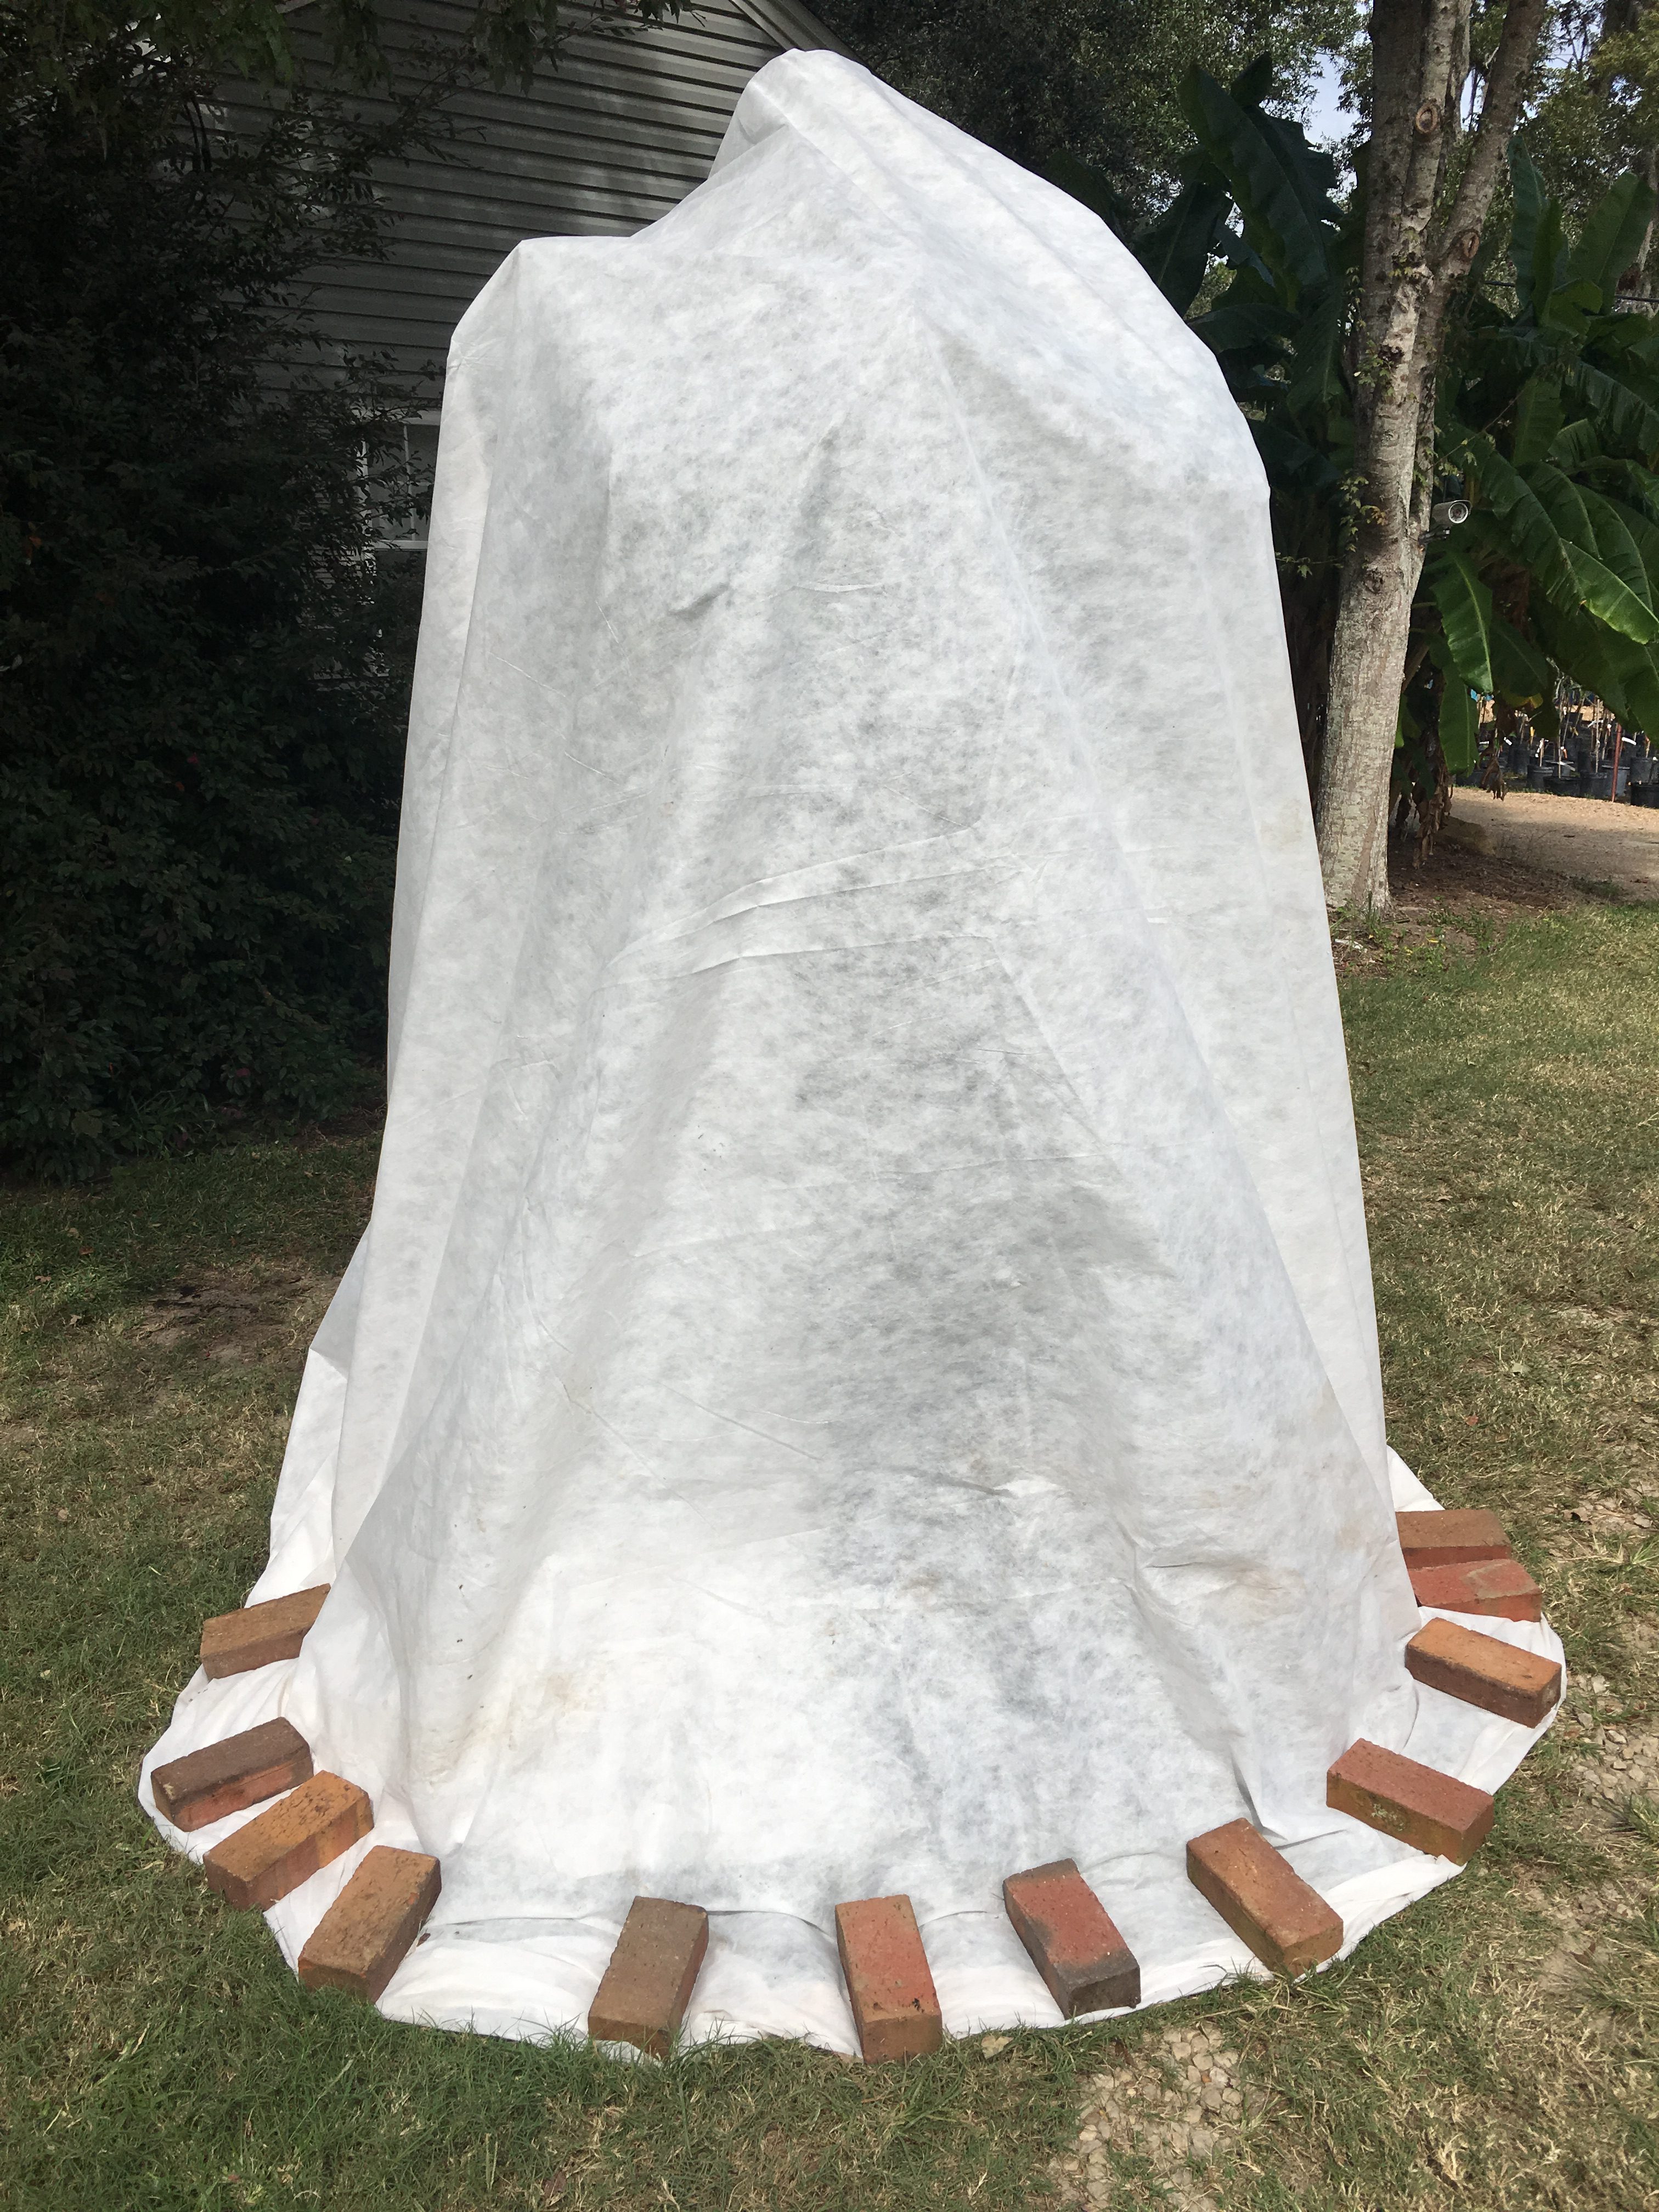
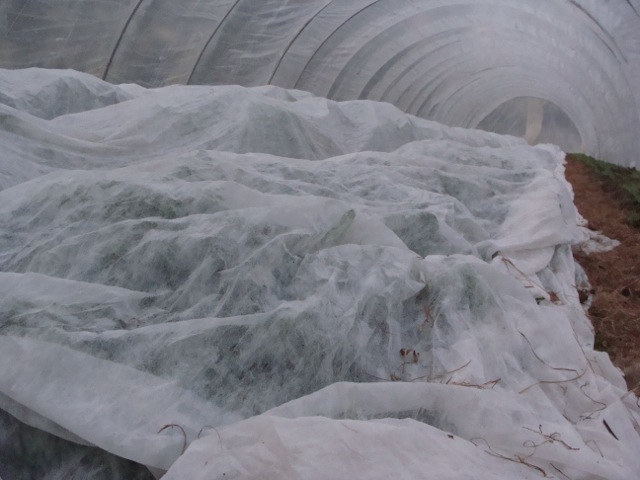
Use frost cloth to completely cover cold sensitive plants. Be sure to make complete contact with the ground and use heavy objects to keep the fabric secure. Photo by Jonathan Burns.
One major aspect that separates North Florida from South Florida is the discrepancies in air temperature. Although the differences are relatively small when comparing Florida with northern states, they can mean a world of difference in the plant world.

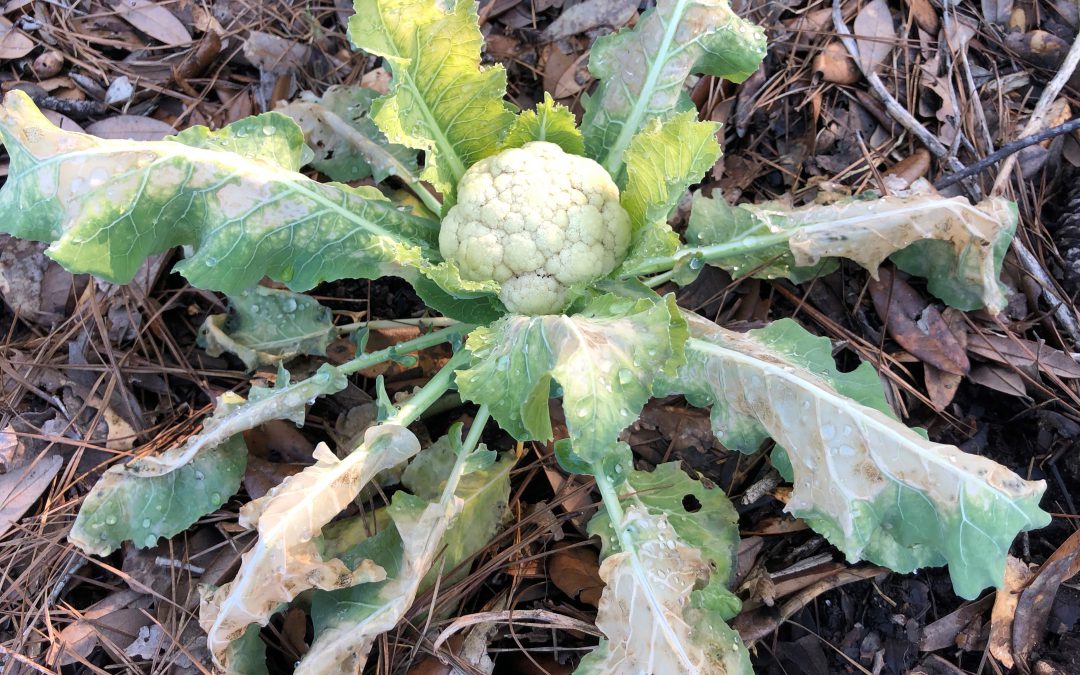
Even hardy cauliflower leaves can be damaged by cold winter nights in the Florida Panhandle. Photo by Molly Jameson.
In most of North Florida, our USDA plant hardiness zone is 8b, which means average minimum winter temperatures are between 15 and 20° Fahrenheit (F). We therefore can experience hard freezes, which happens when temperatures are below 28°F for over five hours. These types of conditions are capable of “burning” the leaves of even the toughest winter vegetables.
Fortunately for our winter gardens, average minimum winter temperatures are in the lower 40s, high enough not to damage winter garden crops. When we do have lows close to or below freezing (32°F), there is one very cost-effective method that can help keep crops and landscape plants protected. This is the use of a material called frost cloth.

Frost cloth can moderate air temperatures six to eight degrees. Photo by Turkey Hill Farm.
Frost cloth, which can be purchased at most plant nurseries, is a breathable polyester fabric that is light weight and heat retentive. When used correctly, it can moderate air temperatures about six to eight degrees. This is typically all that is needed to get us through our mild North Florida winters. It is also relatively inexpensive, and if cared for, the same cloth can be used for many winter seasons.
Large blankets or bedsheets can be used as frost cloth substitutes, but whether you are using actual frost cloth, or something pulled from the linen closet, it is very important to use it correctly to be effective. The cloth must touch the ground at all points, as it works by trapping heat that radiates from the soil. It also increases the humidity around the plant, aiding in temperature moderation.

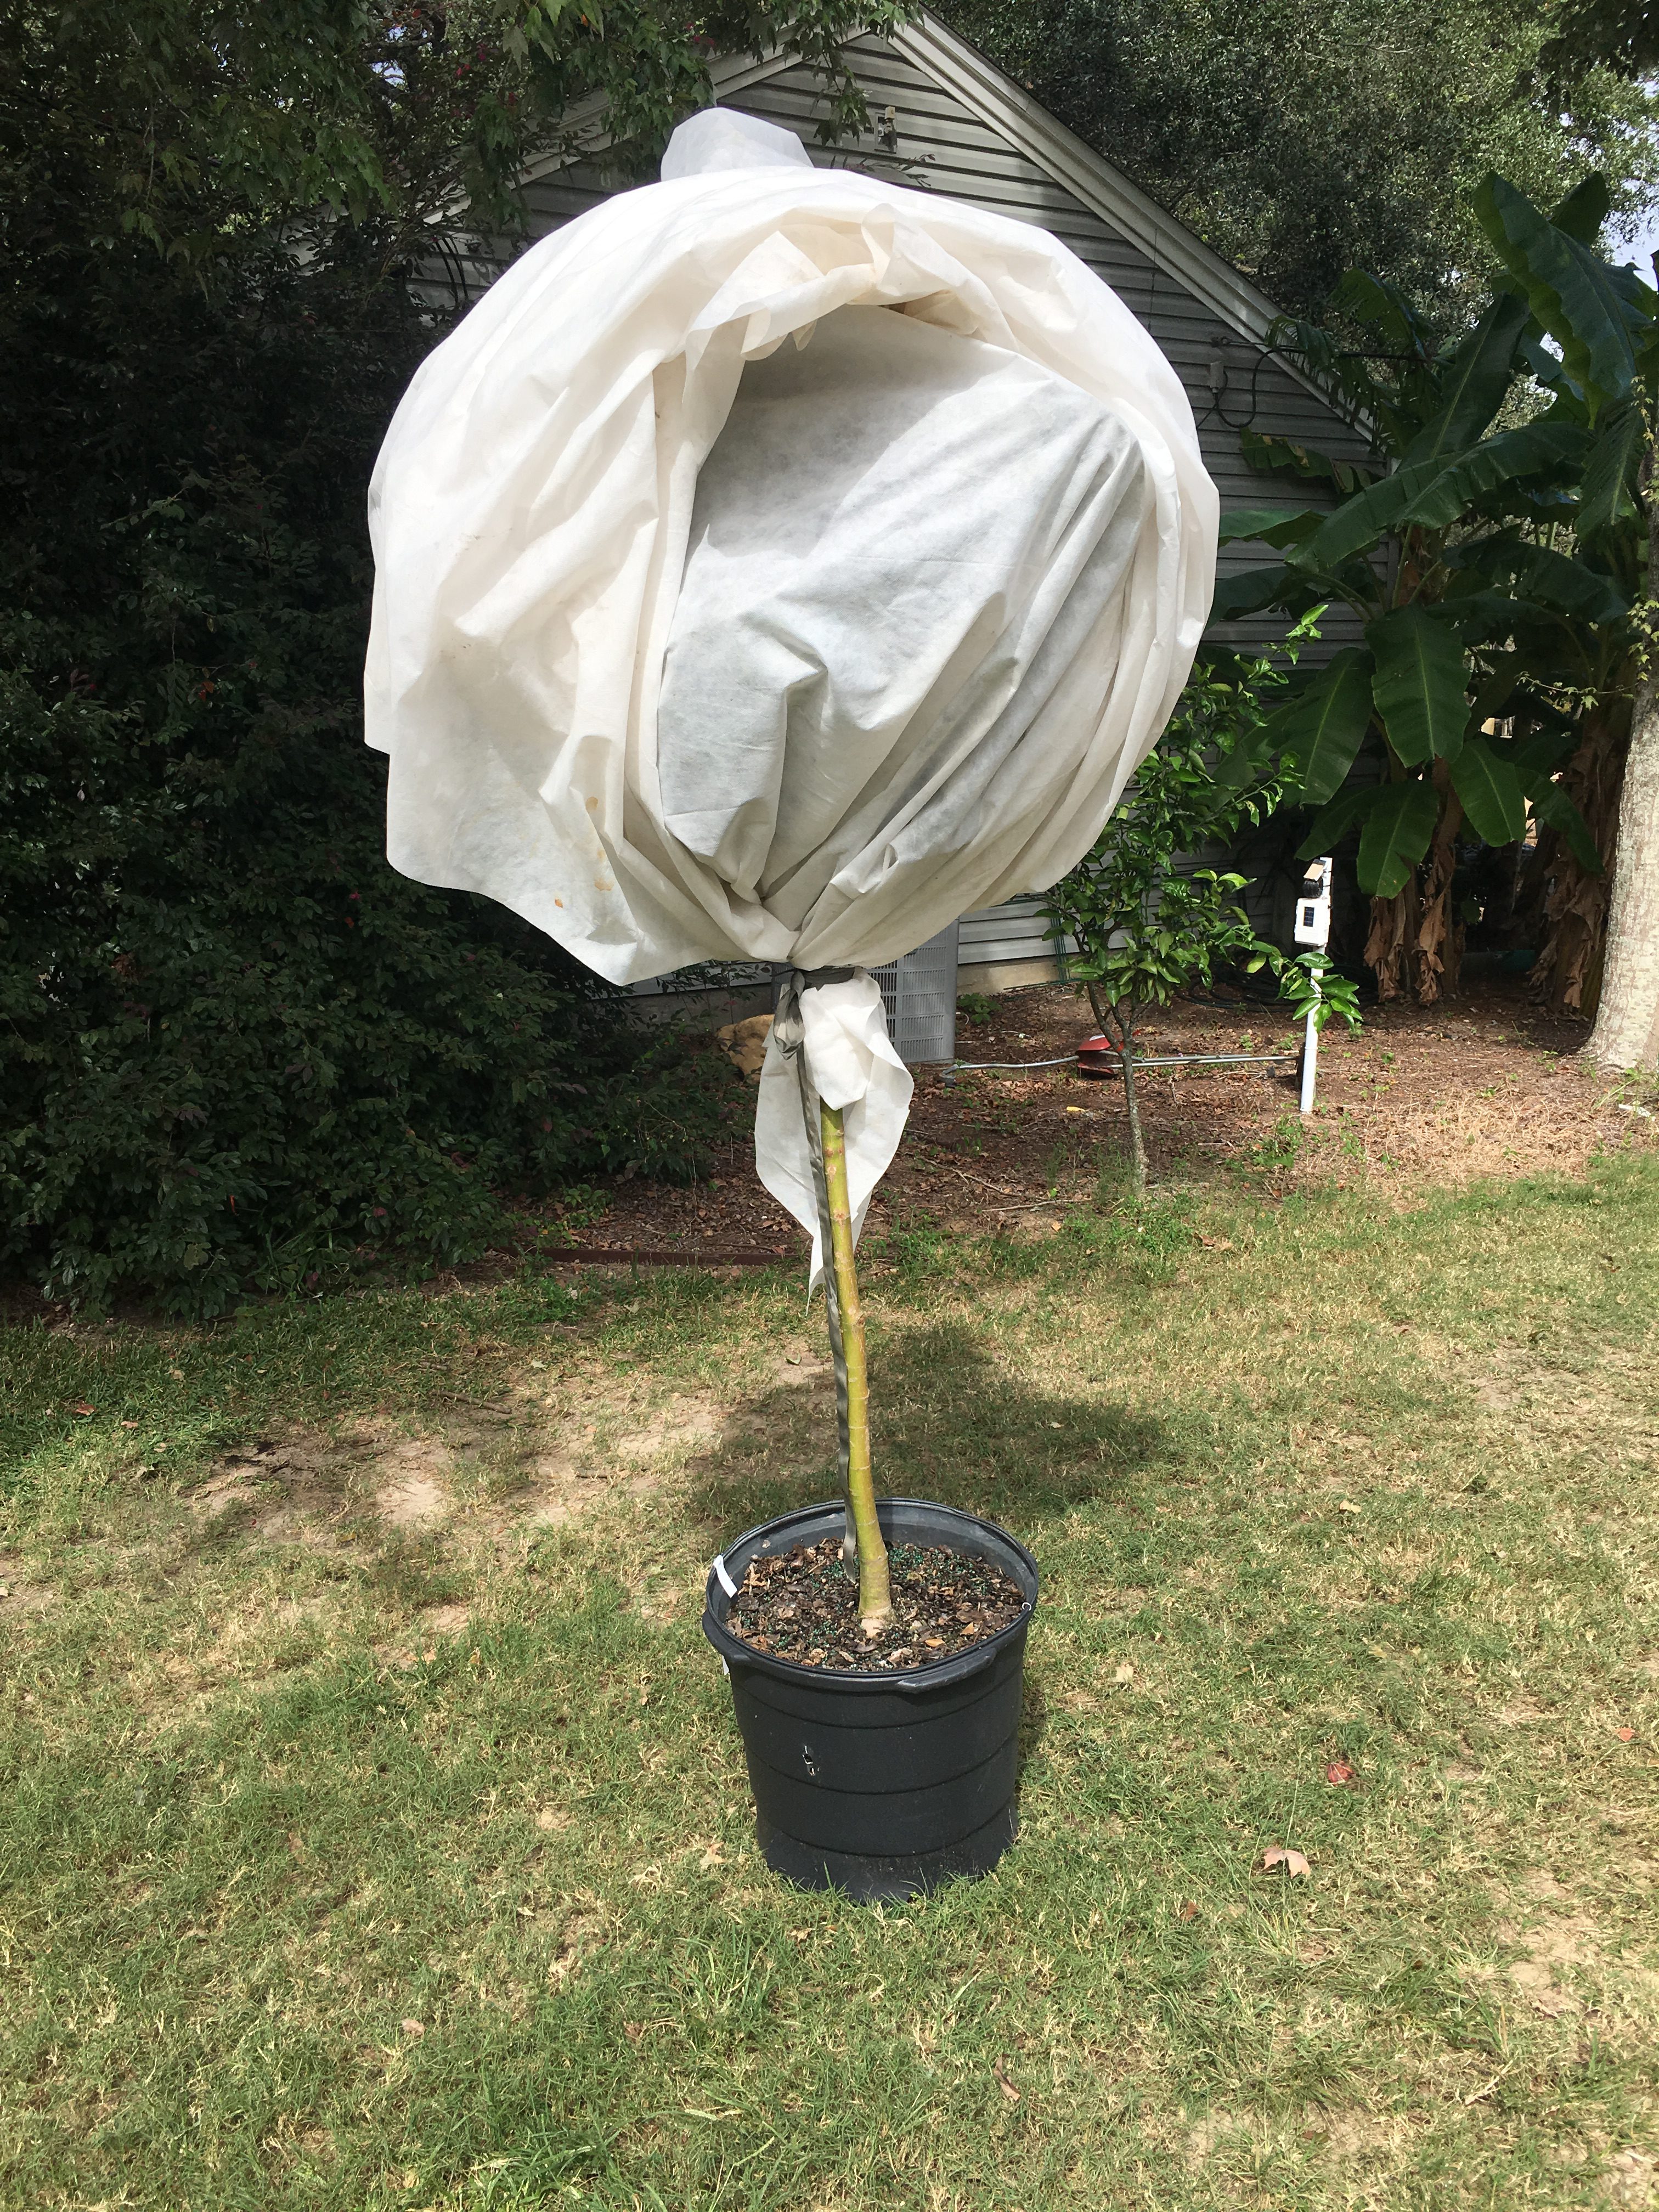
“Lollipop” trees will allow the heat from the ground to escape, giving the tree no cold protection. Photo by Jonathan Burns.
For sensitive landscape plants and fruit trees, it can be more difficult to fully cover the plant with the frost cloth to trap the heat, but it is just as important. When driving around town on a cold night, I inevitably encounter a few “lollipop” trees. This is when the foliage of the tree is wrapped in frost cloth, but the cloth does not reach the ground, and is typically tied off at the upper trunk of the tree. All heat moving upward from the soil will go right around the cloth, giving the tree essentially no protection.
Wire or PVC hoops can be used to help secure frost cloth and keep the cloth from damaging sensitive plant stems and leaves. Bricks, sticks, soil, or garden staples should be used along the perimeter of the frost cloth to prevent nighttime gusts from blowing the cloth off your garden beds or landscape plants. In the morning, remove the cloth once air temperatures reach about 50 to 60°F.
To learn more about cold protection, check out the UF/IFAS EDIS publication, Cold Protection of Landscape Plants (https://edis.ifas.ufl.edu/publication/MG025).