by Evan Anderson | Jan 20, 2022
Florida’s state observance of Arbor Day falls on January 21st in 2022. On this day, people are encouraged to plant trees and recognize their importance. Trees provide us with shade and shelter, filter air and water, and increase biodiversity as well as acting as a source of materials for building and industry. Half of Florida’s land area is forested and North Florida has a large timber industry. Given the importance of trees to our wellbeing and the erratic and sometimes extreme weather in our region, the question occasionally arises, “What trees are best to plant here?”.
The answer to that question depends heavily on the needs of the person asking it. A landowner looking for long-term profit from forestry may choose to plant longleaf pines, despite the risks that hurricanes pose. A homeowner desiring a shade tree, however, might want a different answer.
There are plenty of varieties of trees that grow well in the panhandle of Florida, and the further one lives from coastal areas, the greater the options. Particularly along the shores, however, choices are limited by soil types, exposure to high winds, and even salt spray. So which are the toughest and hardiest trees for our area?
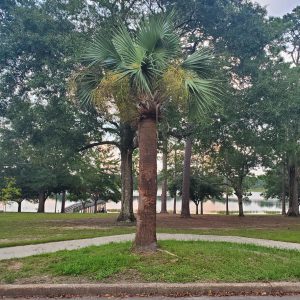
A sabal palmetto.
Florida’s state tree is the sabal palmetto. Also called the cabbage palm, this palm is particularly cold tolerant, withstanding temperatures down to 15º F. Once established, they are drought tolerant and fairly resistant to pests and diseases, as well as being particularly sturdy in high winds. Though they may be thought of as “common”, this is a testament to their survivability in our climate and they should not be dismissed as an option for landscapes.
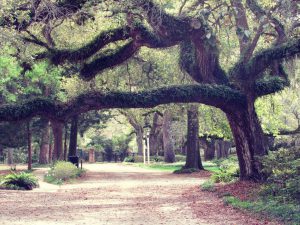
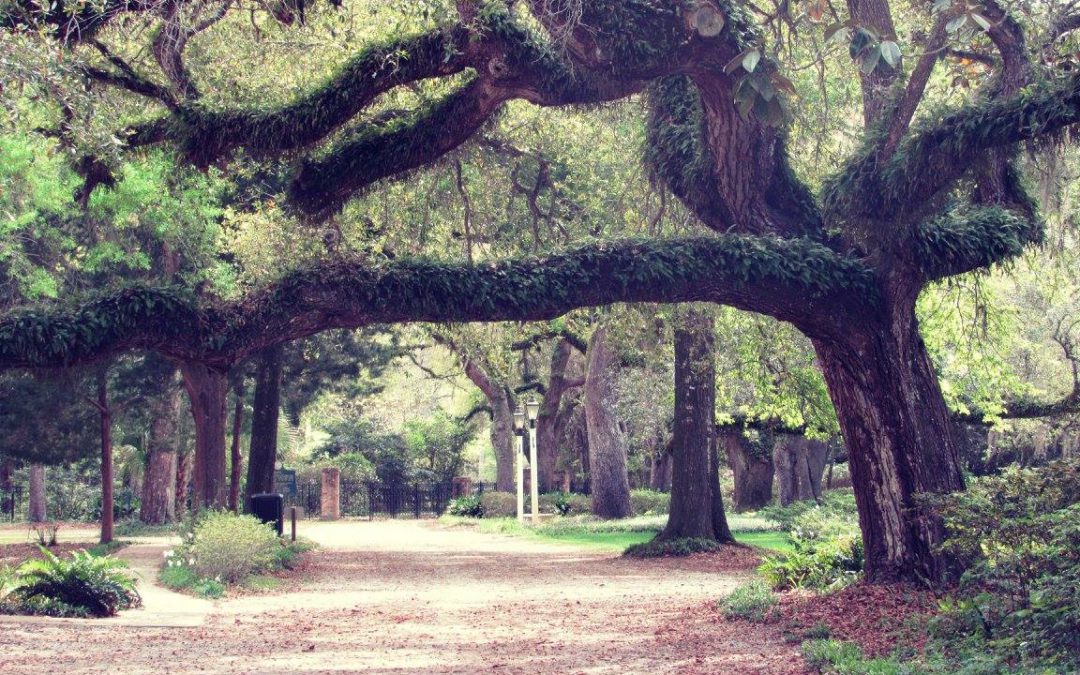
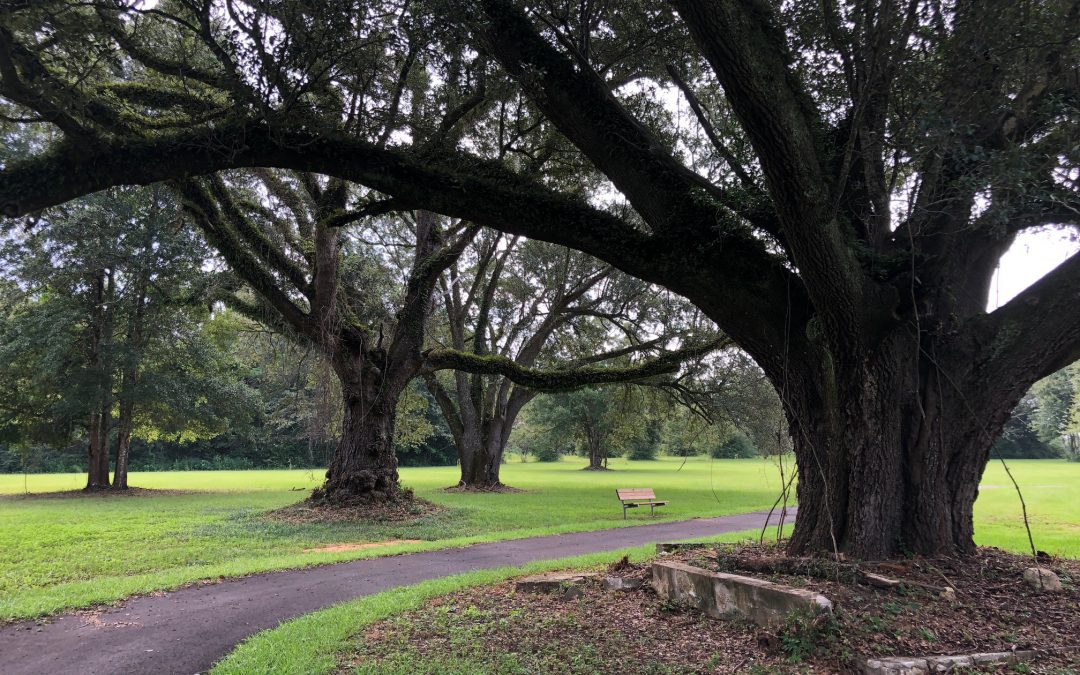
A large, old Southern live oak.
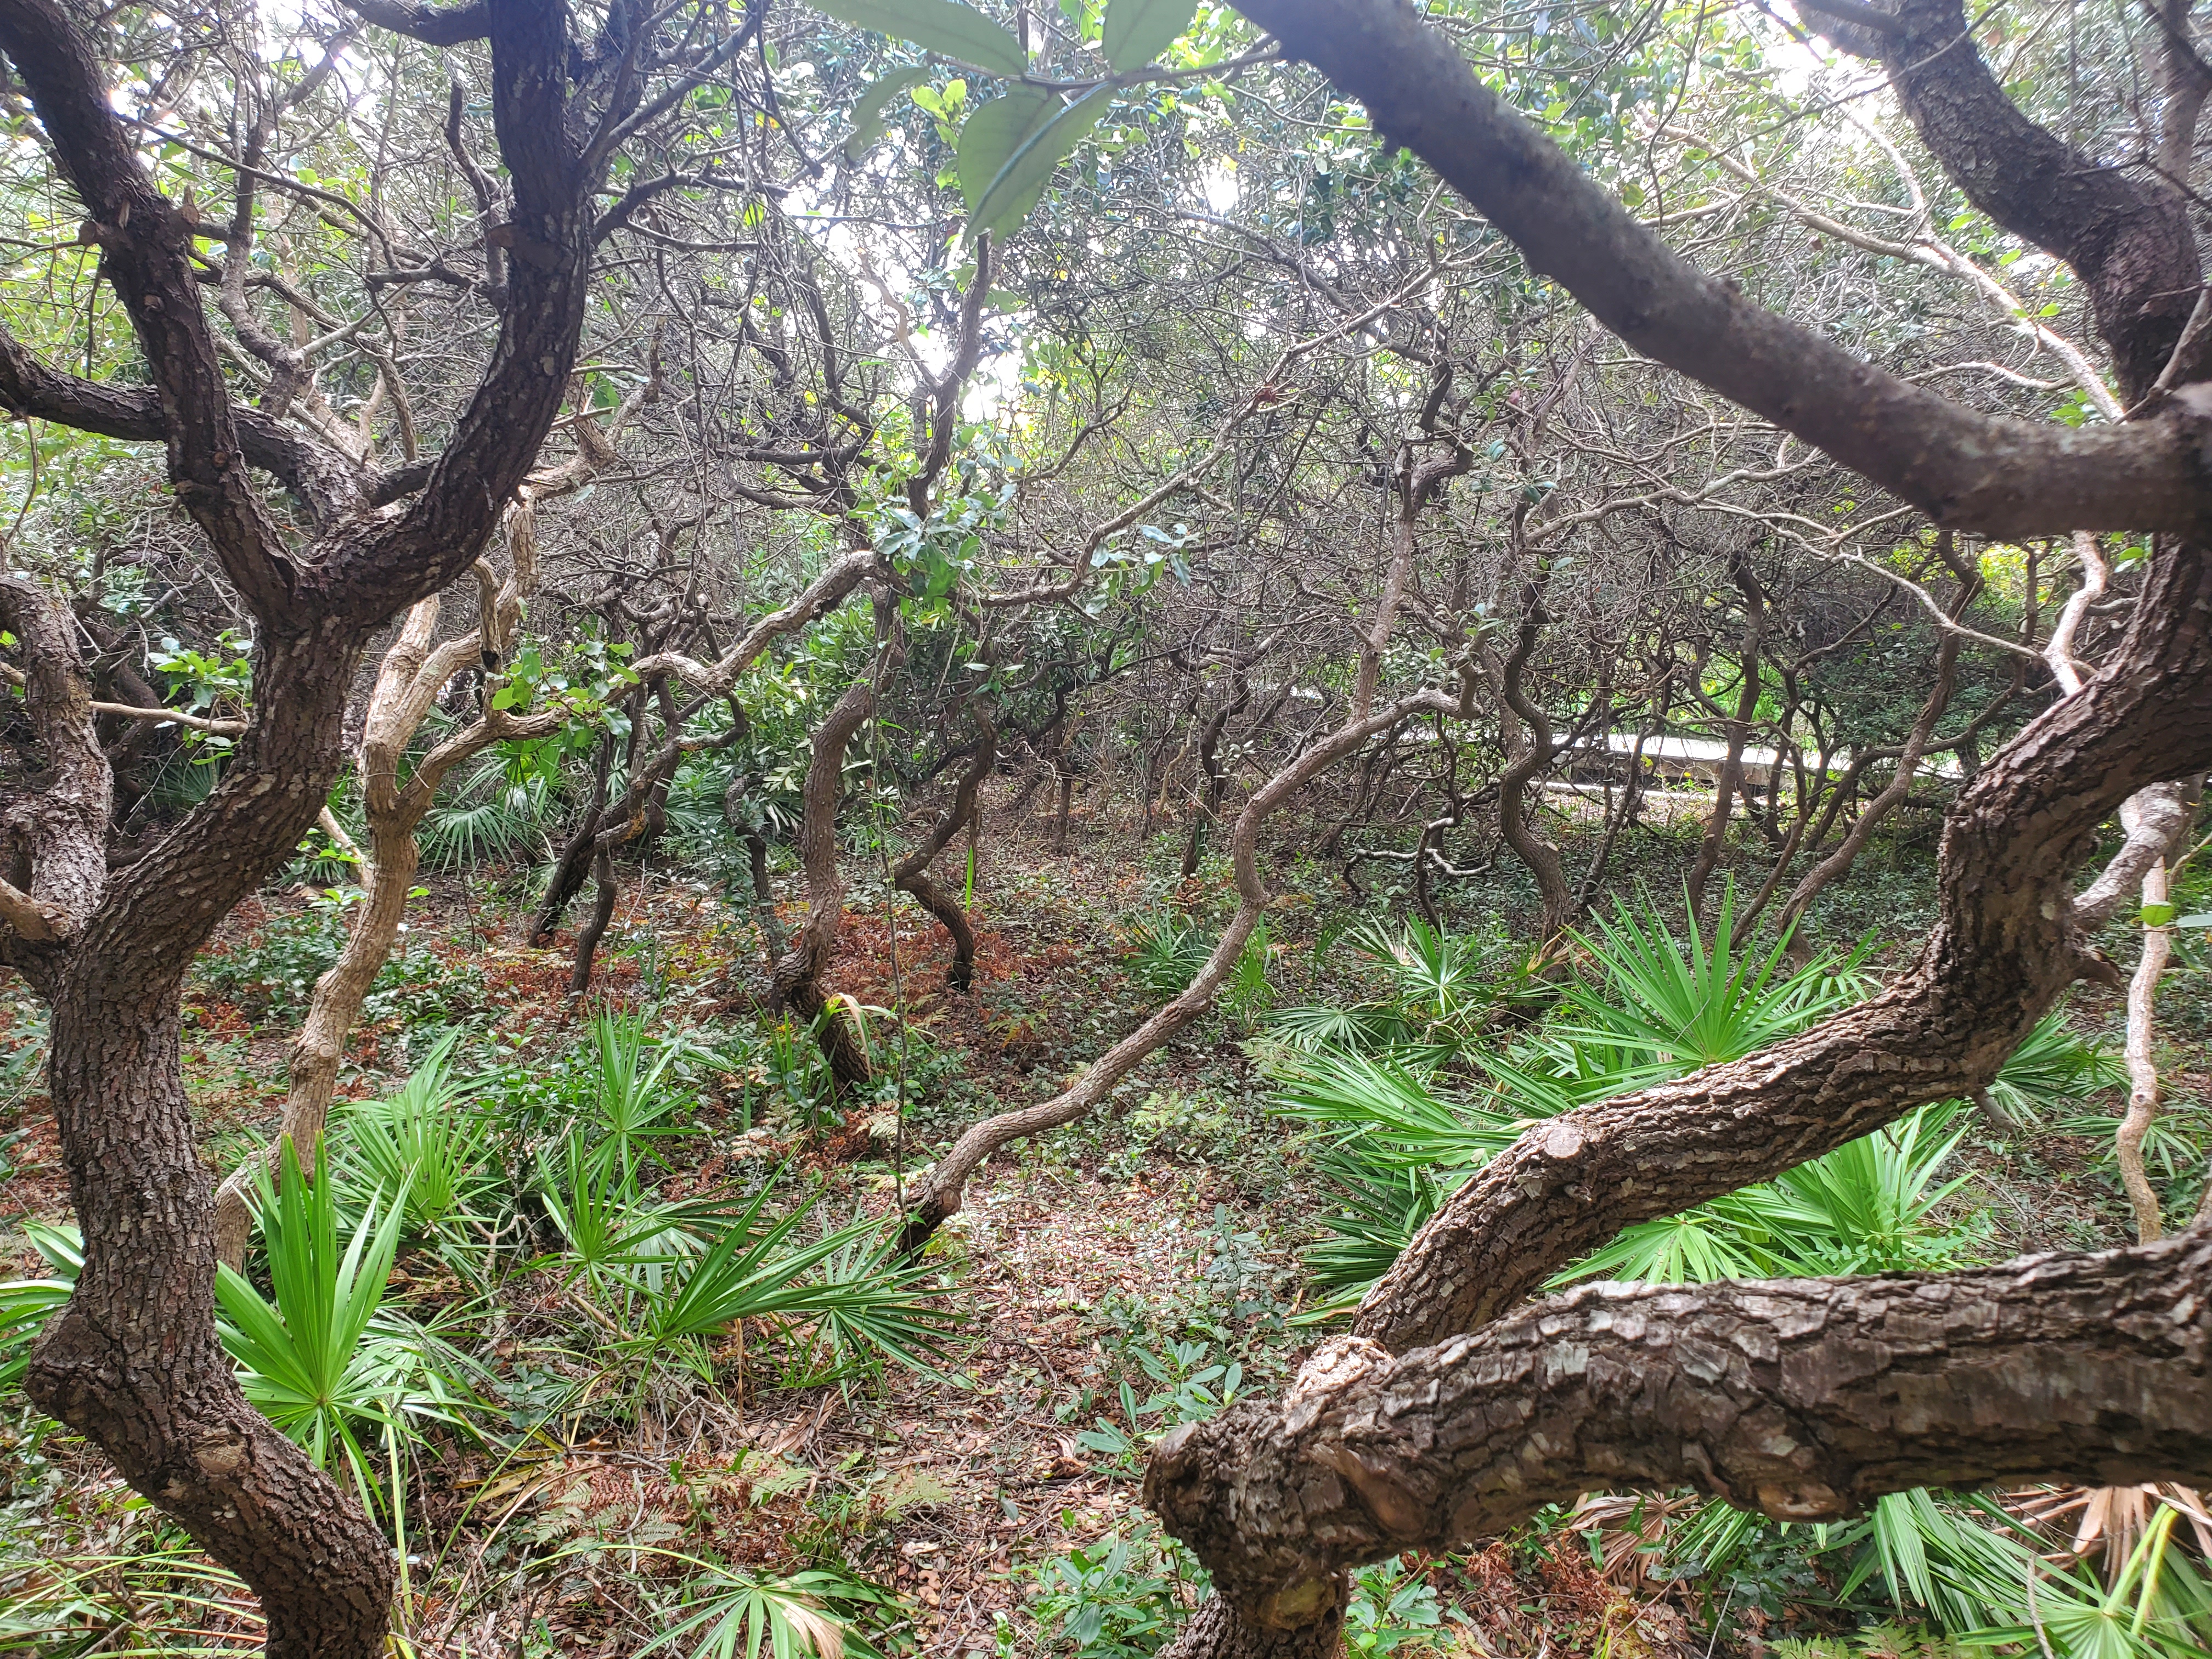
Both the Southern live oak and especially the sand live oak are exceptionally survivable trees. Sand live oak is found closer to the coast, where it tends to grow in beautiful multi-trunked forms slightly inland, or in lower thickets along the dunes. It tends not to reach the same heights as Southern live oak, but does well in the harshest of
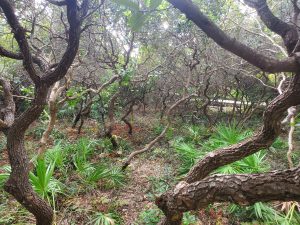
Sand live oaks growing near the beach dunes.
conditions, lasting through almost anything nature can throw at it. Even if defoliated by heavy storm winds, these trees survive. Hurricanes claim only the occasional live oak that catch enough wind to uproot and topple the entire tree, which is not a common occurrence.

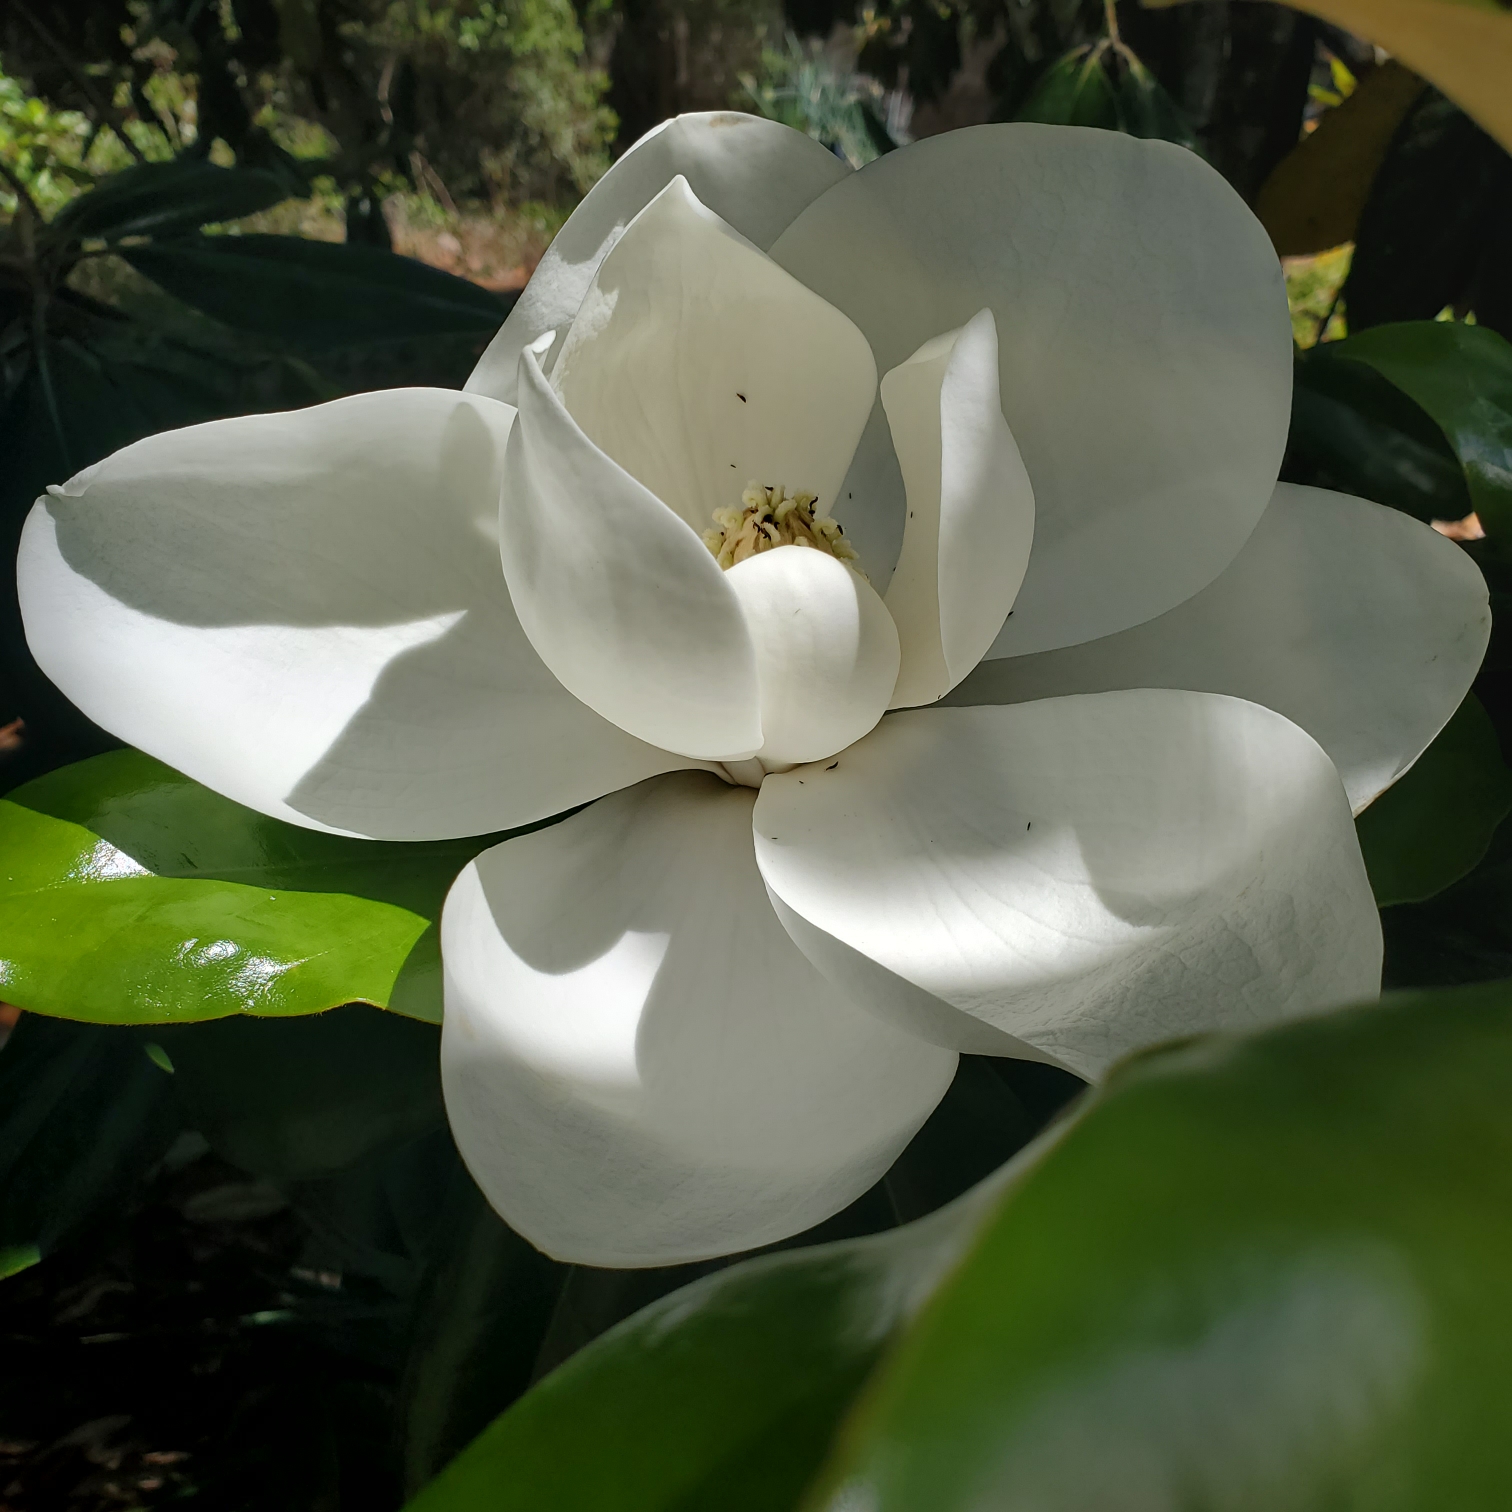
The bloom of a Southern magnolia.
Southern magnolia comes in many sizes, from huge old specimens to more compact cultivars such as ‘Little Gem’, which can be trained to grow as hedges. Tolerating a wide range of soil moisture, these trees are rarely harmed by disease, though scale insects often take up residence on their leaves (which rarely seems to bother the trees, even if infestations are heavy). With gorgeous and fragrant blooms in the springtime, Southern magnolia stands up in high winds and makes an excellent addition to a landscape.
For more information on trees that do well in storms, see our EDIS publication on the topic. Also note that native species, trees that are properly pruned, those that are well established as opposed to newly planted, and trees free of disease or damage tend to survive better in any case. Ensuring that plants of any sort are placed in the right spot can serve the landscaper well in the long run as well – see the Florida Native Plant Society’s website for help in choosing the right plants. As always, your local Extension office is available to assist with questions as well.
by Sheila Dunning | Dec 31, 2021
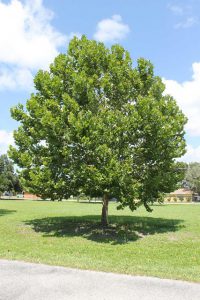
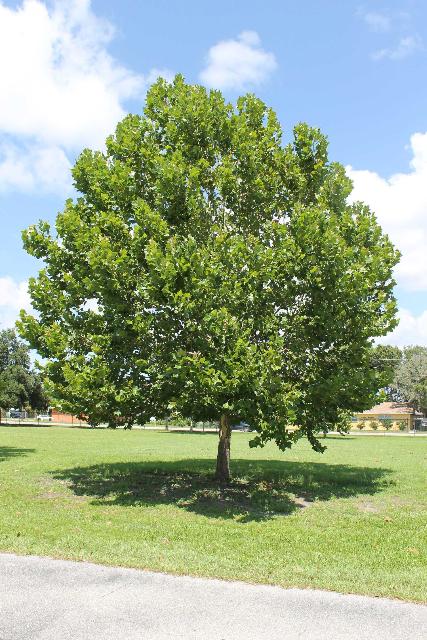
Even with this young sycamore, you’ll be made in the shade. Credit: UF/IFAS.
The best time to plant a tree is twenty years ago. The second-best time is Arbor Day. Florida recognizes the event on the third Friday in January but planting any time before spring will establish a tree quickly.
Arbor Day is an annual observance that celebrates the role of trees in our lives and promotes tree planting and care. As a formal holiday, it was first observed on April 10, 1872, in the state of Nebraska. Today, every state and many countries join in the recognition of trees impact on people and the environment.
Trees are the longest living organisms on the planet and one of the earth’s greatest natural resources. They keep our air supply clean, reduce noise pollution, improve water quality, help prevent erosion, provide food and building materials, create shade, and help make our landscapes look beautiful. A single tree produces approximately 260 pounds of oxygen per year. That means two mature trees can supply enough oxygen annually to support a family of four.
The idea for Arbor Day in the U.S. began with Julius Sterling Morton. In 1854 he moved from Detroit to the area that is now the state of Nebraska. J. Sterling Morton was a journalist and nature lover who noticed that there were virtually no trees in Nebraska. He wrote and spoke about environmental stewardship and encouraged everyone to plant trees. Morton emphasized that trees were needed to act as windbreaks, to stabilize the soil, to provide shade, as well as fuel and building materials for the early pioneers to prosper in the developing state.
In 1872, The State Board of Agriculture accepted a resolution by J. Sterling Morton “to set aside one day to plant trees, both forest and fruit.” On April 10, 1872, one million trees were planted in Nebraska in honor of the first Arbor Day. Shortly after the 1872 observance, several other states passed legislation to observe Arbor Day. By 1920, 45 states and territories celebrated Arbor Day. Richard Nixon proclaimed the last Friday in April as National Arbor Day during his presidency in 1970.
Today, all 50 states in the U.S. have official Arbor Day, usually at a time of year that has the correct climatological conditions for planting trees. For Florida, the ideal tree planting time is January, so Florida’s Arbor Day is celebrated on the third Friday of the month. Similar events are observed throughout the world. In Israel it is the Tu B Shevat (New Year for Trees). Germany has Tag des Baumes. Japan and Korea celebrate an entire week in April. Even Iceland, one of the treeless countries in the world observes Student’s Afforestation Day.
The trees planted on Arbor Day show a concern for future generations. The simple act of planting a tree represents a belief that the tree will grow and someday provide wood products, wildlife habitat, erosion control, shelter from wind and sun, beauty, and inspiration for ourselves and our children.
“It is well that you should celebrate your Arbor Day thoughtfully, for within your lifetime the nation’s need of trees will become serious. We of an older generation can get along with what we have, though with growing hardship; but in your full manhood and womanhood you will want what nature once so bountifully supplied and man so thoughtlessly destroyed; and because of that want you will reproach us, not for what we have used, but for what we have wasted.”
~Theodore Roosevelt, 1907 Arbor Day Message
by Daniel J. Leonard | Dec 31, 2021
Christmas is among my favorite holidays. The religious significance, music, lights, amazing food, fellowship with family, and giving and receiving gifts all lend something special to the season. However, the tradition that arguably gets the most attention is selecting and putting up a Christmas tree! Those that participate in the festivities and put up a Christmas tree have three options: purchasing an artificial tree, purchasing a real tree, or growing your own.
While I like the convenience of a pre-lit tree as much as anyone, artificial trees don’t do a whole lot for the environment or sustainable US agriculture. They are almost exclusively produced overseas and contain non-biodegradable plastics. Not the best. If you select option two and choose to purchase a real tree, you’ll help support a sustainable US agriculture industry! According to the National Christmas Tree Association, there are ~25-30 million Christmas trees sold annually in the US and 350 million more currently growing on Christmas tree farms waiting their turn! Purchasing real Christmas trees also ensures that the over 100,000 Christmas tree farm workers remain employed, and the 1/3 million acres US Christmas tree farms comprise will remain non-developed “green spaces”!
But for the green-thumbed Christmas enthusiast that’s willing to put in a little time and effort, there is a third choice – growing your very own Christmas tree right at home! In the Panhandle, there are several species, Florida natives and not, that make wonderful Christmas trees and are easy to grow!
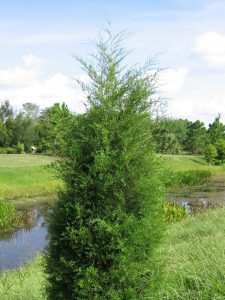
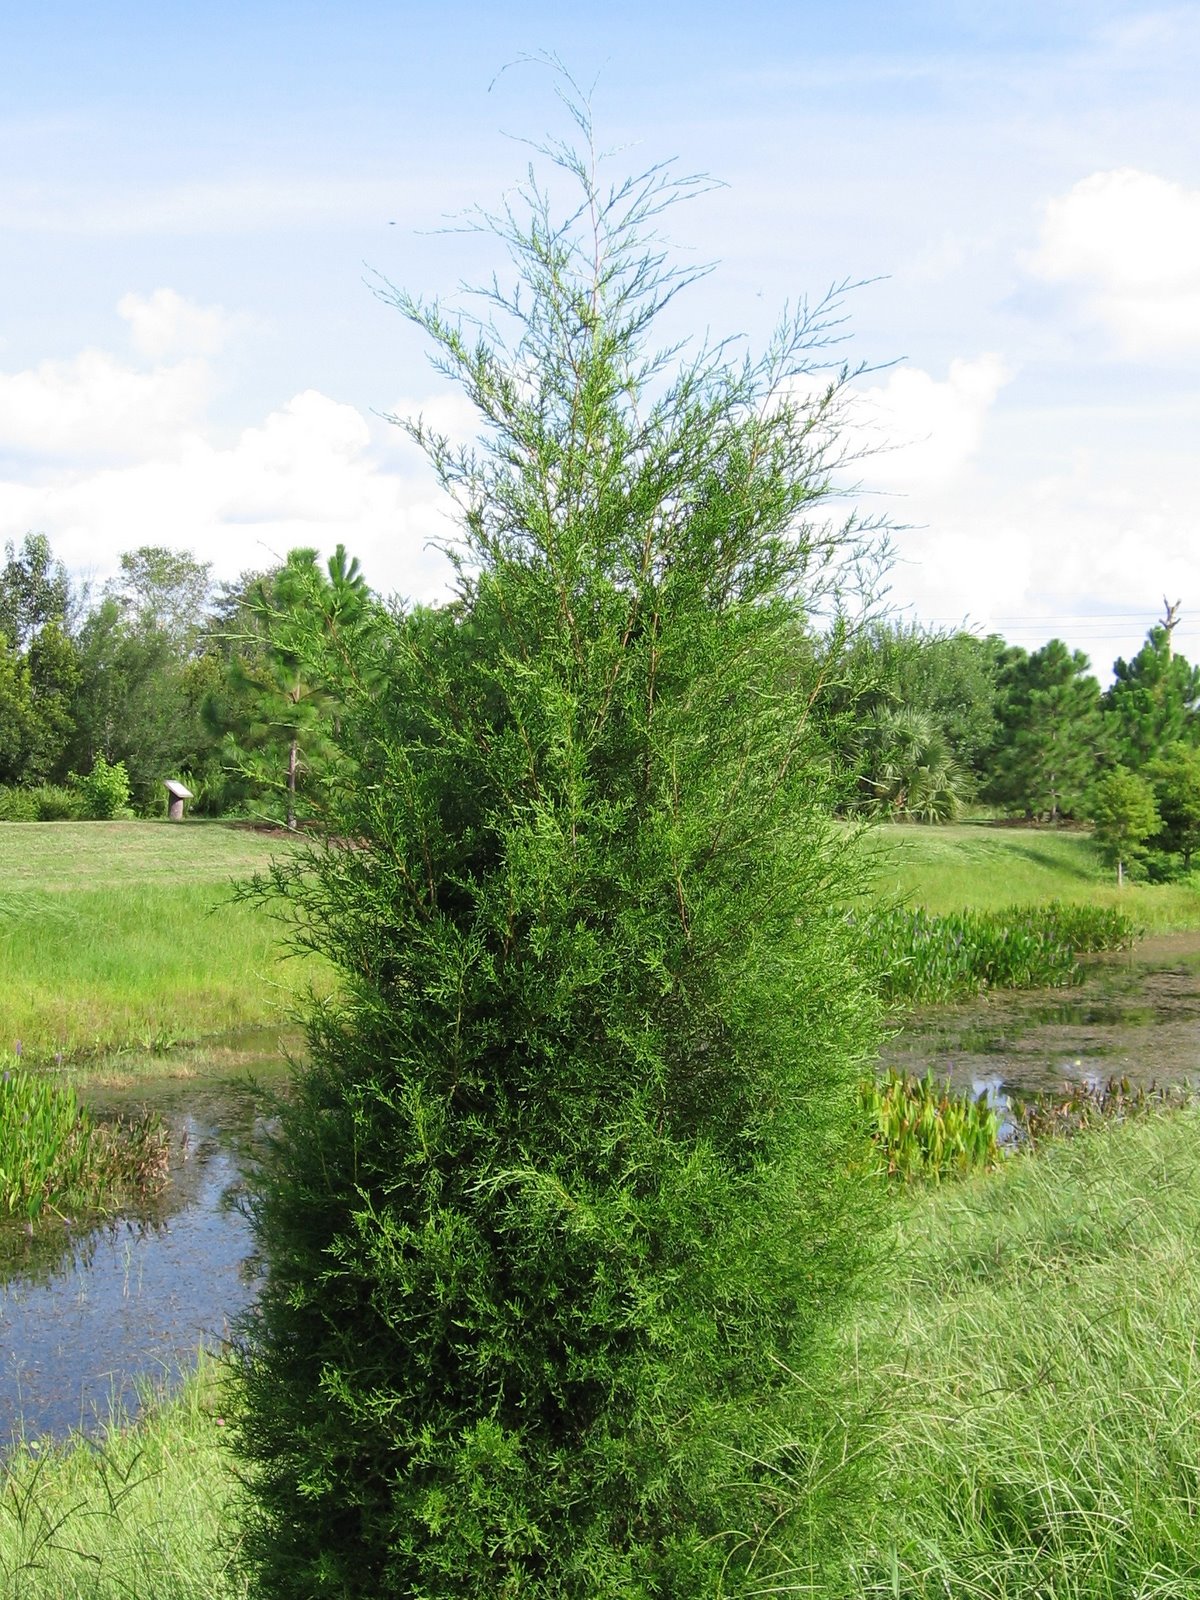
Red Cedar makes a fine Florida Christmas tree!
Red Cedar (Juniperus virginiana) – This Florida native is the classic southern evergreen. Growing quickly to the desired heights of 4’-10’, emitting a “Christmas tree smell”, and possessing dark, dense foliage, Red Cedar makes an excellent Christmas tree! Red Cedar performs very well in most soils but does not like wet feet and will not tolerate continuously saturated areas.
Leyland Cypress (x Cupressocyparis leylandii) – A hybrid of Alaskan Cedar and Monterrey Cypress, Leyland Cypress is recognized as one of the most popular Deep South grown Christmas trees for good reason. Leylands grow exceptionally fast, are a desirable forest green color, and have a naturally conical shape! Though not recommended as long-term landscape trees in Florida due to disease susceptibility, Leylands do very well in short Christmas tree rotations.
Thuja ‘Green Giant’ – ‘Green Giant’ is a cultivar of Thuja and is similar in appearance to Leyland Cypress. Though not quite as deep green in color as Leyland, ‘Green Giant’ also grows rapidly (up to 3’-4’ annually), tolerates many soil conditions, and has no serious insect/disease issues.
Arizona Cypress (Cupressus arizonica var. arizonica) – Arizona Cypress is the Christmas tree for those who would normally choose to be different by purchasing a blue, silver, or white artificial tree! Famous for its striking blue/silver foliage, Arizona Cypress is native to the American Southwest but thrives in the drier sandy soils found in many parts of the Panhandle.
Sand Pine (Pinus clausa) – The quintessential “Cracker Christmas Tree”, Sand Pine is native to the deep sandy ridges of Florida. Normally thought of as a scrubby, low-value tree, when shaped a little, the short-needled Sand Pine makes an excellent Christmas tree! Obviously preferring a dry, sandy site but capable of growing nearly anywhere, Sand Pine has no pest or disease issues and grows fast! If you want a true, old-school Florida Christmas tree, Sand Pine is it.
Regardless of the species you choose, implementing the following few maintenance tips and expectations will lend best results:
- Cut/remove J or circling roots before planting.
- Plant just higher than ground level.
- Refill the hole with native soil from the site.
- Regular irrigation for the first several months of their lives is necessary and trees will benefit from supplemental fertilizer applications twice a year (spring and mid-summer).
- Shaping trees each summer with hedge shears to achieve the desired dense, compact shape will allow for a uniform tree with no “holes”.
- Plant several trees per year to ensure a nice tree come December, just in case.
- Florida grown Christmas trees will NOT have the exact look of fir or spruce. Adjust expectations accordingly.
- Most Florida grown Christmas trees do NOT have rigid branches and cannot support heavy ornaments. Again, adjust expectations accordingly.
While Christmas tree species that perform well in the Panhandle will not have the exact look of a classic fir or spruce sourced from the Carolinas, they certainly mimic the look and there is something to be said for walking outside and harvesting your own tree to put presents under! For more information on growing your own Christmas trees or other horticultural topics, contact your local UF/IFAS County Extension office! Happy New Year!
by Matt Lollar | Dec 16, 2021
Trees provide shade, aesthetics, and perspective to the landscape. However, they only serve as burdens if not properly selected and maintained. To help determine what trees do best under certain conditions and to provide information on tree care, this month’s Gardening in the Panhandle LIVE! was all about trees.

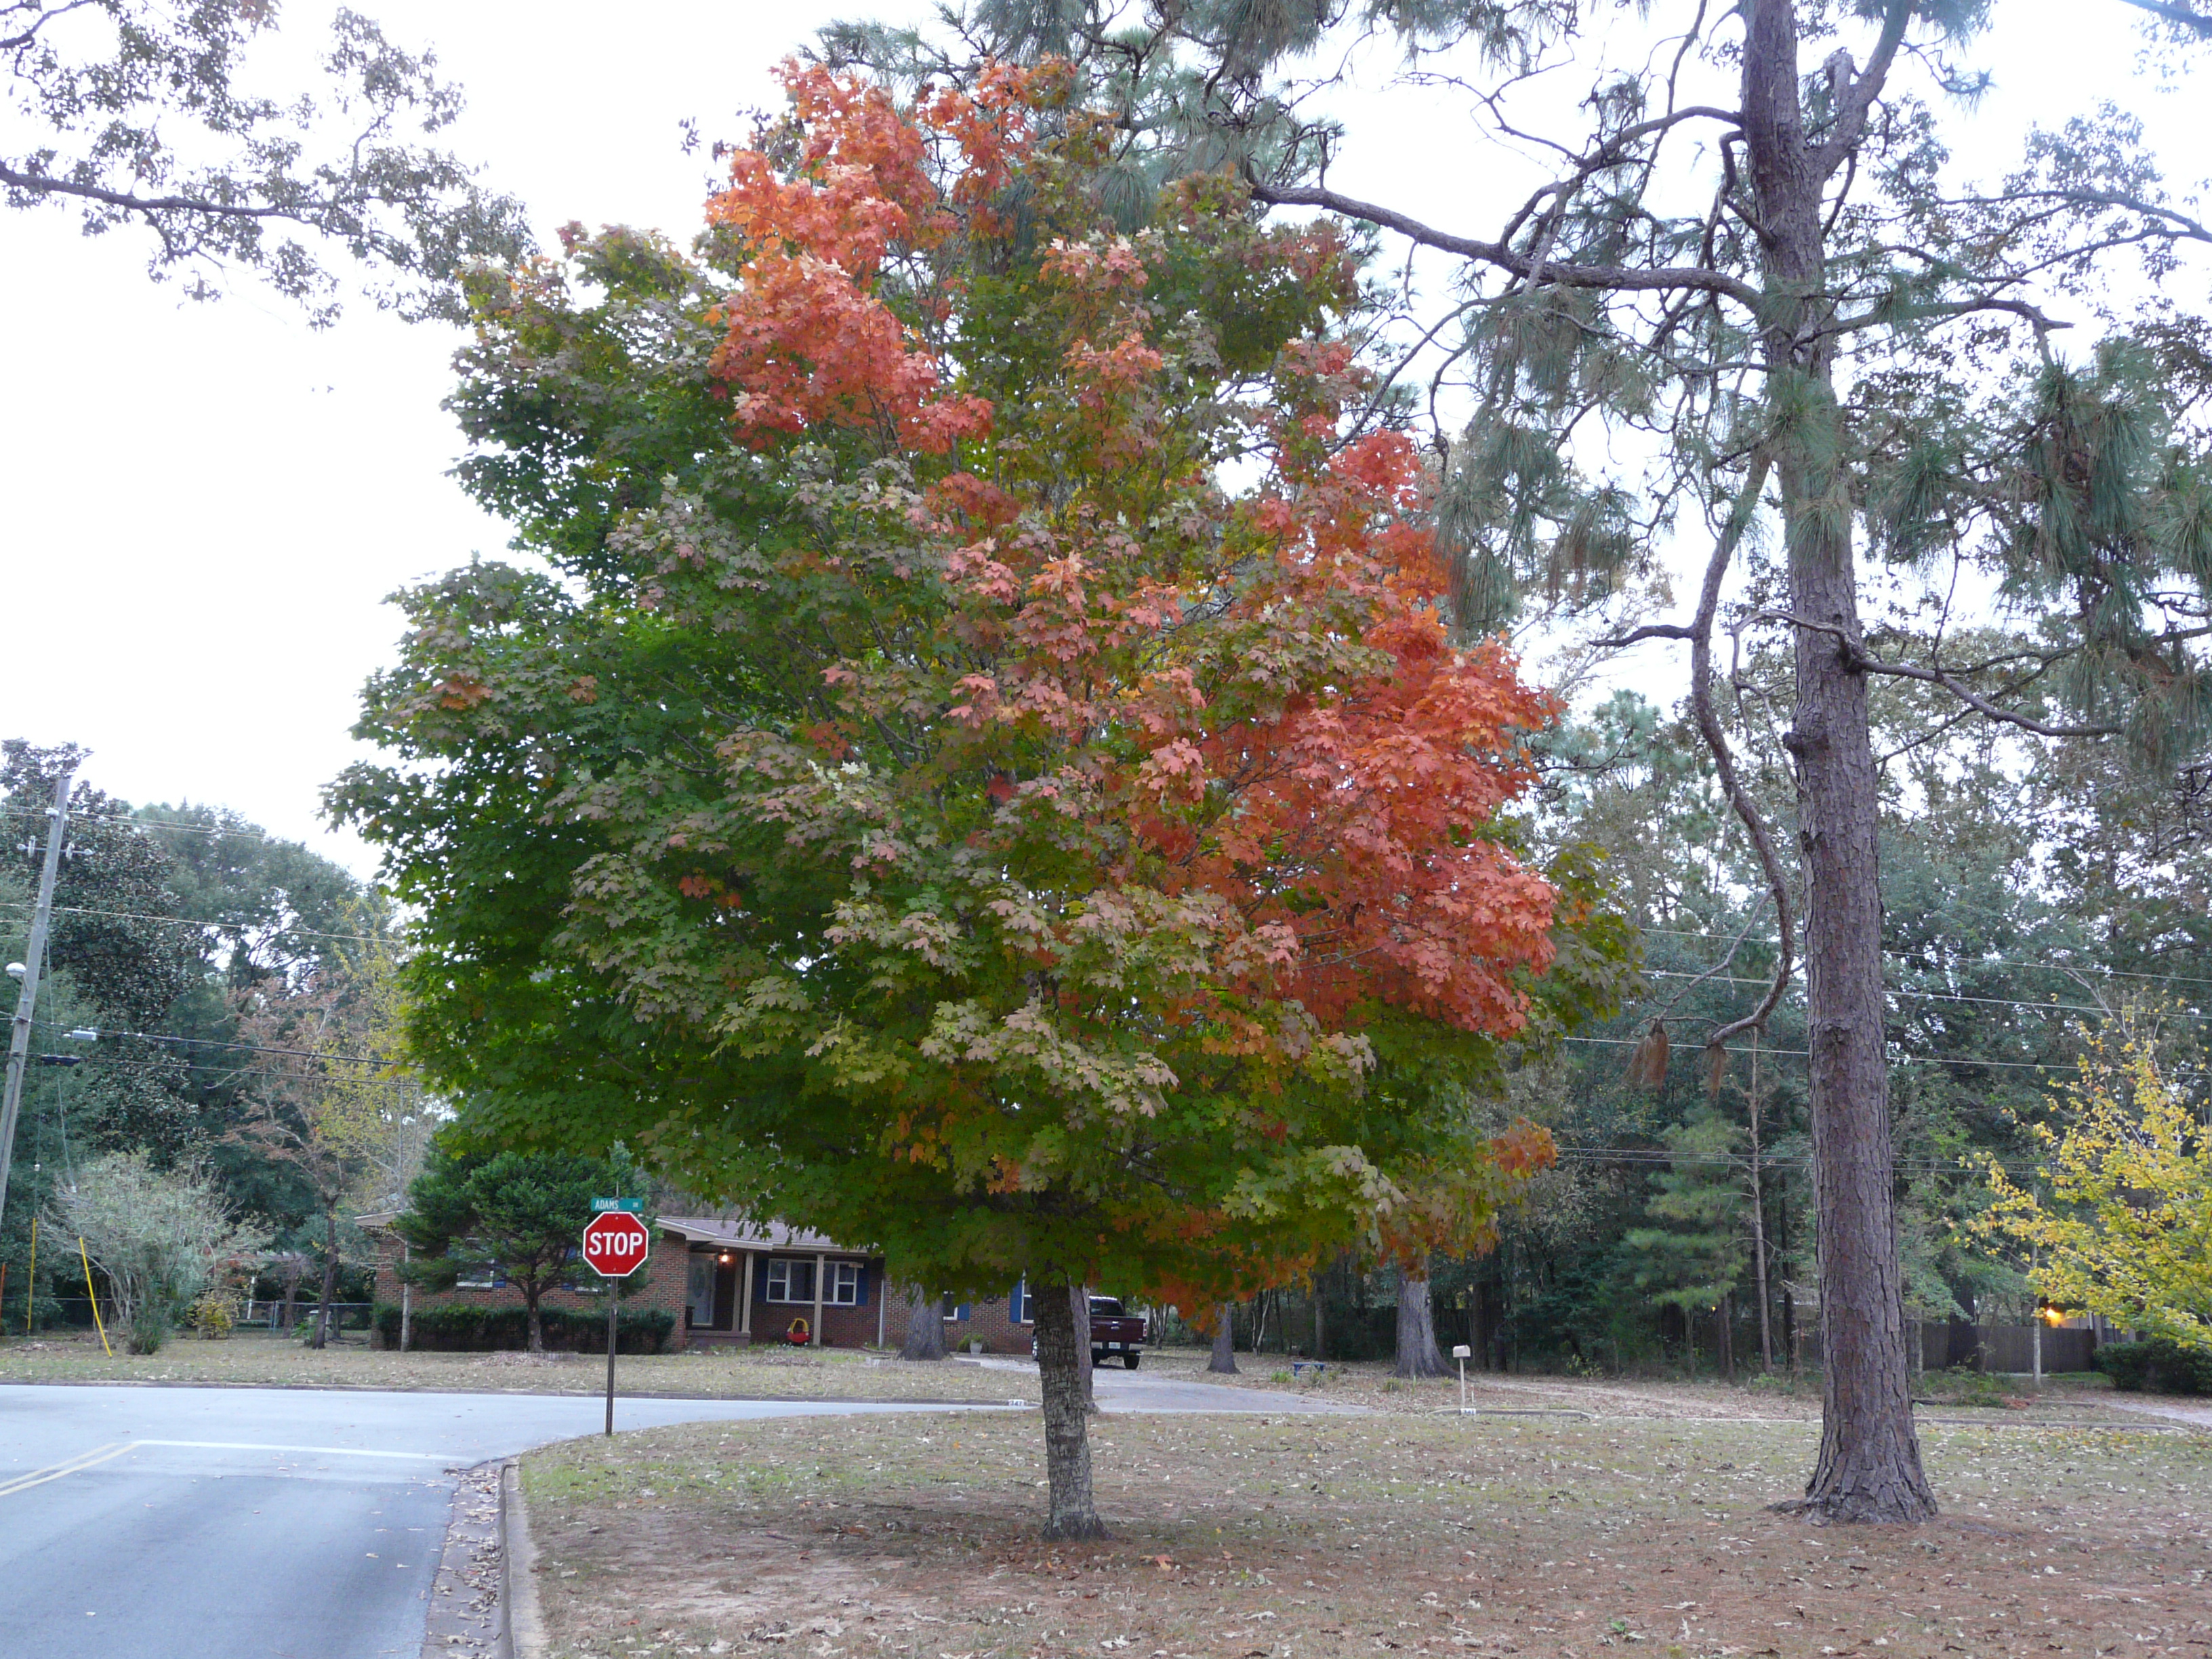
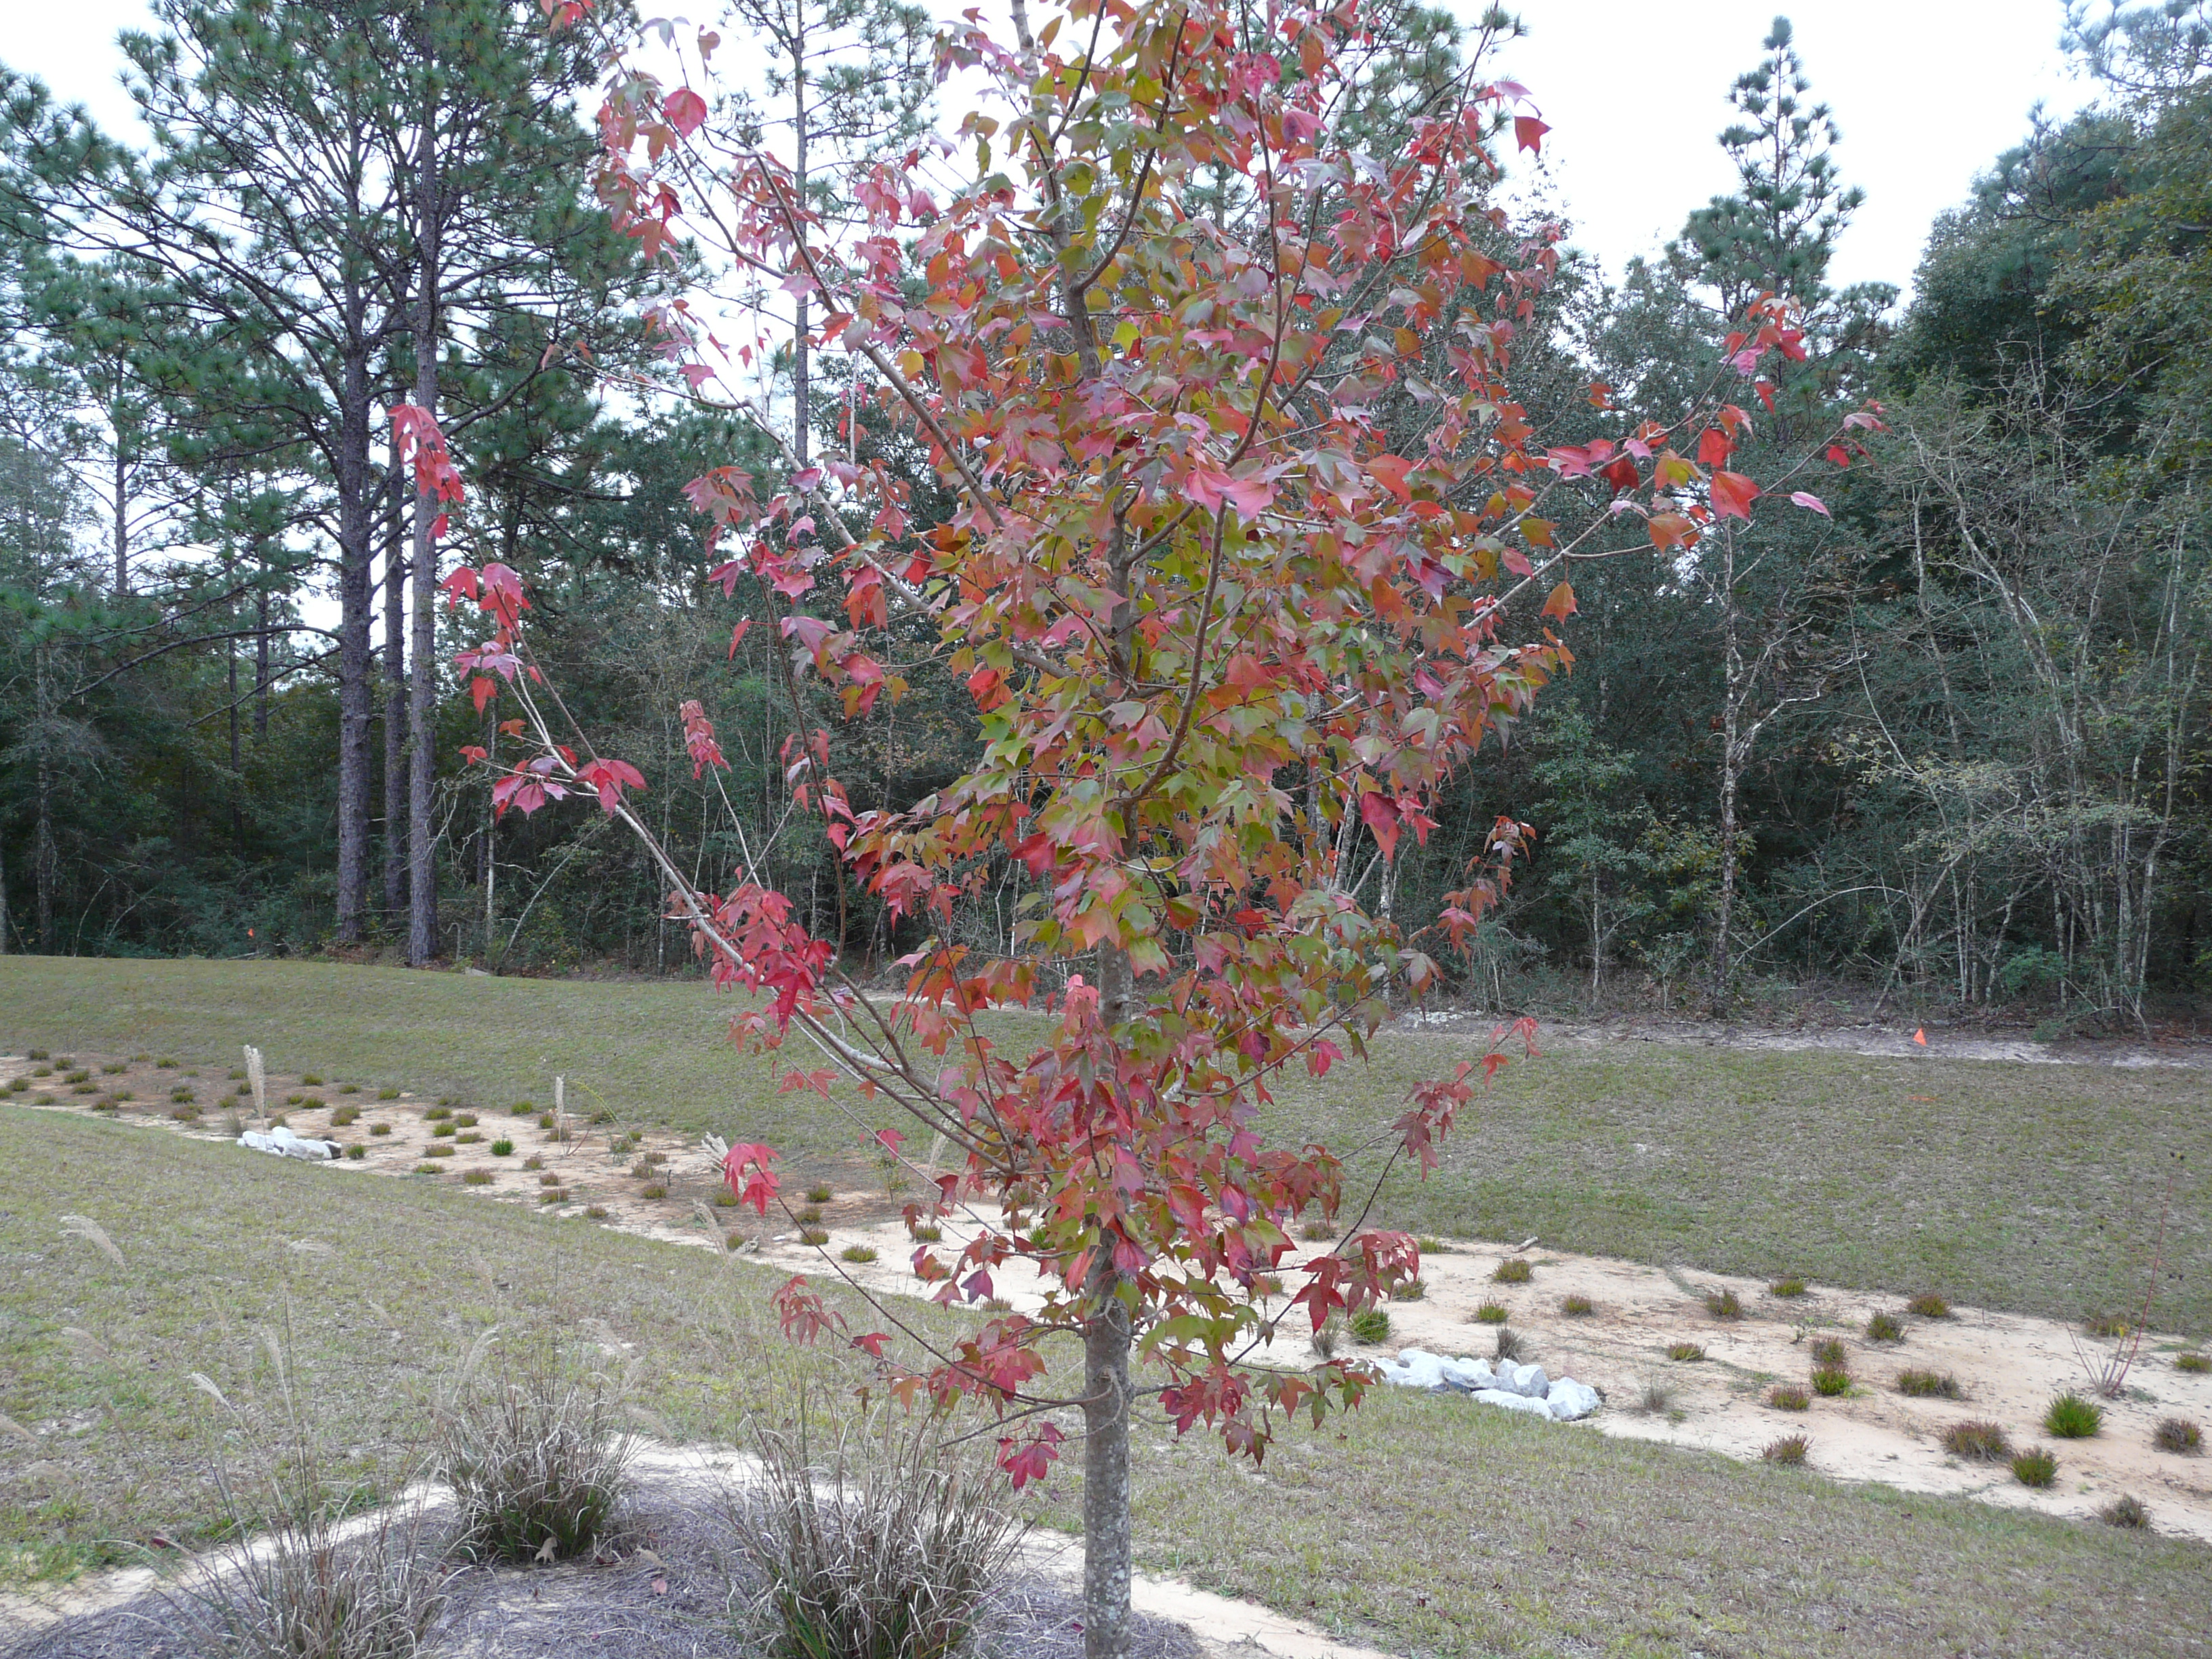
Florida maple beginning to exhibit fall color. Photo credit: Larry Williams, University of Florida/IFAS Extension – Okaloosa County
Tree Selection
Some trees grow faster than others. That’s not always a good thing, but if you’re trying to select a tree that grows fast and will provide shade in your yard then you might want to give the following species a try. Click on the links for more information.
A lot of times you’ll read a particular tree species prefers moist, well-drained soil. Some coastal soils are very well drained and require supplemental irrigation after establishment to keep some species alive. One tree that does well in sandy, well-drained soils without supplemental irrigation is the sand live oak. Another tree, that would never win a popularity contest, but does well in sandy soils is the sand pine. This tree has a gnarly growth habit, which would make it an interesting focal point in the landscape. Turkey oaks are another option for dry spots.
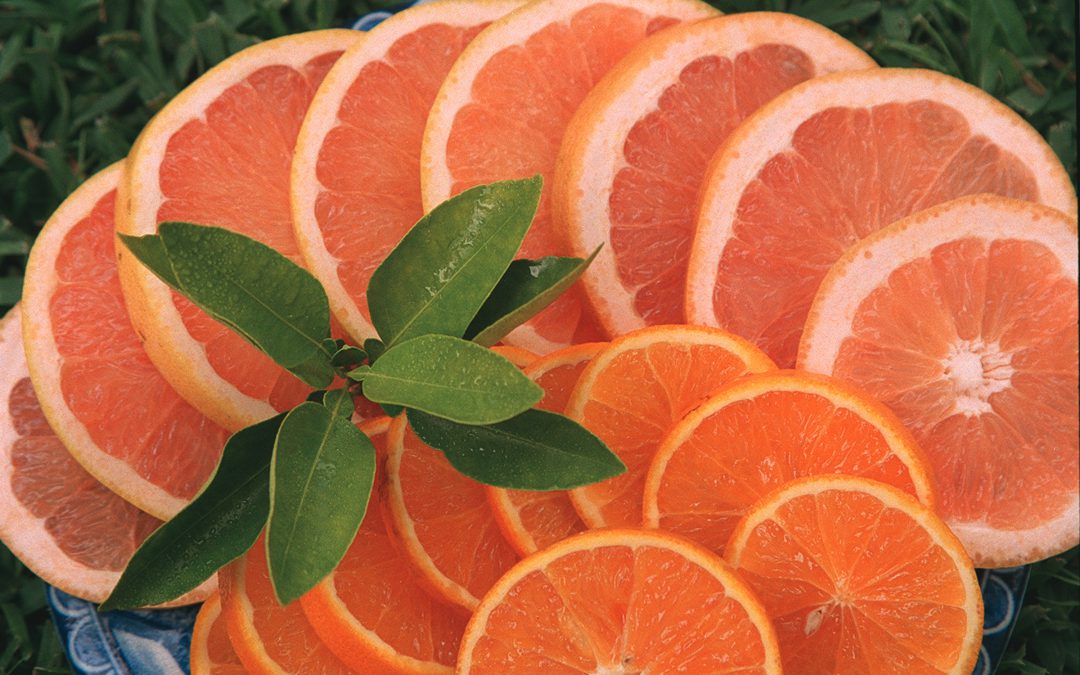
There are a lot of fruit tree species that can be grown successfully in the panhandle. The key to good fruit production is selecting trees that are adapted to the average number of chill hours (usually calculated by the number of hours between 34ºF and 45ºF) your yard receives on a yearly basis. Some peaches, plums, and nectarines have been developed for our climate. Citrus such as satsumas and tangerine hybrids grow well in the panhandle, but sometimes require cold protection. Persimmons, loquats, and pears are other fruit trees that grow well.
If you already have mature trees in your yard, then you may be looking for smaller, understory trees to enhance your landscape.
Living this far south, you often have to really seek out trees that change color in the fall. Dogwoods, Florida maples, and blackgum trees all have great fall color. Some of the red oaks also have nice fall color. Two that come to mind are the nuttall oak and the Shumard oak.
Trees can cause a lot of damage if planted too close to sidewalks or buildings. To determine if a tree will fit in a confined space, you will need to consider its mature trunk flare diameter.
Florida is the southern extreme for growing ginko trees. If you decide to plant a ginko tree, make sure to select a male cultivar to avoid stinky, slippery fruit.
To successfully plant a tree, you need to start with a healthy tree. If the tree you purchase was grown in a pot, make sure it isn’t rootbound and doesn’t have encircling roots. You also should inspect the tree’s form, branching structure, and look for the presence of included bark. Please read “Selecting Quality Trees from the Nursery” for more tips on what to look out for when purchasing a healthy tree.
Some trees are more tolerant than others of high winds and flooding. Please read this publication about tree failure from hurricanes to help determine what tree species are better adapted to these weather events.

Santa Rosa County Master Gardener Pruning a Stone Fruit tree at the WFREC. Photo Credit: University of Florida/IFAS Extension
Tree Maintenance
Armillaria is a common fungal pathogen that infects trees from their roots. Other major diseases are more specific to certain species. A more comprehensive list of tree and shrub diseases can be found on the Ask IFAS website.
Tree establishment period depends on a lot of factors. Once a tree is established, it’s roots can be equal to about three times the distance from the trunk to the dripline.
Part of the beauty of a bald cypress is its knees. However they can also be a nuisance for mowing and other yard maintenance. The purpose of cypress knees is a bit of a mystery and there are a lot of theories on the subject.
Fallen leaves can help add nutrients back to your yard. Even if you are trying for a manicured lawn, you may want to rake up the leaves and use them elsewhere in the landscape.
Regardless of the species, most fruit trees benefit from a good pruning. Deciduous fruit trees should be pruned to maintain good branch structure and form, while citrus may benefit from a light hedging.
Trees are a wonderful addition to any landscape, but it’s important you select the right tree for the right place. Hopefully this article provided some information to guide you in the right direction.
by Matthew Orwat | Nov 22, 2021
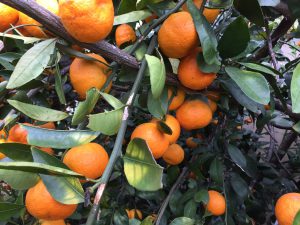
Citrus: Bearing Branches. Image Credit Matthew Orwat, UF/IFAS
Many dooryard fruit growers have asked me this Fall: When is the correct time to prune citrus? How do I prune Citrus right now? The answer may seem obvious, but when we delve into the question further, we find out that it is not.
Two different pruning strategies exist depending upon the citrus plants age. When training young citrus plants, it is essential to develop three to four main scaffold branches with wide crotch angles. This is done by selecting branches growing different directions that intersect with the trunk or each other at the widest angle possible. Other branches need to be pruned off and these need to be left alone to develop into the main scaffold. Once the branching system has been developed, traditional heading back, as seen in peaches and apples, is unnecessary.
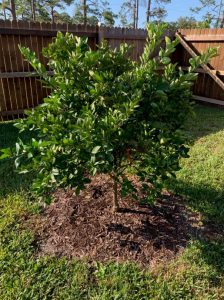
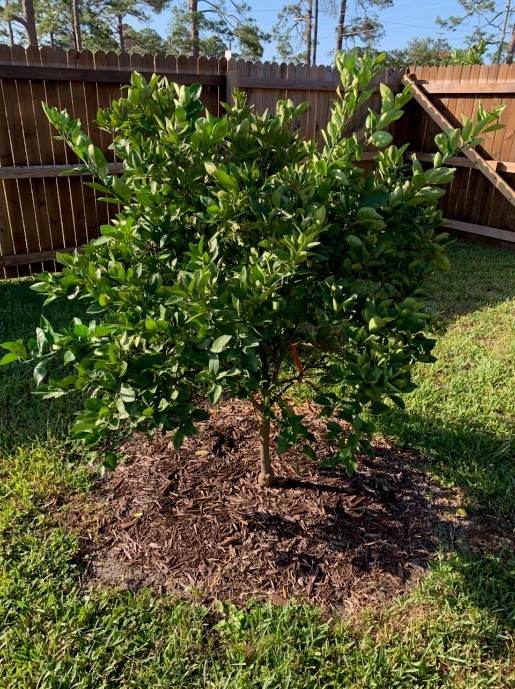
Young Citrus Tree with good vase shape
There are several instances in which pruning mature citrus trees is beneficial. First, branches should be pruned approximately one foot off the ground so developing fruit is not sitting on the ground. This also helps with weed control and fertilization. Next, it is important to remove growth that is positioned extremely upward or inward to promote an open, vase-shaped habit. Finally, it is necessary to remove any dead wood resulting from winter dieback.
Many growers are eager to remove branches that have been bent downward by heavy citrus crops. This is not necessary; they will bear well in subsequent years.
The last pruning item to consider is removal of suckers from below the rootstock. If the tree is grafted, this is necessary so that the rootstock does not overtake the scion cultivar. Trees propagated from seedage or cuttings will not need this type of pruning since root suckers will be true to type.
It has been noticed that when trees are not over pruned, they exhibit greater cold hardiness. Keeping that in mind, any pruning of citrus should be done at the beginning of March or later, not in the fall or early winter. With proper pruning practices, gardeners should expect healthy trees with bountiful harvests. For further information please consult the publications listed below or contact your local Extension office.
Citrus Culture in the Home Landscape
Cold Hardy Citrus for North Florida
Louisiana Home Citrus Production Manual