
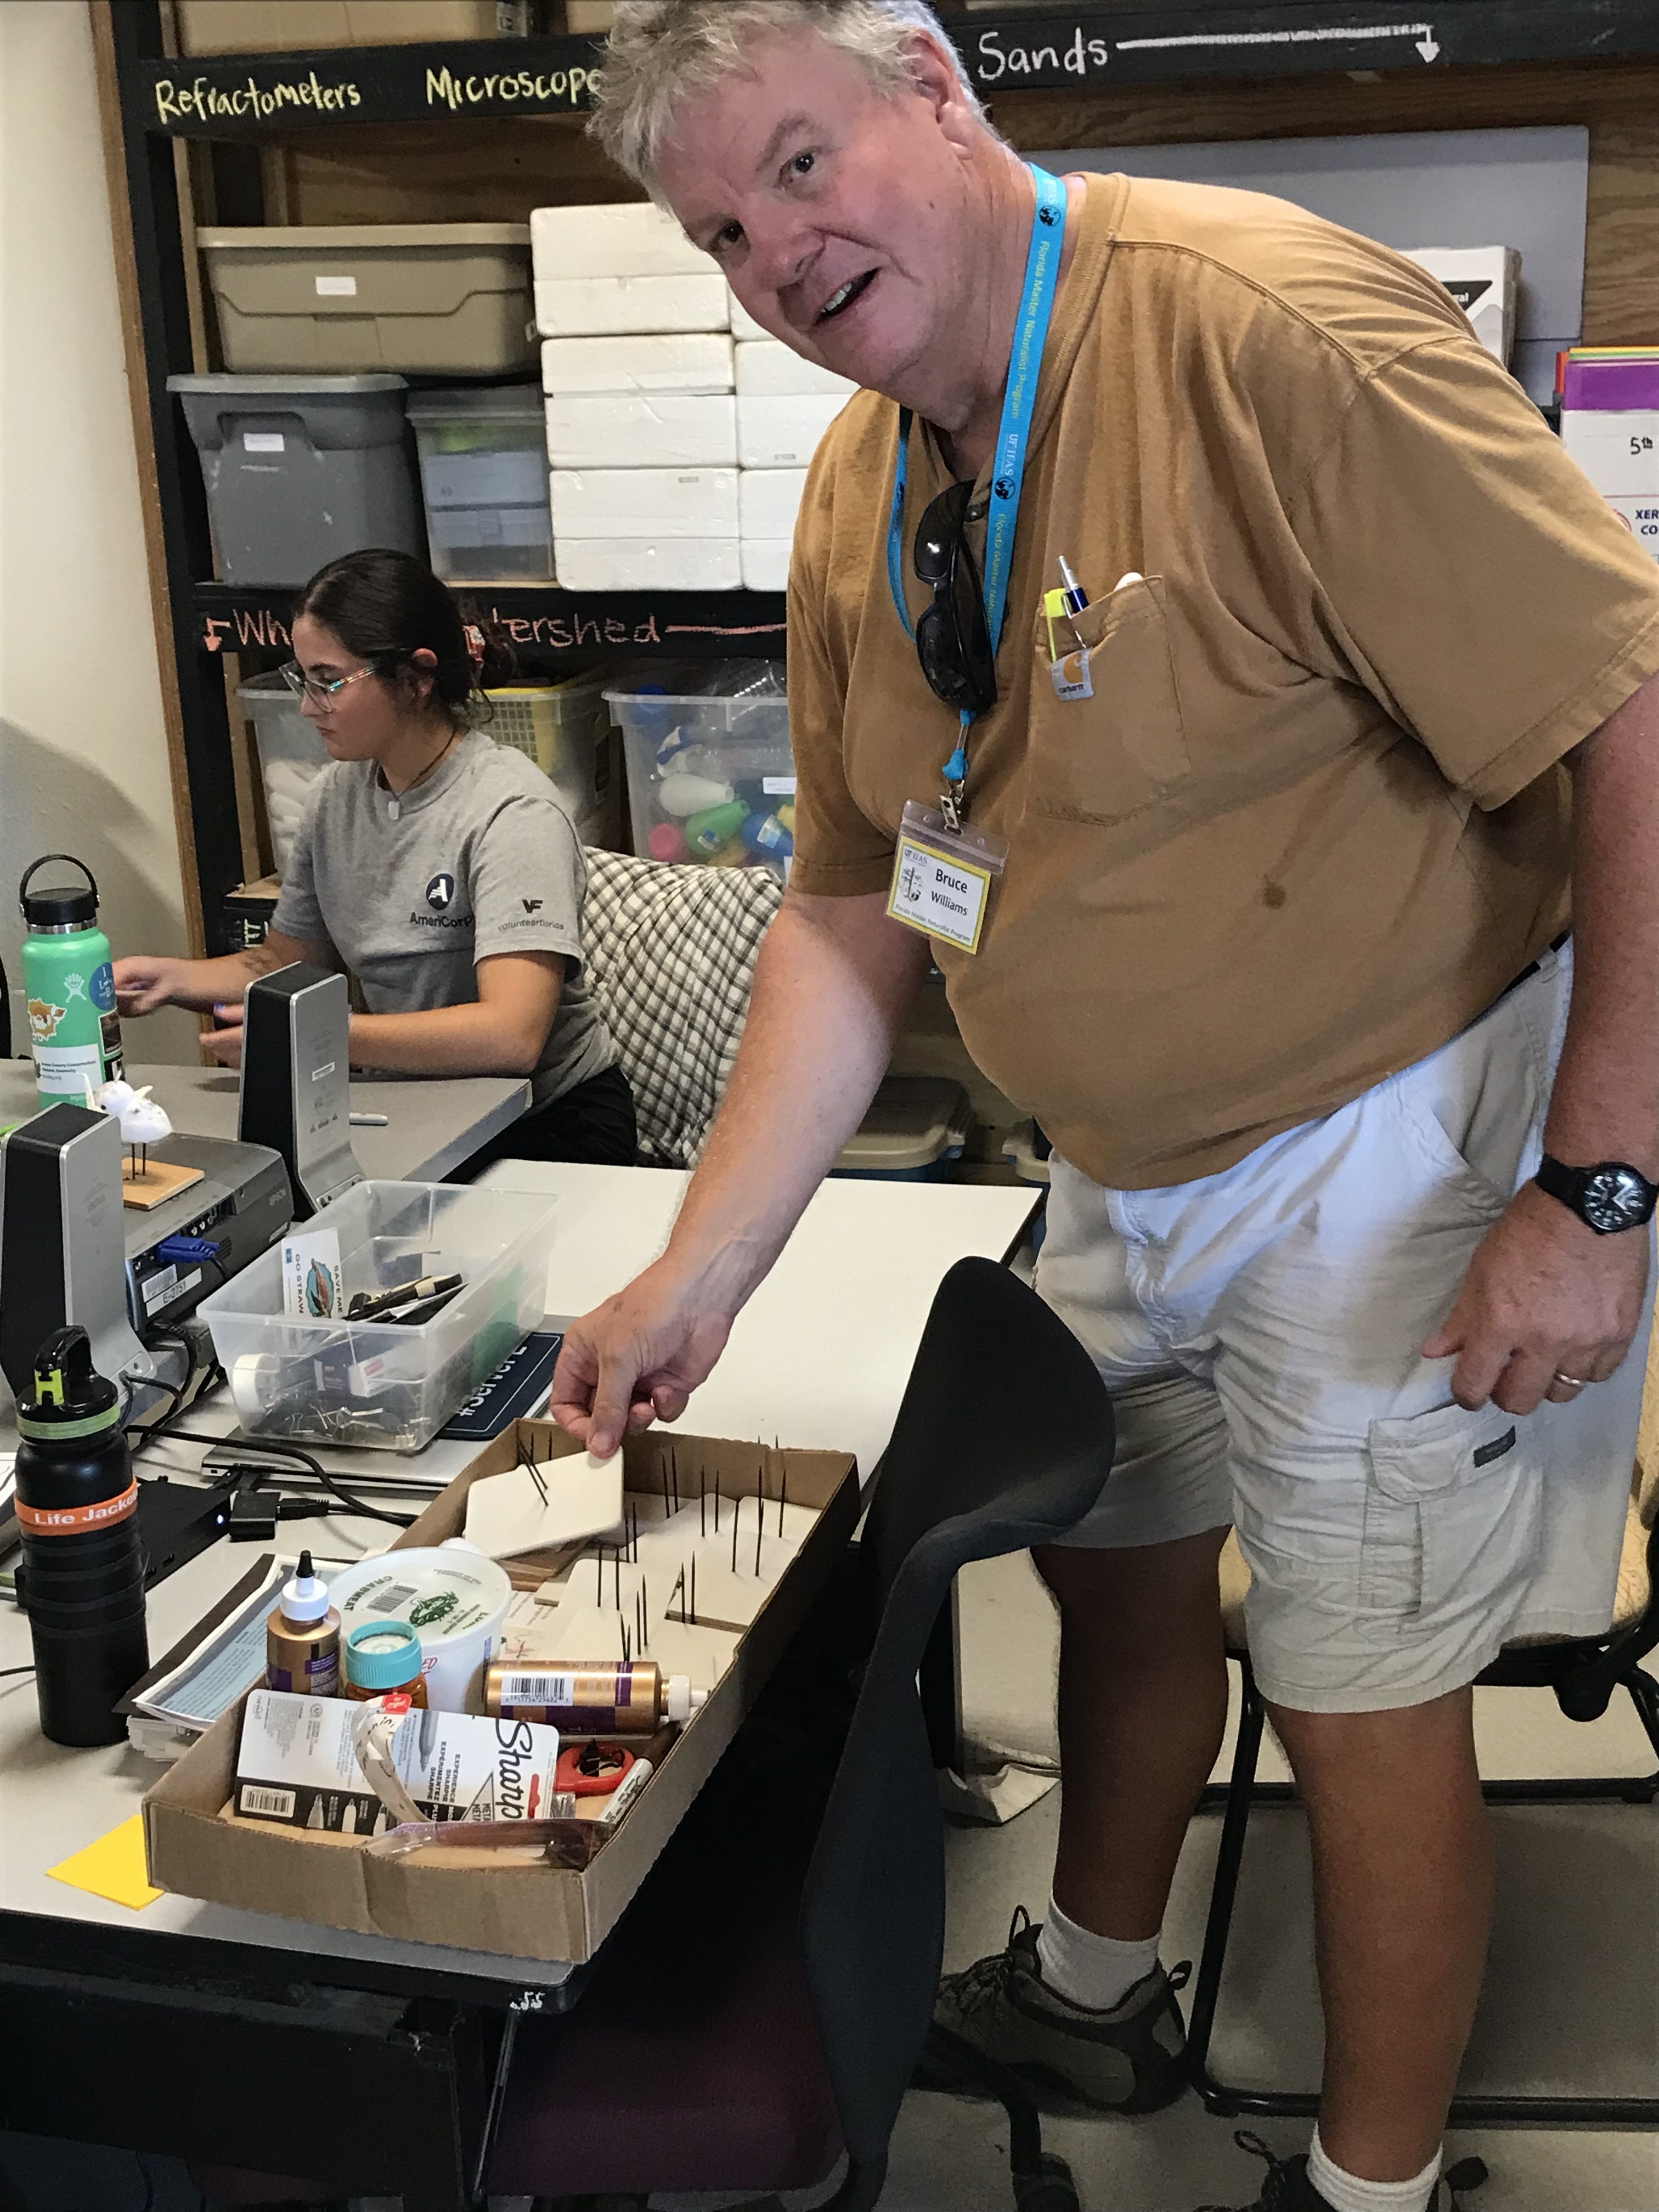
Florida Master Naturalist Student and Florida State Park Ranger, Bruce Williams, prepares for his snowy plover lesson.
There is an oft quoted proverb “those who can’t do, teach.” It is meant to be humorous, but it couldn’t be farther from the truth. Teachers of all kinds have enormous impacts on our lives. For graduates of the Florida Master Naturalist Program (FMNP) there is a line in the mission statement that reads “The FMNP teaches those who teach others about Florida’s unique ecosystems and wildlife.” In fact, to graduate, FMNP students must complete a project and present, or teach, it to the class.
A good teacher, like a good entertainer first must hold his audience’s attention, then he can teach his lesson (John Henrik Clarke). In a recent coastal class, we had the good fortune of having a State Park Ranger as a student. His job requires him to do interpretive education at the park, so he had quite a bit of experience under his belt. His project, a craft project involving the assembly of a cute snowy plover chick, was his way of holding his audience’s attention while he talked of the importance of preserving and protecting habitat for shorebirds.
I thought the project and message was impressive and worthy of sharing. To all of you teachers out there who work to make our lives and world better, thank you, and here is another great activity to add to your quiver. If you would like more information on the Florida Master Naturalist Program go here: https://masternaturalist.ifas.ufl.edu.
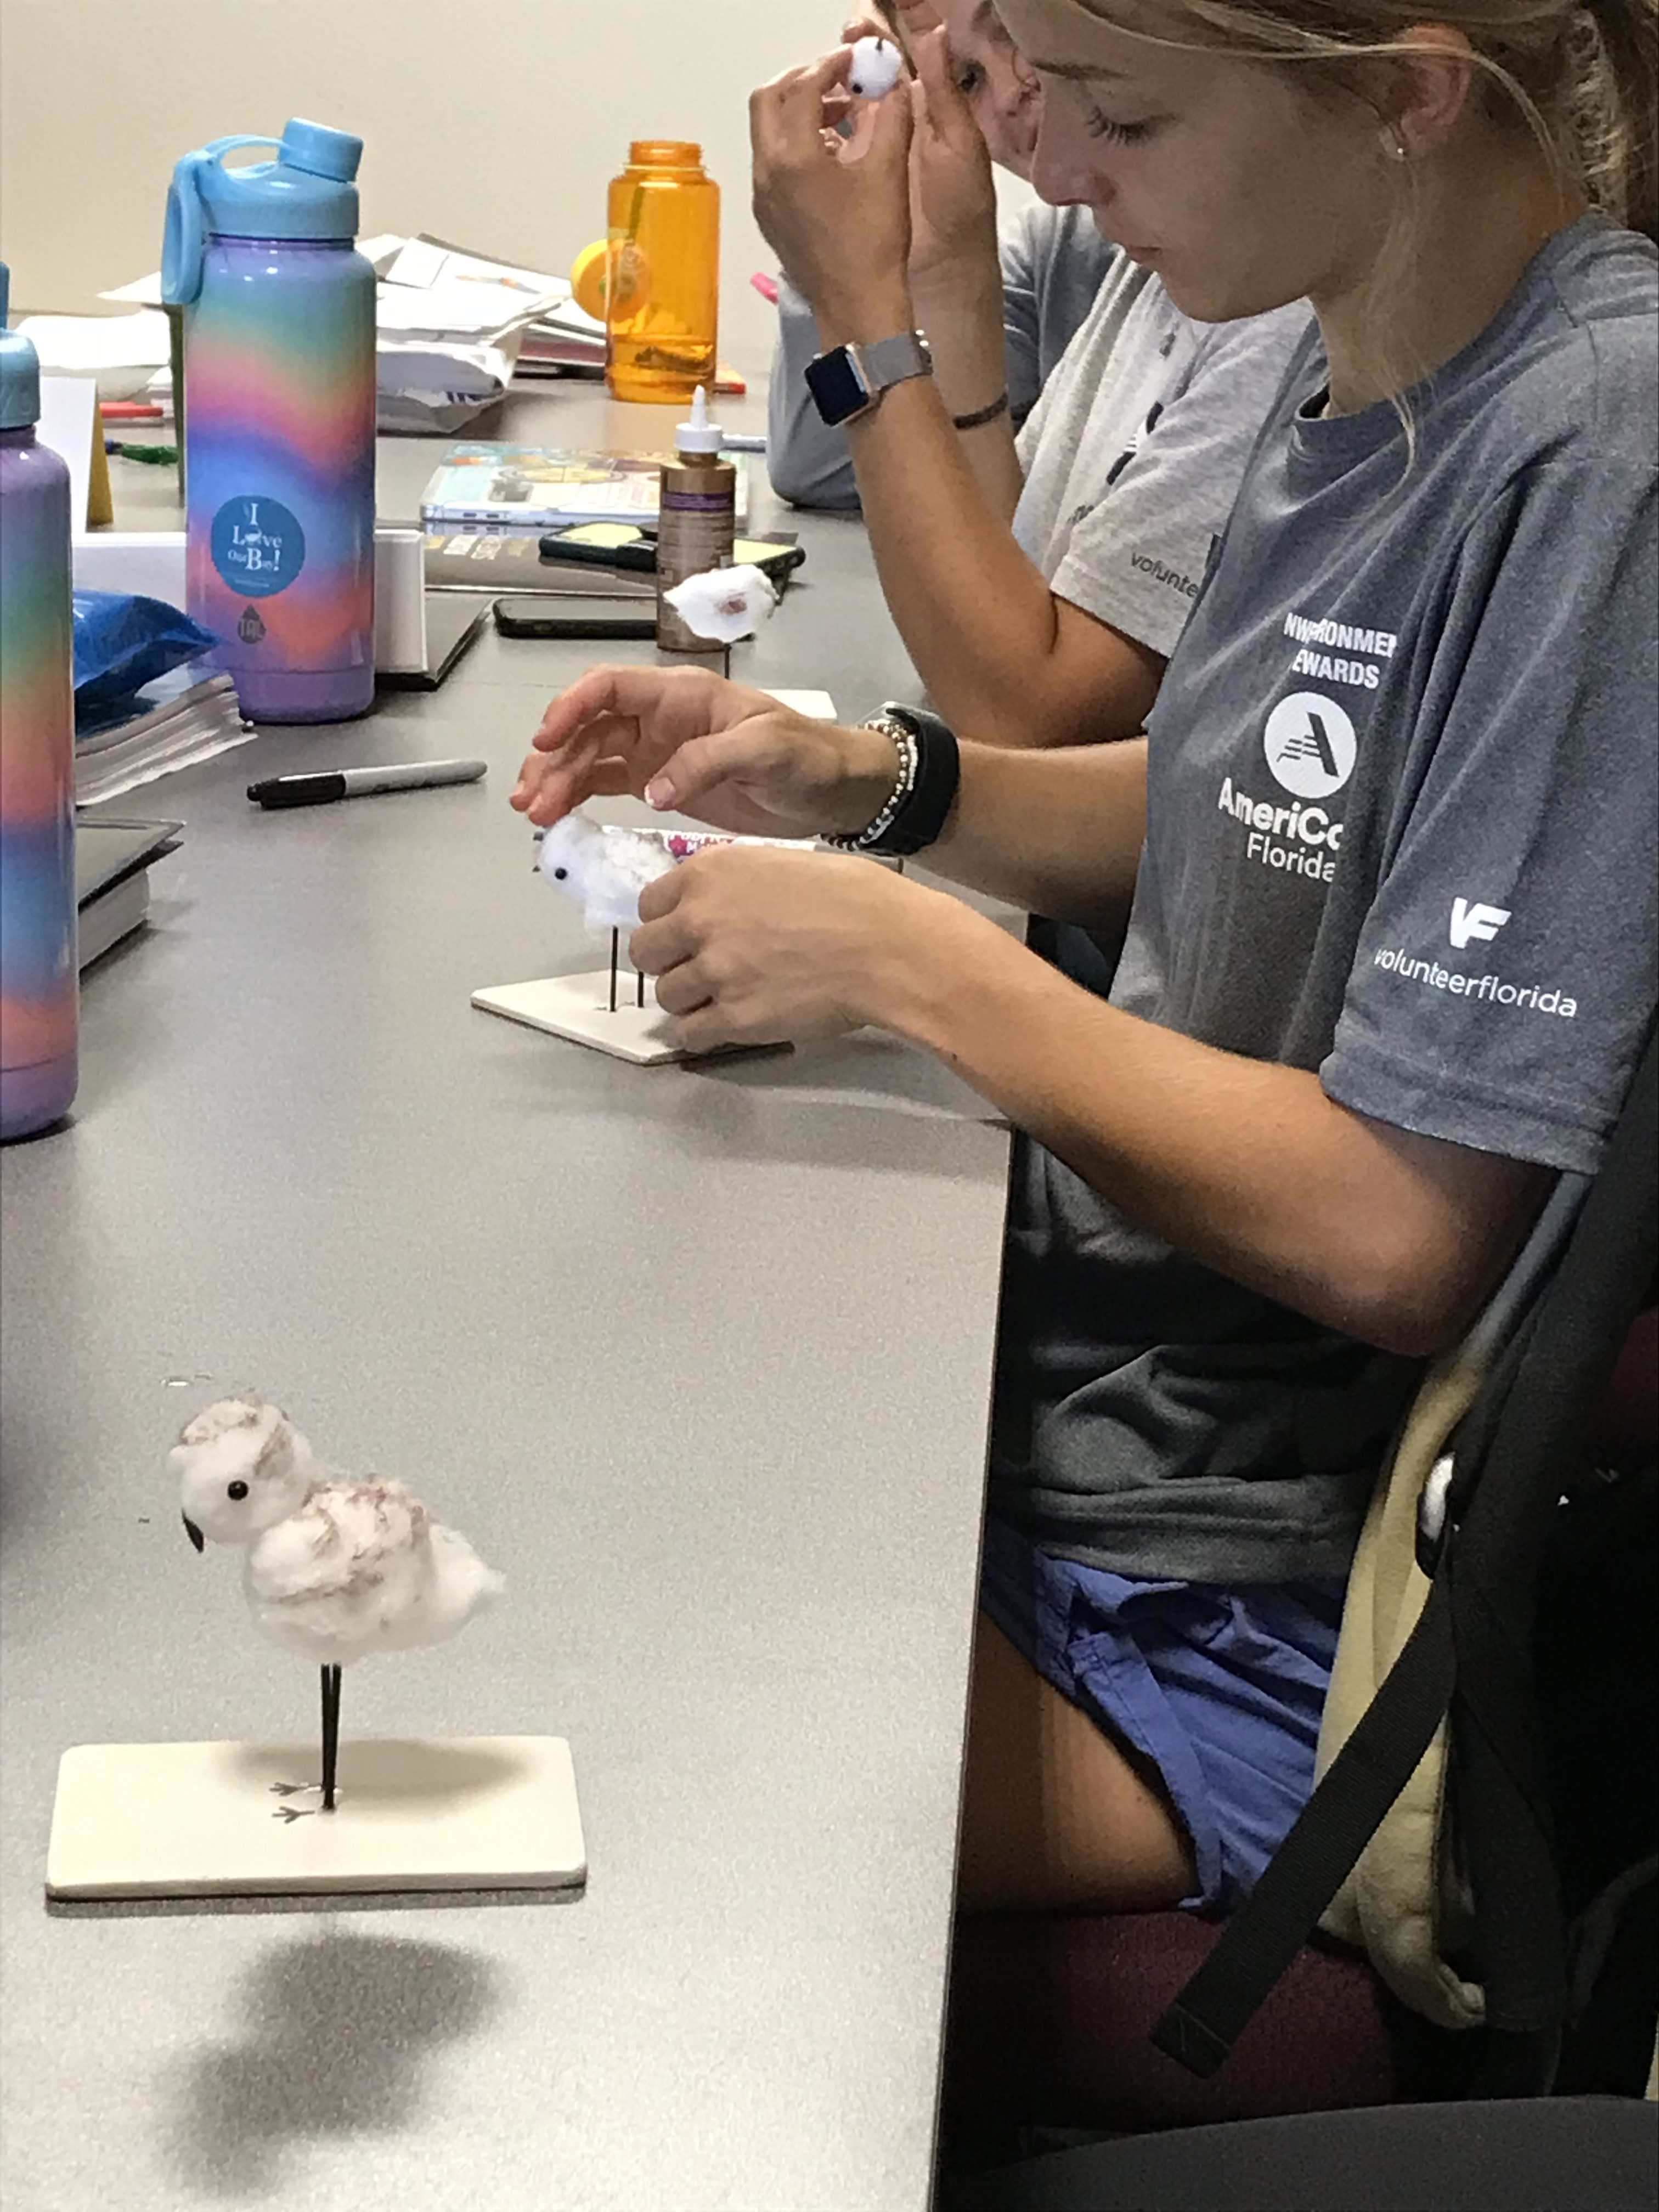
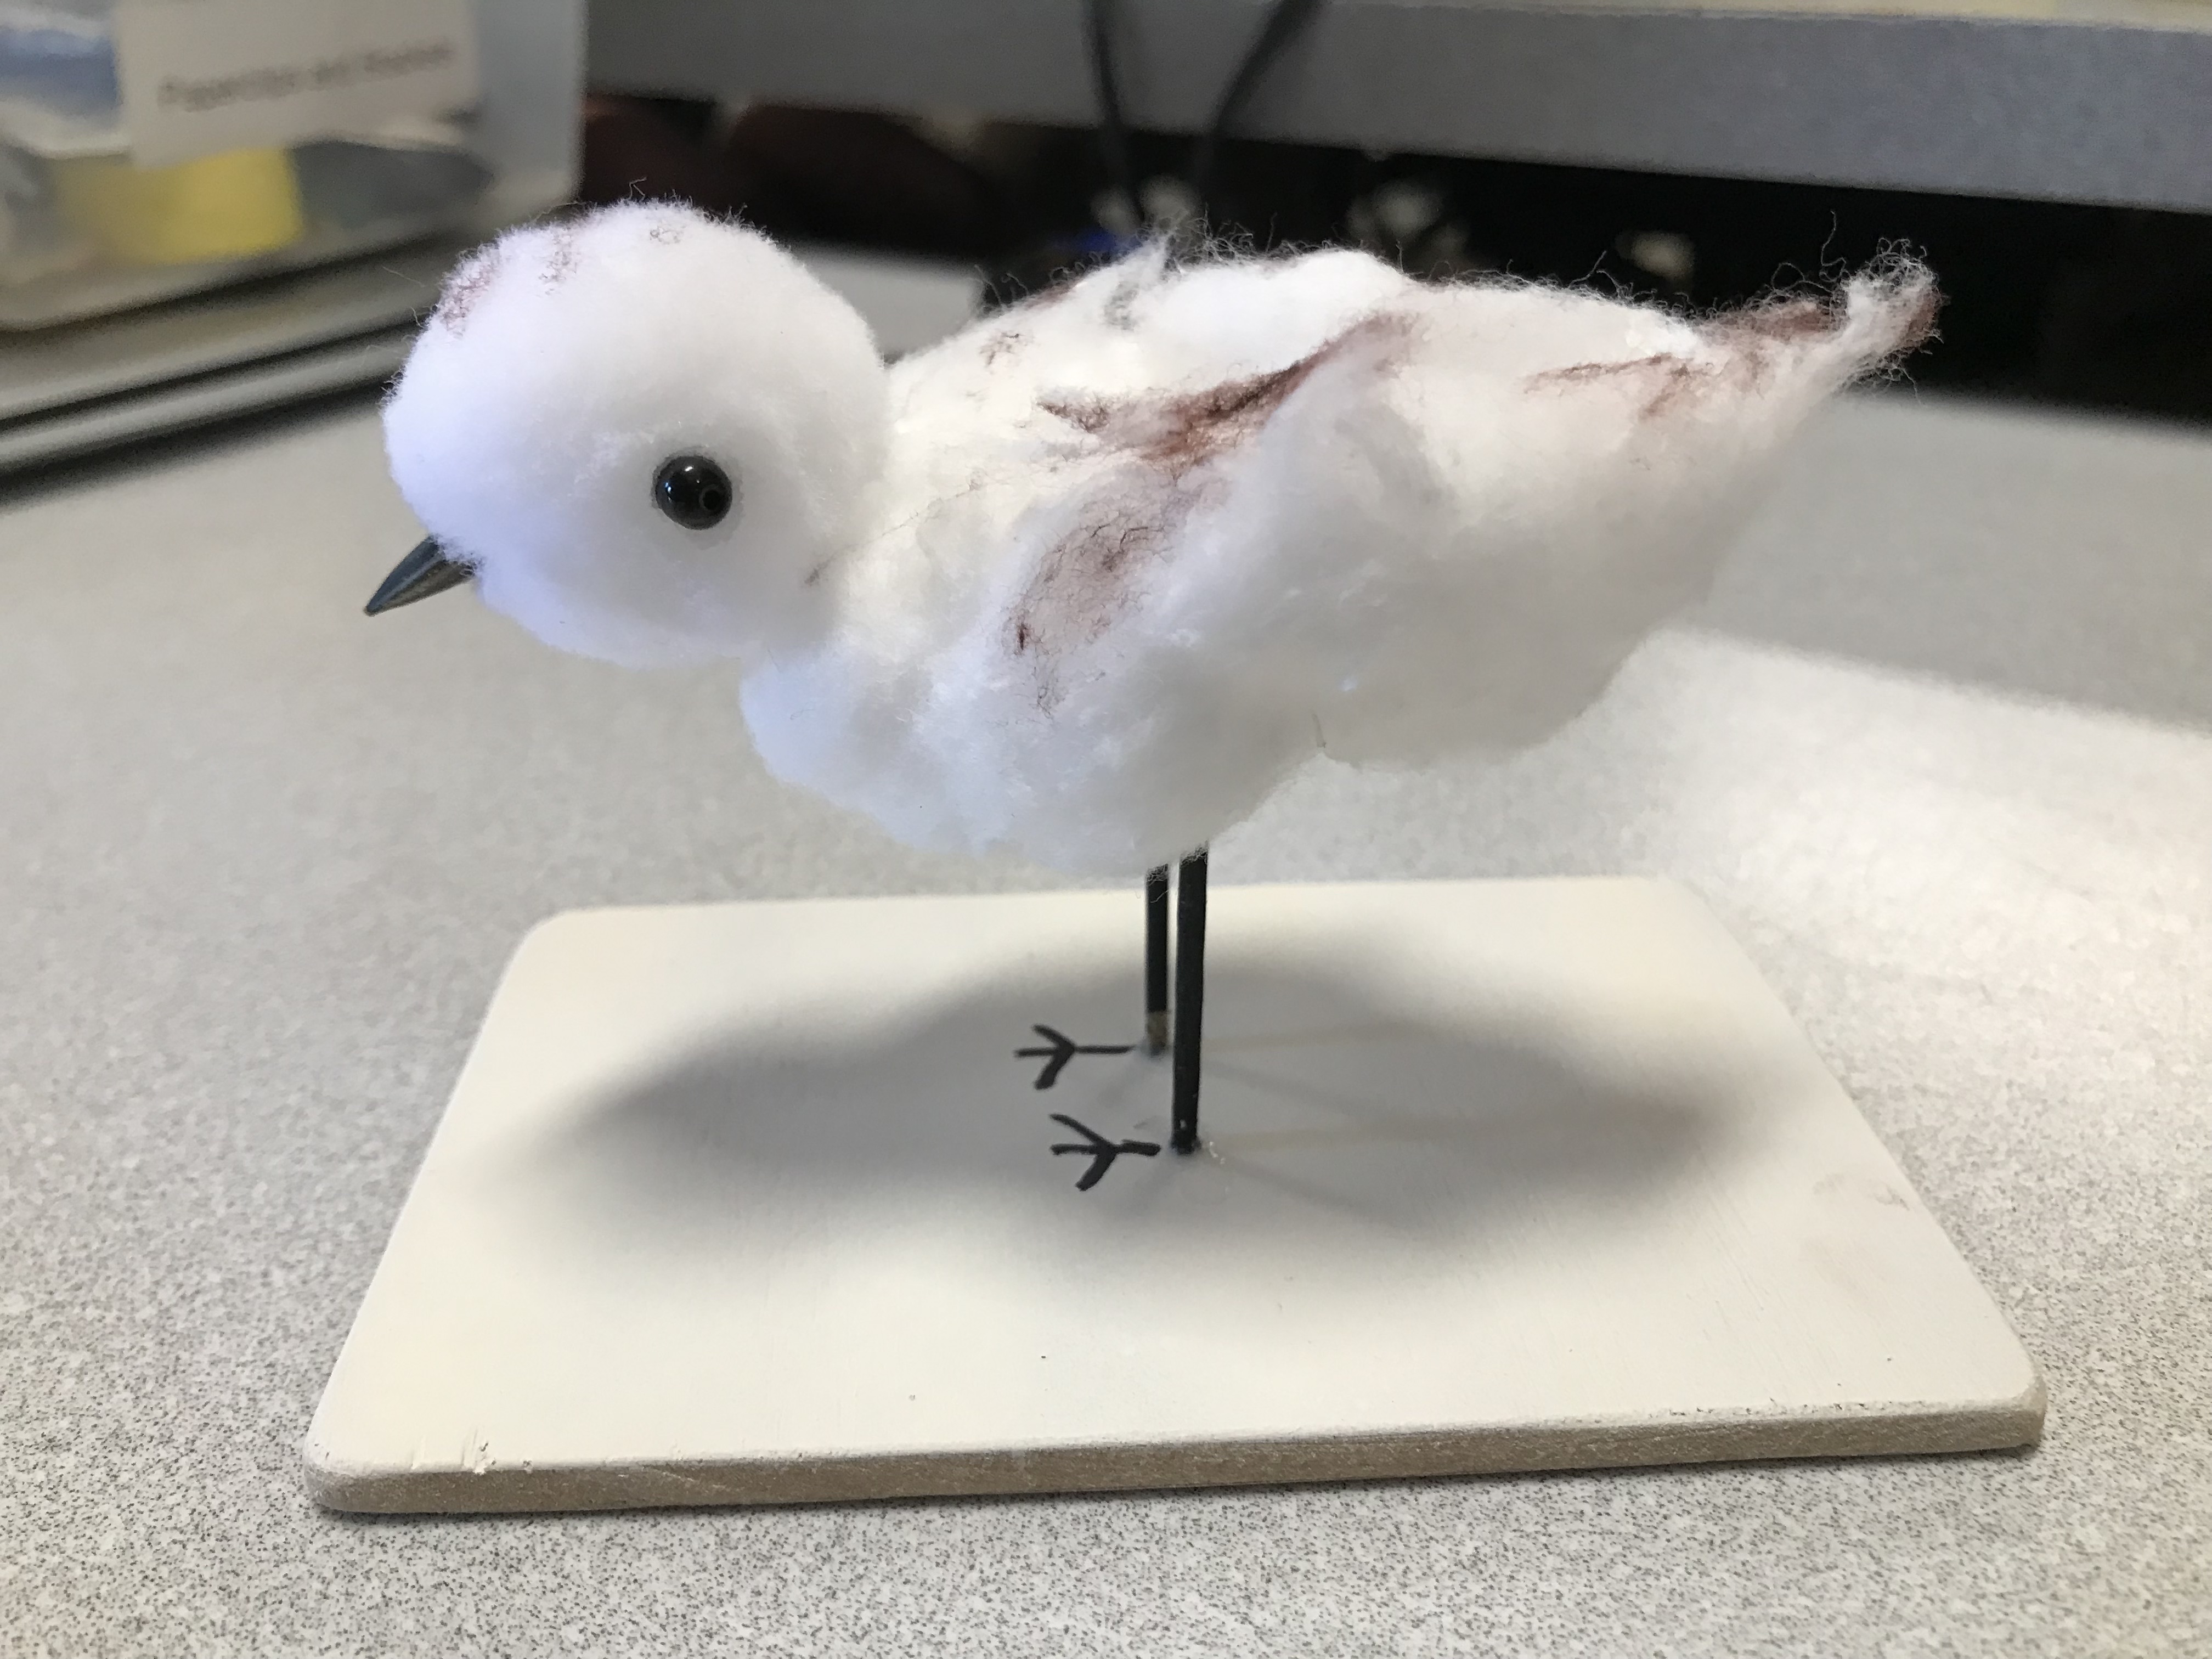
Making cotton ball snowy plover chicks
Group Project: Make a Snowy Plover Chick (Peipert, 2011)
This project is suitable for Elementary age through Middle school age children. It is recommended when doing project with a class or large group that some preparation is done ahead of time.
Supplies:
corrugated cardboard (disassembled brown packing box will do)
1 bag of cotton balls
1 container of black glass beads (sold at craft stores)
black sunflower seeds
1 container of wood toothpicks (kind with one end blunt)
1 can of black spray paint
several of each black, brown & gray markers
several bottles of quick dry tacky glue (sold at craft stores)
Cotton ball snowy plover chick craft
Preparation:
- Using an exacto or carpet knife and T-square cut corrugated cardboard into 3”x3” squares for the # of stands needed. To complete stand preparation, write Snowy Plover chick on stand, draw a pair of feet in center of stand and pierce cardboard in center of feet. This step is a real time saver and recommended for young children.
- Paint toothpicks with black spray paint for legs, easiest way to do this is by taking toothpicks and sticking them into a spare piece of cardboard upright them paint.
Instructions: (skip to instruction #3 if using stands with feet & holes premade)
- Draw a pair of bird feet on center of cardboard and if you want write” Snowy Plover chick” on cardboard.
- Use the pointed end of a toothpick to make a hole in the center of drawn feet. Then put the blunt end of toothpicks in the holes and put a heavy glob of glue around them. Don’t be shy with the glue, it will dry clear and will be better support.
- Take one of the cotton balls and roll around between hands to make it smaller. This will be the head. Next using all three or two markers make many dots on one side of both cotton balls creating a speckled pattern.
- Put a glob of glue at top of each toothpick and put larger cotton ball (the body) on top of toothpicks pushing down so the glue is covered by the cotton ball. Next put a glob of glue on the top of body and put white side of cotton ball (the head) on glue.
- To complete the chick put a small glob of glue on opposite sides of head then place glass beads on. Lastly put a glob of glue on side of head that the feet are facing forward and place sunflower seed on with the pointed end facing out.
- Let stand for at least 15 minutes to dry before handling.
- Enjoy your Snowy Plover chick creation!

- Earth Day - April 13, 2024
- Using Fish to Grow Food in Aquaponics - March 1, 2024
- Walton County’s Rare Coastal Dune Lakes - September 28, 2023