by Ray Bodrey | Mar 21, 2018
I imagine many of you have had plant loss due to this recent cold snap. Like myself, you’ll be busy this spring replanting areas. Want to have a more sustainable landscape and attract birds & butterflies? Consider a Florida-Friendly Landscape.

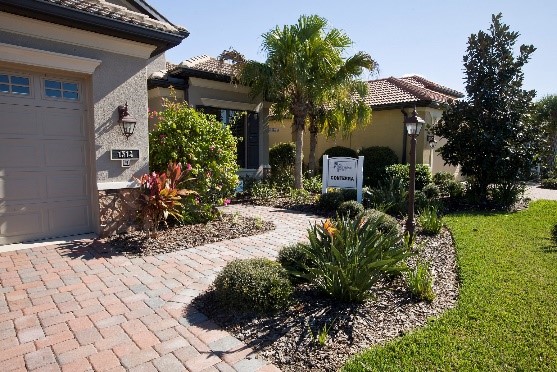
Figure 1: Florida-Friendly Landscaping.
Credit: Tyler Jones, UF/IFAS Communications.
So, what is “Florida-Friendly”? These are plants that are either native to Florida or non-invasive species, and are low maintenance. One can convert their landscape to “Florida-Friendly” simply by changing the way you take care of your yard. A Florida-Friendly Landscape has 9 major principles:
- Right plant, right place – Select plants that match a site’s soil, light, water, and climatic conditions. Buy quality plants that welcome wildlife, consider plant size when you make your purchase, and aim for a diversity of trees, shrubs, groundcovers, and flowers.
- Water efficiently – Watch for signs of wilt before you irrigate, be a weather watcher (don’t irrigate if it’s going to rain), and water early in the morning if you can, following any restrictions in your area. Check your irrigation system regularly; repair any leaks, clogs, or breaks; and make sure all sprinklers are irrigating your plants, not the sidewalk!
- Fertilize appropriately – Fertilize according to UF/IFAS recommended rates and application timings to prevent leaching—fertilizer leaking down through the soil rather than being absorbed by plant roots. Look for fertilizers with slow-release nitrogen and little or no phosphorous, unless your soil test indicates need (as many Florida Panhandle soils are phosphorous poor). Never fertilize within 10 feet of any water body, and don’t fertilize before a heavy rain.
- Mulch – Retains soil moisture, protects plants, and inhibits weed growth. It gives your landscape a neat, uniform appearance and is a great Florida-Friendly choice for hard-to-mow slopes and shady spots. Keep a 2- to 3-inch-deep layer of mulch on plant beds. Always leave at least 2 inches of space around tree trunks to prevent rot. Create self-mulching areas under your trees by letting fallen leaves lie.
- Attract wildlife – By providing food, water, and shelter for birds, butterflies, bats, and others, you can help these displaced Floridians while bringing beauty and benefits to your home landscape. Select plants with seeds, fruit, foliage, flowers, or berries that animals can eat.
- Manage yard pests responsibly – Concerns for human and environmental health have led scientists to recommend Integrated Pest Management (IPM), a strategy that helps gardeners manage pests with as few chemicals as possible. Don’t treat by default—some of the insects you see may be beneficial, actually helping to control pest insect populations. Spot-treat only, rather than blanket spraying, and use selective rather than broad-spectrum insecticides.
- Recycle – Landscape maintenance activities like mowing, pruning, and raking generate yard waste that you can recycle to save money. Decomposed organic matter, like pruned branches or grass clippings, releases nutrients back to the soil in a form that plants can easily use. Try composting, combining “green” (nitrogen-rich) and “brown” (carbon-rich) materials, such as grass clippings, weeds, plant trimmings, egg shells, coffee grounds, tea bags, twigs and branches, pine needles, corncobs, and shredded cardboard.
- Reduce Stormwater – Florida’s waterways are vulnerable to everything we put on our home landscapes. Fertilizers and pesticides can leach through the soil or run off into storm drains. Along with landscape debris and eroded soil, these can wreak havoc on our water quality and the fragile ecosystems our water resources support. Creating shallow rain gardens, or shaping the earth on slopes with berms (rises) and swales (dips), can help slow runoff from heavy rains and allow the water time to soak into the ground. Make sure your downspout is pointed into the garden, not towards a sidewalk or driveway. Wherever possible, maintain permeable walkways, driveways, and patios of brick, gravel, earth, or crushed shell, to allow rain to soak into the ground.
- Protect the waterfront – Florida boasts over 10,000 miles of rivers and streams, about 7,800 lakes, more than 700 freshwater springs, and the U.S.’s second-longest coastline. Even if you don’t live immediately on one of these water bodies, you do live in what’s known as a watershed (a drainage area). What you do in your home landscape has much further-reaching consequences than you might think. One of the most important steps you can take to protect any water body is maintaining a 10-foot “maintenance-free zone” around it. Do not mow, fertilize, or use pesticides in this zone. A stormwater pond or canal can become an aesthetically pleasing and lively place, edged with plants and home to wildlife. Work with your neighbors or homeowner association to make your stormwater pond a Florida-Friendly neighborhood amenity.
For more information on Florida-Friendly Landscaping please contact your local county extension office.
The information for this article can be found in the following the UF/IFAS publication, “The Florida Yards & Neighborhoods Handbook”: & website.
by Mary Salinas | Mar 21, 2018
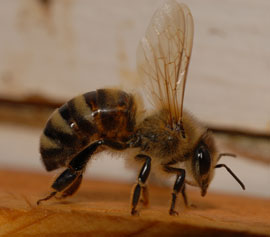
European honey bee. Photo credit: UF/IFAS.
Bees, butterflies and other insects play important roles as pollinators in our environment. Over 50 major crops in the United States and at least 13 crops in Florida depend on honey bees. Many native plants in natural areas also depend on insect pollinators for reproduction. In Florida, over 300 bee species play a role in pollination!
Many factors affect the health of our pollinators. One of those factors we can easily control in our own landscapes is exposures to pesticides. How are bees and other pollinators exposed to pesticides? Here are some of the major routes:
- Drift of pesticides sprayed in breezy/windy conditions
- The erosion of contaminated topsoil blowing in the wind
- Direct feeding on pollen and nectar of treated plants
- Contact with pesticides that have blown onto plant surfaces
- Contact with water transpired by leaves of treated plants
- Pesticides that move down through the soil to affect ground dwelling bees and other insects
Did you know that bees become statically charged when they fly causing particles in the air to attract to them?
What are some ways that we can reduce the risk of exposure to pollinators in our landscapes?
- Use integrated pest management principles to reduce the incidence of pests and their impacts.
- Avoid treating areas containing flowering weeds/plants with insecticides. If you must treat your lawn with an insecticide, and it contains flowering weeds, mow the lawn and remove the flowers just before applying the insecticide.
- If you must apply a systemic insecticide to your lawn, leave a buffer strip of several feet between the lawn and the border of landscape beds with flowering plants. This will prevent the flowering plants from up taking the systemic product.
- Postpone any insecticide treatment until after all blooms have fallen from flowering ornamentals. Never apply an insecticide to blooms or flowering plants.
- Avoid the use of neonicotinoids as this class of insecticides can be more toxic to bees than other classes of insecticides. There are many effective alternatives.
Bee friendly to our pollinators!
For more information:
Minimizing Honey Bee Exposure to Pesticides
Creating and Maintaining Healthy Pollinator Habitat – Xerces Society
by Julie McConnell | Mar 13, 2018
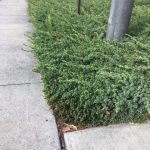
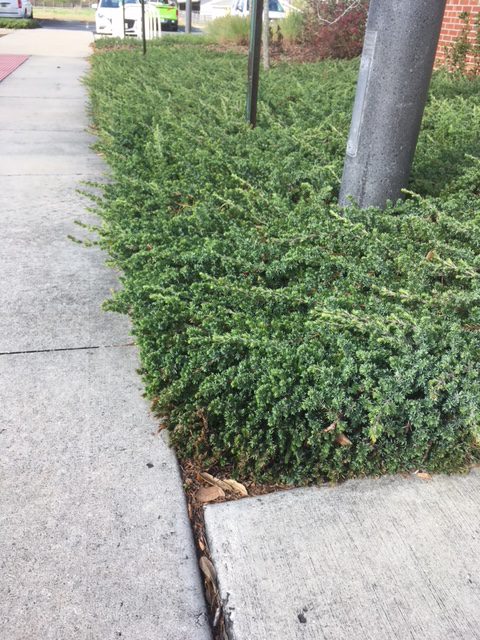
Shore juniper forms a thick groundcover and tolerates hot, dry sites. Photo: J_McConnell, UF/IFAS
We all know that when you have bare ground in Florida, eventually something unwanted moves in or the soil moves out. To avoid either of these negative outcomes, a good practice is to grow robust vegetative groundcovers, especially if the soil slopes and is at high risk of eroding. Turfgrass is one option, but what if you don’t enjoy caring for a lawn or the site is difficult to maintain or even unsafe to mow? An often overlooked option in our area is Shore Juniper Juniperus conferta.
Although some people find this plant less than exciting, its easy to explain why it can be a good option in certain situations.
- Easy to find at nurseries
- Inexpensive
- Low water requirements once established (you’ll need to turn the irrigation off on these!)
- Salt tolerant
- Evergreen
- Cold tolerant
- Low, spreading growth habit (won’t block view)
- Do not require pruning (junipers cannot tolerate heavy pruning!)
A common cultivar of shore juniper is Blue Pacific Juniper which grows to be about one foot tall but spreads two to three feet wide. The new foliage has a blue cast that gives it the common name. It creeps along the ground and will provide good ground cover to sloping sites. This plant should be planted on 3 foot centers so they have room to expand without crowding. Plant in well-drained soil and apply two inches of mulch on bare soil between plants to reduce weeds while the plants are filling in. Only water until established, then stop automated irrigation and only water as needed. Read more at Establishing Shrubs Florida Landscapes.

by Molly Jameson | Mar 13, 2018
Food is wasted along the many routes in our food system as it is grown, processed, transported, sold, stored, and prepared. According to the Environmental Protection Agency, the U.S. generates more than 37 million tons of food waste annually, 95 percent of which ends up in landfills or incinerators. That amounts to over 200 pounds of wasted food per every American every year!
Food waste in landfills combines with anaerobic conditions (lack of air) to create methane, a powerful greenhouse gas 25 times more harmful than carbon dioxide. Landfills are responsible for 18 percent of total methane emissions in the U.S., which contributes significantly to climate change.
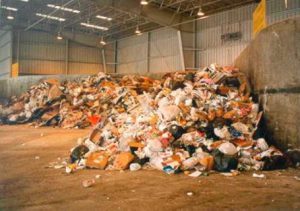
Waste waiting for the landfill. Ninety-five percent of the 37 million tons of food waste we produce annually ends up in landfills, when combined with anaerobic conditions, generates methane. Photo by Heidi Copeland.
Nationally, we can prevent and recover food waste by implementing techniques such as standardized food labeling, streamlined donations to foodbanks, the creation of secondary grocers, industrial composting, clean energy creation through treatment plant digestion, business and consumer education, and changing overall food policy.
But as a gardener, what can you do to help? If you grow fruits and vegetables, you are already helping, as this means the food from your garden did not have to travel long distances to get on your dinner table. If you actively compost your kitchen scraps, you are also helping, as Americans throw out nearly 40 percent of food purchased. Here are a few other simple life-style changes you might want to try:
- Purchase more locally produced food. Buying local not only supports local farmers, but the food most likely used fewer resources than non-local food on its way to market.
- Learn canning and pickling techniques. Homegrown fruits and vegetables are as fresh as you can get, and canning can then preserve this food for months.
- Store food properly and keep perishables and leftovers in plain sight in the refrigerator so you see them every time you open the door. Investing in a good set of clear glass reusable containers can securely store leftovers, make them easier to identify, and can be safely heated for quick consumption.
- Don’t throw out something just because it is past the date on the label. Unless it is baby food or formula – which federal law mandates be dated to ensure consumption when most nutritious – these dates refer only to peak quality. If the items do not show signs of spoilage, such as an off odor, texture, flavor, they are safe to consume.
by Matt Lollar | Mar 13, 2018
This late winter has been alternating between warm and cool extremes. One thing is for certain and that’s that it’s time to start planning your sweet potato crop.
Sweet potatoes are generally planted March through June in the Florida Panhandle. The most common method of planting is with sweet potato slips. Sweet potato slips are simply six to eight inch cuttings of a sweet potato vine with the majority of the leaves pulled off. You can purchase sweet potato slips from a local garden center or a seed catalog. Make sure you only purchase certified, disease free slips. You can also easily start your own sweet potato slips from a store-bought sweet potato.
Sweet Potato Slip Production
- Pre-sprout Your Tubers – Place sweet potato tubers in a warm place (75 to 85 degrees) with high humidity (90%), such as in your garage, for two to four weeks. It is important that you put the tubers in a well-ventilated container. Allow the tubers to stay in the pre-sprout area until sprouts are roughly 1/4-inch in length.
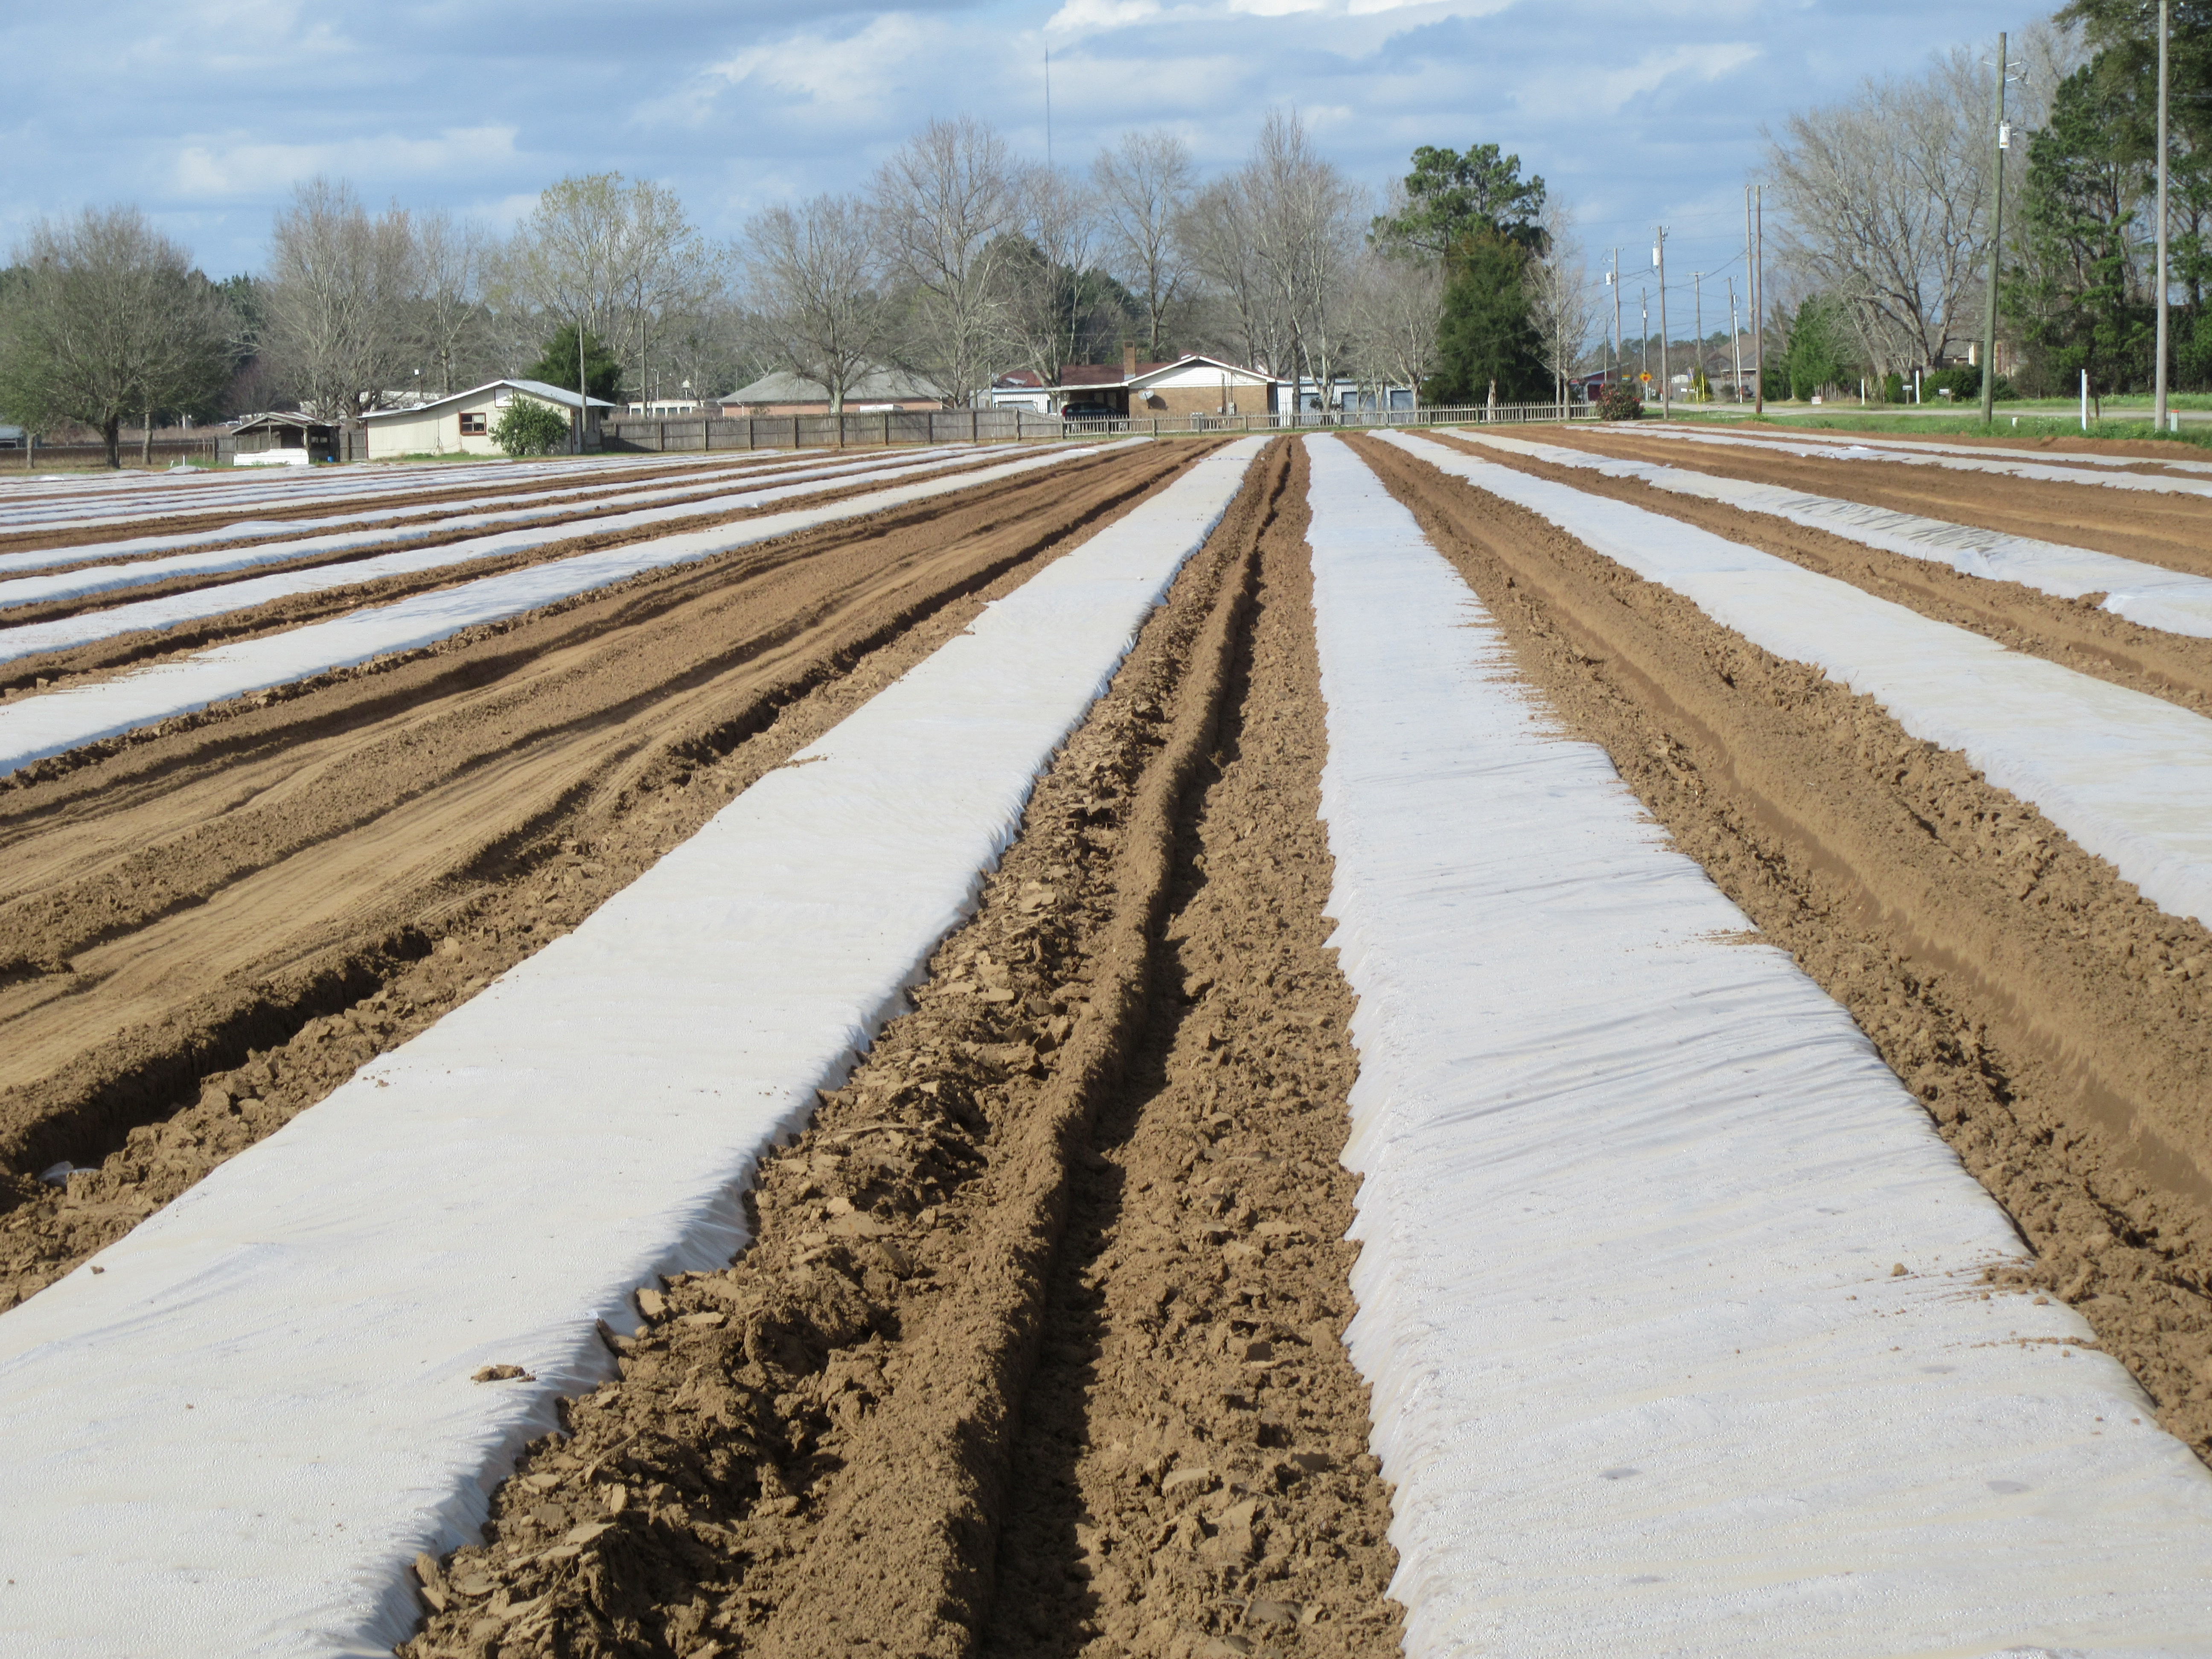
- Bedding – Sweet potatoes are placed in “beds” to produce slips. A sweet potato bed can be made out of the same materials as you’d use for a raised bed garden. You can simply build a frame out of 2″x12″ lumber. Plastic is placed in the bottom of the beds before a layer of bedding material is put down. The bedding media can be a peat-based potting mix or a more economical substrate would be wood chips or sawdust. Sprouted sweet potatoes should then be placed in a single layer 8″ to 12″ inches apart and covered with two additional inches of bedding material. Then top dress the bed with a general purpose, granular fertilizer, water the bed, and cover with clear or black plastic. Poke holes in the cover plastic to aerate the soil and prevent carbon dioxide and temperature buildup. You may need to water the bed periodically, but do not completely saturate. Sweet potato slips can also be produced in the garden if you have a sandy, well-drained soil such as the field pictured below.
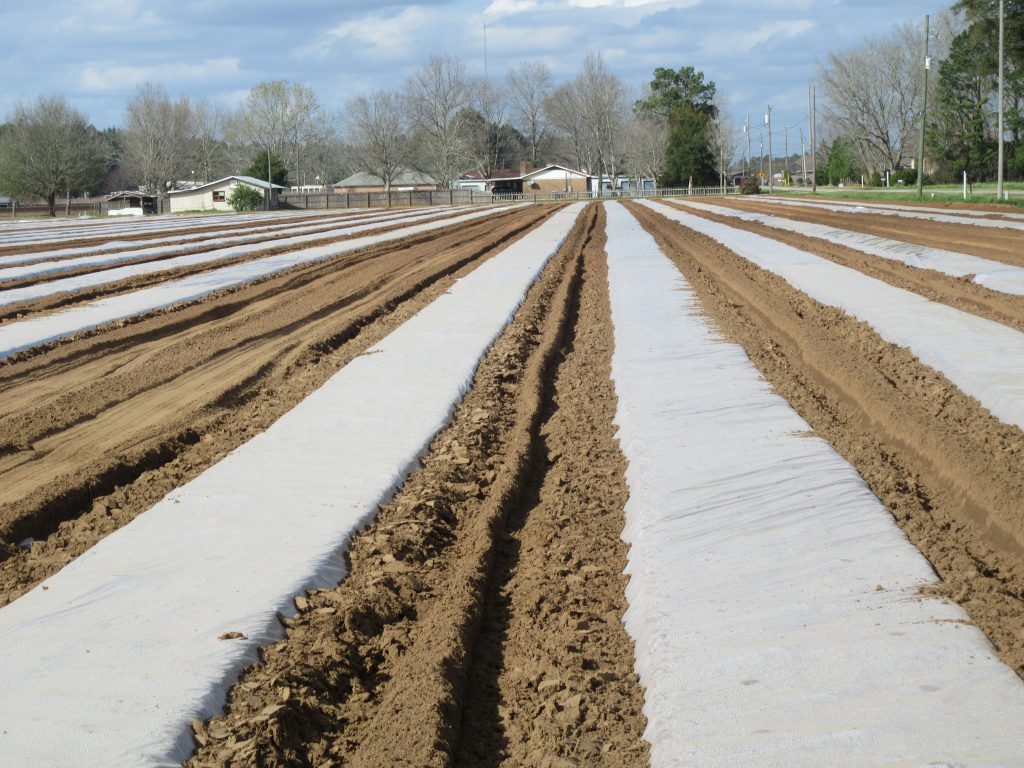
Sweet potato slip production in the field. Photo Credit: Evan Anderson, University of Florida/IFAS Extension.
- Cut Slips – Slips will be ready to cut in seven to ten weeks. Cut slips 1″ above the bed surface and trim to 10″ to 12″ in length. Strip all but the top one or two leaves from each slip. If you are unable to plant your slips at the time of cutting, then store them in a cool, dry area to prevent them from rotting.
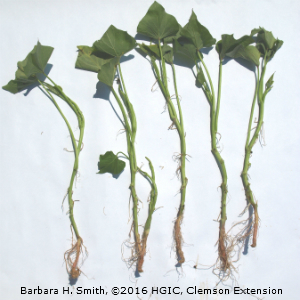
Rooted sweet potato slips that are ready to transplant into the garden when the soil becomes warm.
Barbara H. Smith, ©2016 HGIC, Clemson Extension
Sweet Potato Production
Sweet potato slips can be planted March through June in the Florida Panhandle. Plant the slips at least three nodes (leaf stubs) deep at 12″ by 36″ spacing. Fertilize based on soil test recommendations. Sweet potatoes are ready to harvest generally between 100 to 120 days after planting slips. After harvest, you will need store your sweet potatoes in a warm (80 to 85 degrees), humid (80 to 90%) place for one to two weeks to allow them to “cure”. After the curing period, you can store your sweet potatoes in a cool area (55 to 60 degrees) until you are ready to eat them.

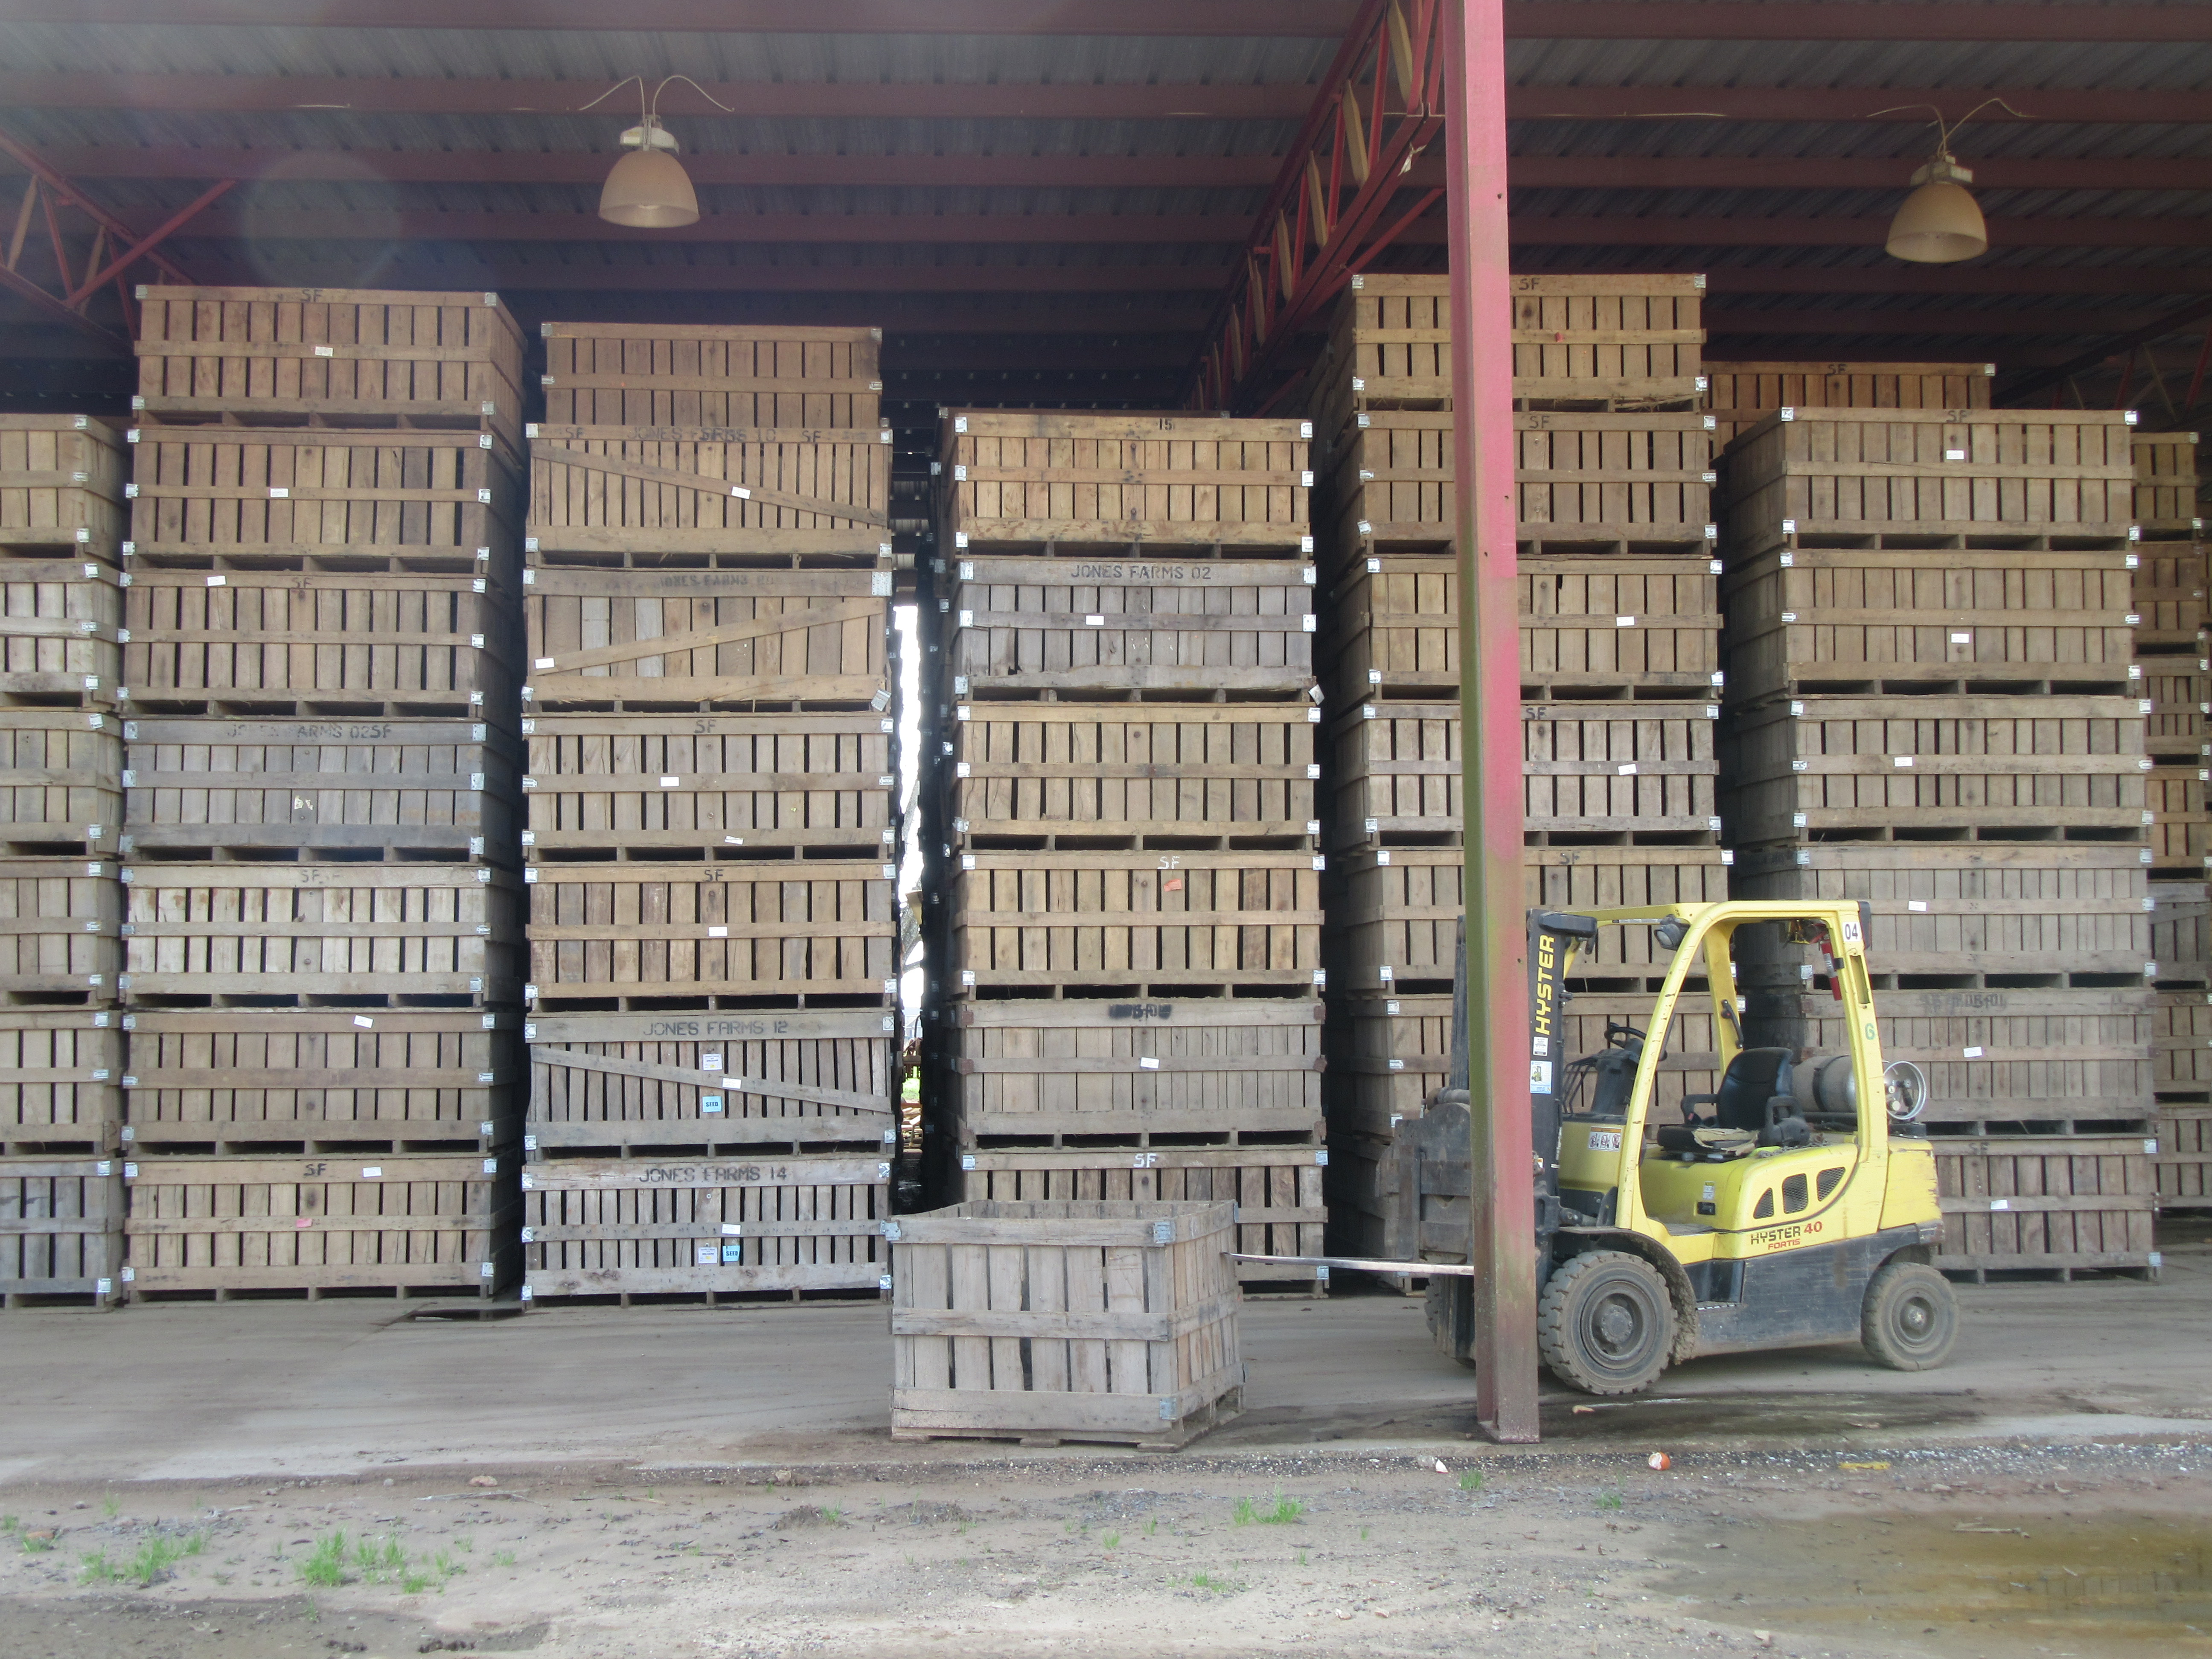
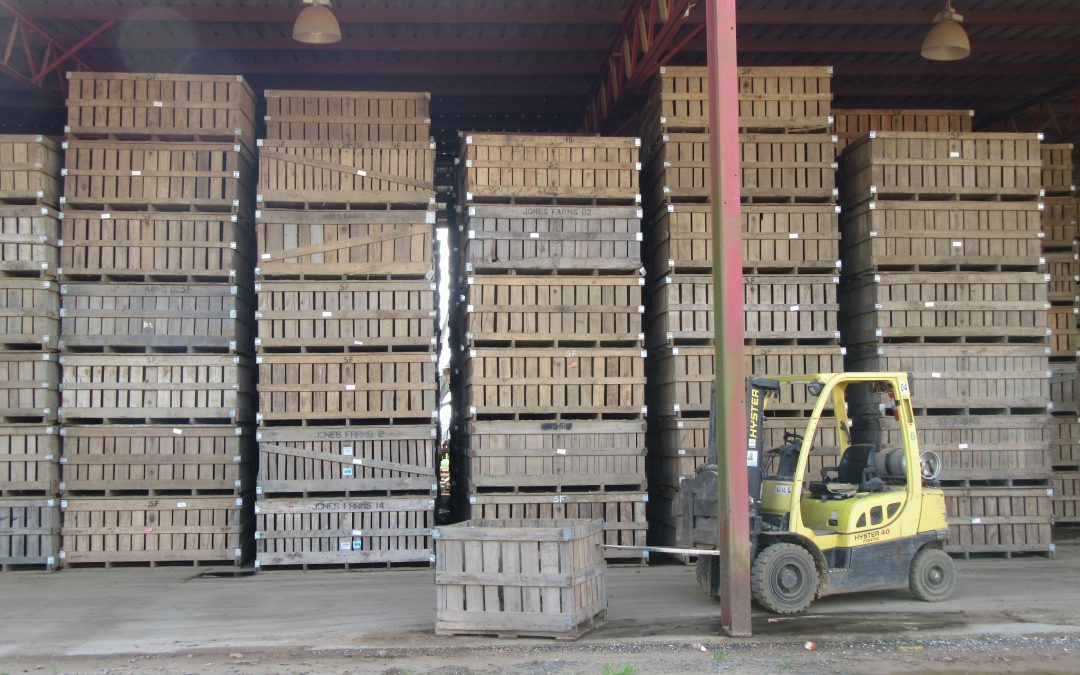
Sweet potato storage on a commercial farm. Photo Credit: Evan Anderson, University of Florida/IFAS Extension.