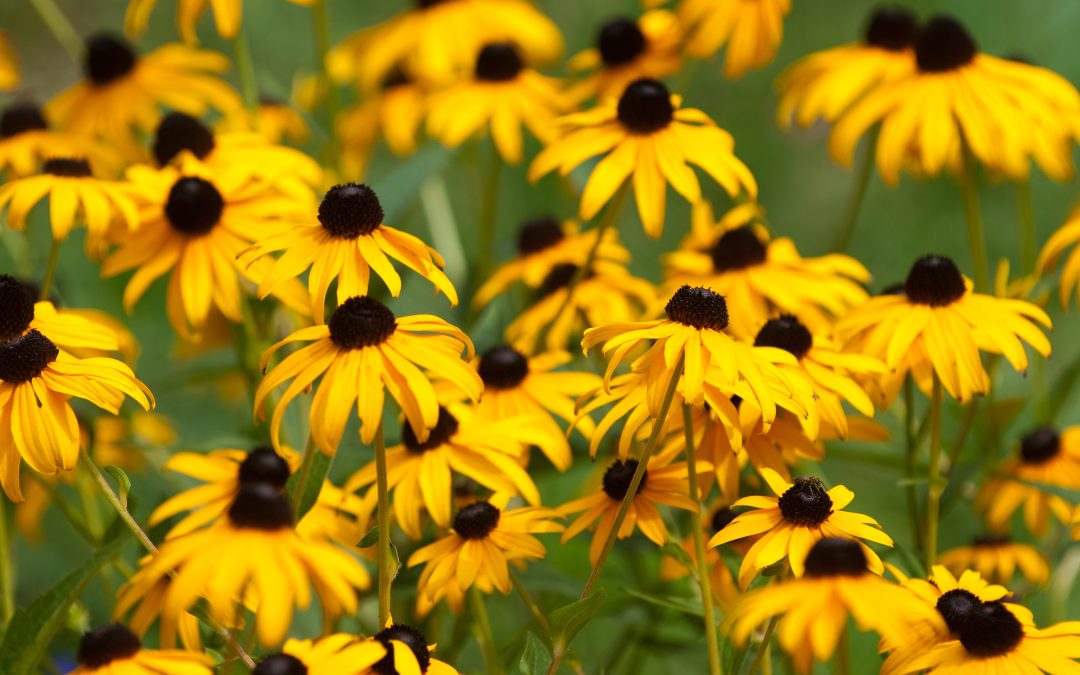
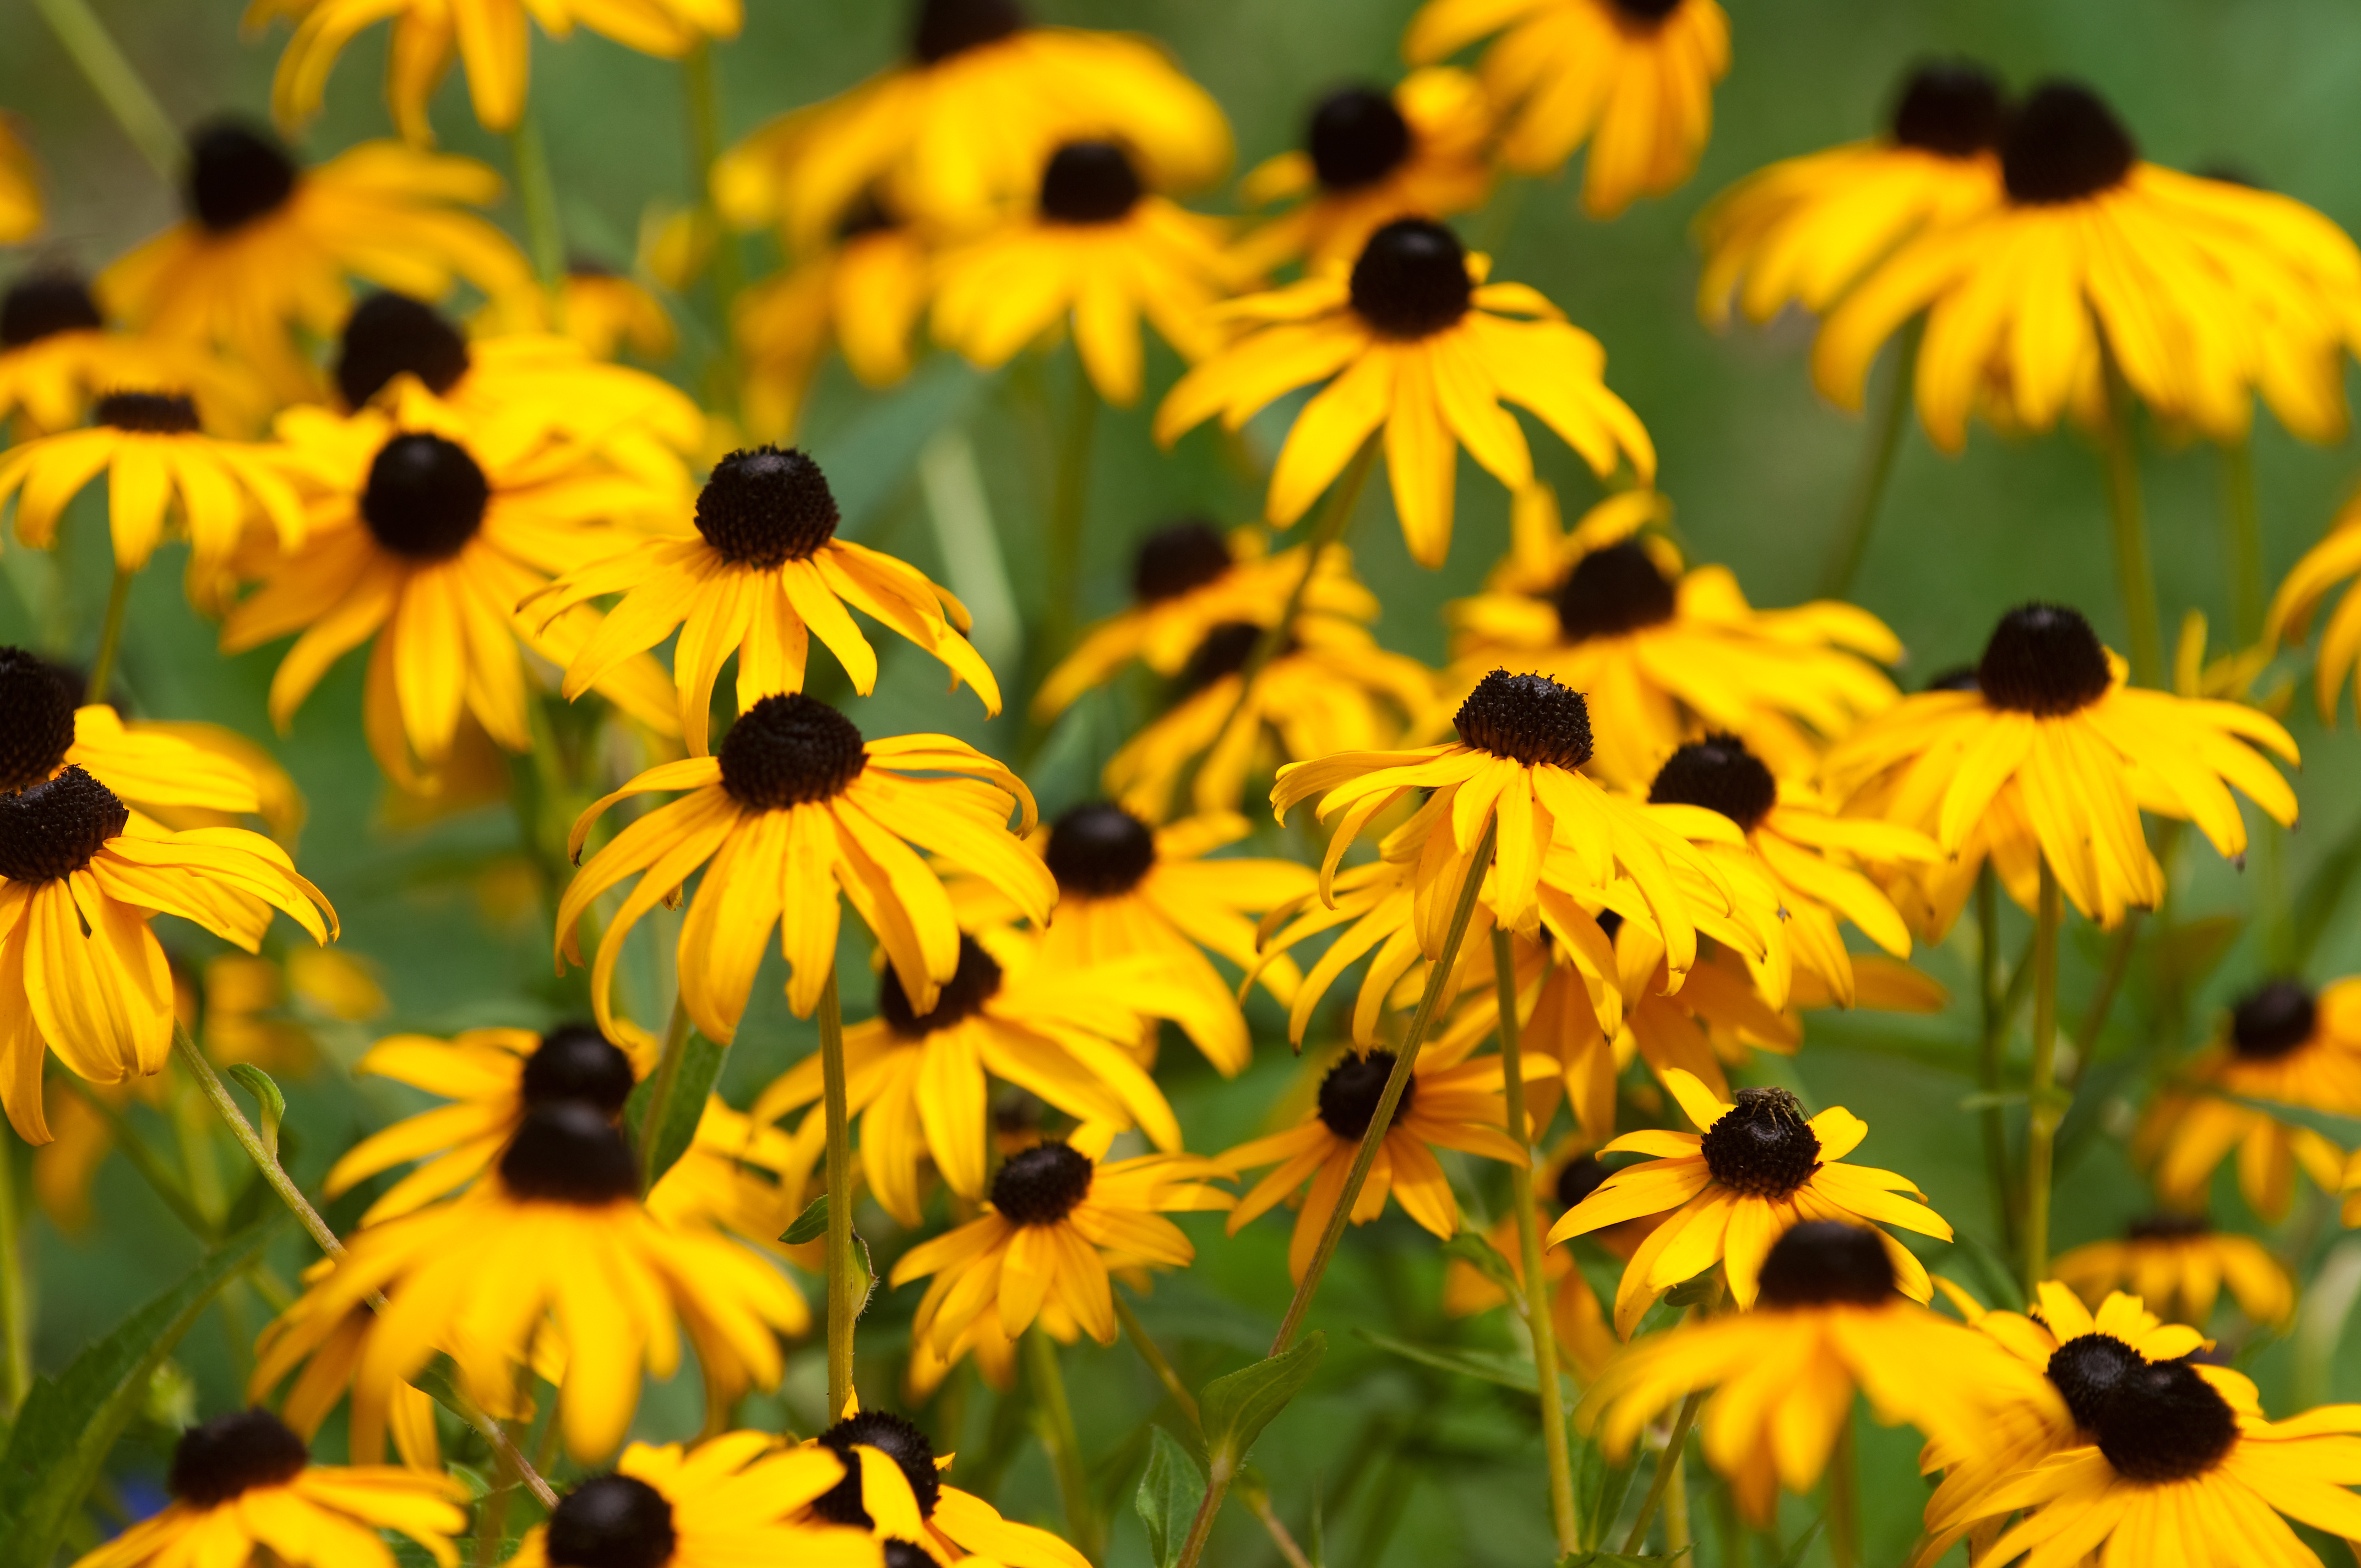
Rudbeckia hirta, commonly known as black-eyed Susan, is a vibrant and hardy wildflower with golden-yellow petals and a dark brown central cone. Photo by kburgess, Adobe Stock.
Florida’s diverse ecosystem showcases a remarkable array of native wildflowers that burst into vibrant colors, particularly during the spring season. Cultivating these indigenous blooms not only enhances the beauty of your lawn but also fosters biodiversity. Florida’s spring landscape comes alive with a vibrant tapestry of native wildflowers, each species contributing its unique charm to the natural scenery.
Yellow, a color that beckons pollinators, especially bees and butterflies, is a prevalent hue among these wildflowers. Many have evolved to showcase bright yellow tones, attracting pollinators, and ensuring the vital transfer of pollen for the continued existence of the plant species. In this spotlight, we’ll explore a selection of my favorite yellow-blooming wildflowers: Leavenworth’s tickseed, dune sunflower, and black-eyed Susan.
Leavenworth’s Tickseed
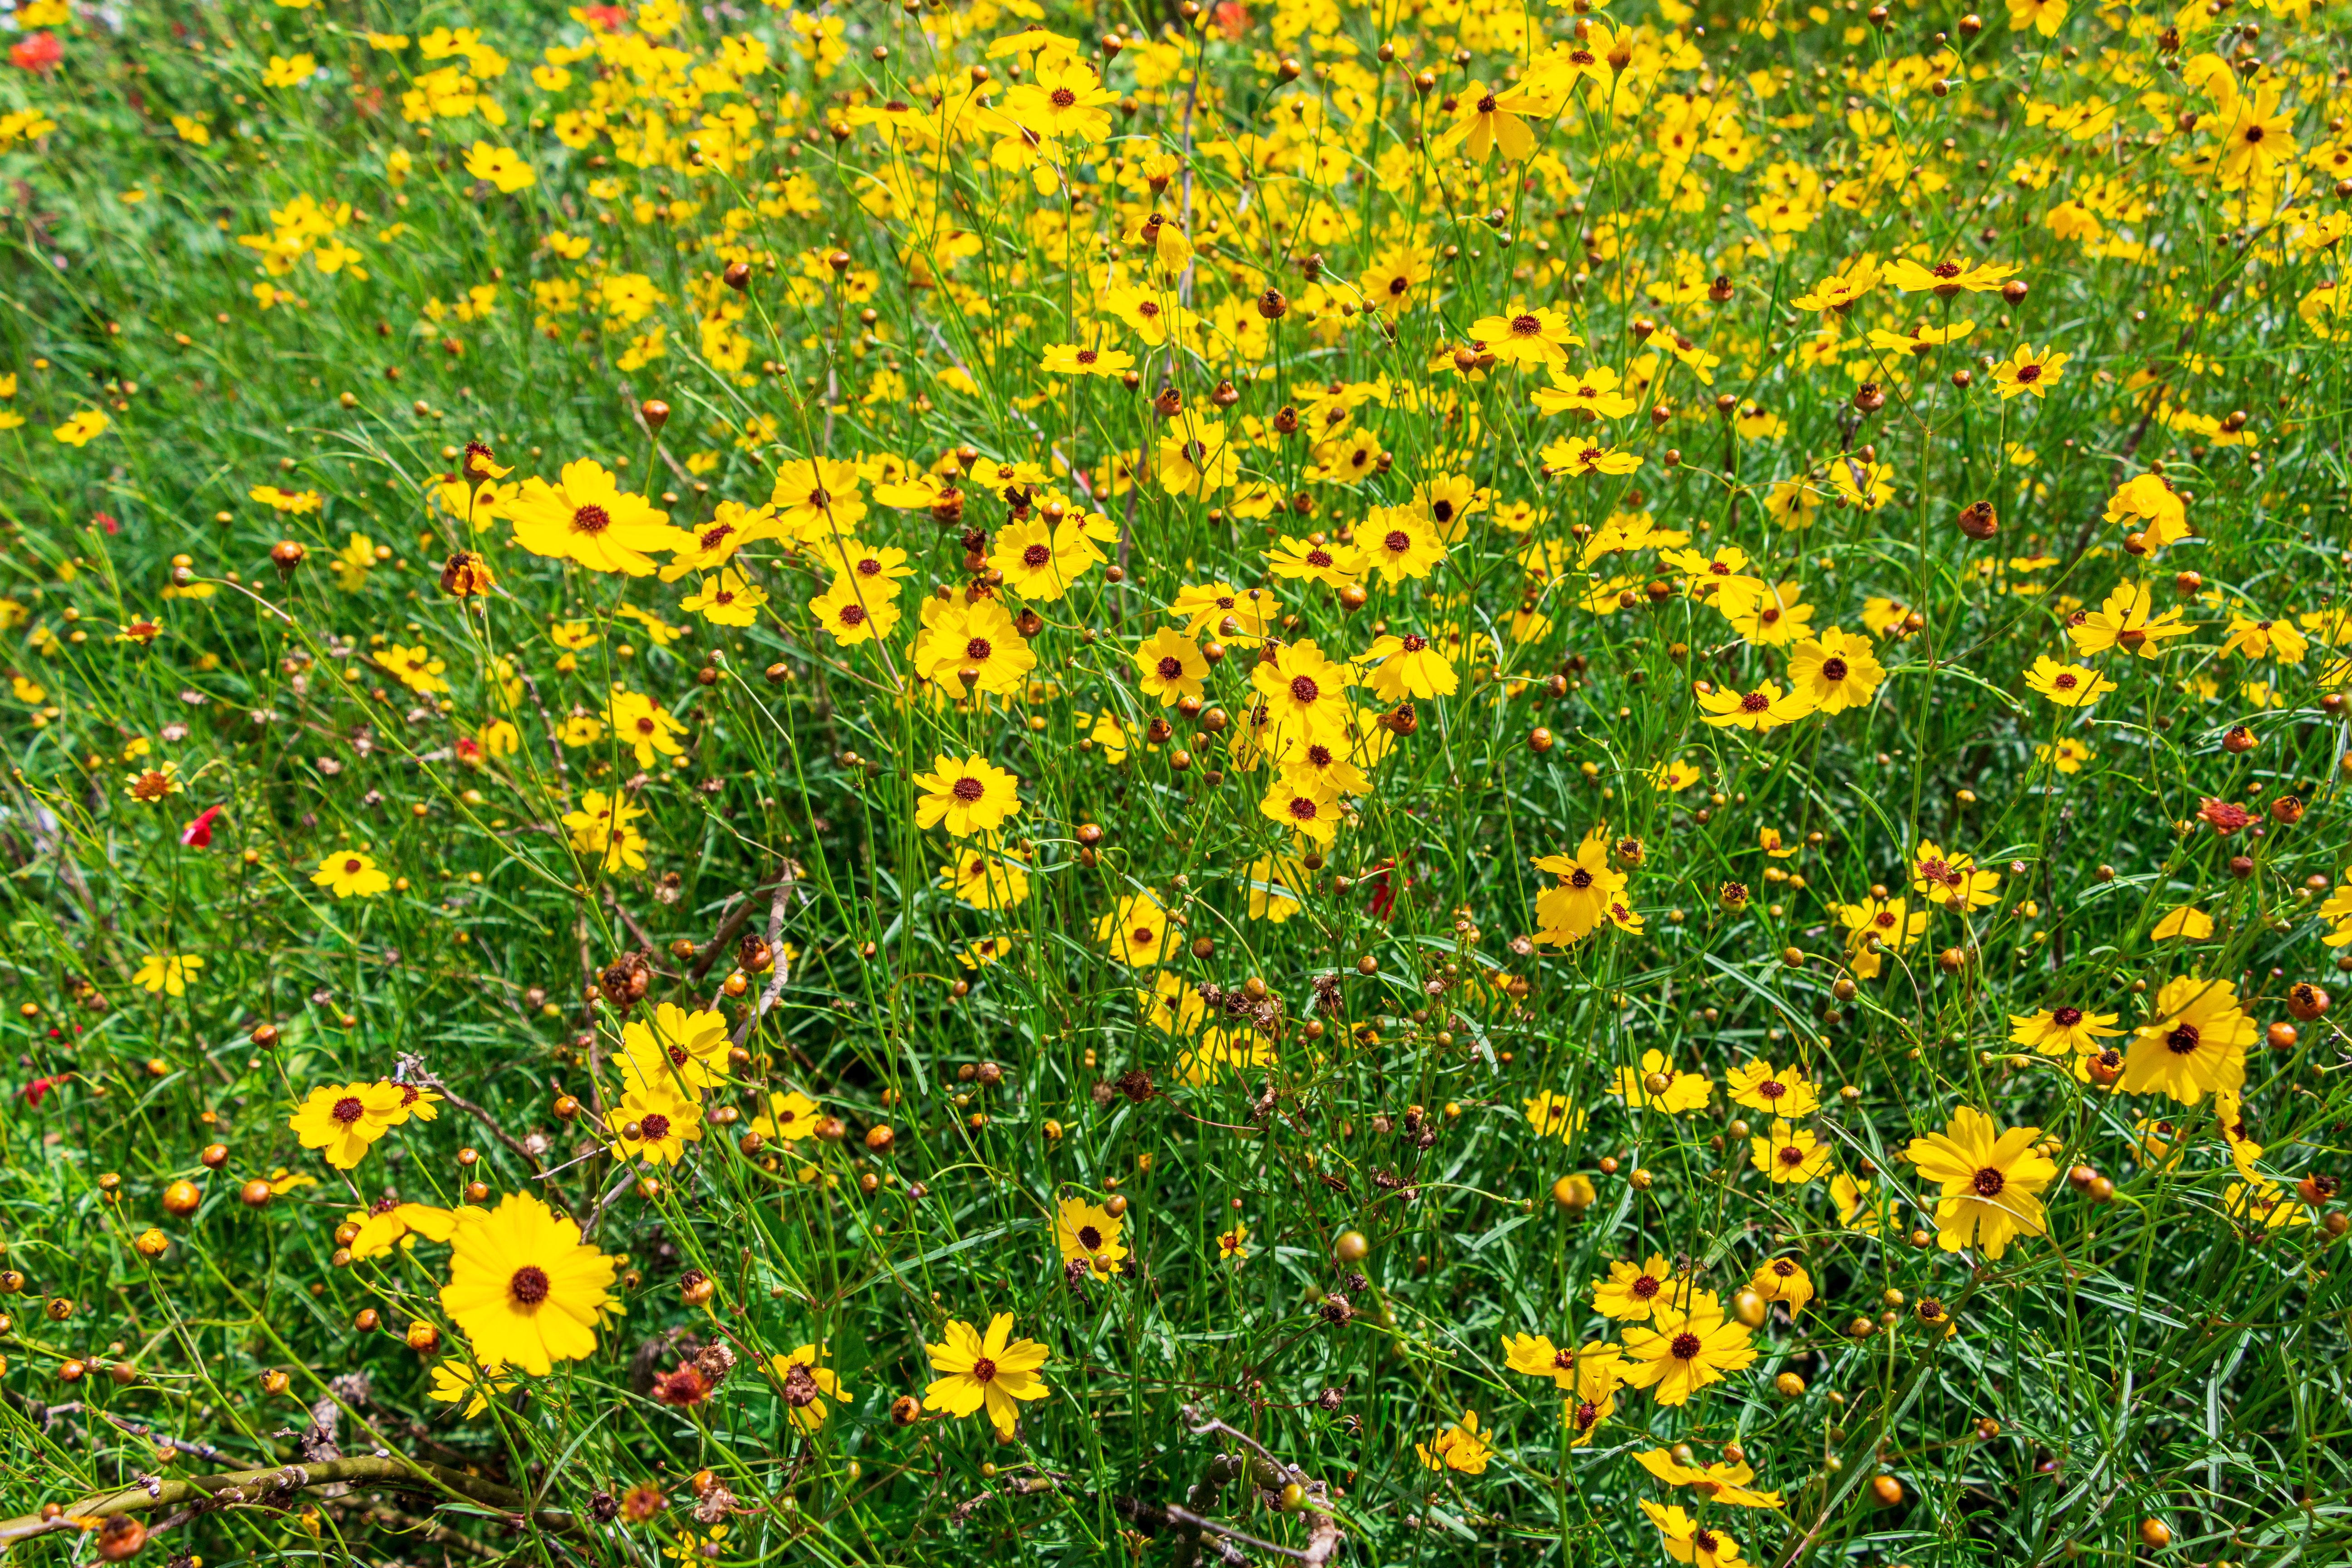
Leavenworth’s tickseed showcases brilliant yellow flowers with distinct maroon markings, contributing to its charm as a cheerful and attractive wildflower in gardens and meadows. Photo by Sunshower Shots, Adobe Stock.
Coreopsis, Florida’s state wildflower, boasts 14 native species flourishing in North Florida. Among these, Leavenworth’s tickseed (Coreopsis leavenworthii), predominantly found in Florida, graces the Panhandle region with its distinctive yellow, daisy-like flowers adorned with dark centers and scalloped yellow ray florets.
Thriving in open areas, flatwoods, and prairies, this annual or short-lived perennial becomes a beacon of color in the spring landscape. Ideal for wildflower gardens, Leavenworth’s tickseed requires adequate space for reseeding, best achieved by planting one to two feet apart in the spring for optimal flowering. The plant quickly establishes itself in moist soils, benefiting from occasional pruning or mowing to encourage a second flush of flowers.
Preferably rooted in sandy, well-drained soil, Leavenworth’s tickseed demands full sun exposure for maximum flower production, with moist soils playing a pivotal role in reseeding and maintaining this distinctive species.
Beach Sunflower
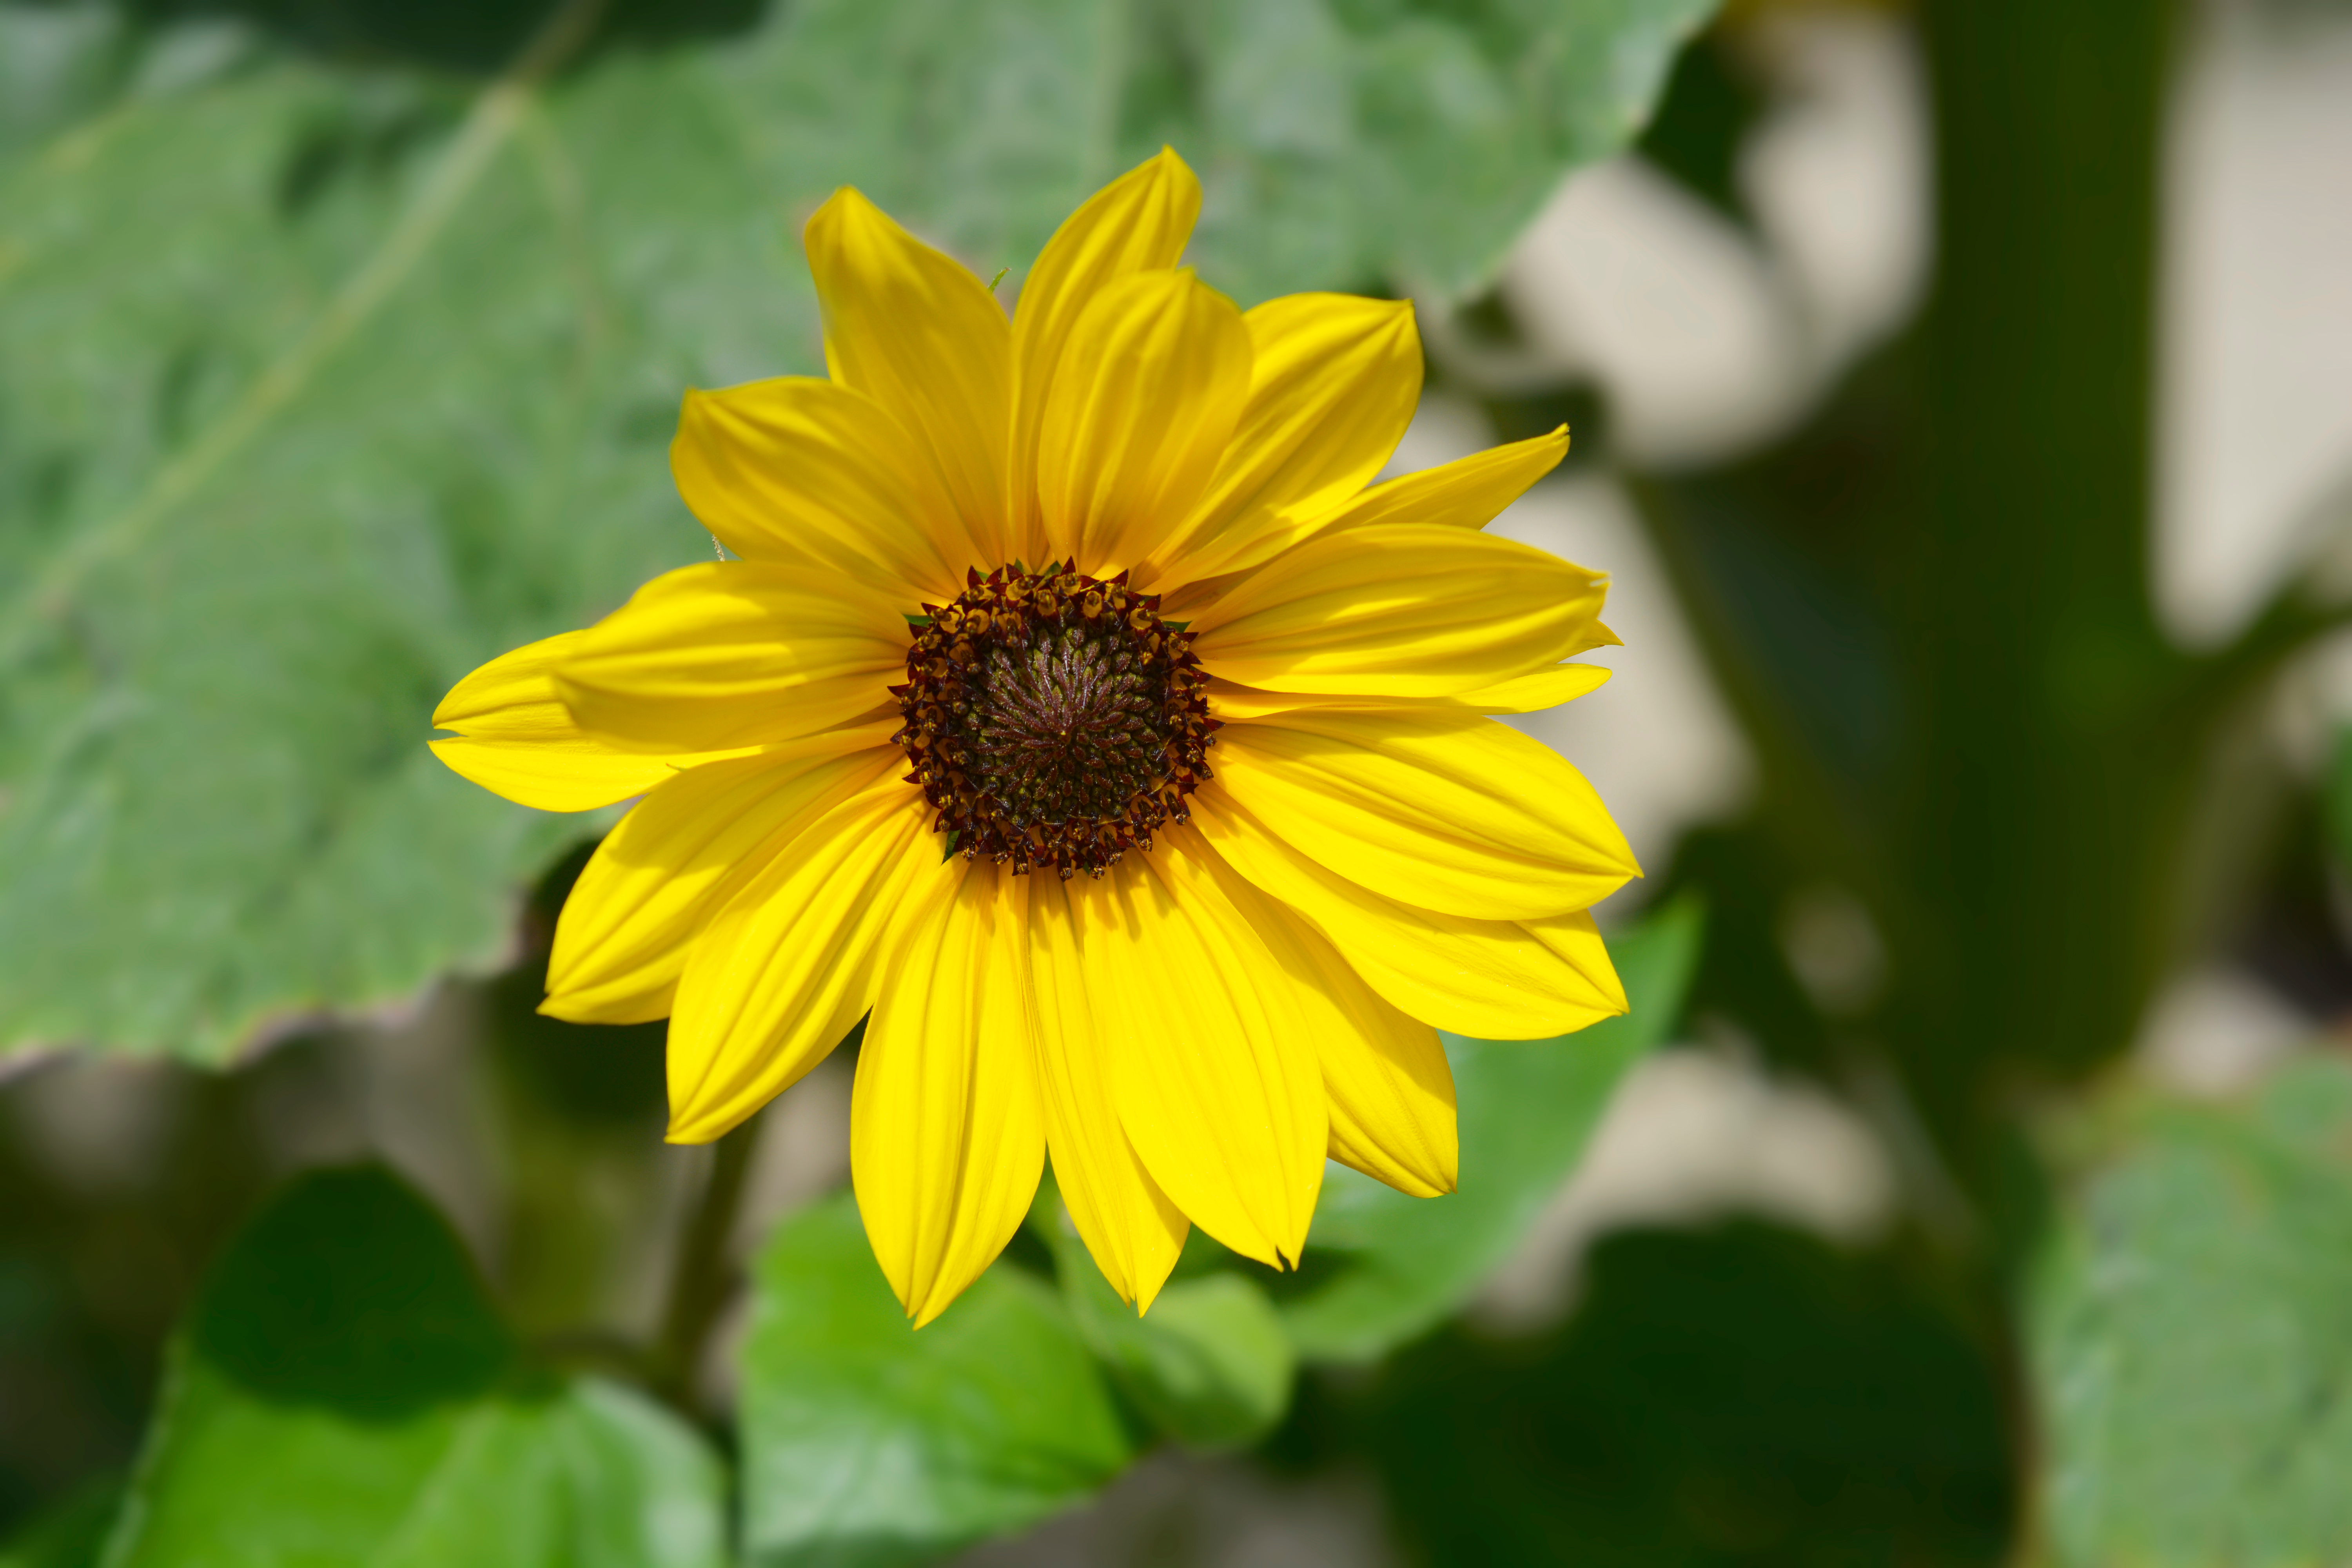
Adapting well to both coastal and inland environments, the beach sunflower attracts butterflies and other pollinators with its vibrant blooms. Photo by Nahhan, Adobe Stock.
The beach sunflower (Helianthus debilis), also recognized as the dune sunflower, is renowned for its coastal charm and nearly year-round blossoms. Adapting gracefully to both coastal regions and inland landscapes, this sunflower showcases two-inch flowers resembling daisies or sunflowers, boasting yellow petals and brown centers. A captivating trait is its tendency to follow the sun throughout the day.
When cultivating beach sunflowers, it is essential to allocate ample space for their spreading nature. To maximize visual impact, consider planting them in masses, maintaining distances of three to four feet between each plant. As beach sunflowers may become unruly over time, periodic removal of old stems is advisable. Encouraging new plants to sprout from seeds contributes to a healthier growth pattern. Light trims every three months can further enhance the foliage’s vibrancy and overall maintenance. While acting as an annual in freezing temperatures, the beach sunflower generally reseeds itself and displays admirable tolerance to coastal elements, including salt and wind.
For optimal growth conditions, planting in full sun encourages abundant flowering, although the plant can tolerate light shade for part of the day. Preferably, choose well-drained sandy soils, avoiding persistently moist conditions to ensure the overall health and vitality of the beach sunflower.
Black-eyed Susan
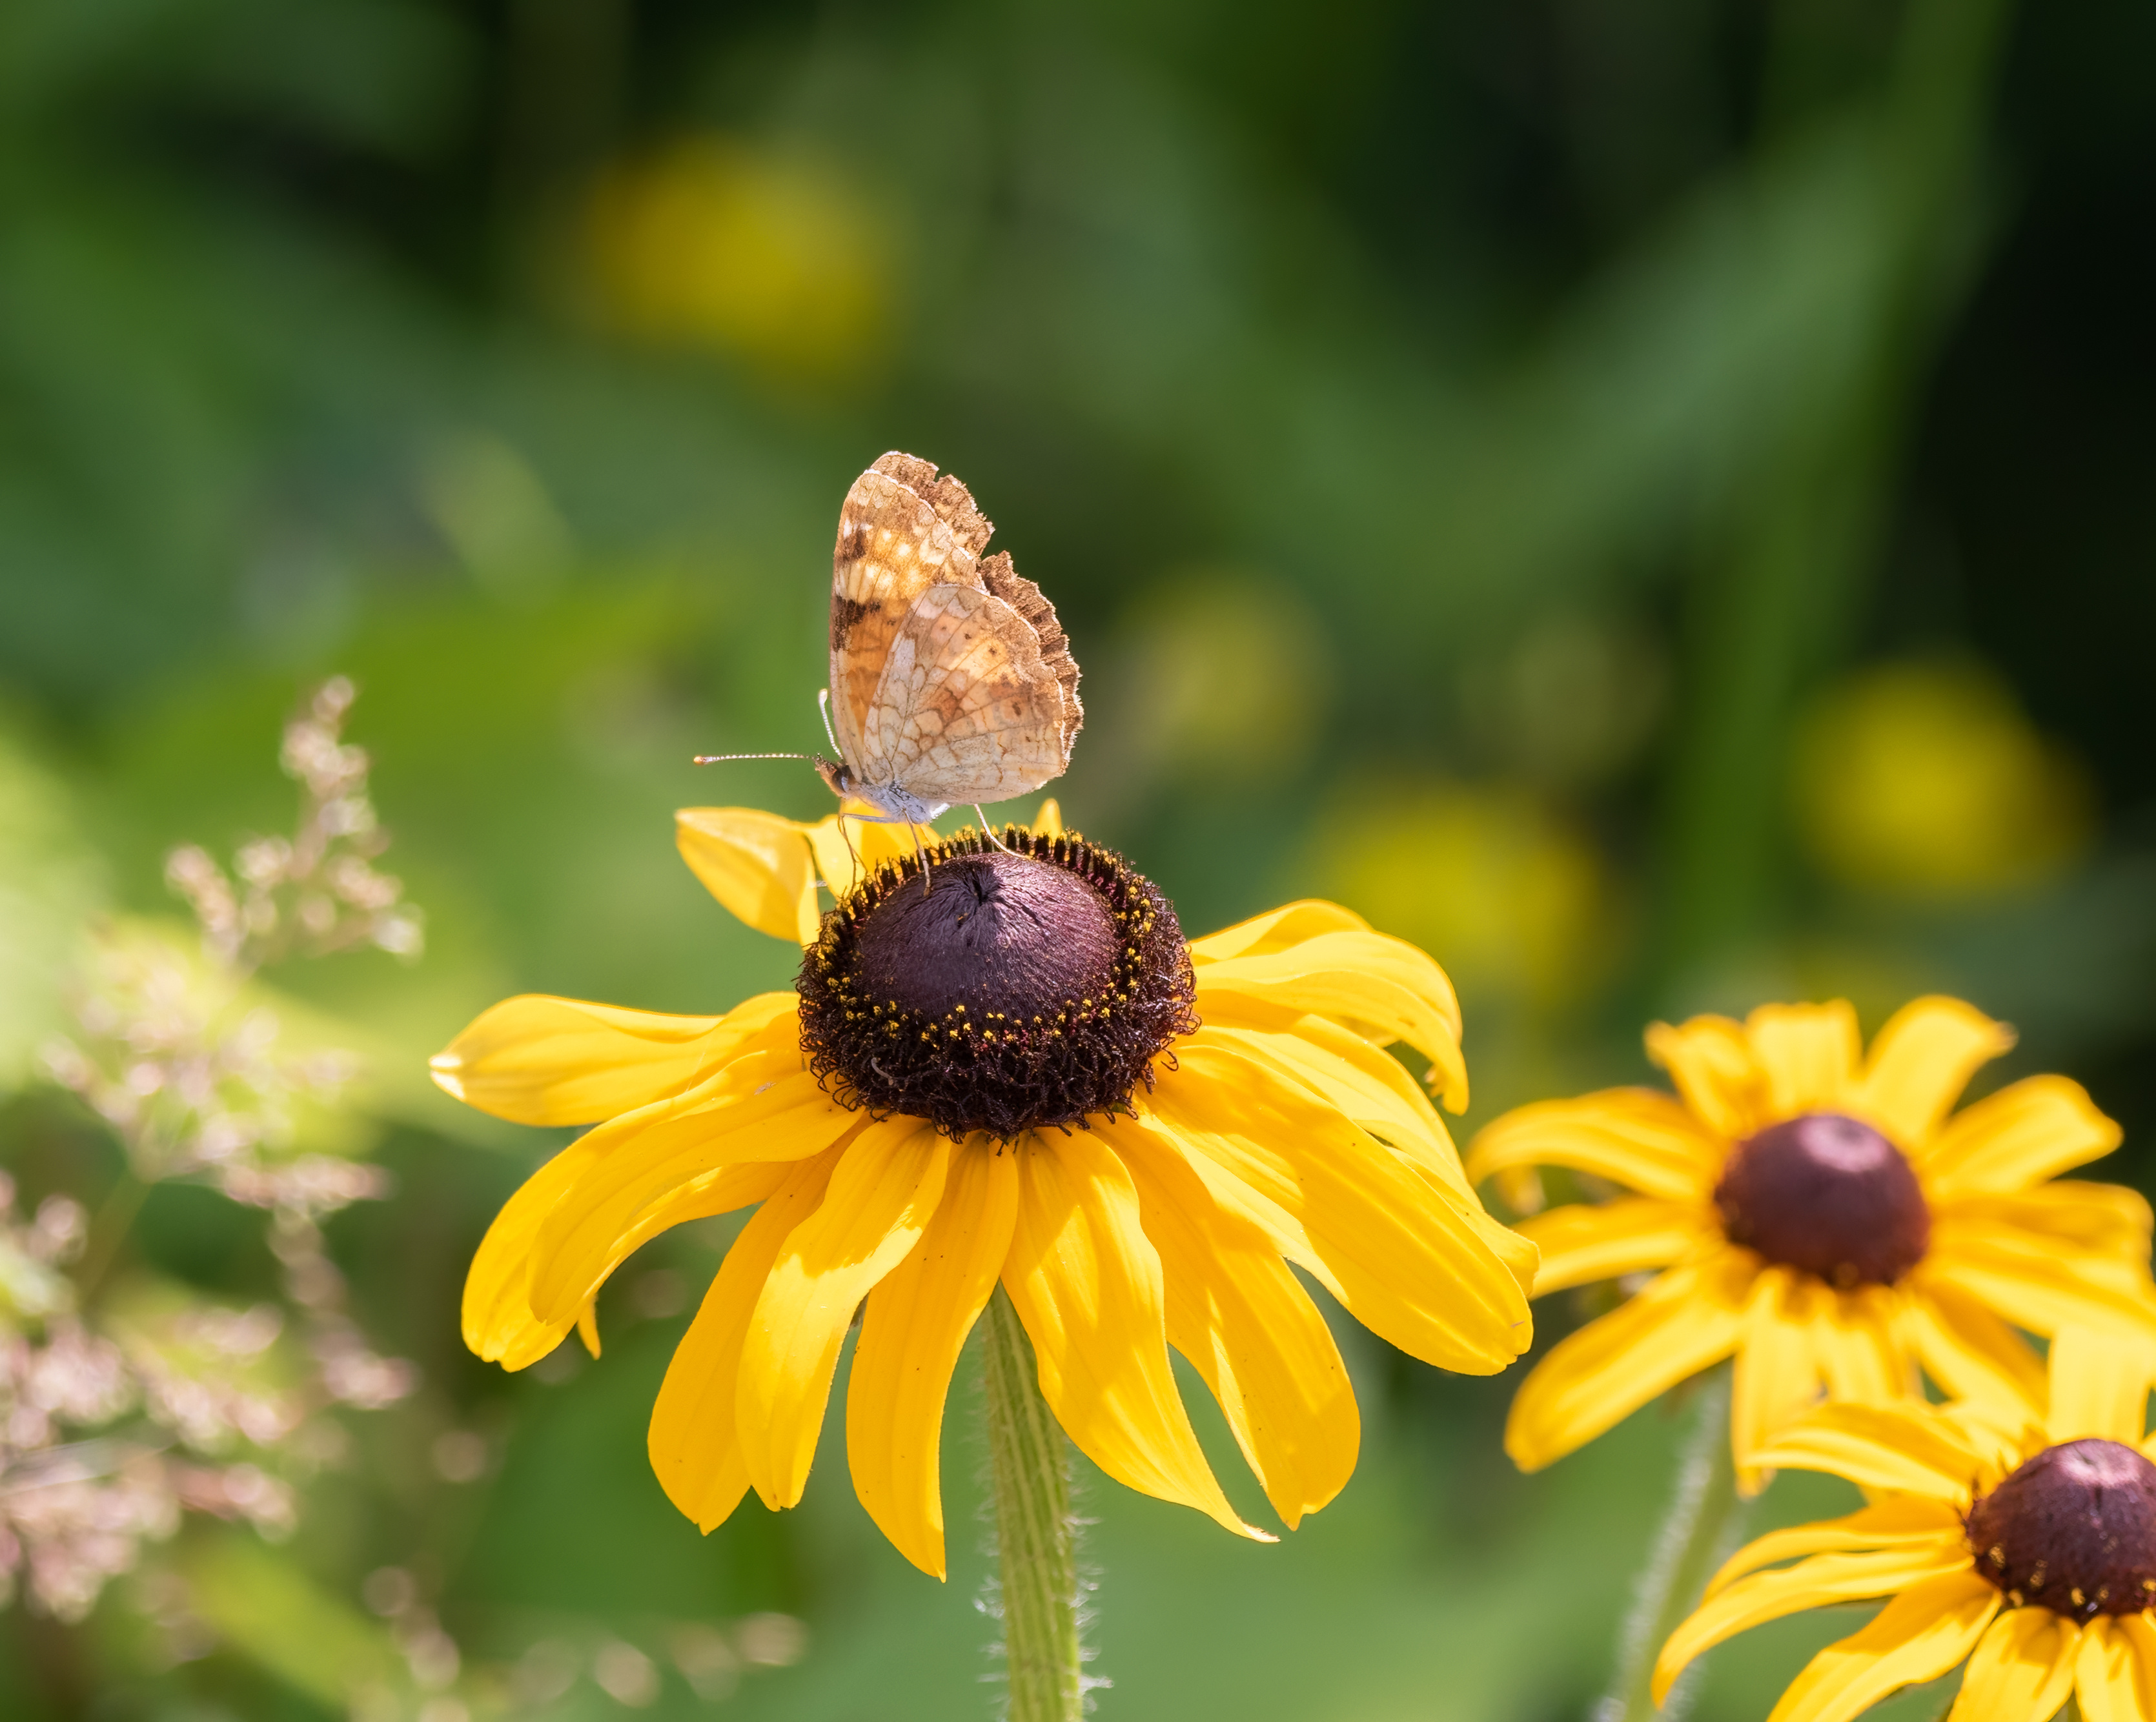
Black-eyed Susans are not only visually appealing but also serve as valuable nectar sources for pollinators, attracting butterflies, bees, and other beneficial insects to the garden or natural habitat. Photo by Green Stock Creative, Adobe Stock.
Black-eyed Susan (Rudbeckia hirta), a classic native bloom, captivates with its widespread availability and versatile nature as an annual, biennial, or perennial. This resilient plant grows to a height of one to two feet, showcasing rough-textured leaves and deep-yellow aster-like flowers with dark brown disk flowers forming a central dome.
When incorporating black-eyed Susans into your landscape, consider their suitability for mixed wildflower beds, where they effortlessly self-seed in open or lightly mulched areas. Maintaining proper spacing of 14 to 18 inches between plants, vigilant monitoring during extended dry periods, and providing deep watering, when necessary, contribute to the overall health and vitality of these iconic blooms.
Thriving in well-drained soils, black-eyed Susan showcases adaptability to various soil types. Whether exposed to full sun or partial shade, the plant optimizes its blooming potential, enhancing the visual appeal of any landscape.
Encourage Wildflowers in Your Landscape
Selecting native wildflowers adapted to your landscape’s specific soil, light, and drainage conditions is crucial for success. If initial attempts fail, try different species until you find the perfect match, emphasizing the importance of using the right plant in the right place. Thorough watering aids in establishment, but once native wildflowers are established, they generally require minimal irrigation. Avoid overwatering to prevent fungal and rot issues.
Native wildflowers in Florida typically do not need additional fertilization, as it can lead to rapid growth and increased susceptibility to pests and diseases. Embrace the natural resilience of these plants by avoiding unnecessary fertilization. Encourage the persistence of wildflowers by embracing self-seeding, maintaining open, lightly mulched areas for natural germination, and being vigilant when weeding.
Florida’s spring blooming wildflowers, including Leavenworth’s tickseed, beach sunflower, and black-eyed Susan, contribute to the state’s biodiversity. Selecting the right species and providing proper care allows us to cultivate these native blooms and actively participate in conserving Florida’s precious ecosystem.
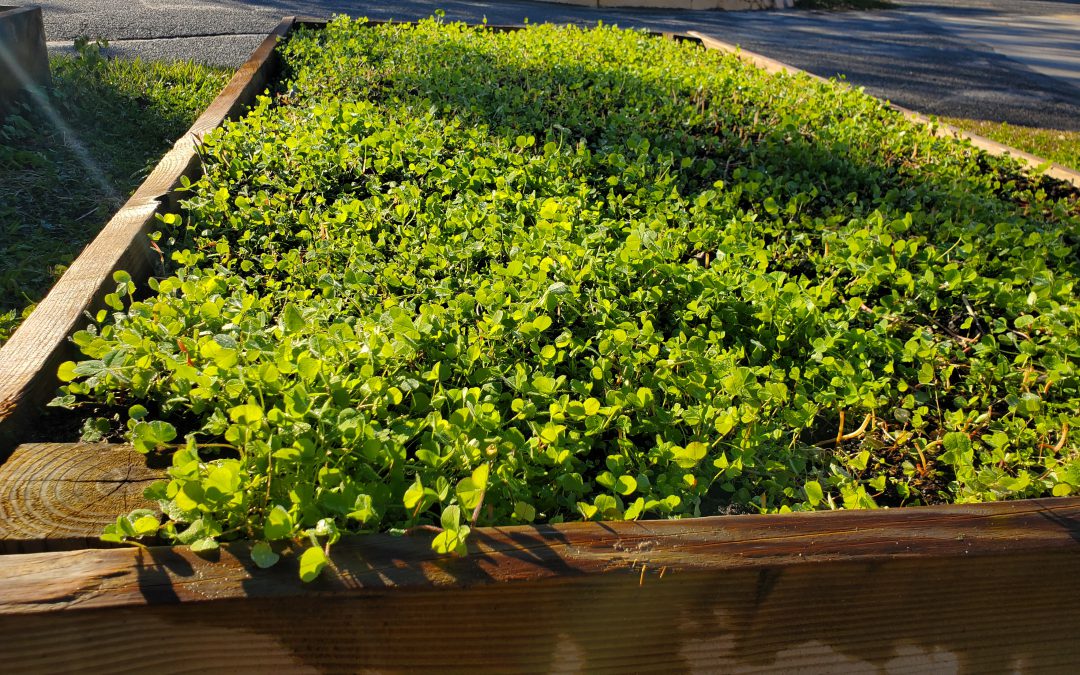
One of the major recent movements in production agriculture has been the widespread adoption of cover crops. This practice gives farmers a host of benefits, from erosion prevention to nutrient retention and recycling. However, using cover crops isn’t just for large scale farming operations. Hobby vegetable gardeners can absolutely employ similar systems on a smaller scale to reap the same benefits. For the past two years, I’ve used Buckwheat to provide a soil building cover during the heat of summer between spring and fall gardens. This winter, after my fall greens garden succumbed to frost, I decided to employ the same tactic with a mix of Red Clover (Trifolium pratense), White Clover (Trifolium Repens), and Crimson Clover (Trifolium incarnatum) to enhance my soil during the coldest months until spring tomato planting arrives!
Clover mix used as a cool season cover crop in raised beds. Photo courtesy Daniel Leonard.
While there are many different species of plants (rye, oats, wheat, various brassicas, etc.) that can be planted in November or December as cool season covers to deliver benefits like winter weed suppression, enhance soil organic matter, retain and harvest leftover nutrients, and provide habitat for beneficial insects, I chose Clover for an additional reason. In addition to the above benefits, Clover is a legume and also fixes atmospheric nitrogen, making it available for subsequent plantings! Not only is Clover an excellent soil cover, but it also provides some nitrogen fertilizer to the following vegetable garden!
Growing Clover, while not quite as simple as Buckwheat or small grain covers like oats and rye, is relatively easy for most gardeners. The first step is selecting which clover species and/or variety to grow. I chose a mix of Crimson, White, and Red Clover simply because I had several pounds of each left over from a previous field planting. However, any one of the three may be used by themselves or in various combinations. All are excellent choices for garden cover crops and have similar growing requirements. Crimson Clover is the most readily available, but all three species can be found at most farm and garden supply stores.
The next step is to prep your garden beds for clover seeding. I thoroughly remove weeds from my raised beds, lightly till the top couple of inches of soil, and rake to provide a level surface. Since clover seed is tiny, a smooth, clean seedbed is a must for excellent germination. Once this is done, your next should determine how much seed to plant. Recommended clover seeding rates are usually given on a per acre basis and range from 3-4 lbs/acre (White Clover) to 20-25 lbs/acre (Crimson Clover). Given these seeding rates, planting in a 4’x8’ (32 ft2) raised bed is only going to require a miniscule amount of seed.
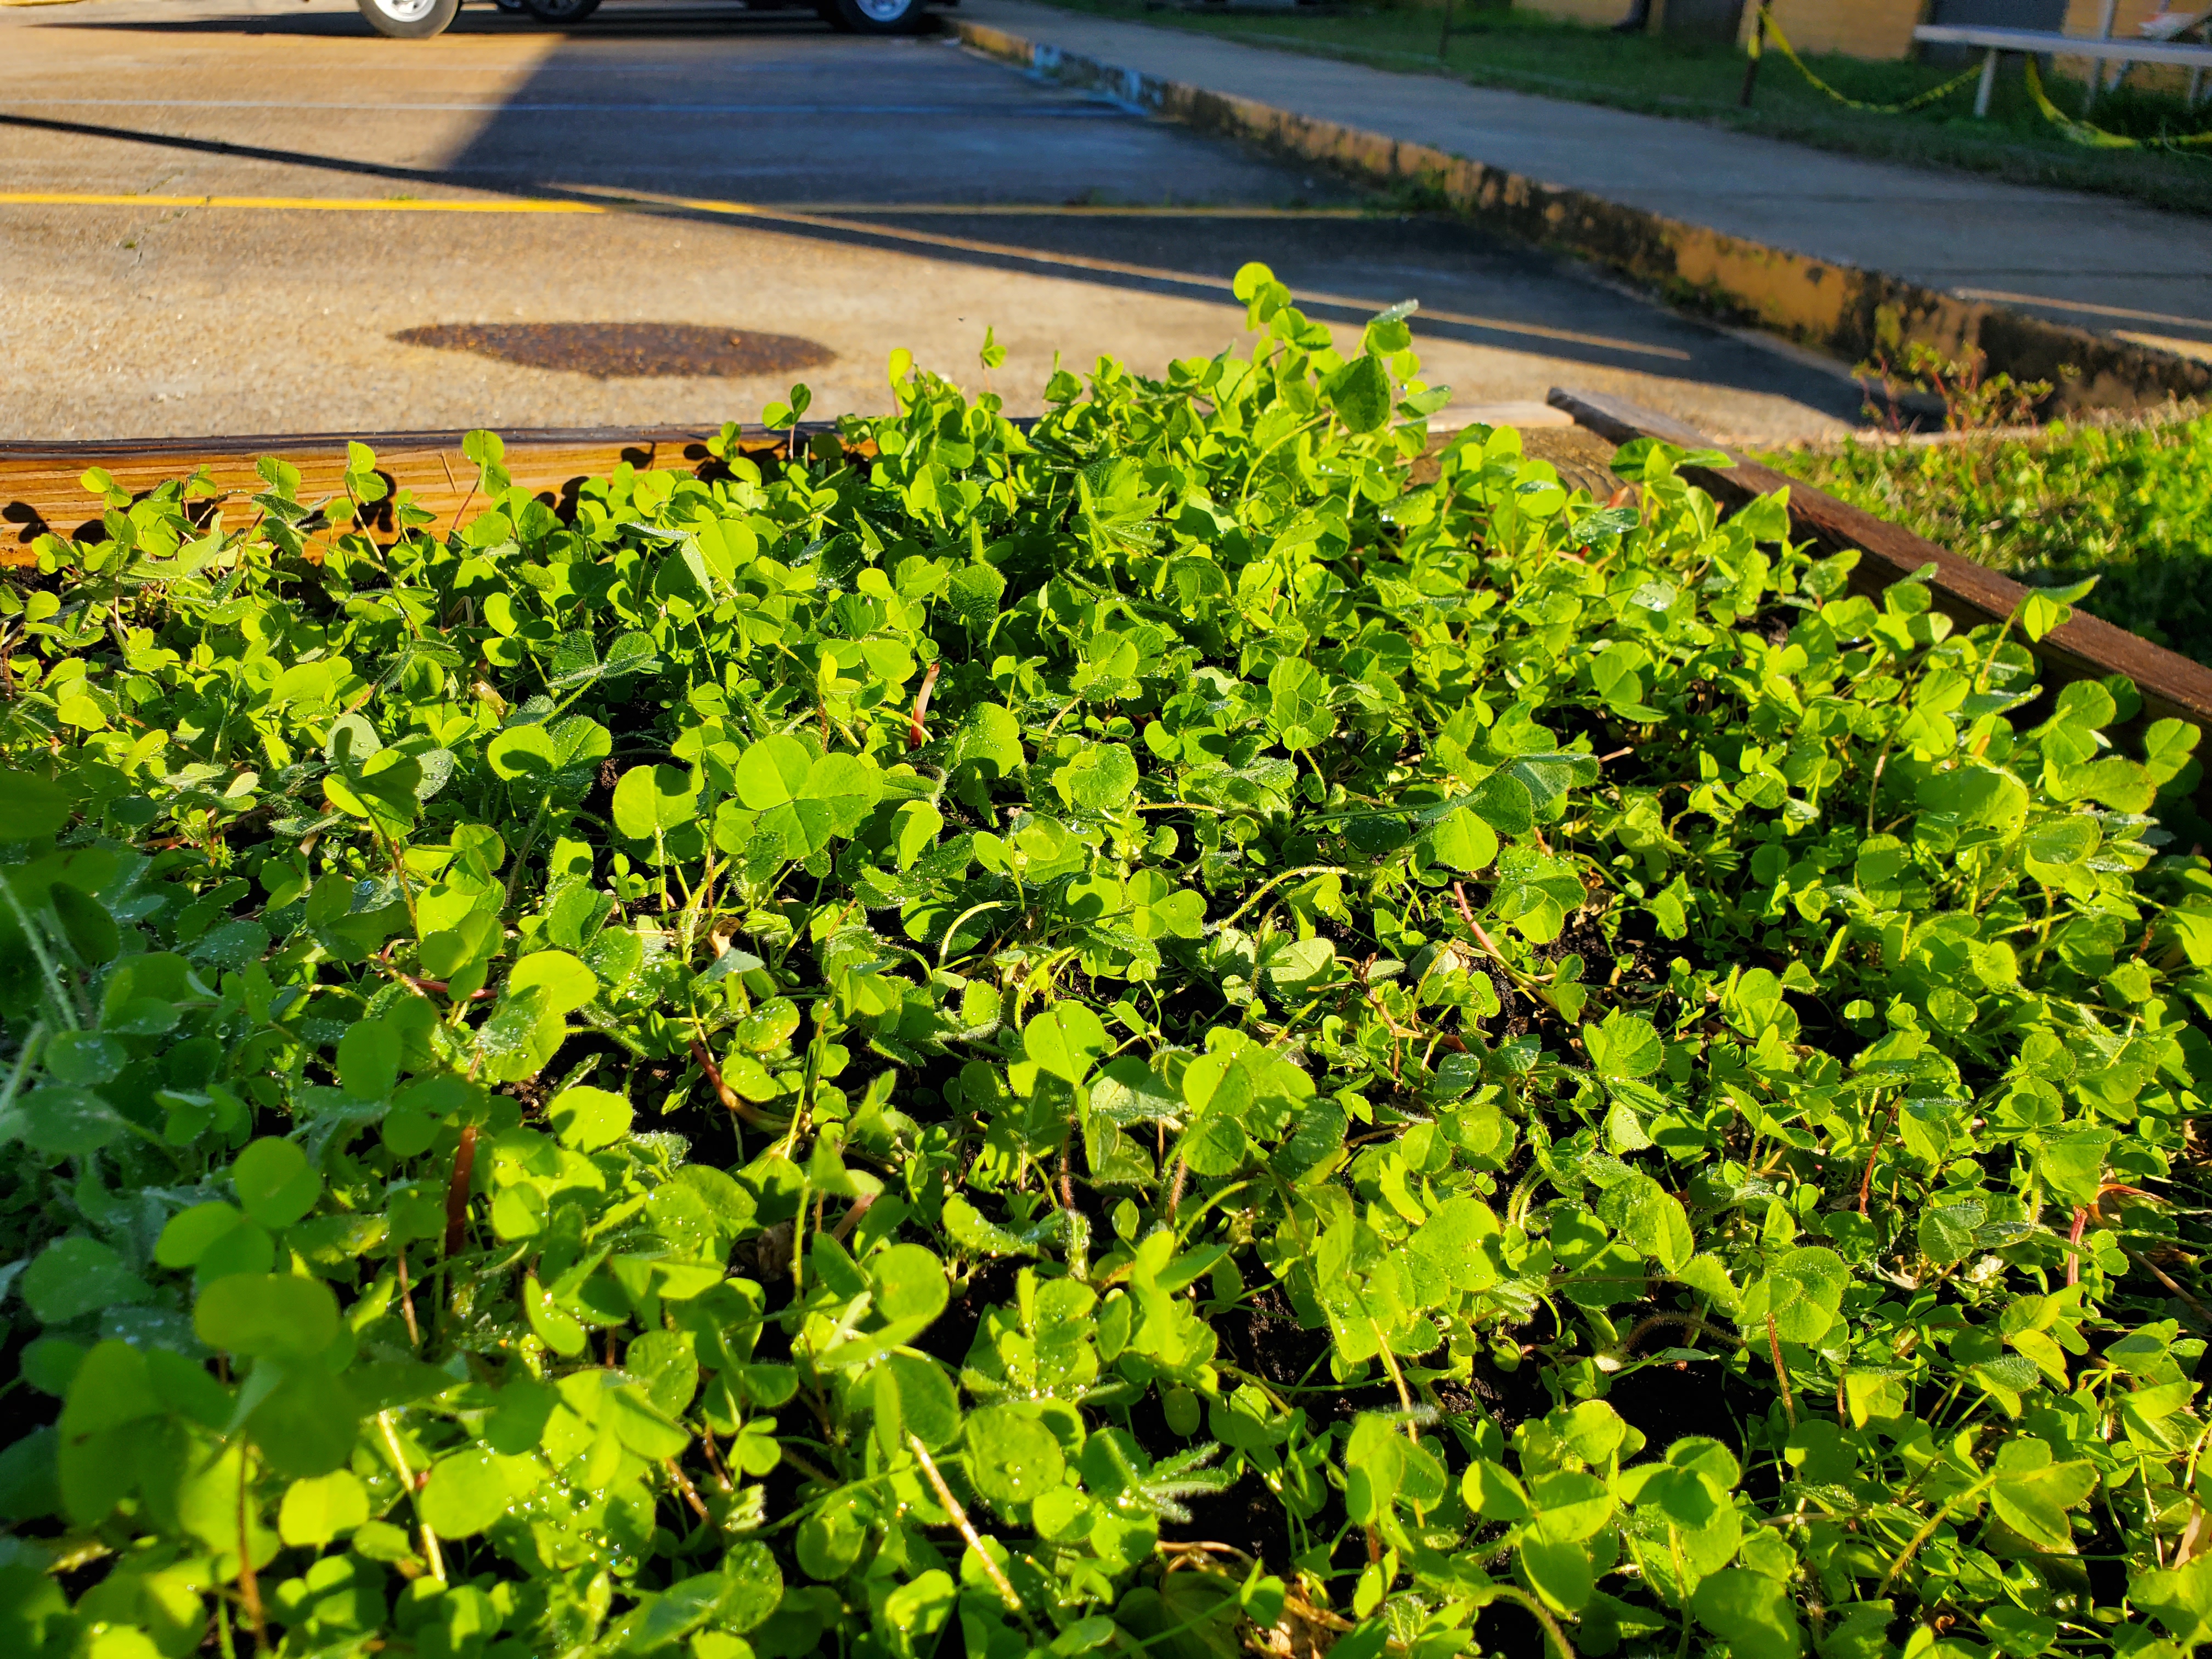
Clover mix used as a cool season cover crop in raised beds. Photo courtesy of Daniel Leonard.
To ensure a good stand while minimizing risk of overplanting, I mix equal parts clover seed and either sand, vermiculite, or other media similar in size to clover seed and hand scatter over the surface of my beds, making sure to uniformly cover the entire bed. If you think the stand is too thick, you can always hand-thin after emergence.
As a group, clovers prefer moist soil that is not allowed to dry out completely. This isn’t usually a problem given the Panhandle’s frequent rainy cold fronts in winter, but if rainfall is inconsistent, some irrigation will be required. Supplemental fertilizer isn’t normally necessary when planting a clover cover in vegetable gardens because nutrients remaining from the previous veggie crops are usually sufficient for growth and development (N especially is not needed as legumes produce their own through N fixation). 2-3 weeks before you’re ready to plant your spring veggies, chop the clover cover into the top few inches of your bed to terminate it and release its nutrients back into the garden. It’s that easy!
Planting a winter legume cover crop like clover is a great way to harness the benefits of cover crops for your spring veggies and enhance the aesthetics of your otherwise barren and drab garden beds! For more information about growing winter cover crops or any other horticultural topic, contact your local UF/IFAS County Extension office. Happy Gardening!
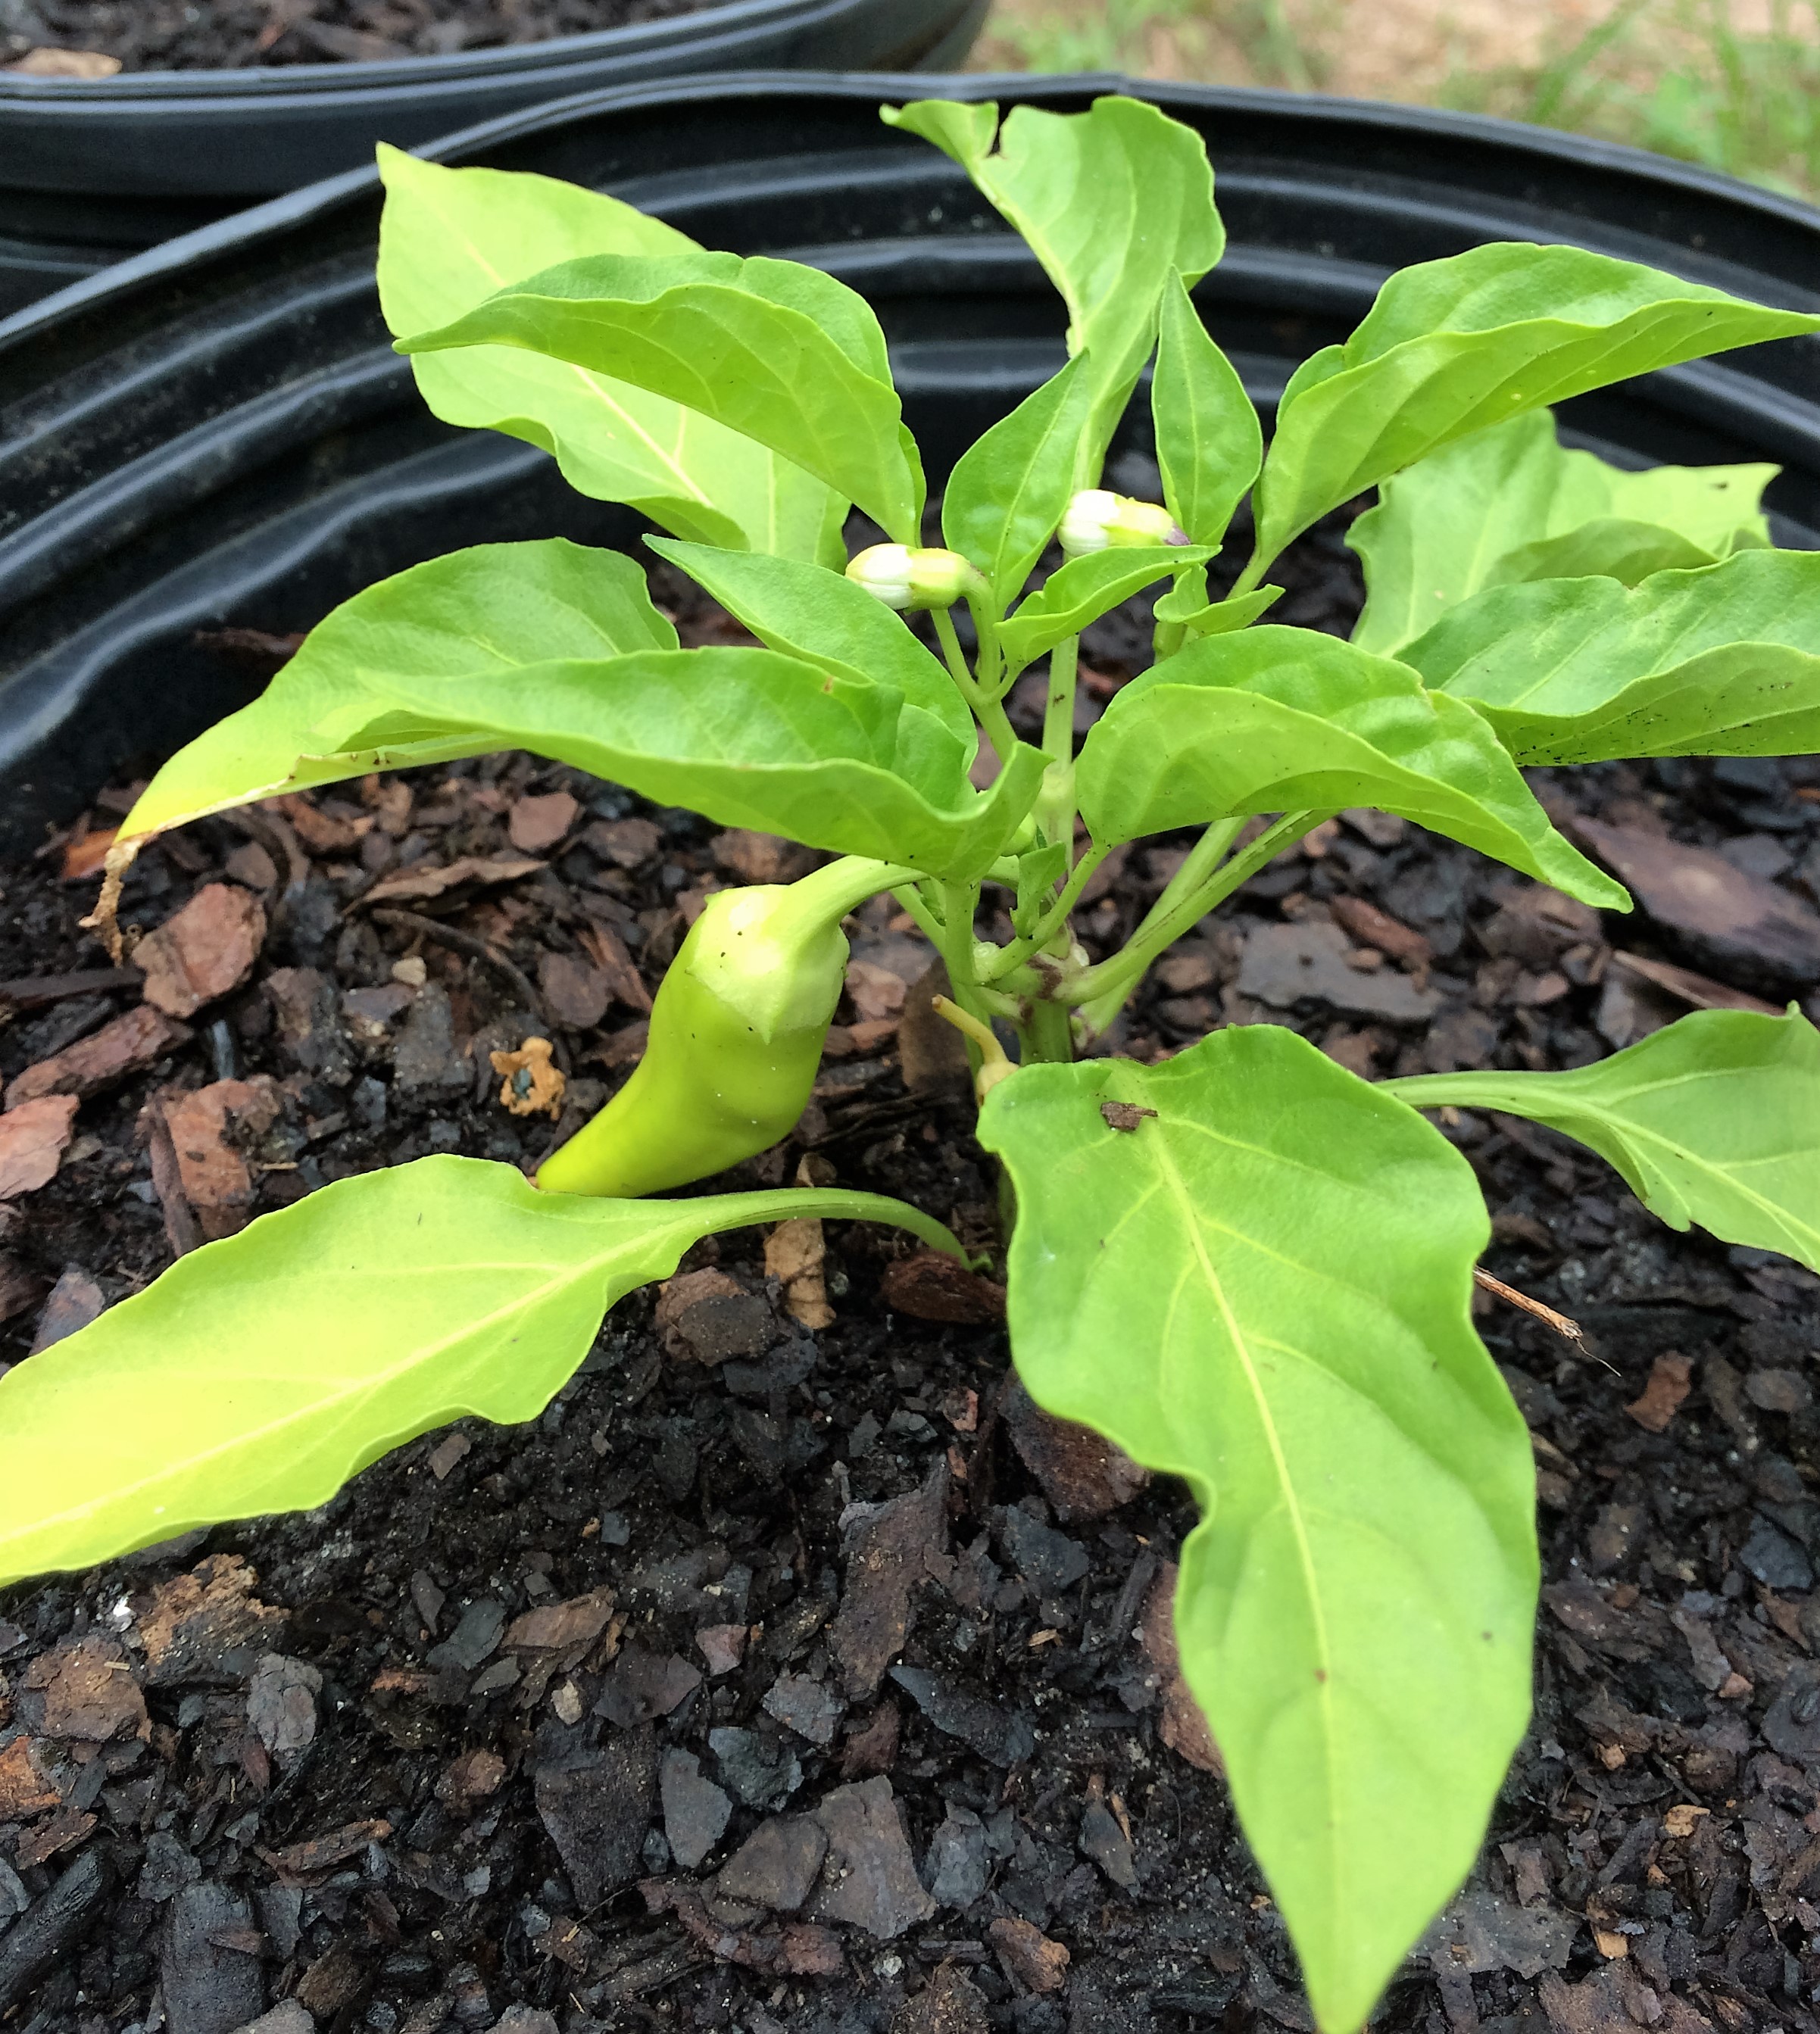
There seems to be a lot of interest in being sustainable and saving seeds is one way to be food sustainable. Should you save seeds from your garden? When it comes to peppers and a number of other vegetables in your garden…it depends.
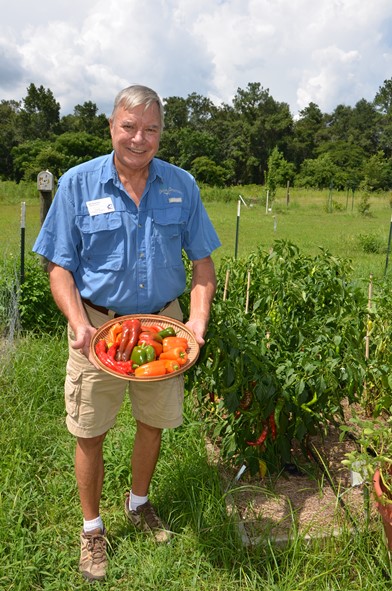
Wakulla Master Gardener Bill Osborne shows off some of the peppers he grew.
Hybrid vs. Open-pollinated
If you plan to save seed from your peppers, you first need to determine whether you planted open pollinated or hybrid peppers. Hybrid varieties are produced from two distinct pepper varieties and are often designated by “F1” appearing after the variety name. The seed from hybrid varieties is not usually saved because it does not produce plants and fruit that are true to the original variety. Open-pollinated varieties are developed from inbreeding plants for multiple generations to develop a stable genetic make-up. Seeds saved from these varieties will produce plants and fruit that are true to type.
How to Save Seed
To save seed of a known variety, it is important to isolate flowers or plants to ensure cross pollination from other varieties does not occur. There are four common ways to isolate flower/plants.
Isolate plants from pollinizer insects by growing them indoors or in a greenhouse.
Cover individual plants with insect exclusion netting.
Separate different varieties by at least 400 feet.
Put a small bag over an emerging flower until it has self-pollinated. Then remove the bag for fruit development.
The options above will help ensure your plants produce seed true to type. A fun experiment would be to save seed from plants/fruit that are not isolated and planted near other pepper varieties. There are endless possibilities on the peppers your new varieties would produce and you may end up developing your own named cultivar. You could also choose one of the isolation techniques listed to selectively cross different pepper plants. One misconception about growing peppers is that hot peppers planted near sweet peppers will influence the flavor of the sweet peppers. As you may have gathered from the information about crossing varieties, the flavor of the next generation will be influenced by hot and sweet pepper being allowed to cross pollinate.
German Sandoya (left) examining seed samples in a lab at the Everglades Research and Education Center. Photo University of Florida/IFAS
Harvesting and Processing Seed
Peppers should be allowed to mature before seed is harvested. In fact, germination rates are higher when peppers are allowed to dry for at least one month before seeds are harvested. Make sure that no mold or disease is on the peppers, because this could affect germination rates. To harvest the seeds, simply remove them from the pepper and remove any flesh from the pepper. If the seed was harvested from fresh peppers, rinse the seed thoroughly and allow to dry before placing in a sealable bag or container. If the peppers were allowed to dry before seed harvest, then the rinse step can probably be skipped. Store the seed in a cool, dark, and dry location such as a refrigerator.
My obsession with plants started with the purchase of my first house in Waverly, Alabama in the late 90s. I bought a house with seven acres and of that about 1.5 acres was a fenced yard. The landscape was not very appealing, so I was on a mission to make it beautiful yet functional for my dogs. The only problem was, as a new homeowner, I had very little expendable income for my burgeoning plant habit. This dilemma forced me to be a resourceful gardener.
Shop the discount rack at garden centers
Many retail garden centers (especially mixed use stores with limited plant space) will discount plants simply because they are no longer flowering. Plants look perfectly healthy but are just not considered “retail ready” anymore, so rather than hold them over until they bloom again and appeal to most shoppers the stores tend to mark them down.
Plants are either growing or they are dead, so it is common to find some outgrowing their container and are getting “potbound” which means the root system is outgrowing the pot. Potbound plants are hard to keep watered without wilting and the solutions are to transition to a larger pot or plant in the ground. Most garden centers are not equipped to pot up overgrown plants to larger containers, so the easier solution is to sell them quickly. If you purchase a plant with circling roots be sure to trim the bottom and score (slice) the root ball to encourage roots to spread laterally.
Avoid plants that appear diseased (leaf spots, brown stems, mushy parts, rotting odor) or have active feeding insect activity.
Compliment other gardeners’ plants
When you get gardeners together, they inevitably start swapping plants. I really don’t have an explanation for this other that good old southern hospitality, but I’ve noticed over the years that when you express appreciation of plants to other people they tend to end up in your own yard. Ask if you can take a pinch (for cuttings) or offer to divide a clump of crowded perennials and you are on your way to a trunk full of plant babies.
I can’t recommend this for multiple safety reasons, but I have been known to photographs plants in my travels then strike up a conversation with a homeowner who insisted I take one home.
Experiment with basic propagation techniques
Grow flowers from seed. Either purchase seeds (usually under $2/pack) or collect seed heads from spent flowers in your own garden. After flowers fade, allow them to set seed then either crush and distribute in other parts of your garden or store in a cool, dry place until you can swap with friends.
Division – clumping perennials such as daylilies, cast iron plant, iris or liriope can be dug up and cut into smaller pieces with a shovel or machete. You only need to be sure to have buds on top and roots on the bottom to make a new plant. Other plants create offshoots that can be removed from the parent plant. Examples of these are agave, cycads, and yucca.
Cuttings – the list of plants that can be propagated from stem cuttings is endless but a few that are very easy are crape myrtle, hydrangea, and coleus.
Winter is in full swing and home grown produce is probably not the first thing that comes to mind. But it should be! It’s time again to start thinking about spring vegetable gardening. While a number of crops can be started by direct seeding in the soil, success rates are higher when plants are started indoors or in a covered structure. In order to be successful, it’s important that you follow some simple steps.
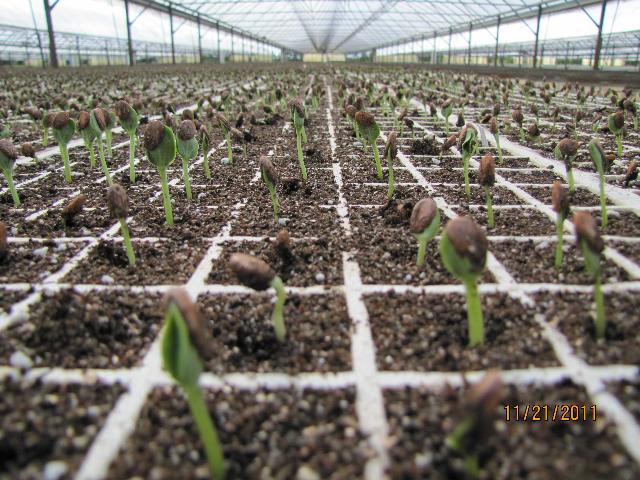
Seedless watermelons planted in a 128-cell flat. Photo Credit: Gene McAvoy, University of Florida/IFAS Extension – Hendry County
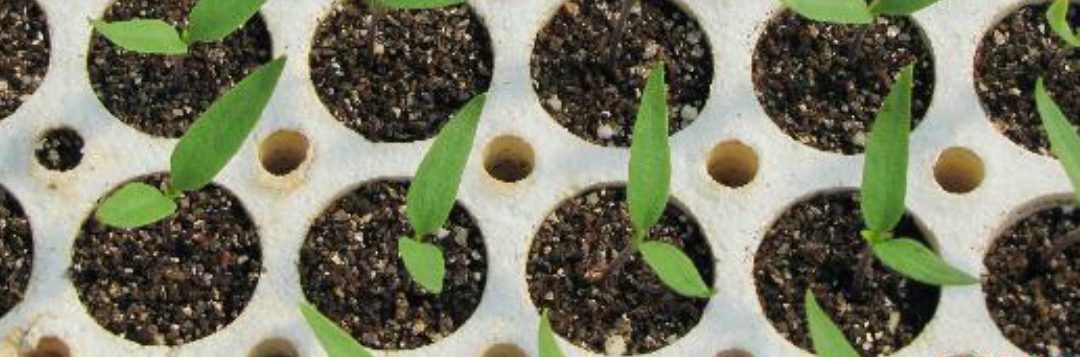
Transplant Trays/Flats – Trays are made from different materials such as plastic, polystyrene, and compostable materials. Different cell sizes are also available. Generally, smaller cells are used for smaller seeds and larger cells are used for larger seeds. It’s important to think of the life cycle of the crop. For example, lettuce and other leafy greens have much shorter life cycles compared to tomatoes. Because of this, they have smaller root systems at transplant time and may not develop a good rootball in a large cell. Therefore, lettuce would perform better in a smaller cell.
Media – It’s important that you choose a germination mix instead of a potting mix. Definitely don’t use garden soil! Germination mixes are typically a combination of finely ground peat, perlite, and other soiless substrates.
Seed – Purchase seed from a reputable source with a germination guarantee. If you save seeds for future gardening, then store them in a cool, dry place. Seed can be stored in the refrigerator. However, do expect the germination rate of stored seeds to diminish over time. Coated seed is recommended for smaller seeds to make seeding easier and more efficient. Seeds should be planted in media at a depth of approximately 3 times the diameter of the seed. Check the seed package for additional planting recommendations. For more germination and storage information please see this publication from the University of Nebraska.
Fertilizer – Too much fertilizer can result in leggy and possibly burned plants. A 20-10-10 (or similar ratio N-P-K) water-soluble product is generally used in commercial production. Rates are dependent on crop, sunlight, and temperature. The media should be kept moist, but not continually wet.
Well-grown kale transplants ready for field planting. Photo Credit: Gene McAvoy, University of Florida/IFAS Extension – Hendry County
Seeds can take up to 14 days to germinate depending on species and conditions. Most transplants are ready for the garden by 6 to 8 weeks. To improve success rate and accelerate production time, most farmers harden off their transplants before planting. Hardening off is the process of stressing the transplants for about a week. Generally, transplant trays are taken out of the greenhouse (or other transplant area such as a window sill) and set outside. Watering frequency is reduced and fertilization is halted. It’s important that the plants aren’t completely neglected, but just stressed enough to prepare them for the elements. A good place to put the trays is under a tree in partial shade. After this hardening off period, the transplants are ready for your garden. Hopefully these tips will make you a more successful gardener!