by Daniel J. Leonard | Apr 27, 2016
People are, by nature, skeptical. Humans are and have always been questioners of the world around them and that’s a good thing! For instance, when one reads a sensational article on Facebook or watches an infomercial selling a too-good-to-be-true product he/she is immediately dubious of the veracity of the claim. Given this innate sense, why do consumers take plant tags displayed on retail plants and the information listed there as infallible fact when in reality they are often full of hyperbole and misleading?
I do not mean to insinuate that nurseries and landscape professionals are intentionally leading consumers astray. They are not. However, there is much incorrect information disseminated to consumers by the green industry on plant fact sheets. Take my titular example, ‘Little Gem’ magnolia is widely advertised and sold as a “dwarf” magnolia, only growing 15’-25’ tall. If given proper care, it will grow to that height…in seven to ten years. Given enough time, ‘Little Gem’ has will grow in excess of forty feet. People plant this cultivar under the eaves of single story houses on a regular basis! I promise that cute little magnolia you were told would grow 15’ tall will look rather silly when it is four times the height of your house. Take another example, how many times have you seen or heard of ‘Acoma’ crapemyrtle being sold as a “semi-dwarf” cultivar that grows to 10’ in height for use in a tight spot of the landscape in lieu of the much larger ‘Natchez’? It will fill that tight spot and fill it rather quickly. ‘Acoma’ can easily reach 20’ in height and width at maturity, engulfing its intended area.
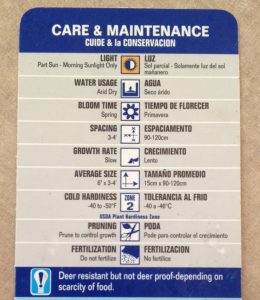
Typical plant tag. Notice the “Average Size” section. This is where consumers should use discretion.
So why does this happen? Why are plant tags so often mistaken? There are two primary reasons that correct mature sizes are not given. First, in the competitive world of plant breeding and introduction where there can be hundreds or thousands of cultivars of a single species, it is of utmost importance to introduce plants as quickly. Quick introduction is necessary because others are probably working to find similar traits; therefore, if one notices that a plant possesses a drastically different flower, flowering pattern, leaf shape, leaf size, or growth habit, the plant is often rushed to market. This leaves little time for complete trials of the plant to see what it would look like at maturity.
Secondly, most well-adapted or native trees/shrubs have relatively long life spans. A crapemyrtle or magnolia can easily grow and thrive in a landscape for thirty years or more before reaching maximum size. Nurseries simply do not have time to evaluate plants that long. Many nurseries, due to vagaries of economic cycles and length of career spans, don’t even exist for thirty years much less trial a single plant for that length of time!
In conclusion, nurseries are not likely to change their plant tag practices, but there are a couple of checks consumers can use to make sure they buy an appropriate plant for the scale of their site. First, it is a good rule of thumb to double the advertised plant height to arrive at a better idea of the plant’s mature size. Second, drive through established neighborhoods and observe what certain plants look like in a mature landscape. This will give one an idea of what the plant is capable of. The third and best option is to consult your local County Extension Office. They will be able to offer research-based information to help you make the right decision in your plant choices. Keep this in mind the next time you are thinking of buying the latest, greatest plant at your local nursery!
Happy Gardening!
by Molly Jameson | Apr 27, 2016
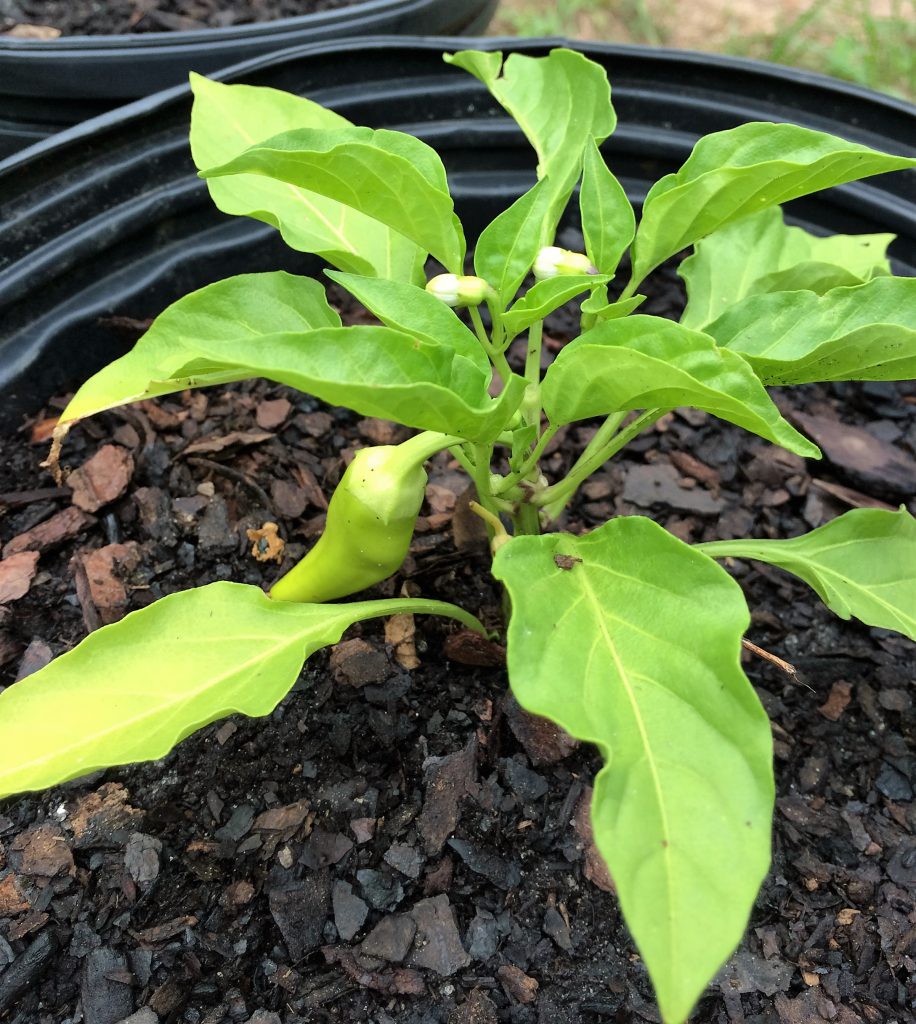
Banana pepper in container. Photo by Molly Jameson.
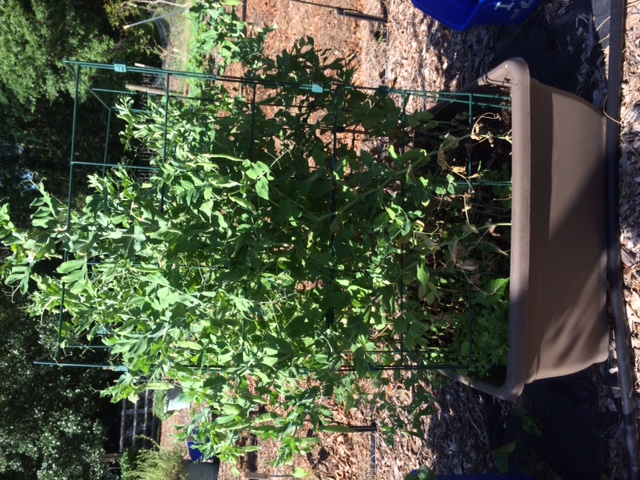
Interested in having a garden, but have limited space? Maybe you live in an apartment, have poor soil quality, or you just don’t have many areas that get enough sunlight. Maybe you’ve tried gardening, but given up, labeling yourself as one of those who “just doesn’t have a green thumb.” Well, I’m here to tell you, don’t give up! Try container gardening. Growing your own vegetables in containers is easy and can be a very rewarding experience. Container gardens also tend to have fewer weed, pest, and disease problems then regular in-ground gardens. Following just a few guidelines, you can have a bountiful harvest of fresh fruits, vegetables, and herbs right by your front (or back) door-step!
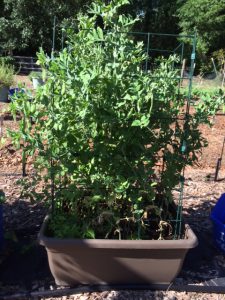
Grow vegetables easily in a large planter. Photo by Molly Jameson.
So, what are these guidelines, you ask? Well, you first want to choose the right container. This could be a large flowerpot, window box, planter, 5-gallon bucket, half-barrel, recycled material…the list can be endless. Just as long as your container is big enough and has proper drainage. Generally, the container should be at least 10 inches wide and 10 inches deep. The bigger the better, as it will give the roots more space to grow, and the soil will not dry out as fast. Tomatoes, for instance, do best in larger pots, preferably the size of a five-gallon bucket. For many herbs, you can get away with planting two or three different types in the same container. It is also important that your container has drainage holes, so water can escape and air can circulate. Use a one-fourth inch drill bit to create holes in the bottom or along the sides near the bottom of the container if it does not have holes.
Most of us know plants need both sunlight and soil. But just how much sunlight and what type of soil? If you are growing vegetables, it is best to have full sun – which means at least six hours of direct sunlight per day. An advantage of growing in containers is that you can easily place a container in an area of your yard or on a balcony that receives adequate sunlight, when it would be much more difficult to build a garden in these same areas.

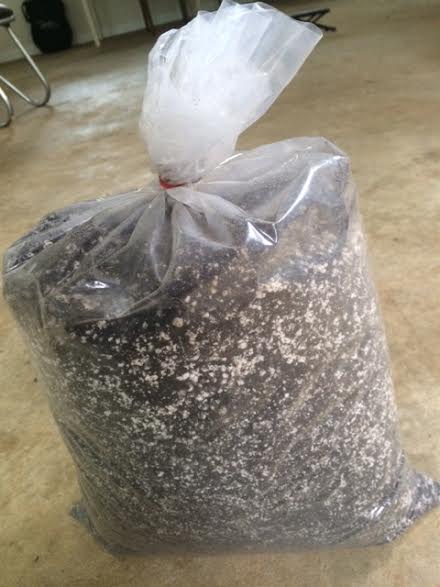
Buy potting soil in bulk to cut down on costs. Photo by Molly Jameson.
So what about soil? When growing in containers, you want to make sure you get potting soil that is made for containers. These mixes will contain materials such as peat, perlite, and vermiculite for both good drainage and moisture-holding capacity, and materials such as compost and nutrient amendments that will keep your plants healthy. You can simply ask your nursery specialist for a mix formulated to grow vegetables in large outdoor containers. If you are growing a lot of vegetables, you can cut down on costs by making your own mix. Just make sure you have a good balance of the aforementioned materials, and mix in a slow-release vegetable fertilizer, following directions on the label.
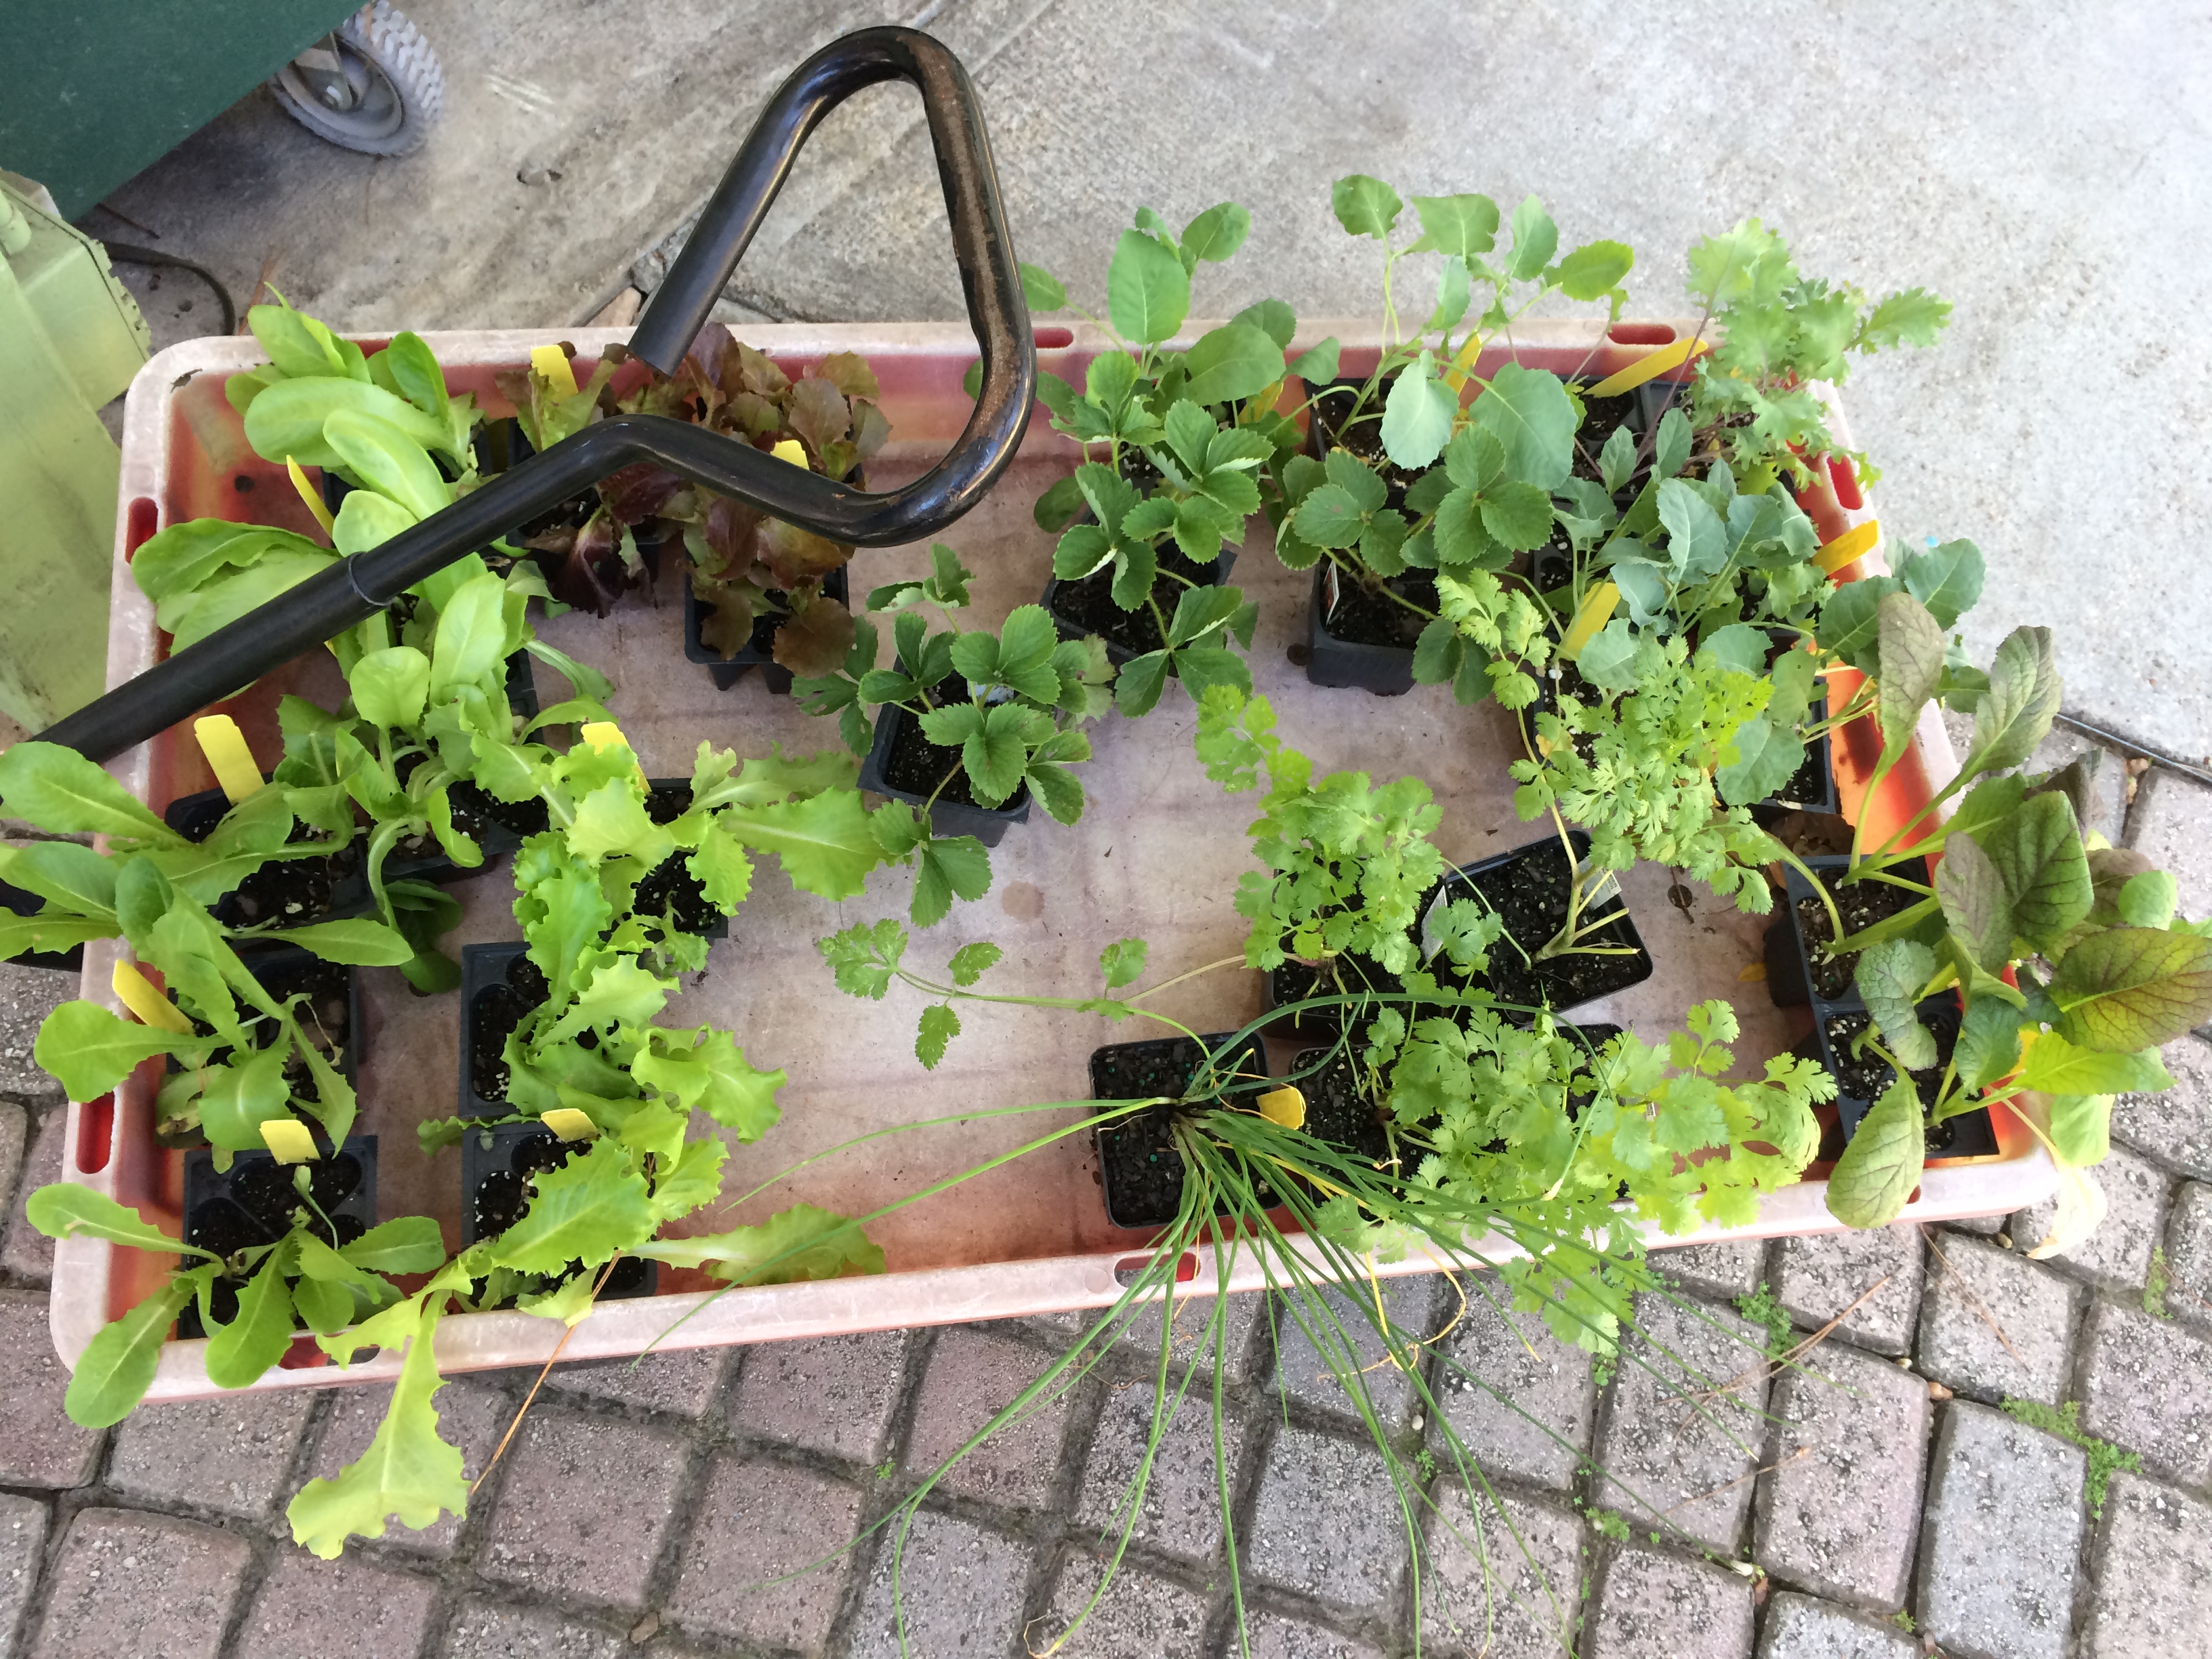
Now that you have your container, your soil, and a sunny location, it is time to get the plants. Some plants are best bought as transplants or grown from seed started indoors. Vegetables such as broccoli, collards, kale, tomatoes, eggplant, peppers, and strawberries fall into this category. Other plants, such as root crops, arugula, lettuce, spinach, mustards, beans, peas, cucumbers, squash, okra, cilantro, and basil can be started from seed directly into containers.
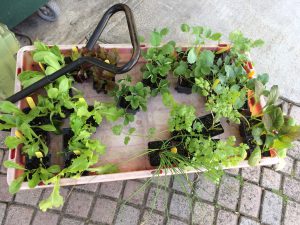
For some vegetables, buy transplants from your local nursery. Photo by Molly Jameson.
Okay, so you have all the materials. Now what? If you are growing from transplants, first thoroughly moisten the potting mix and the plant’s soil. “Transplant shock” is reduced when there is proper moisture. Set plants at about the same level they were growing in their original pot. For tomatoes, remove lower leaves and plant deeper in the container. If you are growing from seed, simply plant the seeds according to their label. A good rule of thumb is to plant the seed to a depth of about two to three times the seed’s diameter. If you are worried about your seeds not germinating, go ahead and plant more seeds than you need. But remember to thin to appropriate spacing if they do, indeed, all come up. Spacing will be specific to the type of vegetable.
After planting, water gently but thoroughly. Monitor your container garden, making sure the potting mix does not dry out. You can reduce evaporation by mulching with leaf litter, straw, or a similar material. Plants that grow tall or produce vines, such as tomatoes and cucumbers, will need support. A wire cage or pole, inserted into the container at planting time, will support the plant as it grows.
Last step is to call over all your friends and family and show off your beautiful vegetable plants! They will surely be impressed by your “green thumb” and will be eager to learn your gardening secrets.
by Ray Bodrey | Apr 22, 2016
You could certainly argue that the azalea bloom is the symbol of the southeast during spring time. This time of year, yards across the panhandle explode with vibrant colors of this unmistakable flower bloom. Even though Florida’s azalea plants put on a spectacular flowery show, most of us pay very little attention to their management at this time of year. However, the kind of care azaleas receive in late spring and summer can have an effect on the bloom production for next season. There are some management measures that can be done during this time to ensure that you have a bountiful azalea bloom next spring.

Credit. Carolyn Wildes, UF/IFAS.
Chlorosis, a condition that causes leaves to produce insufficient chlorophyll, is the most common problem with azaleas this time of year. Fortunately, this is easy to recognize and correct. Chlorosis shows up as yellowing in between the veins of leaves, the veins stay dark green. It’s caused by lack of available iron in the soil.
To correct chlorosis, add aluminum sulfate to the soil. The addition of ¼ to a ½ pound per square yard of soil surface should suffice. Broadcast the aluminum sulfate over the soil surface and add a layer of mulch. It’s important to remember that you should not apply aluminum sulfate more than once a year. More applications will cause detrimental effects to the plant. Other chemicals that are useful in correcting iron chlorosis in azaleas are ordinary agricultural sulfur, ferrous sulfate and chelated iron compounds. Each of these chemicals have different application directions, so be sure to read the labels for direction of use.
Proper watering is also imperative. Generally, established plants should receive ¾ – 1 inch of water every 10 days to 2 weeks during dry periods to wet the soil to a depth of 10-12 inches. When the weather is hot and dry, azaleas need soil saturation in the root zone once a week. Azaleas have shallow feeder roots that dry out very quickly if the soil is dry. Remember, soil with a sufficient amount of organic matter holds moisture better than sandy soils, and will require less watering. Also, a mulch layer helps to reduce evaporation and keep the soil cool and moist.
Pruning your plants should be done in late spring. If you prune later in the year, there’s a good chance you may reduce or eliminate flowers for next year. Usually it’s best to prune right after flowering.
As for fertilizer applications, frequent and light applications are necessary in Florida’s sandy soils. Acid-forming fertilizers like 12-4-8, 15-0-15 or ammonium sulfate should be applied in all four seasons. Apply approximately ¼ pound to a mature plant, or ¾ to 1 ½ pounds per 100 square feet.
Following these recommendations will help secure your rich bloom season for next year.
For more information please see:
Azaleas at a Glance
Florida-friendly Landscaping
by Mary Salinas | Apr 21, 2016
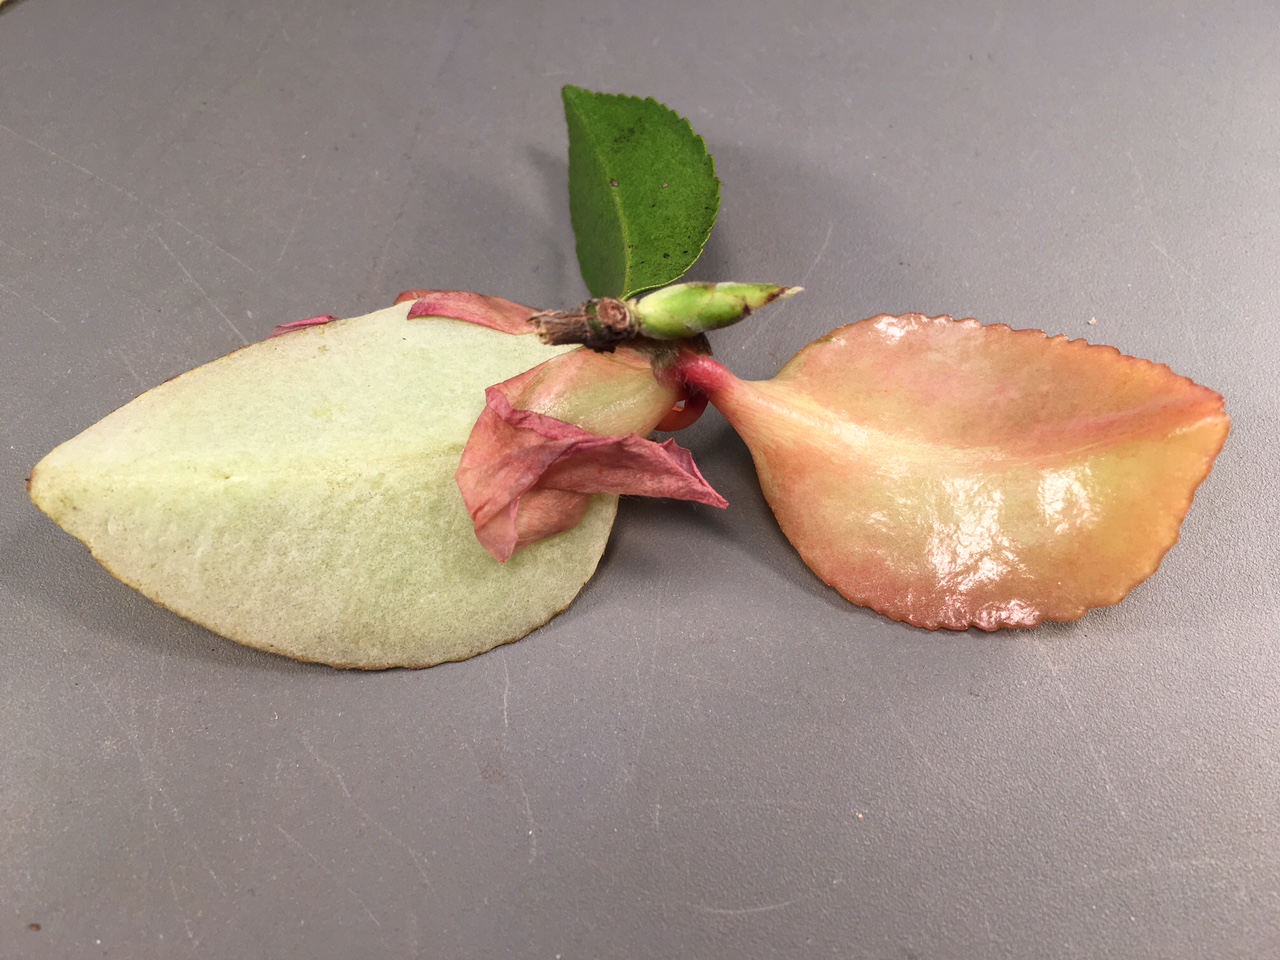
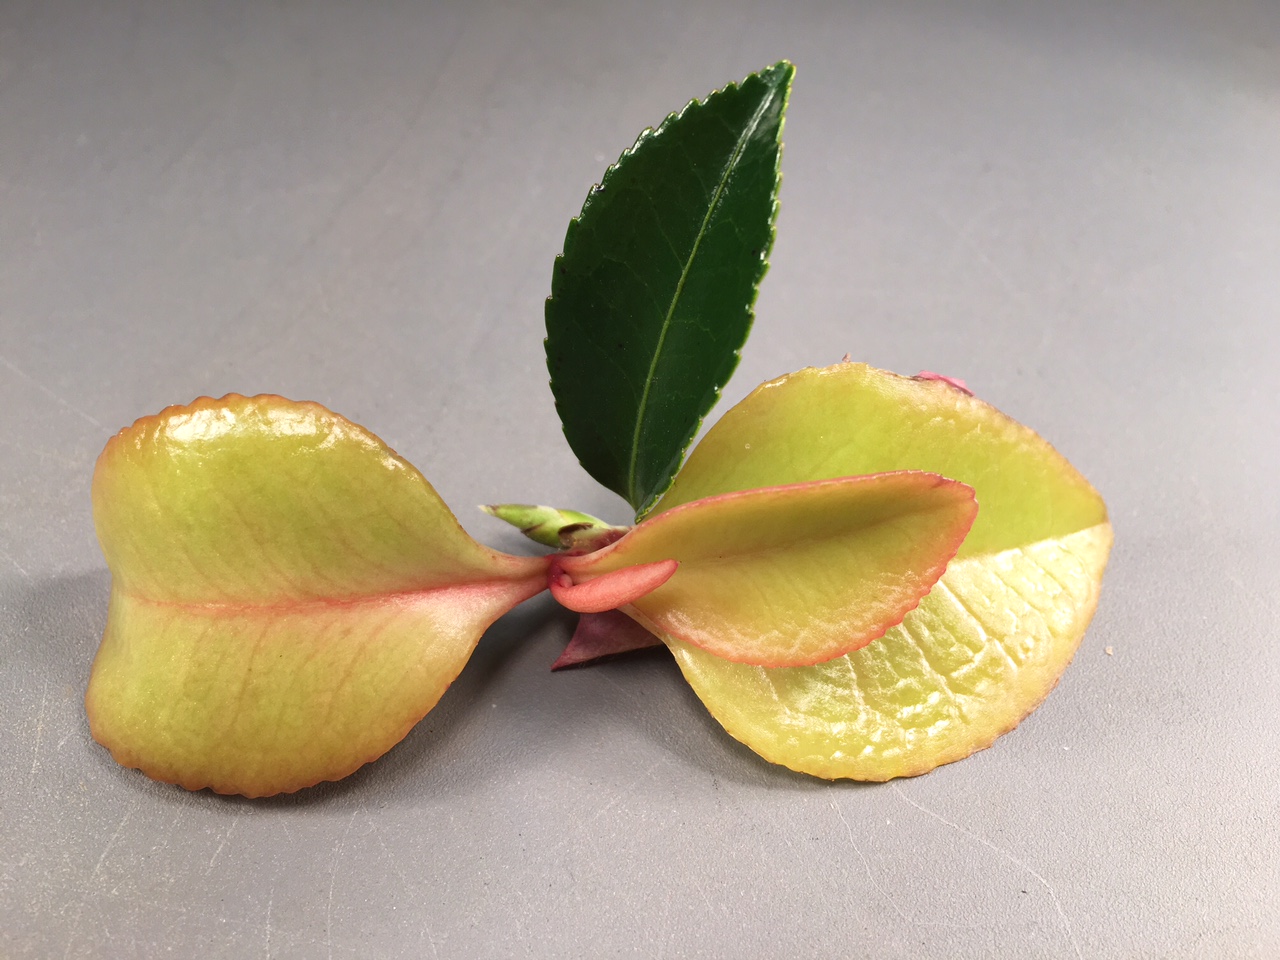
Recently, a home gardener brought in some strange looking new leaves on his camellia. The youngest leaves were thick and fleshy and looked more characteristic of a succulent type plant than a camellia. What’s wrong with these leaves?

Camellia leaf gall infection resulting in fleshy light green and pink leaves. Note the contrast with a healthy uninfected leaf. Photo credit: Mary Derrick, UF/IFAS.
The culprit is a fungus Exobasidium camelliae whose spores are carried by the wind in search of camellias. This fungus infects camellias, especially sasanquas; it will not infect any other plant species. The disease it causes is known as camellia leaf gall and is most commonly seen here in the Florida panhandle in April. The frequent wet weather this winter and spring created favorable conditions for disease development.
The symptoms of the disease are easy to distinguish and really stand out against the typical dark green leaves of the camellia. Leaves become thick and fleshy and the color ranges from light green to cream to pink. As the disease progresses and the galls mature, the lower leaf surfaces of the leaves will peel away to reveal a white underside laden with fungal spores. Wind and rain will take these new spores to other parts of the camellia or other camellias in the vicinity where they will lay dormant and cause infection the following spring. Eventually the galls will turn brown and dry up.

The underside has pealed away revealing white fungal spores. Photo credit: Mary Derrick, UF/IFAS Extension.
Camellia leaf gall is not a serious disease that requires chemical intervention for the homeowner. Simply remove the galls and put them in the trash. The earlier you remove the galls the better; the risk of further infection can be reduced if the galls are removed before the undersides peel and expose their spores. Any that have fallen to the ground can spread the disease and need to be removed.
For more information:
Camellias at a Glance
Camellia Leaf Gall
by Sheila Dunning | Apr 21, 2016

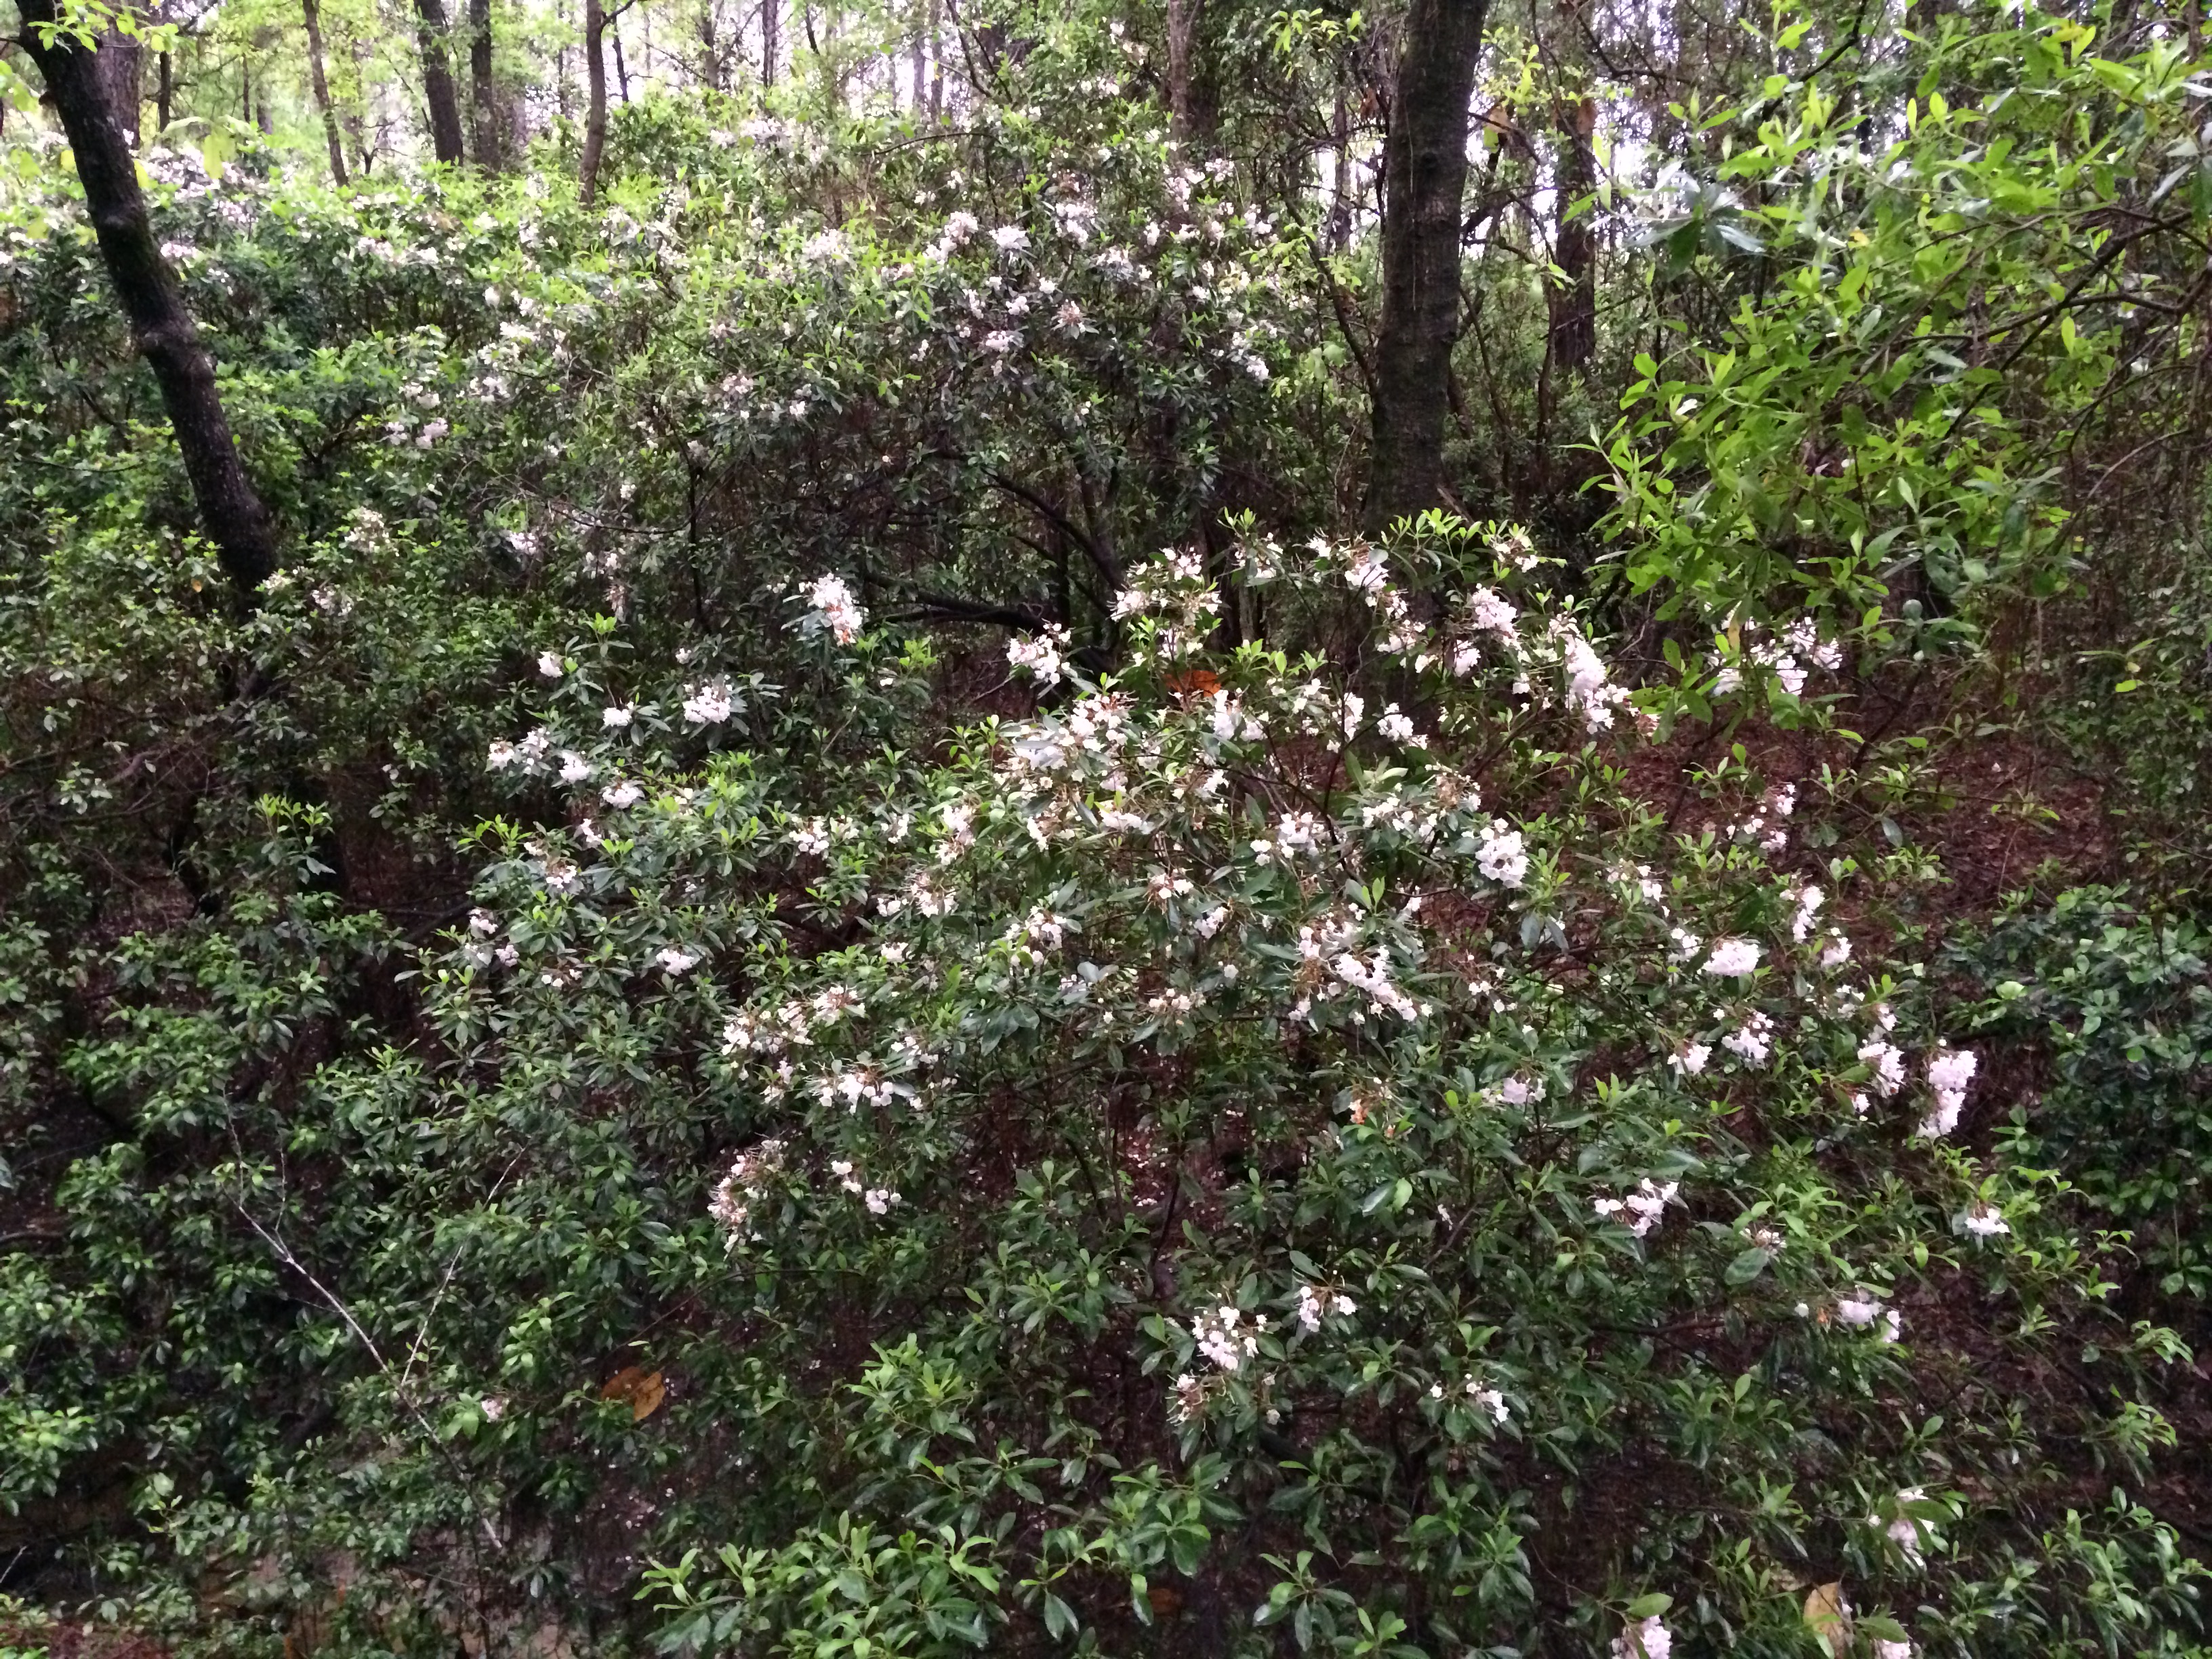
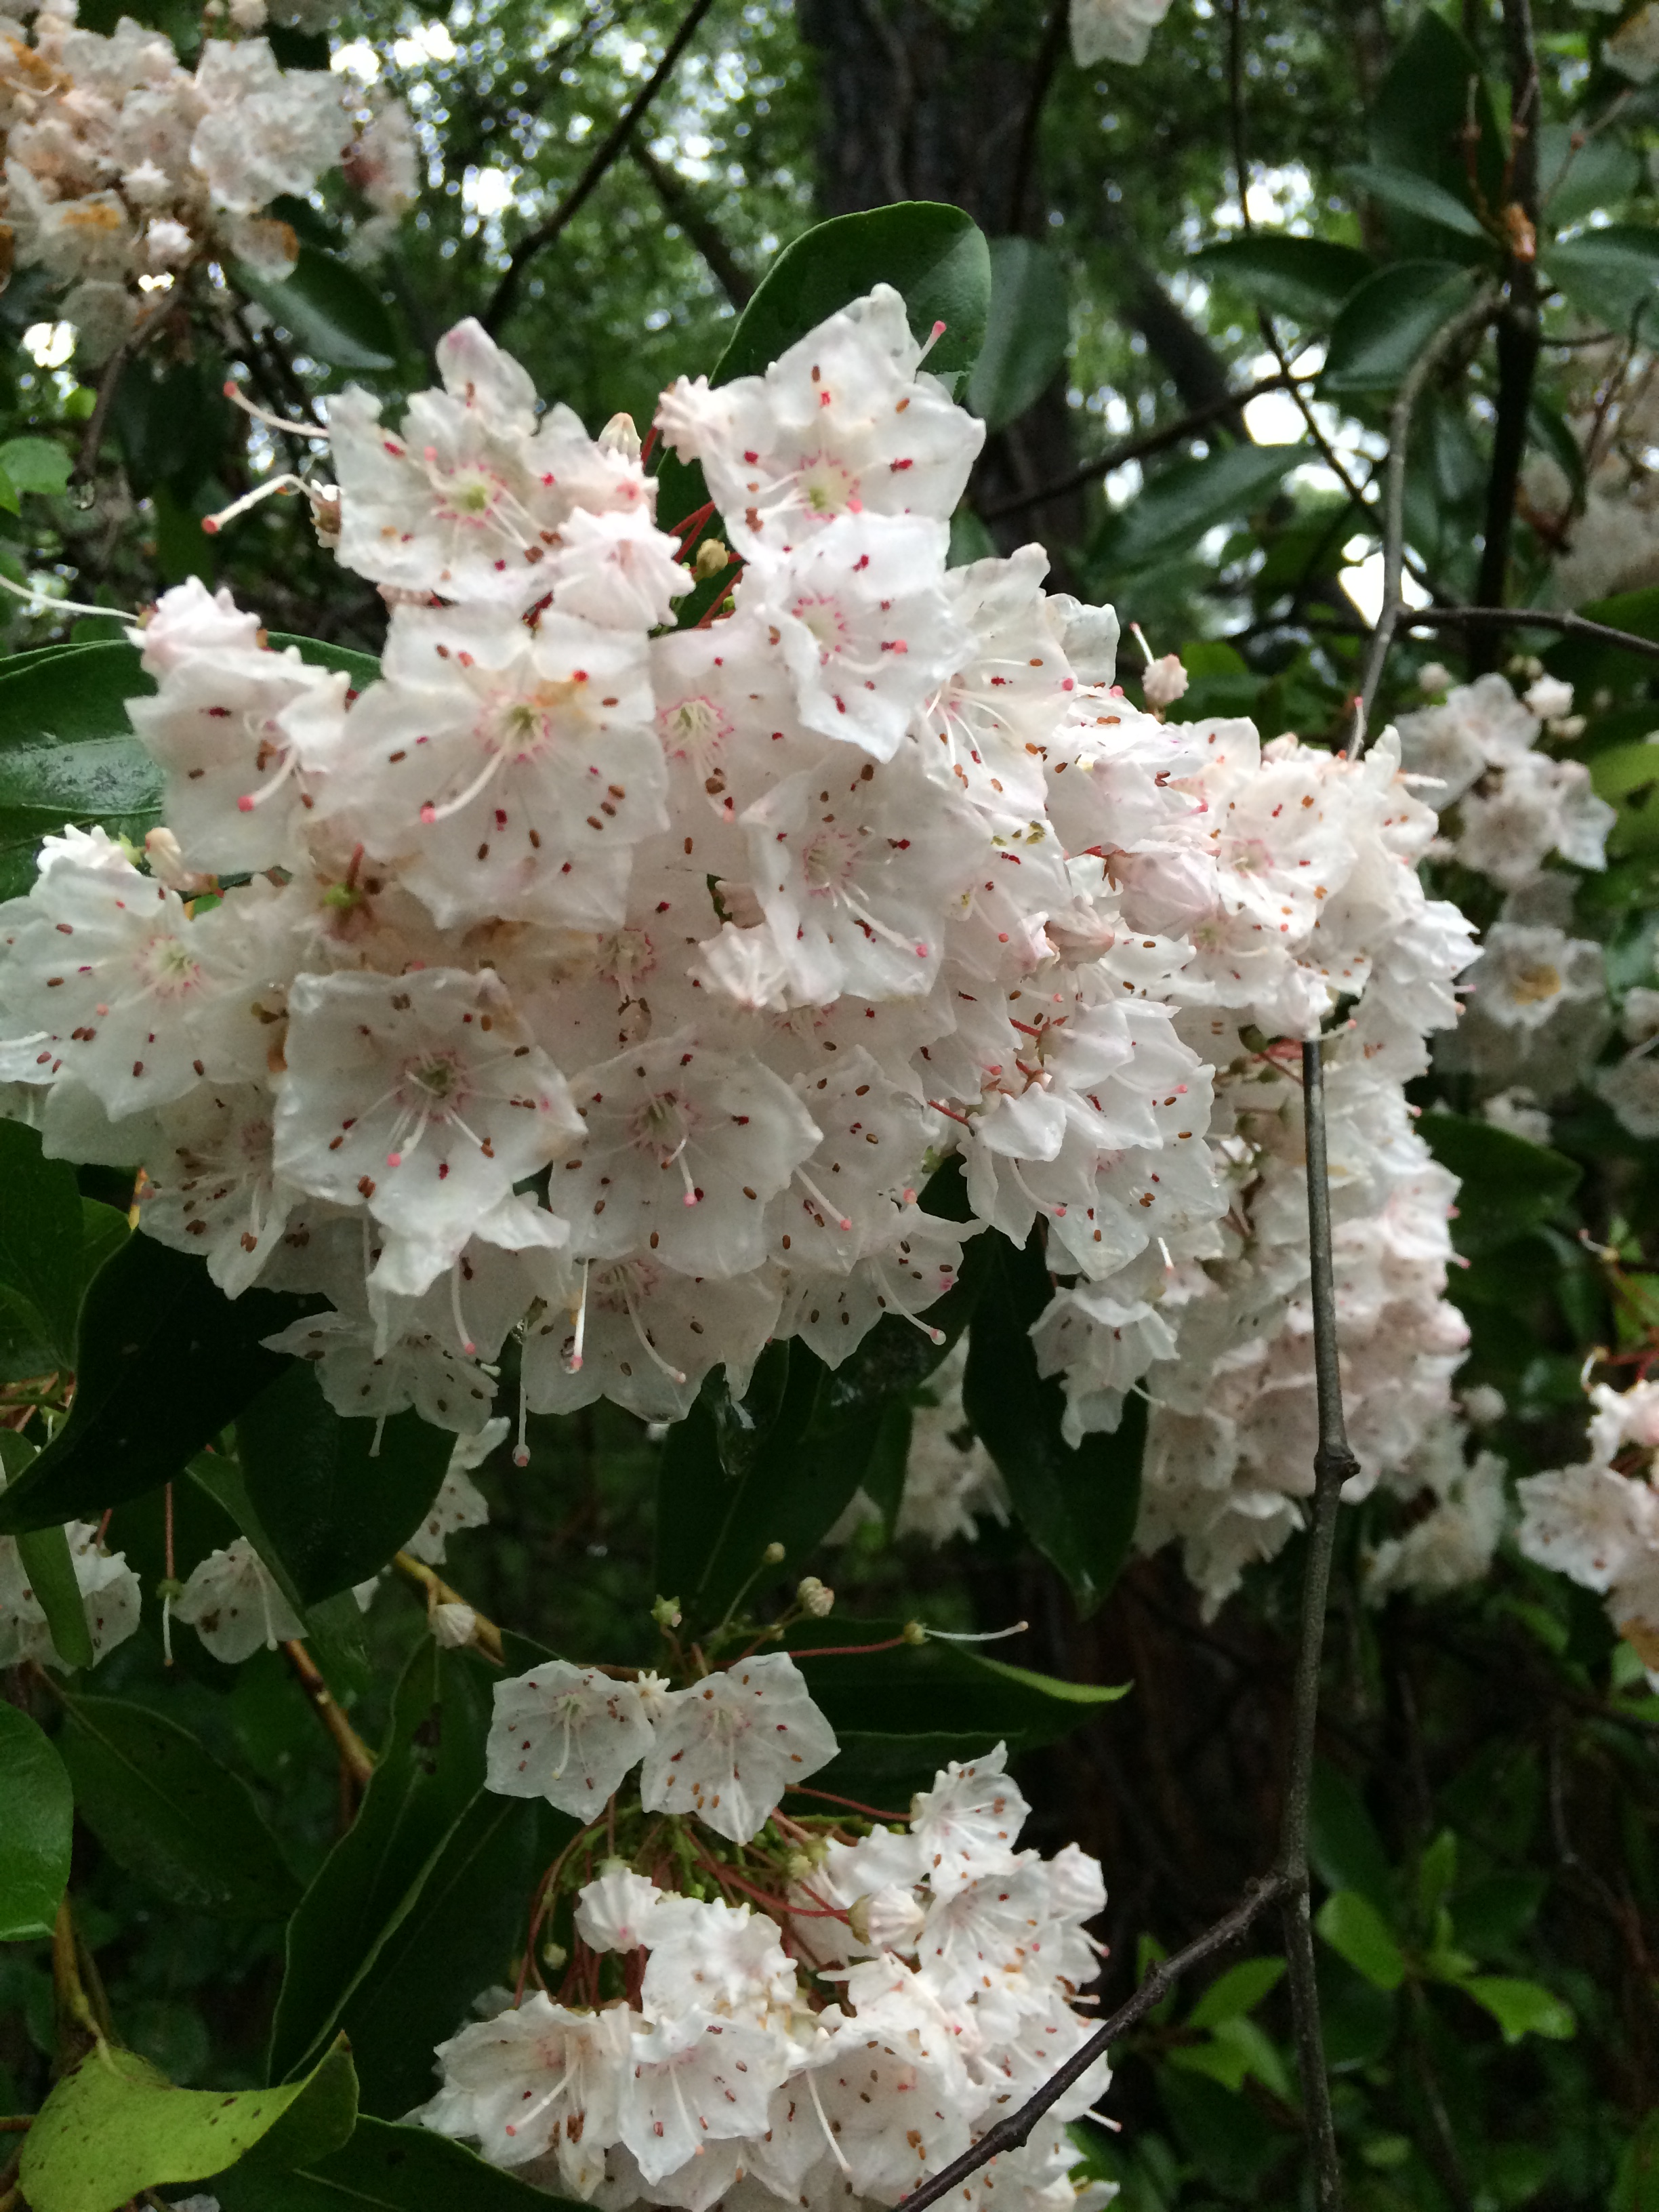
Mountain laurel. Photo credit: Sheila Dunning, UF/IFAS Extension.
If you are lucky enough to live on the southern Alabama edge of northwest Florida, you may want to see if you can find mountain laurel blooming now near the wooded creeks. Its native range stretches from southern Maine south to northern Florida, just dipping into our area. The plant is naturally found on rocky slopes and mountainous forest areas. Both are nearly impossible to find in Florida. However, it thrives in acidic soil, preferring a soil pH of 4.5 to 5.5 and oak-healthy forests. That is something we do have. The challenge is to find a cool slope near spring-fed water.
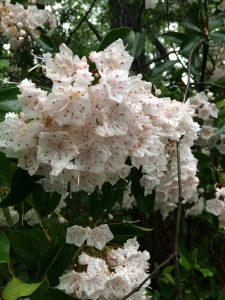
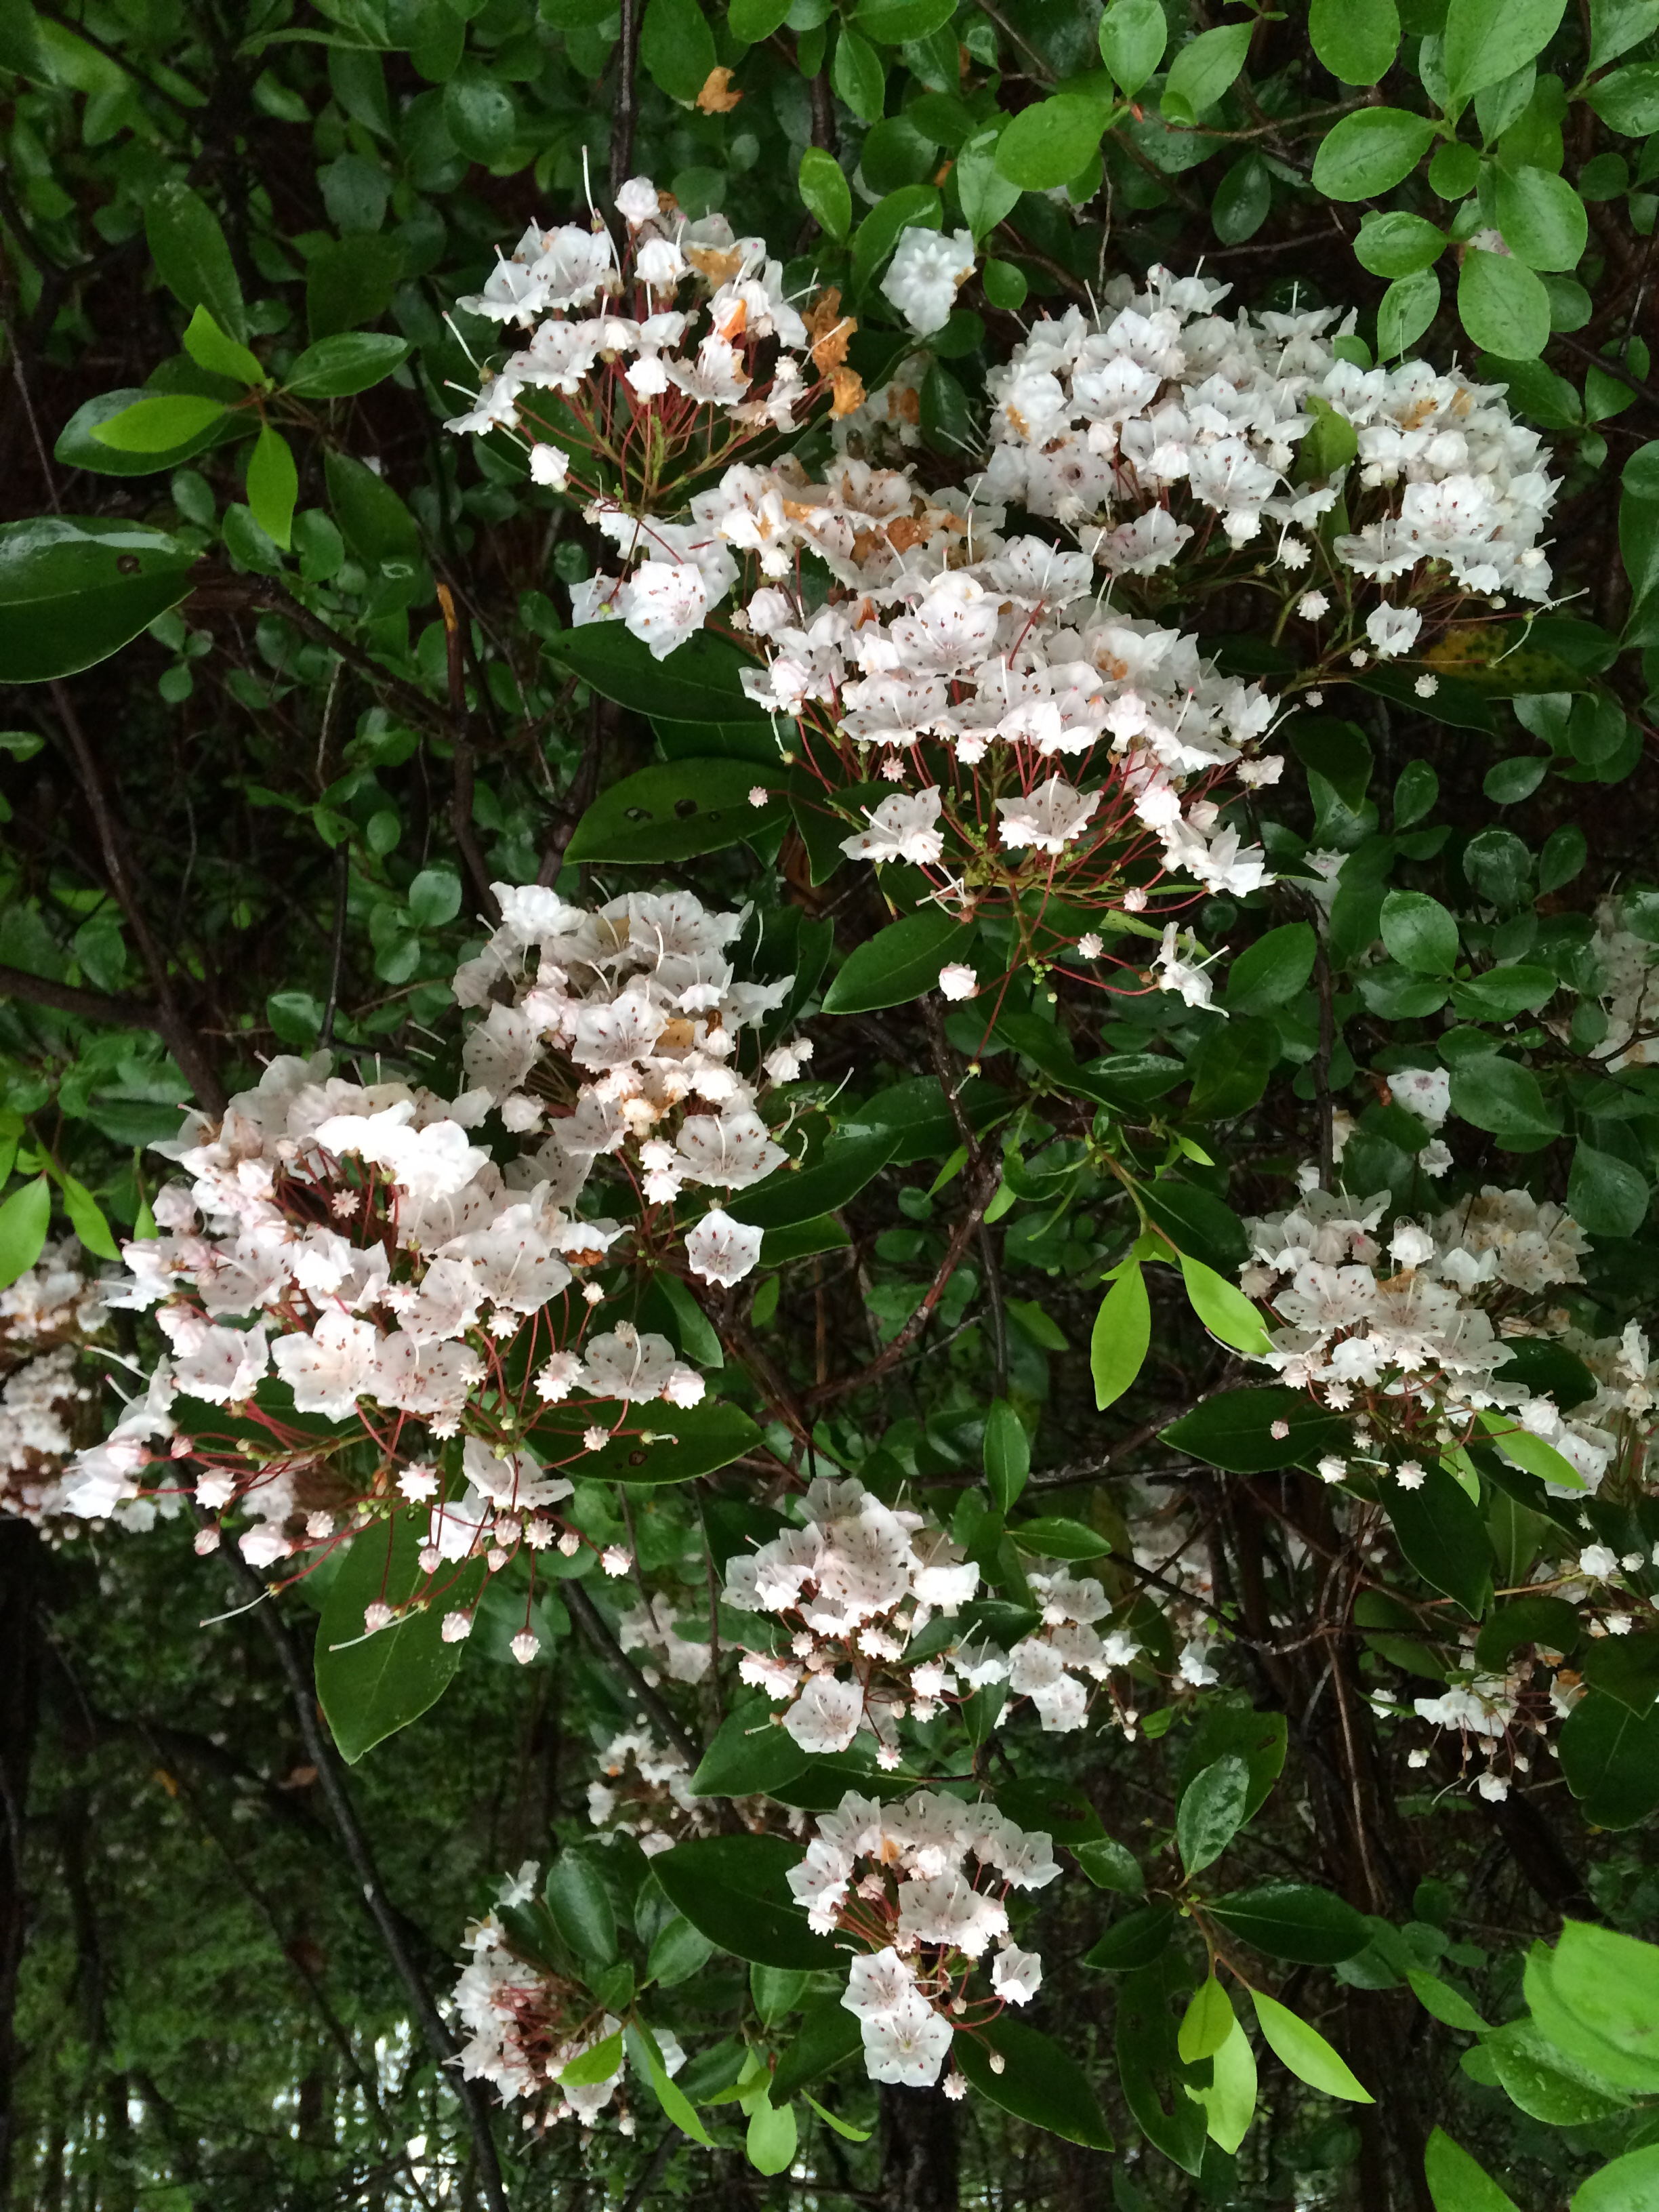
Mountain laurel blooms. Photo credit: Sheila Dunning, UF/IFAS Extension.
Mountain laurel (Kalmia latifolia) was first recorded in America in 1624, but it was named after Pehr Kalm, who had collected and submitted samples to Linnaeus in the 18th century. The wood of mountain laurel was popular for small household items. It is heavy and strong with a close, straight grain. However, as it grow larger it becomes brittle. Native Americans used the leaves as an analgesic. But, all parts of the plant are toxic to horses, goats, cattle, deer, monkeys and humans. In fact, food products made from it, including honey, can produce neurotoxic and gastrointestinal symptoms in people consuming more than a modest amount. Luckily, the honey is usually so bitter that most will avoid eating it.

Mountain laurel in its native habitat. Photo credit: Sheila Dunning, UF/IFAS Extension.
One of the most unusual characteristics of mountain laurel is its unique method of dispersing pollen. As the flower grows, the filaments of its stamens are bent, creating tension. When an insect lands on the flower, the tension is released, catapulting the pollen forcefully onto the insect. Scientific experiments on the flower have demonstrated it ability to fling the pollen over 1/2 inch. I guess if you don’t taste that good, you have to find a way to force the bees to take pollen with them.
The mountain laurel in these pictures is from Poverty Creek, a small creek near our office in Crestview. This is their best bloom in 10 years. Maybe you can find some too.
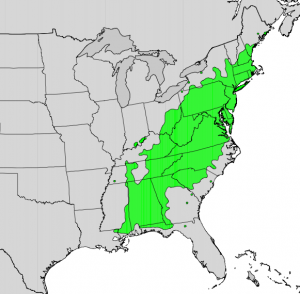
Native range of mountain laurel.