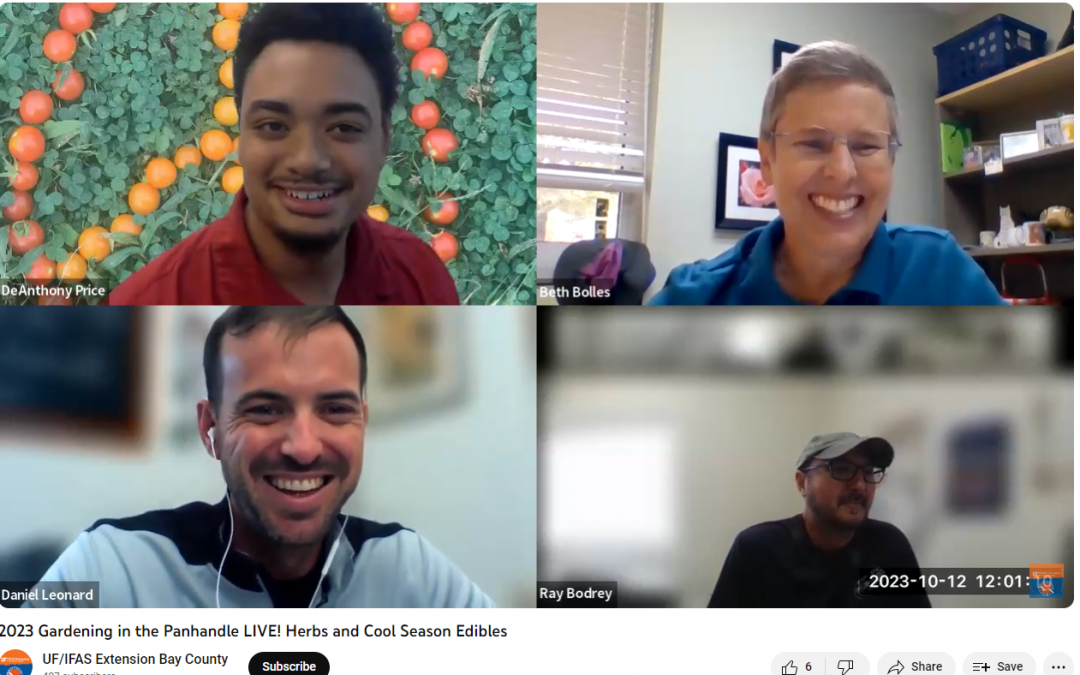
In case you missed it, you can watch our last session of Gardening in the Panhandle LIVE! that aired on October 12th by visiting our YouTube Playlist with all the past episodes of our gardening webinars.
We had a great conversation about herbs and cool season edible plants last month and this article compiles the links shared by the expert panel in the episode. Thanks for watching!
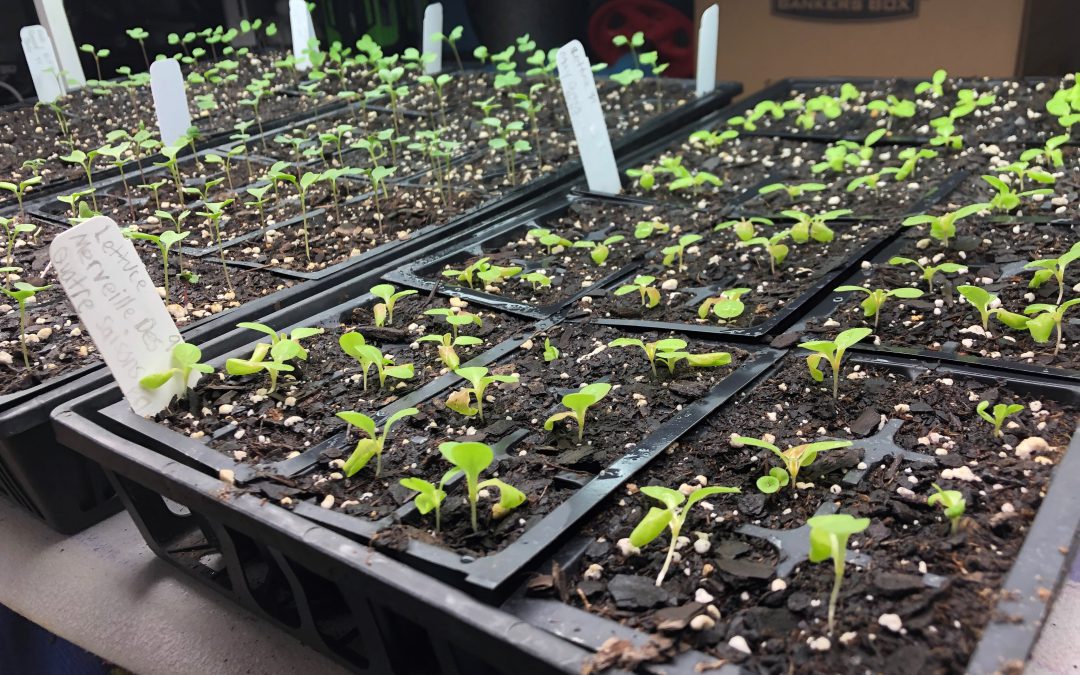
Start your fall garden seeds in containers to give them a healthy head start. Photo by Molly Jameson.Seed veggies into starter cell flats using a fine-textured growing medium designed to support seed germination and early seedling development. Photo by Molly Jameson.
Step-by-Step Instructions: Indirect Seeding Fall Veggies
While summer gardens offer a variety of intriguing fruiting crops, I have a special fondness for gardening during the fall season. This preference stems from the reduced pest pressure, decreased need for watering, fewer weeds, and the more favorable cooler temperatures for completing gardening tasks. Although it generally offers a more straightforward gardening experience, achieving success with your fall garden still hinges on applying the right techniques, with one crucial aspect being the care for seeds and young seedlings.
Indirect seeding allows you to nurture your seedlings before they establish their permanent residence in your garden, ensuring their growth into robust, mature plants. Below, you’ll discover a step-by-step guide to indirect seeding and planting for fall vegetables. By following these instructions, you’ll get a head start in cultivating a thriving fall garden that will delight your taste buds.
Seeding into Starter Cells:
While many crops can be started indirectly in starter cells, it’s important to note that root vegetables (such as beets, carrots, radishes, turnips, etc.), peas, and beans are exceptions due to their delicate root systems, which do not transplant well. These particular crops thrive when directly seeded into the garden. Conversely, fall crops that typically benefit from indoor seeding include Brussels sprouts, broccoli, cabbage, cauliflower, cilantro, kale, lettuce, mustards, parsley, spinach, and Swiss chard. For Florida planting dates, transplant ability, and other detailed planting information, see Table 1 in the UF/IFAS publication Florida Vegetable Gardening Guide.
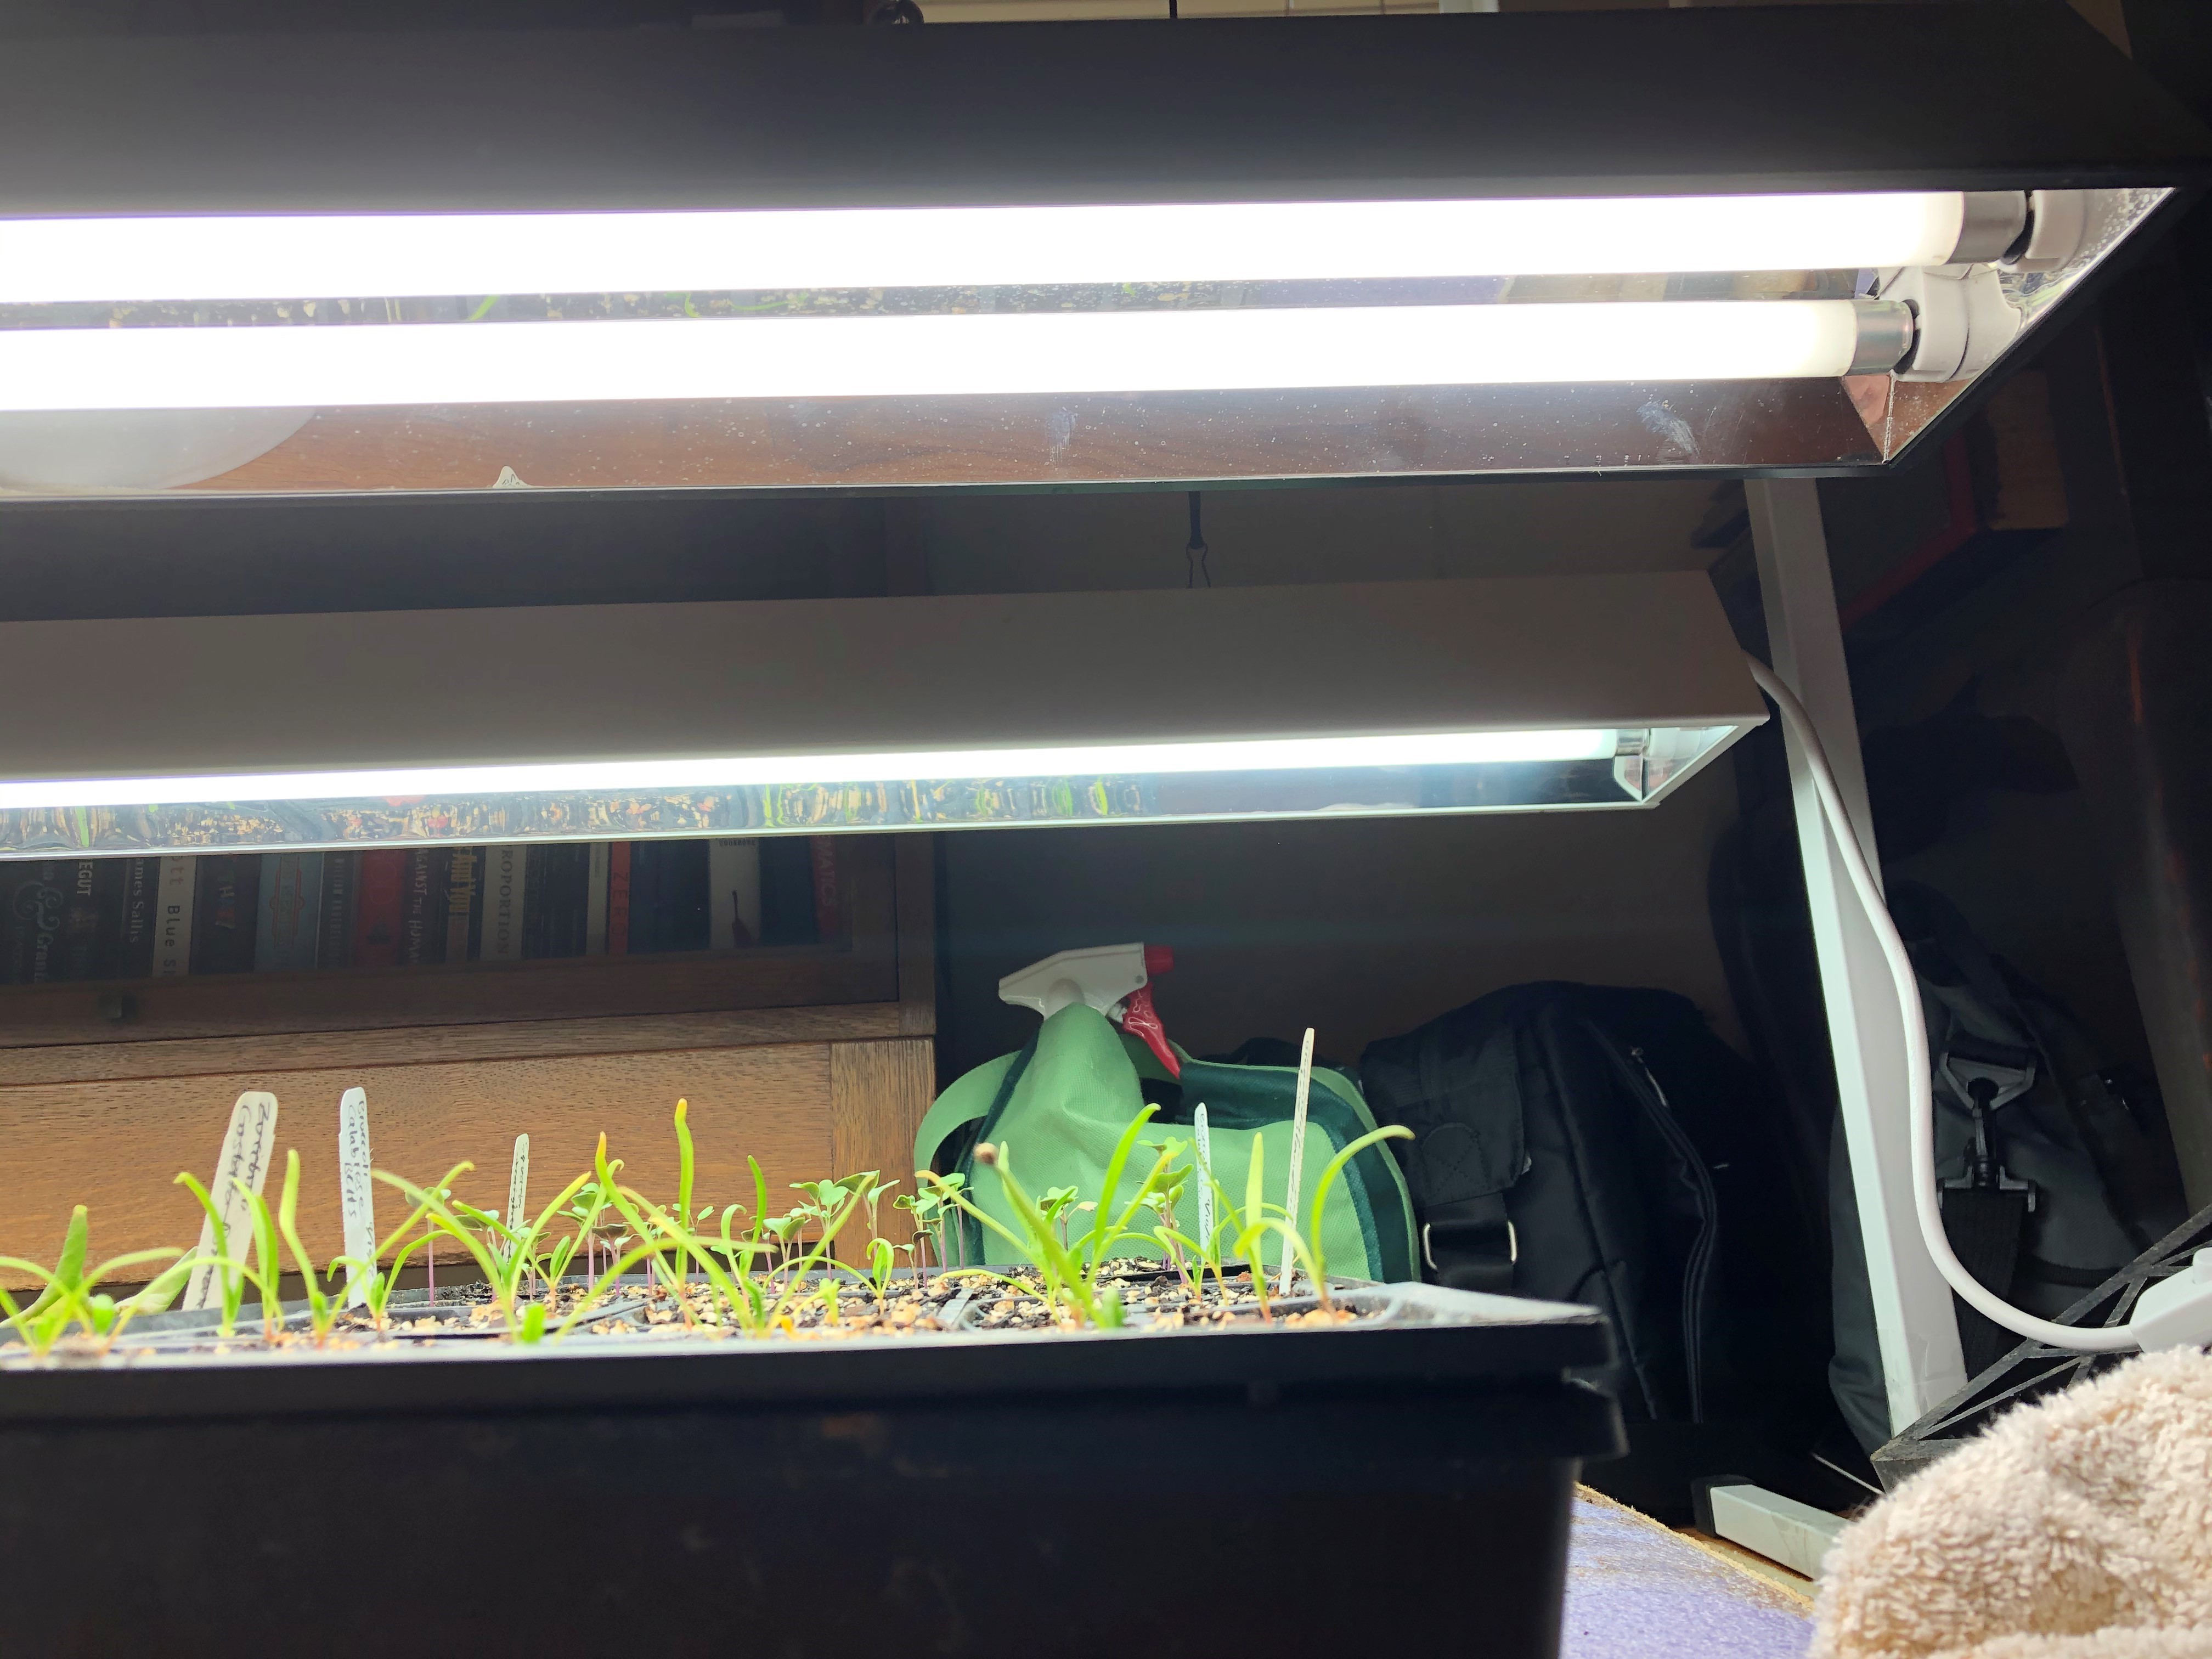
If you use fluorescent grow lights, maintain 2 to 4 inches between the top of the seedlings’ canopy and the fluorescent bulbs. Photo by Molly Jameson.
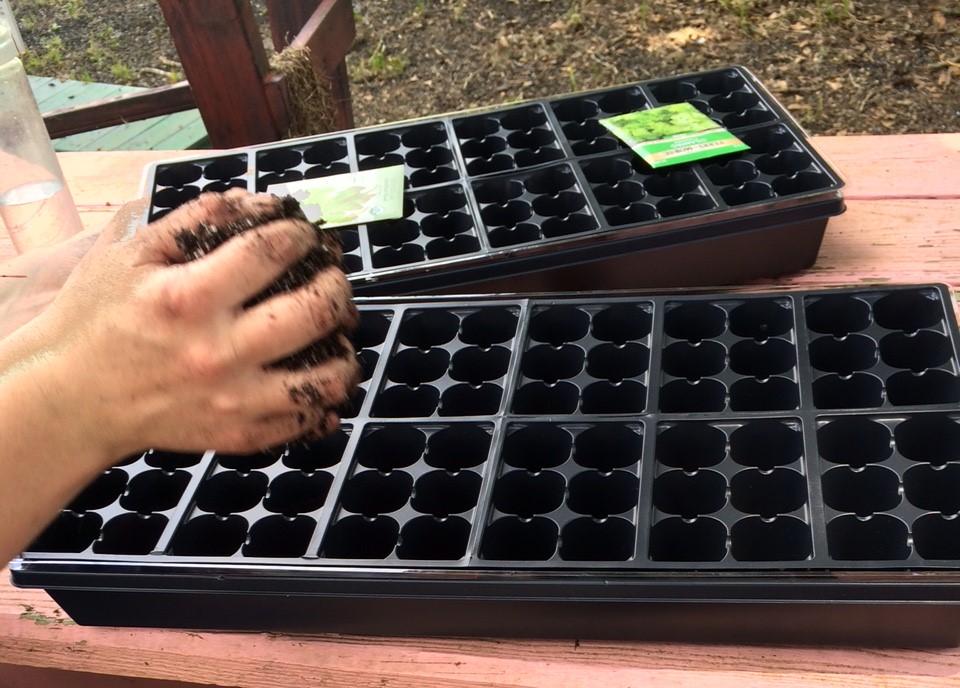
Begin by moistening a starting mix, which is any fine-textured growing medium designed to support seed germination and early seedling development. Fill seed starter cells with this prepared mix, ensuring a level, flat surface.
Create shallow indentations (2-3 times the diameter of the seed) in the starting mix in each starter cell using your finger and place 1-2 seeds in each cell. (Remove all but the strongest seedling if multiple seeds germinate in the same cell.)
To ensure even coverage and prevent clumping, lightly sprinkle dry starting mix over the seeds.
Label with the crop name, variety, and date.
Mist the surface with water from a spray bottle, pump sprayer, or a hose spray nozzle. Maintain moisture levels, avoiding waterlogging.
Before the seeds germinate, keep them in a temperature-controlled room or out of direct sunlight. Germination time varies, but typically takes 5 to 14 days, depending on the crop, environmental conditions, and seed quality. (For fall varieties, germination is best between 50-80°F.)
As soon as seedlings emerge, move them to a sunny location with more than 6 hours of direct sunlight. If temperatures exceed 85°F, provide afternoon shade to protect them from intense heat. If using full spectrum grow lights indoors (such as a T5 fluorescent light fixture), place seed starter cells at a distance of 2 to 4 inches between the top of the seedlings’ canopy and the fluorescent bulbs for 14 to 16 hours a day.
Continue to keep the starting mix moist but not waterlogged.
Up-potting into Larger Pots:
Up-potting refers to transplanting a young plant or seedling from a smaller container or pot into a larger one. While up-potting most seedling crop varieties into larger pots before transplanting into the garden is beneficial, you can skip this step and directly transplant seedlings from the starter cells into the garden if conditions are favorable (maximum air temperature is less than 86°F). However, keep in mind that young seedlings may be more vulnerable to rain, wind, insects, and animal disturbances. Up-potting into larger pots with nutrient-rich potting mix offers better protection and more time for root development.
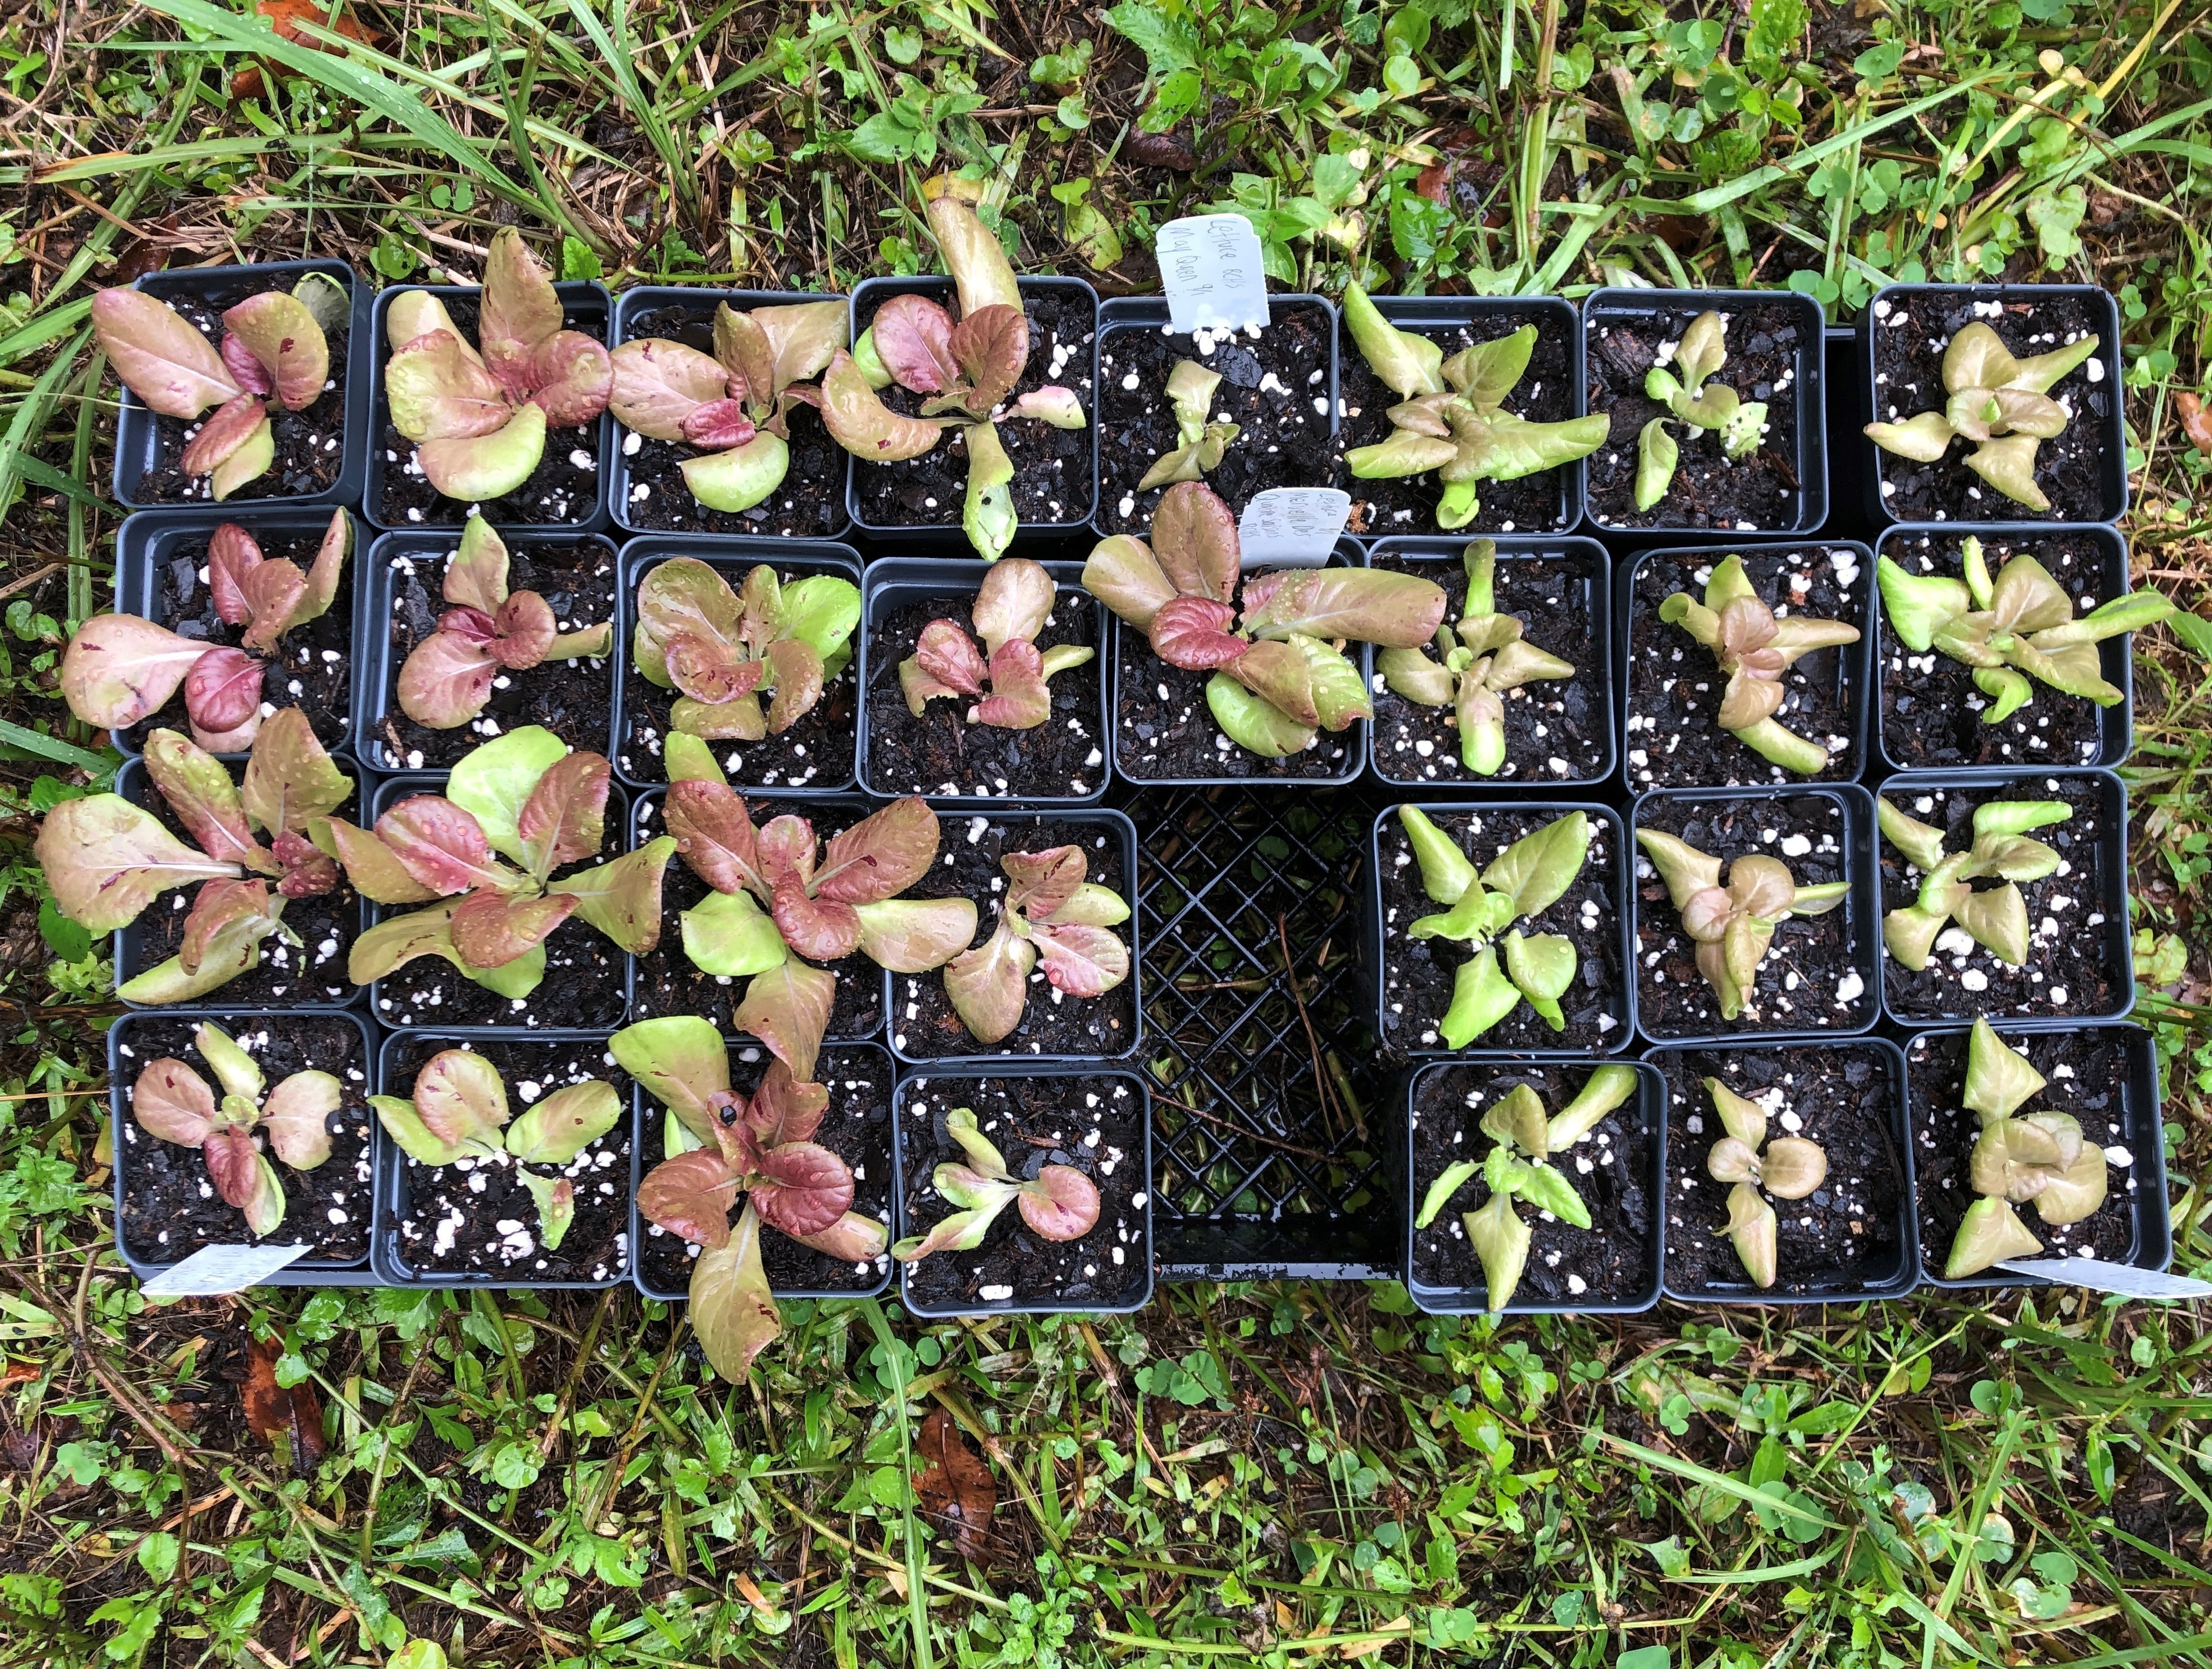
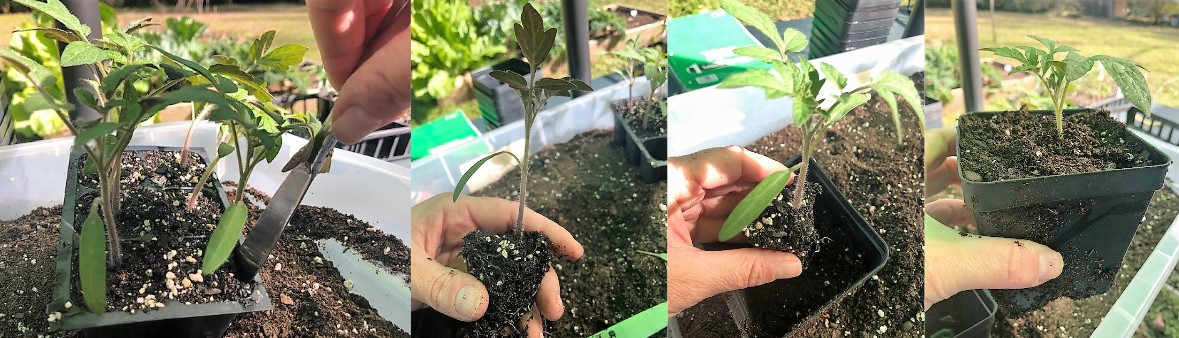
When up-potting, carefully extract each seedling using a butter knife to avoid disturbing the roots. Photos by Molly Jameson.
When seedlings develop “true leaves” (the second set of leaves after the initial seedling leaves), it is time to transfer them into larger pots (2″-4″ wide).
To start, fill the larger pots about halfway with pre-moistened, nutrient-rich potting mix designed for vegetables, ensuring good drainage.
After thoroughly watering the small seedlings, carefully extract each from the starter cells, using a butter knife for gentle and precise removal to avoid disturbing the roots.
Being careful not to disturb the roots, place each seedling gently into their halfway-filled pot and add more potting mix until the seedling is secure, standing upright, with all roots covered. There should only be one seedling per pot.
Keep seedlings in a sunny location with more than 6 hours of direct sunlight. If temperatures exceed 85°F, provide afternoon shade to protect them from intense heat. If using full spectrum grow lights indoors (such as a T5 fluorescent light fixture), place seedlings at a distance of 4 to 6 inches between the top of the seedlings’ canopy and the fluorescent bulbs for 12 to 14 hours a day.
Continue to keep the potting soil moist but not waterlogged.
Transplanting into the Garden:
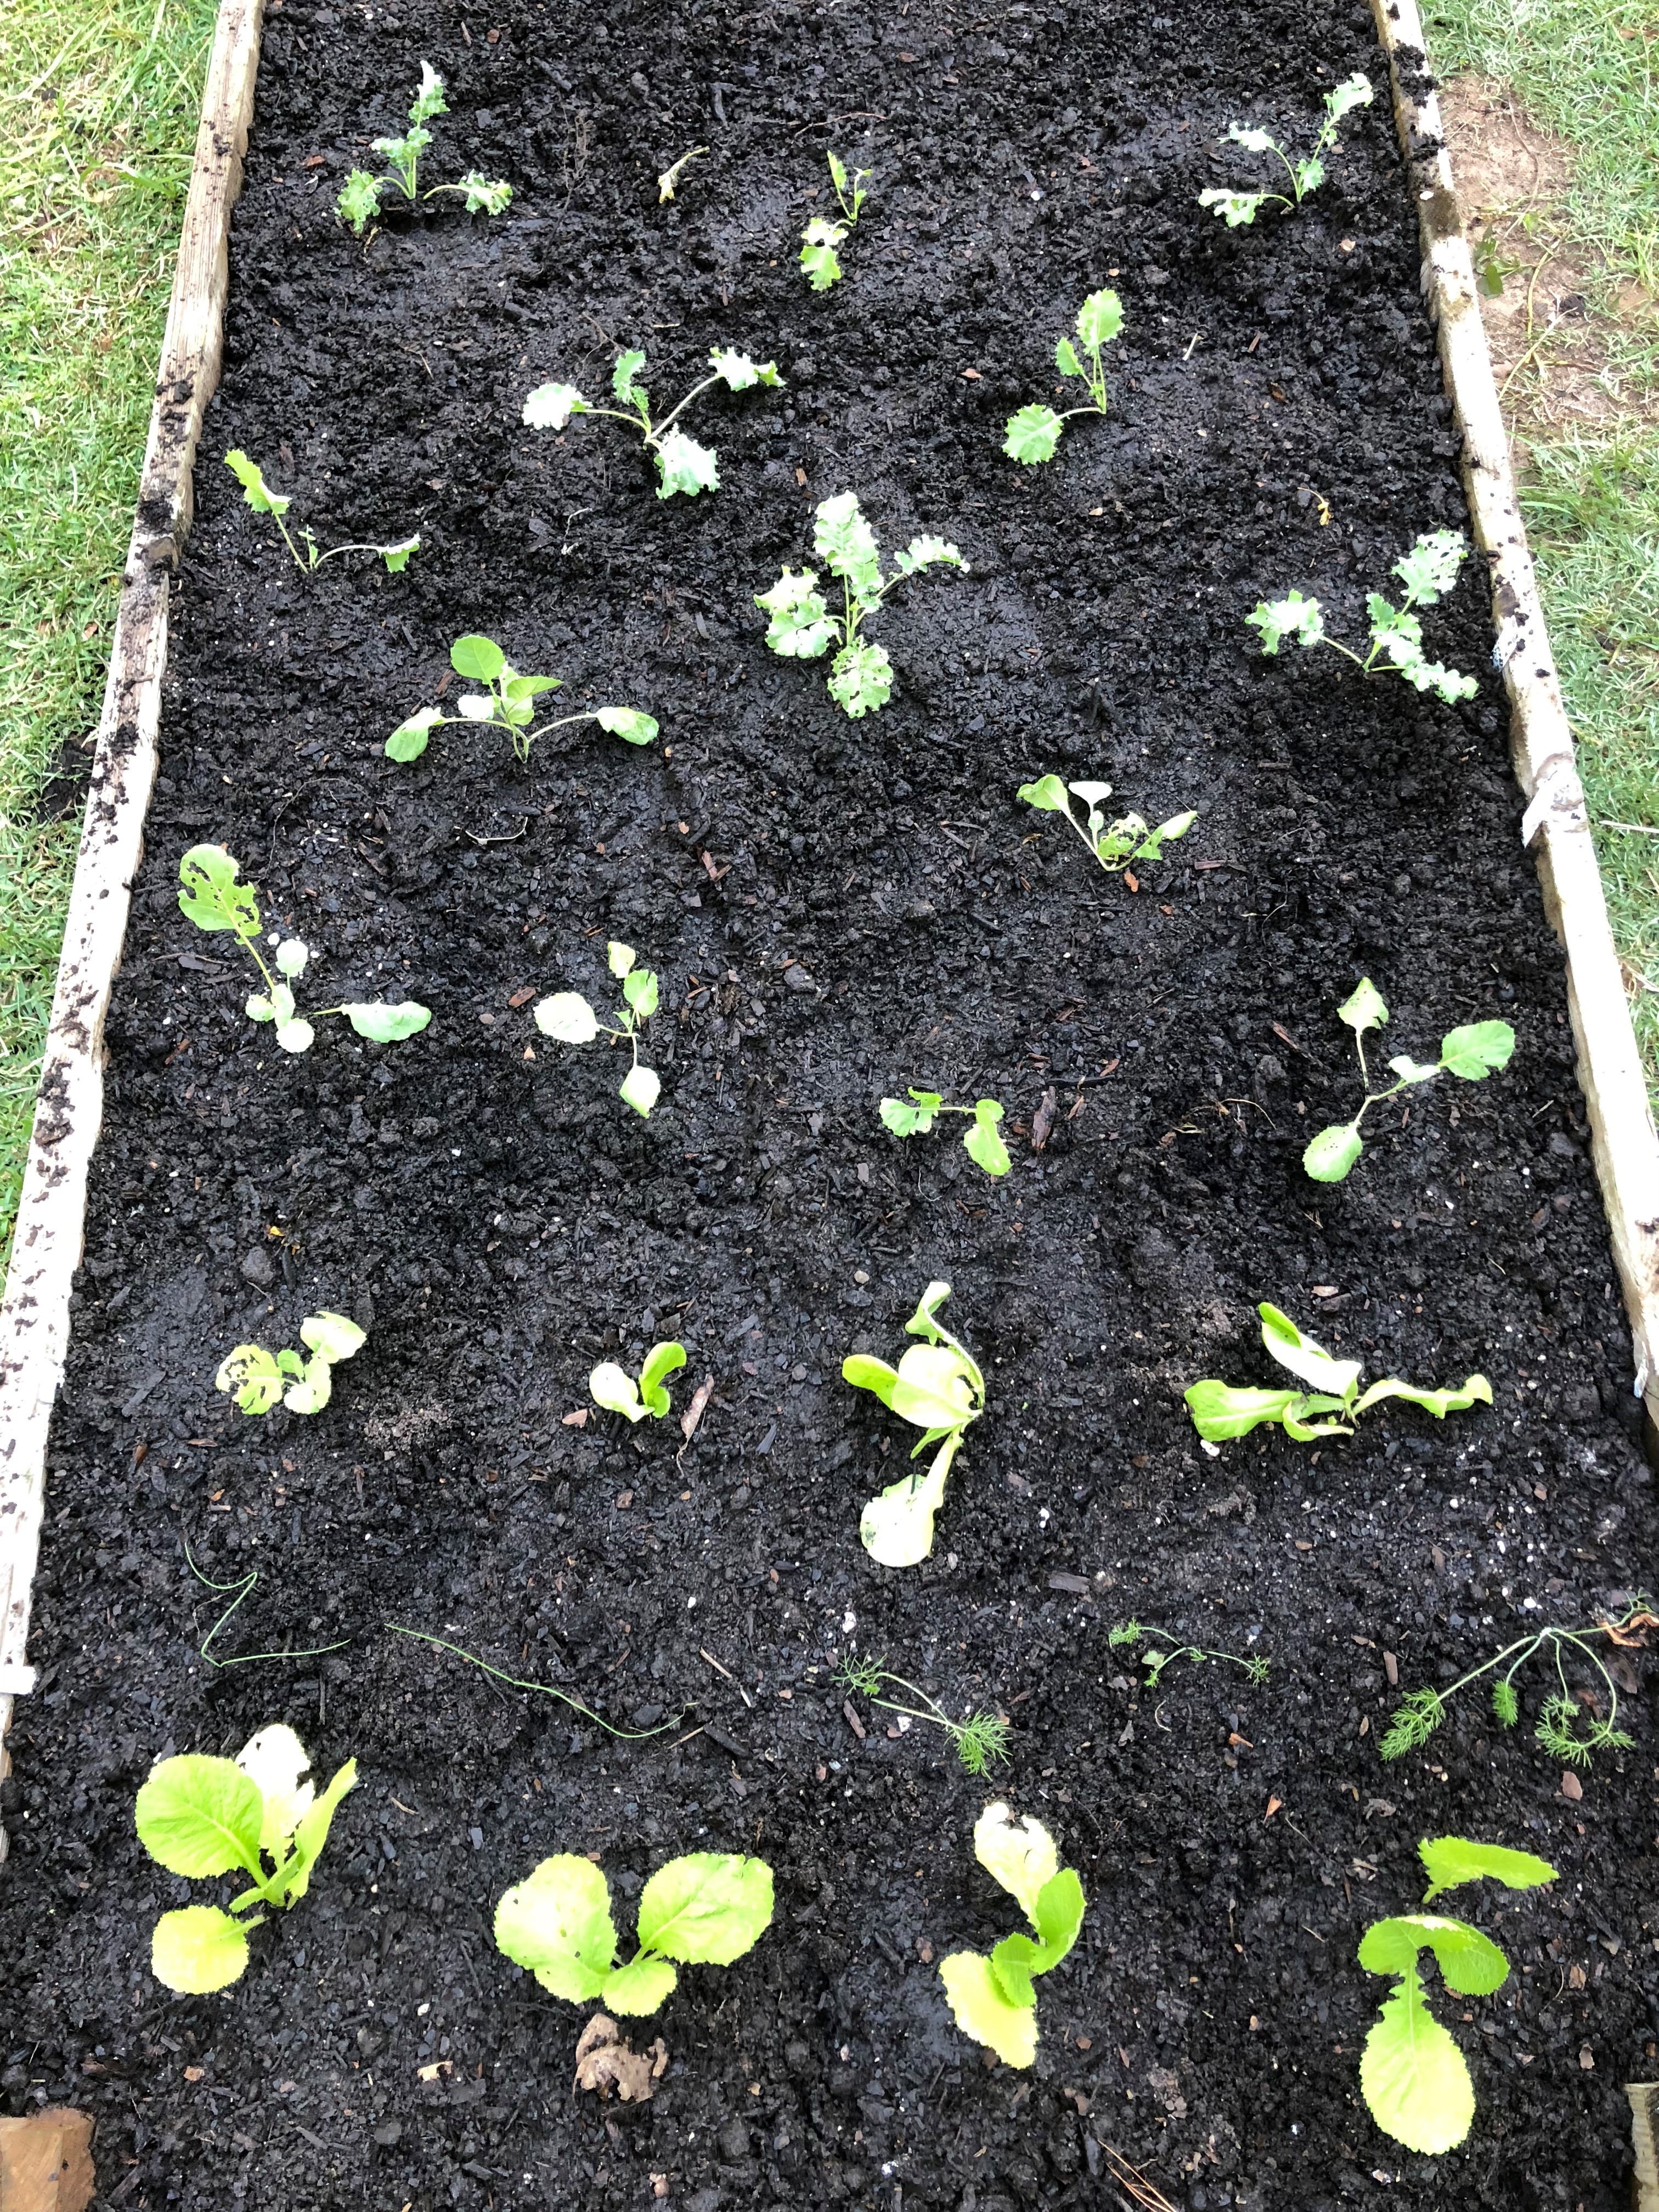
When the time is right, dig a small hole in the garden bed and place the plant, along with the potting mix, in the hole, following the crop-specific spacing requirements. Photo by Molly Jameson.
Once the plants have developed strong roots and reach about the height of their pots, they are ready for transplantation into the garden.
If the plants have been indoors under grow lights, allow them to “harden-off” by gradually exposing them to outdoor conditions for a week. This helps them adjust to wind, direct sunlight, and varying temperatures.
Prepare the garden bed with compost and other soil amendments.
Water the plants thoroughly before carefully removing them from their pots, ensuring minimal disruption to the roots.
For each plant, dig a small hole in the garden bed and place the plant, along with the potting mix, in the hole, following the crop-specific spacing requirements (see Table 1 in the UF/IFAS publication Florida Vegetable Gardening Guide).
Cover the roots and maintain consistent soil moisture, avoiding waterlogging.
In summary, mastering the art of indirect seeding and planting fall vegetables can greatly improve your chance of a successful harvest. From carefully sowing your seeds in starter cells to up-potting and ultimately transplanting into your garden, each step is a vital component of the process. So, roll up your sleeves, get your hands dirty, and witness your fall garden flourish. Happy gardening!
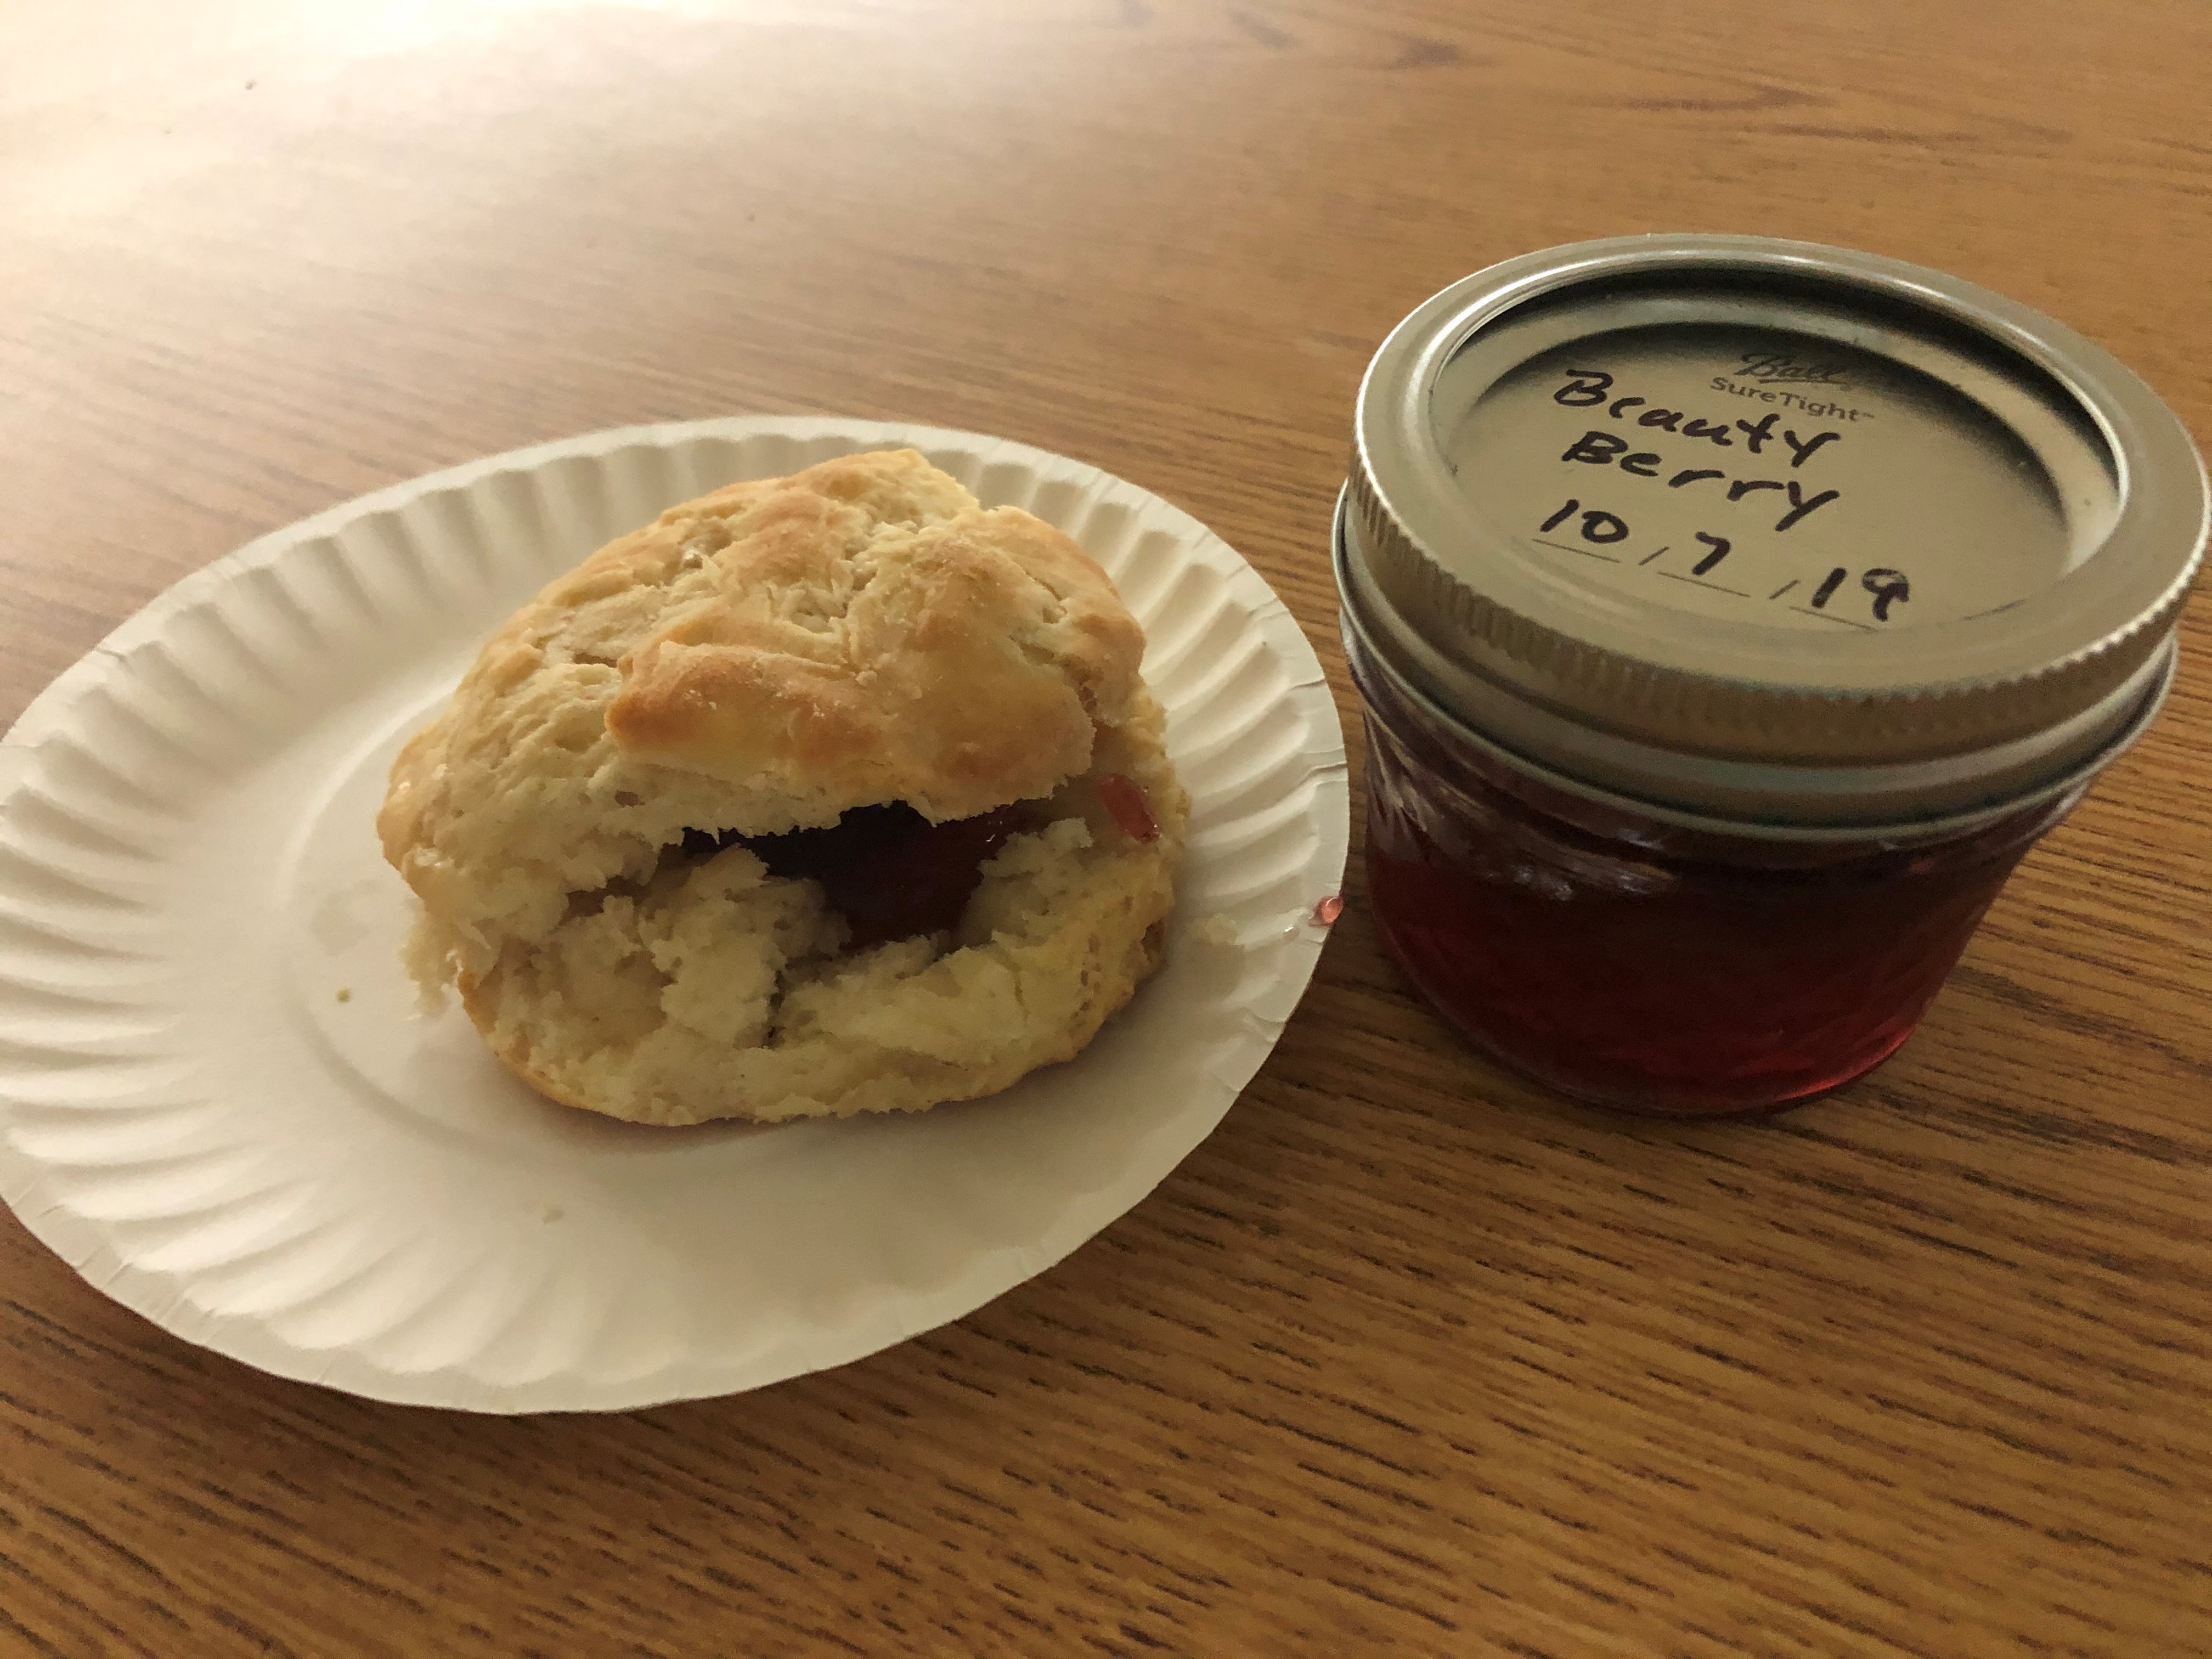
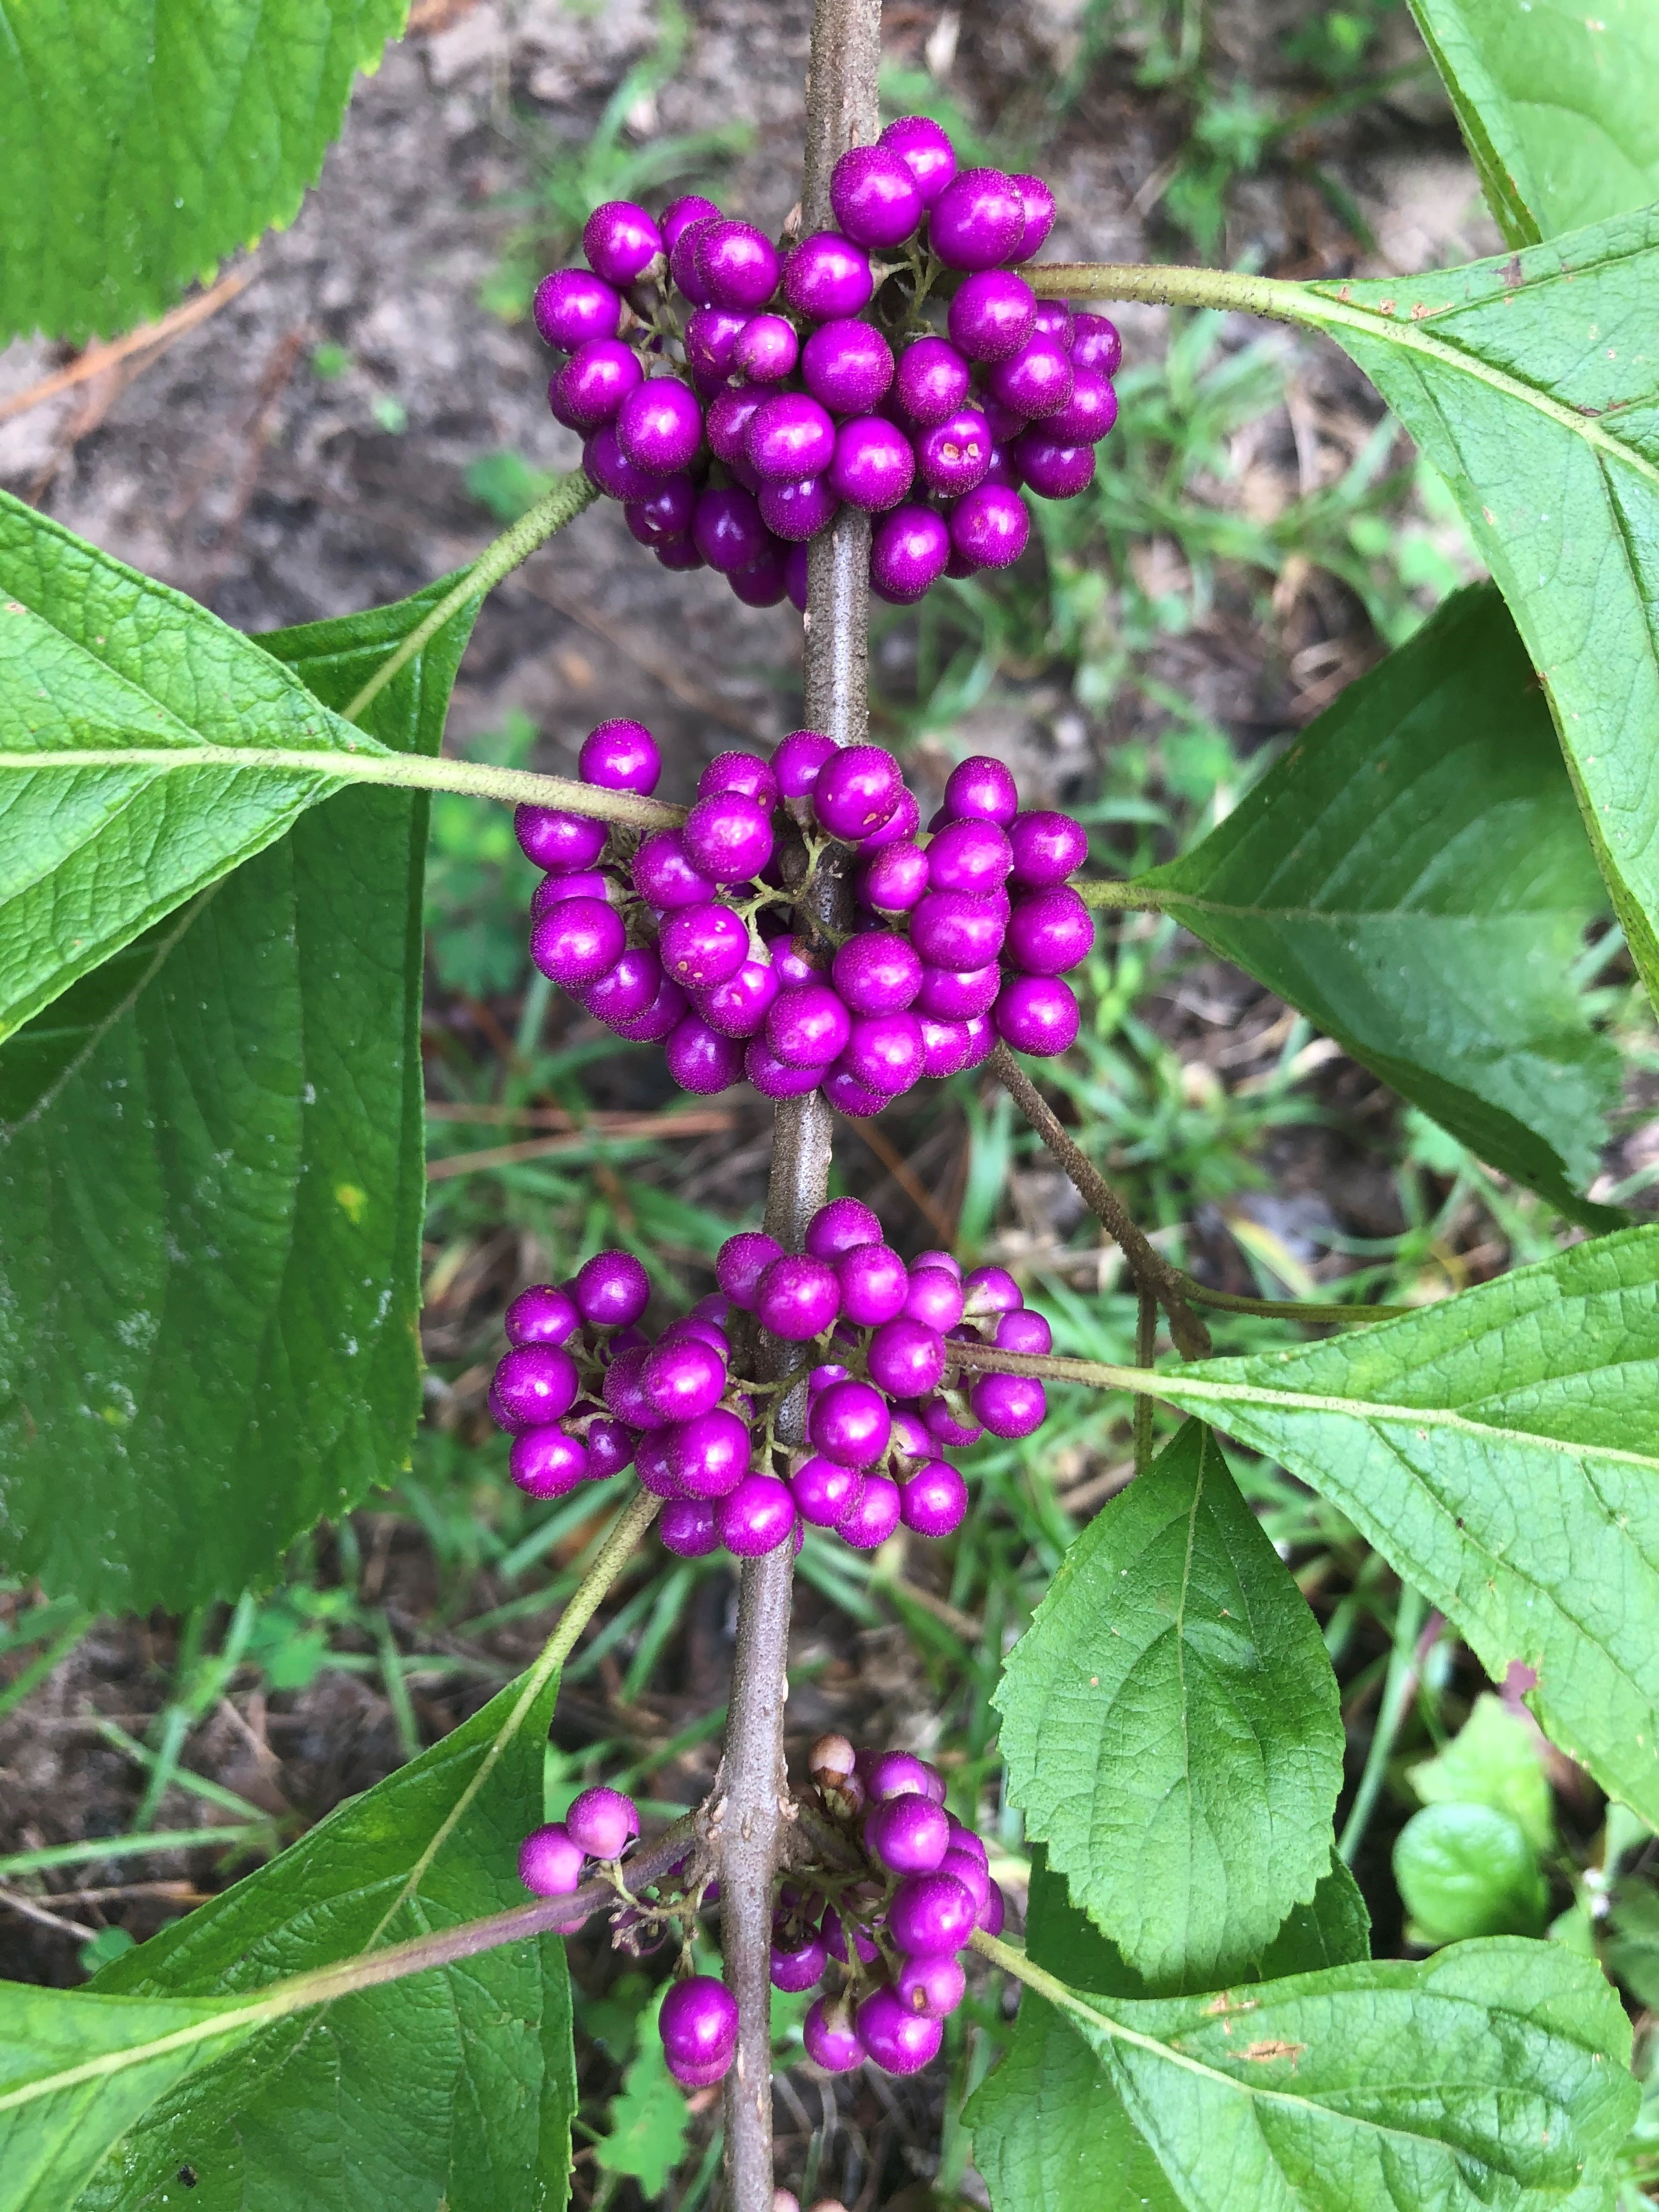
When beautyberries start producing their eye-catching, bright purple fruit in late summer, we start to get lots of questions. People want to know what it is, where can they find it, and can they eat it? While the berries look good enough to eat, it’s best to leave them to the birds and deer. They are not toxic and were used by Native Americans for a root tea to treat fevers, stomach aches, malaria, and more, but the taste has been described as bitter and mealy. Thanks to a generous volunteer, I am lucky enough to have tried beautyberry jelly. A little (or a lot) of sugar can make most anything taste good—and the finished product is a beautiful, translucent shade of fuchsia.
Homemade beautyberry jelly is a real treat for breakfast! Photo credit: Carrie Stevenson, UF IFAS Extension
Even more interesting to me was the revelation that researchers have been able to extract compounds from beautyberry that successfully repel pest insects such as ticks and mosquitoes. The study began about 15 years ago, after a Mississippi botanist with the USDA Agricultural Research Service mentioned to a colleague that his grandfather taught him to rub the crushed leaves of beautyberry on his skin. The technique had been used as a home remedy to prevent mosquito bites for people (and horses) for generations. As a follow up experiment, another group of researchers found these same compounds—callicarpenal and intermedeol—successfully repelled black-legged ticks (which transmit Lyme disease) as effectively as DEET. In the last few years, researchers out of Mississippi have worked towards creating natural insect repellents from the compound that are less harsh on human skin that many commercially available brands.
The striking purple berries of the beautyberry shrub attract the attention of people and wildlife, alike. Photo credit: Carrie Stevenson, UF IFAS Extension
Aside from its many practical uses, Callicarpa americana is a beautiful native shrub. It has wide green leaves and the brilliant purple berries grow in clusters along its stem. They stay on through late fall and winter in some places, making a beautiful contrast to fall foliage. Beautyberry shrubs can be found in a wide variety of habitats, including sandy and wet soils, full sun, and part shade. Their adaptability makes them a great plant for tight conditions like roadsides or yard edges, but also for nearly any home landscape. The plants can grow to a height of 4-8 feet and spread 3-6 feet wide. The long-lasting berries make them a great wildlife food source later in the cool season than many berry-producing species.
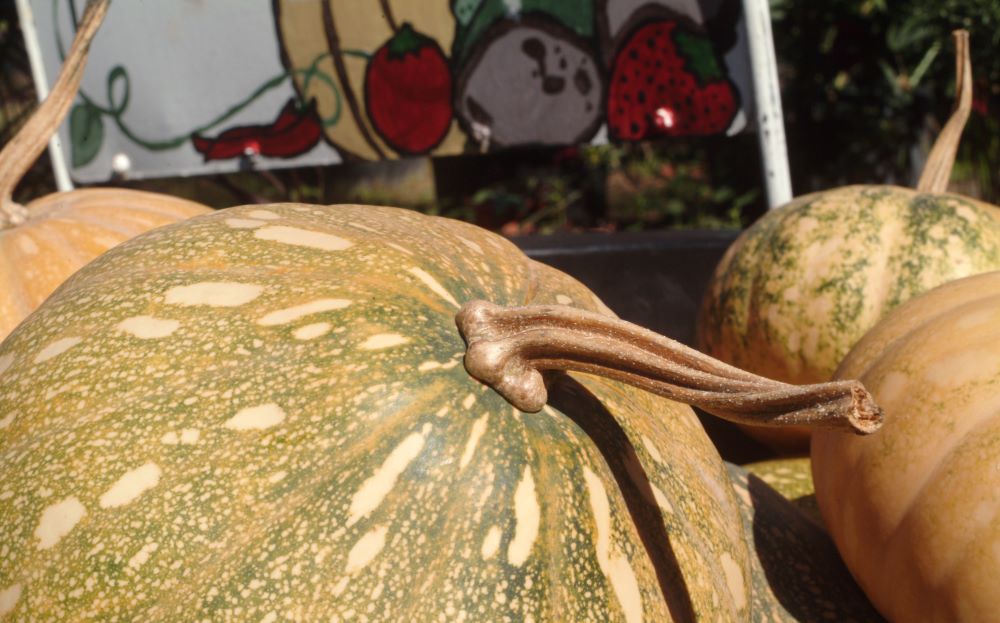
You’re in the right hands if you want to grow pumpkins in Florida. While growing pumpkins can be tricky in Florida’s hot and humid climate, you can successfully grow Sunshine State pumpkins with the proper planning and care. Pumpkin is a popular vegetable in the cucurbit family. It shares this family with members of summer and winter squash. The pumpkin varieties differ from those called squashes by having coarser, more intensely flavored flesh and rinds that are softer at maturity than the winter squashes but harder than the summer squashes. Pumpkins refers to certain varieties of C. pepo L., C. moschata Duch. ex Poir., C. mixta Pang., and C. maxima Duch. Local tradition and common usage may dictate that a particular variety is called a squash in one area of the country and a pumpkin in another.
Pumpkin Varieties Choosing the right pumpkin variety is a major decision when growing pumpkins in Florida. Not all pumpkin varieties are suited to Florida’s warm and humid climate. Seminole Pumpkin is a native pumpkin variety well-suited to the state’s warm and humid environment. Traditionally grown by the Calusa, Creek, and Miccosukee peoples, Seminole pumpkins remain one of the tastiest and most reliable for Florida gardens. Seminole pumpkins are known for their hardiness and resistance to disease and pests. The Big Max variety is known for producing giant pumpkins that can weigh up to 100 pounds or more. Big Max pumpkins do well in Florida’s warm climate but may require extra care to prevent pests and diseases. The Jack-o-Lantern variety is the classic Halloween pumpkin for carving and decorating. Look for types suited to warm climates, such as “Funny Face” and “Big Moon.” The Pie Pumpkin variety is best used for cooking. If you plan to use your pumpkins for cooking, look for pie pumpkin varieties such as “Small Sugar” and “Early July.” These pumpkins are smaller and sweeter than carving pumpkins and are ideal for making pies, bread, and other baked goods.
Planting
Most pumpkin varieties need around four months to reach maturity. Pumpkins should be seeded by early July to be ready for Halloween. Spring pumpkins planted in March or April can be stored for use in October and November (though long storage is difficult in Florida). Early August seeding provides a fall crop for late November. Choose a sunny spot with well-drained soil for your pumpkin patch. Pumpkins can be grown in small gardens or containers if you need more space. Plant your pumpkin seeds about 1 inch deep and should be placed 6 feet in either direction, except for the bush types. Plant 3-4 seeds per hill, then thin when the plants are 2-4 inches tall.
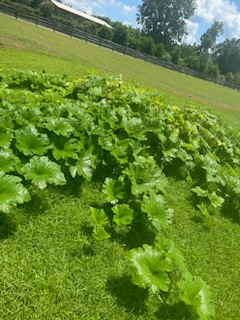
Seminole pumpkins planted in raised beds at UF/IFAS Extension Jefferson County Office
Photo: De’Anthony Price
Maintenance
Once your pumpkin seeds have sprouted, it’s time to start caring for your plants. Pumpkins need consistent moisture to grow, so be sure to water them regularly. Aim to give your plants about 1-2 inches of water per week. Water thoroughly after planting to help the seeds settle in. Climbing varieties like Seminole can be trellised for more space while using slings to support larger fruits. Use a balanced fertilizer to help your pumpkins grow strong and healthy. Apply the fertilizer according to the package instructions. Pumpkins do well with large amounts of compost. Place compost under each hill before seeding. Side dress with a handful every three weeks or as needed. Keep an eye out for pests such as squash bugs and cucumber beetles, which can damage your plants. If you notice any signs of pests or disease, treat your plants with a pesticide or fungicide as needed.
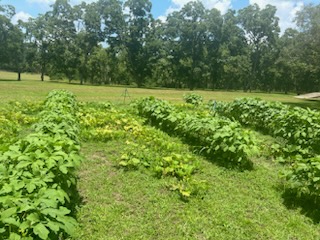
Intercropping of okra and pumpkin (Jack-o-Lantern) planted at UF/IFAS Extension Jefferson County Office
Photo: De’Anthony Price
Fruiting
Like other cucurbits, pumpkins need bees for pollination to produce fruit. Bees are the primary pollinators for pumpkins, so make sure to plant flowers and other plants that attract bees to your garden. Each plant holds male and female flowers, and knowing the difference between them is essential. Male flowers have a long, thin stem and no fruit behind the flower. Female flowers have a swollen, bulbous base that will eventually become pumpkins. It’s essential to have a good balance of male and female flowers to ensure a proper fruit set. If large-size fruits are desired, keep only two fruits on the vine. Once two fruits are the size of baseballs, remove all others as they form.
Harvest and Storage
Pumpkins are ready to harvest when the skin is hard, and the stem is dry and brown. Cut the stem about 2 inches above the pumpkin. After harvesting, allow your pumpkins to cure in a cool, dry place for 10-14 days. Curing helps the skin to harden and protect the pumpkin from pests and diseases. Once your pumpkins are cured, store them in a cool, dry place with good air circulation. Avoid storing them on concrete or damp surfaces, which can cause them to rot. Pumpkins keep for a few weeks, but long-term storage of 1–4 months is challenging in Florida. Store them in a dry (70% RH) and cool (50–60°F) place where possible.
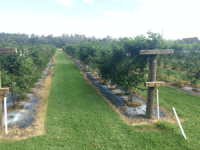
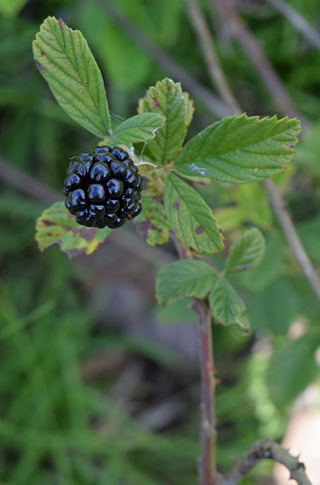
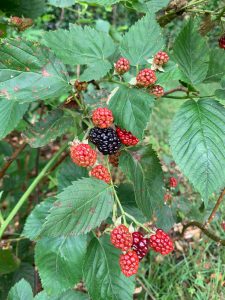
When you think of fruit production in Florida, blackberries (Rubus spp.) will not quickly jump to mind. Many people envision viny plants infiltrating your gardens and attacking you with their tiny spines. These are dewberries and are not known for large or consistent fruit. Though scientifically of the same name, bush varietals are a world apart. Bush blackberries fall into the rosaceae or rose family. They are deciduous fruiting shrubs, generally acclimatized to temperate environments. Luckily for us, they grow in the Panhandle. They’ve not taken off as an agronomic crop large scale due to the brittle nature of their fruit. However, with estimated production rates of 6000lb per acre many parts of the country, their value in home food production is undeniable.
UF/IFAS photo: Brent Sellers
Which to Pick
The University of Florida has been heavily breeding blackberries, but as with all gardens, plant selection is vital. The most critical factor in selecting blackberries is the chill hour requirement. You may recall that chill hours are the total time below 45 degrees a plant needs to set fruit the following spring. The vast majority of our area gets 660-700 chill hours per year on average, with the extreme north end getting upwards of 800 hours yearly. Once this is determined, the focus shifts to growth habit. Many grow erect and will not need trellising, but there are cultivars that vine and will need support. A final consideration for cultivar selection is whether or not they will need pollinator plants as an accompaniment. If the berries you want have this need, pick a compatible cultivar with a similar bloom time. Some cultivars that will do well in north Florida include ‘Arapaho,’ ‘Chickasaw,’ and ‘Choctaw.’
UF/IFAS photo: Mary Salinas
Planting and Care
Plant blackberries over the winter months much as you would any deciduous fruits. If you must store the plant before planting, keep the roots moist if you will be holding the plant for any amount of time. Ensure the first main root is just above the soil line, and remove any air pockets as you backfill the planting hole. Keep the soil moist but not overly wet, and avoid overhead watering. Space the plants according to their full size, which varies based on cultivar. These have shallow root systems and are therefore not heavy feeders. As a result, apply nutrients in the spring of the year they’re planted at ¼ pound per plant. In subsequent years apply ¼ to ½ a pound per plant twice a year. Irrigation and weed control will also be critical in their first year. Irrigation will become less important once the shrubs establish in their location.
Growing food in your home landscape is a great way to reconnect with your property and bring your food system as local as possible. Blackberries are low-maintenance fruit that, once established will provide years of production with minimal effort. For more information, see this Ask IFAS document. Contact your local extension agent for additional information on this and any other topic regarding your gardens.
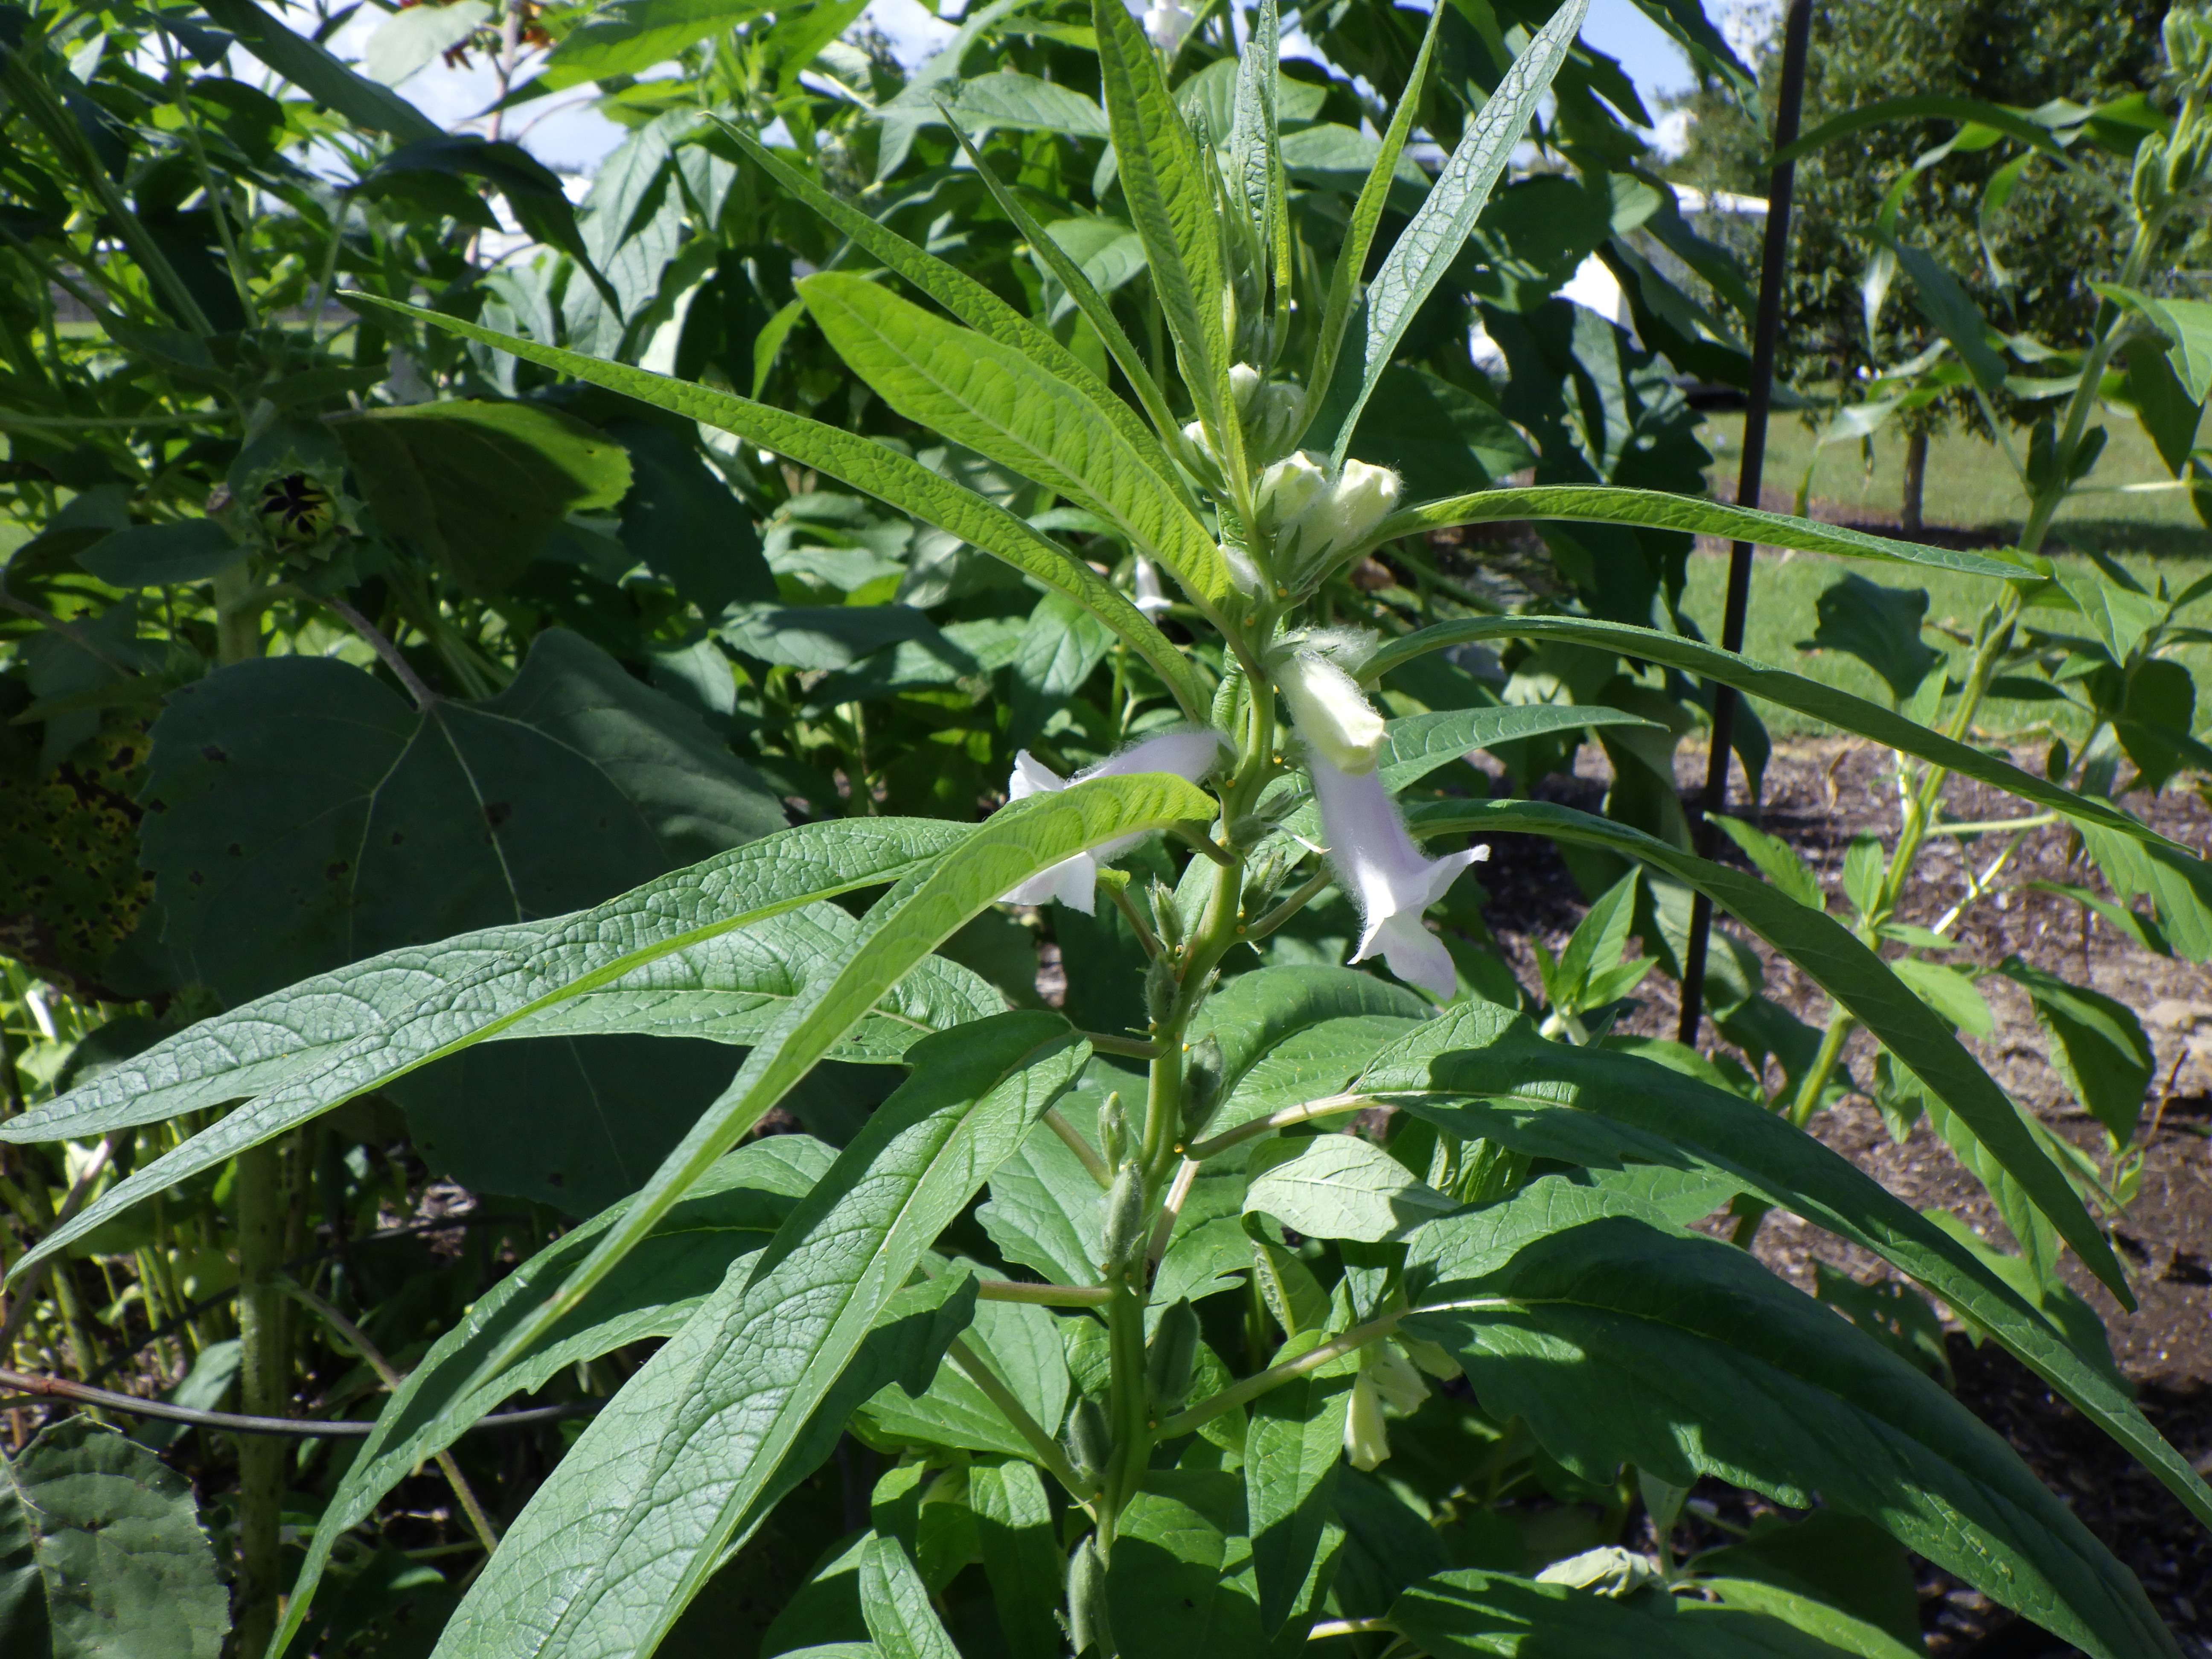
Last spring, I attended a seminar at the UF/IFAS North Florida Research and Education Center in Quincy hosted by the Gardening Friends of the Big Bend (GFBB). Brie Arthur was the guest speaker and taught us about foodscaping, gardening with grains, and other traditionally agronomic crops that I had not considered for my landscape. Excited by her presentation I made some purchases at the GFBB plant sale including a small sandwich bag filled with sesame seed. Little did I know this would turn out to be one of my favorite plants last summer!
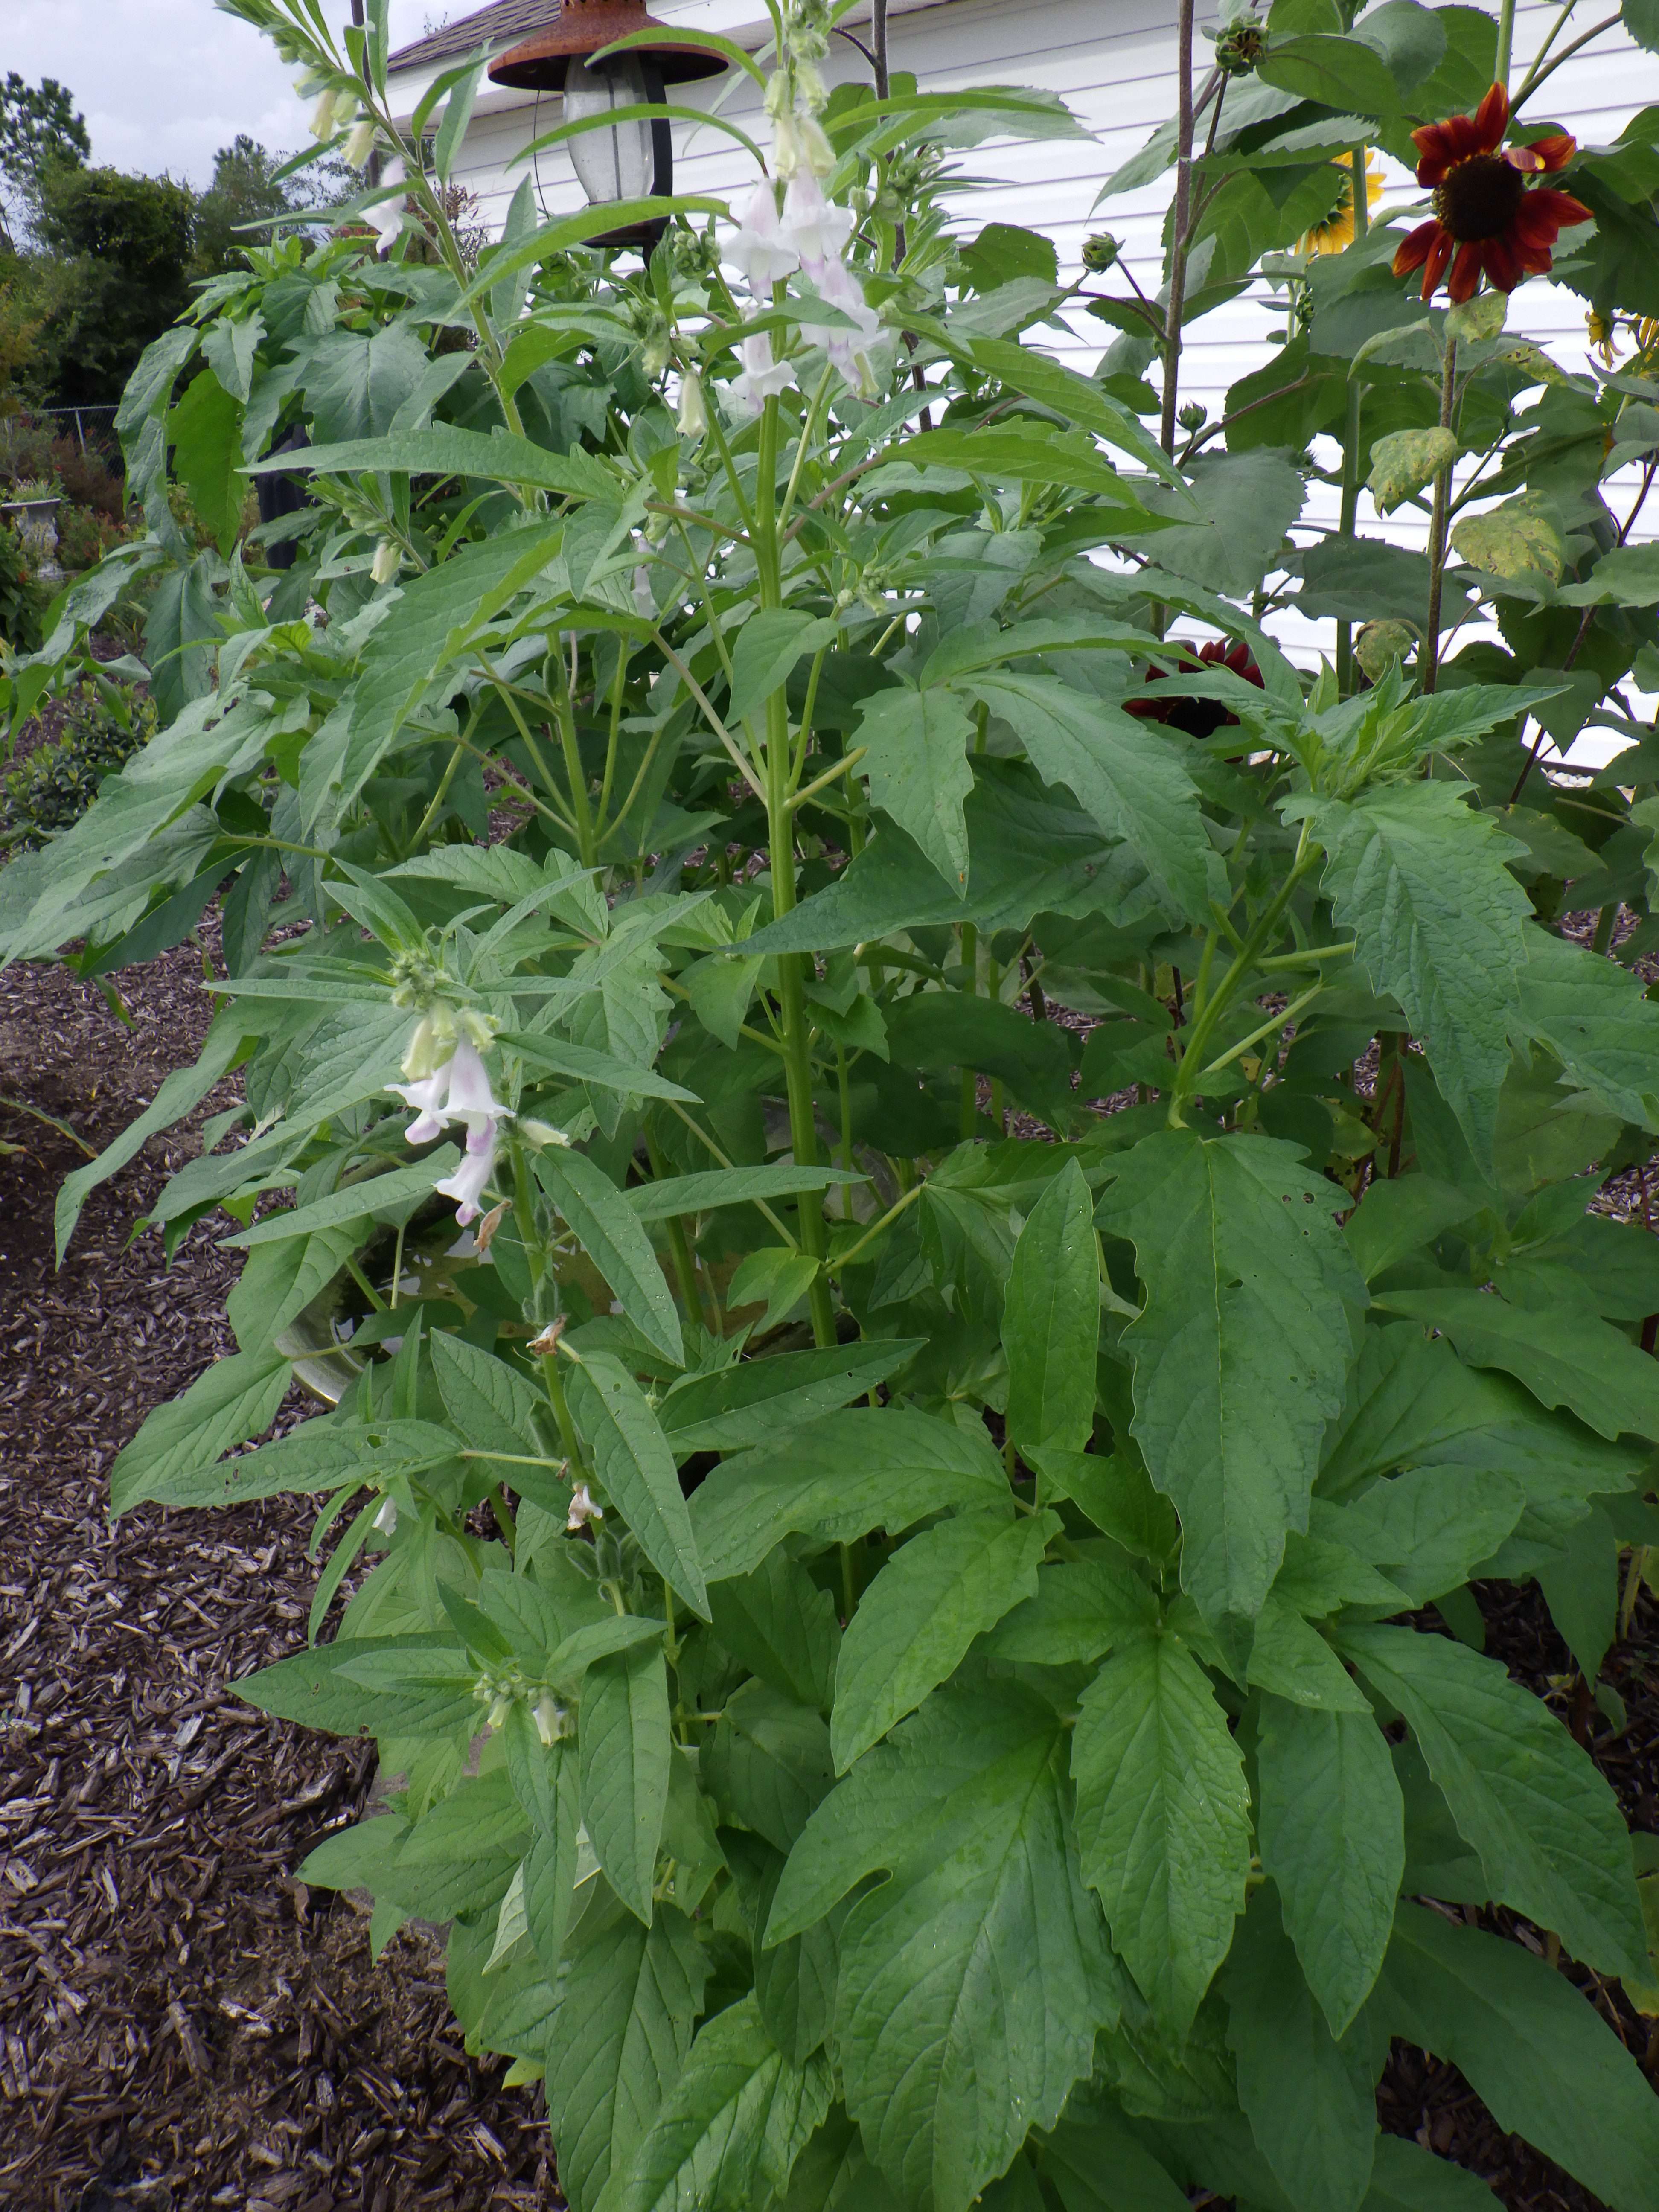
My first attempt at growing sesame was in a flower bed that received overspray from turf irrigation and about 6 hours of direct sunlight. The plants were small and although they flowered, were nothing to get excited about. Despite this lackluster first attempt, a few weeks later I threw some seed out alongside sunflower seeds in a different bed that receives full sun, no irrigation, and has sandy soil. I watered by hand for about two weeks, if we received no rain, to get the seeds to germinate and seedlings off to a decent start. The foliage that emerged in this bed looked so different from the first batch of sesame that I thought that I had mixed up my seeds. The foliage was wider and the plant was denser compared to my first attempt. I was completely stumped on what I was growing and started sending pictures to colleagues. Nobody knew what I was growing and apps just confused the issue further. Once it bloomed it resembled sesame, but I was still puzzled, so I took lots of photos and sent them to UF Extension Botanist Marc Frank. He confirmed that all these vastly different looking plants were indeed sesame! He advised that the long history of cultivation has led to extreme variability in the species which was certainly on display in my garden. This was a good reminder that the best way to identify plants is with their flowers.
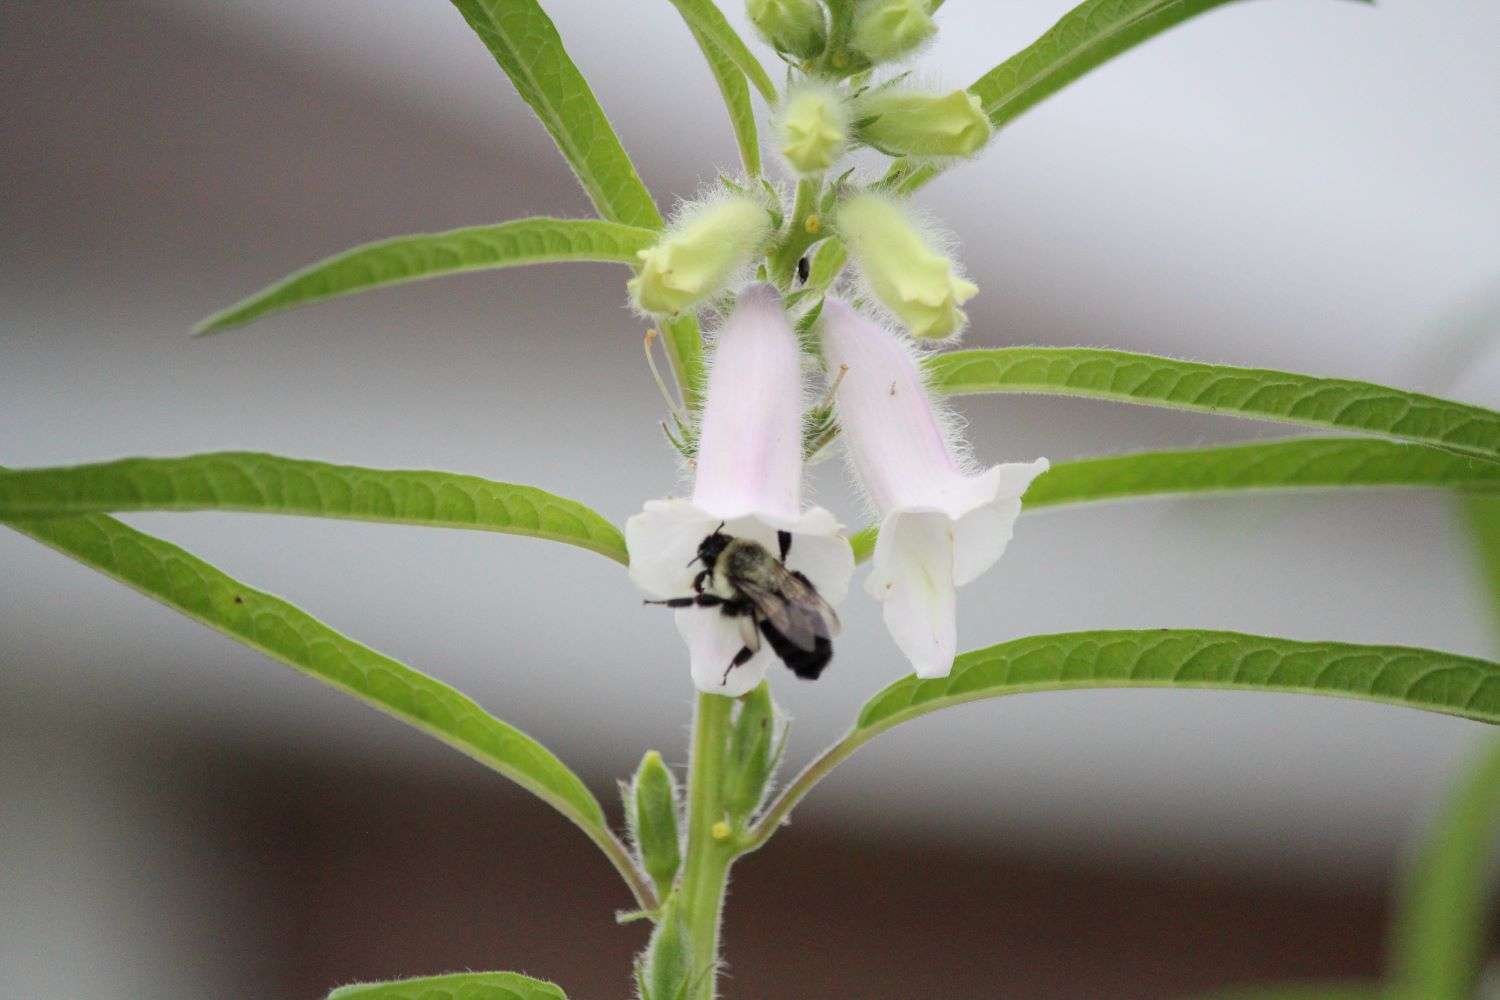
For weeks, the sesame bloomed and was bombarded by bumble bees and other pollinators. To encourage more flowering, I continued to deadhead instead of letting it go to seed. We had summer thunderstorms that knocked it over and it just sent new stems skyward and kept on blooming. The sesame thrived in the harshest part of my garden until winter set in. Since I was growing it for pollinators I kept deadheading and never attempted to harvest seed.
Sesame is very drought tolerant and is sensitive to too much water or humidity, so plant it in a spot with well-drained soil, good air flow, and away from irrigation overspray for best results.
Narrow green leaf variation of sesame plant with white-lavender bell shaped flowers. JMcConnell, UF/IFASBroad leaf variation of sesame. JMcConnell, UF/IFASSesame with broad leaves looked very different than narrow leaf variation. JMcConnell, UF/IFASBumble bees were frequent visitors to sesame flowers throughout the summer. JMcConnell, UF/IFAS