by Molly Jameson | Nov 6, 2024
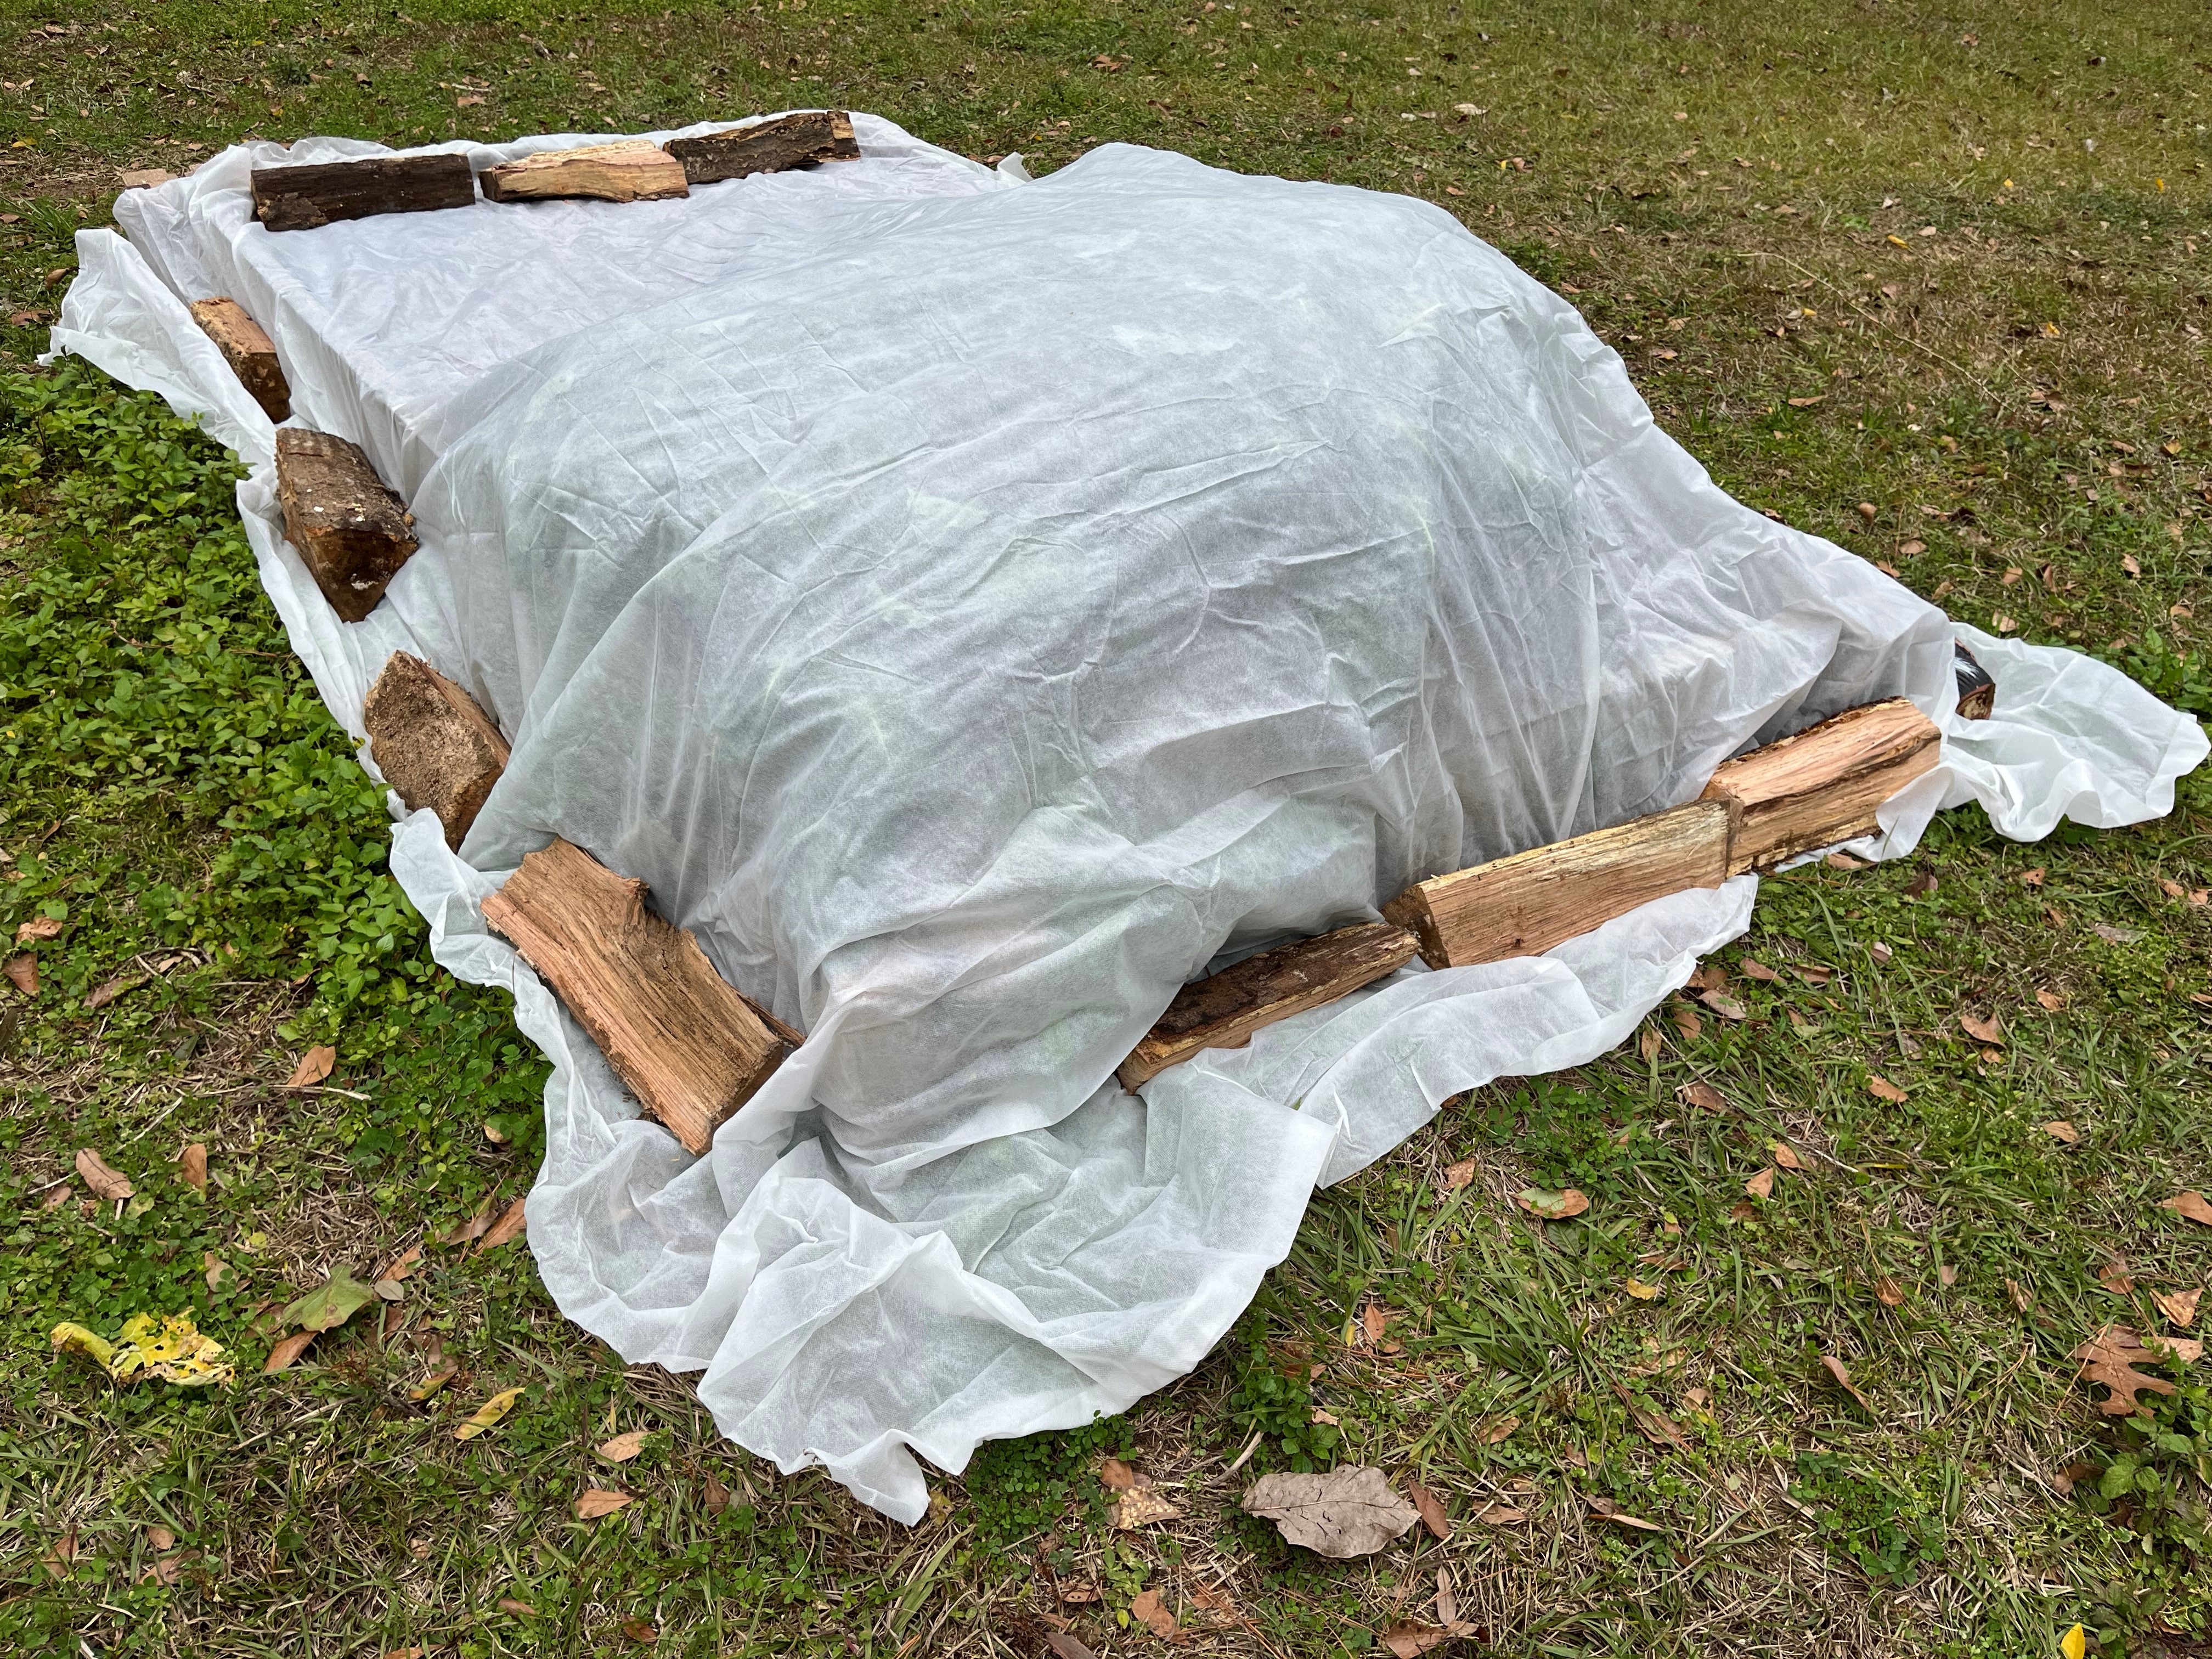
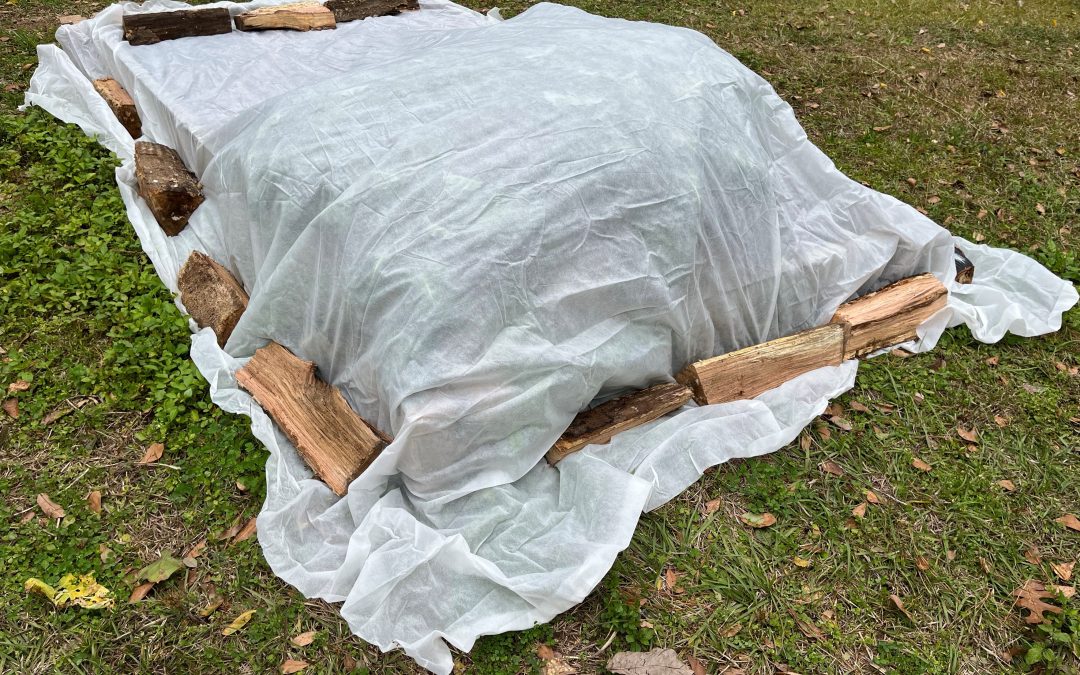
Anchor frost cloth securely to keep it tightly in place, as removing air gaps helps trap ground heat and shield plants from cold air. Photo by Molly Jameson.
Here in North Florida, mild winters are the norm, but our occasional cold snaps can be enough to wreak havoc on our gardens. As you might remember, in December of 2022 the entire Panhandle experienced temperatures dipping into the teens and low 20s for several nights in a row, with some areas reaching as low as 18°F. This kind of unexpected freeze can catch even the most experienced gardeners off guard.
While plant covers are the go-to solution for many of us, pairing them with additional techniques can offer even better protection when temperatures dip. From common cold weather protection myths to practical DIY tips that enhance your plant cover’s effectiveness, knowing your options can make all the difference during an impending cold snap.
Cold Protection Myths and Misconceptions
When a frost or freeze warning hits, there’s plenty of advice flying around. Some of it’s helpful, and some, not so much. Here are a few misconceptions to clear up:
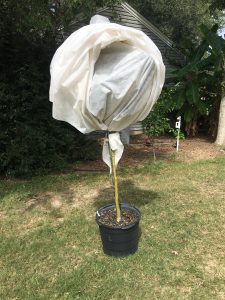
“Lollipop” trees will allow the heat from the ground to escape, giving the tree no cold protection. Photo by Jonathan Burns.
- “It’s All About Covering the Leaves”
Many gardeners believe that simply covering the leaves of their plants will provide adequate protection. However, this can lead to what’s commonly referred to as “lollipop” trees, where only the foliage is covered, leaving the trunk exposed. This is problematic because cold air can still penetrate, and the heat rising from the ground isn’t captured effectively. To ensure proper protection, the plant cover should touch the ground all around the plant to trap heat radiating from the soil, providing insulation from below. For best results, choose a medium-weight frost cloth (about 1 to 1.5 oz/yd²) made from breathable polypropylene or polyester fabric. These materials offer excellent insulation, providing about 4 to 8 degrees of temperature protection, depending on factors like cloth weight, ground heat trapped, and wind conditions. Frost cloth also allows moisture and air exchange, which helps prevent overheating on sunny days.
- “A Plastic Sheet Works Just as Well as Frost Cloth”
Throwing a plastic sheet over your plants might seem like an easy fix, but it often leads to more harm than good. Plastic is non-breathable, which can trap condensation and freeze on the plant’s surface. It also doesn’t insulate well, transferring cold temperatures directly to the leaves and stems. If you must use plastic in a pinch, make sure it doesn’t touch the plants directly and that it’s securely anchored to the ground to effectively trap warmth. Be sure to remove it in the morning once temperatures start to rise to avoid overheating.
- “Covering Your Plants Alone is Enough”
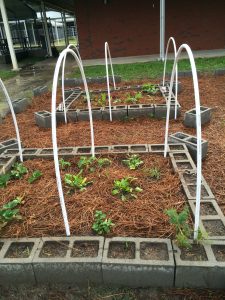
With PVC hoops ready to hold frost cloth and a thick layer of pine straw mulch, these raised beds are prepped for whatever winter throws their way. Photo by Molly Jameson.
While covering plants is crucial, sometimes additional steps can make a big difference. Mulching around the base of plants with a thick layer of pine straw or leaves helps insulate the soil and trap ground heat. It’s a small step that offers big protection to the roots and lower stems.
- “Watering Plants Before a Freeze Doesn’t Help”
Watering the soil around your plants before a freeze is a good practice because moist soil retains heat better than dry soil. This can help keep the root zone warmer overnight. However, it’s important to focus on watering the soil rather than the leaves. Water on foliage can freeze and cause damage, so it’s best to keep leaves dry as the temperatures drop. A deep watering a day or two before the cold hits is ideal for giving your plants a fighting chance.
DIY Cold Protection Solutions
If expensive greenhouses and plant covers are out of your budget or you want to get creative, there are plenty of do-it-yourself solutions for protecting your plants:
- Recycled Materials as Frost Protection
Old bedsheets, towels, or even buckets and cardboard boxes can be used in a pinch to cover smaller plants. Just be sure to anchor them down well, so they don’t blow away.
- DIY Hoop Houses
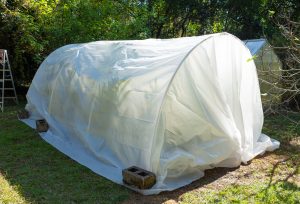
A temporary hoop house can be constructed using PVC pipes as the frame and polyethylene film as the covering to protect cold-sensitive plants during freezes. Photo by David W. Marshall.
For taller or sprawling plants, construct simple hoop houses using PVC piping with breathable frost cloth or lightweight plastic sheeting. Unlike placing plastic directly on plants, hoop houses create an air gap between the plastic and the plants, which helps trap heat from the soil while preventing direct contact damage. If using plastic, seal it tightly at night to trap warmth, and open it partially during the day to prevent overheating or excessive moisture buildup as temperatures rise. These low tunnels are perfect for garden beds or fruiting plants that need a little more room under cover.
- String Lights for Added Warmth
For extra protection, consider using outdoor-rated incandescent string lights (not LEDs, which don’t produce heat). Drape the lights around or near the plant under the covering to create a gentle source of warmth, which can raise temperatures by a few degrees on especially cold nights. For fire safety, keep lights from direct contact with dry materials and use only moisture-safe, outdoor lights.
- Windbreaks to Stop the Chill
In areas with open landscapes, cold winds can make frost damage even worse. Planting a hedge or using temporary barriers like hay bales or pallets can shield your garden from icy gusts and protect your more delicate plants.
Long-term Planning: Choose Cold-Tolerant Varieties
One of the best ways to prepare for cold snaps is to plant cold-tolerant varieties suited to North Florida’s climate. Vegetables like collards, kale, and carrots, or perennials like rosemary and garlic chives, can withstand mild freezes with little effort. If you’re growing fruit trees, look for varieties with proven cold tolerance or dwarf varieties that are easier to cover.
With a little planning and a few simple techniques, you can protect your garden from unexpected cold spells and keep it thriving through our chilliest nights.
by Sheila Dunning | Nov 6, 2024
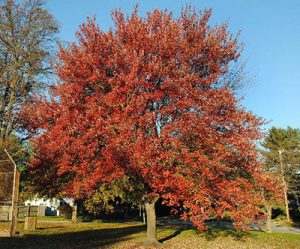
Red Maple structure IFAS Photo: Hassing, G.
Though the calendar says November, the weather in Northwest Florida is still producing summer or at least spring-like temperatures. The nice days are wonderful opportunities to accomplish many of those outside landscape chores. But, it is also a good time to start planning for next month’s colder temperatures. Since we don’t experience frozen soil, winter is the best time to transplant hardy trees and shrubs. Deciduous trees establish root systems more quickly while dormant; versus installing them in the spring with all their tender new leaves.

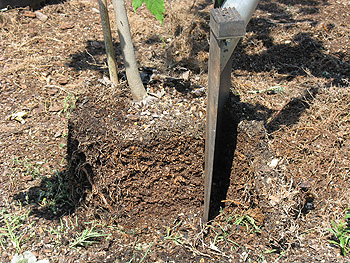
Remove an inch or more for extremely rootbound trees.
Here are a few suggestions for tasks that can be performed this month:
- Plant shade trees, fruit trees, and evergreen shrubs.
- Do major re-shaping of shade trees, if needed, during the winter dormancy.
- Check houseplants for insect pests such as scale, mealy bugs, fungus gnats, whitefly and spider mites.
- Continue to mulch leaves from the lawn. Shred excess leaves and add to planting beds or compost pile.
- Replenish finished compost and mulch in planting beds, preferably before the first freeze.
- Switch sprinkler systems to ‘Manual’ mode for the balance of winter.
- Water thoroughly before a hard freeze to reduce plants’ chances of damage.
- Water lawn and all other plants once every three weeks or so, if supplemental rainfall is less than one inch in a three week period.
- Fertilize pansies and other winter annuals as needed.
- Build protective coverings or moving devices for tender plants before the freeze warming.
- Be sure to clean, sharpen and repair all your garden and lawn tools. Now is also the best time to clean and have your power mower, edger and trimmer serviced.
- Be sure the mower blade is sharpened and balanced as well.
- Provide food and water to the area’s wintering birds.
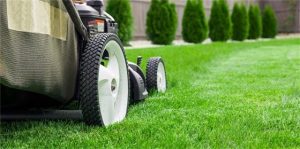
Mowing a lawn. Photo Credit: University of Florida/IFAS

by Larry Williams | Oct 31, 2024
So far, our fall has been unusually dry with warmer temperatures. Even though our average annual rainfall is around sixty-two inches per year, we don’t always receive rain exactly when we need it. There are times when we need to apply additional water. During dry weather, employ the following water management practices to improve the water efficiency of your lawn and landscape.
Mulching helps conserve water. On bare ground, about sixty percent of the water can be lost through evaporation. A two to three-inch layer of mulch will help hold onto the water so the plants can use it. Try to mulch the entire root zone when possible or at least apply mulch all the way around the plants out to the end of the branches.
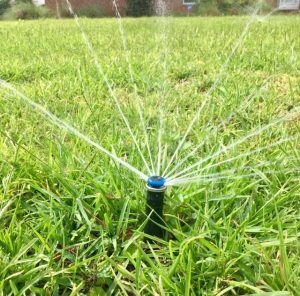
Irrigate on as needed basis during dry periods. Credit: Larry Williams
When watering, a thorough soaking to wet the soil to a depth of six to eight inches is much better for plants than light, frequent watering. Three to five gallons of water applied to one spot under the canopy of trees or shrubs should thoroughly saturate the root zone in that location. During dry periods, as a general rule), twenty-five percent of the root system, when watered thoroughly, can absorb all the water a plant requires at any given time.
When watering lawns, apply one inch of water per week when we are not getting rain. Although many sprinklers have irrigation rates of ¼ inch per hour, some may apply up to one inch per hour. Measure your irrigation rate and uniformity by placing several open-top containers of the same size under the sprinkler and see how long it takes to apply a known amount of water such as ½ inch.
An efficient irrigation program on turf should not begin until the lawn grass shows signs of moisture stress. Symptoms include a dull and bluish-green color and leaf blades folding. The most efficient time to irrigate is between sunset and sunrise because of less evaporation, less wind and lower temperatures. Early morning is the next most effective time to irrigate while midday is the least efficient.
Avoid fertilizing drought-stressed plants. Fertilizers are chemical salts and will dehydrate roots when water is in short supply. If you need to apply a pesticide, make certain the plant is not wilted at the time and spray during early morning or late afternoon. You should also avoid unnecessary pruning of plants during drought. Pruning encourages new growth, which has a high demand for water.
For more information on watering efficiently and drought tolerant plants, contact the UF/IFAS Extension Office in your county or visit the following website: http://gardeningsolutions.ifas.ufl.edu/care/irrigation.
by Beth Bolles | Oct 24, 2024
If you love wildflowers, the Fall season has so many plants for you to enjoy. We often think of wildflowers as those in natural settings, on roadsides, or in drainage spots. Here are a few wildflowers that make excellent landscape additions.
Goldenrods (Solidago spp.) are everywhere and the yellow blooms are stunning. If all the incorrect information about goldenrod as an allergy causing plant never existed (ragweed is the main culprit), we would see selections of goldenrod available in every commercial outlet. Many selections have an upright growth so add goldenrod against fences, in back of borders, or large clumps in sunny areas of your landscape.
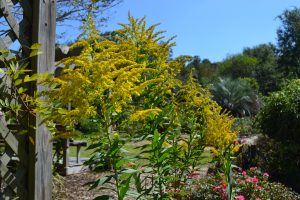
Goldenrod as a landscape feature at Escambia Demonstration Garden. Photo by Beth Bolles, UF IFAS Extension Escambia County
If you have a moist area and love purple, Mistflower (Conoclinium coelestinum) makes a wonderful fall blooming feature. Plants will colonize an area with running stems so it tends to form a large clump in moist soils. You may notice this in ditches on a drive around your county. The clusters of flowers look fluffy and will be present for many weeks in both full sun or partial shade.
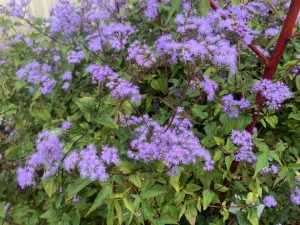
A clump of mistflower in a moist plant bed. Photo by Beth Bolles, UF IFAS Extension Escambia County
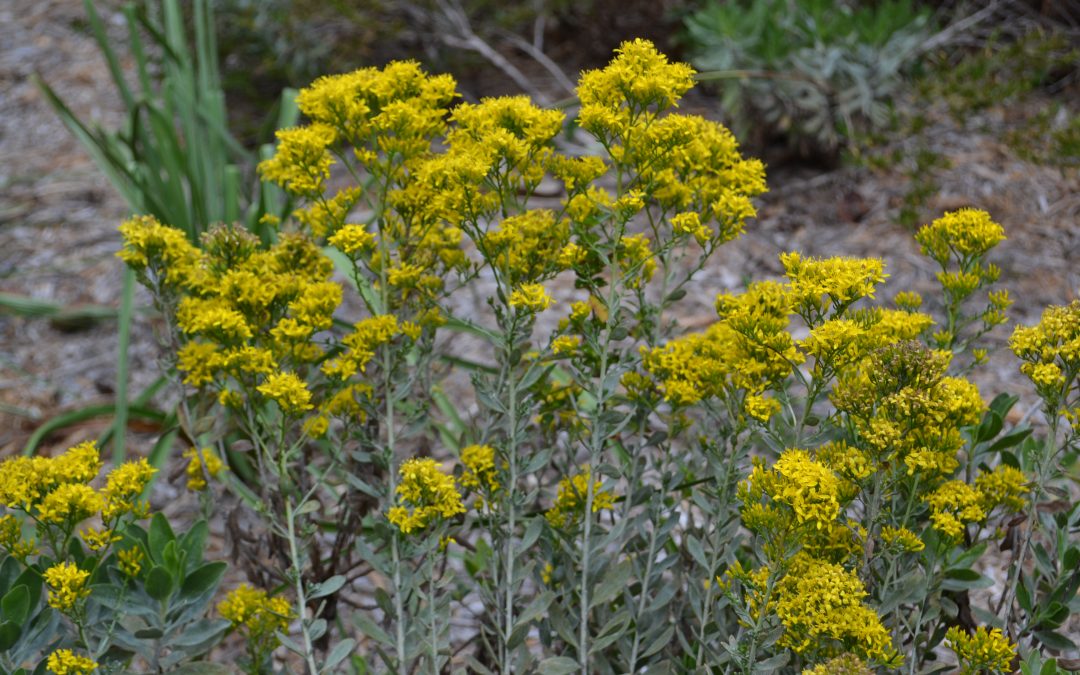
For dry and well drained spots of your landscape, the Woody goldenrod (Chrysoma pauciflosculosa) is a good choice. The small shrub offers bright yellow fall flowers that extend above a 2 foot tall plant. Plants tend to be evergreen when in the right location and additional new seedlings will emerge each spring if your landscape is suited for this plant.
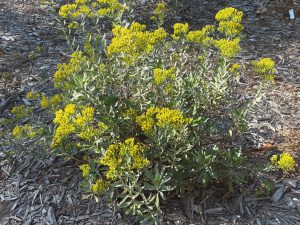
Woody goldenrod in a home landscape. Photo by Beth Bolles, UF IFAS Extension Escambia County
For those enhancing a butterfly garden, add Purple false foxglove (Agalinis purpurea), a host plant to the Buckeye butterfly. Plants grow well in our acidic well drained soils with a little moisture. Numerous tubular pink flowers occur in the Fall until a frost. Plants reseed well.
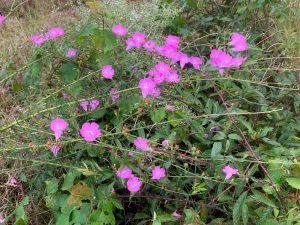
The Purple False Foxglove with vivid pink blooms in a natural setting. Photo by Beth Bolles, UF IFAS Extension Escambia County
If you love all the colors and variety of wildflowers, it is a good time for finding seeds and plants to grow your own. Native nurseries and online retailers carry a wide selection for all seasons and many are low maintenance enhancements for our home landscapes. Like any other ornamental or grass, be sure to match the wildflower with your specific growing conditions.
by Molly Jameson | Sep 30, 2024
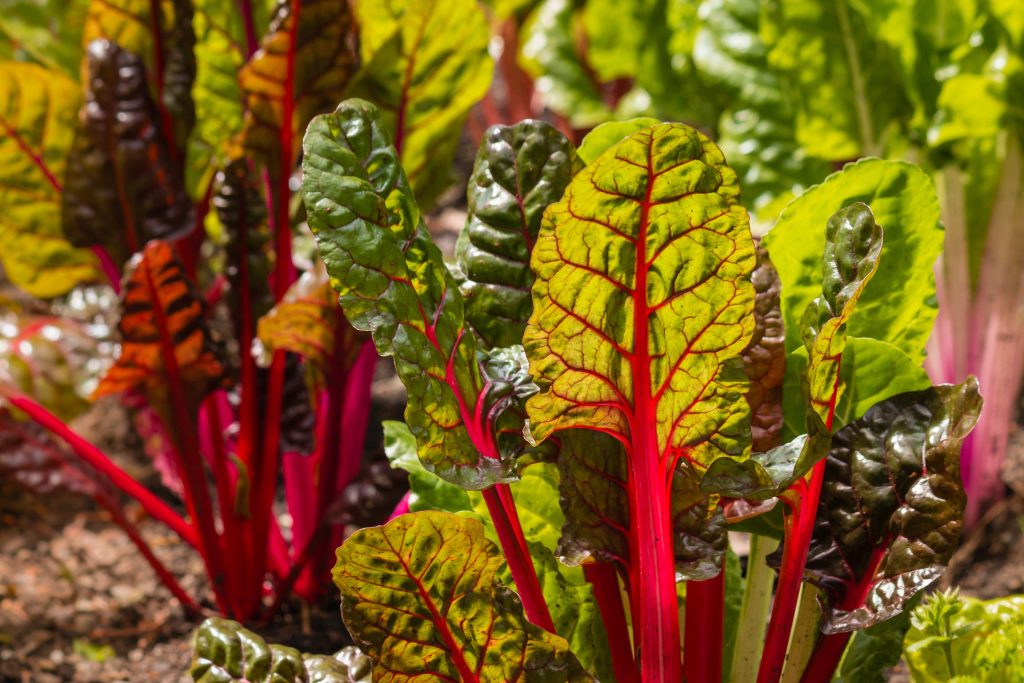
Swiss chard thrives in cooler weather, producing a continuous harvest of large, glossy, deep green leaves with colorful stems in shades of white, red, and yellow. Photo by Patrik Stedrak, Adobe Stock.
At first glance, beets and Swiss chard might seem like entirely different plants. Beets are known for their edible, bulbous root, while Swiss chard is grown for its large, leafy greens and colorful stems. However, both belong to the same species, Beta vulgaris, in the Amaranthaceae family, and their differences are the result of selective breeding over time.
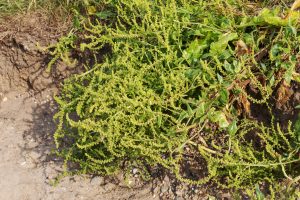
Wild sea beet (Beta vulgaris subsp. maritima), native to Mediterranean and coastal European regions, is the ancestor of cultivated beets and Swiss chard. Photo by Thorsten Schier, Adobe Stock.
Both beets and Swiss chard originate from the wild sea beet (Beta vulgaris subsp. maritima), a plant native to Mediterranean and coastal European regions. Ancient civilizations, such as the Greeks and Romans, bred beets for their enlarged roots, which eventually became the garden beets we know today. Despite its name, Swiss chard isn’t from Switzerland – it was also cultivated in the Mediterranean, bred for its nutritious leaves and stems. The “Swiss” name was added in the 19th century by seed catalog publishers to distinguish it from French spinach varieties.
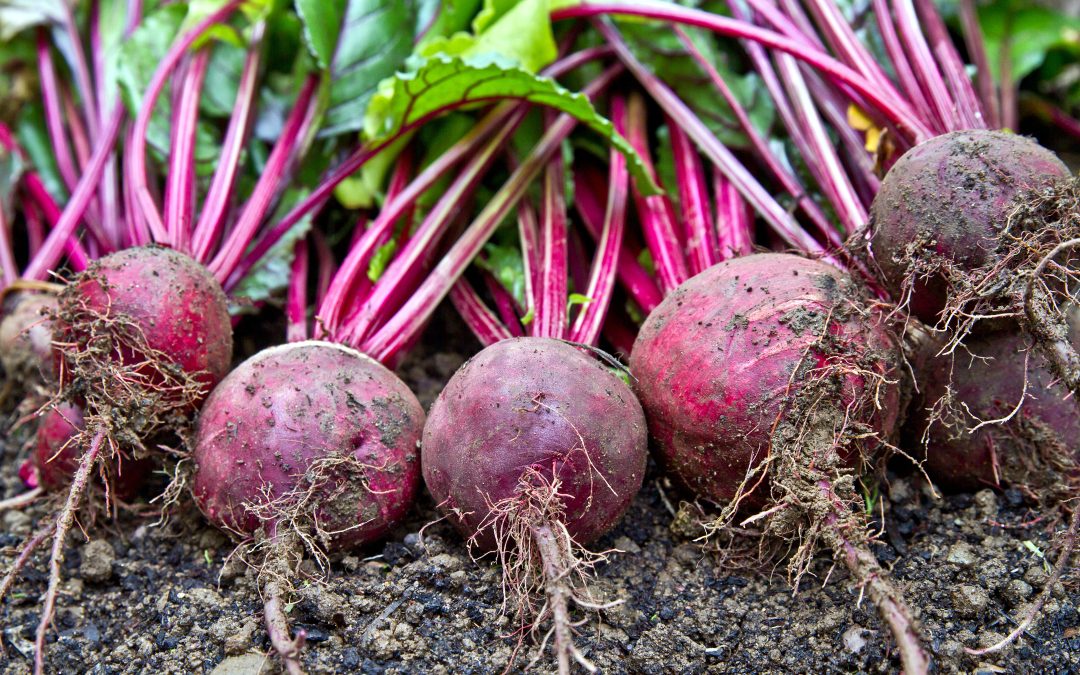
Both beets and Swiss chard are highly nutritious. Beets, which range in color from deep red to golden yellow, are rich in vitamin C, folate (B9), and essential minerals like manganese, potassium, magnesium, and iron. They contain betalains, antioxidants with strong anti-inflammatory properties, and are a great source of fiber and nitrates, supporting digestion and heart health. Beets can be cooked in a variety of ways, offering a sweet, earthy flavor that intensifies when roasted. They can also be boiled, steamed, or eaten raw in salads, pairing well with tangy ingredients like citrus and goat cheese.

Beets can be grown in the fall and winter in the Panhandle, yielding round, bulbous roots with a sweet flavor and earthy aroma. Photo by Clickmanis, Adobe Stock.
Swiss chard, with its large, flavorful leaves and vibrant stalks in red, yellow, and white, is packed with vitamins A, C, and K, as well as minerals like magnesium, potassium, iron, and calcium. It also contains antioxidants like beta-carotene, lutein, and zeaxanthin, which support eye health and combat oxidative stress. Its high levels of potassium aid in electrolyte balance and heart health, while vitamin K and calcium contribute to strong bones. Swiss chard can be sautéed, added to soups, or eaten raw in salads, with both the leaves and stems being edible.
Essentially, beets and Swiss chard are different forms of the same plant, bred for either the root or the leaves. This explains why beet greens are similar in flavor and texture to Swiss chard, though beet greens are usually smaller and more delicate. Beets provide the advantage of both edible roots and greens, while Swiss chard offers vibrant, nutritious leaves that can be harvested throughout the season. Both crops thrive in cooler weather, making them ideal for fall and winter planting in the Florida Panhandle.
by Donna Arnold | Sep 30, 2024
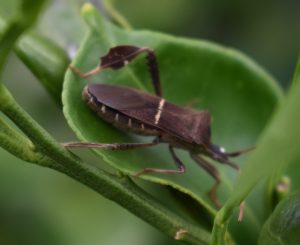
Photo Credit: Danielle S. Williams
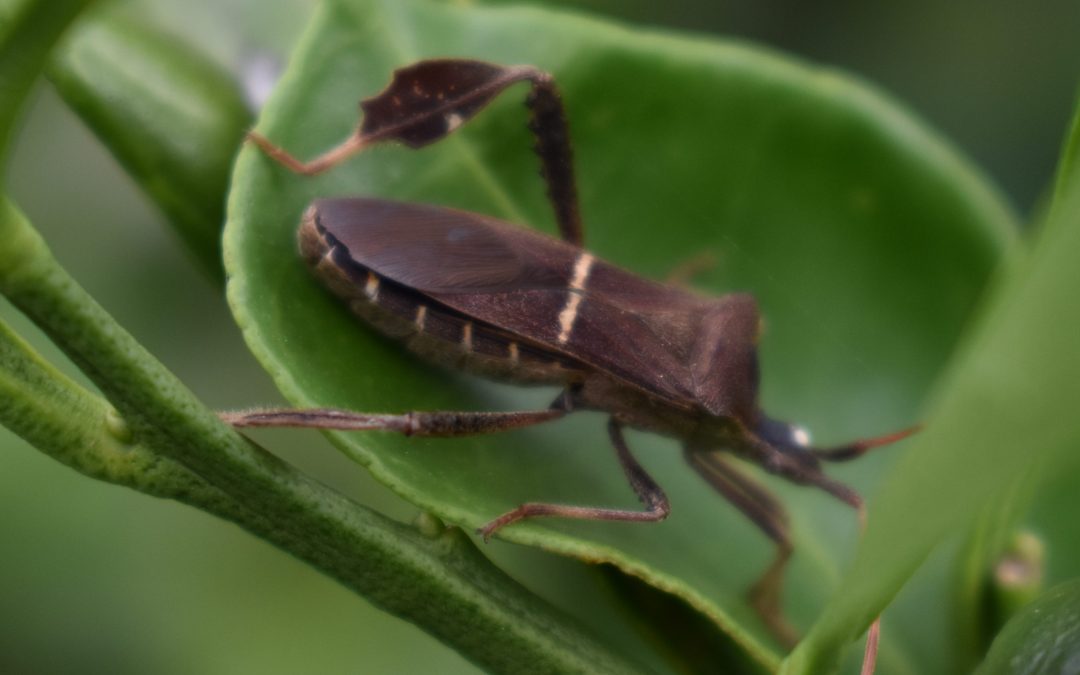
Florida is home to at least nine species of insects from the genus Leptoglossus, some of which possess “foliaceous hind tibiae,” but only Leptoglossus phyllopus has earned the common name “leaf-footed bug.” This insect, a close relative of the stink bug, plays a fascinating yet problematic role in gardens. The nymphs are bright orange, while the adults are brown with a distinct flattened, leaf-shaped structure on their hind legs. Unfortunately, both stages of the leaf-footed bug are notorious pests, causing significant damage to buds, flowers, fruits, and seeds.
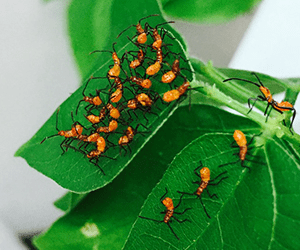
Photo Credit: Jennifer Carr
These pests feed on a wide variety of plants, including tomatoes, peaches, blueberries, beans, okra, and sunflowers. Their feeding activity can cause yellow and brown spots, misshapen fruits, and shriveled produce, depending on the severity and timing of the infestation.
In the fall, leaf-footed bugs can gather on warm windowsills or home siding. They can sometimes find openings in homes and get inside, but they don’t cause any damage indoors and don’t deposit eggs. Adult leaf-footed bugs also seek shelter in weedy areas or beneath layers of mulch and debris. They lay their eggs in neat rows on the undersides of leaves or along stems, with eggs hatching within 5 to 7 days. The nymphs then mature in approximately 25 to 30 days, leading to a rapid increase in population.
Integrated Pest Management (IPM) strategies are highly effective for controlling leaf-footed bugs. IPM involves a combination of cultural, physical/mechanical, biological, and—when necessary—chemical control methods. Following the IPM triangle approach, gardeners can start with the least harmful methods (like cultural practices) and gradually escalate to chemical controls if needed, depending on the infestation threshold. Early scouting and intervention are crucial to preventing the population from escalating throughout the growing season.
Though there are only a few organic pesticides that effectively manage leaf-footed bugs, proactive steps like hand-picking and reducing overwintering sites can help curb their numbers in the following year. For larger infestations, homeowners might consider using pyrethroids, which should be applied according to the manufacturer’s instructions. Leaf-footed bugs are also susceptible to insecticidal soaps and other pyrethroid-based products available at most garden retailers.
A word of caution: Some beneficial insects, such as assassin bugs, resemble the orange nymphs of leaf-footed bugs. Be sure to correctly identify these insects to avoid harming species that are beneficial to your garden.
For more information about leaf-footed bugs and effective control measures click on the link below or contact your local Extension office for more details.
https://edis.ifas.ufl.edu/publication/in229


