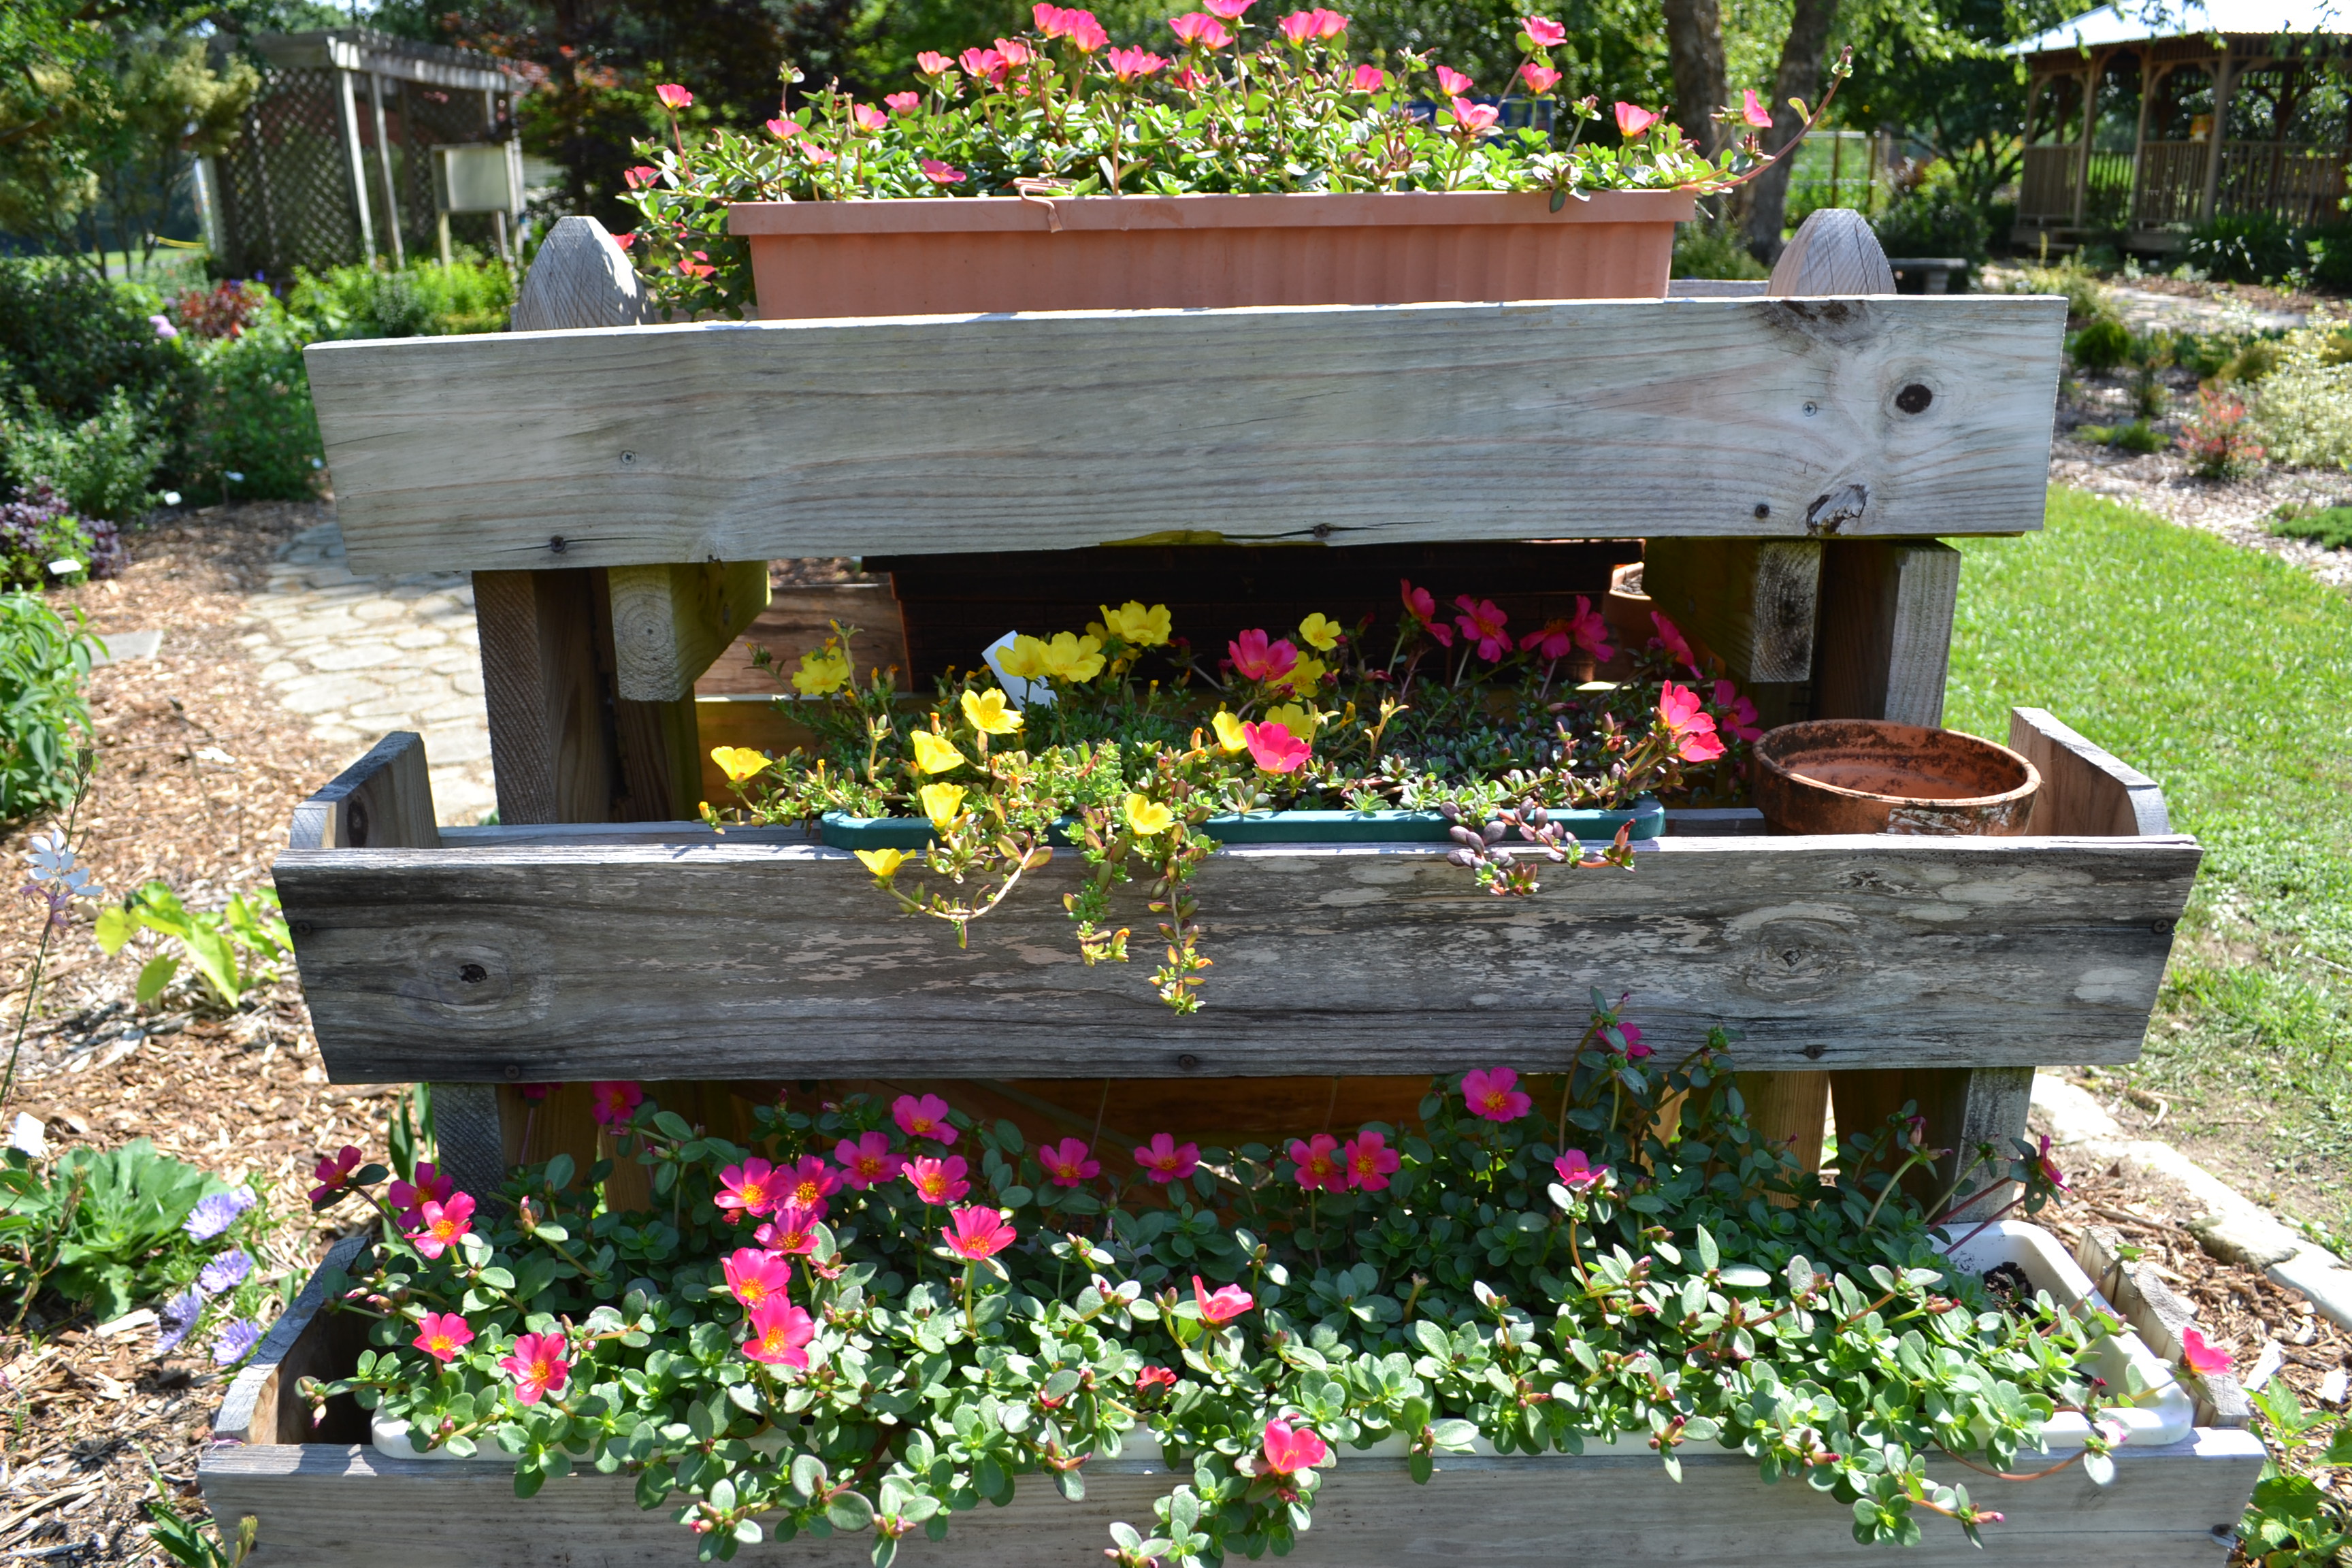
There is one tough annual plant that thrives in the summer garden and provides bright color in our sun and heat. Portulaca or moss rose (Portulaca grandiflora) is strong performer, even growing well when reseeding in sidewalk cracks and stone walkways. Of course it will be most attractive when used in containers or well drained landscape beds in bright sunshine.
Containers of portulaca brighten an entrance to the herb garden at Escambia County Extension Demonstration Gardens. Photo by Beth Bolles, UF IFAS Extension Escambia County
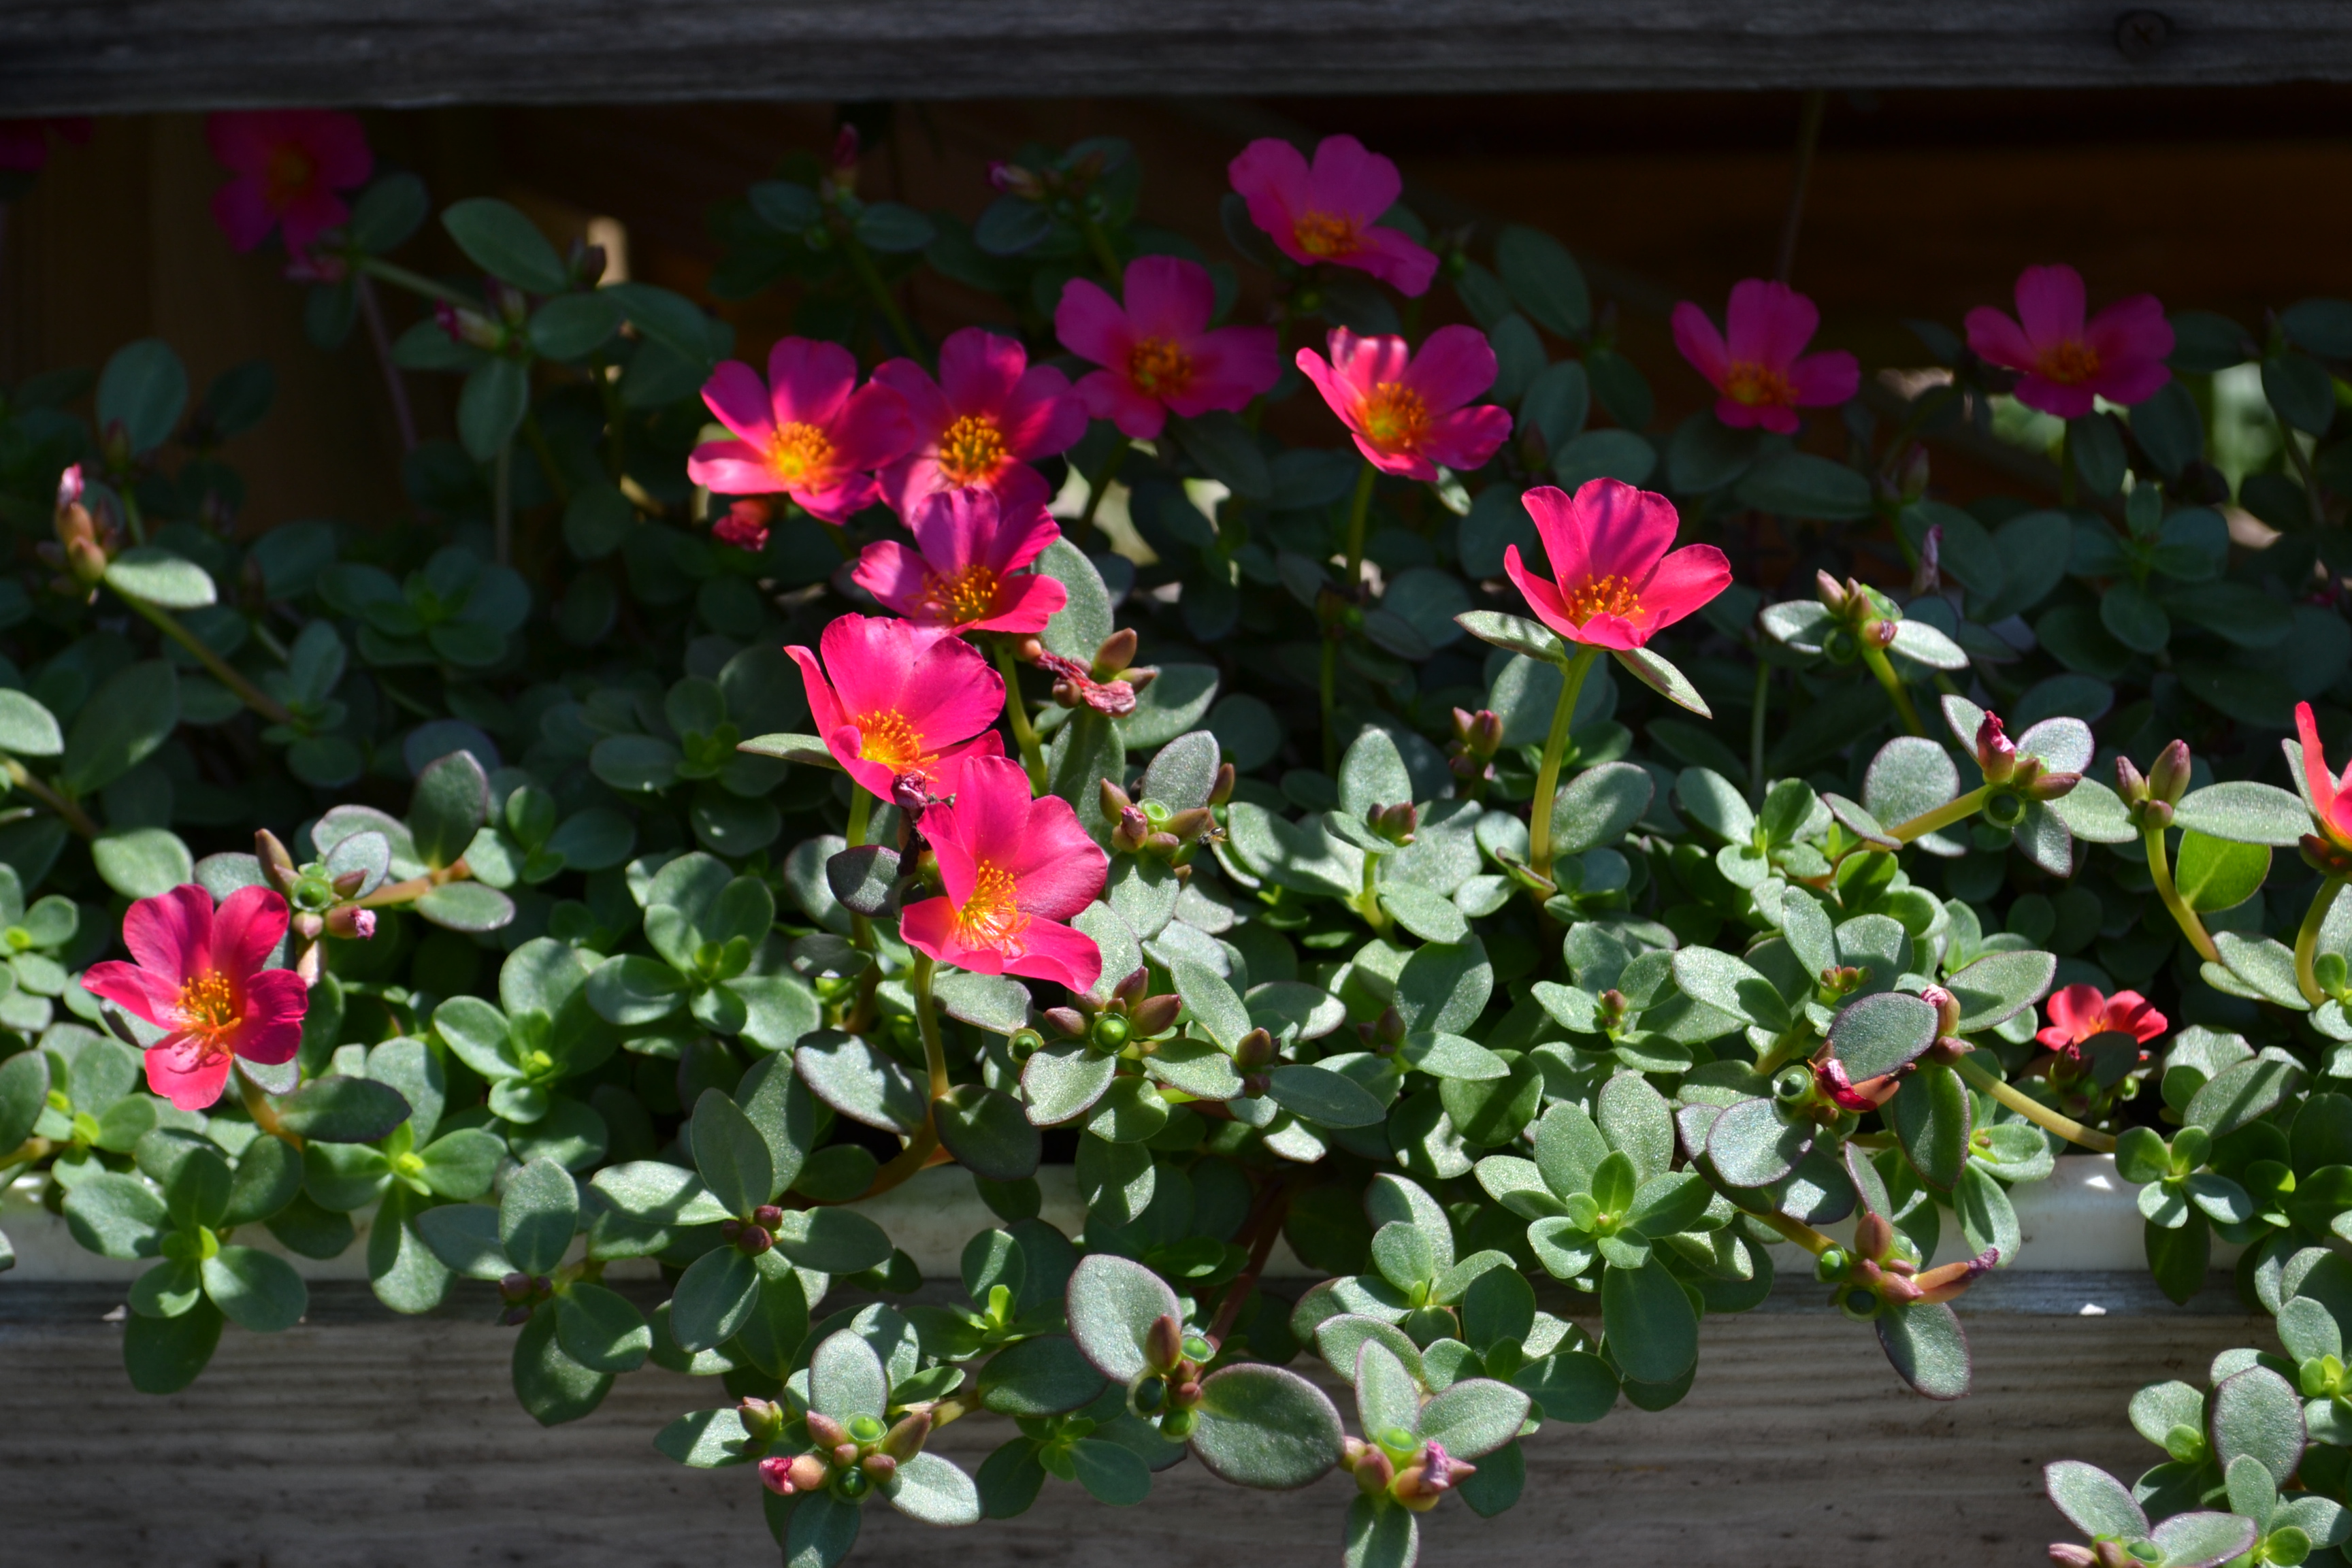
The thicker, flattened leaves of portulaca make is adaptable to drier conditions. The plants are only about 6 inches tall but branches will spread out a foot or so from the center. The attractive flowers extend just above attractive green foliage in colors of yellow, pinks, and oranges. Portulaca is extremely versatile, making it a good filler in a container or at the edges of flower beds along hardscape areas.
Bright flowers of portulaca reach for the sun. Photo by Beth Bolles, UF IFAS Extension Escambia County
Portulaca will not perform the best when soils remain too moist or days stay overcast for extended periods. Flowering will also be reduced if water is totally lacking. Maintain a balance by providing a quality soil that drains well.
Although many gardeners prefer perennials to annuals, portulaca can provide a big impact in the summer garden for a small investment.
Are you interested in growing lettuce and other leafy greens? Are you looking for tips on extending the growing season for your leafy green crop? If so, then check out this very informative instructional video by Washington County Horticulture Agent Matthew Orwat.
Dr. Steve Johnson, UF/IFAS Associate Professor of Wildlife Ecology will be the featured speaker on June 6th
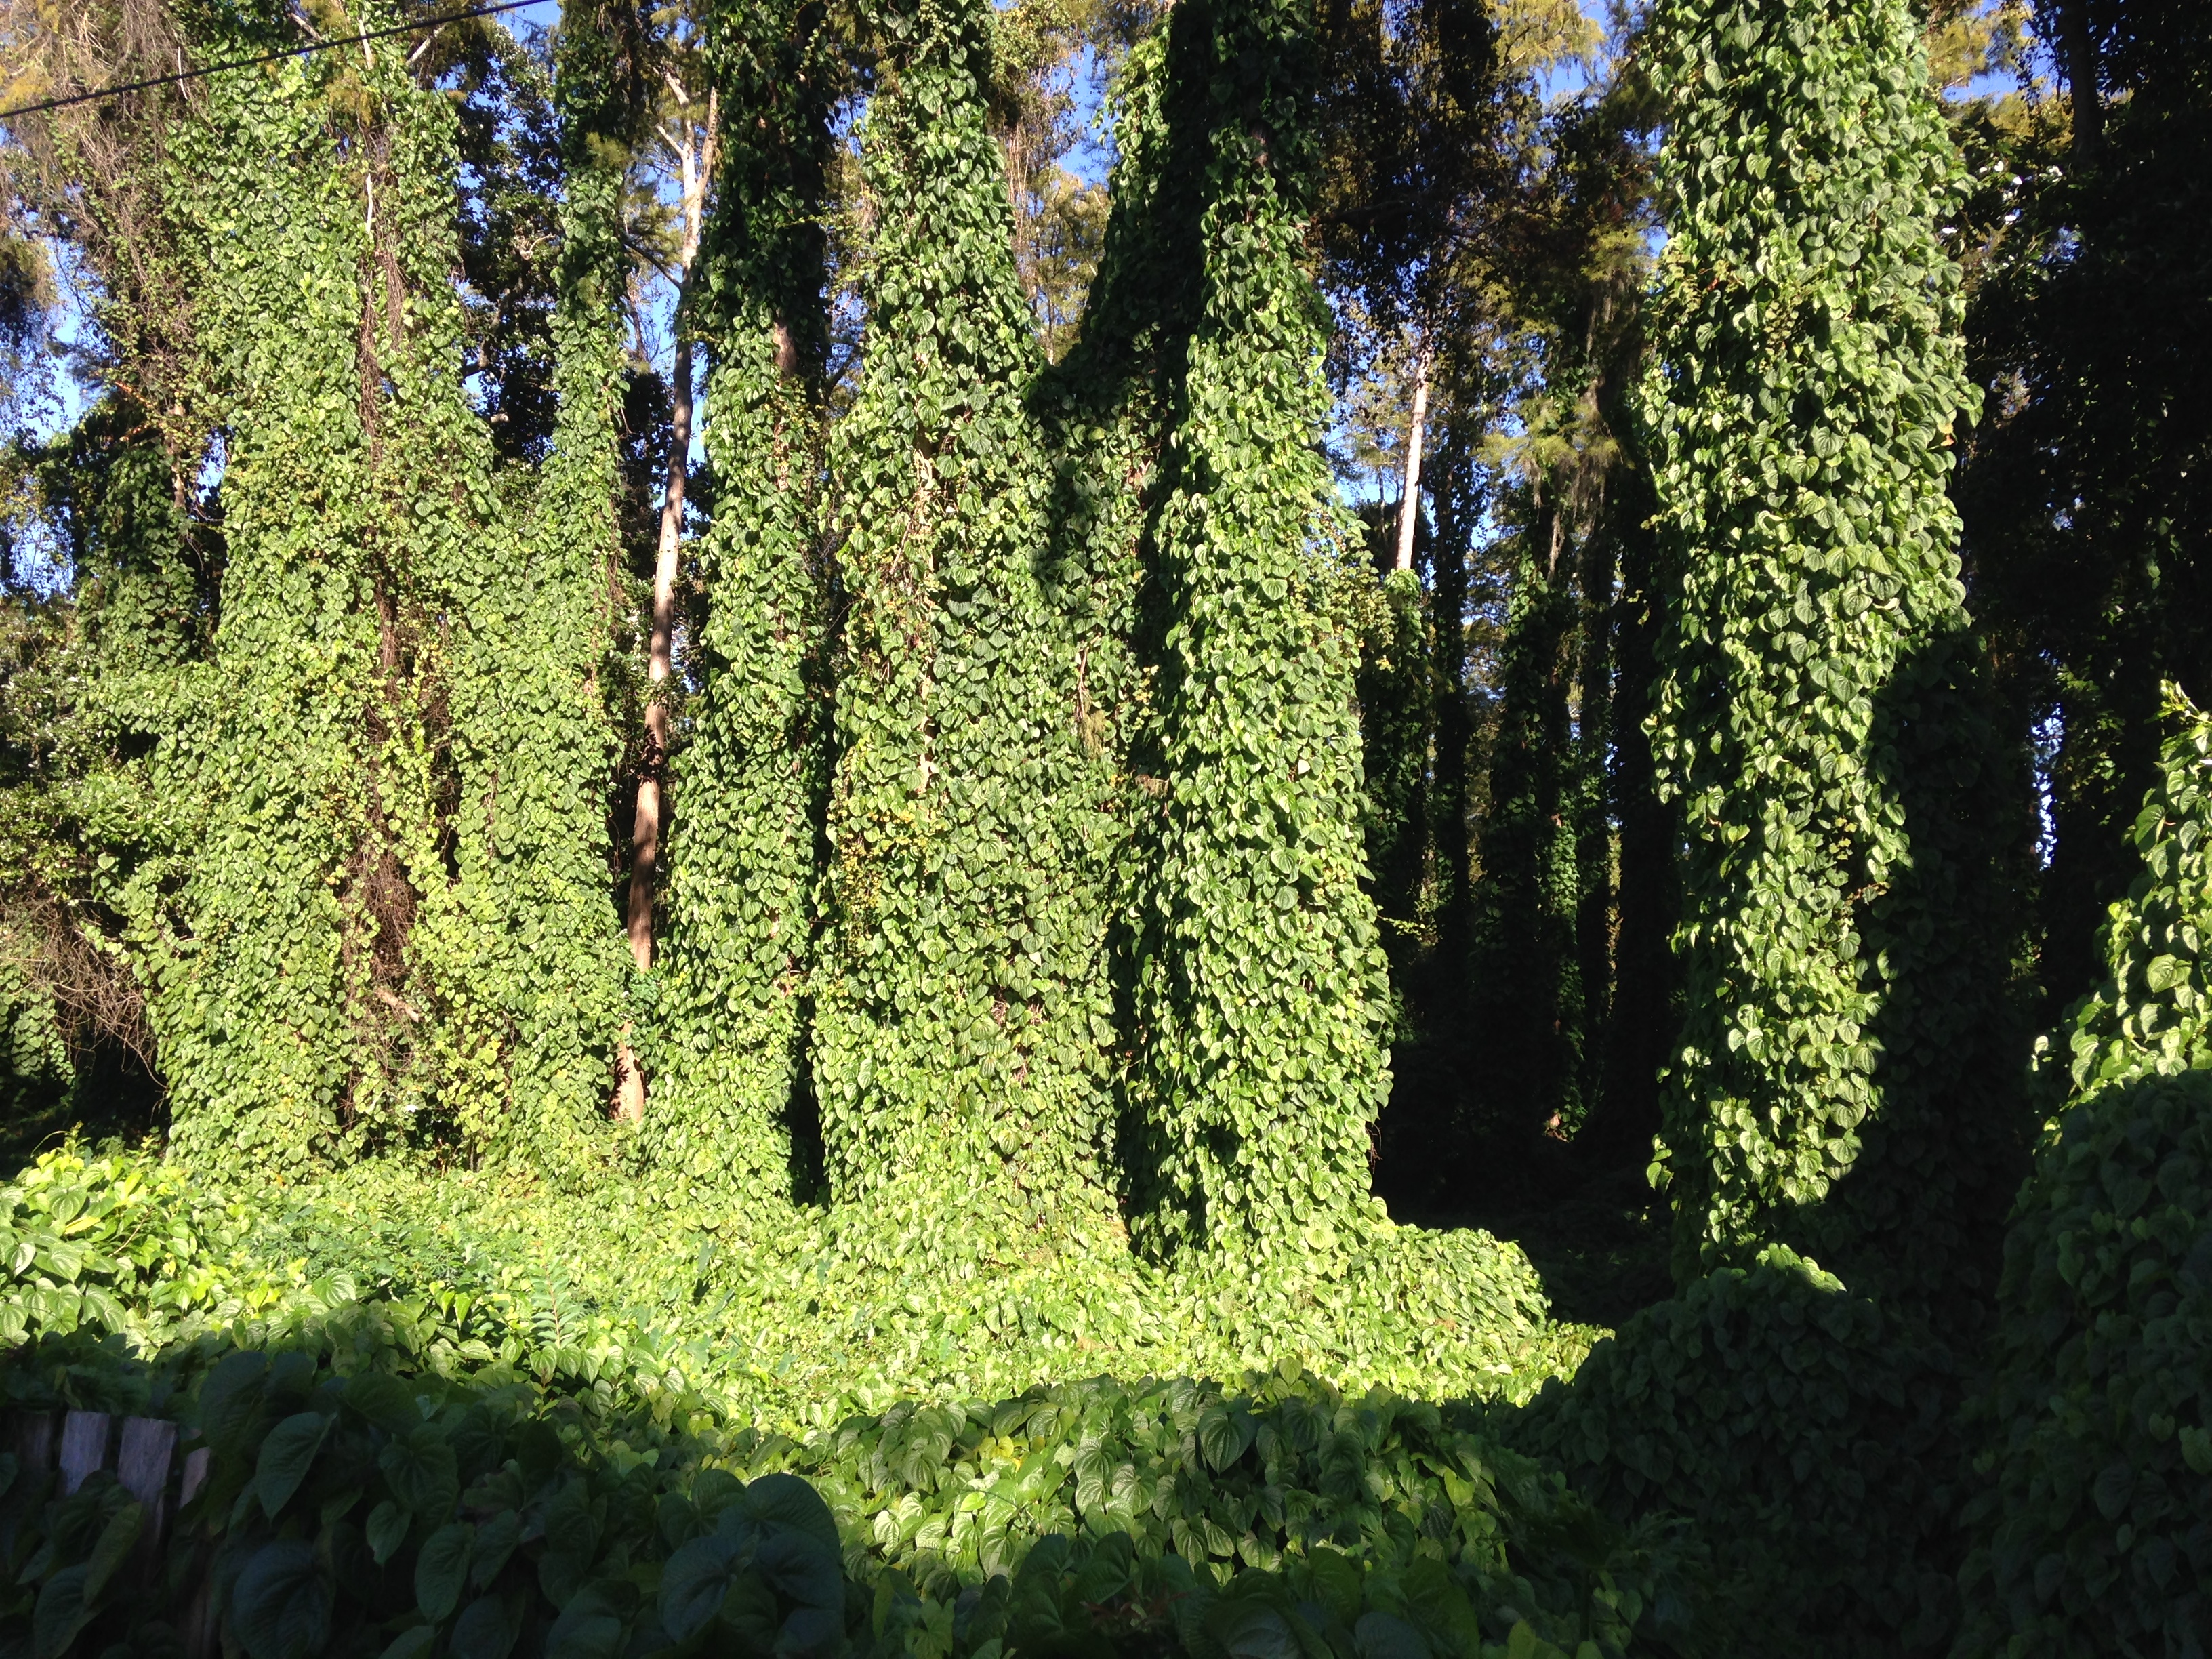
June 6th is a great day to learn about all types of invasive species that threaten natural areas in Northwest Florida!
The UF/IFAS Extension Bay County office will have multiple educational exhibits with living samples of species of concern from 9 a.m. – 5 p.m. on Wednesday, June 6th. This is a multi-agency effort to inform citizens about the impact of invasive plants and animals and how they can help reduce introduction and spread. For full details see the Bay_Invasive Workshop Flyer
At noon there will be a special guest speaker for a bring your own lunch & learn “Exotic Invaders: Reptiles and Amphibians of Concern in NW FL.” Dr. Steven Johnson, UF/IFAS Associate Professor of Wildlife Ecology, will talk about exotic reptiles and amphibians we should be aware of that may occur in our area.
In the morning, we will be focusing on the invasive air potato vine with the distribution of air potato leaf beetles for biological control. Need air potato leaf beetles to manage the air potato vine on your property? Please register here http://bit.ly/bayairpotato to receive beetles – they will be distributed from 9 a.m. – noon on June 6th.
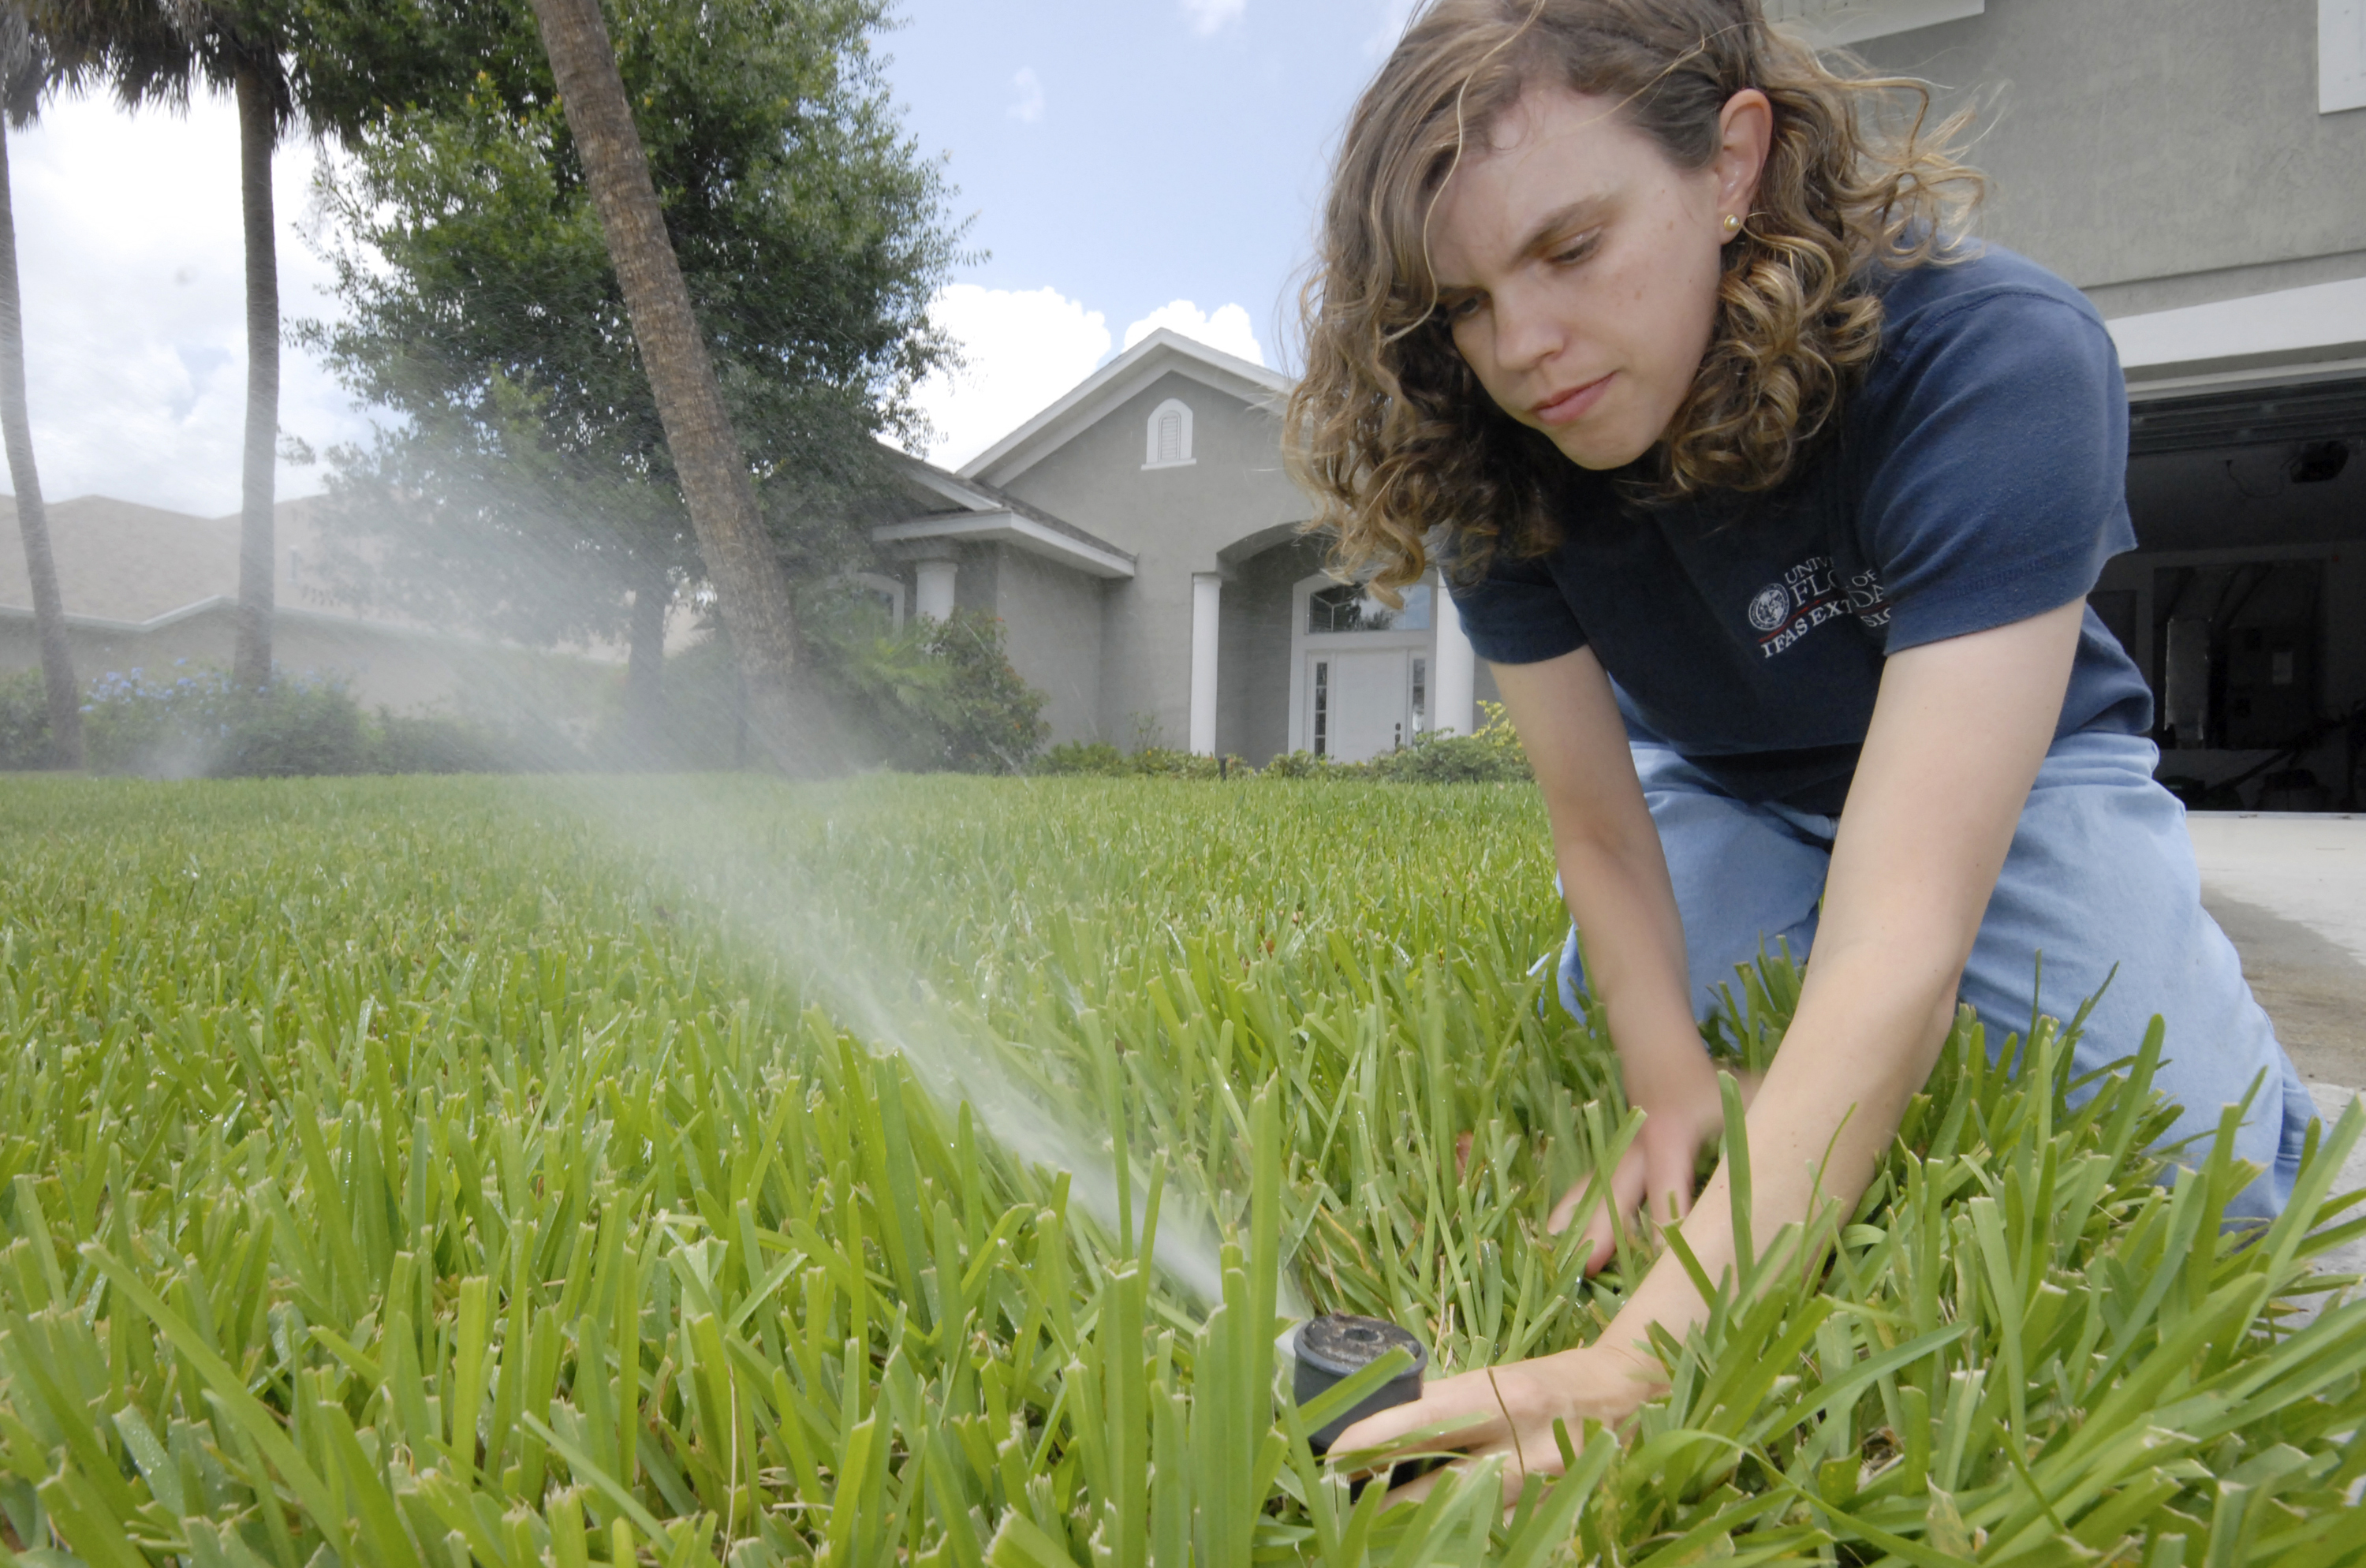
A healthy lawn is a joy to stroll, relax and play on. It can also be part of an environmentally friendly landscape. But, sometimes it can seem to be a mystery on how to achieve that lush, healthy lawn in the Florida environment. Since we have lots of sandy soils and experience long periods of warm and hot weather, many suppose that giving the lawn lots of water will help do the trick. Not so.
Photo credit: UF/IFAS.
But what harm can it cause to give the lawn plenty of water all the time? Isn’t that a good thing? No! Overwatering your lawn can lead to the following problems:
Development of fungal diseases (fungi love a moist environment!)
Increased insect pest pressure
More rapid thatch development
More weeds (those little emerging weed seedlings thrive on consistent moisture!)
Some weeds, like dollarweed and sedges, can be an indication of overwatering
A shallow root system when frequent, light watering is applied
Washing away of fertilizer down into the soil past the root system
Higher water bills.
Our lawns need, on average, about 1/2 to 3/4 “of water a week during the summer. This recommendation changes depending on soil type, shade, temperature, wind, and season. To figure out how long to run your sprinklers, watch this YouTube video from UF/IFAS.
We recommend running your automated system only when your lawn shows signs of needing water such as:
I’m hard pressed to tell you my favorite song, movie, or place to eat, but when we start talking plants I can come up with whole categories of favorites. I won’t commit to just one species, but when it comes to woody shrubs I am a huge fan of viburnums. We have small ones, tall ones, evergreen, deciduous, smooth leaves, textured leaves, berry producers and sterile types. There are so many different types there must be one for every gardener.
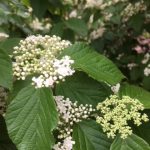
Buds and flowers of Viburnum luzonicum. Photo: J_McConnell, UF/IFAS
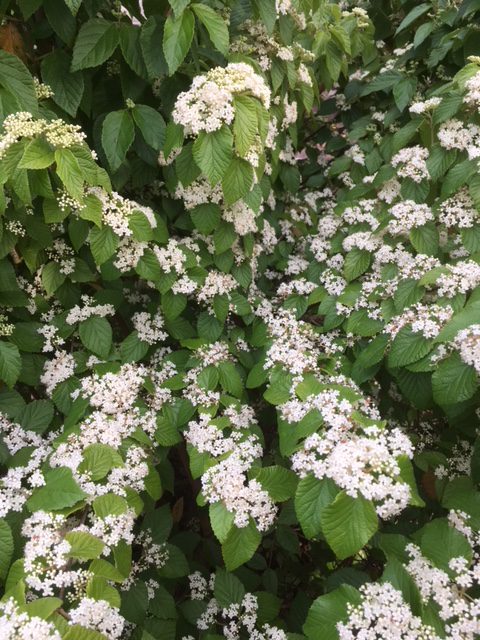
I thought I knew a lot of viburnums after spending ten years in the nursery industry, but had not seen Luzon Viburnum, Viburnum luzonicum, until Dr. Gary Knox gave one to me in the fall of 2014. The plant was little more than a couple of stems and light green leaves, but he assured me it would get large and would perform well in the Florida panhandle.
That scrap of a plant went into a large, non-irrigated, full-sun bed in my yard and was hand-watered through the first summer, but after that has been left to fend for itself. My Luzon viburnum is currently over 6 feet tall by 4 feet wide and covered in flowers. It gets no TLC in my landscape, but has yet to be plagued by any pests. The foliage emerges with a slightly pink tone then settles into a light green usually starting in February or March. By late March clusters of small white flowers cover the shrub. It is reported to have the potential to produce berries that transition from red to black, but I have not yet observed that in my garden.
This is not a plant you are likely to stumble across in most garden centers, but is worth keeping a lookout for in case you see it. It is on display with many other wonderful plants in the Gardens of the Big Bend at the UF/IFAS North Florida Research and Education Center (NFREC) in Quincy and in the past has been available at Gardening Friends of the Big Bend plant sales.
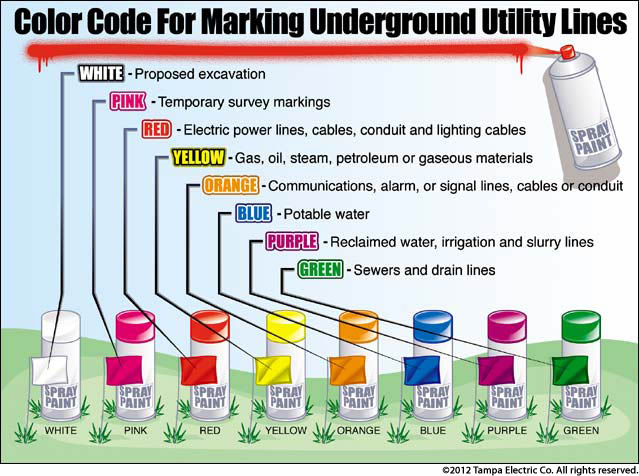
This month, recognized by the Senate and Florida’s governor, reminds diggers why calling 811 before all outdoor digging projects is important to your safety. Before installing a mailbox, fence, deck, garden or tree make sure to call Sunshine 811 to have underground lines marked. 811 is the free national number designated by the Federal Communications Commission. It notifies utility companies, who in turn send their professional locators to identify and mark the appropriate location of underground line with paint and flags in colors that identify the utility type. The following colors represent the seven various utilities: red, orange, blue, green, yellow, purple and white. To see which colors correspond with each utility go to: http://www.call811.com/faqs/default.aspx.
Hitting an underground utility line while digging can cause injuries, utility service outages to an entire neighborhood and damage to the environment. Failure to call before digging results in one unintentional utility hit every eight minutes nationwide. You could also be financially affected with costly fines and high repair costs.
Calling 811 in Florida is the law. At least two full business days before digging, do-it yourselfers and professional excavators must contact 811 by phone to start the process of getting underground utility lines marked. This is a free service. Be sure that all utilities have been marked before grabbing the shovel. Follow up on your one call ticket by contacting 811 again on the third day. For more information on Florida’s law, visit www.Sunshine811.com.