by Joshua Criss | Dec 26, 2025
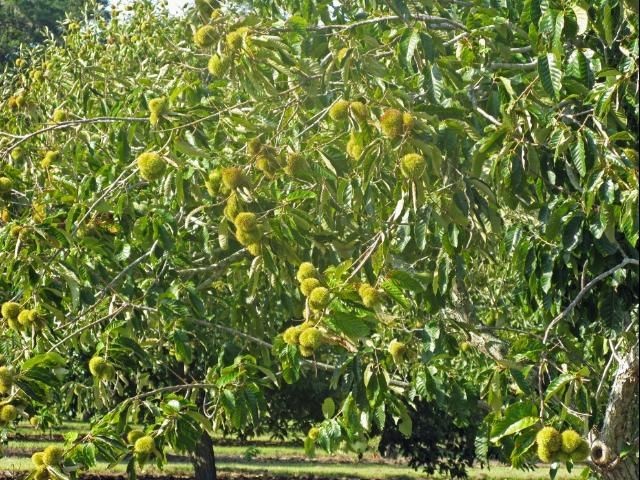
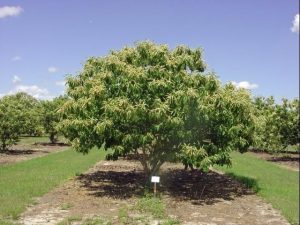
Christmas is a season rife with horticultural significance. Extracts from the Boswellia and Commiphora myrrah trees were presented at the nativity as frankincense and myrrh. Holly (Ilex spp.) and Ivy (Hedera spp.) are common in decorations, and a huge number of spices are used to flavor our favorite dishes of the season. Without plants, Christmas just would not be quite the same. One plant made famous thorough “The Christmas Song” sung by Nat King Cole is the humble Chestnut tree (Castanea spp.).
UF/IFAS Photo
A Brief History
Chestnuts once grew prolifically throughout the United States. They were prized rot resistant lumber produced alongside their staple nut crop. Further they were a critical resource for wildlife providing a food and shelter resource. This all came to crashing halt in the early 1900’s when a fungal blight took hold all but eliminating them from America’s forests.
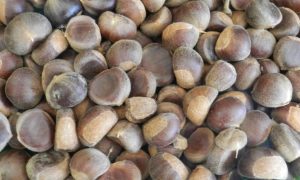
Hybridization has brought this tree back into relevance. American Chestnut (C. dentata) and Chinese Chestnut (C. mollissima) has provided reinvigoration this tree’s once known potential. The reason is that the mixed genetics of this hybrid provide resistance to the blight while providing the products for which this tree is known.
Growing These Trees
Chestnut trees are known to grow upwards of 40 feet tall and wide. Keep in mind that these plants are monoecious, meaning you’ll need two if you would like a harvest. For this reason, you’ll really want to implement the concept of right plant, right place as they will take up a lot of real estate.
Though they prefer acidity, a wide array of well-draining soils will suffice. That said, these trees will appreciate some active irrigation beyond that required to establish the tree.
As all Extension professionals will tell you, fertilization should be planned and executed based on soil testing. It is common though to apply one pound of a 10-10-10 fertilizer per year of tree age up to 15 years.
Growing this way, you can expect these trees to bear in roughly five years. Nuts will be produced on the new wood where branches maximize sunlight interception. Therefore, pruning for this will produce the highest yield.
UF/IFAS Photo
Pest Concerns
There are minimal pest concerns with chestnut trees. The main concern is Chestnut blight, which has been largely mitigated through hybridization. There are some other concerns, but these again can be mitigated through cultural practices. Keeping the areas under these trees clean will deny overwintering habitat to any insects while appropriate irrigation will greatly reduce the risk of any fungal infections. If managed appropriately, the biggest pest you’ll find near these trees is squirrels and deer seeking to deny you a harvest. As always, the only real way around this is physical barriers.
Chestnut trees are certainly worth a second look in your landscape. New hybridization has brought these back into the spotlight. With both wood and edible nuts they are certainly one that you should consider for your property. Done properly, you’ll soon be roasting chestnuts on an open fire as Nat King Cole suggested many years ago. As always, for more information on this or any gardening topic, call your local extension office.
by Donna Arnold | Dec 11, 2025
Winter Bliss and Climate Challenges in North Florida Gardens

Gardening is far more than a pastime, it’s an endeavor that demands patience, skill, and dedication. Every plant requires careful attention to thrive, and every gardener knows the challenge of protecting their landscape against nature’s shifting moods.
In North Florida, winters from December through February are typically mild, offering residents the chance to cultivate cool-season vegetables, hardy ornamentals, and lush greenery that brighten homes even in the colder months. These gardens are more than decoration; they are living investments in beauty, wellness, and community pride.
Yet, the increasing instability of seasonal patterns has thrown gardeners off balance. Sudden frosts, unexpected heat spikes, and shifting rhythms test both resilience and creativity. What once felt like a predictable cycle now requires constant vigilance, as climate change reshapes the very environment in which these gardens grow. For North Florida residents, tending a garden is not just about nurturing plants, it’s about nurturing joy, identity, and a connection to place, even as the climate itself becomes more uncertain.
Photo credit: Donna Arnold,FAMU Extension.
The Growing Challenge of Climate Change
In recent years, gardeners have faced out-of-season frosts that damage cold-sensitive plants such as citrus, hibiscus, and tropical ornamentals. Unlike commercial growers with greenhouses, most homeowners lack protective infrastructure, leaving their landscapes exposed. The financial loss of damaged plantings can be significant, but the emotional toll of watching cherished gardens succumb to sudden freezes is equally profound.
Climate change intensifies these challenges. Stronger cold fronts and occasional winter heat spikes disrupt plant growth, weakening resilience and reducing vitality. Homeowners often resort to improvised measures, blankets, plastic sheeting, or makeshift covers, that provide only temporary protection. Without specialized forecasting tools, residents rely on local news or apps, which may overlook microclimate variations across neighborhoods.
Weather vs. Climate: Why It Matters
It’s important to distinguish between weather and climate.
- Weather refers to the day-to-day conditions, temperature, rainfall, humidity, and more, that we experience locally.
- Climate is the long-term average of these conditions, measured over seasons, years, or even decades, across regions or globally.
Florida, for example, has a wet season and a dry season, but rainfall within those periods can vary greatly from day to day. While climate patterns help us anticipate seasonal trends, the unpredictability of weather events, like sudden frosts or heat spikes, creates challenges for gardeners. Understanding this distinction helps residents prepare for short-term weather swings while adapting to long-term climate shifts.
Adapting for Resilience
Climate change is no longer a distant concept; it’s a daily reality for North Florida gardeners. To adapt, communities must embrace:
- Education programs on cold protection and plant selection.
- Affordable protective solutions like frost cloths and portable covers.
- Resilient landscaping strategies, including native plants better suited to fluctuating conditions.
For further reading on climate impacts and gardening adaptation in Florida, see: Cold Protection for North Florida | UF/IFAS Extension; Climate Change and Florida’s Native Plants – Florida Wildflower Foundation; Surviving Winter Storms: Smart Gardening; Frost in the Panhandle? Practical Tips for Protecting Your Garden | Gardening in the Panhandle Practices for Northern Florida Gardens
by Abbey Smith | Nov 20, 2025
With the holiday season fast approaching, many folks are reaching for store-bought decorations. But what if your yard could supply some of the festiveness this season? You can turn your landscape trimmings into creative DIY ideas, turning what some might consider waste into holiday charm while being kind to the environment.
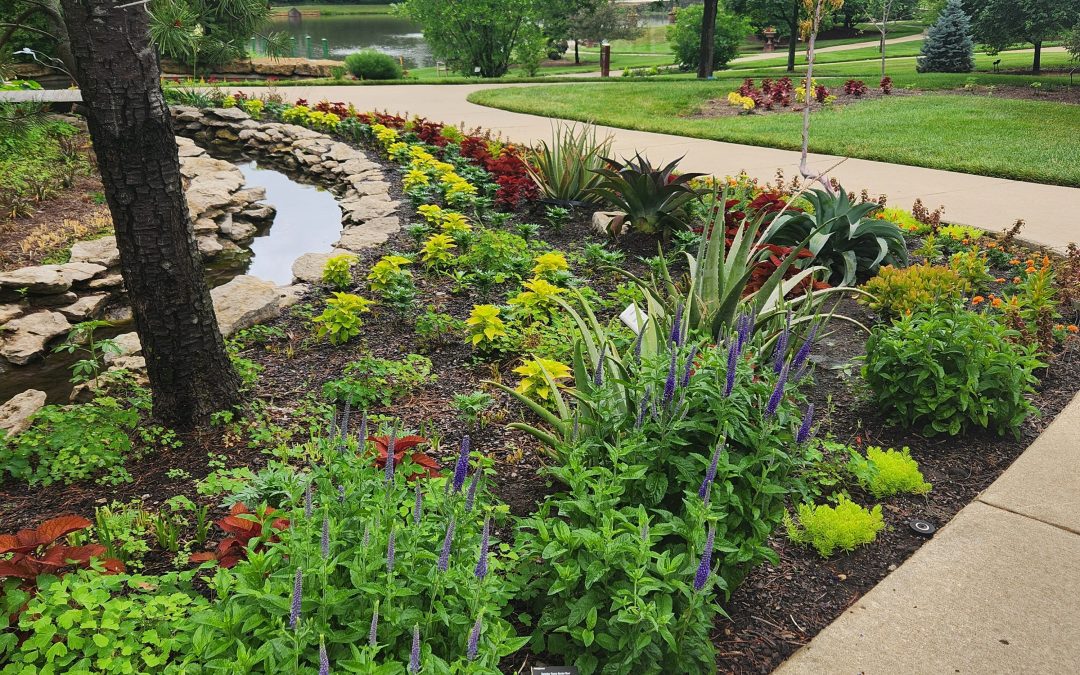
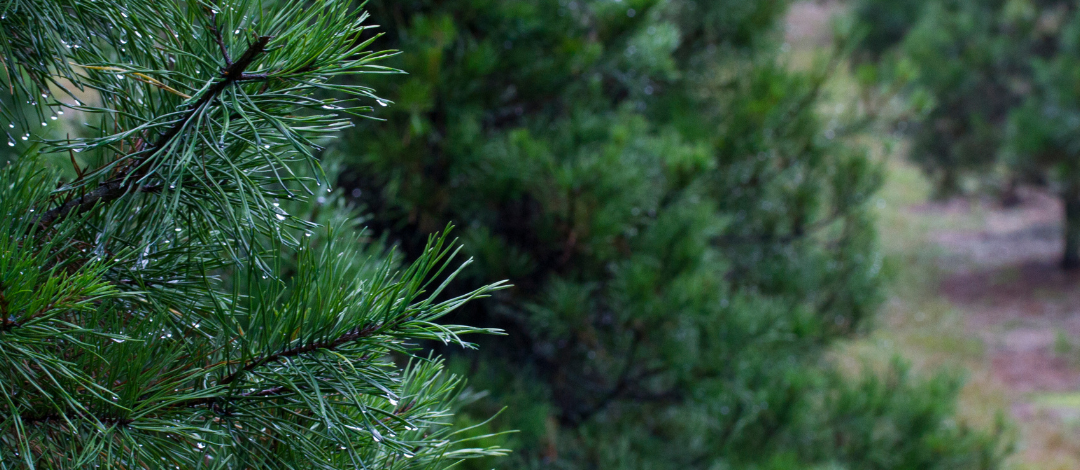
Going the more natural route for holiday décor aligns with one of our Florida-Friendly Landscaping™ Principles #7: Recycle Yard Waste. Some items you may already have or can collect from your yard can make great decorations such as evergreen branches like pines or cedars, pinecones, acorns, dried leaves, twigs, herbs, old tree limbs, and much more. Utilizing what you have to bring holiday cheer to your home can also help minimize single-use plastics or mass-produced items. If created properly and depending on the item, you may be able to reuse what you create for multiple holiday seasons.

MGVs utilizing grape vines and tree clippings to make beautiful wreaths. Photo by Abbey Smith, UF/IFAS Extension
Evergreen trimmings are some of the easiest things from your yard to re-purpose if you have access to them. You can make wreaths, mantle decorations, and even beautiful bouquets. To make a wreath base, utilizing dried muscadine grape vine makes the process a lot easier. You can add your trimmings once the vine base has been assembled. For table or mantle pieces, you can utilize a mix of evergreen branches, pine cones, and few bundles of tree trimmings of your choice. Herbs, pinecones, and certain seed pods can also add some holiday aroma to your home by emitting their natural scent. For decorating outside, consider using thicker trimmings or logs.
We’ve discussed how you can utilize you yard-waste for holiday décor, but how do you collect the materials? You can first start by surveying your yard looking for fallen branches, pinecones, etc. When you’ve made a collection, prune and inspect for any broken, diseased materials and shake off loose debris or insects to ensure what you’re utilizing is clean for indoor use. For indoor use materials, possible rinsing with water and allowing them to dry before you take the material inside can be helpful. After the holidays are over, you can turn your green materials back into nature if possible or make additions to your compost pile.

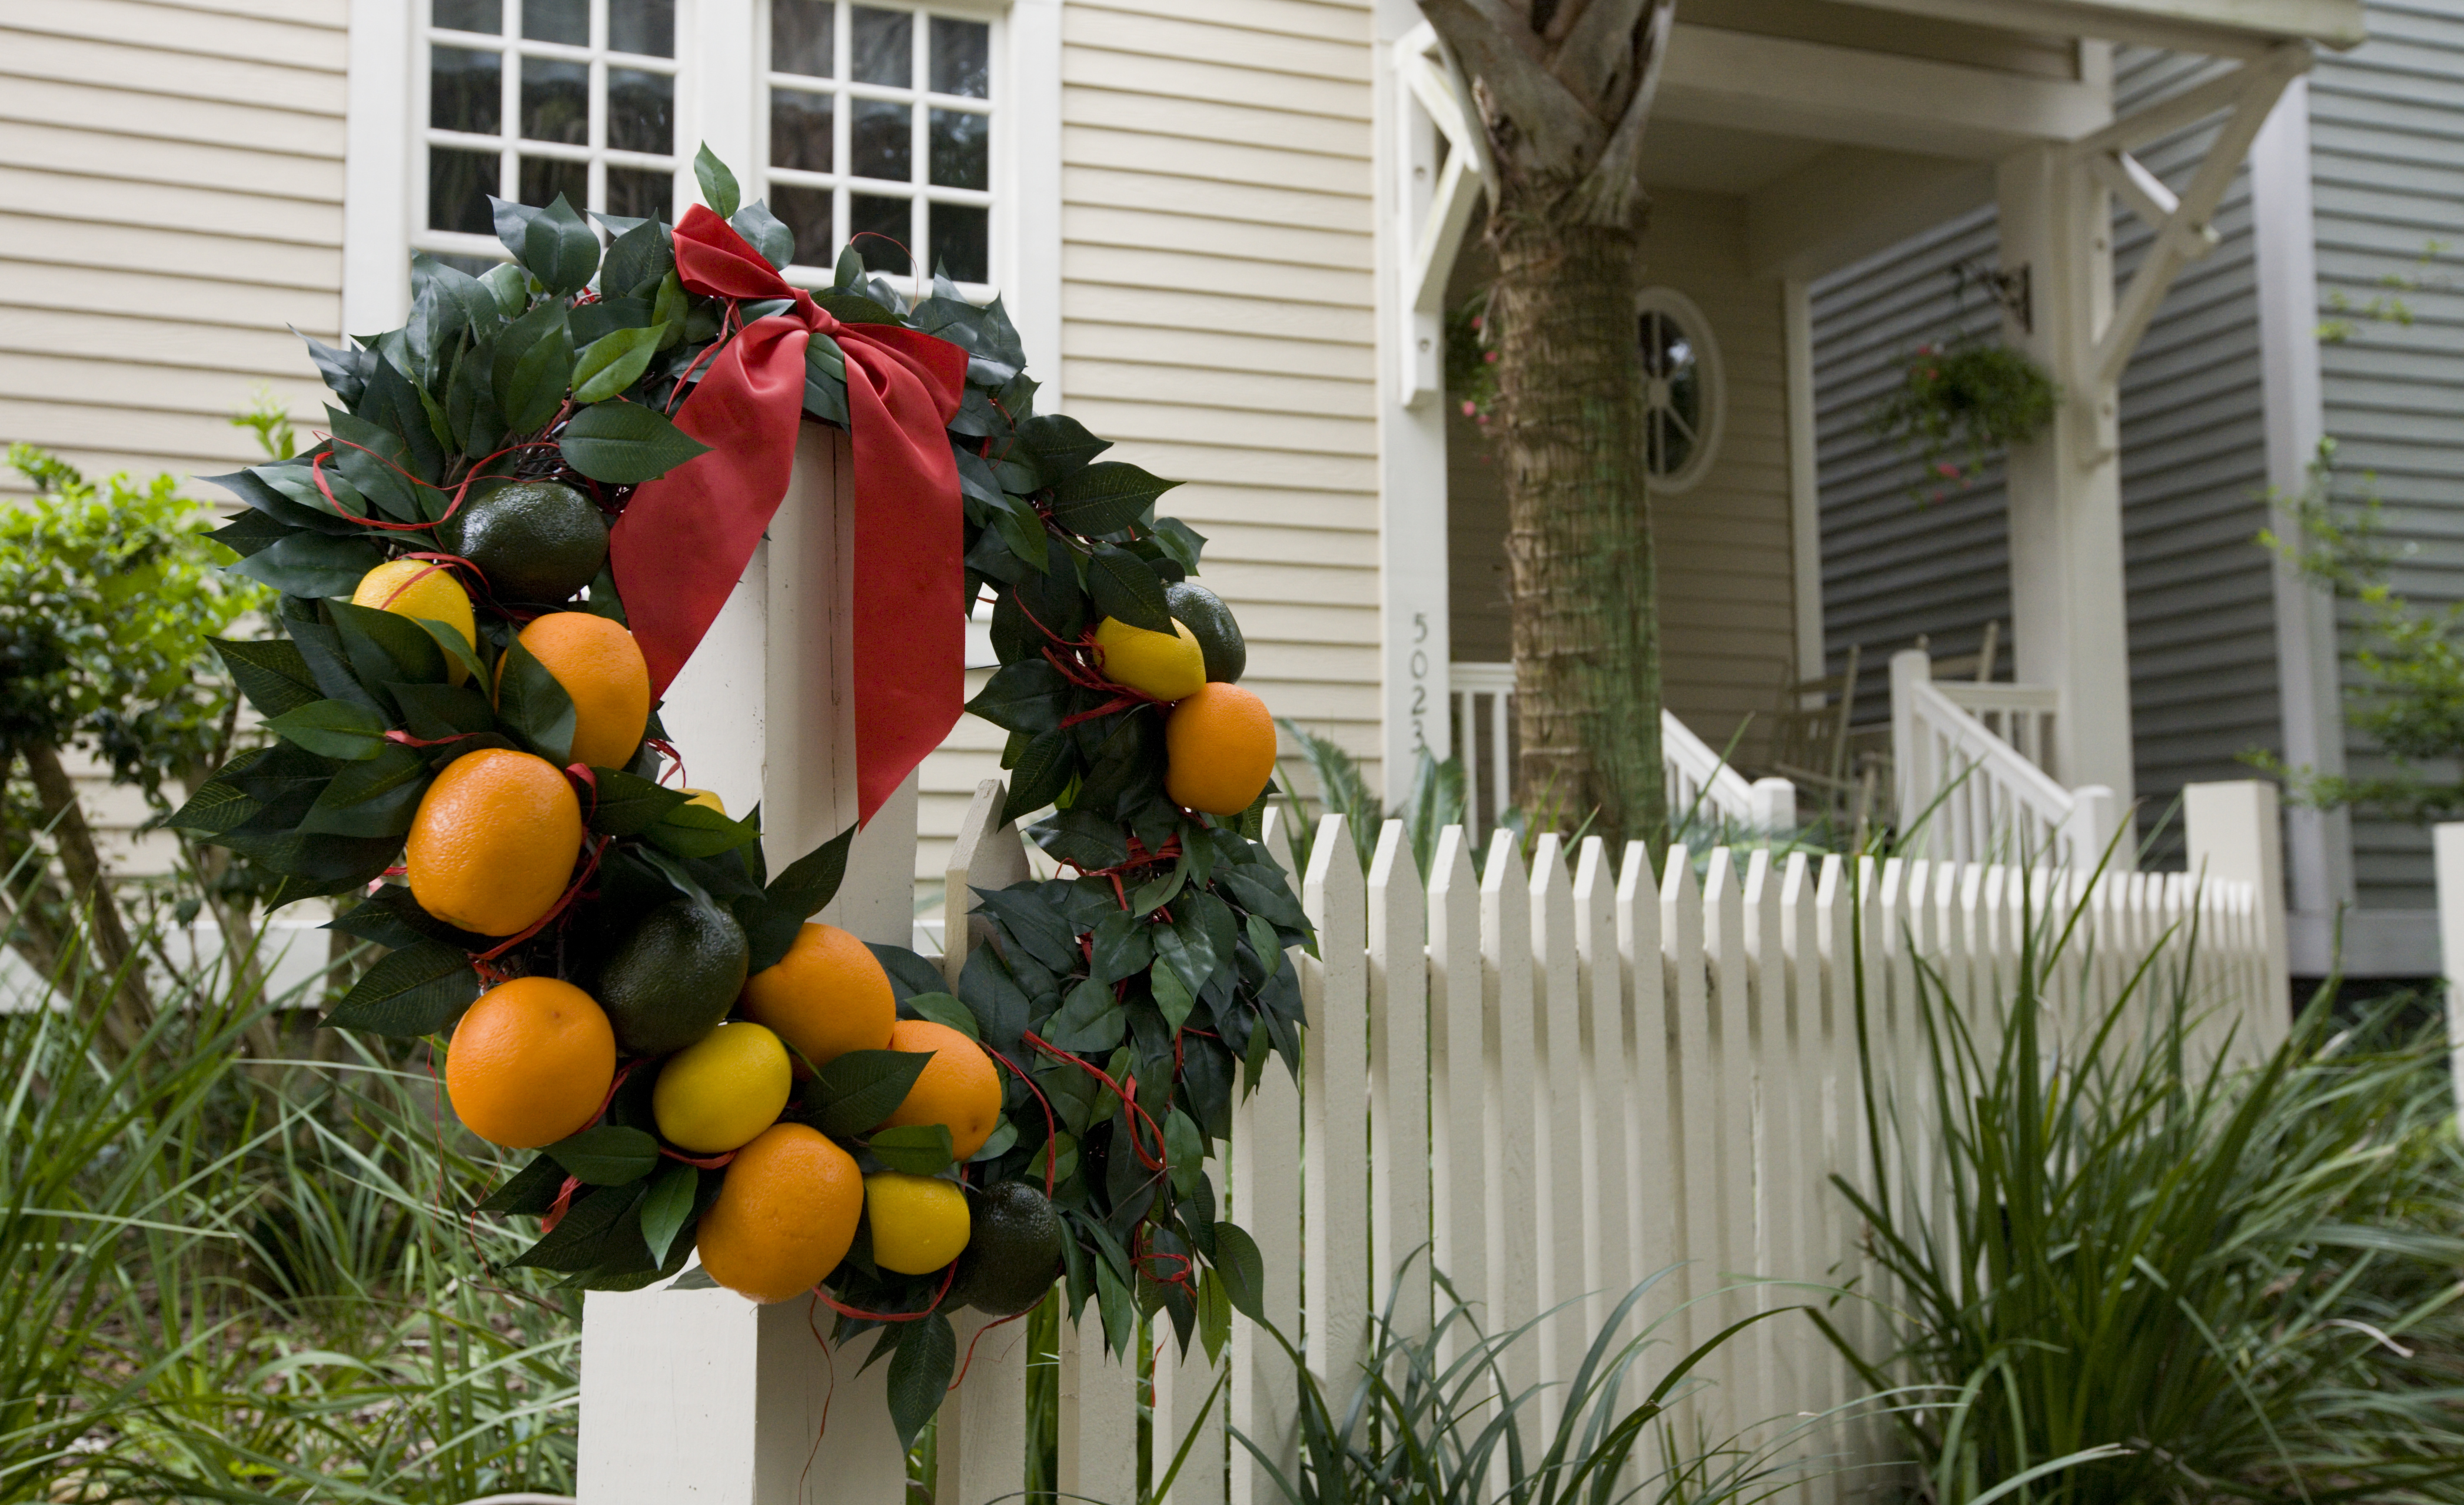
Holiday citrus wreath displayed on a fence in front of a home. Holiday wreaths, citrus fruit, oranges, lemons, picket fence. UF/IFAS Photo: Tyler Jones.
Going green this holiday season can be simple. Using what’s on hand or growing nearby reduces the need to purchase new decorations. Decorative materials like glitter or plastic tinsel often contribute to high waste volumes during the holidays. Combat this by avoiding plastics and microplastics. If you use real trees or large trimmings, know how your local yard-waste or recycling system handles them. For example, many municipalities mulch Christmas trees picked up at curbside. Creating DIY projects is a great way to involve the whole family, so use your kids to help scout your lawn for those hidden gems.
By tapping into what your yard already offers, you’ll not only create memorable, natural holiday décor but also do your landscaping and planet a favor. Sustainability doesn’t mean skimping on style– it means thoughtful choices, repurposing what you have, and wrapping the season in green (literally).
For more information, please visit:
https://blogs.ifas.ufl.edu/news/2019/11/19/make-your-holidays-green/?utm_source=chatgpt.com
https://blogs.ifas.ufl.edu/sarasotaco/2020/12/15/seasonal-sustainability-festive-fixings/?utm_source=chatgpt.com
https://gardeningsolutions.ifas.ufl.edu/plants/trees-and-shrubs/trees/christmas-trees/?utm_source=chatgpt.com
https://blogs.ifas.ufl.edu/volusiaco/2022/11/29/whats-growing-on-holiday-flora-fauna/
by Mark Tancig | Nov 13, 2025
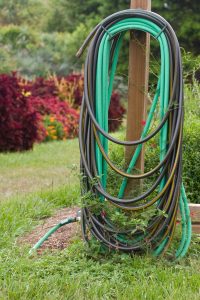
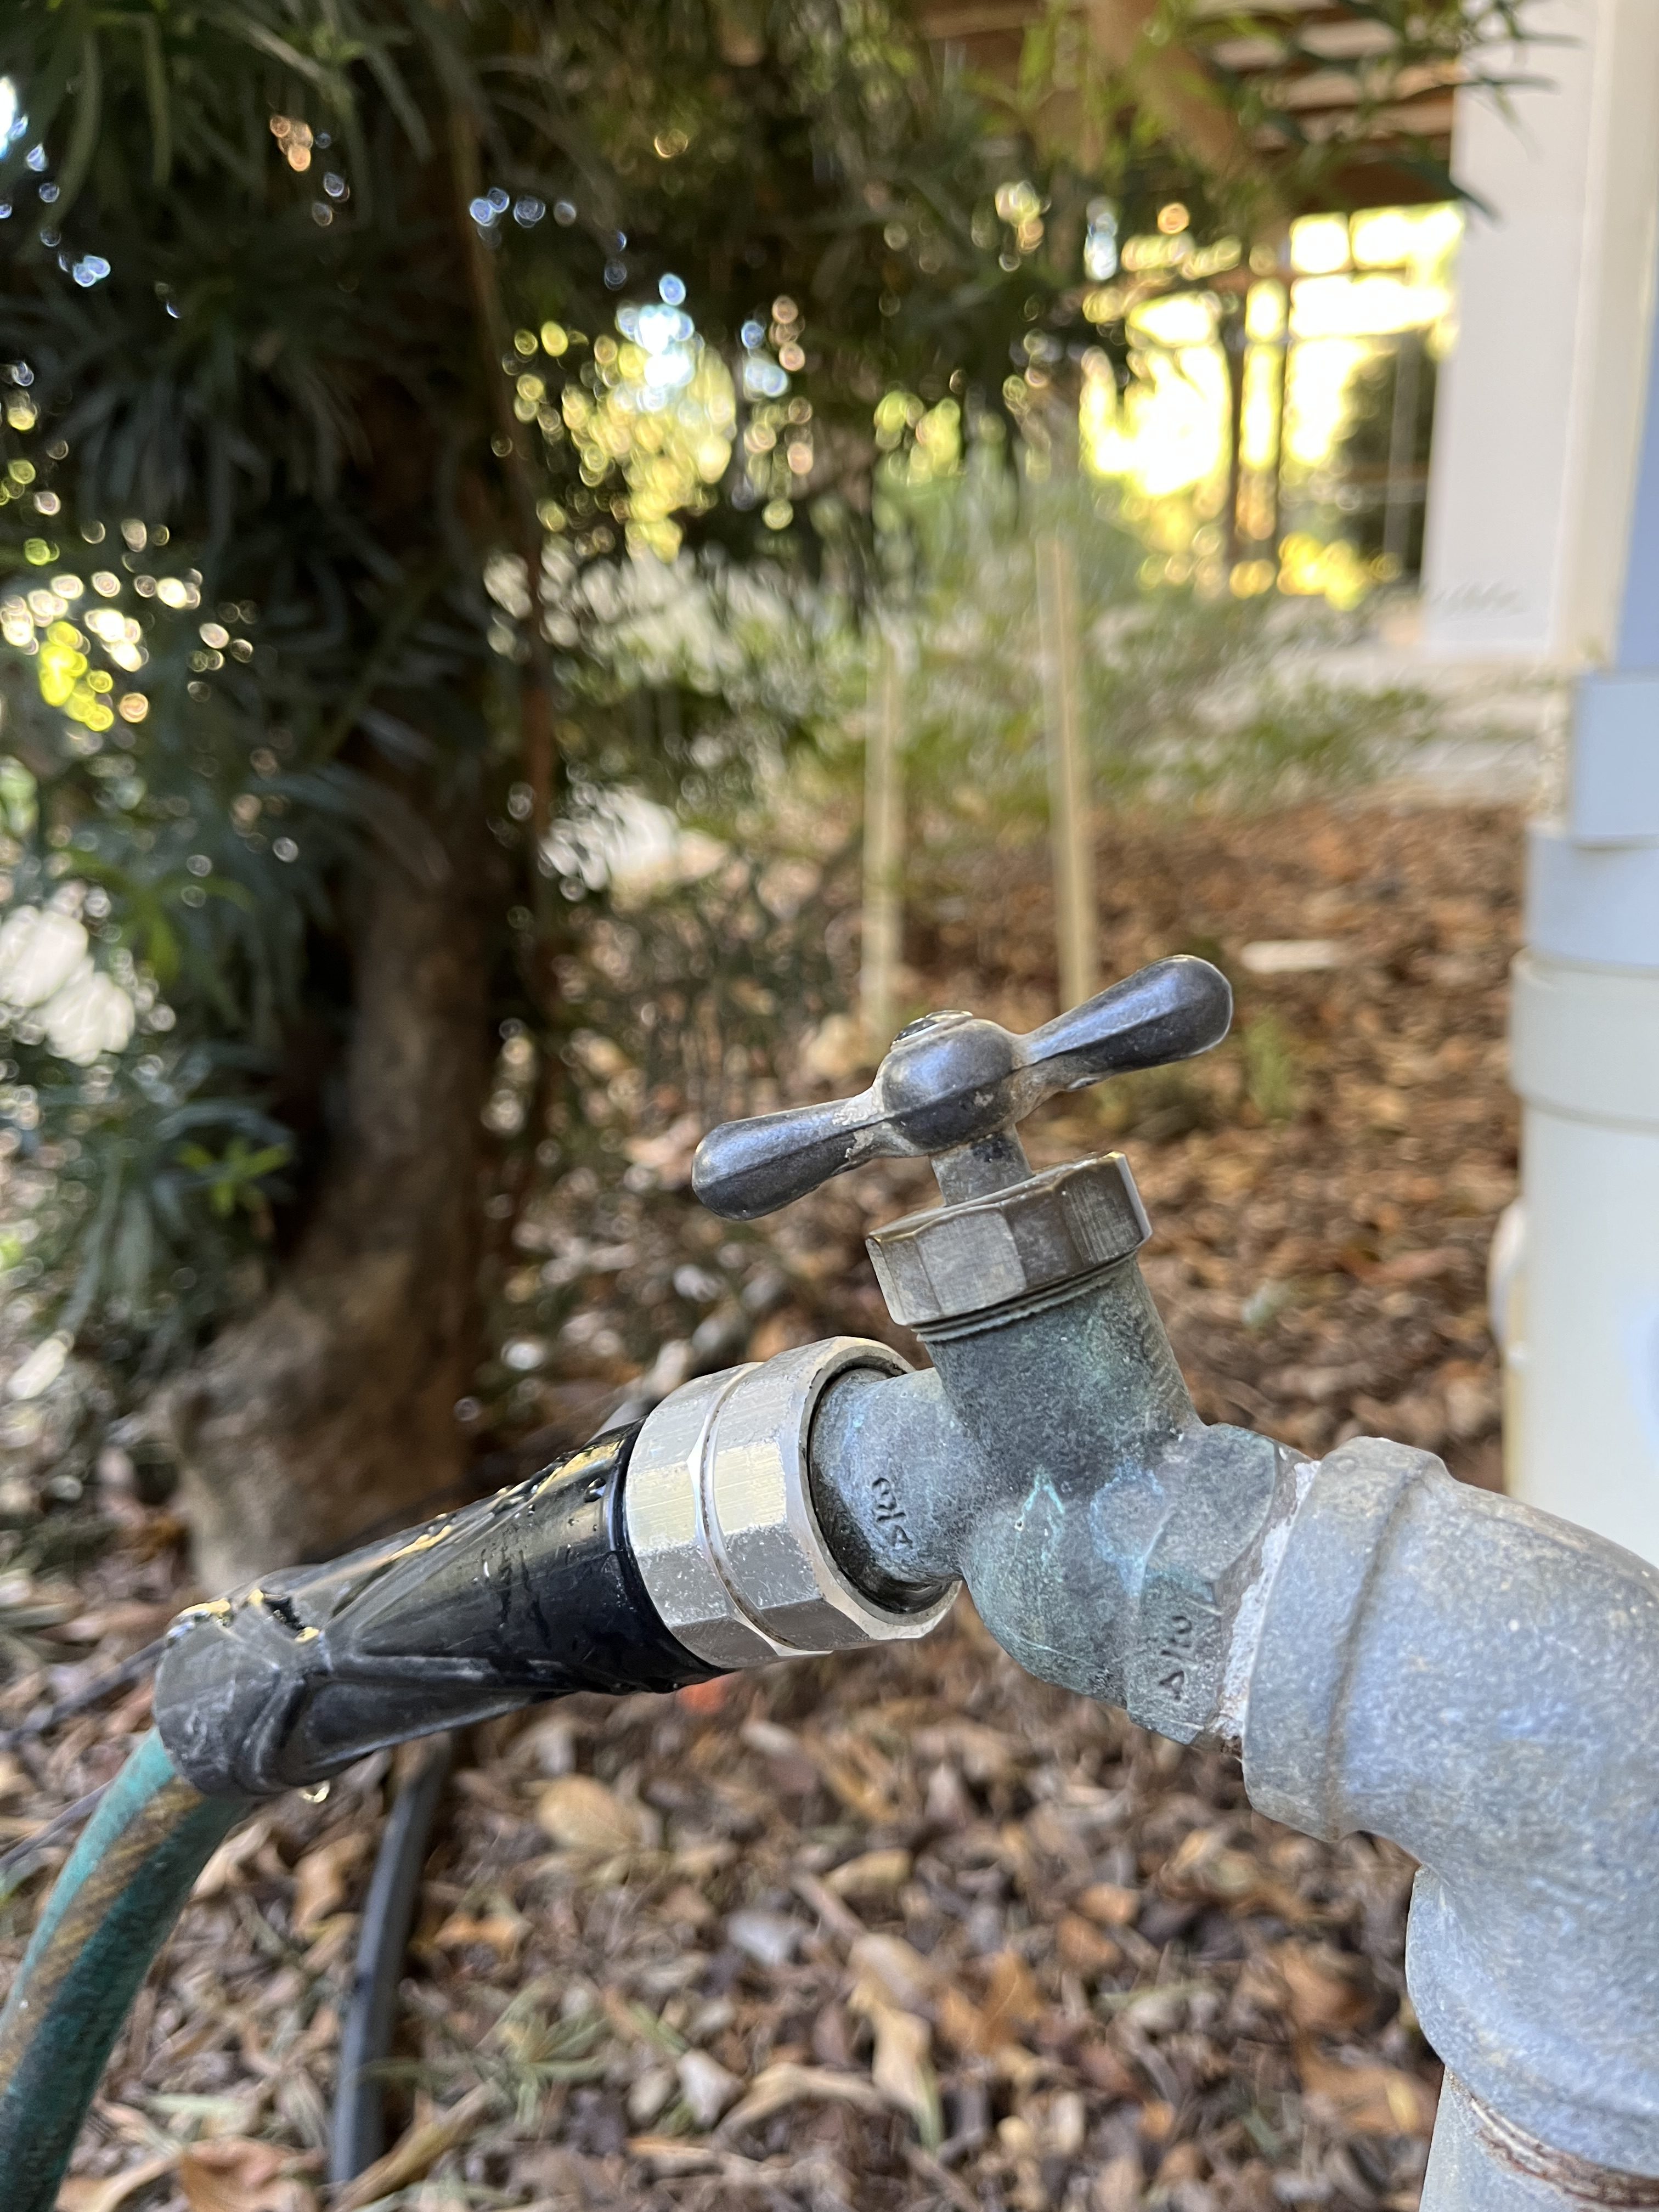
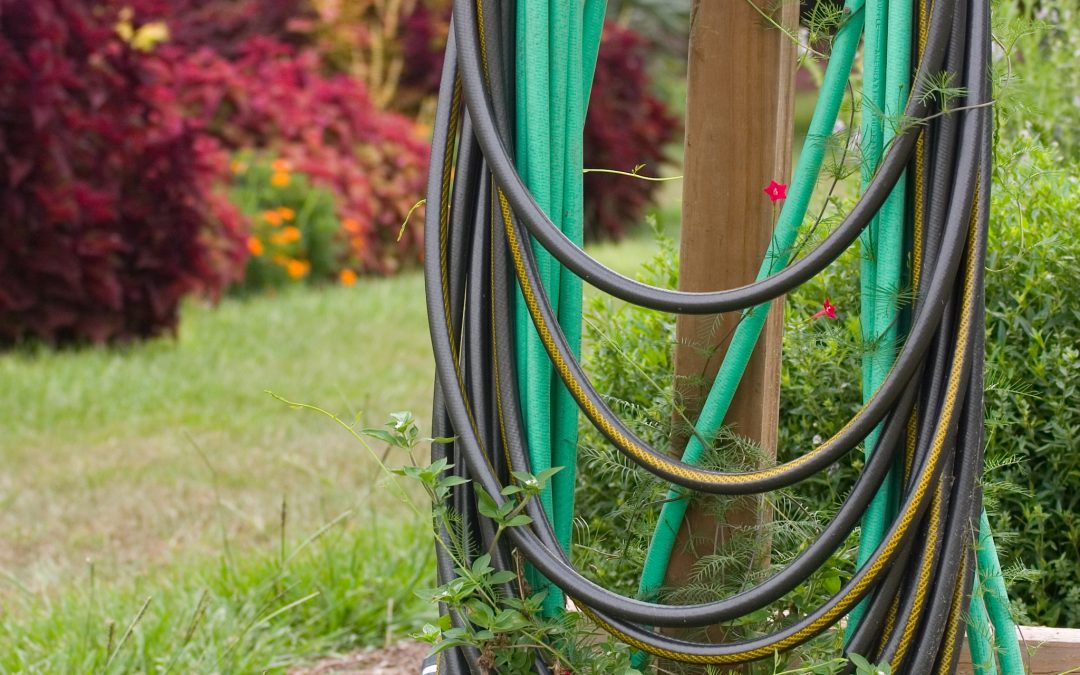
A common site in the garden – multiple hoses pieced together. Be aware of galvanic corrosion! Credit: Tyler Jones, UF/IFAS.
It was the best of times, it was the worst of times. It was a nice day in the garden, but when you go to disconnect the hose, it is somehow stuck to the spigot, connector, or other hose. You go and get the pliers, but the hose just doesn’t budge. If this has happened to you, then you now know of the chemical reaction that can occur between aluminum and brass hose fittings. Hopefully, this is just two hoses stuck together, and you can cut them off and replace them with new ends. If the hose is connected to the spigot and won’t budge, you may want to contact a plumber before you create a bigger problem.
While knowing the name of this chemical reaction, galvanic corrosion, doesn’t help you while you curse these hose fittings, it is yet another scientific discovery in the garden. Galvanic corrosion occurs when two dissimilar metals are in electrical contact with each other in the presence of an electrolyte. The metals must be dissimilar in their electrochemical voltage. I know, you just want to disconnect hoses, not learn physics, but this stuff is interesting! Basically, aluminum is pretty reactive, especially when joined up with brass, bronze, copper, and even stainless steel. In the case of our hoses, the water acts as an electrolyte thanks to the calcium present in our delicious and abundant limestone aquifer groundwater. You put all these together and, bazinga, you have the aluminum hose end corroded into your brass hose end so strongly that no pliers will ever unlock them.

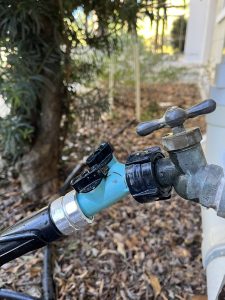
This won’t work out well for too long! Aluminum hose end on a brass spigot will lead to galvanic corrosion. Credit: Mark Tancig, UF/IFAS.
So, what do you do to prevent this? The easiest way to prevent galvanic corrosion from ruining your nice day in the garden is to only purchase products with the same material as your spigots. Brass spigots, hose bibs, and hose ends have been the industry standard, while aluminum hose endings seem to be more of a recent occurrence. Aluminum is cheaper, so you can understand why the hose companies would be interested in switching. If you already have two different materials, first check and see if you can get them disconnected. If not, start purchasing new hoses that match the spigot and/or connector. If you can get them disconnected, one method to prevent galvanic corrosion is to just disconnect them regularly to avoid them fusing. Not sure if you’ll remember? You can also use a plastic connector between the hoses to make sure the two metals don’t touch each other or switch out the aluminum hose ends with replacement brass or plastic ends, found at most hardware stores.
A quick fix is to place a plastic connector between the dissimilar metals. Credit: Mark Tancig, UF/IFAS.
Now that you’ve learned about galvanic corrosion, it’s time to get back to gardening. Good luck with those hoses! If you have other gardening questions, please contact your local extension office.
by Joshua Criss | Nov 6, 2025
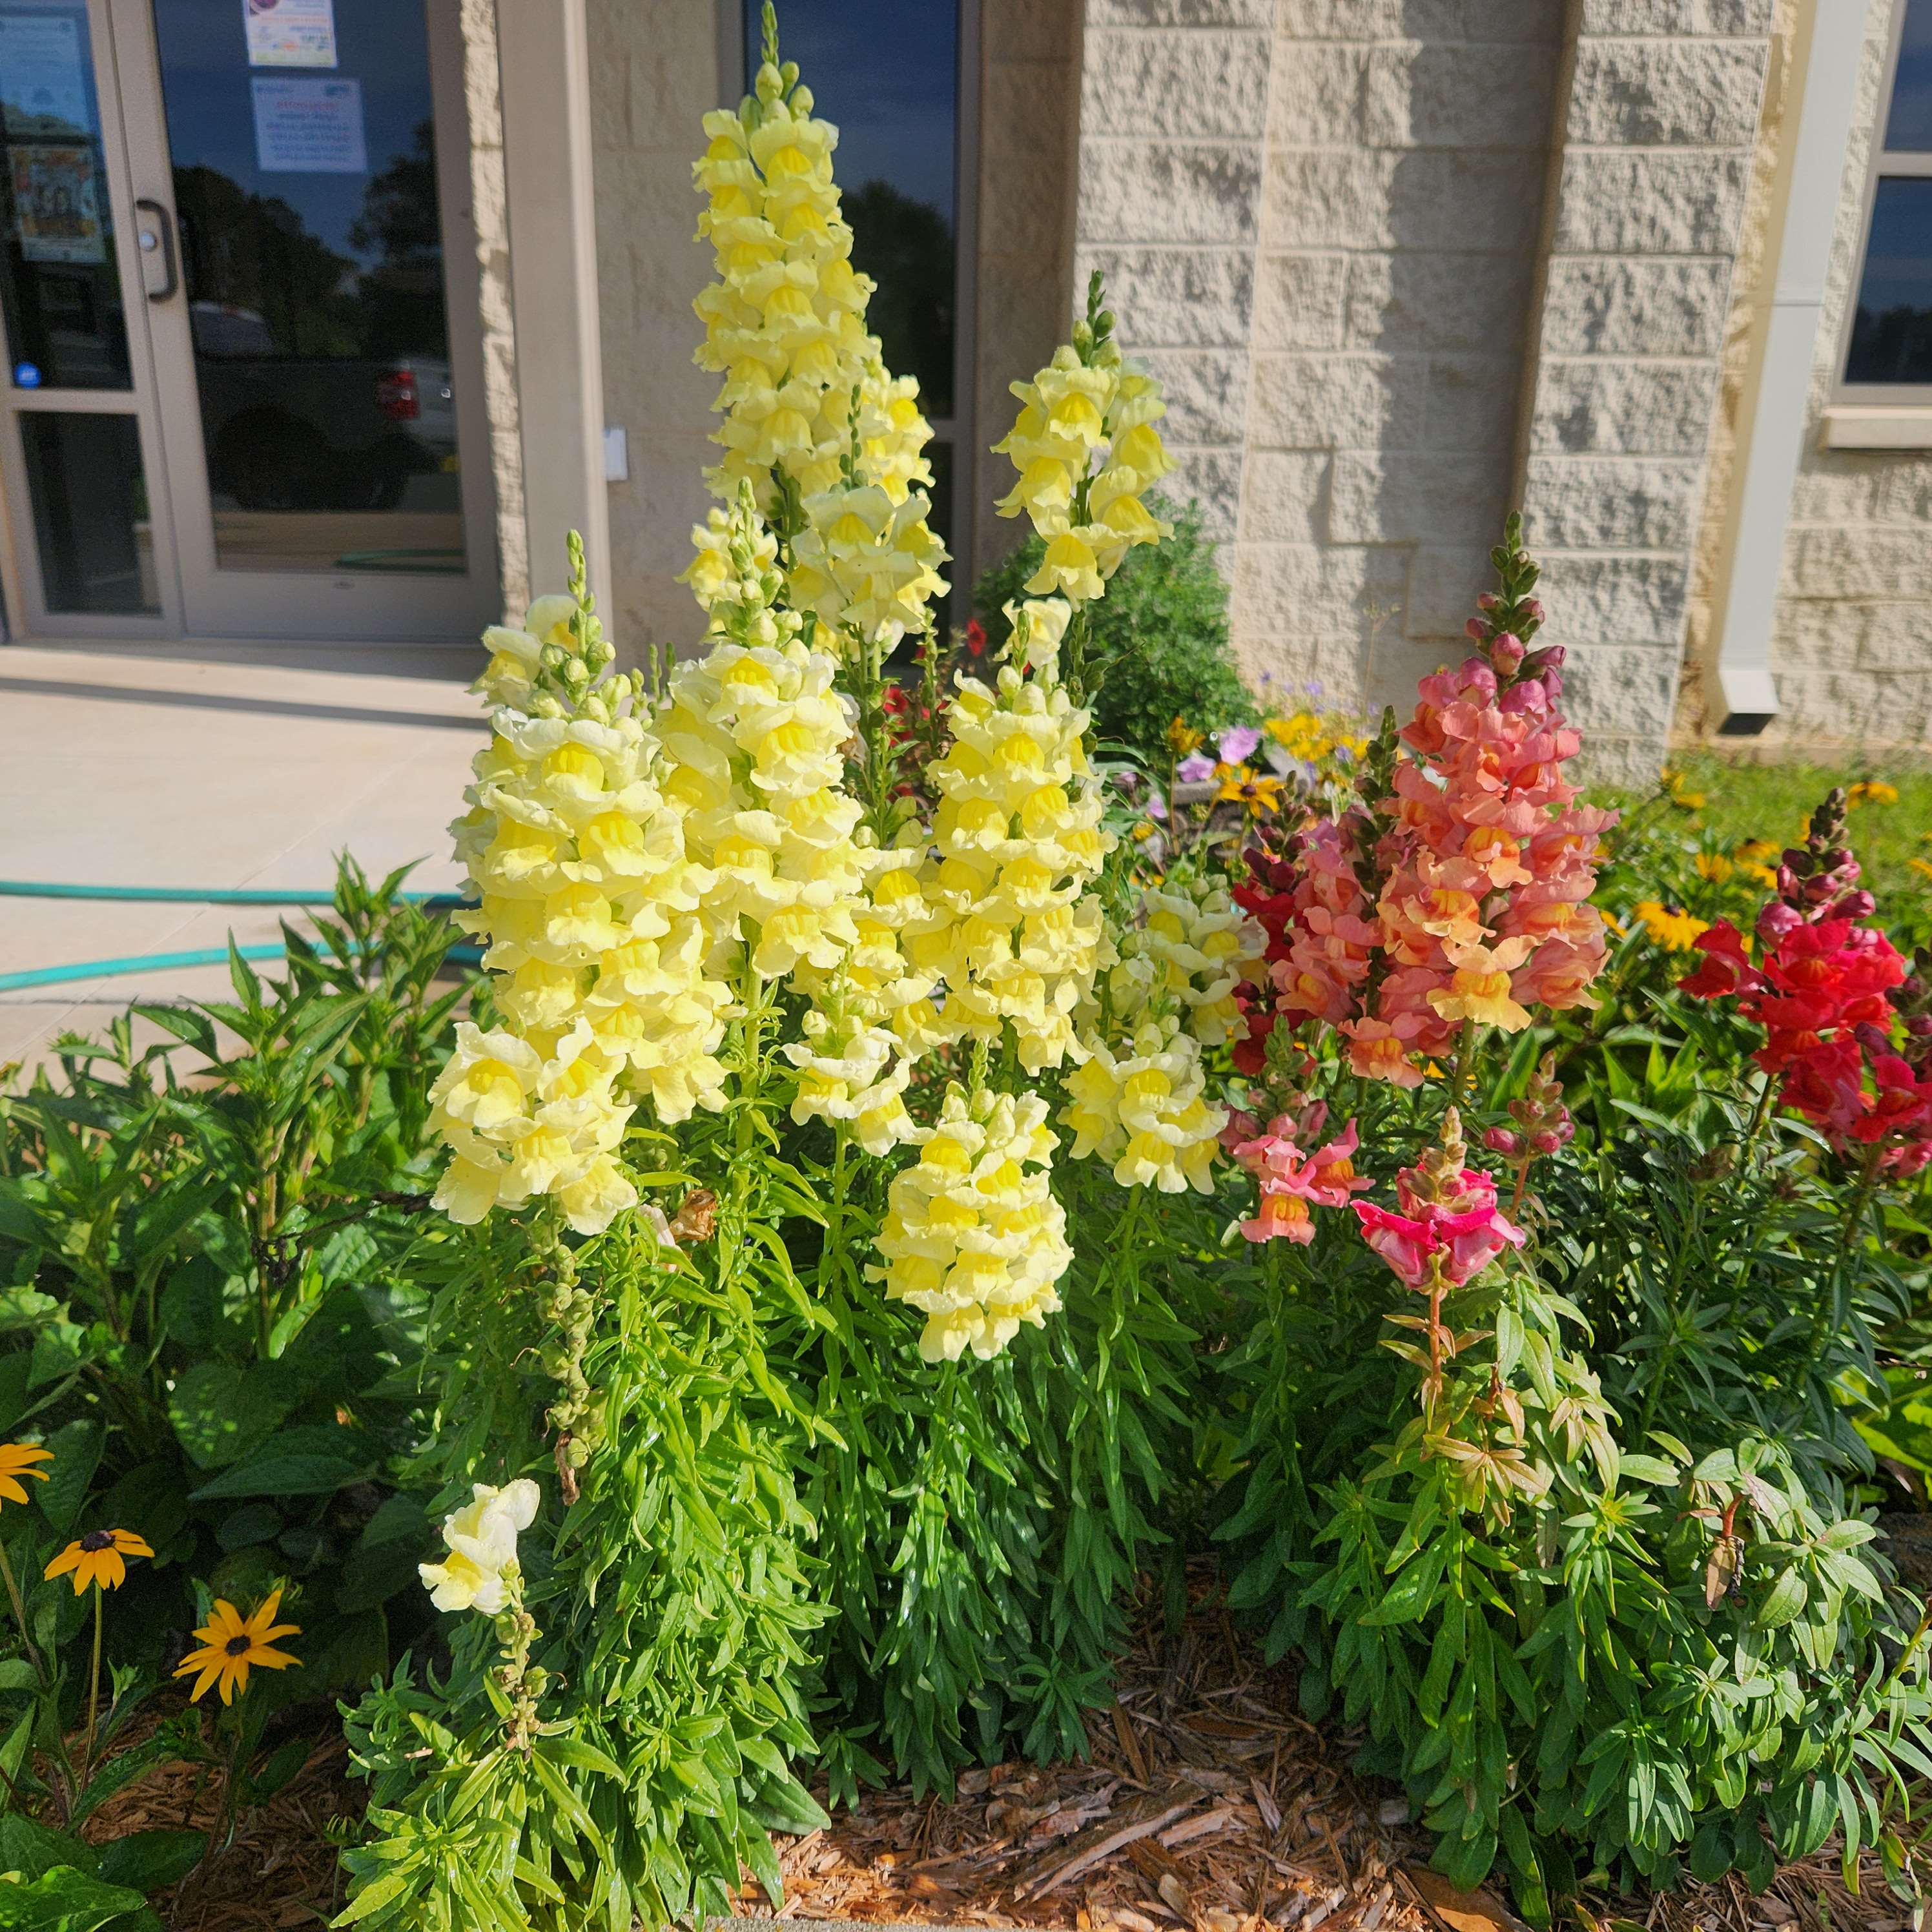
Another North Florida winter is here! With that comes a new plants from leafy greens to snapdragons. It also means the inevitable freeze is on the way. It is prudent for all gardeners to review what needs to be done to protect your non-freeze hardy plants.
Hardiness Zones
Before we get into what actions you may need to take, let’s examine plant hardiness zones. These are geographic areas created by the US Department of Agriculture defined by their average extreme minimal temperature. In the Panhandle these are zones 8b through 9b. In winter we will likely see low temps between 15 – 30 degrees depending on your zone. Sourcing plants appropriate for your zone can mitigate quite a bit of cold damage in your landscape. If you like plants susceptible to the cold, you can interplant them to add a little protection.
Microclimates
Find and utilize your yard’s microclimates. Areas under larger trees are likely to remain warmer in the winter. This is also true behind a windbreak, or near a structure with high sun exposure. Look around your yard and plant any cold sensitive plants in these areas.
This area is likely to have multiple microclimates. UF/IFAS Photo
Full Season Plant Care
Cold protection begins with warm season plant care. Pay close attention to the irrigation and fertilization needs of your landscape plants. Apply these properly to ensure stress free plants moving into the colder months as these will perform better as the mercury begins to drop.
Imminent Freeze Actions
Ok, now that everything is planned, we know our microclimates, and we’ve cared for our landscape through the year let’s see what can be done when a freeze is imminent.
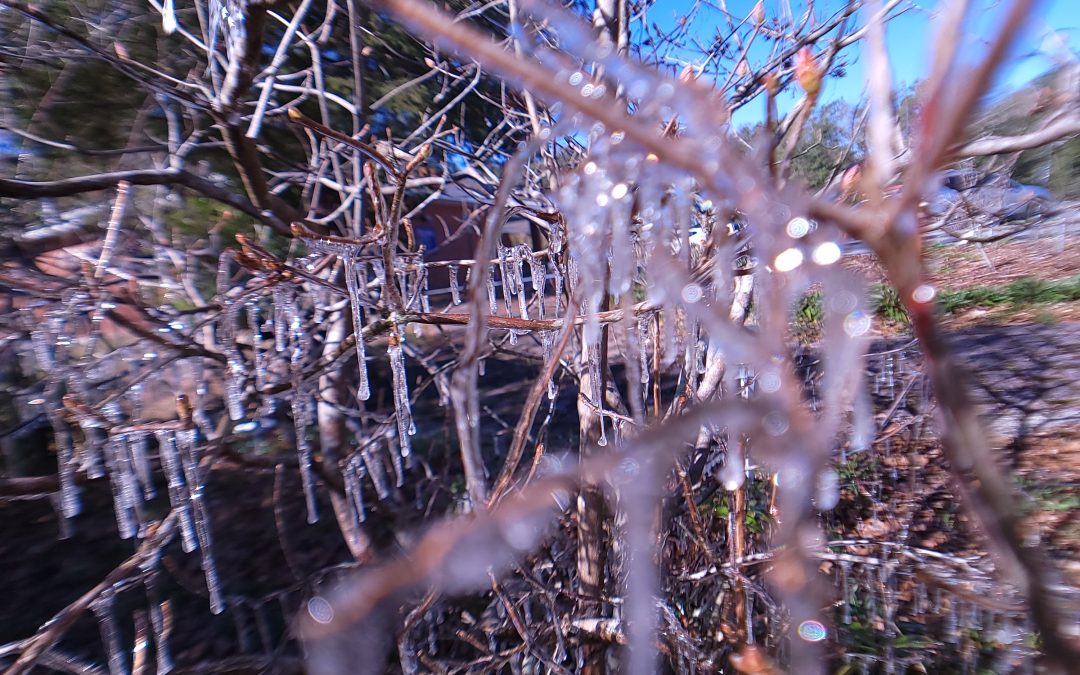
Water the morning prior to a freeze event. Wet soils retain warmth better than dry. That heat will be re-radiated through the freezing night keeping your plant slightly warmer. Adding some mulch will aid this effort. Watering again the next day will break any ice formed in the soil. Keep in mind that prolonged saturation could be detrimental to root systems. Scout your plants regularly after using this strategy to ensure plant health.
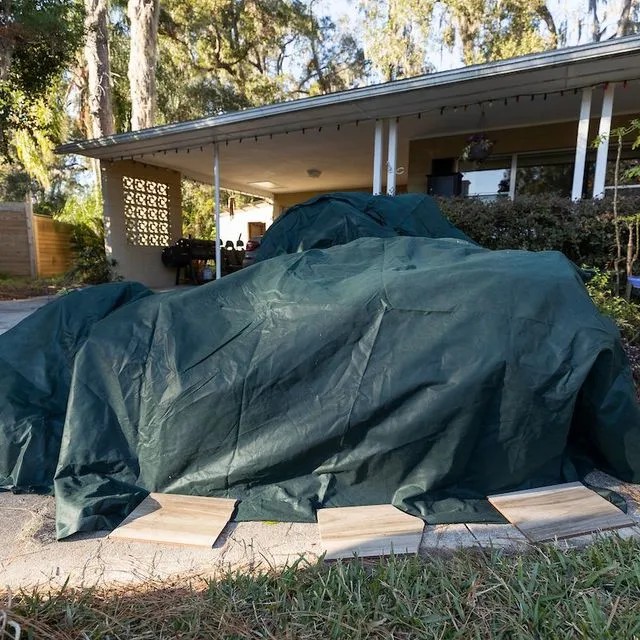
Protect potted plants by bringing them indoors. Those that are too big to move should be padded with extra mulch, and clustered together when possible. Make sure to move them back in place when the warmth returns.
For those trees with graft points (i.e. Citrus), tree wraps may be used as protection. If you don’t have these, pile mulch around the base of the tree to insulate the graft. The idea here being that even if the branches above the graft succumb to the cold, the tree can rebranch above the graft thus keeping the desired fruit of that tree.
Finally, cover your plants. Covers are more useful for frost than freezing temps but are better than direct exposure to cold air. Keep these off the plant’s foliage while ensuring they reach all the way to the ground. Think ghosts over lollipops. Taking them to the ground will capture any heat radiated out of the soil overnight. The addition of lights underneath the cover can help keep that area a little warmer. Be very cautious when doing this as too much heat under the cover could be dangerous.

Plants covered above the foliage, and to the ground. UF/IFAS Photo
You may see some nurseries apply irrigation via sprinklers through the freeze as protection. While this method does work, it requires some specialty equipment. Additionally, you’ll need to apply the water prior to the freeze setting in and continue until the temps return. It not a practical solution for homeowners.
Once the cold passes, keep an eye on your plants. Wait until you see new growth before pruning damaged plant tissue. If in doubt you can slightly scrape the bark. If the cambium beneath the scrape is green, it is still alive.
For more information on cold protection or any other horticultural topic contact you local UF/IFAS Extension office.
by Ben Hoffner | Nov 5, 2025
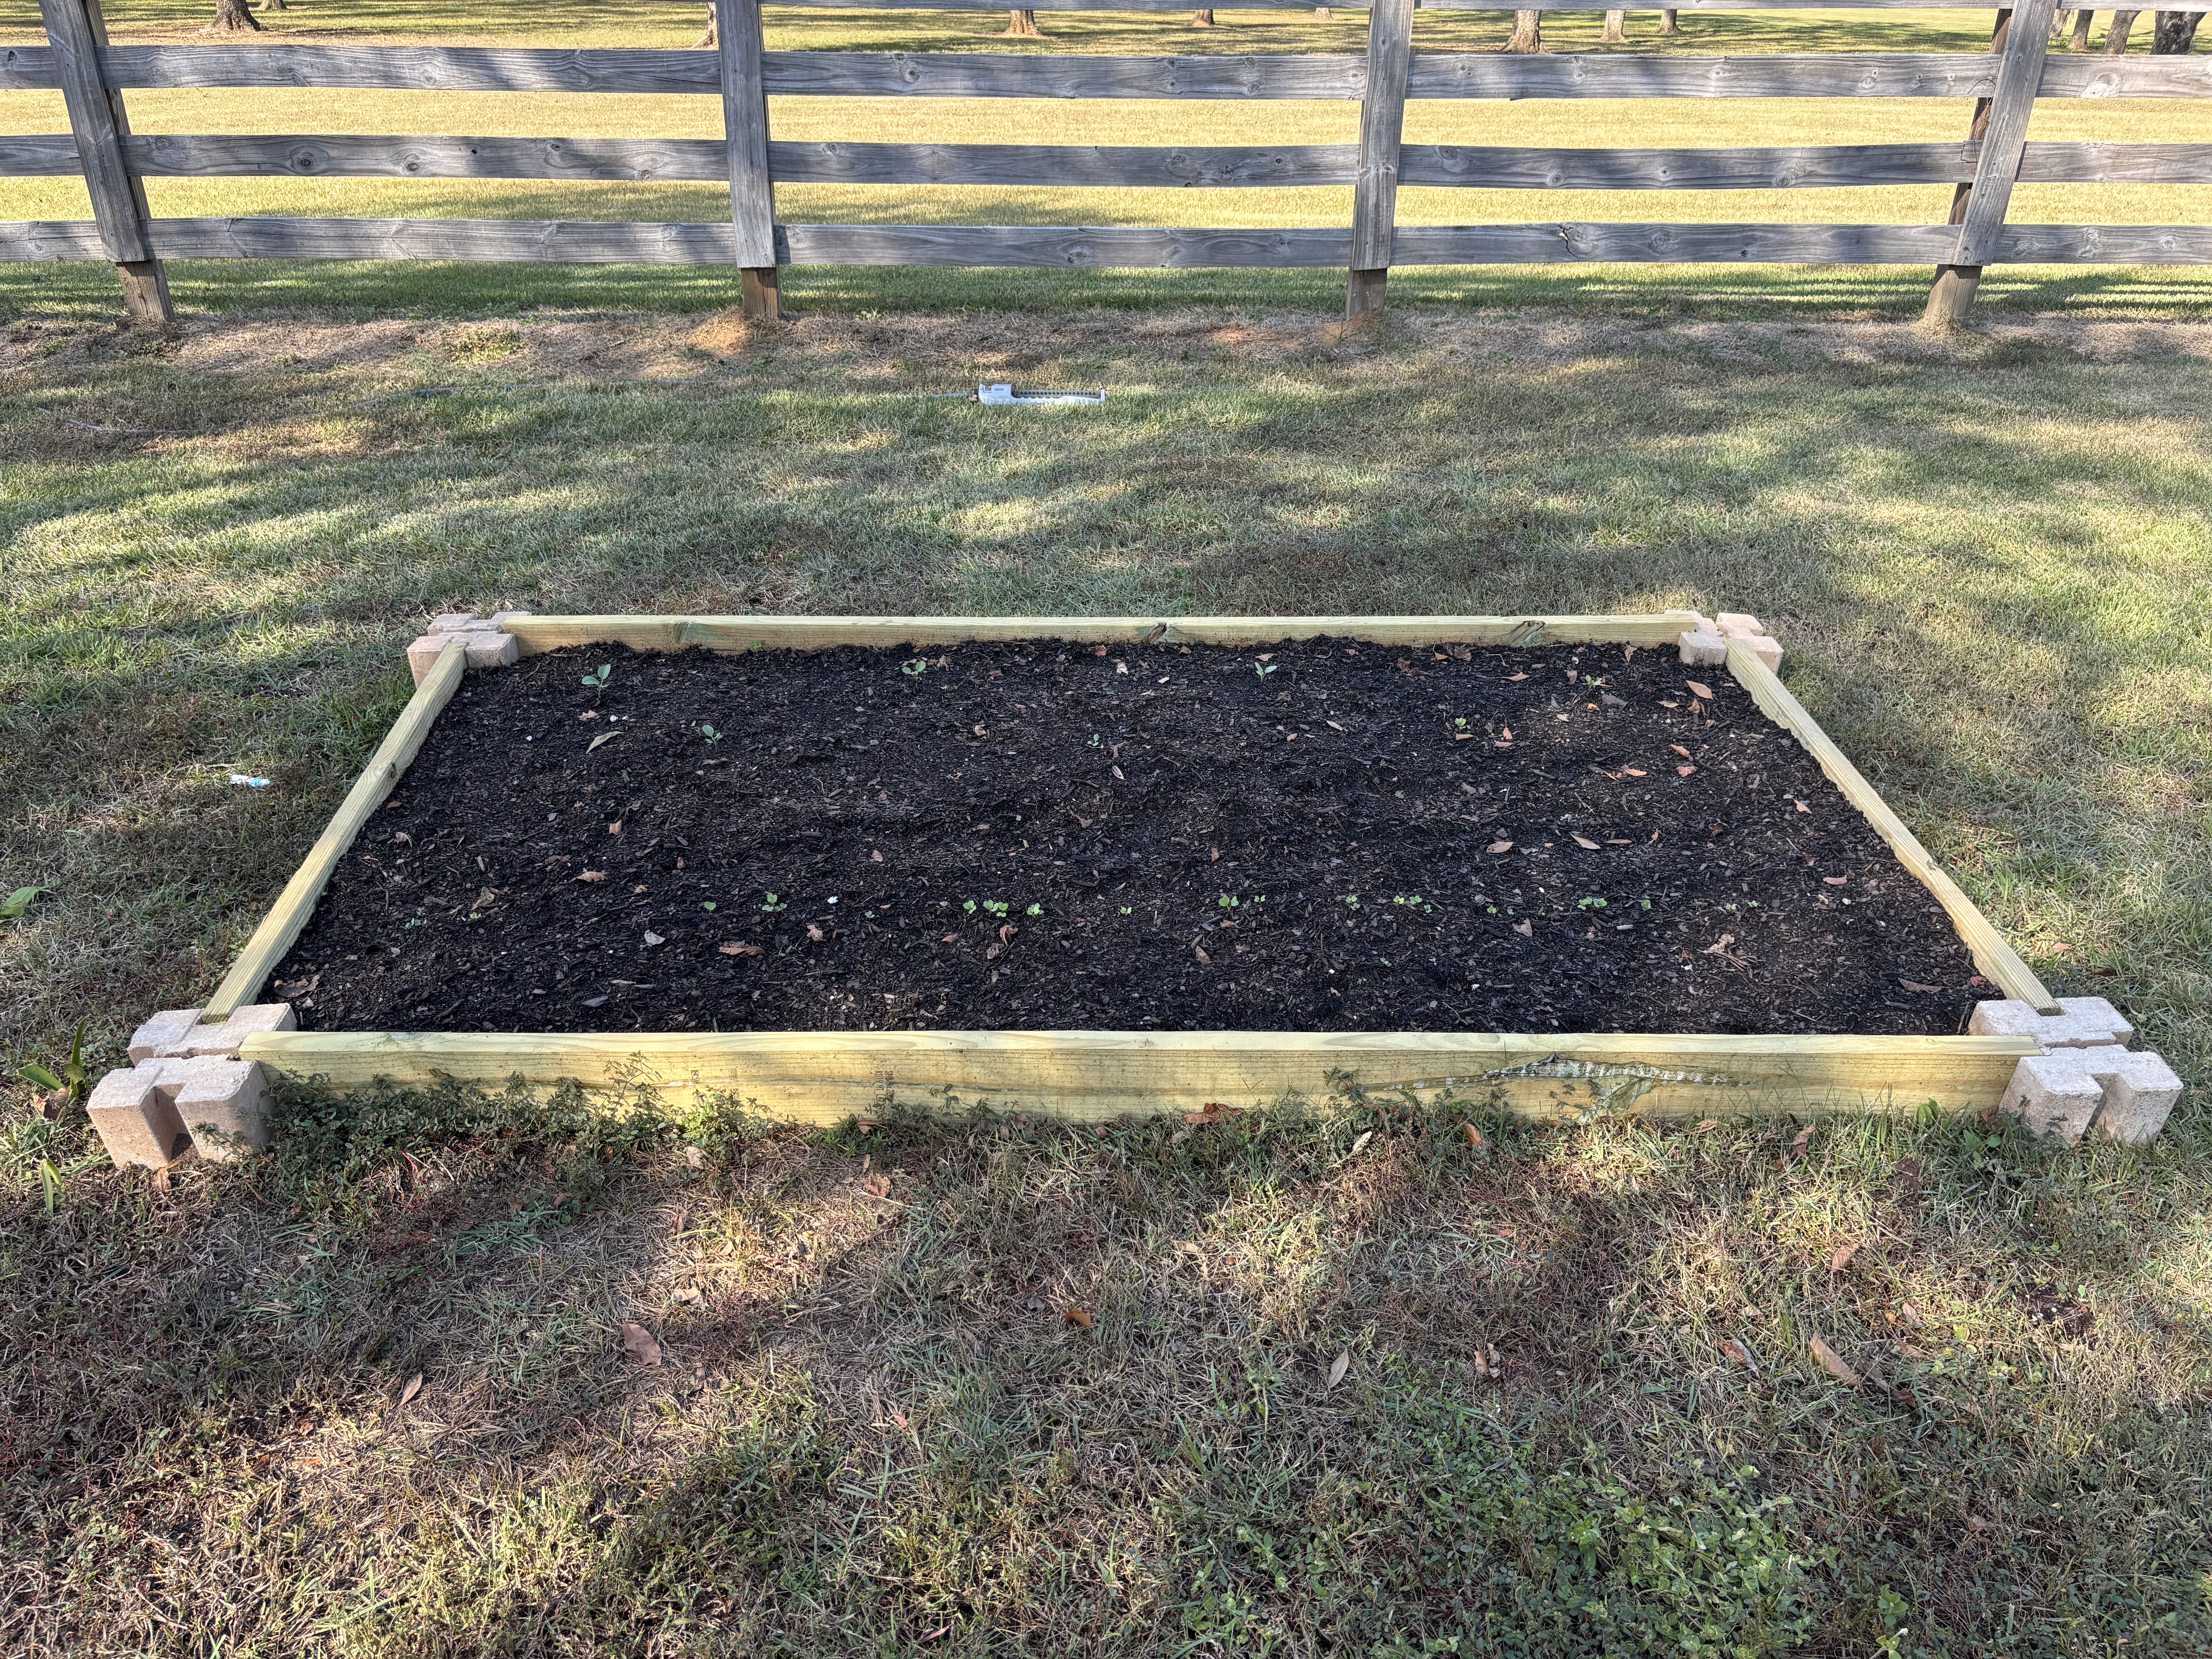
When making plans for a fall or spring garden it is important to consider which methods of planting and raising your crops will work best for you. Traditional ground plots can be very effective but like with anything there can be negatives. Issues with space and soil fertility will be your biggest challenges with ground plots. Raised Beds are a very popular choice for several reasons like being aesthetically pleasing, mitigation of poor or no soil, decreases runoff/erosion, positive use of space, and maintenance.
Site Selection – Before creating your raised bed there should be a couple of key factors that are considered. Sunlight is the most important factor. Areas where the raised beds are constructed must have full sun for a minimum of 5 to 6 hours per day for best results. It is ideal to have morning sun do it less intense heat in the morning and dries due off the plant. Staying clear of structures, large trees, tree lines will help to have ample sunlight. Access to a water source close by is imperative for a successful raised bed. Make sure it is placed on well drained level ground away from tree roots that could compete with your crops.
Construction – The most “traditional” raised bed structure are made with wood. Consider pressure treated vs. non-treated wood. Pressure treated wood post 2004 is unlikely to contaminate food crops and will have a longer shelf life. Non-pressure treated will be a less up-front cost but will end up costing more overtime due to having to replace the boards earlier and more often. Screws and nails are appropriate methods to secure the corner but be sure to dispose of them correctly. Concrete corner blocks found at stores like Lowes or Home Depot have become a popular mothed to secure the corners. A 4’x8’ bed is the most popular size due to easy maintenance and construction. To construct this sized bed all you will need is three 2”x6”x8’ boards and four concrete corner blocks. After the outline of the bed has been created, you will need to create a base layer to kill the grass below, so it does not grow up through the soil. You can use materials like cardboard or mulch to accomplish this. The raised beds should be filled with either a mix made for raised beds or a 50-50 mix of compost/organic matter and topsoil. 1 cubic yard of material will fill a 4’x8’ raised bed.
Raised beds can be an effective and fun way to garden at home. Consider all factors discussed to make sure your raised beds are successful. For more information on raised beds contact your local UF/IFAS Extension Office. 
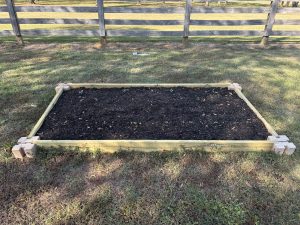
4’x8′ Raised bed – Photo taken by Ben Hoffner – Jefferson