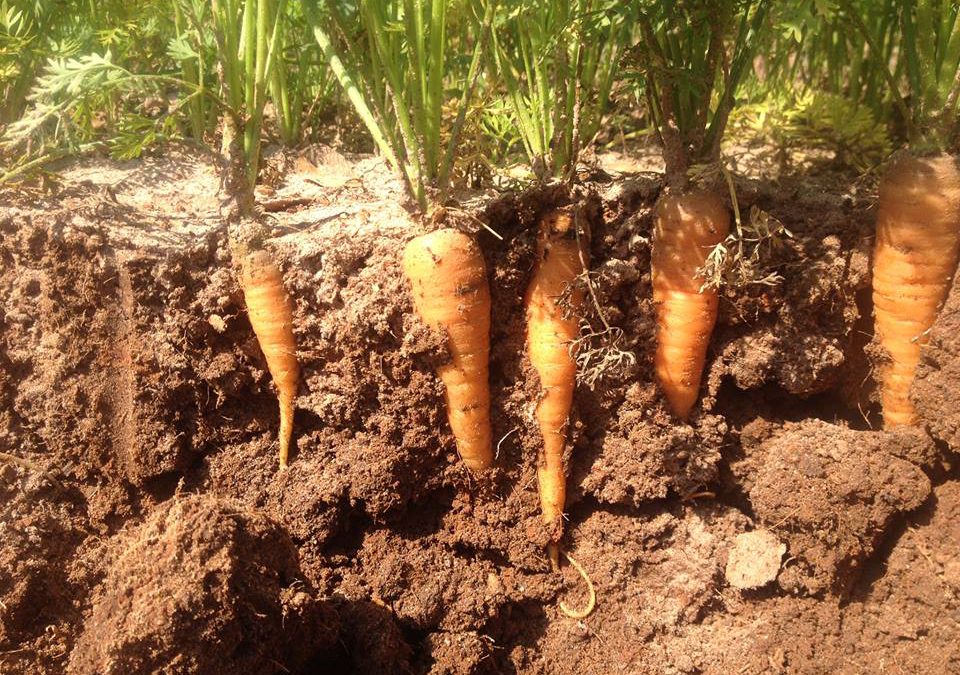
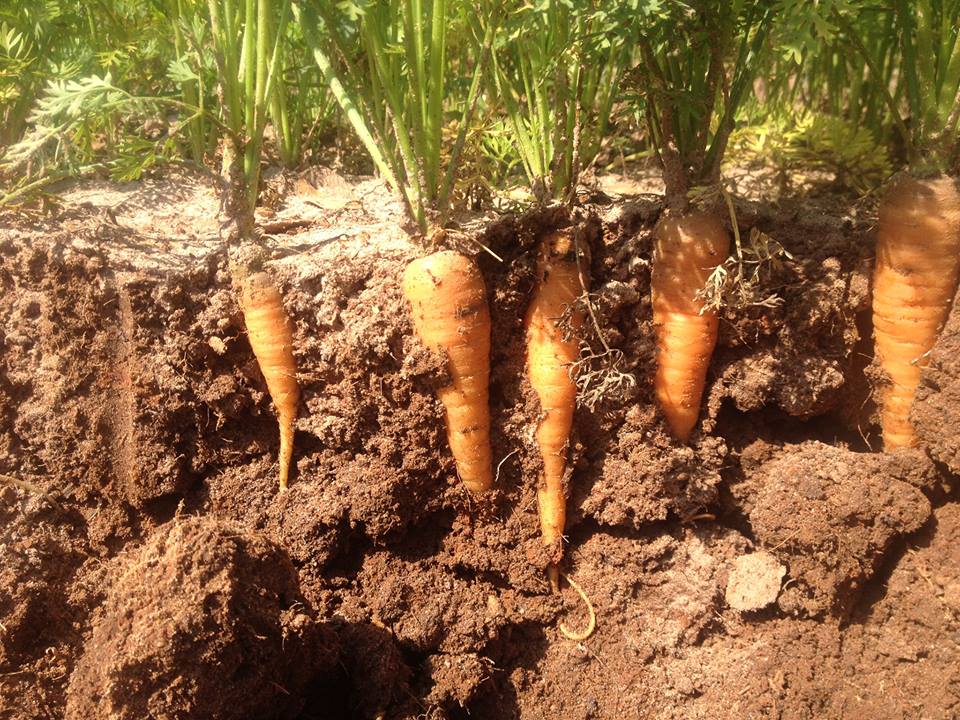
Carrots need enough space so as not to compete for light, nutrients, or moisture. Photo by Full Earth Farm.
Of all the garden veggies, carrots are very close to the top of my list of favorites to grow. They can be directly seeded into the garden, need no pruning or staking, can hold up magnificently in the cold, have few pest problems, are easy to harvest, can be eaten raw or cooked, and they are, of course, delicious.
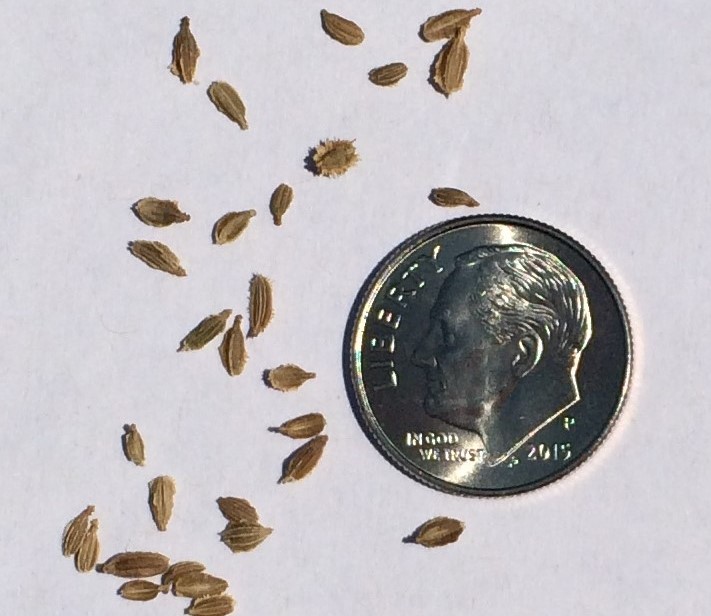
Hand-seeding carrots can be a challenge, as the seeds are very small. Photo by Molly Jameson.
Carrots are in the Apiaceae, or umbel family, along with cilantro, celery, fennel, parsley, and dill. Flowers in the umbel family grow as short flower stalks which spread from one point, like that of an upside-down umbrella, hence their name. If the carrot root is not harvested, the plant will produce beautiful umbrella-like inflorescences the following year, as carrots are biennial.
When planting carrots, there are some important aspects to keep in mind. Here in Florida, carrots thrive in our cool season. They prefer soil temperatures to be less than 80°F for good germination and air temperatures below 75°F for best growth. Therefore, waiting until mid-September through October to seed will yield better germination and growth.
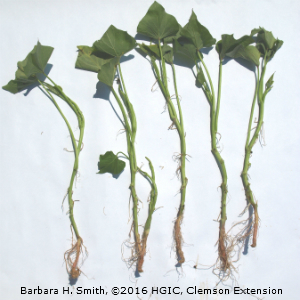
One of the biggest mistakes one can make in the garden is neglecting to thin seedlings. And carrots – whose seeds are a mere millimeter in length – are one of the prime culprits.
An individual carrot needs one to three inches of soil space, depending on the variety, to grow to full maturity and not compete for light, nutrients, or moisture. This, however, does not mean that you must only plant one carrot seed per one to three inches. In fact, carrots should be seeded one-half inch apart, especially when day temperatures are above 75°F, as you may have spotty germination. But the key is proper thinning. Carrots take between seven to 21 days to germinate, so be sure to give them time, and be sure to keep the area consistently moist, but not water-logged.
Depending on the variety, carrots need one to three inches per plant. Photo by Beth Bolles.
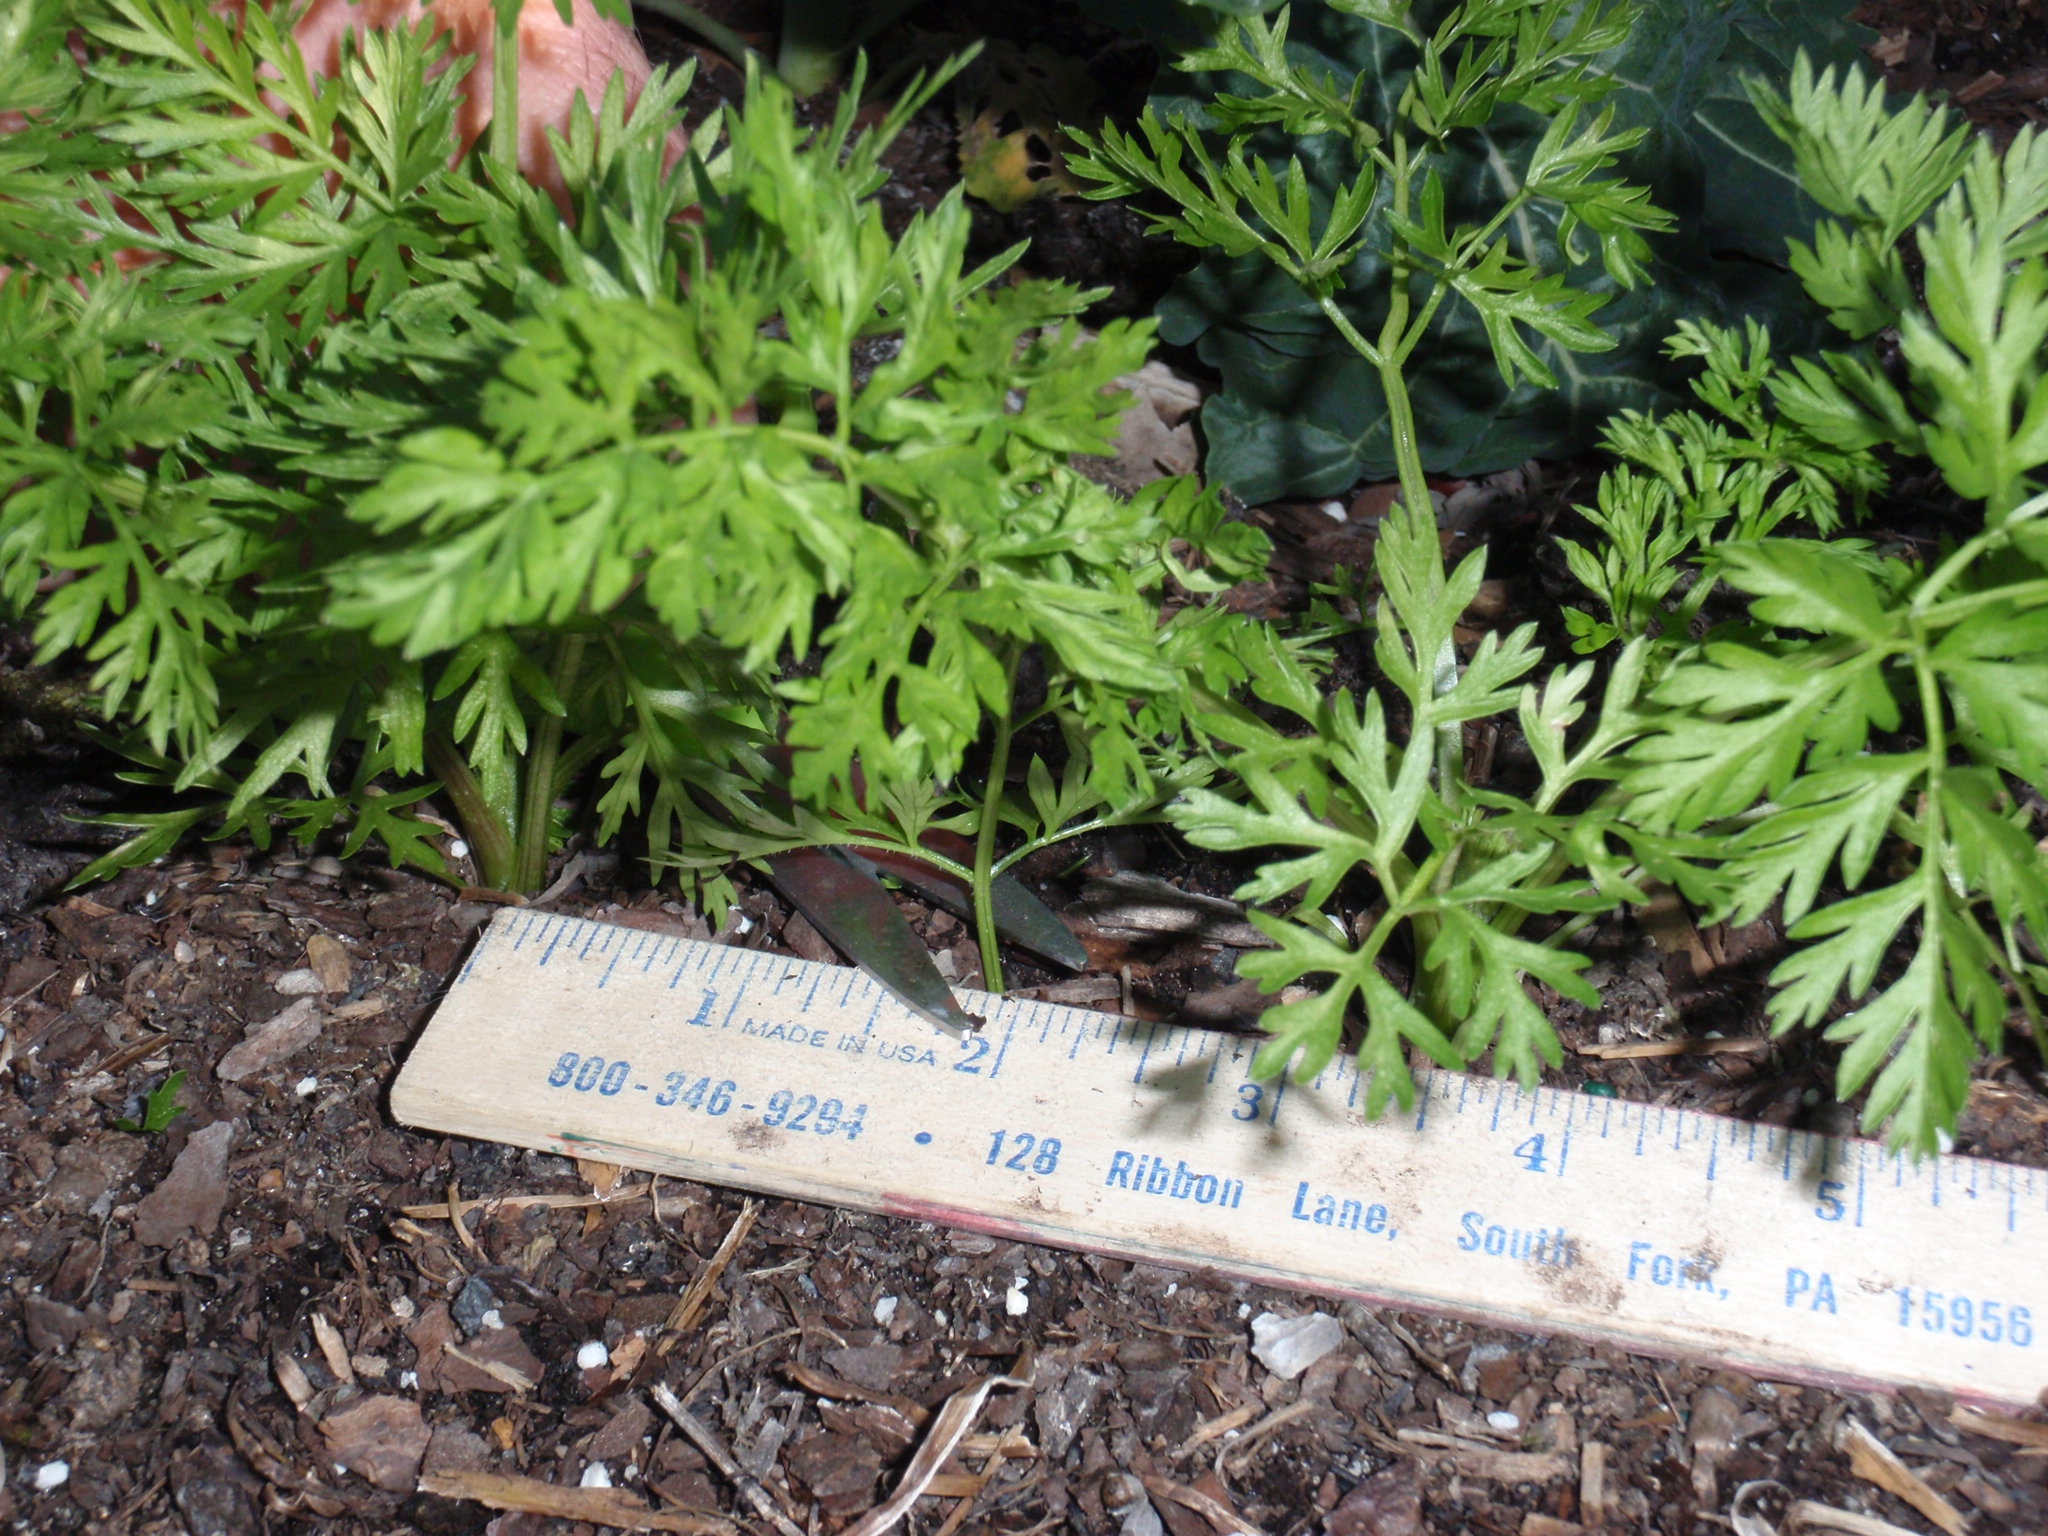
Once germinated, it is crucial to make your first thinning. Find the seedlings that are less than an inch apart and simply cut their stems at the soil line using either a sharp fingernail or garden sheers. Depending on the variety of carrot and seeding density, you may need to make another thinning to ensure the carrots have enough room to prosper.
I know it can be emotionally challenging to remove growing seedlings from your garden – but remember – it’s for the greater carrot good!
The hottest days of the summer are here and you might be thinking, “There is no way something could survive this heat!”. You might also be wondering “What can I do in my landscape?” Well, you are correct – it is hot and there are not many plants that thrive in this type of weather, but the good news is we are at the end of the summer season and there are things we can begin to do to get ready for fall. It’s not too late to get the last of the summer vegetables going such as lima beans, cucumbers, eggplants, and peppers. Many cool season crops can also be planted by seed now and tomatoes will thrive going into the fall season. See Vegetable Gardening in Florida
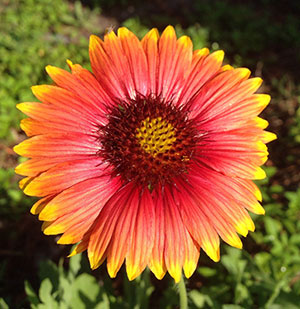
There are some heat-tolerant annuals like vinca, gaillardia, bulbine, and coleus that can be planted now in the landscape. See Annuals. Any time of the year, even late summer, bulbs like Aztec Lily, Butterfly Lily, Walking Iris, and Spider Lily can be planted. See Bulbs for Florida. Not many herbs do well in our Florida sun this time of year, but Bay Laurel, Ginger, Mexican Tarragon, and Rosemary can be planted as transplants now but not as seeds just yet. See Herbs.
August and late summer is the time of year that you may be seeing damage in your lawns. This could be caused by insects, disease, or irrigation failure. It is important to determine the cause, so the proper remedy is used. Some ways to avoid lawn damage are checking your mower blades regularly and making sure they are sharp. Also only cut the top one third of the blade of grass to not stress it in the heat of the day. It is good practice to test your irrigation clock and have a rain sensor. Some municipalities in north Florida prohibit the application of fertilizer during the summer rainy season from June to September so check with your local extension office. See Insect Management in Your Florida Lawn
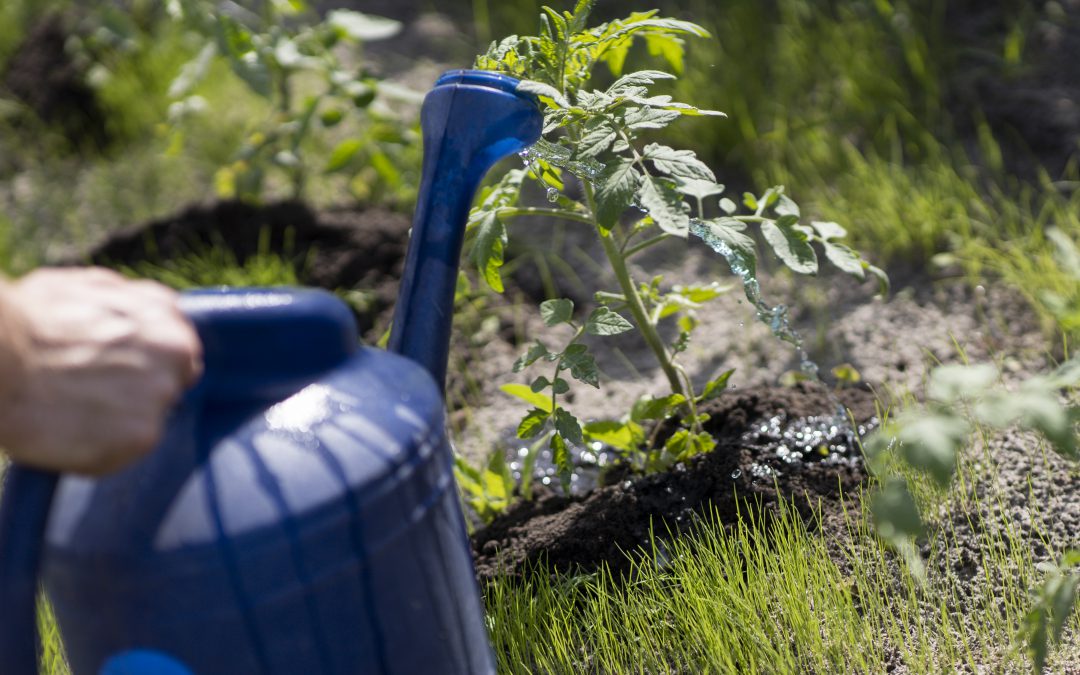
You can become more self-sufficient by growing your own healthy food in your backyard. Photo by Molly Jameson.
There are some other maintenance measures you can take in August to help your landscape and prepare for the fall season. If older palm fronds are yellowing, this could indicate a deficiency in magnesium or potassium. Talk to your local agent or visit your local store for an appropriate palm fertilizer. See Palm Nutrition and Fertilization. Are you holding on to those beautiful fall mums or decorative Christmas poinsettias? Now is the time to pinch them back to allow time for buds to set for winter blooms. Finally, it is a good time to deadhead (remove old blooms) and fertilize flowering annuals and perennials. We’ve had substantial rain this summer, so keep in mind that the soil could be lacking nutrients. A soil test can give you data that indicates what you need for the up-and-coming growing season.
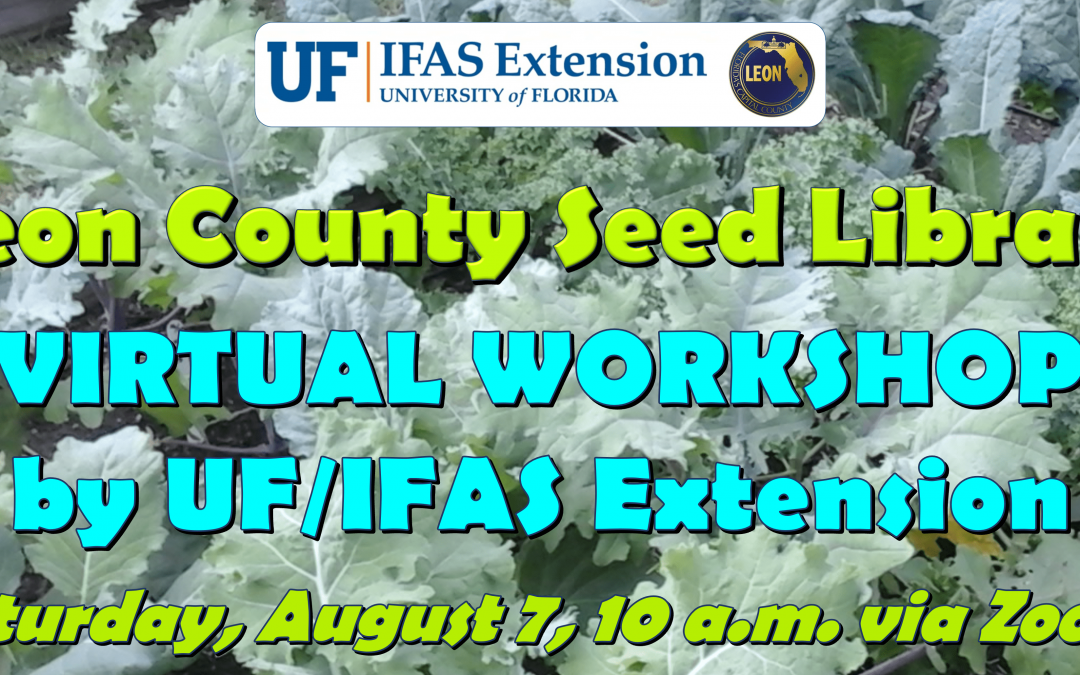
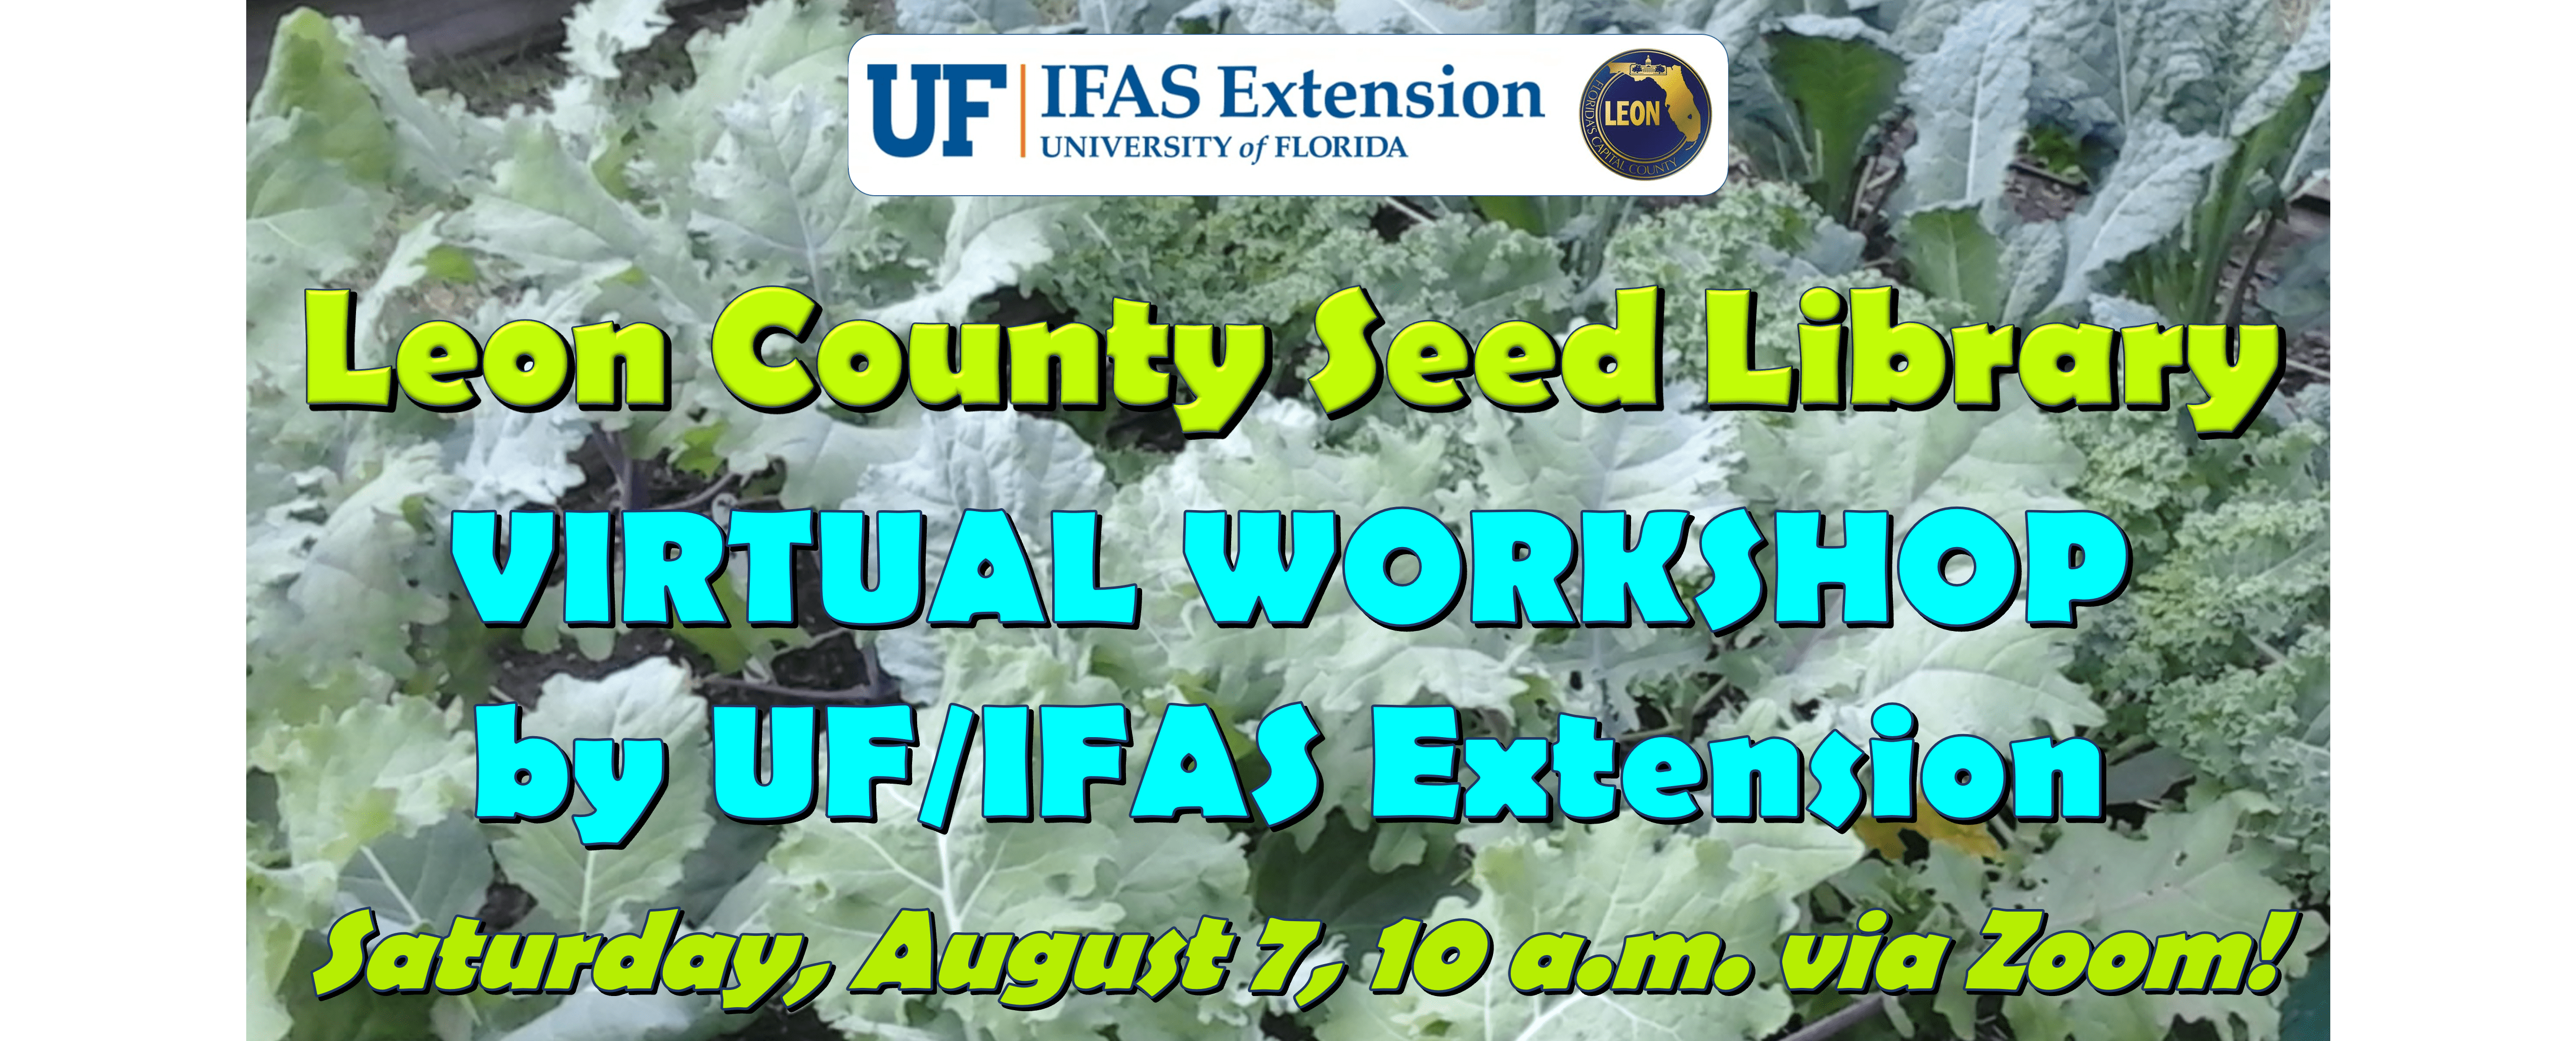
Join us via Zoom on Saturday, August 7, for our Leon County Seed Library Virtual Workshop. Graphic by Molly Jameson.
Join Us August 7 for the 2021 Leon County Seed Library Virtual Workshop
Planting vegetable seeds and growing a garden is a great way to get outdoors and appreciate nature. Since 2015, the Leon County Public Library has supported gardeners in Leon County by providing vegetable seed packets for patrons to take home and plant in their gardens.
To kick off the Fall 2021 Seed Library, agents with UF/IFAS Leon County Extension are hosting the Leon County Seed Library Virtual Workshop on Saturday, August 7, from 10:00 a.m. to 12:00 p.m. via Zoom.
During the virtual workshop, Extension agents will discuss planting seeds, growing vegetables, and how to incorporate veggies into healthy meals and snacks. The workshop coincides with the first day the seeds in the Fall 2021 Seed Library will become available. Residents of Leon County can check out three sample seed packets per month with their library cards from all Leon County library branches.
Even if you are not a resident of Leon County, everyone is welcome to join us at the virtual workshop. Along with the gardening portion of the workshop, there will also be a live virtual cooking demonstration featuring vegetables available in the Fall 2021 Seed Library Program.
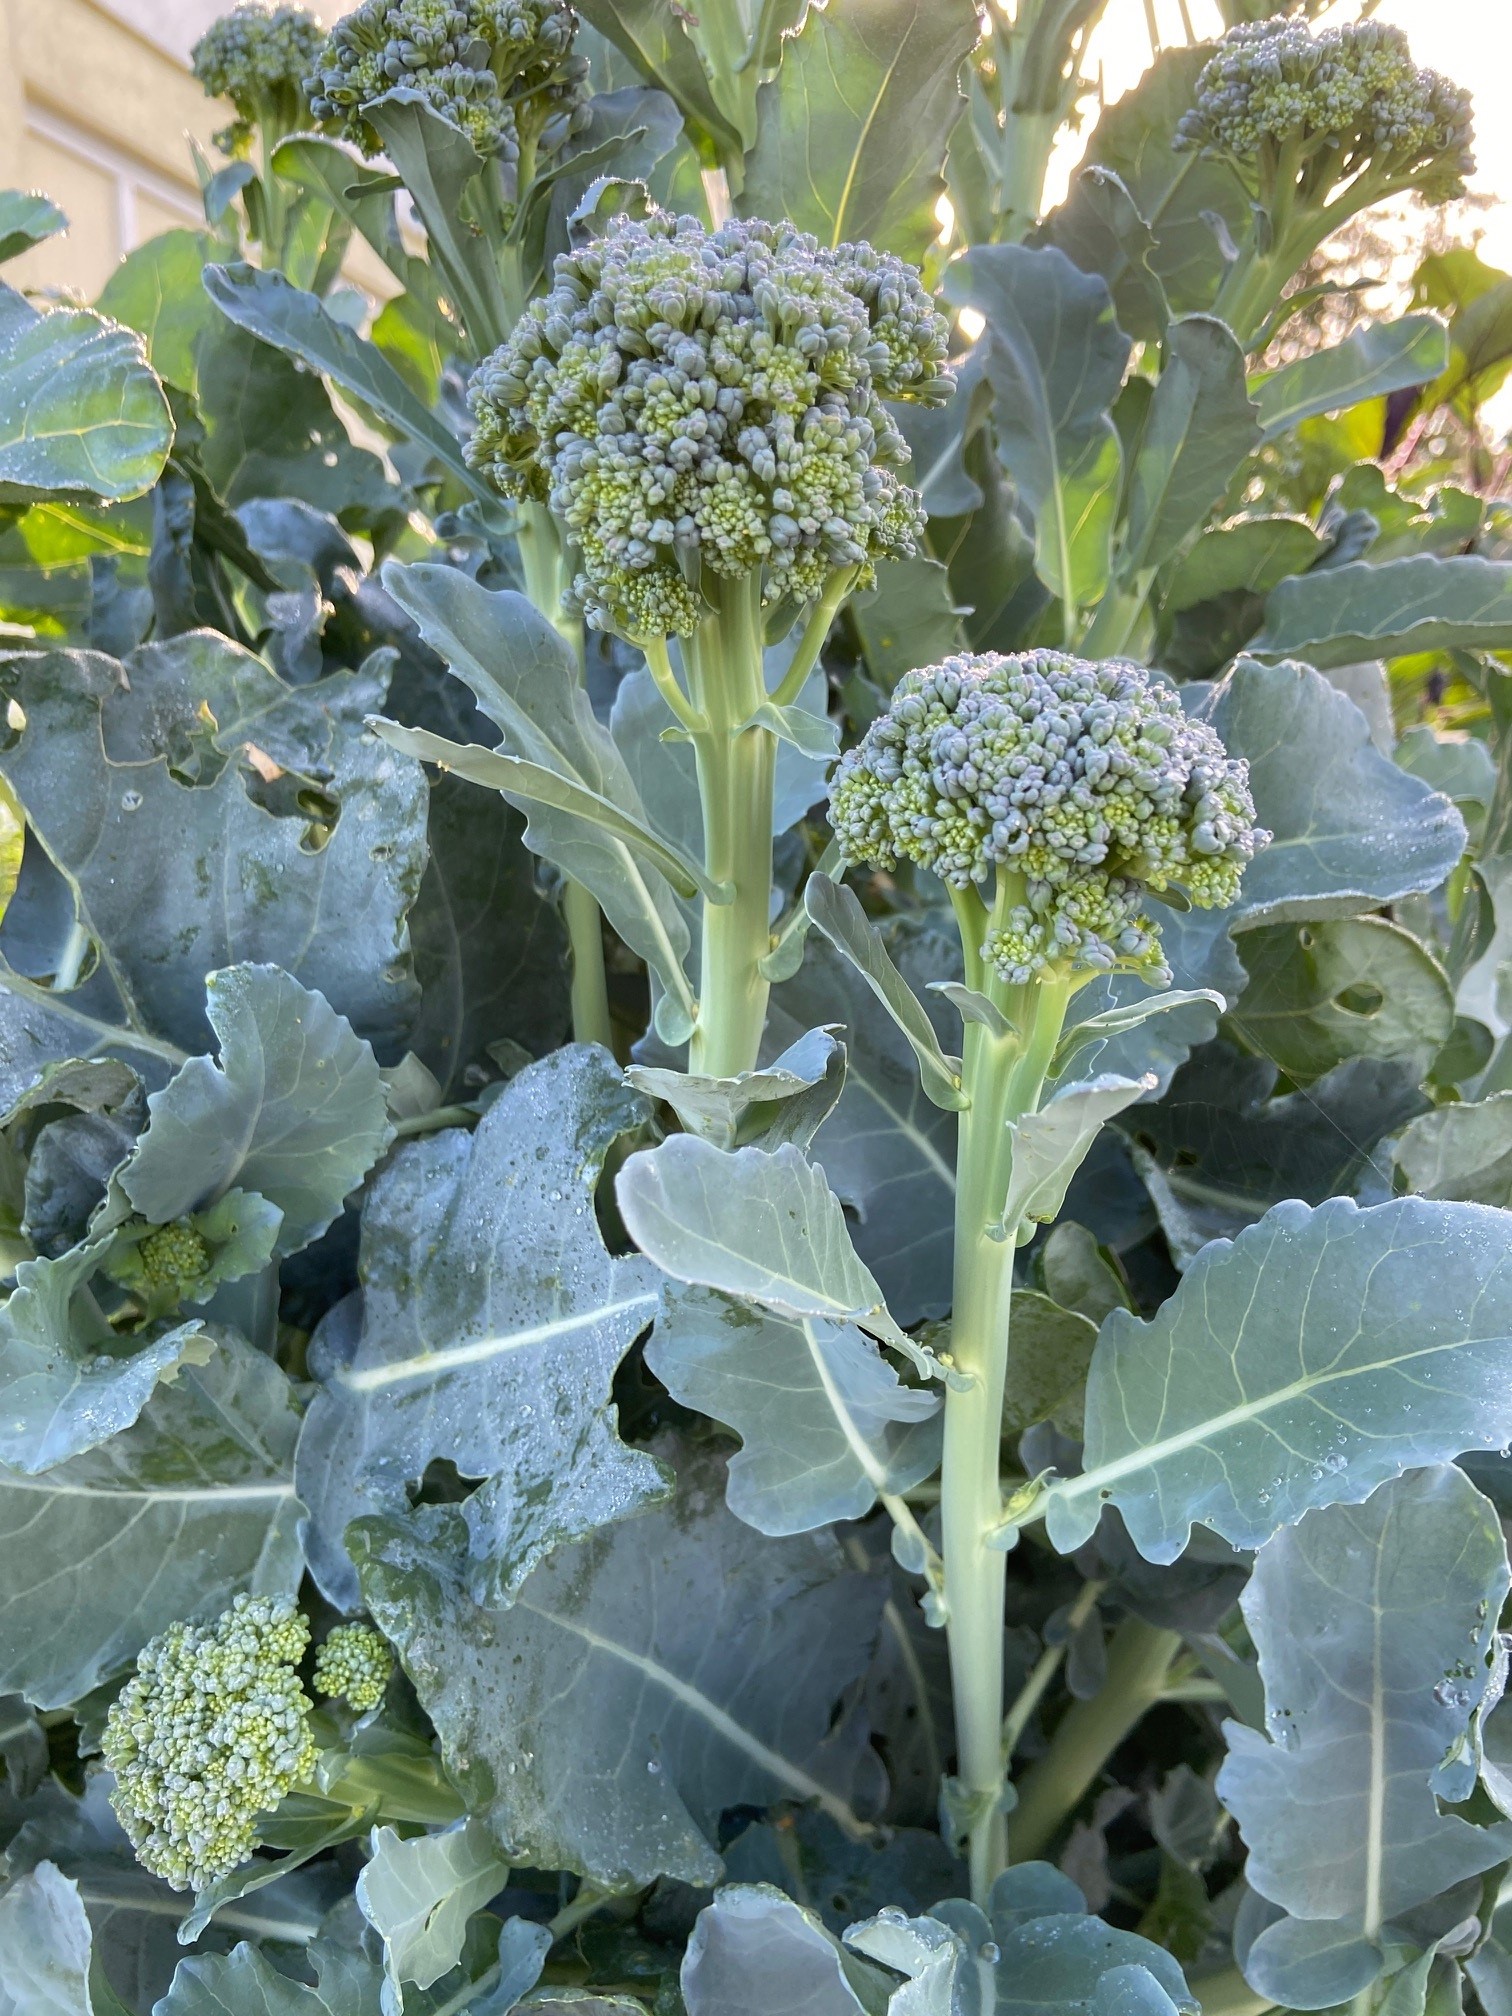
Here is the list of the vegetable seed varieties that will be available starting August 7: Common Arugula, Waltham 29 Broccoli, Chantenay Red Core Carrots, Michihili Chinese Cabbage, Slo-bolt Cilantro, Alabama Blue Collards, Early White Vienna Kohlrabi, Rocky Top Salad Blend Lettuce, Pink Beauty Radishes, and Tokinashi Turnips.
The weather is warmer and plans and planting for spring vegetable gardens are in full swing. Last week many vegetable gardening topics were addressed in our Gardening in the Panhandle LIVE program. Here are all the links for all the topics we discussed. A recording of last week’s webinar can be found at: https://youtu.be/oJRM3g4lM78
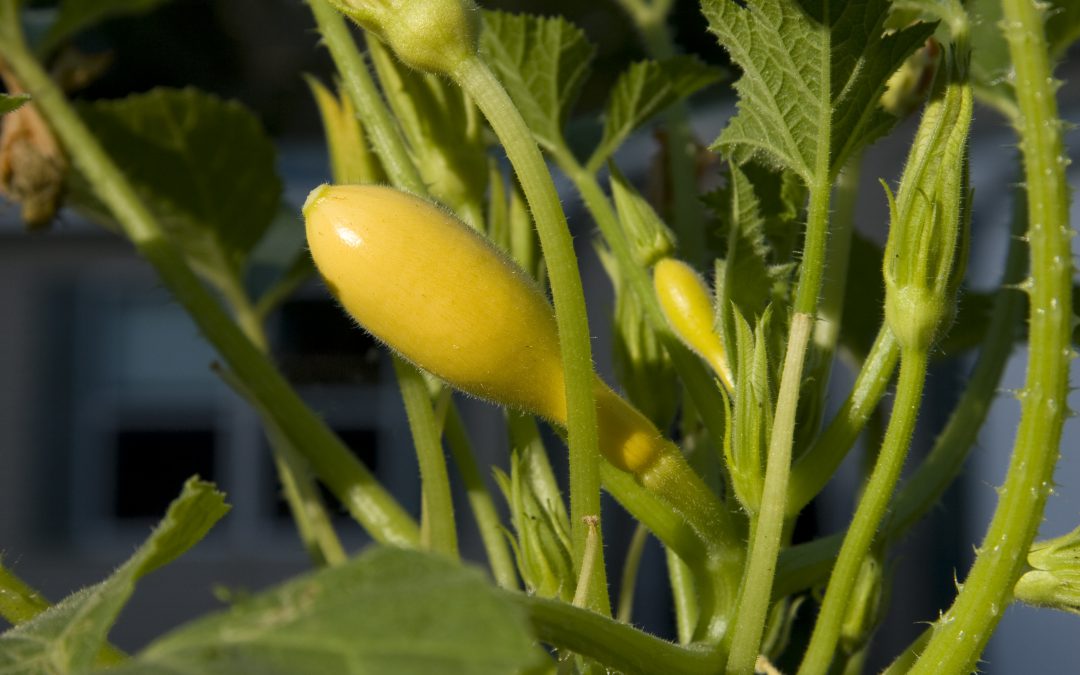
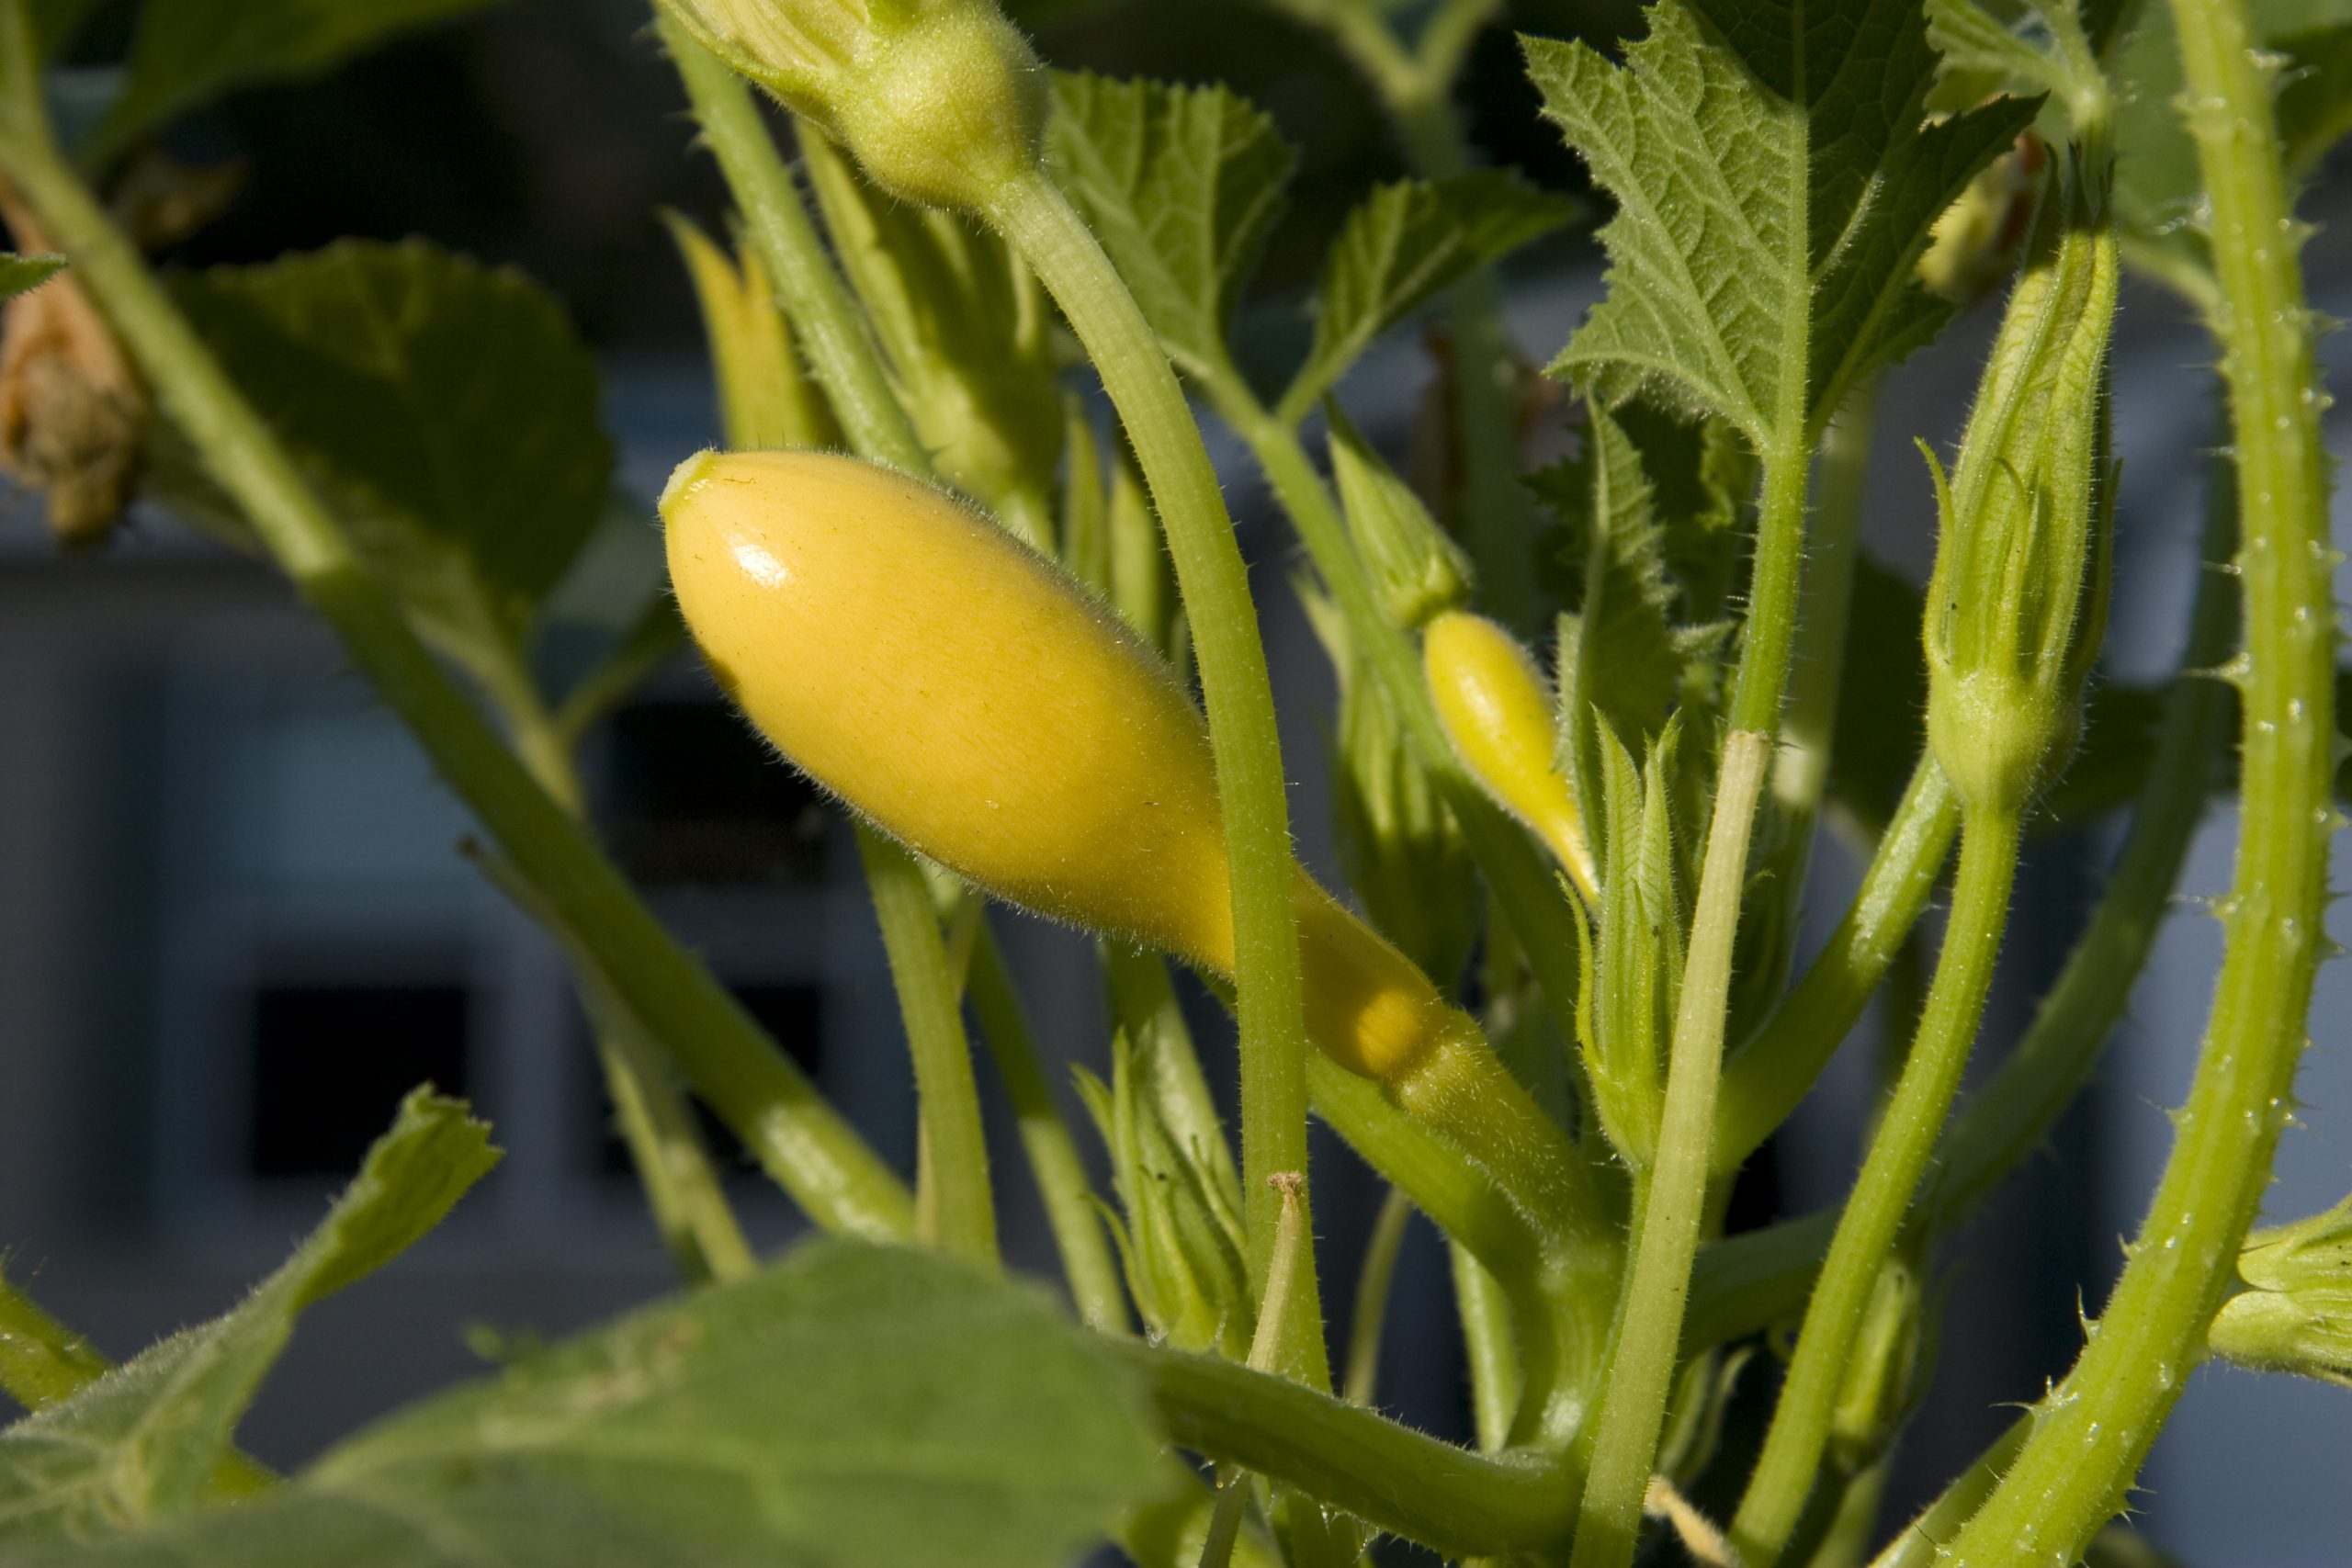
Home grown Squash. Gardening, vegetables. UF/IFAS Photo by Tom Wright.
Our moderators talked about some of their favorite tomato varieties. Josh Freeman is partial to Amelia, a good slicing tomato. Matt Lollar shared some of the best tomato varieties for sauce: Plum/Roma types like BHN 685, Daytona, Mariana, Picus, Supremo and Tachi. For cherry tomatoes, Sheila Dunning recommended Sweet 100 and Juliette.
Whatever variety you choose, Josh says to pick when it starts changing color at the blossom end and bring it indoors to ripen away from pests.
Garden Pest Management
Let’s start with an underground pest. For those of you gardening in the native soil, very tiny roundworms can be a problem. Nematode Management in the Vegetable Garden can get you started: https://edis.ifas.ufl.edu/pdffiles/NG/NG00500.pdf
There are beneficial creatures helping to control the pest insects. Learn to recognize and conserve them and make for a healthier environment. Natural Enemies and Biological Control: https://edis.ifas.ufl.edu/pdffiles/IN/IN12000.pdf
If the beneficials are not numerous enough to control your pests, maybe a natural approach to pest control can help. Natural Products for Managing Landscape and Garden Pests in Florida: https://edis.ifas.ufl.edu/in197
Companion planting is a strategy that has been around for ages and for good reason: https://www.almanac.com/companion-planting-chart-vegetables Some good flowering additions to the garden that Sheila talked about are bee balm, calendula, marigold, nasturtiums, chives, and parsley.