Stinkbugs and their relatives are not always problematic in the flower or vegetable garden, but when they become so, they can suck the life out of our fruits and vegetables, create ugly abrasions, and destroy flowers such as roses.
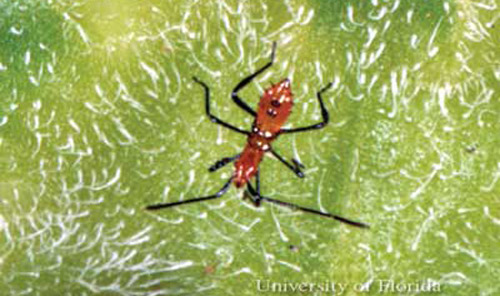
Over-wintering adult leaffooted bug emerging from hibernation . Image Credit Matthew Orwat, UF / IFAS Extension
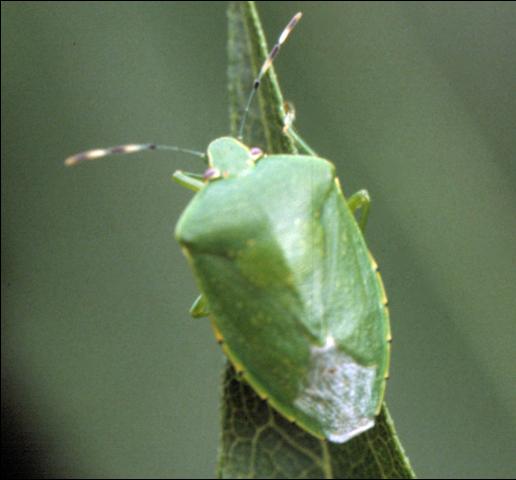
The green stink bug Acrosternum hilare (Say). Image and caption credit EDIS, Dr. Russ Mizell
What is a Stink Bug?
The stink bug (Pentatomidae family) is a major garden pest of a variety of fruits and vegetables including squash, peppers, tomatoes, peaches, plums, pecans and a variety of other edibles. They are known as a “piercing and sucking” insect because that’s the way they feed, by using their mouth, or proboscis, just like a needle to pierce the fruit and suck out the juices. This feeding leaves a damaged area of the fruit which may develop discoloration, rot or fungal disease and render the fruit unsaleable or inedible.
Who are “their relatives”
The leaf footed bug, Leptoglossus phyllopus (L), is a relative of the stinkbug and feeds in the same way, has a similar lifecycle and causes similar damage. They are usually slightly larger and have “leaf like” appendages on their legs which are their namesake.
What is their lifecycle?
In Florida, overwintering adult stink bugs will place a clutch, or tight group of eggs, on a host plant early in the growing season. If their preferred plant is not available, they use a variety of weeds and grasses to lay eggs upon and provide food for their young. After eggs hatch, they go through several nymph stages before they finally reach the adult stage. Stink bugs have multiple generations in a year, often four to five. They readily move to find preferable food sources and might appear in a garden without warning to feed and cause destruction.
Nymph of the leaffooted bug, Leptoglossus phyllopus (L.). Photograph by Lyle J. Buss, University of Florida.
How are they best controlled?
First of all, many stink bugs use weeds as host plants to gather and feed upon, so controlling weedy plants around vegetable and fruit gardens might limit their numbers. If stink bugs are a major problem, planting trap crops, such as sunflowers, is beneficial. Stink bugs prefer to feed on sunflowers more than some other vegetables. This situation can be used to the gardener’s advantage by mechanically killing or spraying stink bugs on trap crops while avoiding treating food crops with pesticides. More information on trap cropping can be found here.
Additionally, stink bug traps are available. These mechanically trap stink bugs, thus reducing their numbers in the garden, but need to be monitored and serviced regularly. Several species of parasitic Tachinid flies are also predators of stink bugs. These flies lay their eggs on adult stink bugs. The fly larva use the bug as a buffet, slowly killing the bug.
Stink bugs are difficult to control with insecticides, but some measure of control can be achieved at their nymph stage with various approved fruit and vegetable insecticides containing pyrethrins. These products are readily available at local garden centers and feed & seed stores.
For more information, please check out the following resources:
As the weather warms, it seems that all kinds of living things start stirring. From birds to bees, plants to ants, and gnats to tourists, the world comes alive in the spring. It’s those bees we’ll discuss here, because every year they swarm, and that can cause some consternation among the homeowners whose houses they invade.
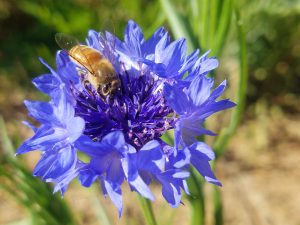
Honeybees are vitally important to our wellbeing, as they act as pollinators for many of our crops. They supply us with honey and wax and are a source of livelihood for many individuals. Important though they may be, they can sometimes become a nuisance.
Honeybees are eusocial organisms. Each honeybee lives in a colony or hive that it cannot survive without. In fact, it can be helpful to think of the entire hive as a single organism, even if it is made up of many individuals. The queen bee is the only one who lays eggs, but she cannot forage for her own food. Workers supply pollen and nectar to the hive but cannot reproduce on their own. Drones, or male bees, exist only to mate and would quickly die without the support of their sisters.
When a queen reproduces, she lays eggs that develop into new workers. When the time is right, she may lay eggs that develop into drones, or new females may be fed a substance called royal jelly that causes them to develop into new queens. These new drones and queens are born in preparation for a new hive to be created rather than to add more bees to the existing one. The old queen will be the adventurous one, so the workers put her on a diet. Once she has lost weight (to make it easier for her to fly), she takes half the workers in the hive and goes out in search of a new place to live. One of the new queens, after mating, returns to the nest and prepares to continue the work of her predecessor.
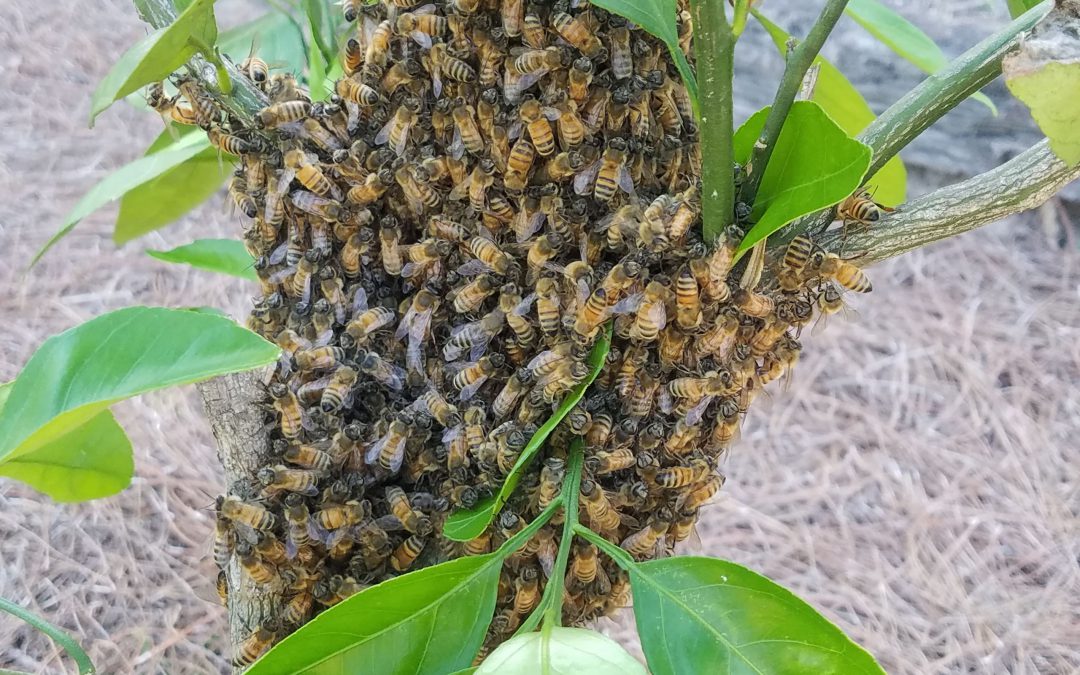
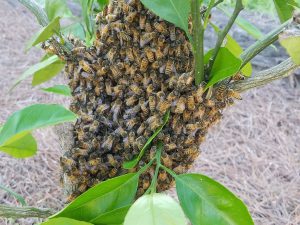
When the old queen leaves with her coterie, this is called a swarm. When weather warms and nectar begins to flow, the
A swarm of bees looking for a new home.
bees travel from place to place looking for a good spot to live. Hollow cavities in trees are a favorite spot, but bee scouts often find what they think are perfect living places in our homes or sheds. While they are searching for a new place to set up shop, they may rest on trees or branches in large clumps. Do not be alarmed if you see one, as it does not mean they are nesting where they’ve stopped. Wait a while to see if they leave on their own or contact a local beekeeper to see if they want to collect the swarm.
If bees have taken up residence somewhere they’re not welcome, there are companies and individuals who may be able to collect the bees rather than destroying them. If removal is not an option, nuisance bees may be eradicated under Florida law, but this must be done by a certified Pest Control Operator.
Join the University of Florida/Institute of Food and Agricultural Sciences (UF/IFAS) Honey Bee Research and Extension Laboratory for the 2021 Spring Virtual UF/IFAS Bee College! Imagine FOUR Saturday mornings in March 2021 of all things honey bees. Those new to beekeeping can follow the beginner track, while more experienced beekeepers can participate in sessions focused on honey bee stressors and other advanced topics related to beekeeping. Speakers include UF/IFAS faculty, staff, students, members from the Florida State Beekeepers Association, specialists from Bee Informed Partnership, and other honey bee specialists around the world! Participants can choose to attend one session or all four as a “Package Deal” for a reduced fee. Register for the “Package Deal” or for each session separately– whatever works best with your schedule.
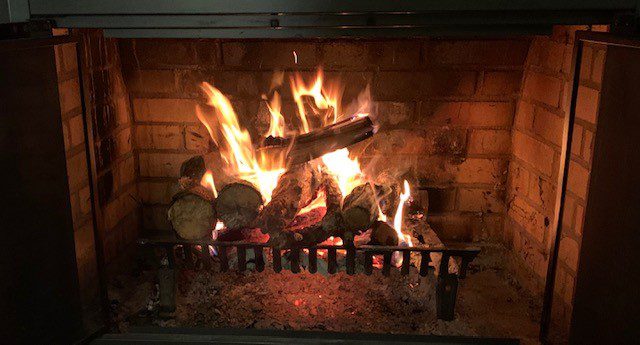
Be careful when bringing firewood indoors. Photo credit: Larry Williams
Your firewood pile could be “bugged.” Many insects like to overwinter in wood. A wood pile is an ideal place for some insects to survive the winter. They don’t know that you intend to bring their winter home indoors during cold weather.
During colder weather, you can unknowingly bring in pests such as spiders, beetles and roaches when you bring in firewood. It’s best to bring in firewood only when you are ready to use it. Otherwise, those pests could become active and start crawling around inside your house. Many insects are potential problems indoors and there are usually control options once insects move into your home. However, preventing the insects from getting inside is the best approach.
If you store wood indoors for short periods of time, it is a good idea to clean the storage area after you have used the wood. Using a first-in, first-out guideline as much as possible will reduce chances of insect problems.
It’s best to keep your wood pile off the ground and away from the house. This will make it less inviting to insects and help the wood dry. It’s not difficult to keep the wood off the ground. The wood can be stacked on a base of wooden pallets, bricks or blocks, which will allow air movement under the wood. The wood can also be covered with a waterproof tarp or stored in a shed. Regardless of how it is stored, avoid spraying firewood with insecticides. When burned, insecticide treated wood may give off harmful fumes.
Some critters that live in firewood can be harmful to humans. To avoid a painful sting or bite from insects, spiders or scorpions (no Florida scorpion is considered poisonous, but they can inflict a painful sting), it is a good practice to wear gloves when picking up logs from a wood pile.
Firewood can be a good source of heat during our cold weather. If you’re careful with how you handle your firewood, hopefully it will warm you, not “bug” you.
We are back with new topics and guest speakers for 2021! All sessions are Thursdays at noon CDT or 1:00 p.m. EDT.
There are two ways to join the Gardening in the Panhandle LIVE! webinars:
1. Facebook Live – Follow us on Facebook and follow individual webinar Events.
2. Zoom Webinar – Pre-registration is required for Zoom. Users must have an authenticated account (free at Zoom Link). Be sure you have security settings up to date to prevent connection delays. Links to Zoom registration will be added to the topic one week before the webinar and a closed captioned recorded link to YouTube will be available approximately one week after the program. (Underlined words have active links!)
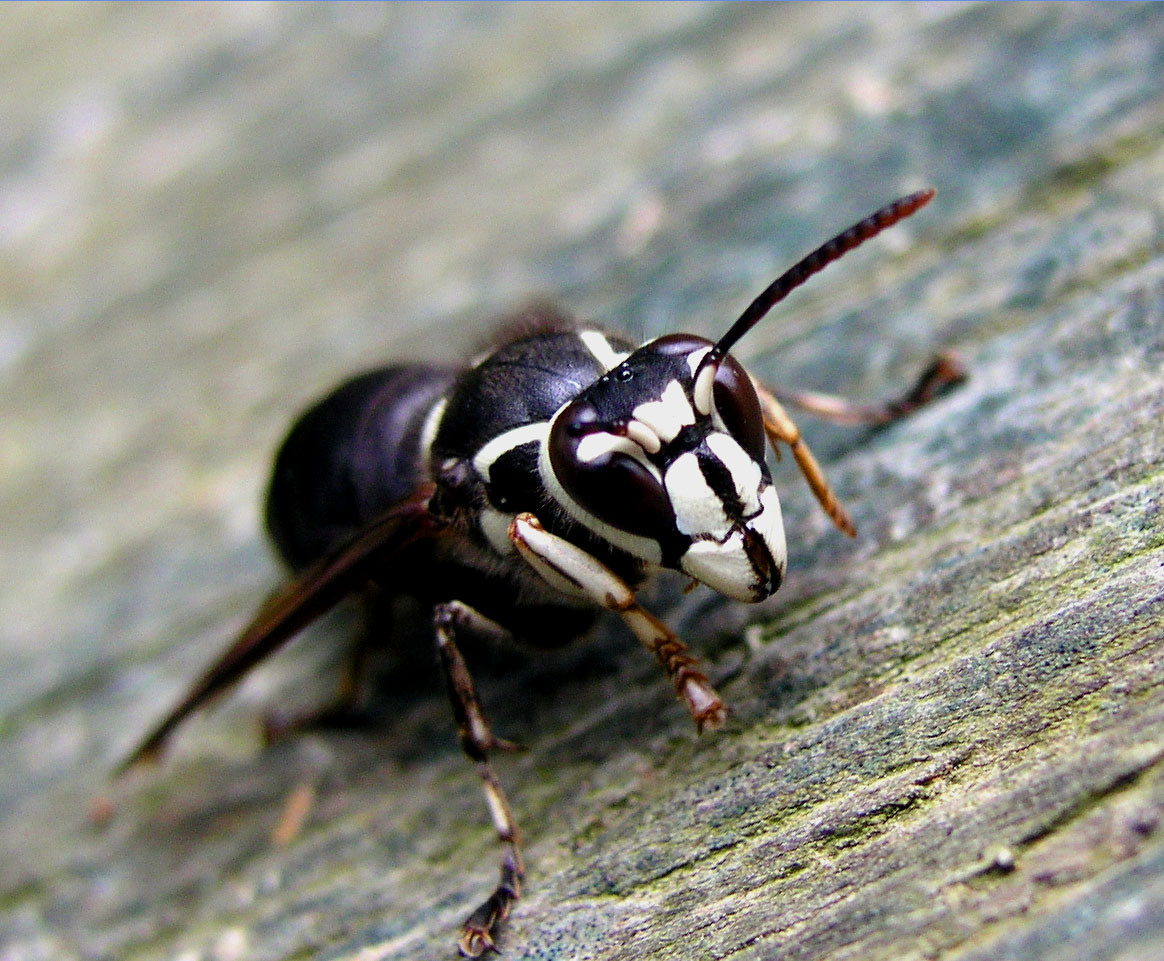
Many folks are giddily decorating their homes for the holiday season. For some outdoor enthusiasts and/or environmental educators, now is the time to collect and preserve a natural decoration, with care. Hornet nests offer a large natural ornament that can be used as a conversation piece or to teach people about an interesting native wasp that is often feared.
The face of a baldfaced hornet! Credit: Piccolo Namek, Wikimedia Commons.
The bald-faced hornet (Dolichovespula maculata) is a type of wasp closely related to yellowjackets, of which there are two species that are known from Florida, the eastern yellow-jacket (Vespula maculifrons) and southern yellowjacket (Vespula squamosa). The bald-faced hornet is different than its yellowjacket relatives in that it creates a large aerial nest rather than a subterranean nest. If you have seen a hornet’s nest in person, you know how impressive they can be. Surprisingly, they can be safely preserved for indoor display!
Hornet colonies begin each spring and are “founded” by a lone adult queen that made it through the winter, hiding under the bark of logs and such. The lone queen begins creating the papery brood cells and laying eggs. Once those eggs begin to hatch, the newly hatched all-female crew of hornets begin assisting in nest building and foraging while the queen shifts to only laying eggs. Towards the end of fall, some of the eggs receive more food (they become queens) and the queen also begins to lay male eggs. Once these emerge, they mate, and the cycle starts all over again, with the colony dying back, leaving an abandoned and impressive aerial nest behind.
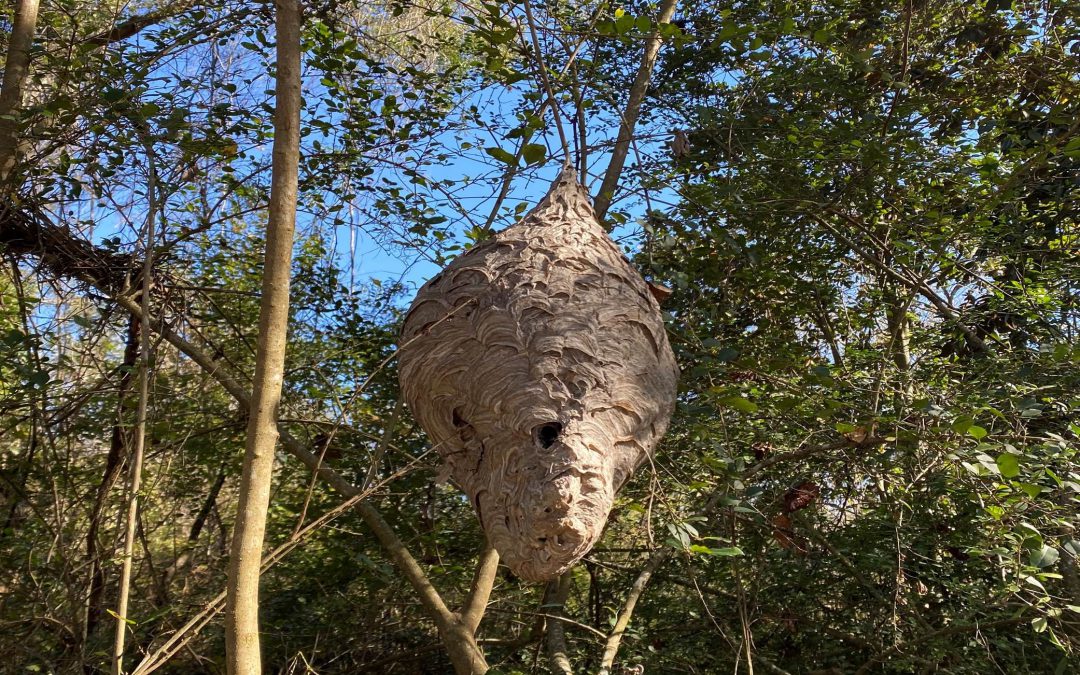
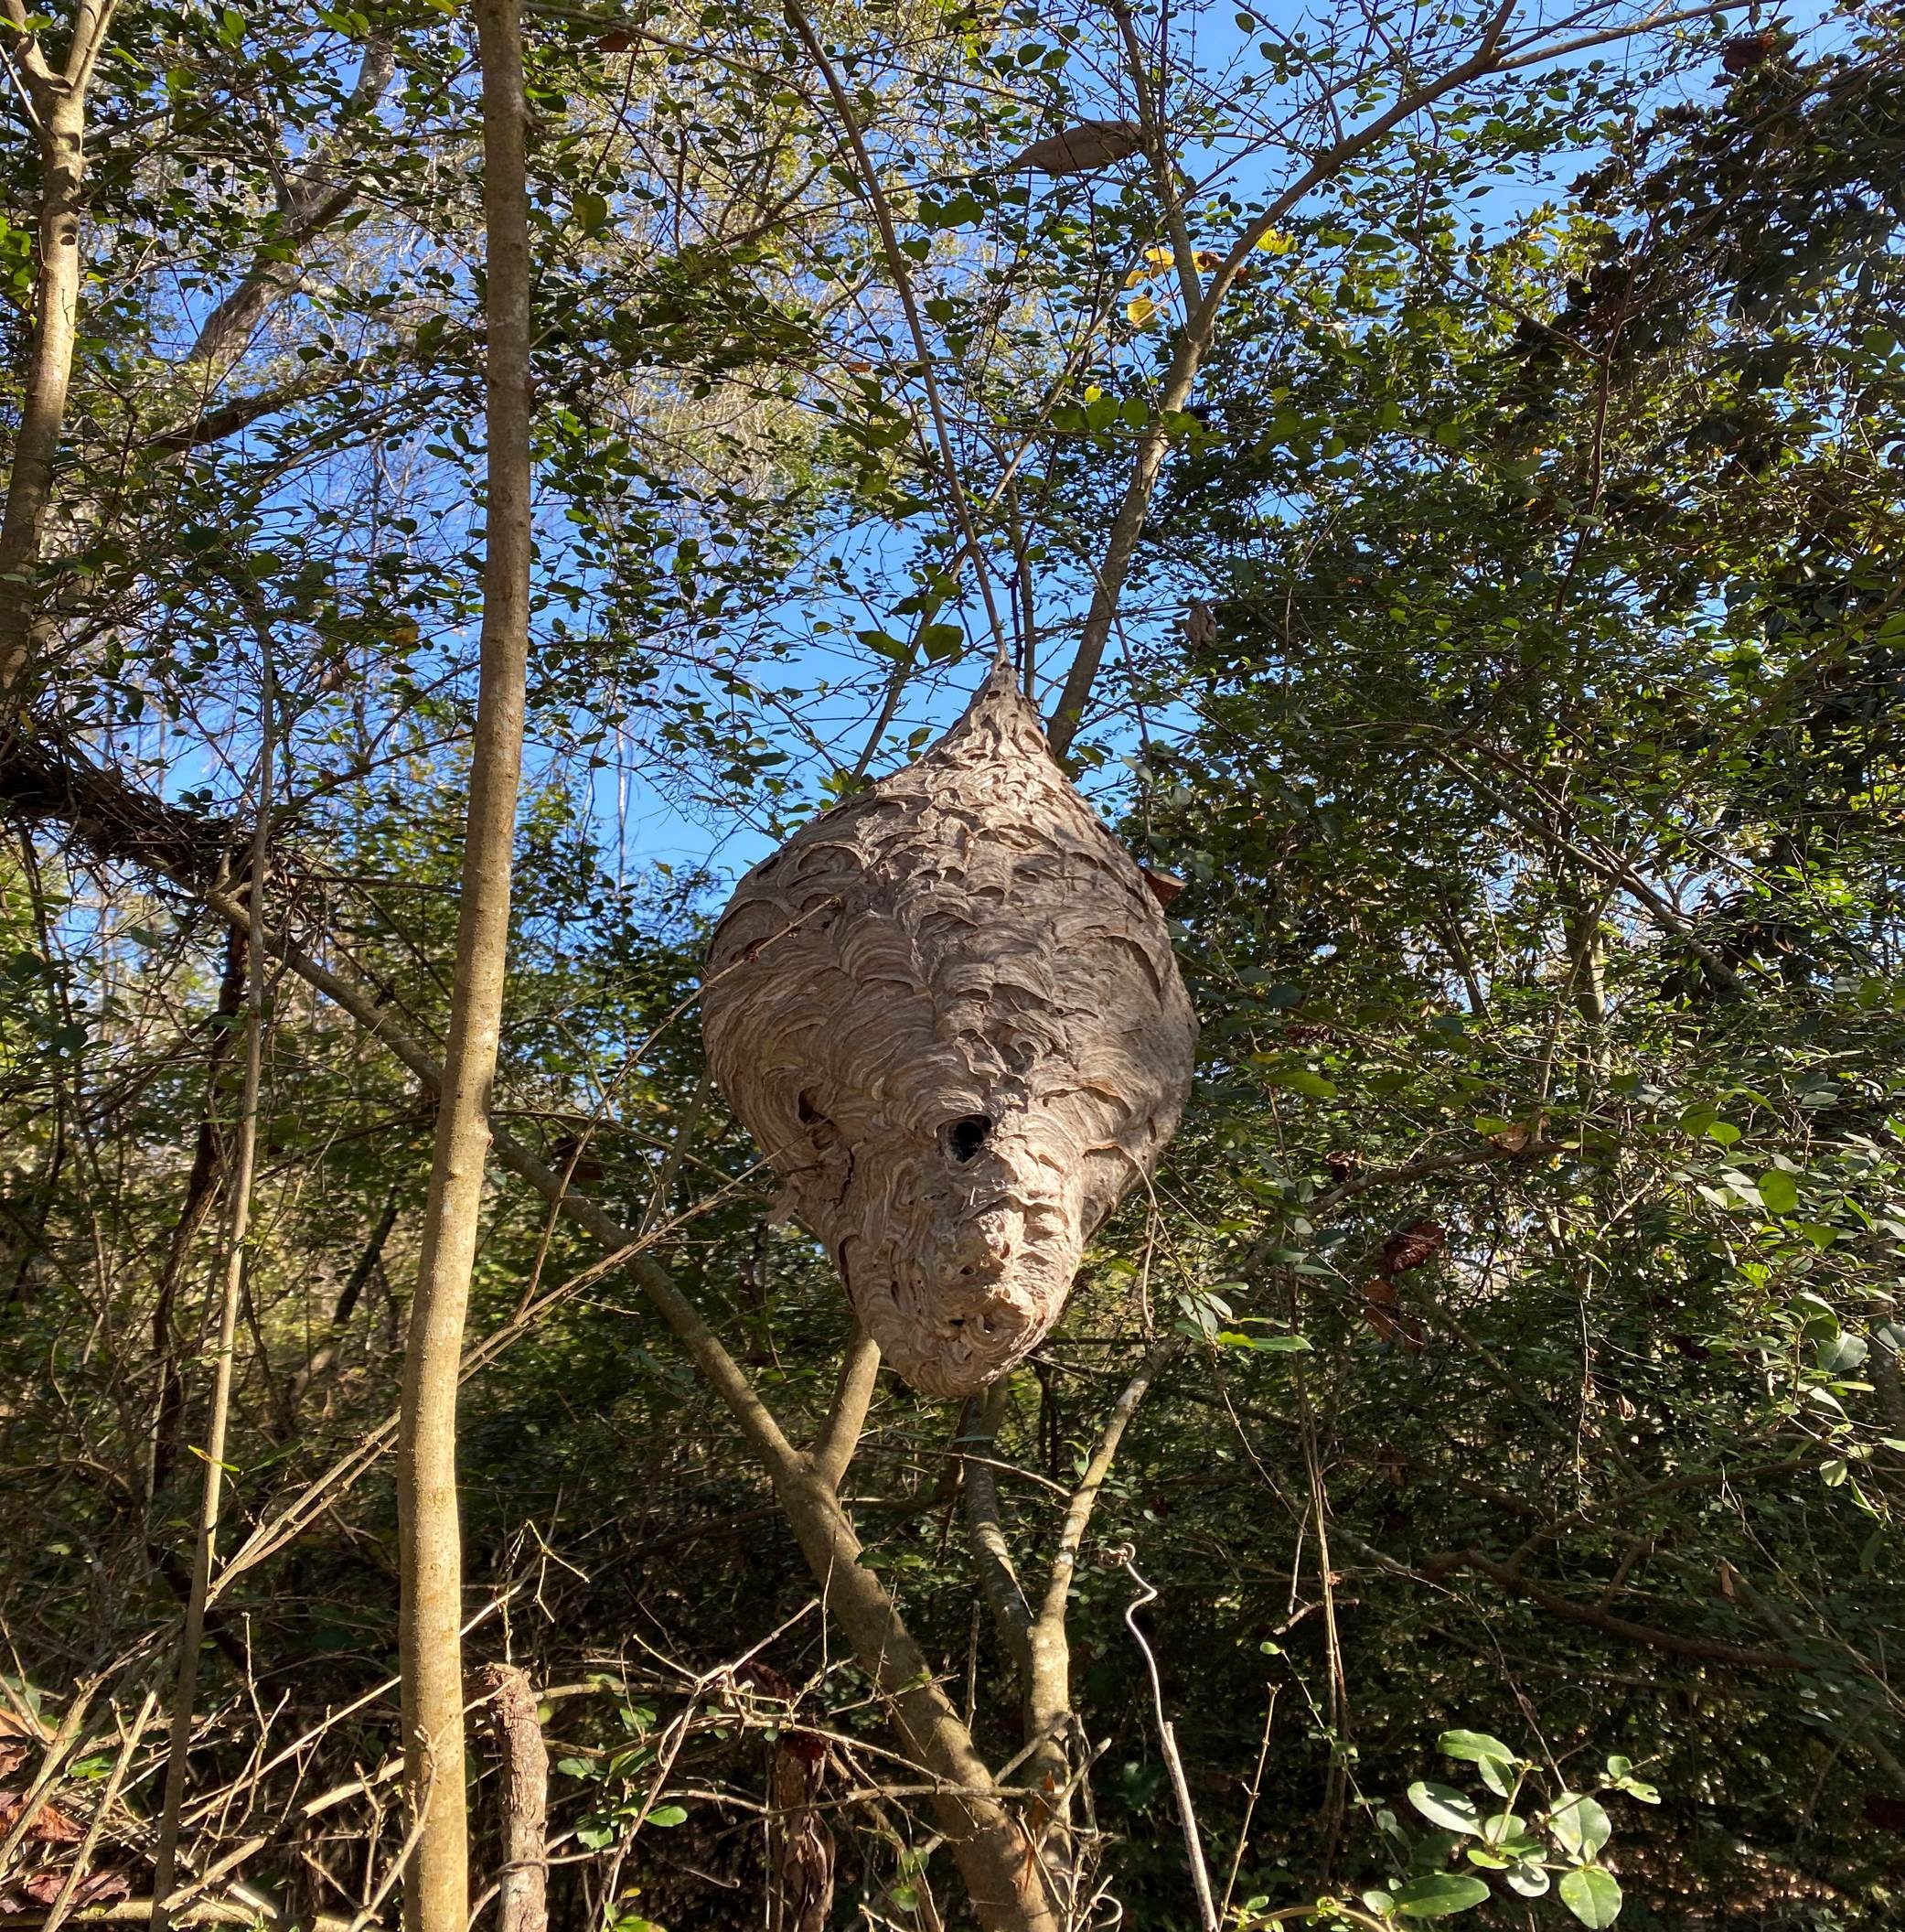
The aerial nest of the baldfaced hornet. Credit: Preston Robertson, Florida Wildlife Federation.
To collect that impressive nest safely, wait until a couple of freezes have passed. At this point, most, if not all, of the hornets will have perished and that lone queen will be sheltering through the winter. Don’t wait too long since these nests are utilized by other wildlife and may be destroyed or get beaten up by the weather. Simply cut the nest off its support (realize it may be heavy). To be extra sure you don’t bring live hornets inside, you can leave the nest in a protected outdoor location, such as a garden shed or the garage, where it will be exposed to further cold temperatures. This also allows any “off” smells from rotting larvae to air out. Don’t worry about harming these larvae as they would starve either way since they must be fed by adult hornets! There is no need to use varnishes or polyurethanes for preservation as the nest will keep indefinitely as long as kept in a dry environment free from a lot of handling or vibrations.
Bingo, you now have a natural ornament that can last through many seasons and provide for learning opportunities and lots of conversation!
For more information on wasps, including hornets and yellowjackets, please see the Yellowjackets and Hornets EDIS document from UF/IFAS. Information from Iowa State University’s website Preserving and Displaying a Hornet’s Nest was also used to help write this article.