Call 811 before you dig. No one wants a weekend project to be the cause of internet, phone and cable outages. Worse yet, what if someone gets hurt from contact with natural gas or electrical lines? That’s why it is so important to have buried utilities in the yard located and marked before digging. Sunshine 811 coordinates each individual company to clearly mark where the service lines are located. Homeowners are required by law to contact 811 three days before any soil removal is done. The service is free.
Have information prepared before making the request. Describe the work to be performed (e.g. fence install, landscaping, irrigation install), including the type of equipment that will be used. Specify the exact location on the property and how long the work will continue. Finally, provide all the contact information (e.g. name, phone number, e-mail), should there be any additional questions.
Call 811 or request a single address ticket online. Receive a ticket number and wait two full business days, not counting weekends or holidays. Then contact 811 again. Make sure that all the utilities have responded in the Positive Response System (PRS). Sometimes that may mean that the company doesn’t have anything to make in the area.
If there are utility lines running through the yard, they will be marked with specifically colored paints or flags. Red is used for electrical lines, orange indicates communication lines, yellow means gas, blue is used for potable water, purple is reclaimed water, and green indicates sewer lines. White lines may be used to outline digging areas and pink are temporary survey marks. This is the APWA Uniform Color Code.
Every effort is made to locate the lines as accurately as possible. But, the safest thing to do is hand dig to expose the utility line before using any mechanized equipment. Lines can vary up to 24” from the marked line and depths can be less than 5”. Remember there may be access lines running through the property even if that service isn’t utilized at that address.
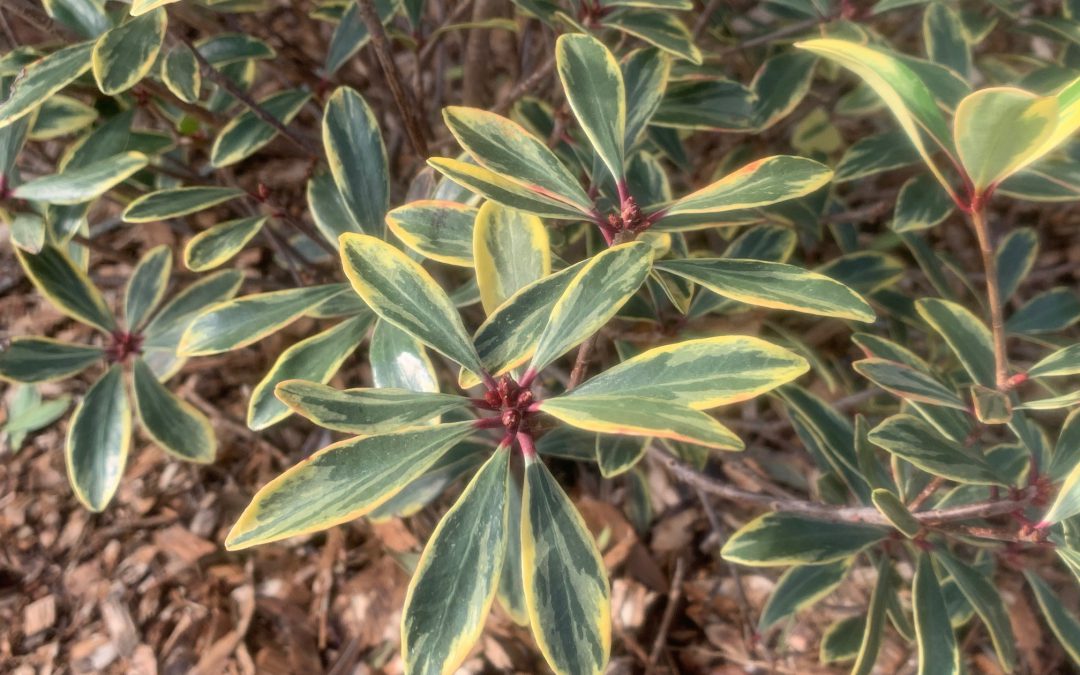
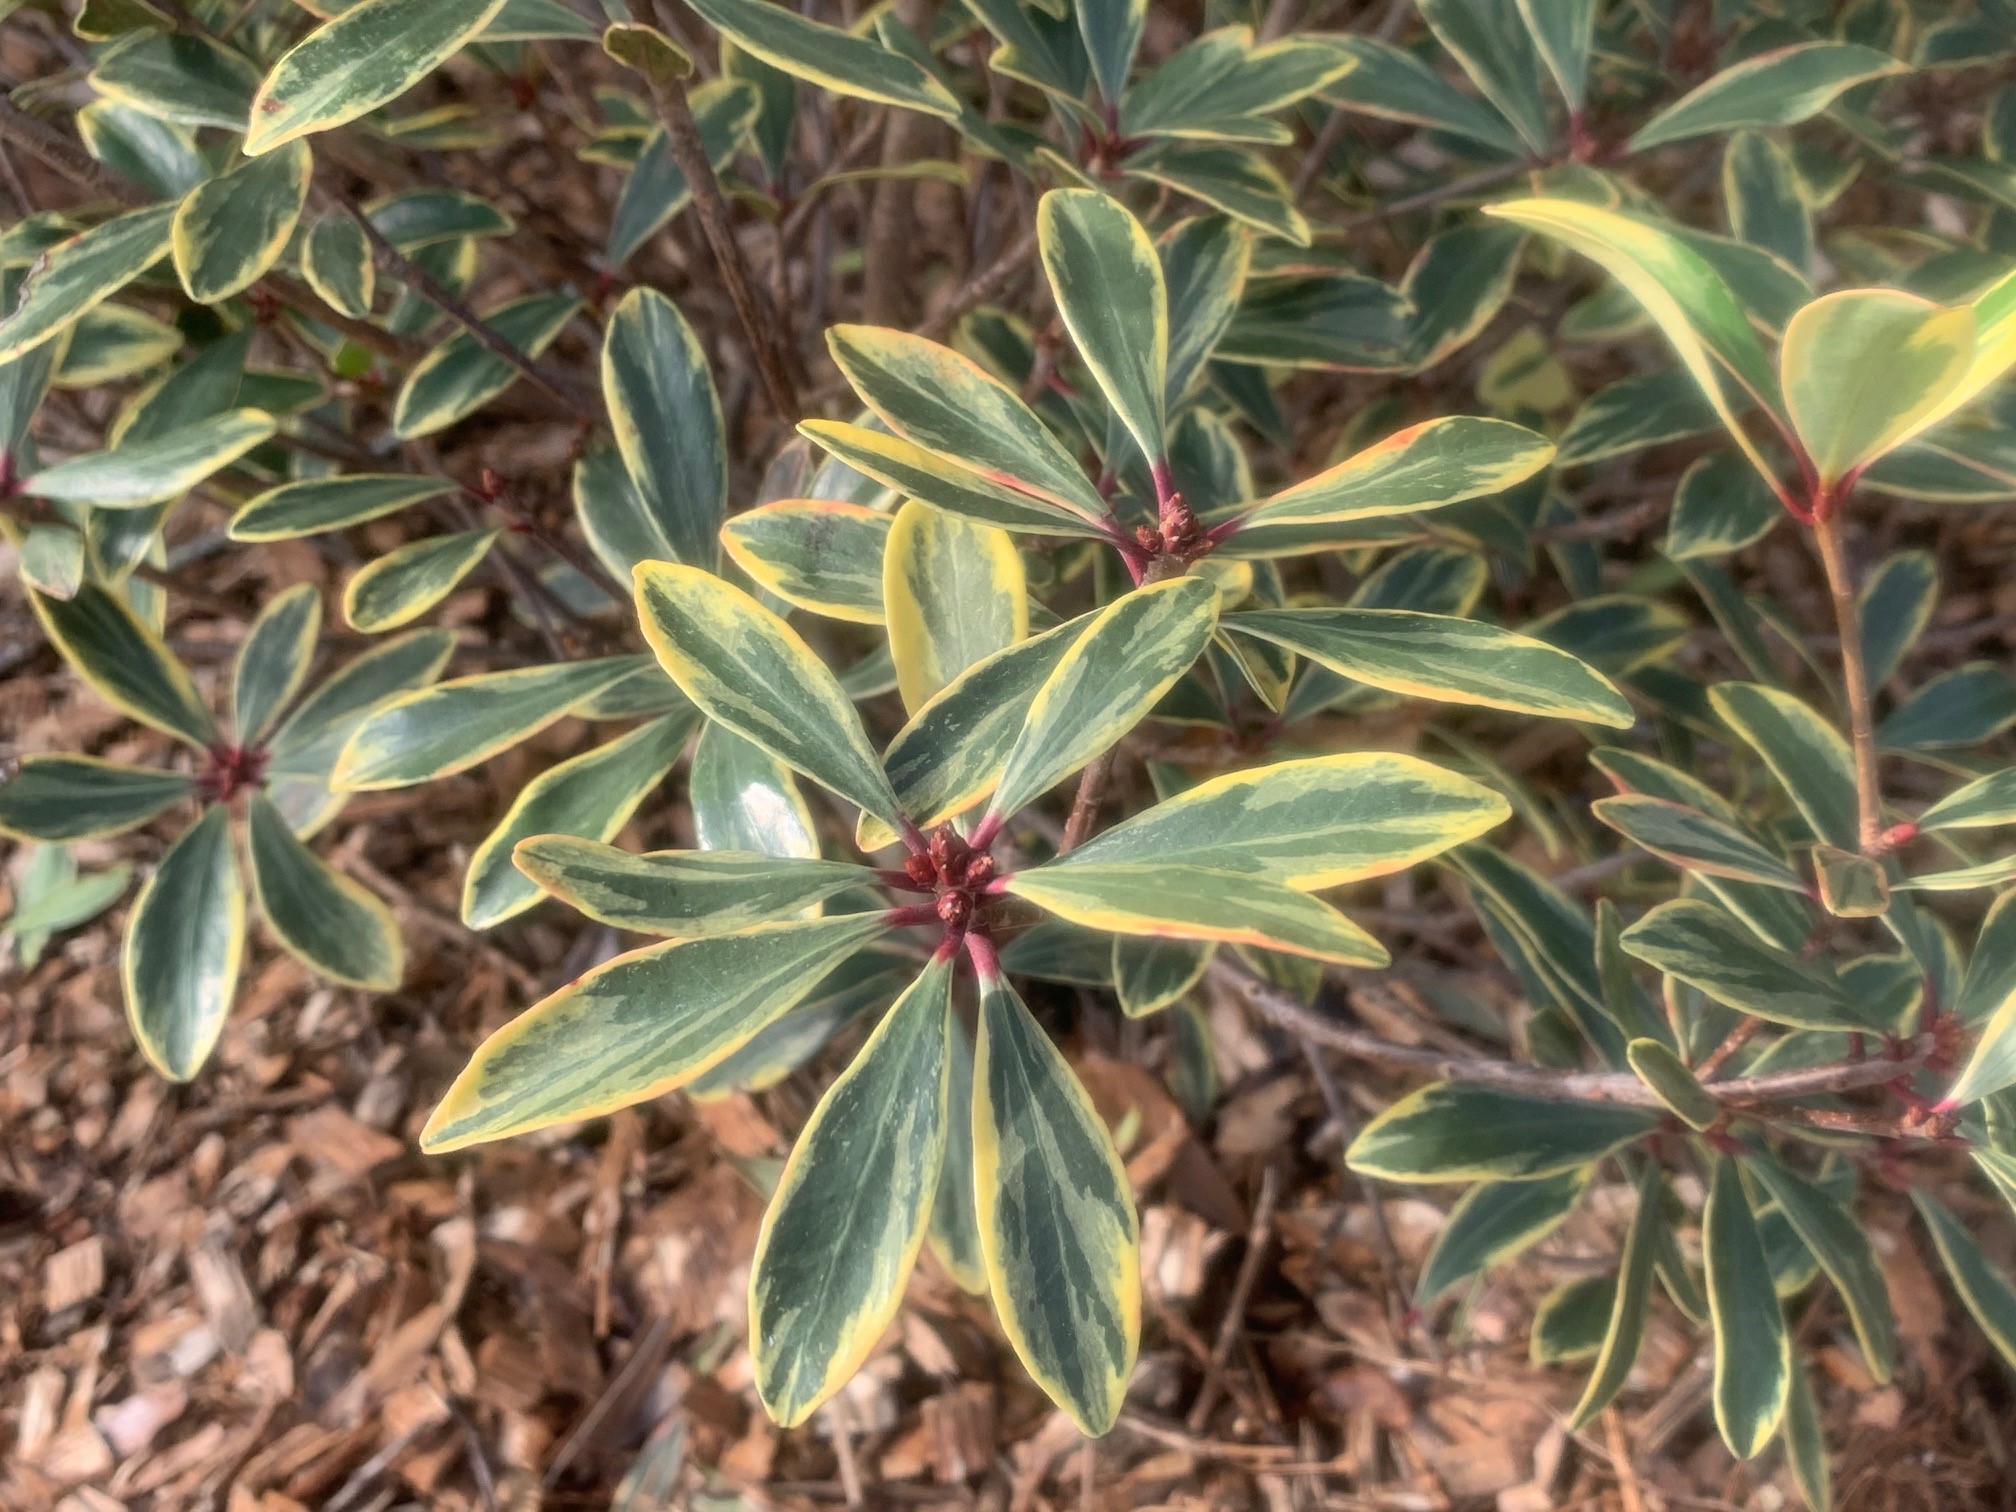
Plants with variegated foliage are very popular landscape selections. As flowers fade on other plants, the colors of variegated foliage continue to add interest through multiple seasons.
A very adaptable shrub that has been around for a long time, now has a selection with beautiful variegated foliage. Juliet™ cleyera offers green and white evergreen foliage that can brighten up a garden year around. New foliage adds additional interest with a maroon tinge.
Variegated foliage of Juliet™ cleyera. Photo by Beth Bolles, UF IFAS Extension Escambia County
Like other selections of Cleyera, Juliet™ needs to be matched to an appropriate spot to accommodate its mature size. Shrubs will reach about 8 feet in height with a spread of about 5 feet. Plants may look best when left to grow in a more natural form with light selective pruning. This shrub is probably not suited for planting in front of home windows but used as a specimen or as a nice screen plant.
Once established, cleyera is a low maintenance plant and is adapted to grow well without routine irrigation. My home landscape has very well drained soil and I have not needed to apply supplemental irrigation to two cleyera shrubs in over 20 years. Consider a spot that receives full sun or partial shade for your plants.
An added advantage of cleyera shrubs in general is that bees are attracted to the flowers so it makes an additional nectar source for pollinators in the spring.
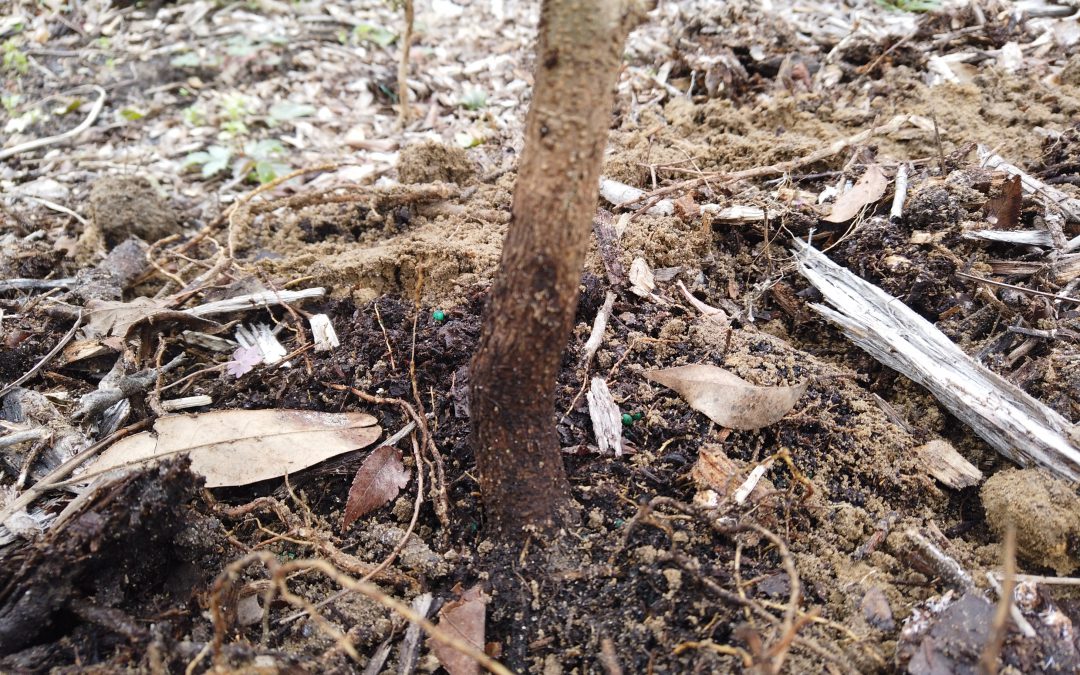
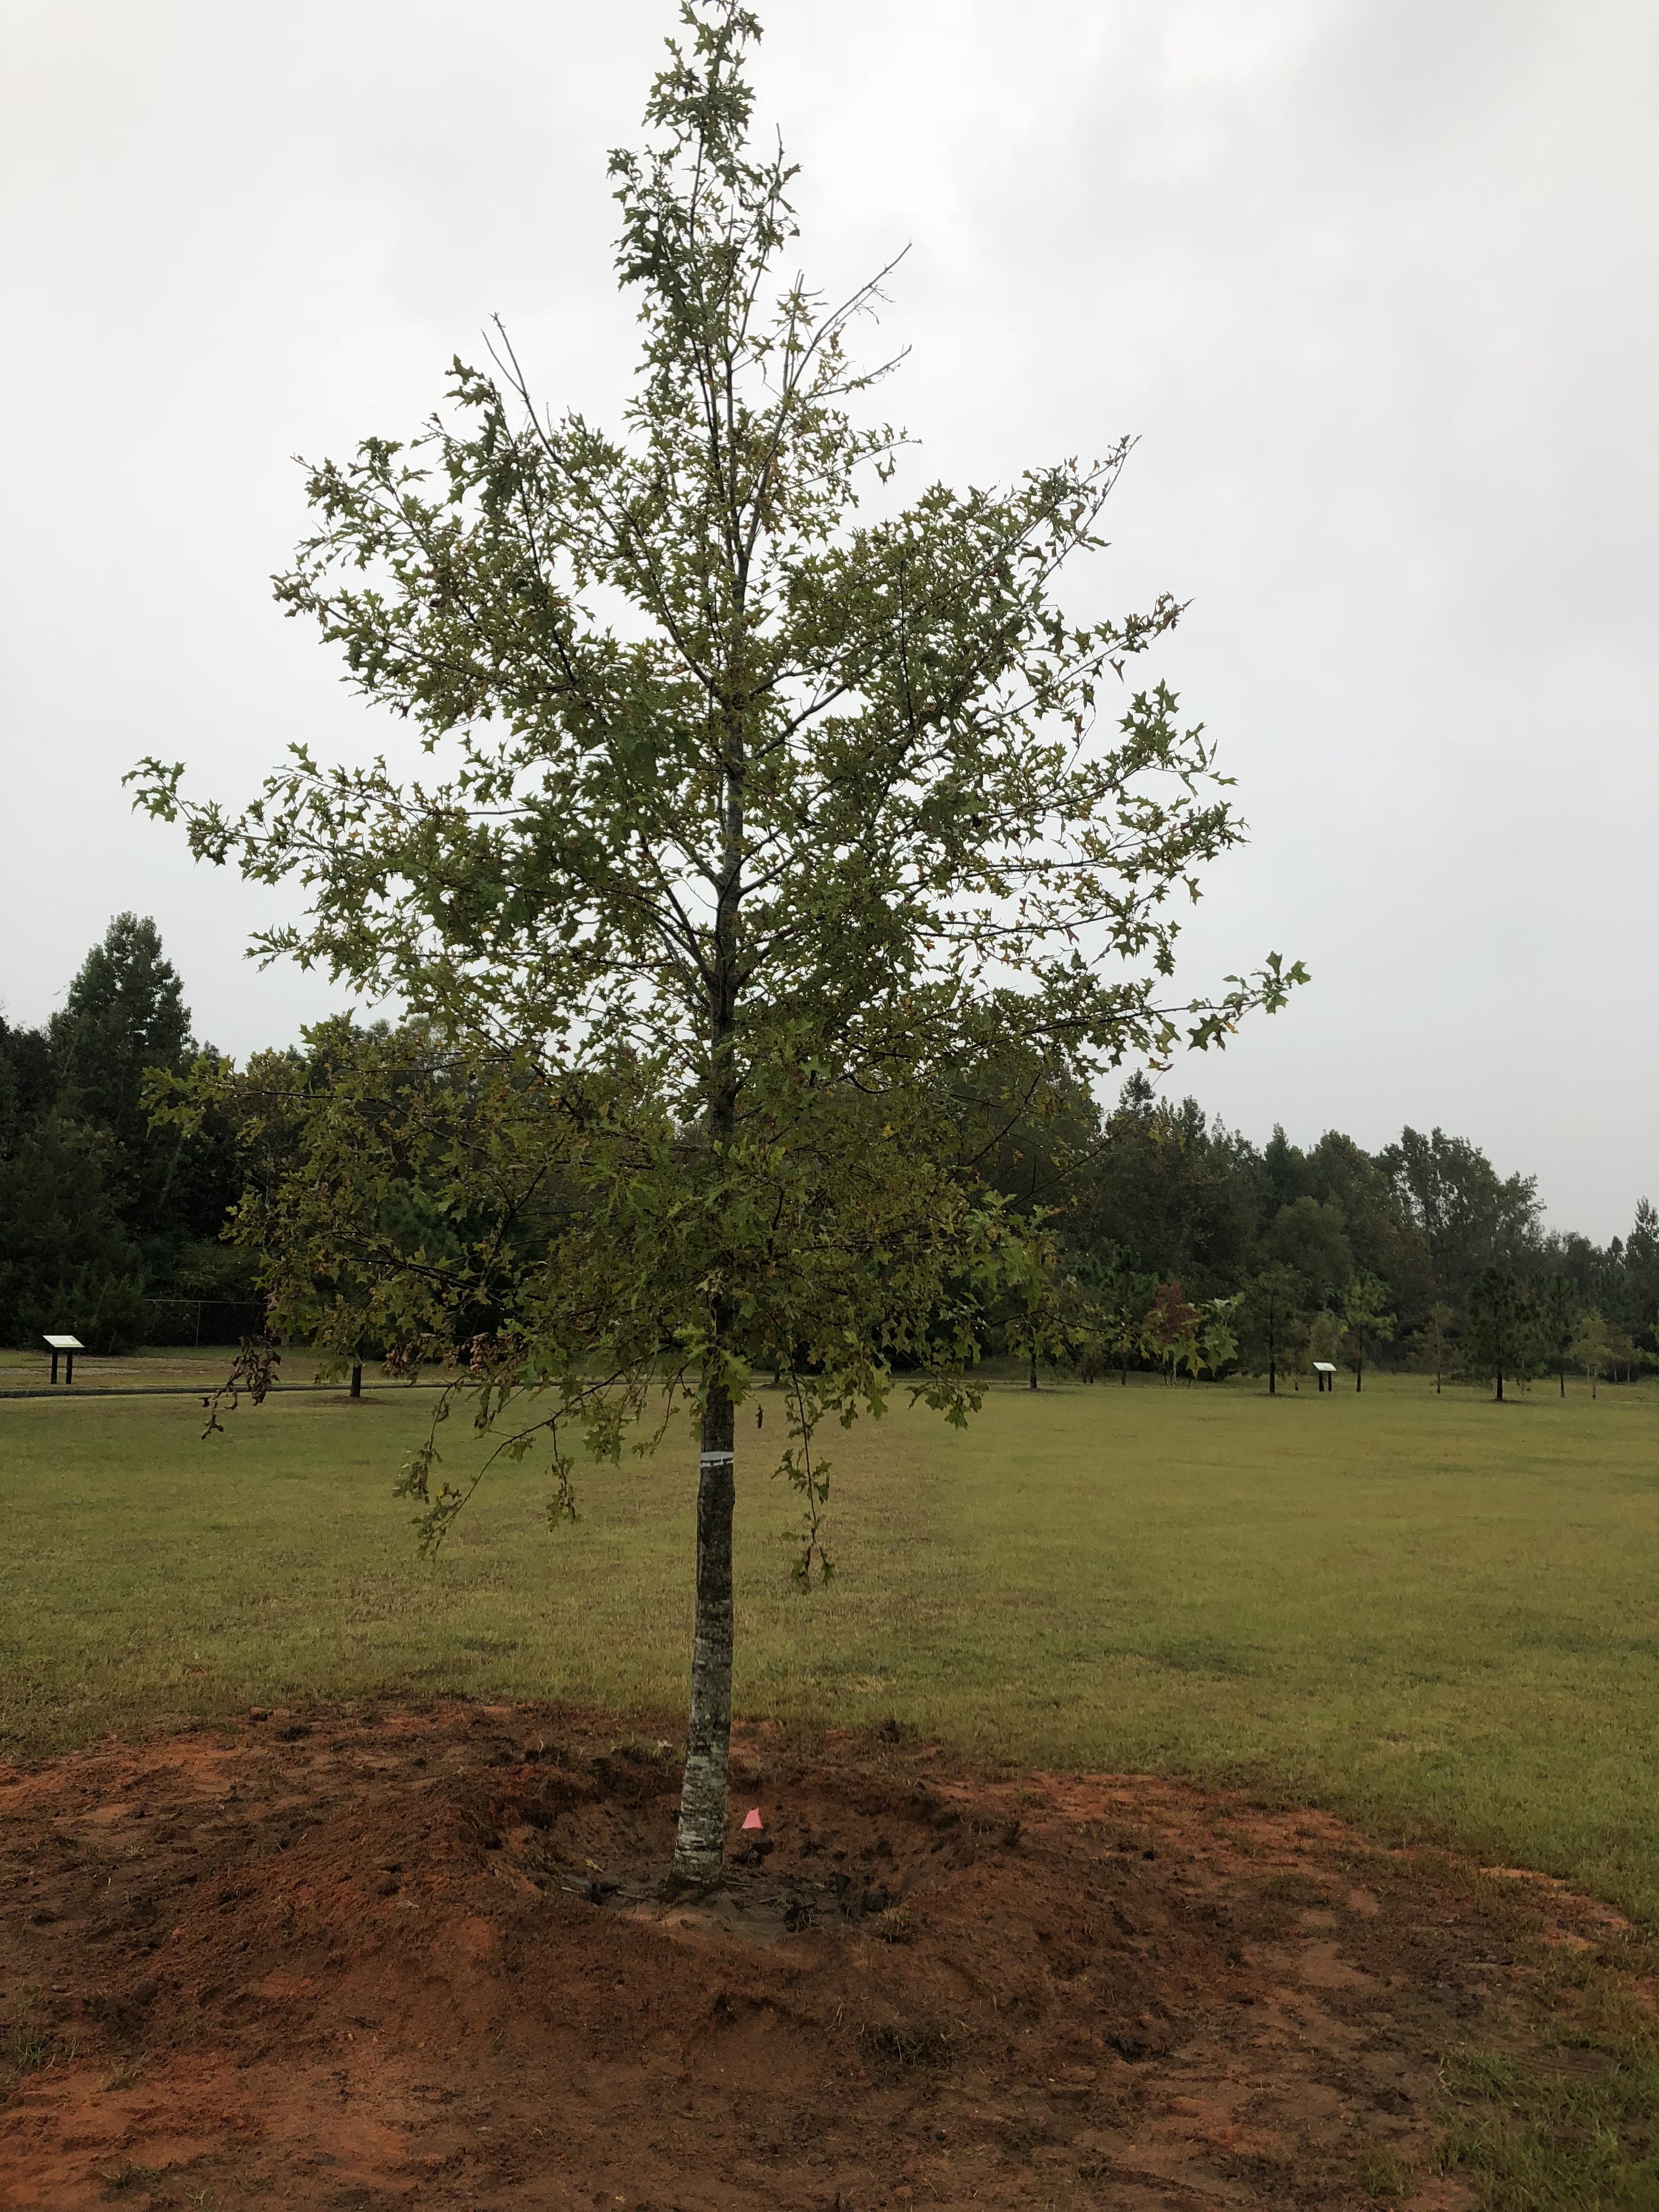
If you plan to purchase a container tree or shrub this cool season, it is important to follow a few important steps during installation. UF IFAS Extension Escambia County shows you how to find the root flare and remove excess soil above the root flare. These are a couple of steps that will help ensure your plant has a good chance at thriving in the landscape. #plantingdepth#treeinstallation
A planted tree with water retention berm. Photo Credit: Matt Lollar, University of Florida/IFAS Extension – Santa Rosa County
Often, Extension agents are tasked with evaluation of unhealthy plants in the landscape. They diagnose all sorts of plant problems including those caused by disease infection, insect infiltration, or improper culture.
When evaluating trees, one problem that often comes to the surface is improper tree installation. Although poorly installed trees may survive for 10 or 15 years after planting, they rarely thrive and often experience a slow death.
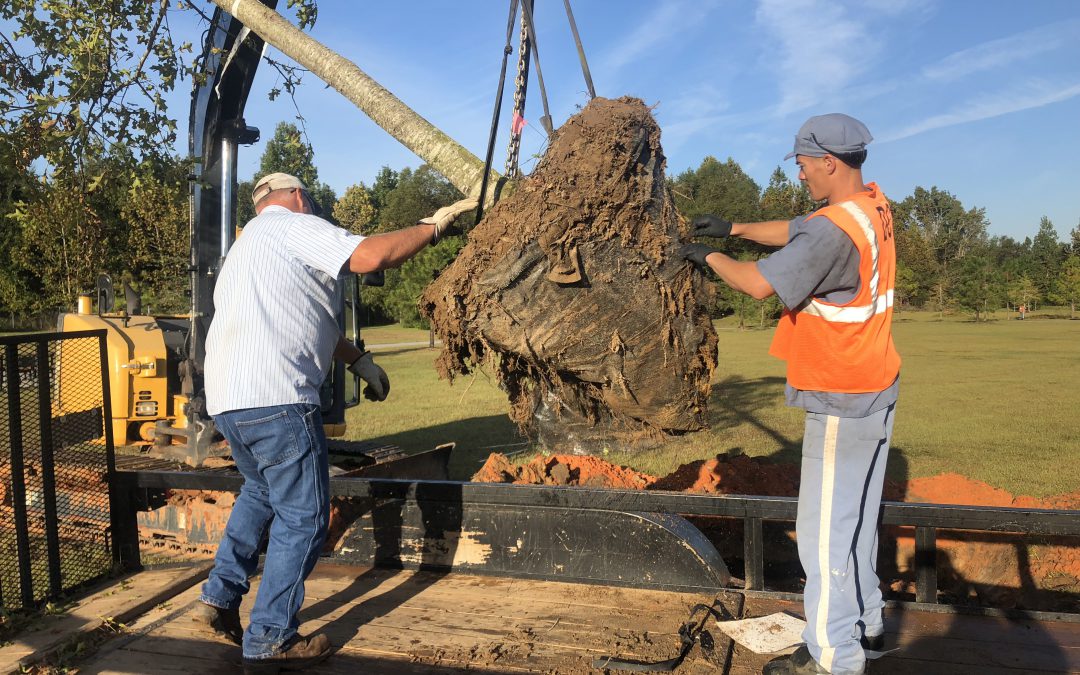
Fall/winter is an excellent time to plant a tree in Florida. Here are 11 easy steps to follow for proper tree installation:
Look around and up for wire, light poles, and buildings that may interfere with growth;
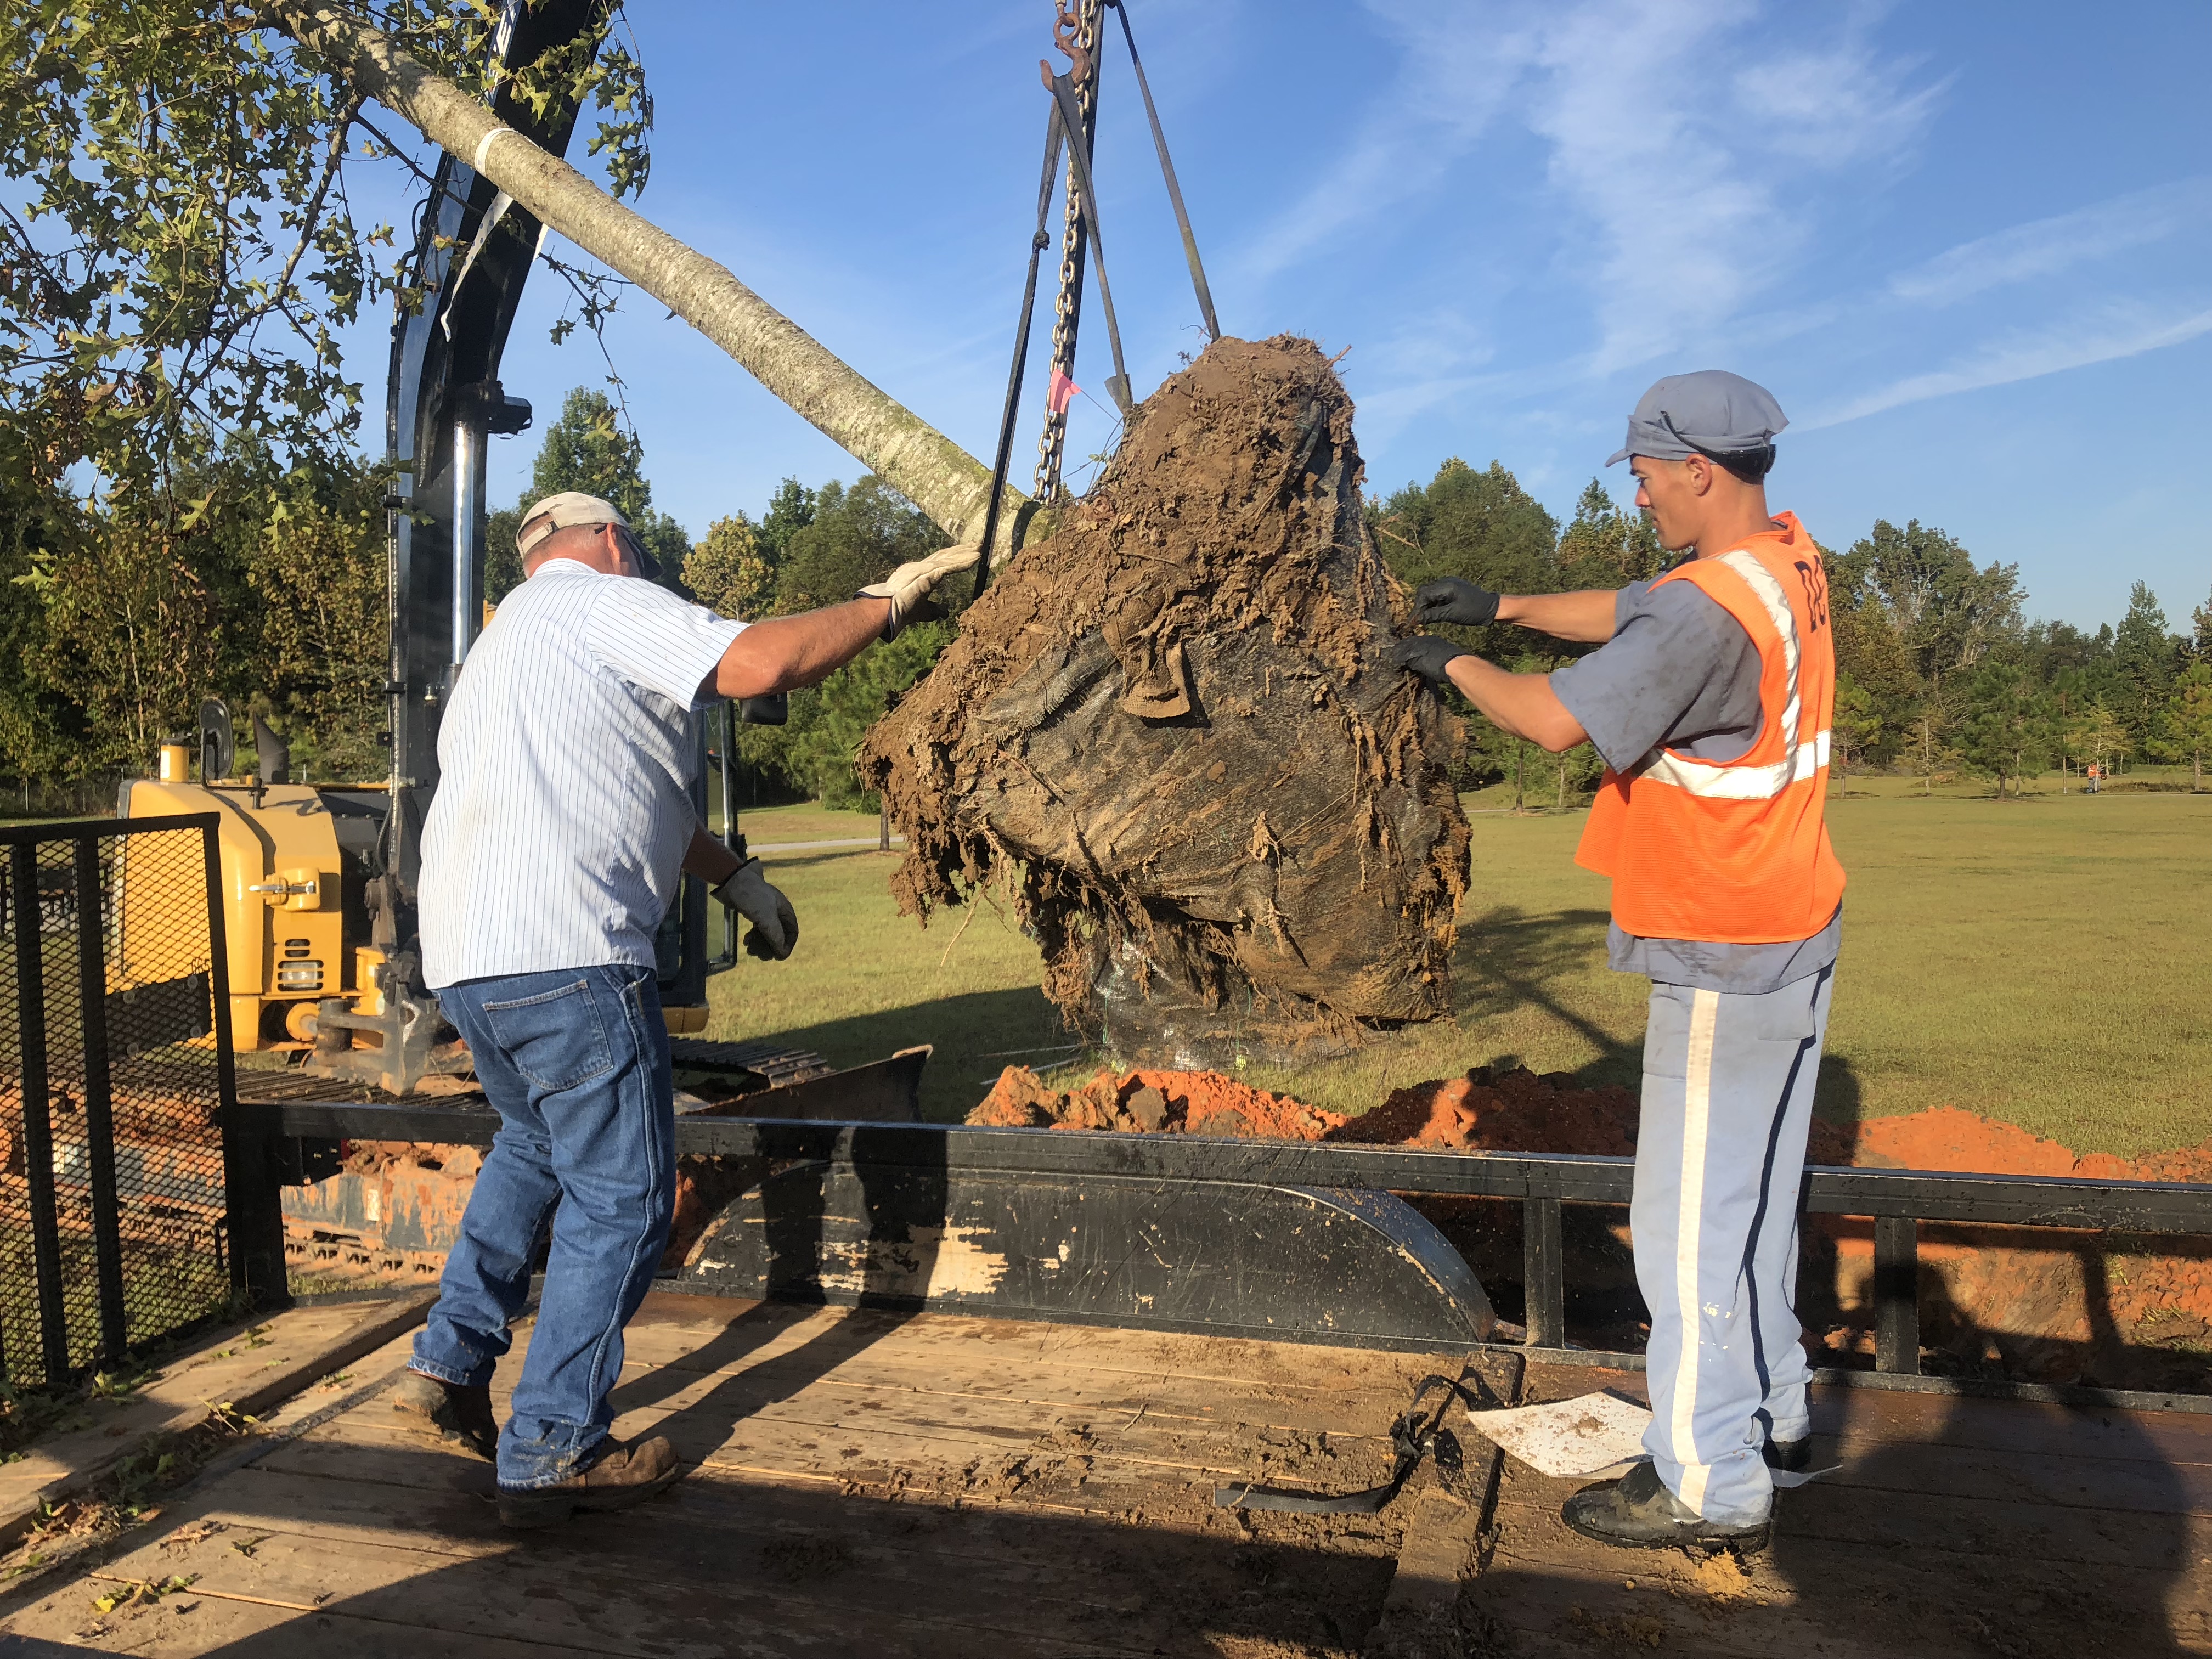
Dig a shallow planting hole as wide as possible;
Find the point where the top-most root emerges from the trunk;
Slide the tree carefully into the planting hole;
Position the point where the top-most root emerges from the trunk slightly above the landscape soil surface;
Straighten the tree in the hole;
Remove synthetic materials from around trunk and root ball;
Slice a shovel down in to the back fill;
Cover the exposed sides of the root ball with mulch and create water retention berm;
Stake the tree if necessary;
Come back to remove hardware.
Digging a properly sized hole for planting a tree. Photo Credit: Matt Lollar, University of Florida/IFAS Extension – Santa Rosa County
Removing synthetic material from the root ball. Photo Credit: Matt Lollar, University of Florida/IFAS Extension – Santa Rosa County
Straightening a tree and adjusting planting height. Photo Credit: Matt Lollar, University of Florida – Santa Rosa County
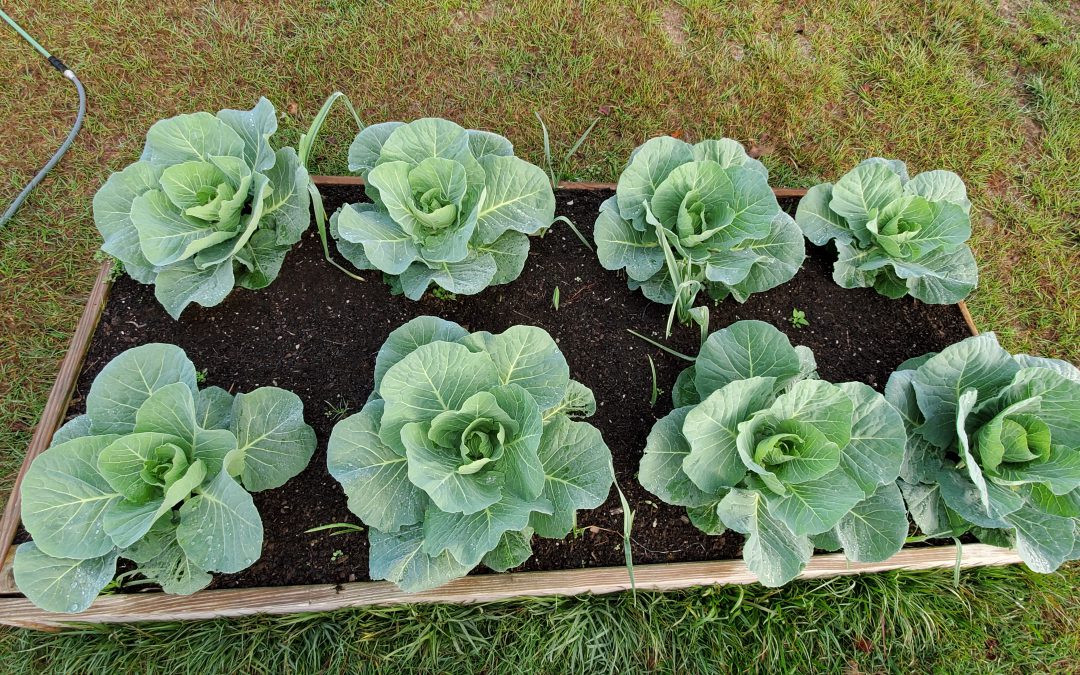
Daniel Leonard, Horticulture Agent at UF/IFAS Extension Calhoun County, answers commonly asked questions about raised bed gardening. In the video he discusses construction materials, the type of soil to use, fertilization, crop rotation, cover crops, and smaller container gardens.
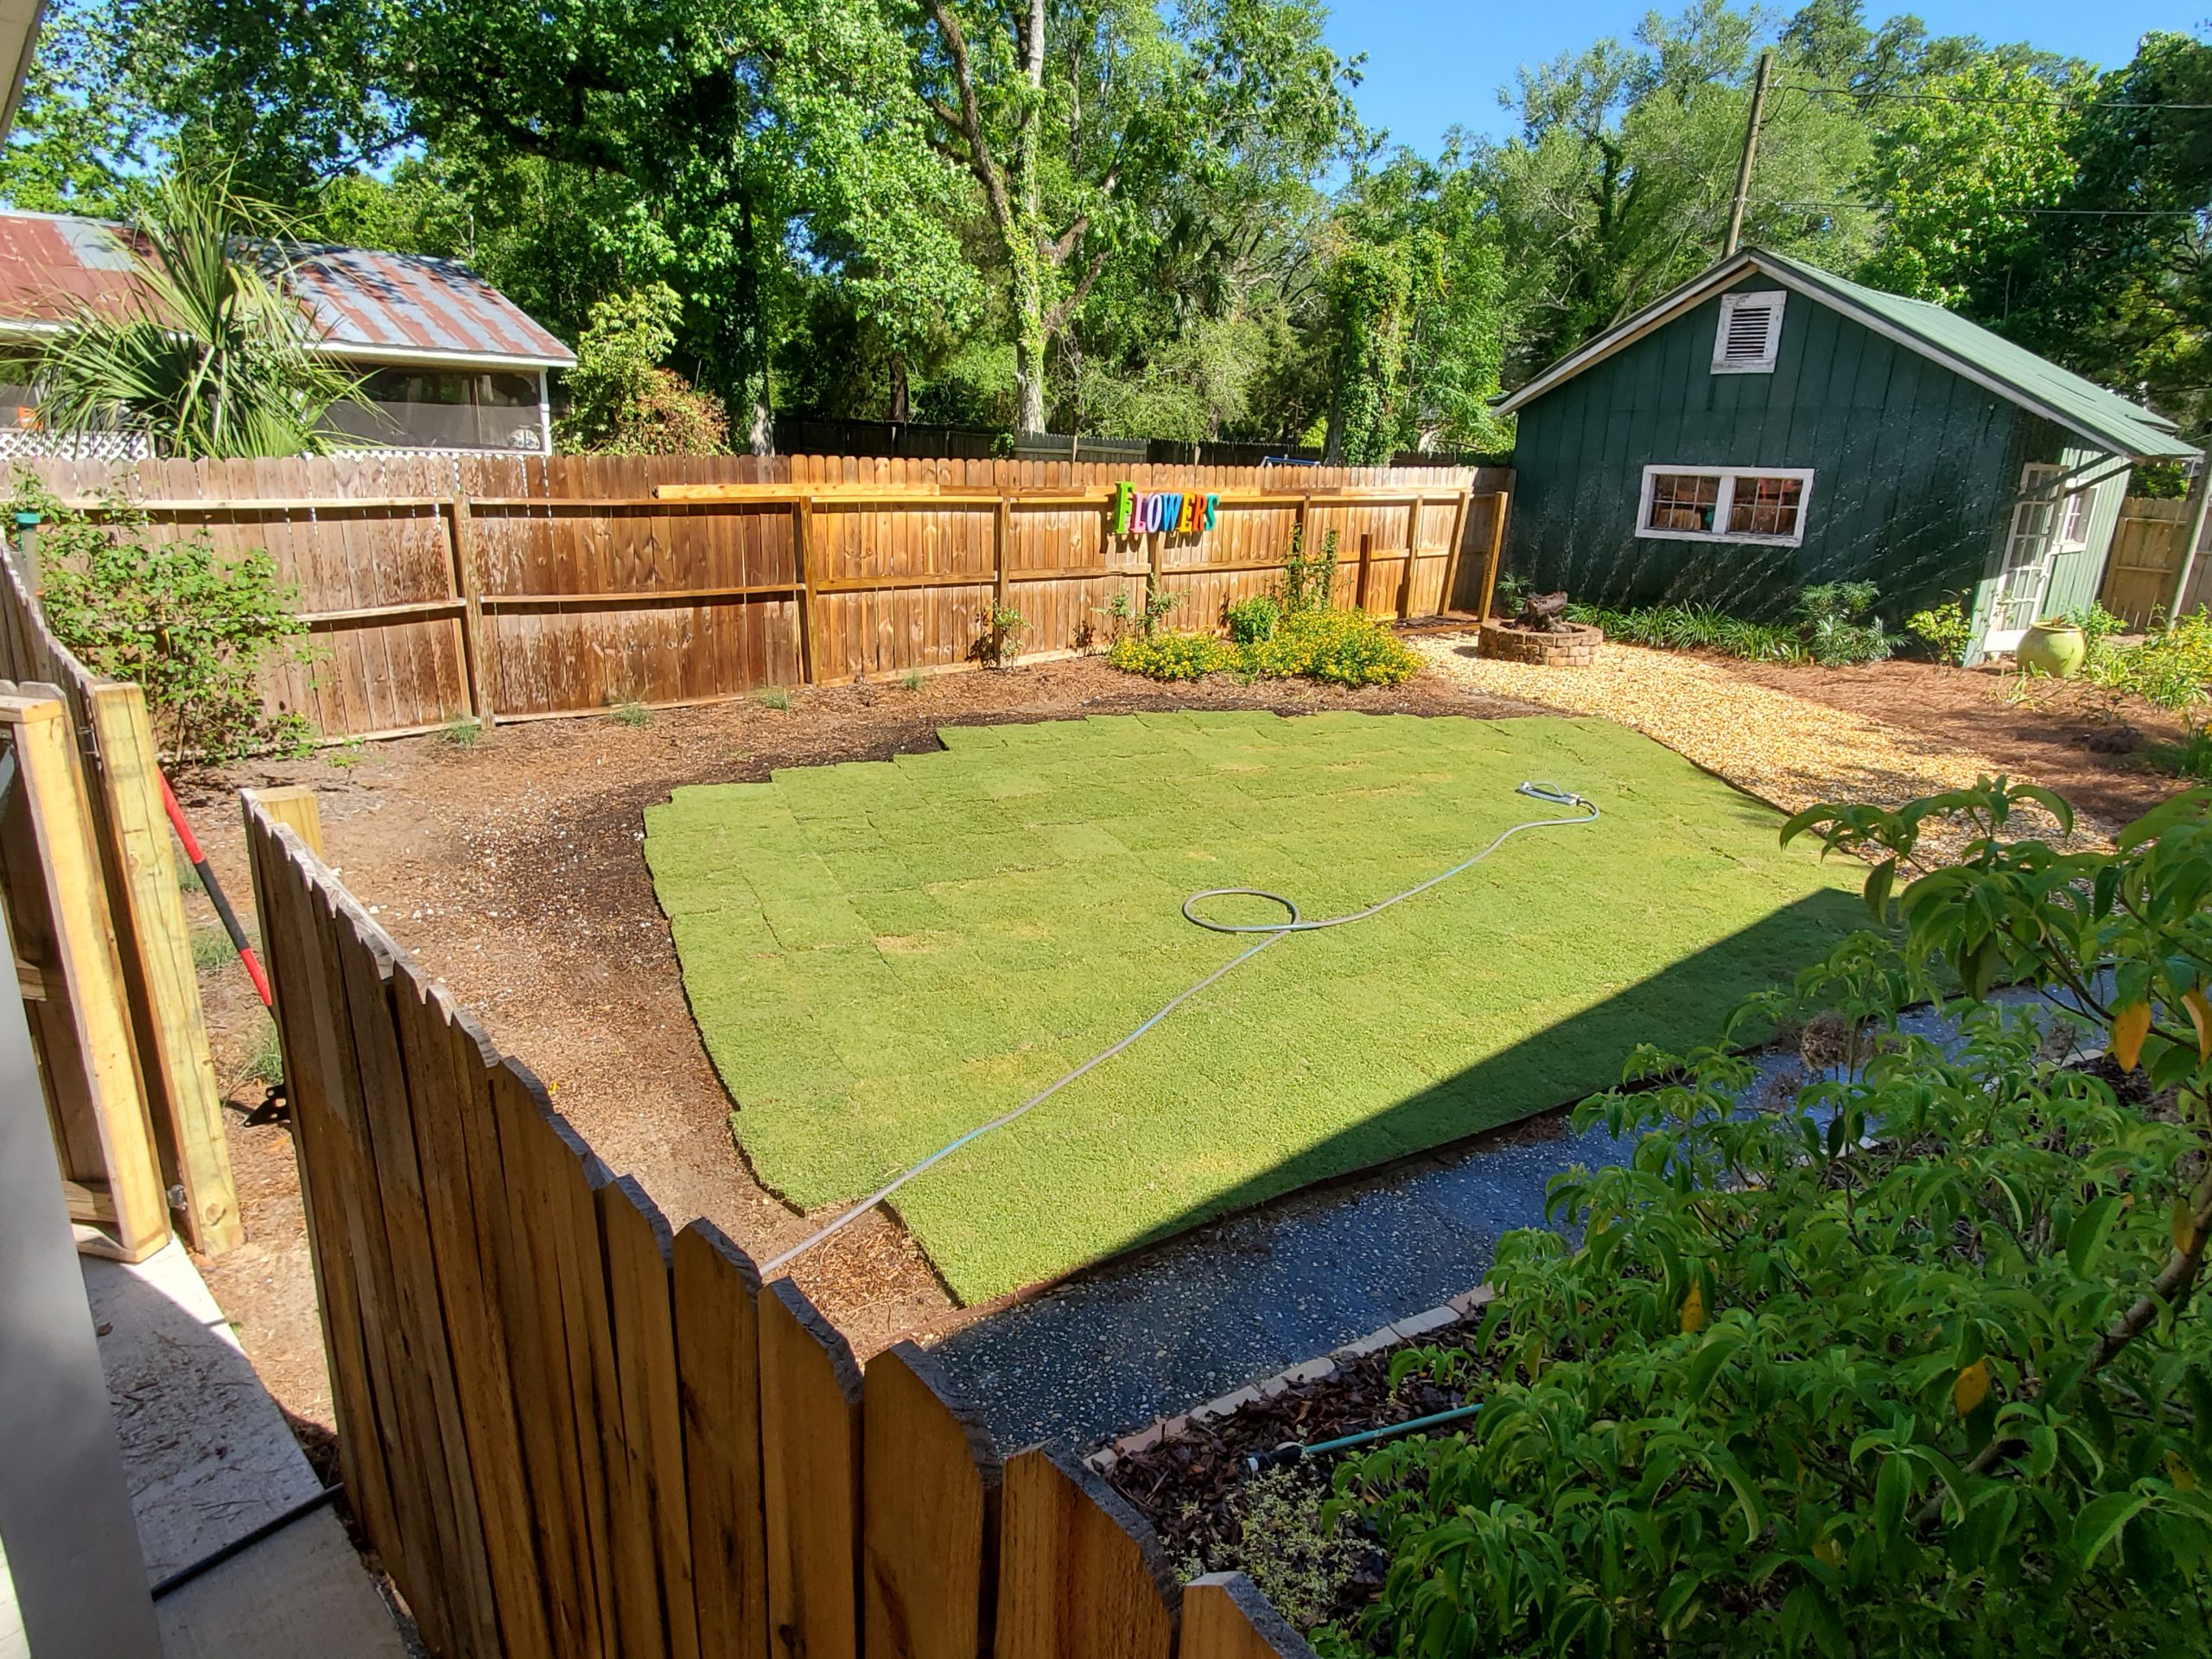
Nearly everyone dreams of having a perfectly lush, green turfgrass lawn in the backyard. Indeed, lawns provide many benefits to homeowners! A well-managed lawn is an excellent filter of chemical and nutrient runoff, builds soil through the breakdown of clippings, thatch and organisms that exist in turf systems, is aesthetically pleasing and increases property values, reduces ambient air temperatures and provides a durable surface for pets and play! However, none of these turf benefits can be realized if you don’t install and establish sod correctly.Remember these ten tips when planning, installing, and establishing sod to realize your perfect lawn dream!
Choose the Correct Species for Your Site. Not every site is equal. Is irrigation present, or will the turf be on its own? Are you willing and able to provide a higher level of care or will you sacrifice some aesthetic appeal for a lower maintenance turf? These and other questions need to be answered before you buy! Do some homework before settling on a particular grass species and cultivar; they all have merits and drawbacks.
Prepare the Site. Ensure the area you’ll be installing your new sod is weed-free, not compacted, and smooth. Several weeks before installation, apply a non-selective herbicide to “clean” the site of weeds. After existing weeds die, it’s a good idea to till the area or at least “rough it up” with a heavy rake. This helps alleviate site soil compaction which allows easier root initiation from sod to soil. Finally, smooth the site to ensure good root to soil contact and prevent a bumpy surface later.
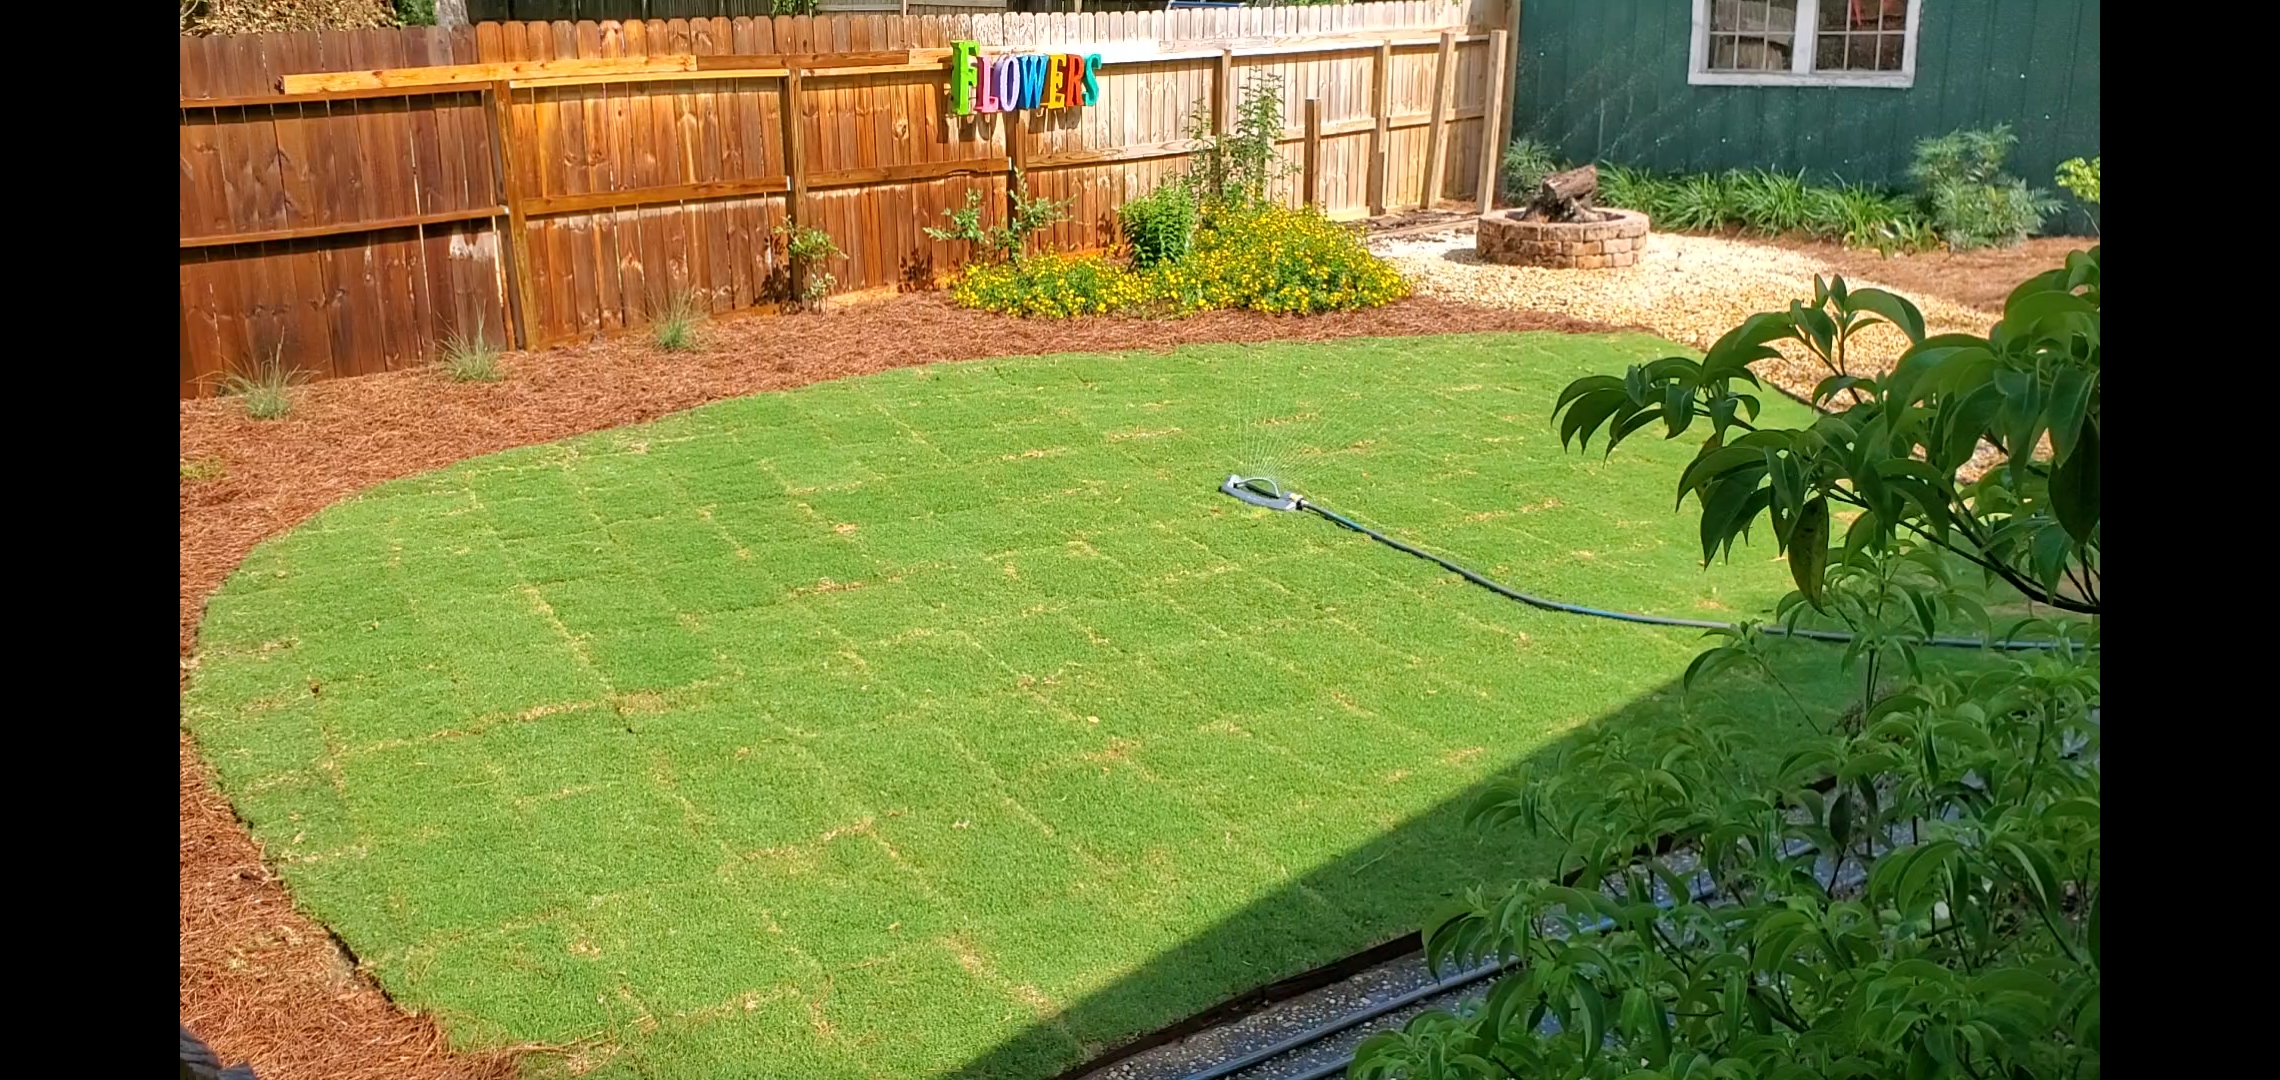
Time for some water! ‘Tiftuf’ Bermuda sod ready for a mid-lay watering. Hot and dry conditions demand sod be kept moist. Photo courtesy of the author.
Buy Quality Sod. Research where the dealer you purchase sod from sources their grass. Ensure you’re buying turf from a respected operation that follows Sod Production Best Management Practices. Not all farms are equal.
Lay it Quickly. If buying from a retail dealer, make sure their sod is fresh. Sod quality declines rapidly after 48 hours from cutting. Ideally, sod is installed the same day it’s cut on the farm, but not later than the next day.
Water periodically during installation. If installing a large area of turf, periodically wet sod you’ve already laid. Think about the day the sod you’ve laid has had. It was ripped from its home soil, windblown on a trailer en route to your site, laid onto a warm, bare soil surface and is currently baking in the sun waiting on you to finish laying the rest. That’s stressful and a good way to have a crispy brown patch in the new lawn! Ease the sod’s stress by periodically wetting as you lay it. It’s also not a bad idea to lightly moisten the site prior to laying the new sod. Avoid making it muddy.
Mound Soil Around Edges. This prevents the edges of freshly laid turf from drying quicker than the rest of the grass and browning out. It doesn’t have to be a lot, just take a heavy rake and fill in the gap between the soil surface and the leaf blades. Think of it as hiding exposed roots from the sun and wind. Trust me, this step keeps you from having a nice brown ring circumventing your new green lawn!
Pack it Down. You can be fancy with a drum roller partially filled with water or simply use a rake or tamping tool to lightly tamp the grass down. This helps ensure good root contact with the soil, prevents dry patches in the establishing sod, and quickens rooting time.
Almost finished! Remember to tamp down and mound soil around the roots of the edge pieces. Photo courtesy of the author.
Water Correctly. Your new sod needs to be thoroughly watered daily for the first 10-14 days after installation. Remember how stressful the sod laying process is to turf. It takes a little while for sod to recover and initiate rooting into its new home. Don’t miss a day! Following this initial 10-14 day period, back off to once every couple of days for another two weeks or so. After that, the sod should be rooted in nicely and be able to rely on regular, as needed, lawn irrigation intervals.
Stay Off It! Minimize traffic on new sod for several weeks after installation. Roots are establishing during this time and are extremely vulnerable to disturbance until anchored. I know you’re ready to enjoy your new lawn, but you’ve come too far now to mess it up!
No Fertilizer for 30-60 days! Plants without roots have a hard time taking up nutrients. Therefore, it makes sense that until sod has firmly anchored into place and established a new root system, fertilizer application should be withheld. Fertilizer applied during the initial establishment period will likely be wasted and leach through the soon-to-be rootzone and could even burn fragile new roots. Also, avoid using a starter fertilizer for the same reason – there aren’t any roots to take up the nutrients.
‘Tiftuf’ Bermudagrass sod being watered after installation is finished. Do this daily for 10-14 days following installation. Photo courtesy of the author.
By following these ten tips, you’ll be well on your way to a perfect lawn! For more information on these and other lawn care topics, contact your local UF/IFAS Extension Agent and consult The Florida Lawn Handbook, a research-based publication written by UF/IFAS Extension specialists.