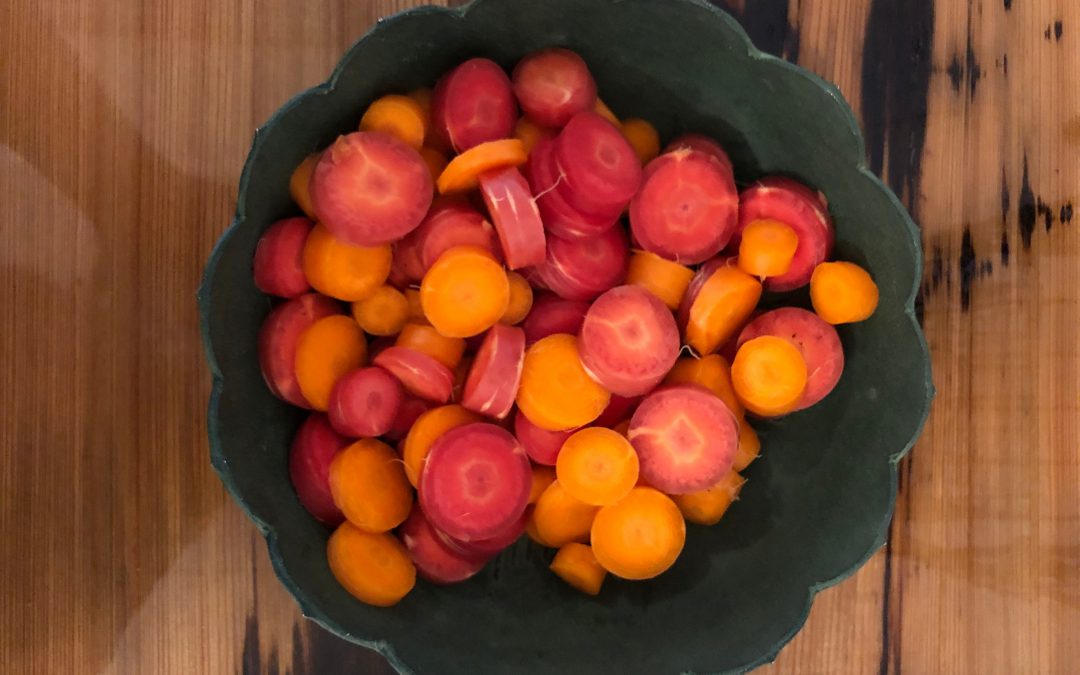
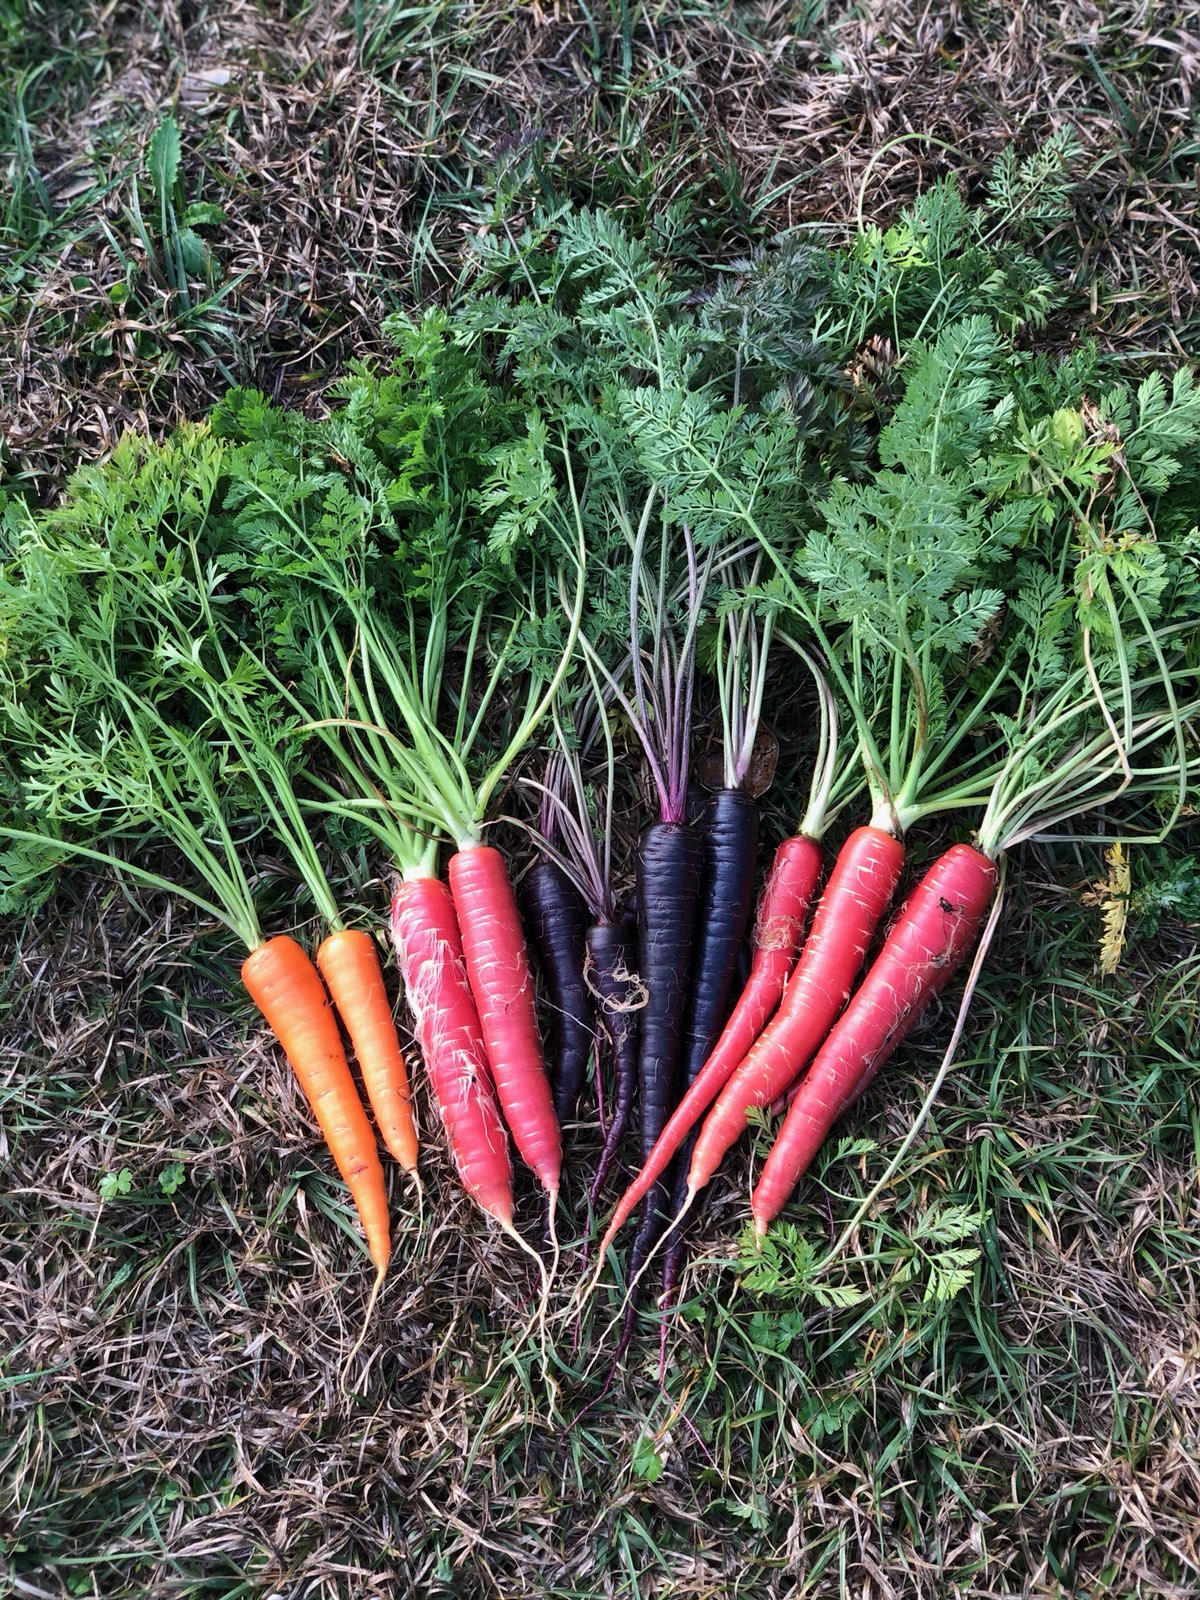
Carrots are synonymous with a few things: Bugs Bunny, old wives’ tales about improving eyesight, and the color orange. For centuries, orange colored carrot varieties have been the industry standard and still dominate store shelves. These days though, choices for consumers are ever expanding and thankfully home garden carrot variety selection has participated in this phenomenon! With a little searching, gardeners can now source and plant any color and/or type of carrot they desire. For instance, this winter, I planted carrots of various types in various shades of orange, purple, and red. Through this experience, I also found that not all colored carrots look, cook, or perform the same. The following is a quick primer on carrot types followed by my review of the four varieties ‘Bolero’, ‘Red Sun’, ‘Deep Purple’, and ‘Malbec’ after a season of growing.
There are three main types of carrots regardless of color: Imperator, Nantes, and Chantenay. Imperator types are the extra-long, durable, sweet tasting carrots most often found in stores and are suited best to deep, loose soils. Nantes type carrots are medium length and cylindrically shaped, often with a blunt tip. Sometimes called “storage” carrots, Nantes types are easy to grow and tend to store well for long periods of time after harvest and retain their flavor well. Finally, Chantenay type carrots are excellent performers in shallower beds or soils as they are a bit shorter, possessing a conical shape with roots wider at the top and tapering to the tip, making a deep soil bed a bit less critical. I primarily grow Imperator and Nantes types as I find they give you a little more bang for the buck if you have a deeper (>6”) raised bed. Now, on to the variety reviews.
‘Bolero’ – I always have this carrot in my garden. An extremely versatile Nantes type carrot that has been a consistently high yielder for me whether I grow it in pots or in a traditional raised bed. Typical for a Nantes type, ‘Bolero’ stores very well in the refrigerator and will change your culinary life if you’ve only ever eaten carrots purchased from a store. They are excellent either fresh or cooked, with a complex, sweet taste. If I could only grow one carrot, it would be this one.
‘Malbec’ – Colored carrots have a poor reputation as far as flavor is concerned. ‘Malbec’ is the first non-orange carrot that changed my mind. This Imperator type is as flavorful as they come, deep red throughout, and is easy to grow. For some reason, ‘Malbec’ has been hard to come by the last two years, but if you spot seeds in a catalogue, online, or on a store shelf, it is well worth a purchase!
‘Red Sun’ – Winter 2020 was my first experience with ‘Red Sun’, a brand-new Nantes type carrot from Bejo Seeds. I only planted this variety because I initially could not source ‘Malbec’. Having said that, I was very pleased with ‘Red Sun’. The carrots were extremely vigorous, had excellent top and root growth and mostly held their own with ‘Malbec’ flavor-wise in the kitchen also. I would purchase ‘Red Sun’ again!
‘Deep Purple’ – Wow, they weren’t kidding when they named this variety! Most purple carrots are colored on the exterior but fade to a “normal” orange at their core. Not ‘Deep Purple’! This Imperator type is strikingly dark purple, almost black. Even the tops have a purple hue to them! Cooking them was also an interesting experience. Most colored veggies, peppers, carrots, and others lose their hue when cooked. Not this variety. Not only did ‘Deep Purple’ retain its color after cooking, my hands and cutting board turned a shade of indigo when preparing and, once put in a pan to sautee with other veggies, the juice from ‘Deep Purple’ dyed all the other veggies a deep violet! While I wouldn’t grow ‘Deep Purple’ as my main crop carrot, it definitely has a place in the garden as a tasty novelty.
Carrots are among the easiest to grow, most rewarding vegetables in the winter garden. Next fall, plant a variety of carrots in your home garden and enjoy the many types, colors and flavors that this tasty veggie has to offer! For more information on the above mentioned varieties, home carrot gardening in general, or any other horticultural topic, contact your local UF/IFAS County Extension office. Happy Gardening!
There is an old saying that rings true in pretty much any situation – “You get what you pay for.” Gardening tools, especially pruners, are no exception. We’ve all been there, fumbling around with a pair of rusty, dull, cheap garden pruners that just barely get the job done. Unfortunately, they can also do considerable harm to the plants you’re trying to improve, as anything short of a nice, sharp, clean cut introduces the potential for insect/disease infestation and will produce a wound that takes much longer to heal, if it ever heals properly at all. You wouldn’t want your doctor to start hacking away at you with a dirty, second-rate scalpel. Don’t subject your plants to the same treatment! While I’m not advocating blowing hundreds or thousands of dollars outfitting your garden tool shed with top of the line everything, investing in a pair of quality bypass hand pruners will pay dividends many years into the future and make your gardening experience much more enjoyable!
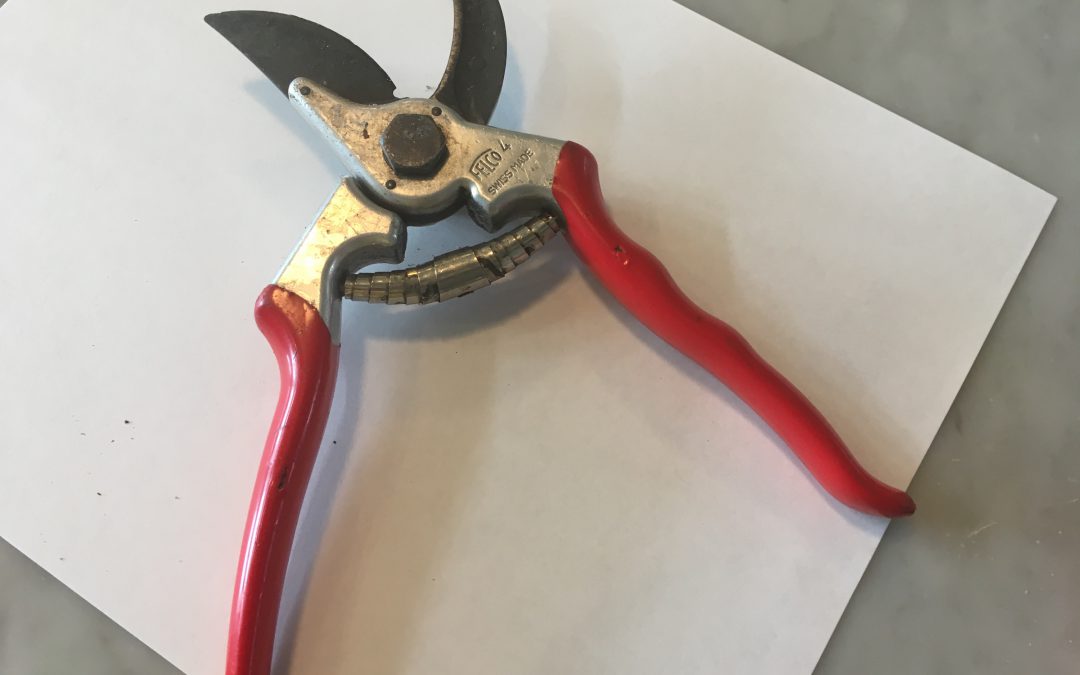
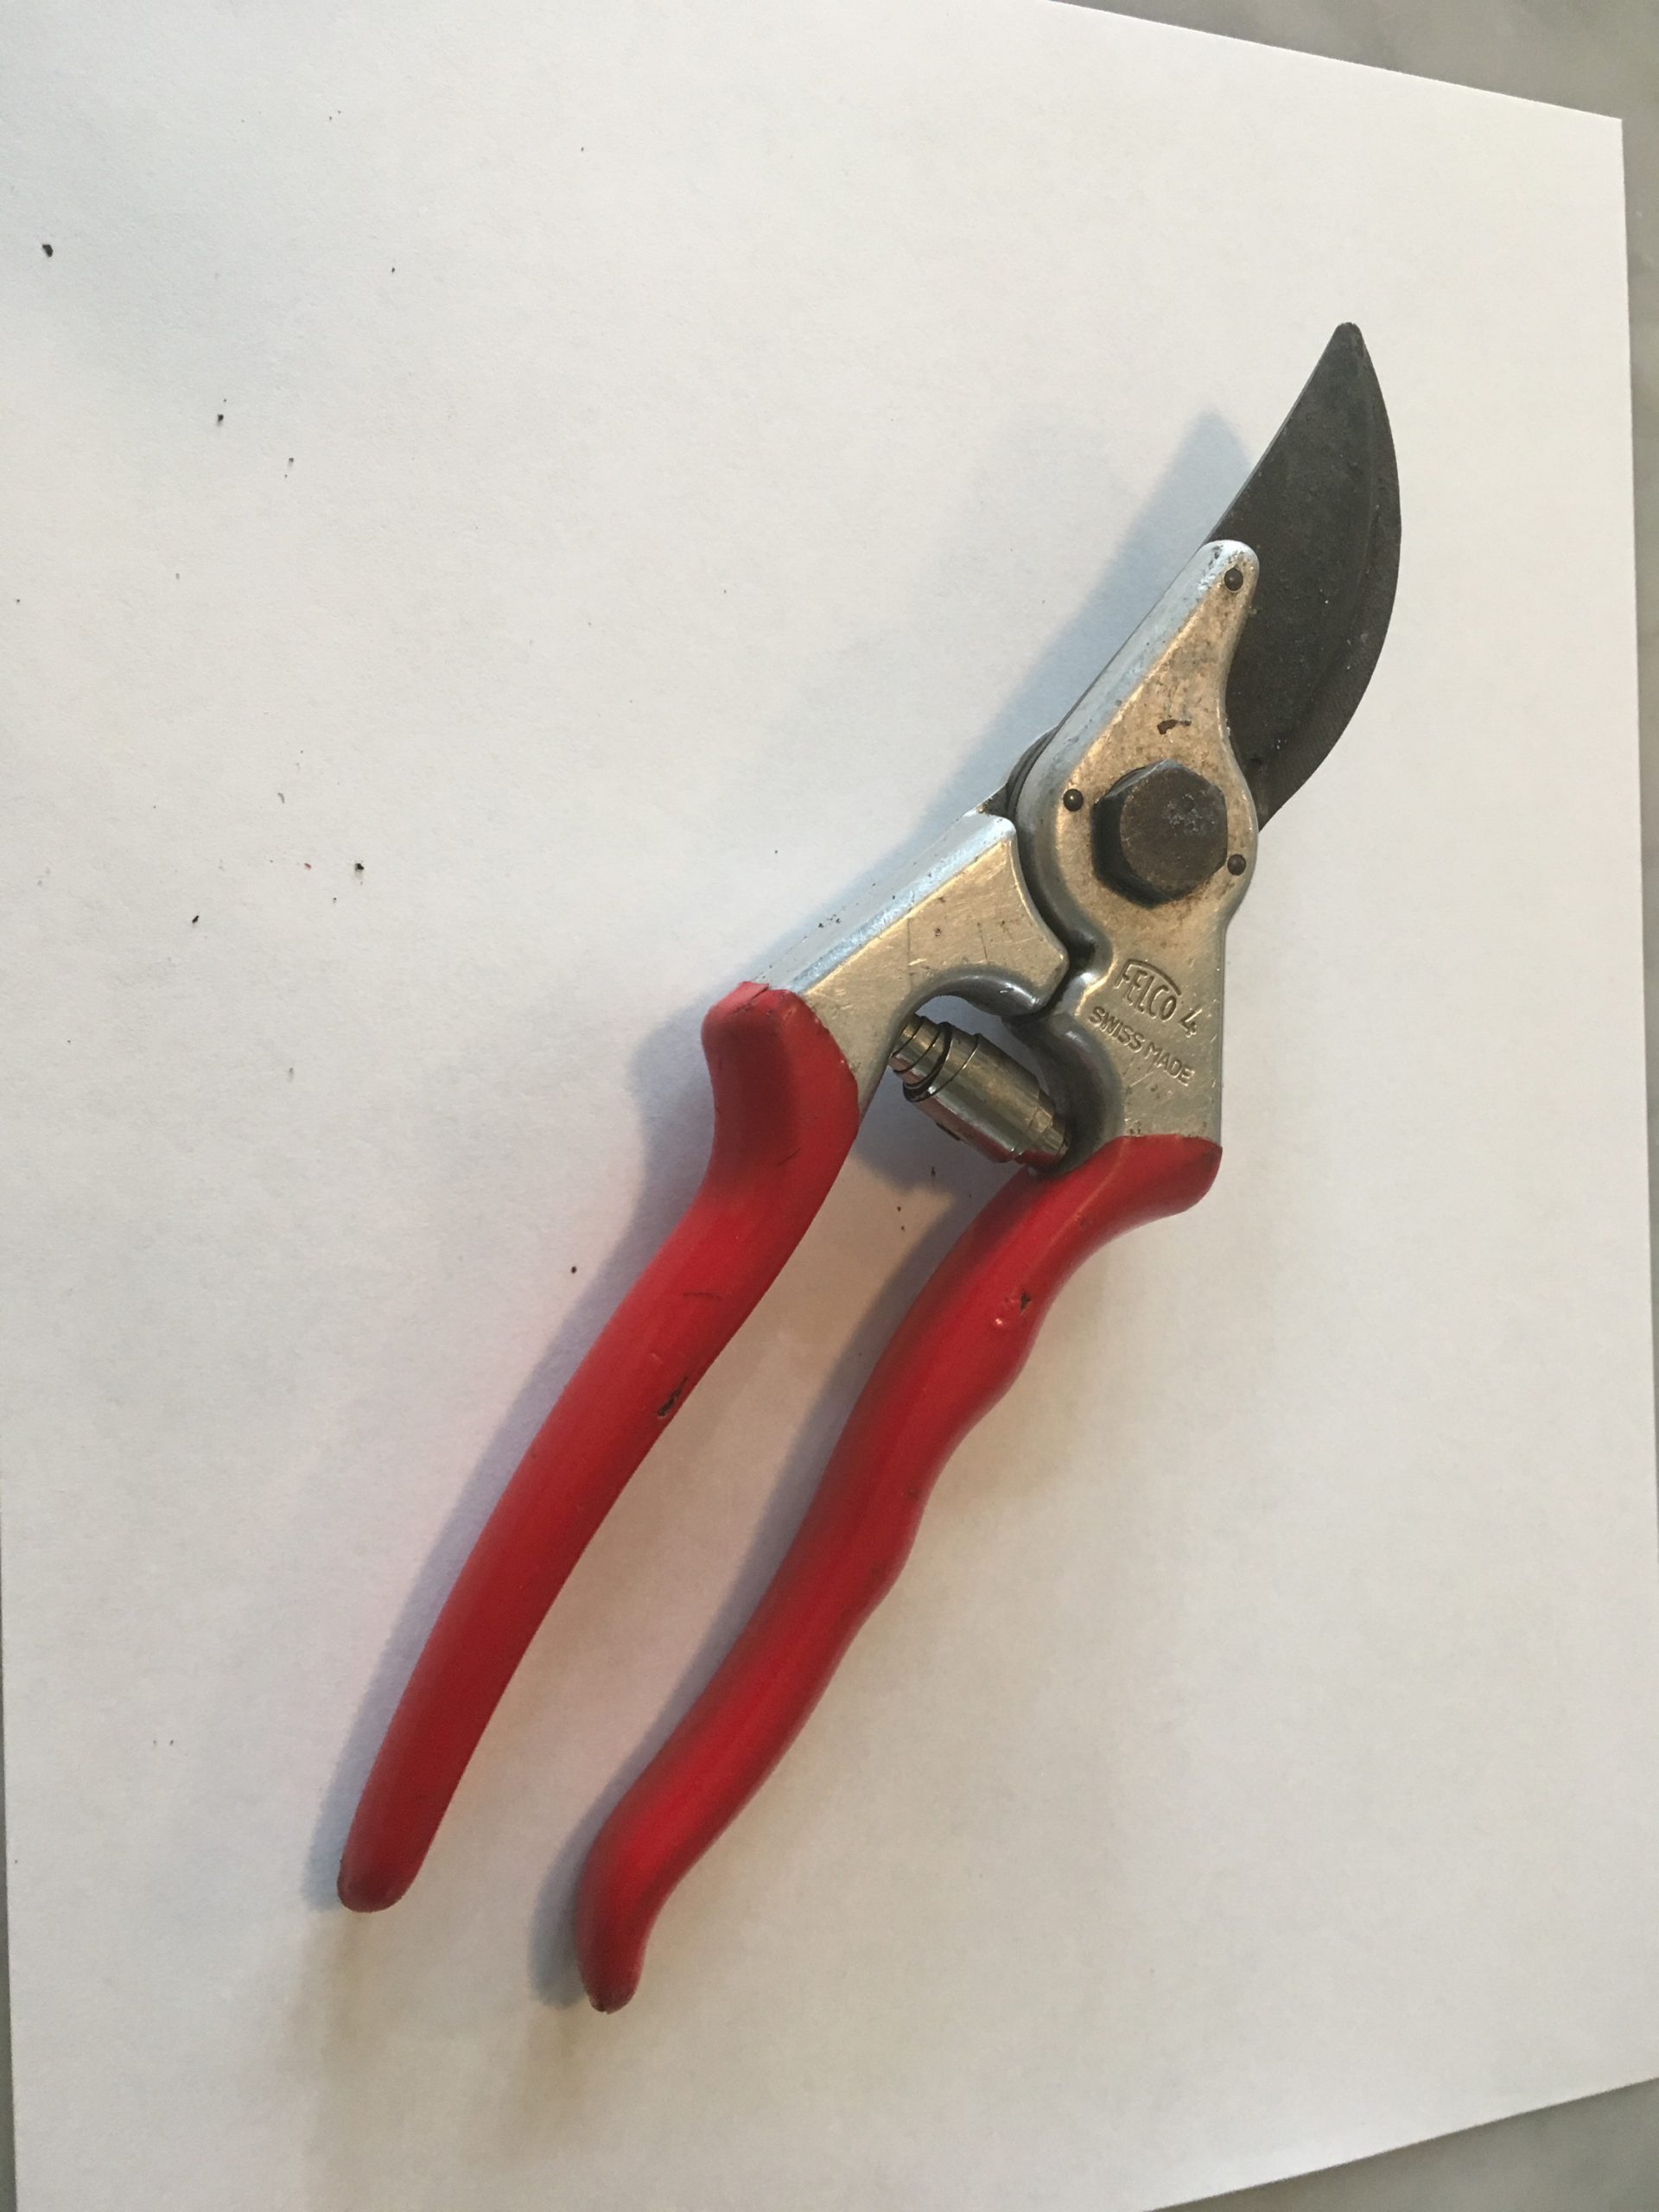
The classic Felco #4 bypass hand pruners. Photo courtesy of Walton County Master Gardener Andrea Schnapp.
Found in three designs, from old-fashioned anvil pruners that smush and smash their way to a cut, to ratcheting pruners that make short work of larger branches but tend to be cumbersome and complicated, to bypass pruners that produce clean cuts in a scissor-like manner, hand pruners accomplish many tasks in the landscape. From cutting small limbs, to harvesting vegetables, to deadheading annual flowers and everything in between, there isn’t a more frequently used, versatile tool. Therefore, it makes sense to buy a quality pair that will perform excellently, still be snipping long after your pruning days are over (if you take care of them), and that are comfortable enough you will enjoy using them. When shopping for your pair of “forever” pruners, there are a few things to look for.
Only use bypass style pruners. Your plants will appreciate it.
Look for heavy duty pruners with frames made from quality aluminum or stainless steel; they won’t rust and won’t easily bend or break.
Buy pruners with replaceable parts. This is especially key because springs eventually rust and gum up and blades break and will eventually lose their ability to hold an edge over time (though you can and should resharpen them).
There are two commonly found brands that fit all three above criteria, albeit at different price points. For a high quality “budget” blade, various models from Corona do an excellent job for the money ($20-30) and won’t hurt your feelings too badly if you happen to lose a pair. Should you decide to splurge a little, Felco makes sharp, indestructible pruners, in multiple models around $50 to fit all size hands. Felco has become the horticulture industry standard and you’d be hard pressed to find a nursery owner or landscaper that didn’t own a pair (or two).
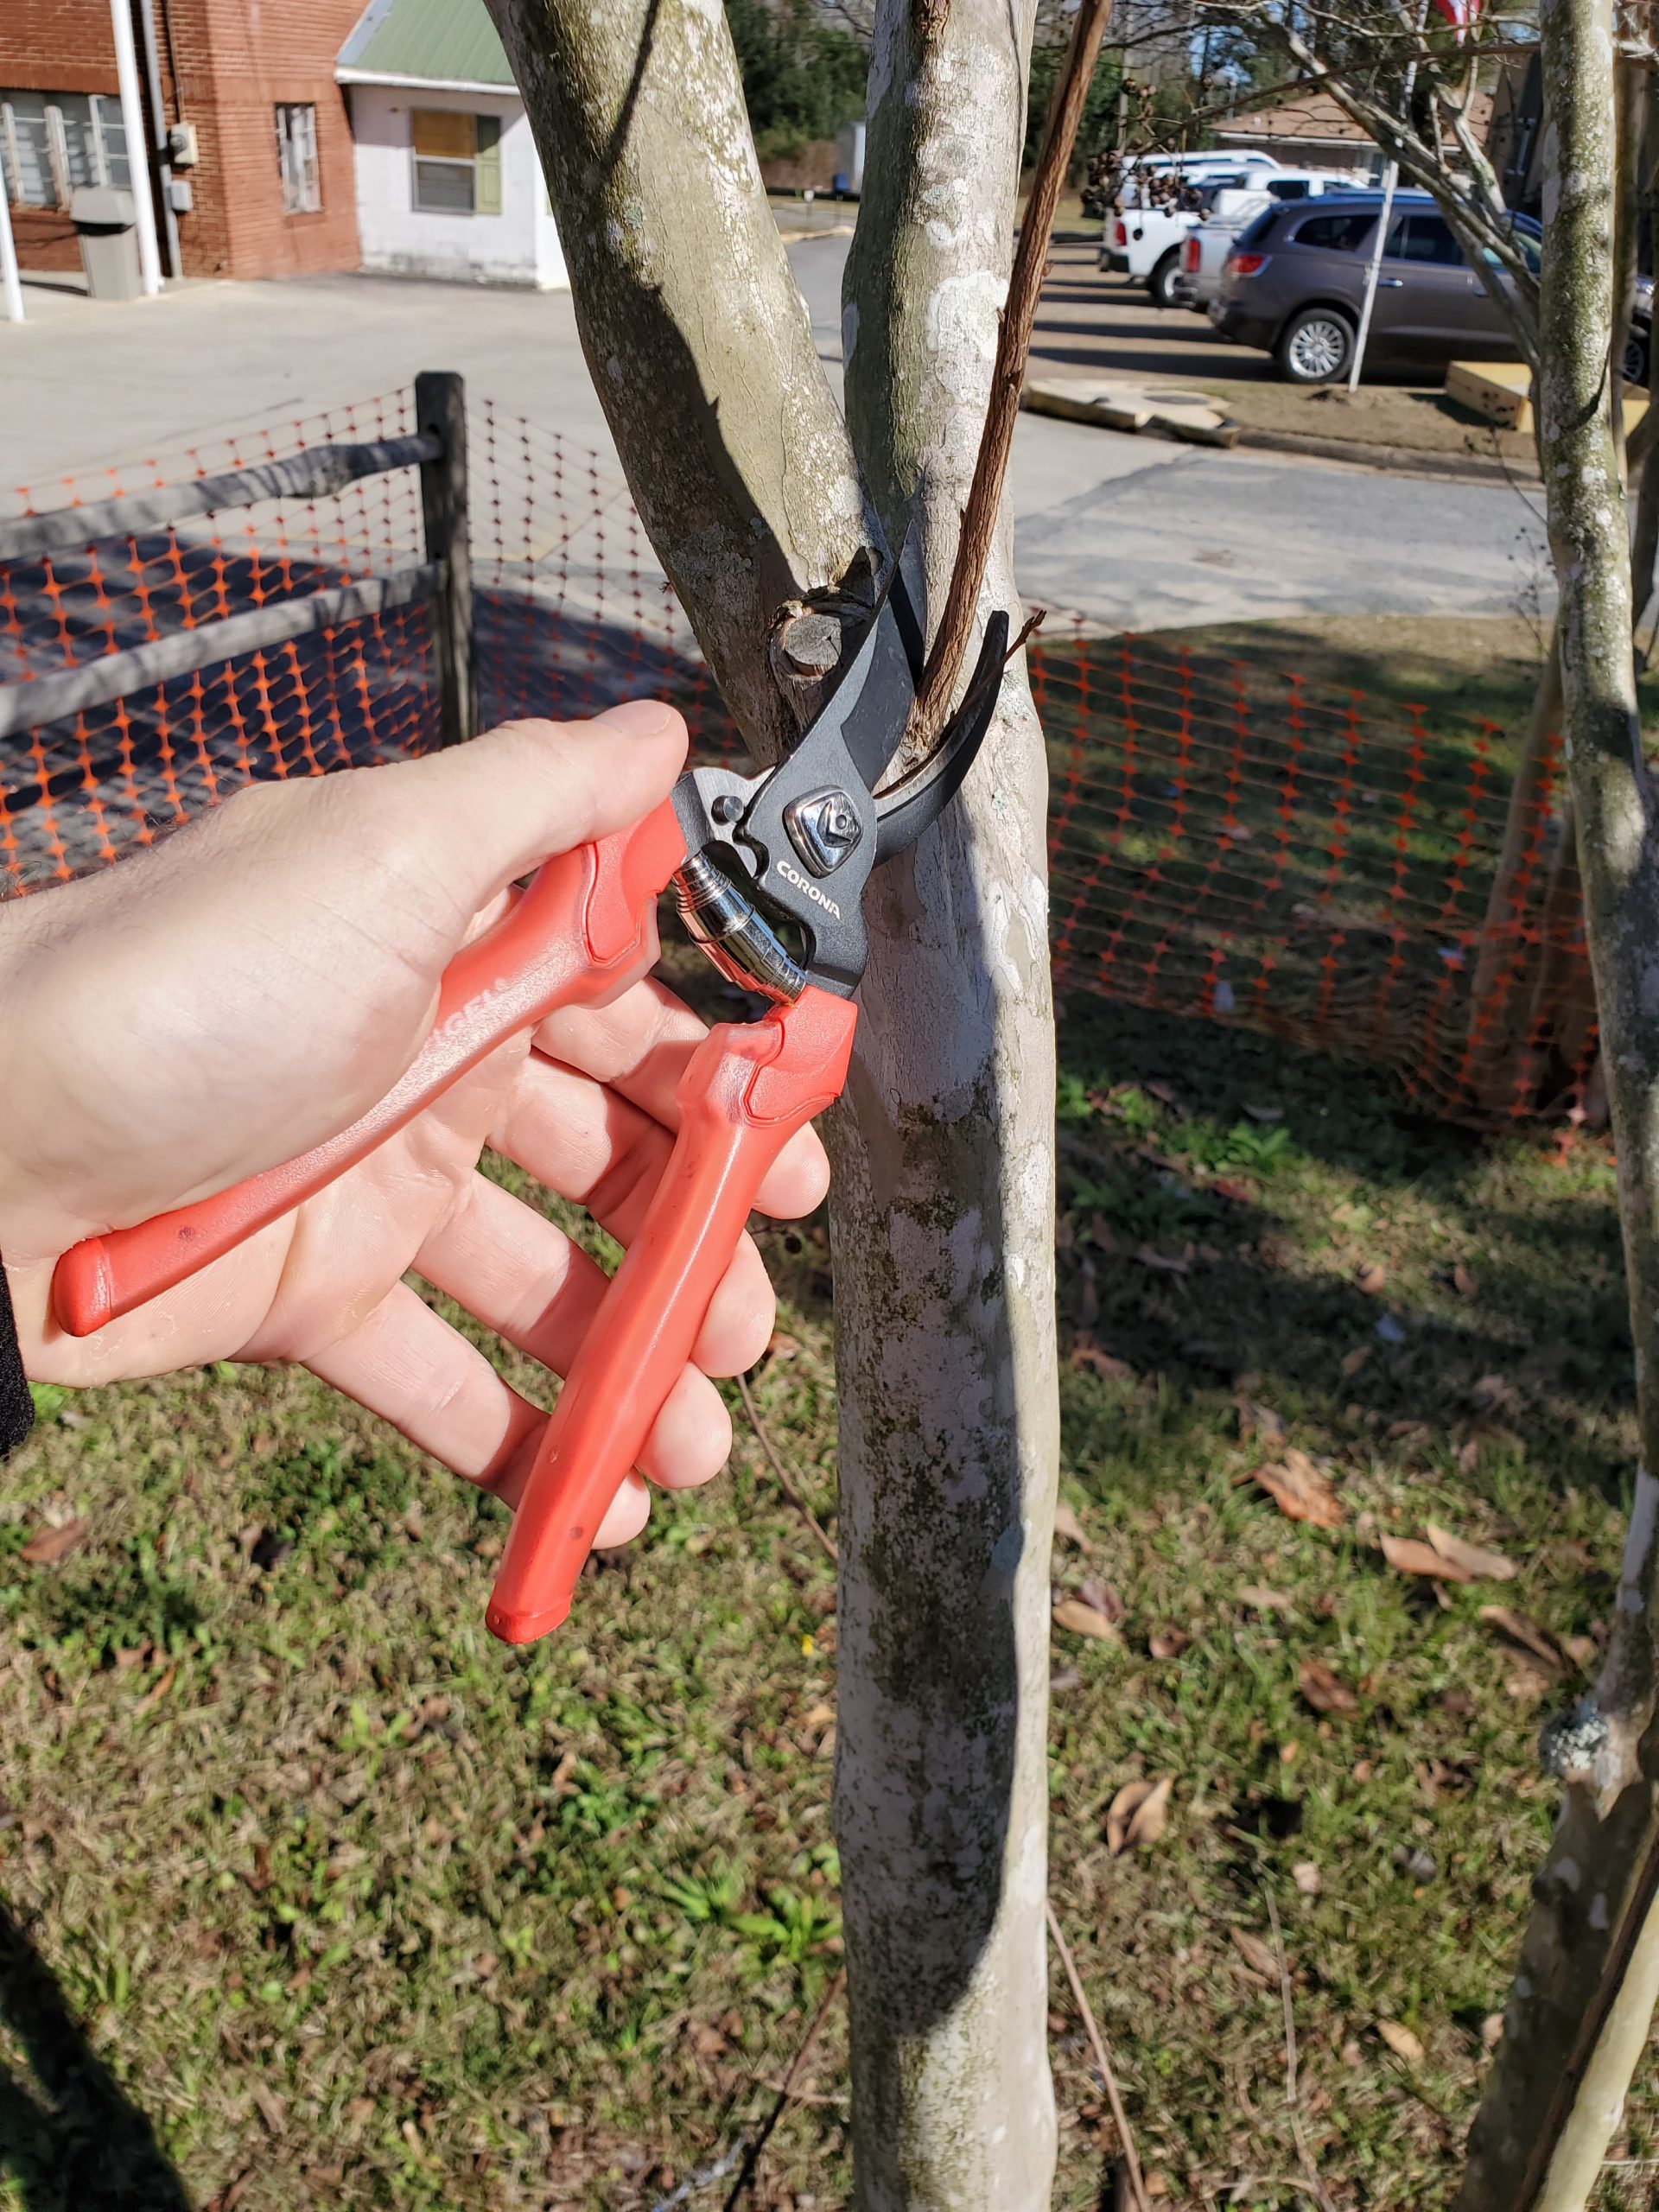
Corona ComfortGel bypass hand pruner. Photo courtesy of Daniel Leonard.
Regardless of which brand you buy (and there are many more than the two above listed) a pair of well-made pruners, if taken care of, should last a lifetime and make your gardening experience much more enjoyable for you and your plants! If you have any questions about gardening tools or equipment or any other horticulture or agronomic topic, feel free to contact your local UF/IFAS Extension Office. Happy Gardening!
For all my years in the classroom, I never let students say the “d-word” when discussing soil science. In some instances, we had a “d-word” swear collection jar of a quarter when you used the term and even today, I hesitate from spelling the word out in text due to feedback from all those I have corrected. In case you still need a clue on the “d-word”, it ends in irt.
As a horticulturist for 46 years, I have read, heard, and been told many secrets to growing good plants. I still hold firm that without proper knowledge of how soil works, most of what we do is by chance. Soil is a living entity comprised of parent material (sand, silt, and clay), air, water, organic matter (OM), and microorganisms. It is this last item which makes our soils come to life. If you have pets, then you know they need shelter, warmth, air, water, and food. From this point forward think of soil microorganisms as the pets in your soil. If you take care of them, they will take care of your plants.
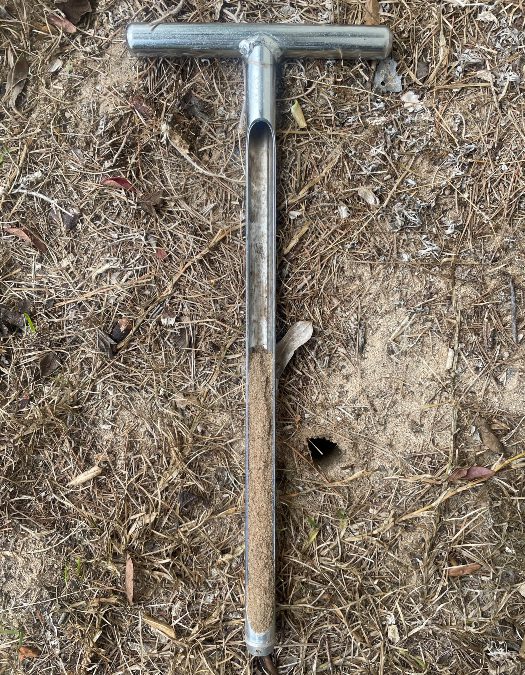
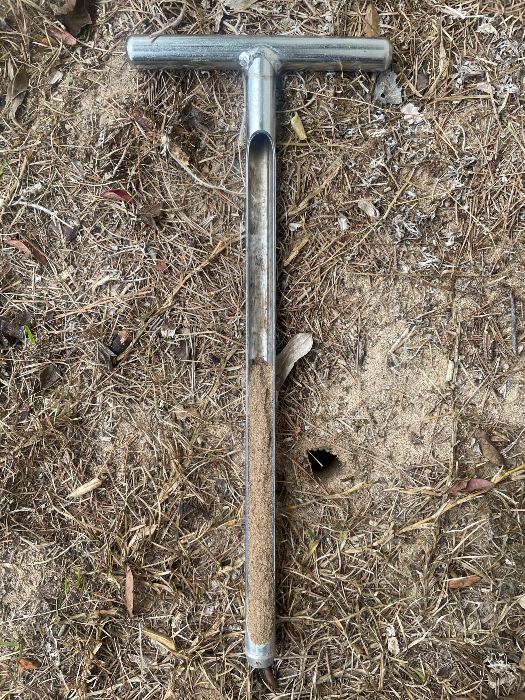
Sandy soil without any organic matter at the Wakulla County Extension office.
There is a huge difference in habitat from a sandy soil to a healthy soil with a good percentage of OM (5% – 10%). In one gram of healthy soil (the weight of one standard paper clip), you can have bacteria (100,000,000 to 1,000,000,000), actinomycetes (10,000,000 to 100,000,000), fungi (100,000 to 1,000,000), protozoa (10,000 to 100,000), algae (10,000 to 100,000), and nematodes (10 to 100) (1). A teaspoon of healthy soil can contain over four billion organisms (2). These microorganisms are part of the soil food web and they form a relationship between soil and your plants. They help convert nutrients to useable forms and assist with other plant functions.
The question becomes how to take care of your soil pets. For years we have performed practices that compromise these populations. Growing up we put all of our grass clippings in the weekly trash. We know now how valuable those clippings are and to leave them be. Two practices still common today though are tilling and raking leaves.
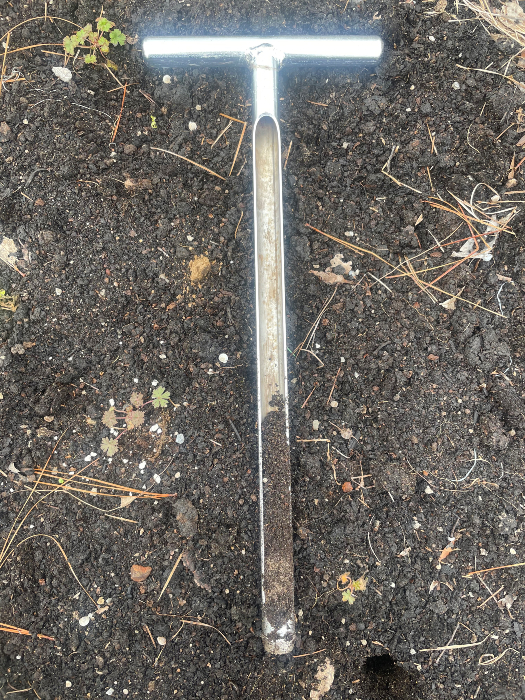
Master Gardener Volunteer vegetable bed with organic matter added.
Tilling has a limited purpose. If I place a layer of organic matter on top of the ground, then tilling incorporates the OM which feeds my pets. Excess tilling of soil introduces large amounts of oxygen which accelerates the breakdown of OM thus reducing our pet populations over time. Another adverse result from tilling is disturbing the soil structure (how the parent materials are arranged) which can reduce pore spaces thus limiting water percolation and root growth. There is a reason agriculture has adapted no-till practices.
Raking leaves (supposedly the sign of a well-kept yard) is removing large amounts of OM. Do you ever wonder why trees in a forest thrive? All of their leaves fall to the ground and are recycled by the microorganisms. Each of those leaves contains macronutrients (carbon, hydrogen, oxygen, nitrogen, phosphorus, potassium, calcium, sulfur, and magnesium) and micronutrients (boron, copper, chlorine, iron, manganese, molybdenum, nickel, and zinc) which are necessary for plant growth. You would be hard pressed to find all those nutrients in one fertilizer bag. So recycle (compost) your leaves versus having them removed from the property.
We are in our off season and tasks such as improving soil health should be considered now for soils to be ready in spring. Remember a little organic matter at a time and never work wet soils. As your OM levels build over the years, remember to change your watering and fertilizing schedules as the soil will be better adapted at holding water and nutrients. Soil tests are still recommended before fertilizing.
If you would like more tips on improving your soil, contact me or your local county horticulture extension agents. For a more in depth look at caring for your soils, read The Importance of Soil Health in Residential Landscapes by Sally Scalera MS, Dr. A.J. Reisinger and Dr. Mark Lusk (https://edis.ifas.ufl.edu/ss664).
Chapter 2: Soils, Water, and Plant Nutrients. Texas Master Gardener Training Manual.
The Importance of Soil Health in Residential Landscapes. 2019.
We are back with new topics and guest speakers for 2021! All sessions are Thursdays at noon CDT or 1:00 p.m. EDT.
There are two ways to join the Gardening in the Panhandle LIVE! webinars:
1. Facebook Live – Follow us on Facebook and follow individual webinar Events.
2. Zoom Webinar – Pre-registration is required for Zoom. Users must have an authenticated account (free at Zoom Link). Be sure you have security settings up to date to prevent connection delays. Links to Zoom registration will be added to the topic one week before the webinar and a closed captioned recorded link to YouTube will be available approximately one week after the program. (Underlined words have active links!)
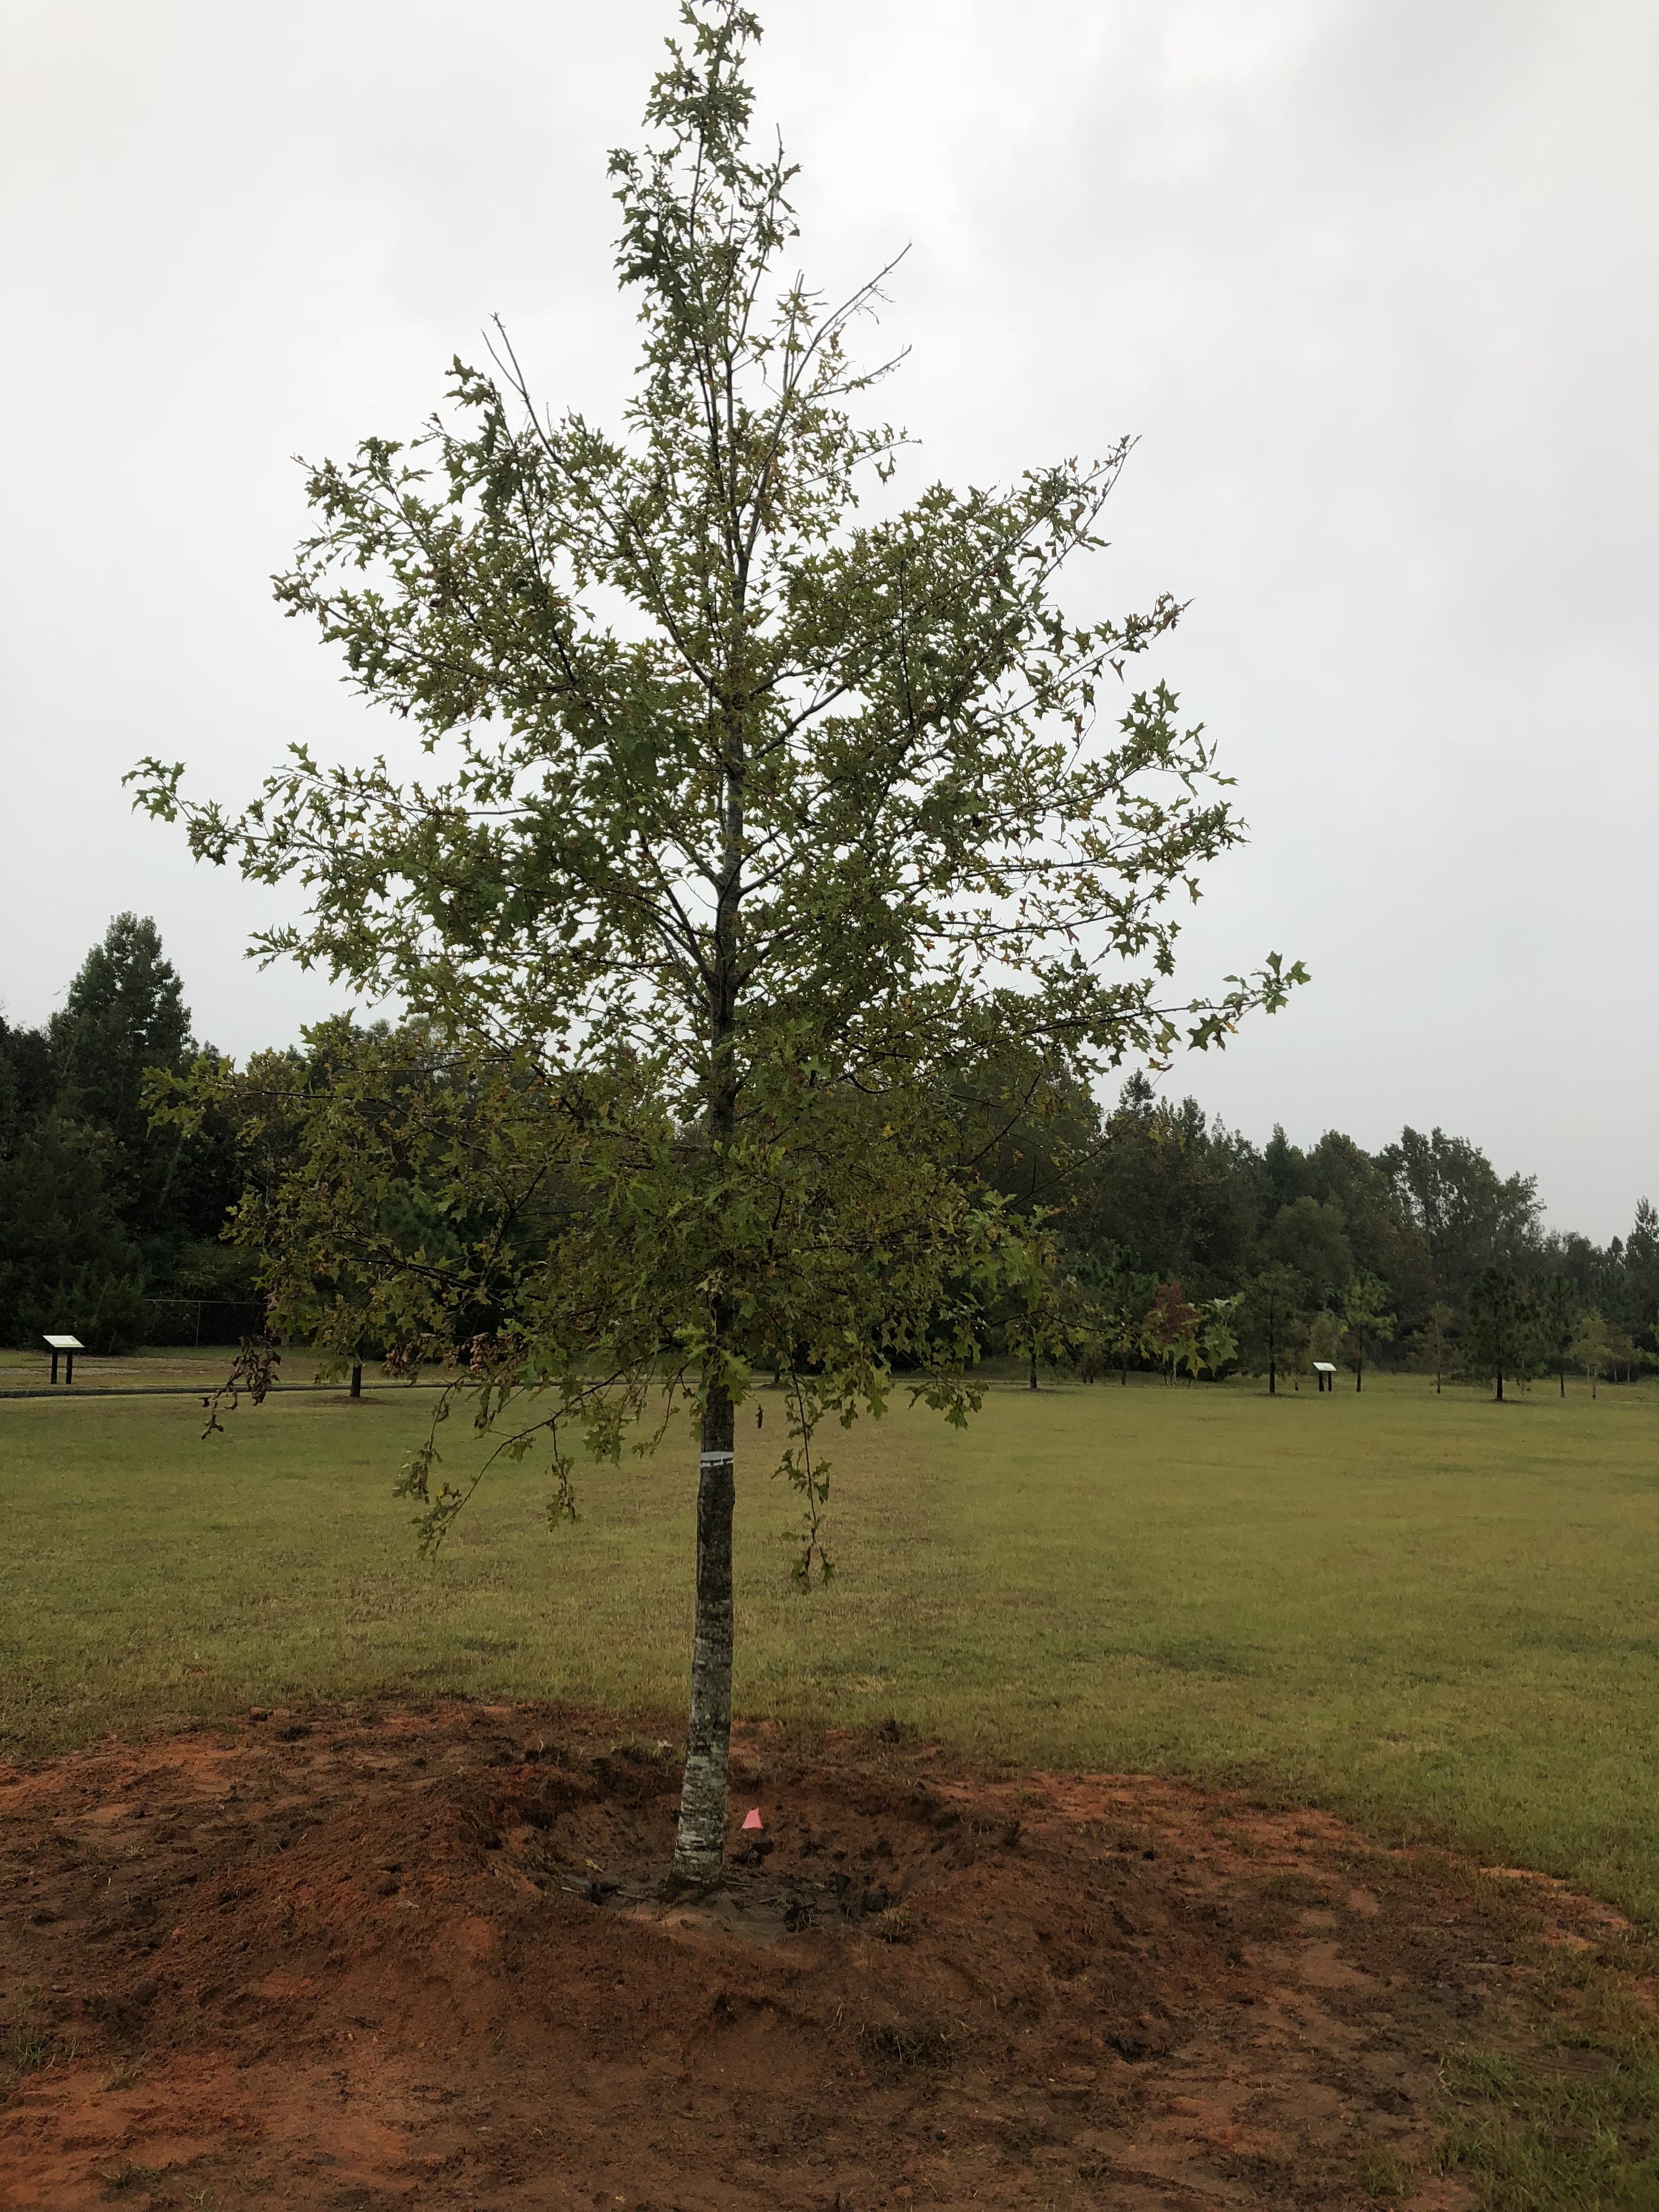
A planted tree with water retention berm. Photo Credit: Matt Lollar, University of Florida/IFAS Extension – Santa Rosa County
Often, Extension agents are tasked with evaluation of unhealthy plants in the landscape. They diagnose all sorts of plant problems including those caused by disease infection, insect infiltration, or improper culture.
When evaluating trees, one problem that often comes to the surface is improper tree installation. Although poorly installed trees may survive for 10 or 15 years after planting, they rarely thrive and often experience a slow death.
Fall/winter is an excellent time to plant a tree in Florida. Here are 11 easy steps to follow for proper tree installation:
Look around and up for wire, light poles, and buildings that may interfere with growth;
Dig a shallow planting hole as wide as possible;
Find the point where the top-most root emerges from the trunk;
Slide the tree carefully into the planting hole;
Position the point where the top-most root emerges from the trunk slightly above the landscape soil surface;
Straighten the tree in the hole;
Remove synthetic materials from around trunk and root ball;
Slice a shovel down in to the back fill;
Cover the exposed sides of the root ball with mulch and create water retention berm;
Stake the tree if necessary;
Come back to remove hardware.
Digging a properly sized hole for planting a tree. Photo Credit: Matt Lollar, University of Florida/IFAS Extension – Santa Rosa County
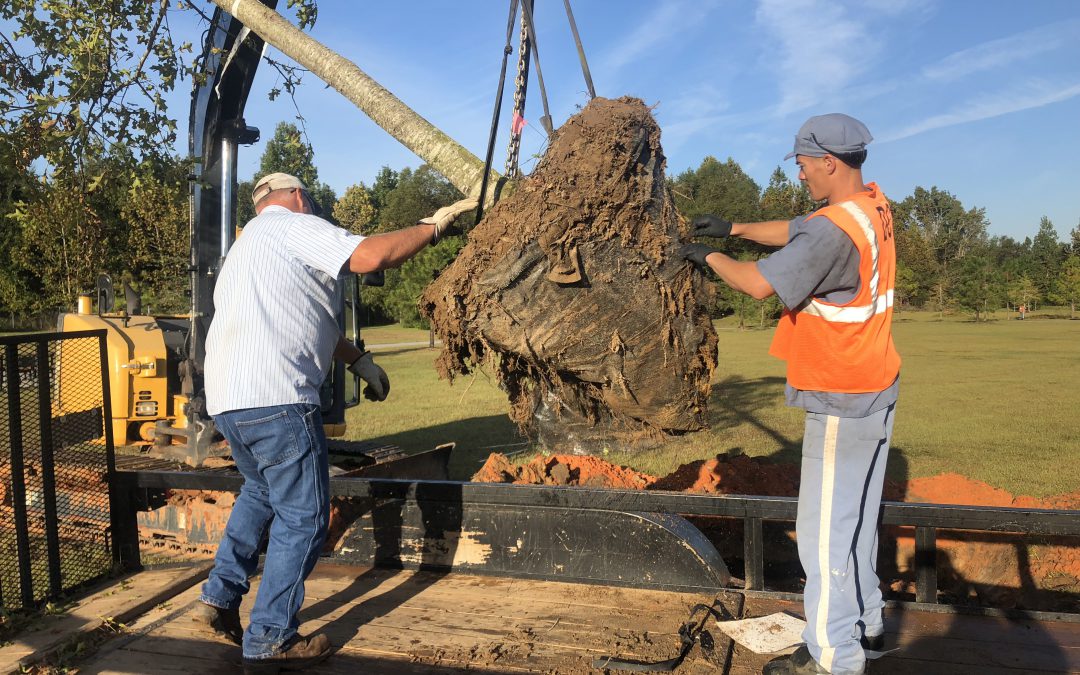
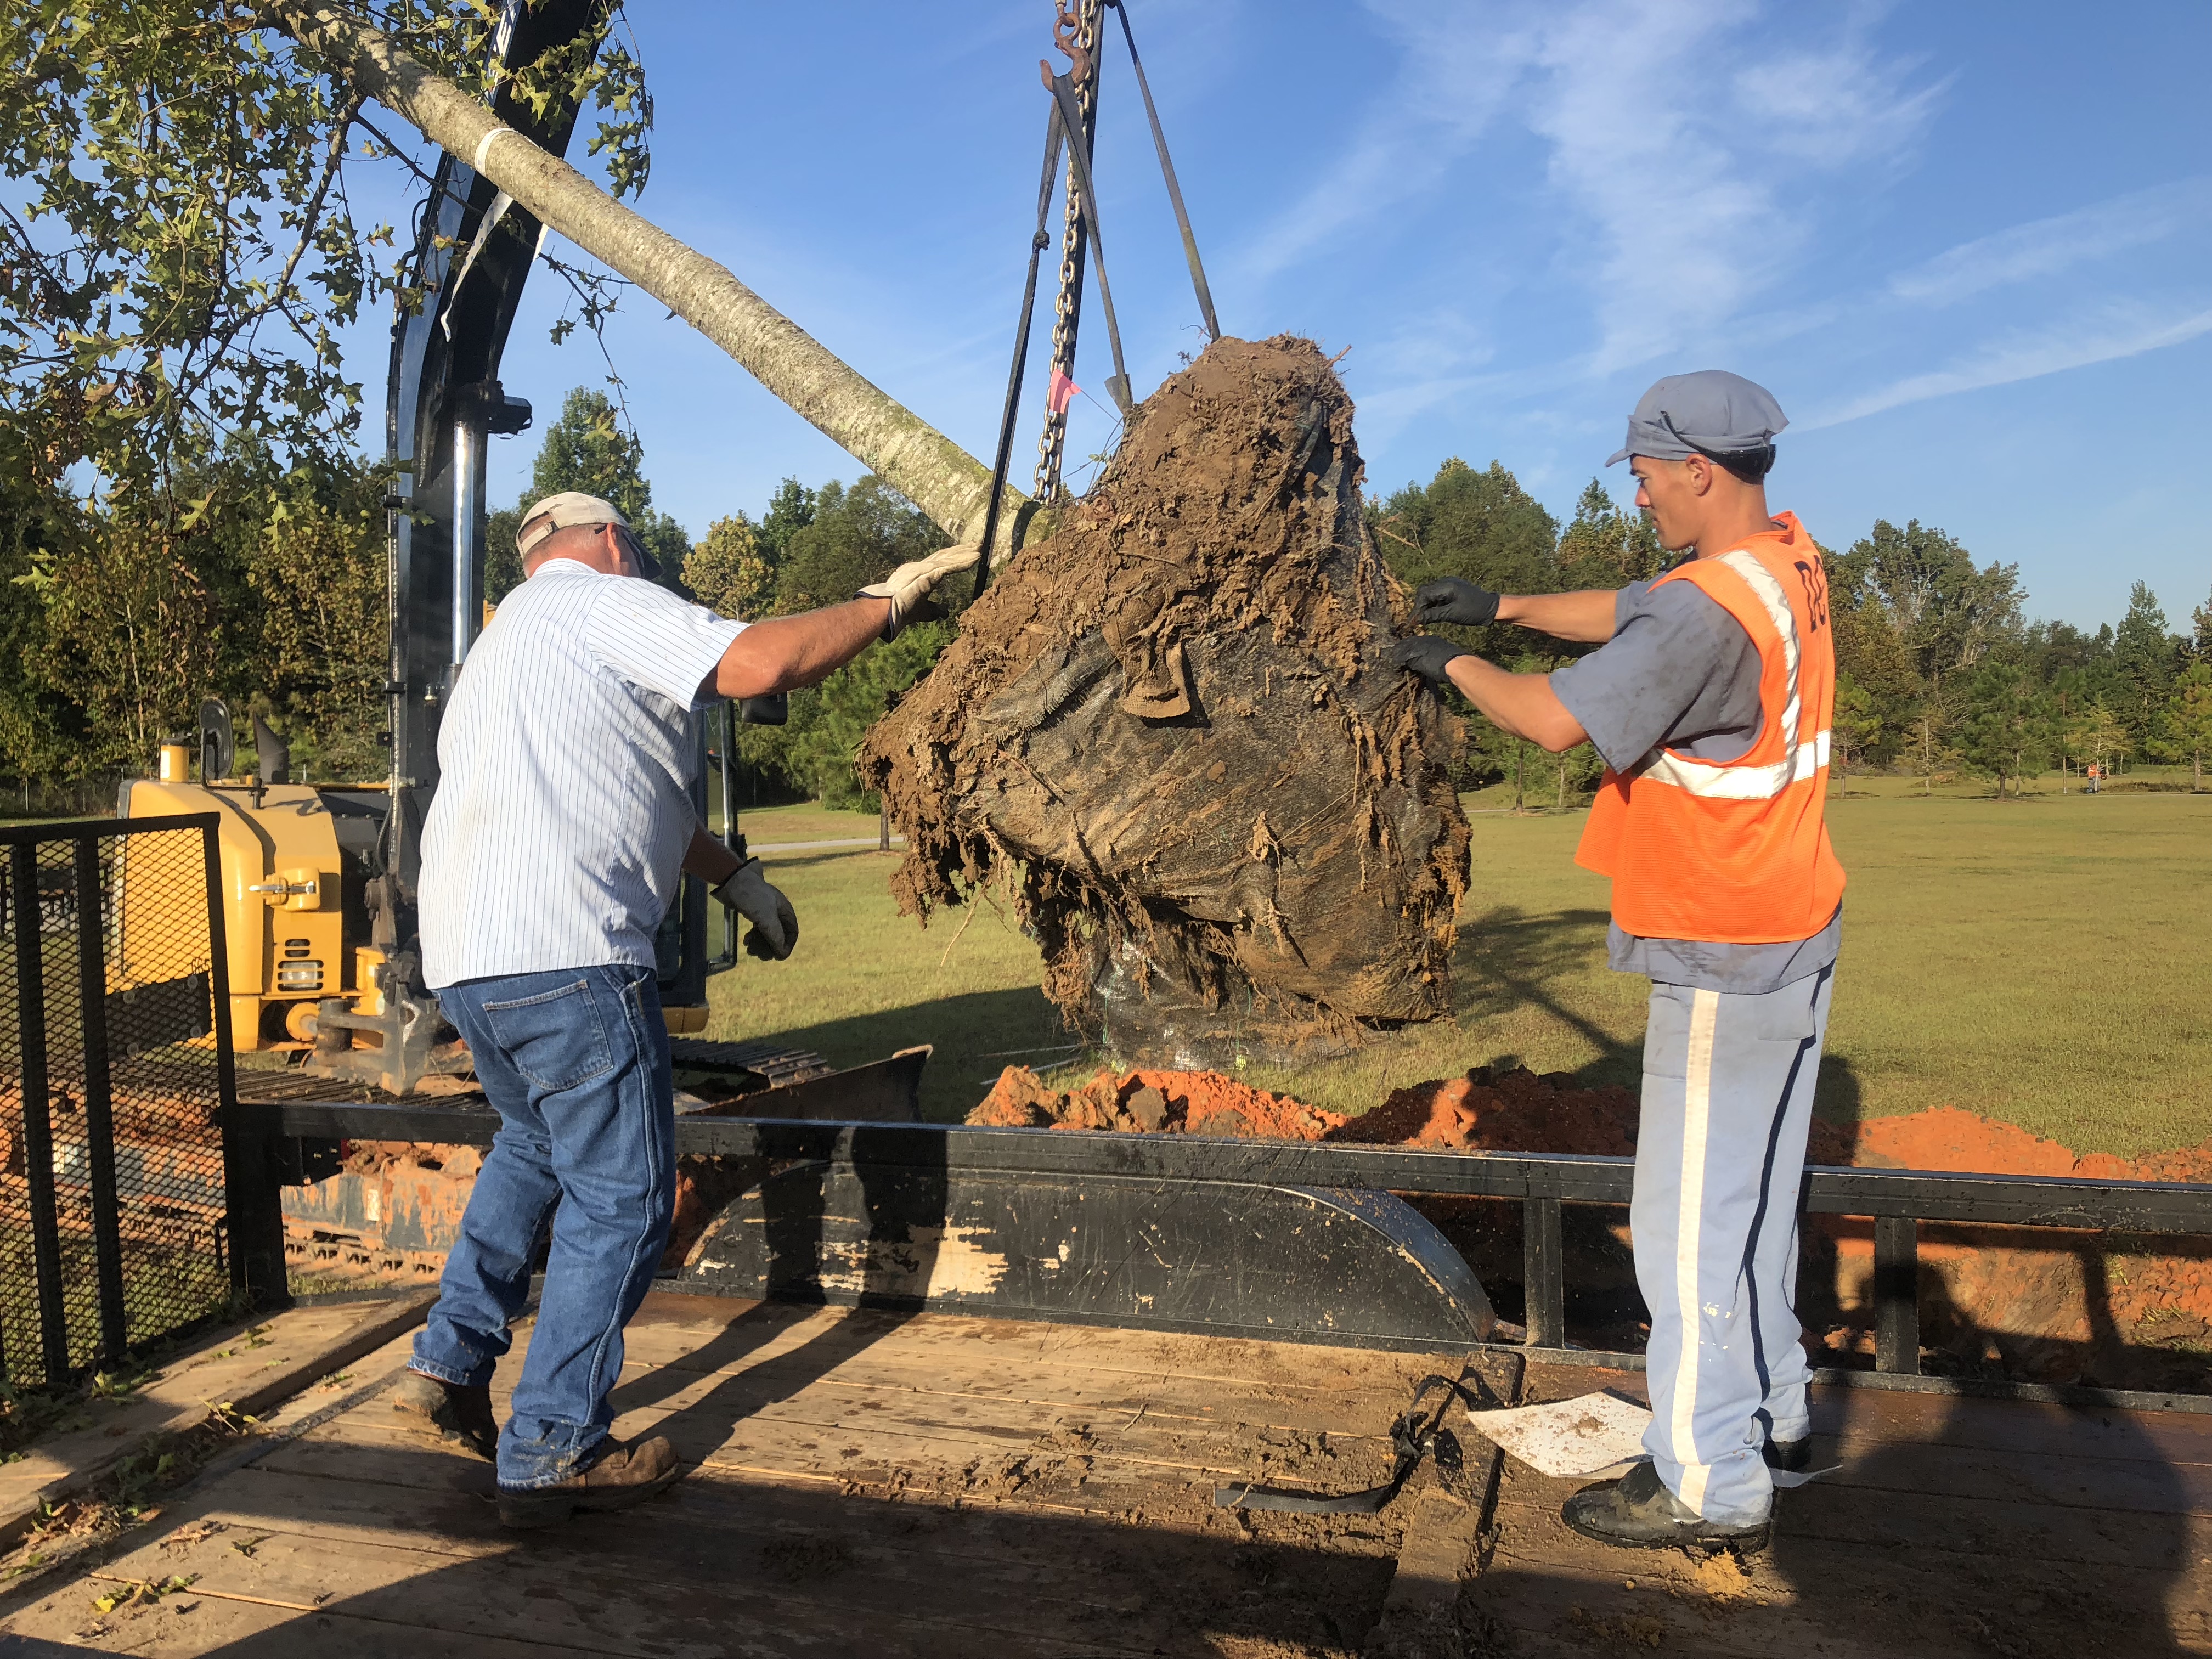
Removing synthetic material from the root ball. Photo Credit: Matt Lollar, University of Florida/IFAS Extension – Santa Rosa County
Straightening a tree and adjusting planting height. Photo Credit: Matt Lollar, University of Florida – Santa Rosa County